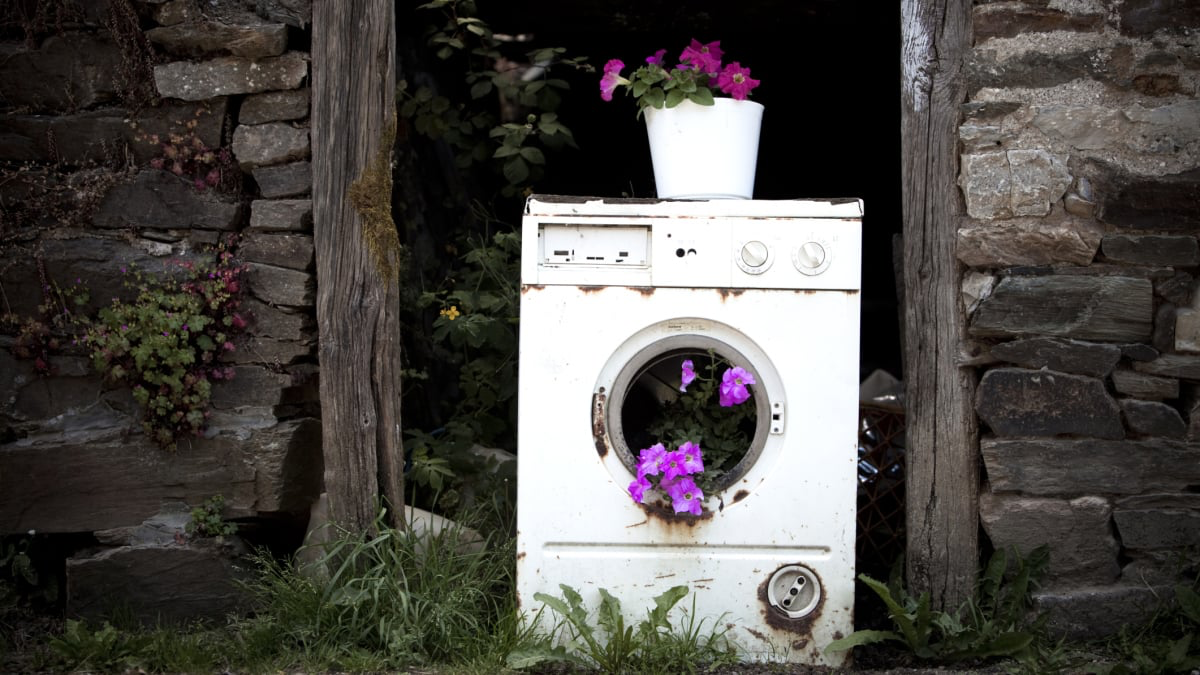
That Dead Washing Machine in the Driveway? It’s a Goldmine.
I’ve been taking things apart for as long as I can remember, starting with old radios in my dad’s garage. Now, in my own workshop, I’ve learned a valuable truth: most people see a broken appliance as a hunk of junk. But for those of us with a little curiosity, a dead washing machine isn’t trash—it’s a treasure chest.
In this article
- First Things First: Finding and Prepping Your Machine
- Top-Loader vs. Front-Loader: Which is Better for Salvage?
- The Anatomy of a Washer: Your Parts Shopping List
- How to Tear It Down Without Losing Your Mind
- Awesome Projects That Are Actually Worth Your Time
- The Cleanup: What to Do With the Leftovers
- Final Thoughts
- Inspirational Gallery
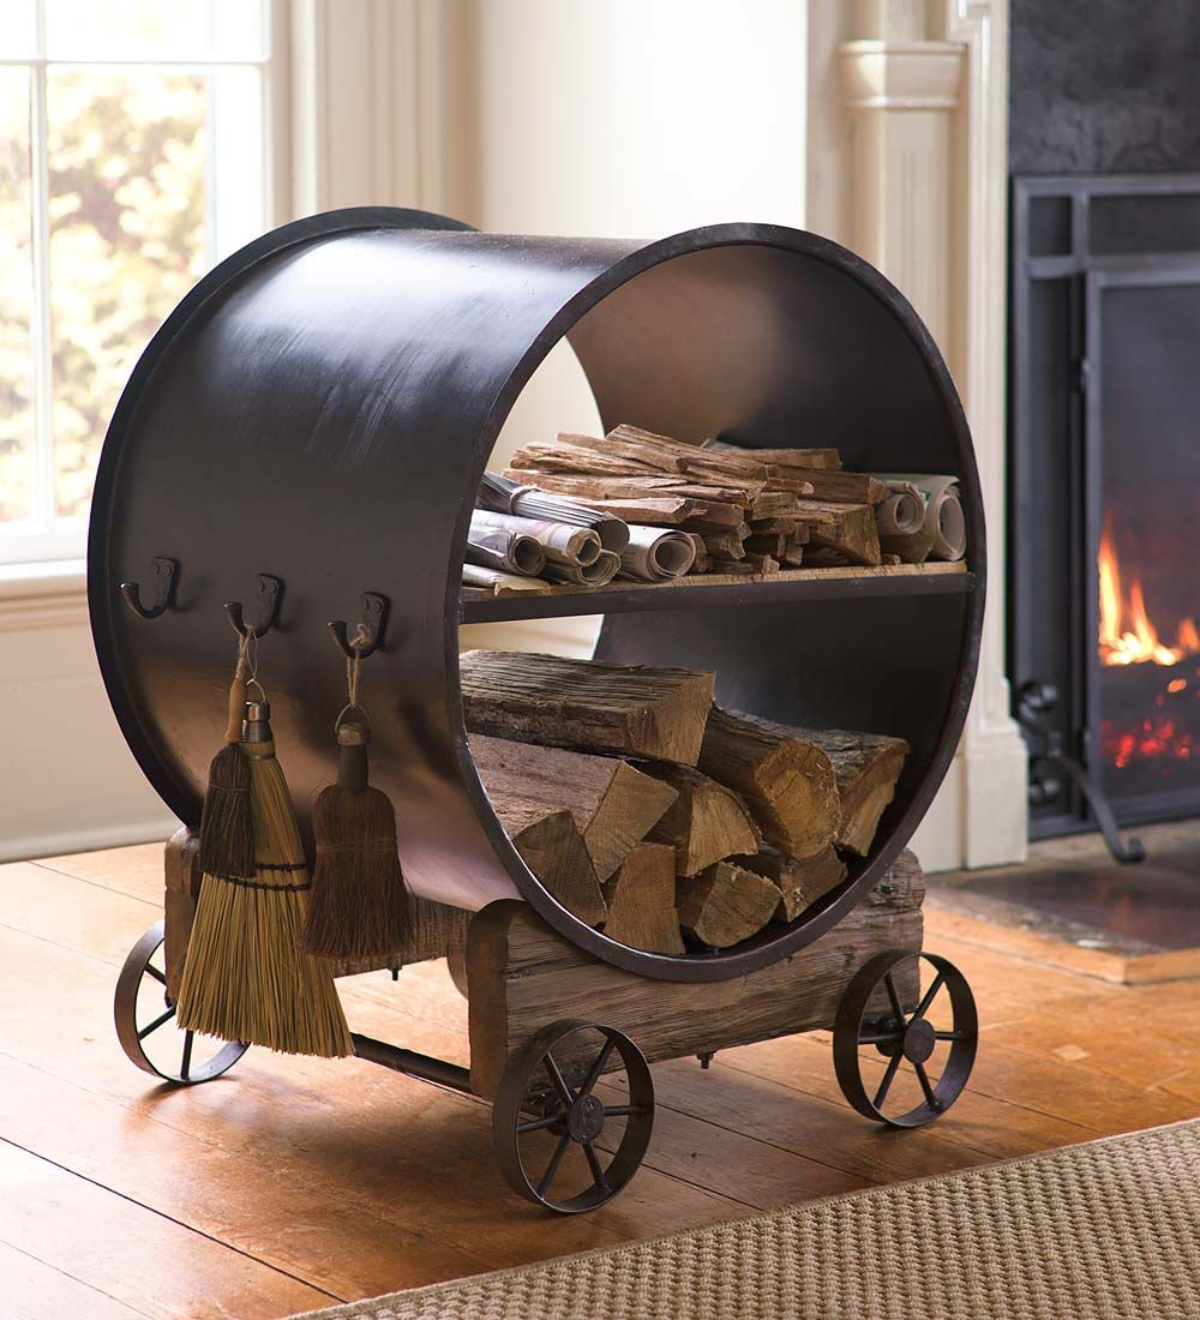
I still remember a neighbor dragging an old top-loader to the curb. “Transmission’s shot,” he said. I gladly took it off his hands. In a single afternoon, that “useless” machine transformed. The stainless steel drum became a backyard fire pit that’s still the centerpiece of family cookouts. Its beefy 1/2 horsepower motor now runs my bench grinder. Even the guts—the springs, screws, and brackets—went into my parts bins. It wasn’t an end; it was a transformation.
This guide isn’t about making quirky lawn art. It’s about the practical side of things: safely dismantling a machine, knowing what parts are pure gold, and turning them into something genuinely useful. Let’s turn that broken appliance into a resource.
First Things First: Finding and Prepping Your Machine
So, where do you even find one of these things? Honestly, it’s easier than you think. Keep an eye on the “free” section of Craigslist or Facebook Marketplace. You can also swing by a local appliance repair shop—sometimes they have units they can’t fix and are happy to see go. And, of course, there’s the classic drive around the neighborhood on trash day.
Before you even think about touching a screw, let’s talk safety. This is a heavy object with razor-sharp metal edges and parts that can store energy. I’ve seen some nasty cuts from sheet metal and heard stories of people getting a jolt from a capacitor they thought was dead. Respect the machine.
This is non-negotiable gear:
- Thick Leather Gloves: Seriously, the stamped metal inside will slice up regular gloves. Get proper work gloves meant for handling metal.
- Safety Glasses: Springs pop, wires snap, rust falls. You only get one set of eyes.
- Steel-Toed Boots: That drum and motor assembly can weigh 50 pounds or more. If it slips, you’ll be glad you protected your feet.
- A Stable Work Area: Don’t do this on a bumpy lawn. A flat garage floor or driveway is perfect. Give yourself room to work.
Heads up! The Capacitor. First, UNPLUG THE MACHINE. Obvious, I know, but it has to be said. Next, you need to find the motor capacitor. It’s a small, can-shaped part that holds a charge to help the motor start, and it can stay live for days. To discharge it, grab a screwdriver with a very well-insulated handle. Holding only the handle, bridge the metal shaft across the capacitor’s two terminals. You might hear a pop or see a spark—that’s it discharging. Hold it for a few seconds, and now it’s safe.
Top-Loader vs. Front-Loader: Which is Better for Salvage?
Not all washing machines are created equal for our purposes. The kind of machine you get will totally change the parts you find inside and how hard you have to work to get them.
Top-loaders are the classic choice and, frankly, much easier to take apart. Everything is hanging from the top of the frame, and the whole outer cabinet often slides off in one piece. Their motors are usually simple, reliable AC induction motors—perfect for workshop tools. The teardown is pretty straightforward.
Front-loaders, on the other hand, are a different beast. They’re built like tanks. The biggest surprise for most people are the huge concrete counterweights, often one on top and one on the bottom, bolted to the drum assembly. These are heavy and awkward, but hey, free concrete for projects, right? The real prize in many modern front-loaders is the motor. They often use a variable-speed direct-drive DC motor, which is a fantastic find for projects needing speed control, like a pottery wheel or a lathe. But be warned, they are more complex to wire and often require a separate controller to run.
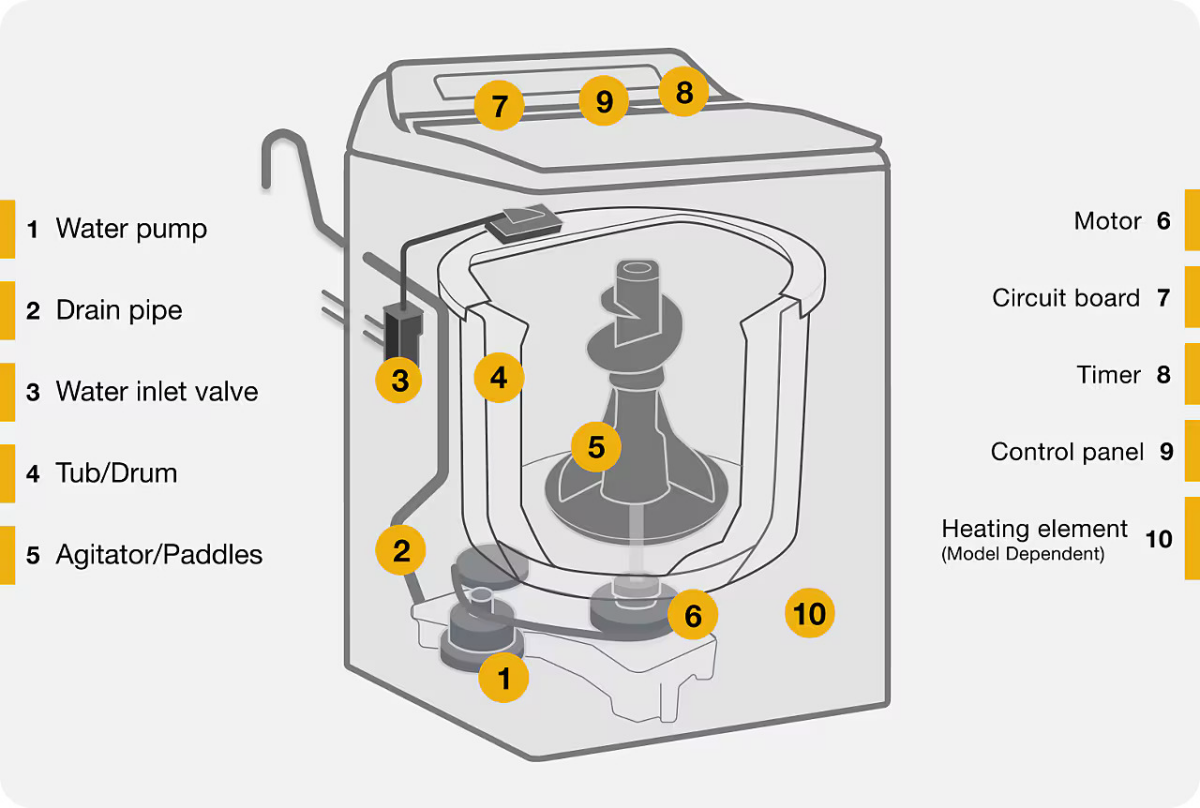
The Anatomy of a Washer: Your Parts Shopping List
As you start taking things apart, have a few buckets or bins ready. One for screws, one for springs, etc. It’ll save you a headache later. Oh yeah, and snapping a few photos with your phone as you go is a great way to remember how it all came apart.
The Drum: The Main Event
This is what everyone wants. It’s usually either stainless steel or porcelain-coated steel. To check, use a magnet. If the magnet doesn’t stick or is very weak, you’ve hit the jackpot—it’s stainless. If it sticks hard, it’s porcelain-coated. Stainless is amazing for fire pits because it won’t rust and handles heat beautifully. The porcelain ones are still great for planters but can chip and rust over time, and I wouldn’t use one for a fire pit; the heat can make the enamel flake off.
The Motor: The Powerhouse
The main drive motor is a fantastic salvage. As I mentioned, top-loaders usually have a simple and powerful AC motor, typically between 1/3 and 3/4 horsepower. Look for a wiring diagram sticker right on the motor. If you aren’t 100% confident wiring a motor, please ask someone who is. Getting it wrong is a serious fire hazard.
The Small Stuff: Don’t Overlook It!
Never, ever underestimate the value of good hardware. You’ll find dozens of quality bolts, nuts, clamps, and counterbalance springs that are way stronger than what you’d buy at the store. If you only have five minutes and can’t take the whole machine, here’s a quick win: snip off the heavy-duty power cord and the water inlet hoses. Every workshop needs spares, and these are top-notch.
How to Tear It Down Without Losing Your Mind
A good teardown is about strategy, not brute force. For a first-timer, I’d block out a solid 3-4 hours to do this right and stay safe.
The Right Tools for the Job:
- Socket Set (Metric and SAE): Appliance makers love to mix and match fastener sizes.
- Nut Drivers: So much faster than a wrench for all those hex-head screws.
- An Impact Driver: A pro-tip to make this job ten times faster. An impact driver with a socket adapter will zip those screws and bolts out in seconds.
- Pliers and Wire Cutters: For hose clamps and cutting wires (after you’ve discharged the capacitor!).
The Teardown Process, Simplified:

- Control Panel First: Look for screws on the back or sides, sometimes hidden under plastic caps. Unplug its wiring harness carefully.
- Cabinet Off: On top-loaders, the whole cabinet often lifts off after you release two spring clips in the front with a putty knife. Front-loaders come apart in panels—top, back, then front.
- Free the Components: Once the cabinet is off, you can access everything. Detach the drum and tub assembly from the suspension springs and shocks. From my own painful experience, this assembly is HEAVY and awkward. Get a friend to help you lift it out. I once tried to muscle it out alone and my back was screaming at me for a week.
- The Big Boss Battle—The Central Nut: To separate the inner drum from the outer tub, you’ll have to remove a giant nut in the center. Lesser-known trick: this nut is often reverse-threaded! So, righty-loosy, lefty-tighty. You will NOT get this off with a standard wrench. You’ll need a long breaker bar for leverage or, ideally, an impact wrench to shock it loose. This one step stops a lot of people in their tracks.
- Harvest Your Parts: With the main assembly out, the motor, pump, and transmission are easy to unbolt.
Awesome Projects That Are Actually Worth Your Time
Now for the fun part. Here are a few projects that make all that work worthwhile.
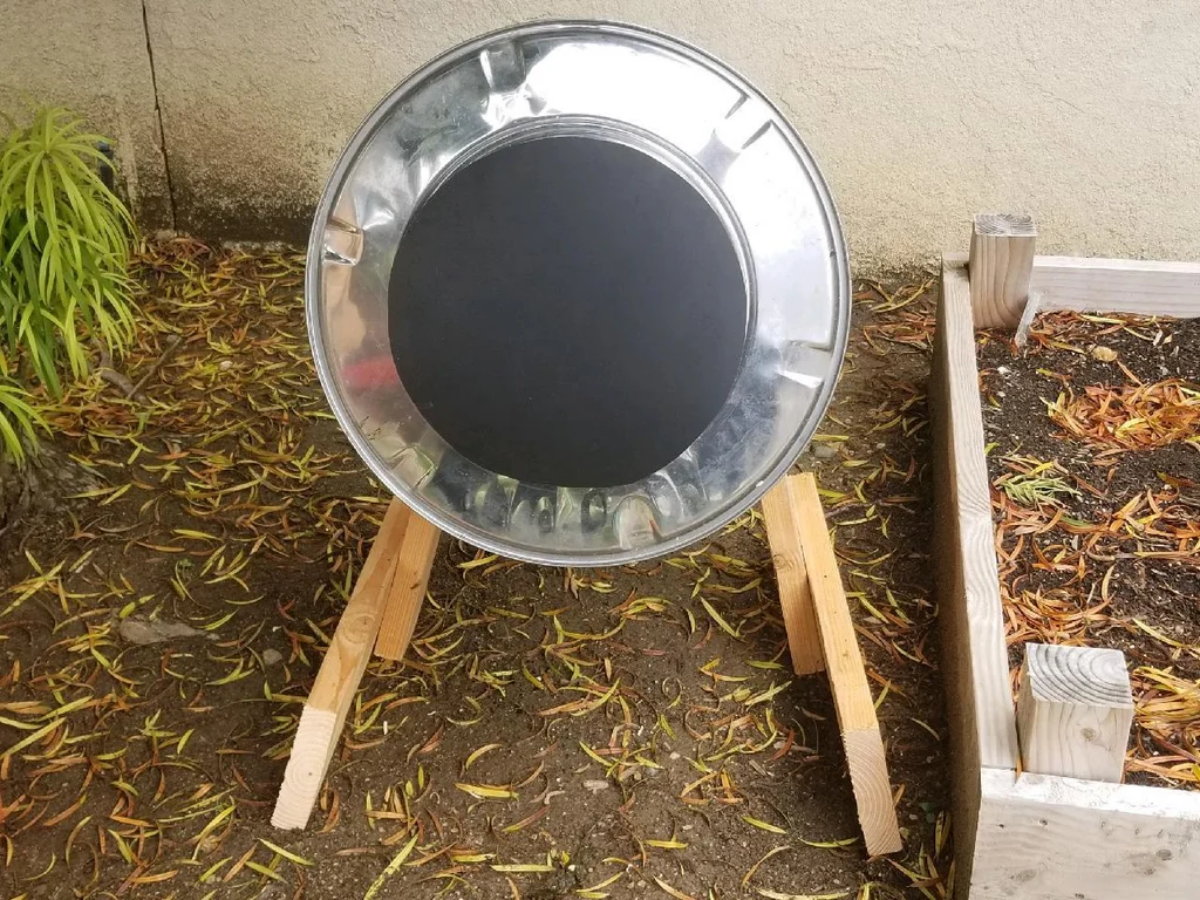
Project 1: The Ultimate Fire Pit
A stainless steel drum is practically pre-made for this. The holes provide perfect airflow for a hot, low-smoke fire. Instead of just setting it on the ground, weld three or four nuts to the bottom that match the machine’s original leveling feet. Now you have a stable, adjustable fire pit. Quick tip: find an old circular barbecue grate. It’ll often sit perfectly on top of the drum, turning your fire pit into an instant grill.
Project 2: The Indestructible Planter
Both drum types make amazing, deep planters for tomatoes or small shrubs. The drainage is built-in! Just line the inside with landscape fabric to keep the soil from washing out. If you live somewhere hot like the Southwest, a dark metal planter can cook roots in the sun. Consider painting it a light color or placing it in afternoon shade.
Project 3: A DIY Bench Grinder or Buffer
This is a more advanced project, but so rewarding. You’ll need to mount the motor securely to a heavy base to absorb vibration. To make it work, you’ll need to buy a motor arbor, which is a shaft that clamps onto the motor’s spindle to hold a grinding or buffing wheel. A quick search online will show you plenty of options. Expect to pay about $20 for a motor arbor, another $15 for a good grinding wheel, and maybe $10 for a proper switch and electrical box. And please, use a safety guard around the wheel!
A Reality Check: The Concrete Mixer Idea
I’ve seen this online, and I need to be frank: this is a massive, potentially dangerous project. The motor spins way too fast, so you need a complex gearbox or pulley system to slow it down. You also need to weld paddles inside and build a much stronger frame. To be honest, for the time and money involved, you’re almost always better off buying a used, purpose-built mixer. A good craftsman knows which projects are practical and which are a waste of time.
The Cleanup: What to Do With the Leftovers
Okay, so you’ve got your pile of cool parts. But what about the junk? You’ll be left with a big plastic or enameled steel outer tub, maybe some concrete weights, and a lot of sheet metal. Don’t just leave it in a pile for your spouse to find. Have a plan.
The sheet metal panels and steel frame can be taken to a local scrap metal yard. You won’t get rich, but you might get a few bucks for your trouble. The plastic outer tub is trickier, as most curbside recycling won’t take it. You may need to take it to your local dump or transfer station. As for that heavy, greasy transmission? Drain the oil (dispose of it at an auto parts store) and take it with the rest of your scrap metal.
Final Thoughts
Tearing down an old washer is more than just getting free parts. It’s a lesson in how things are made. It teaches you to see value where others see waste. The next time you see a broken appliance on the curb, I hope you see it differently. I hope you see the potential humming away inside.
Inspirational Gallery

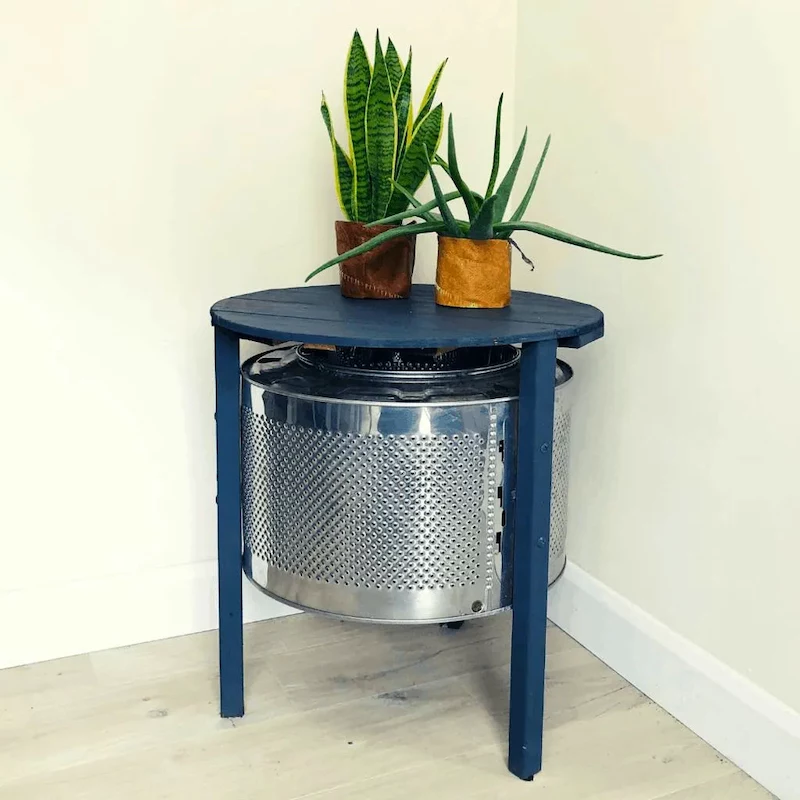
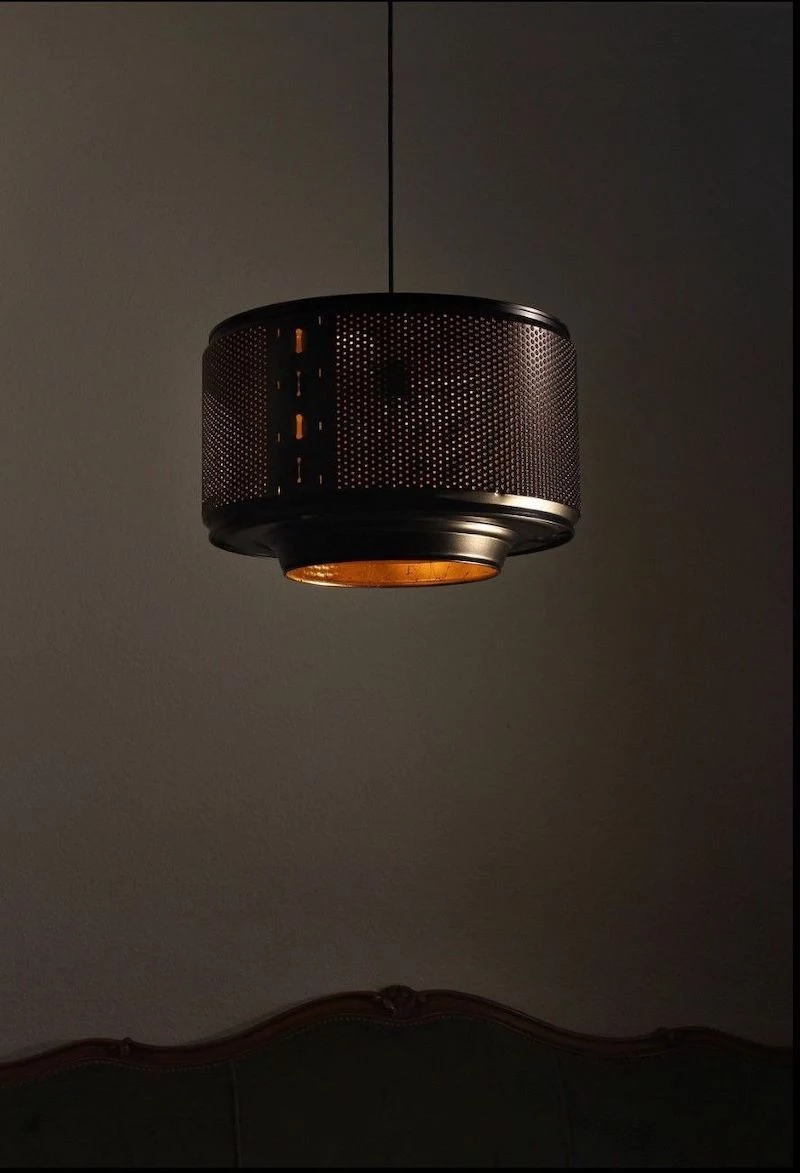
Once you’ve stripped the major components, the creative repurposing truly begins. Think beyond the drum:
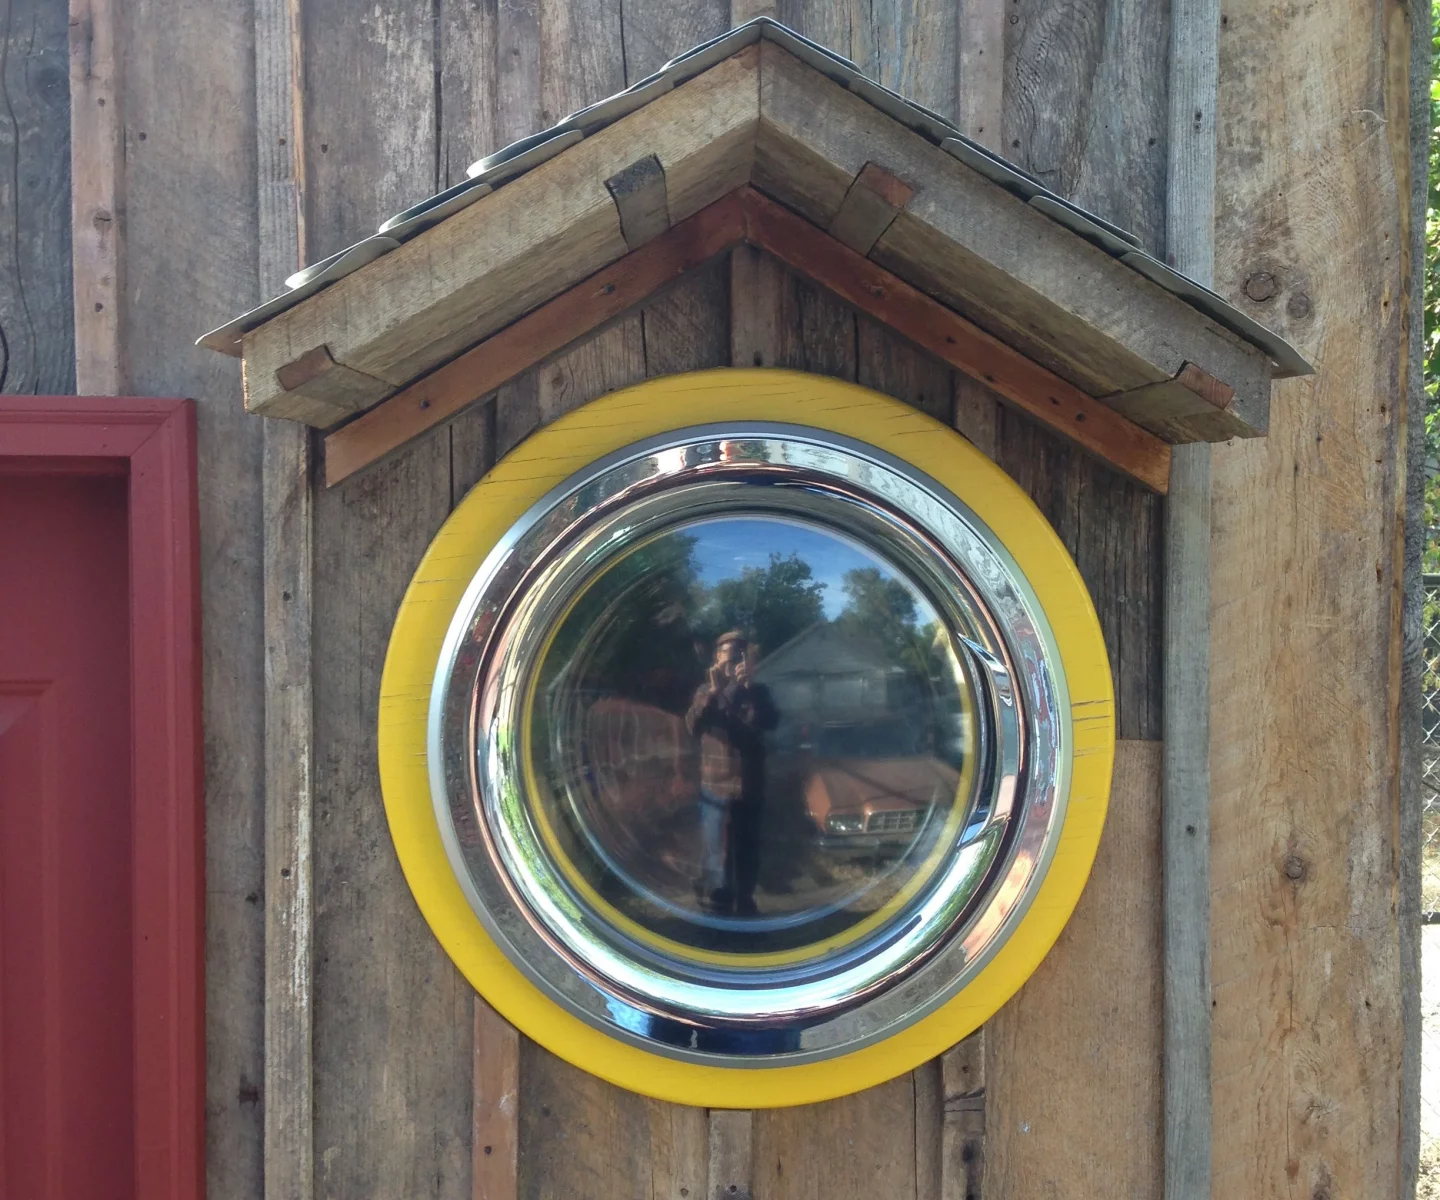
- The Glass Door: With its heavy-duty hinge and seal, it makes a perfect and unique porthole window for a garden shed or a playhouse door.
- The Concrete Counterweights: Don’t discard these hefty blocks! They are fantastic as rustic outdoor doorstops, anchors for a pop-up canopy, or even as homemade workout weights.
- The Wiring Harness: A goldmine of high-quality, color-coded insulated copper wire for any future electronics or automotive projects.

Did you know? The stainless steel used for many washing machine drums is typically Grade 304 or even 316—both are highly resistant to corrosion and heat.
This is why they make such exceptional fire pits. Unlike a cheap store-bought pit that rusts after one season, a repurposed stainless drum will withstand years of weather and intense heat, developing a gentle patina without ever rusting through. It’s an upgrade in durability you get for free.

What about the dozens of leftover screws, brackets, and springs?
This is your future project starter kit! Resist the urge to toss them. Invest in a simple multi-drawer parts organizer, like a classic one from Stanley or Akro-Mils. Sorting these high-quality, often metric, fasteners will save you countless trips to the hardware store. That specific tension spring or odd-sized bracket might be the exact piece you need for a random repair six months from now.
The Motor Matters: Not all washer motors are created equal. An older, belt-driven induction motor is a quiet, reliable workhorse perfect for a bench grinder or buffer. A newer direct-drive universal motor is a high-speed powerhouse, ideal for building a DIY wood lathe or a powerful disc sander.