Tired of Your Polymer Clay Rings Breaking? Here’s How to Make Them Last.
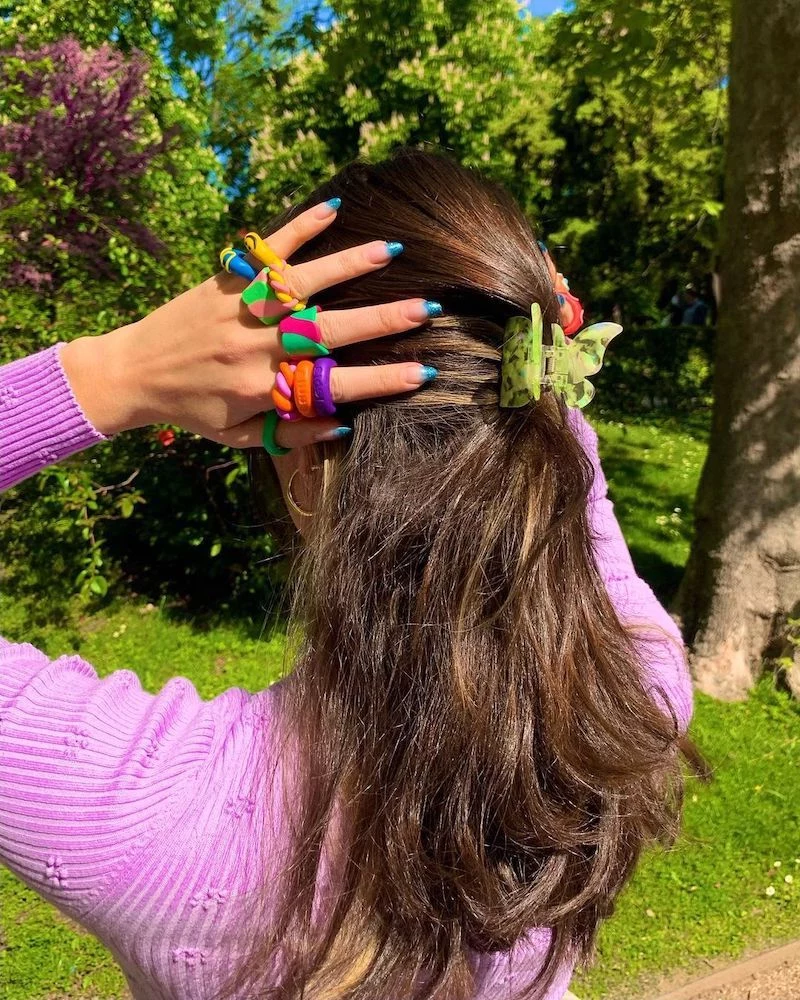
I’ve spent a huge chunk of my life with my hands covered in polymer clay. My little workshop is a testament to that, with shelves holding everything from glorious commissioned pieces to a “graveyard” of failed experiments. I’ve seen so many trends come and go, and right now, those chunky, colorful clay rings are absolutely everywhere. It’s fantastic! But honestly, it also hurts my heart a little when I see people showing off a new ring that I know will crack or snap after just one wear.
In this article
- First, What Is This Stuff, Anyway?
- Choosing Your Clay: Not All Blocks Are Created Equal
- Your Workspace: The Beginner’s Kit for Under $50
- The Most Important Step: Conditioning Your Clay
- Making the Ring: From Blob to Band
- Curing: Where the Magic Happens
- The Pro Finish: Sanding & Buffing
- Oops! Common Problems & How to Fix Them
- A Final Thought
- Inspirational Gallery
I remember making my first chunky ring. It looked perfect coming out of the oven. I was so proud… until it snapped clean in two the first time I wore it. So embarrassing! That’s when I learned that the difference between a fun craft project and a piece of wearable art isn’t about having expensive tools. It’s about understanding and respecting the material itself.
So, let’s get into it. This is my professional method, honed over thousands of hours, to make rings that are not only cool to look at but are tough enough for daily life.
First, What Is This Stuff, Anyway?
Before you can master it, you have to know what you’re holding. Polymer clay isn’t a natural, earthy clay dug from the ground. It’s a man-made material, basically a type of PVC plastic. Tiny particles of PVC are suspended in a liquid plasticizer, which is what makes it feel soft and workable right out of the package.
Here’s the key part: when you bake polymer clay, you aren’t “drying” it. You’re curing it. The heat kicks off a chemical reaction where the PVC particles absorb the plasticizer and fuse together into a solid, hard plastic. This is why temperature is EVERYTHING. If your oven is too cool, the particles don’t fuse properly, and you get a brittle, weak ring. If it’s too hot, the clay will burn and release some nasty fumes that you really don’t want to breathe. (Heads up: Always work in a room with good ventilation!)
Once it’s cured right, it becomes a non-porous, waterproof plastic. This makes it a fantastic choice for jewelry that’s going to see some action, like getting splashed during hand washing.
Choosing Your Clay: Not All Blocks Are Created Equal
Walking into the clay aisle can be overwhelming. For rings, we need to prioritize one thing above all else: strength. Over the years, I’ve found a few brands that are my go-tos for making jewelry that lasts.
- For the All-Rounder: I almost always reach for Sculpey Premo. It’s strong, but has just enough flex after curing to resist snapping under pressure. It’s a fantastic, reliable choice whether you’re a total beginner or a seasoned pro.
- For Sharp Details: If I’m doing a design with crisp, geometric patterns, I’ll often use Fimo Professional. It’s a bit stiffer to work with, which means you have to put more muscle into conditioning it. But that firmness pays off with incredibly sharp lines and exceptional strength once cured.
- For Maximum Toughness: There’s a professional-grade clay known for being one of the strongest on the market. It cures at a slightly higher temperature and can be challenging for beginners due to its firmness, but if you need a ring that is absolutely bomb-proof, this is the one to look for.
- For Big, Chunky Styles: You’ve got to try Sculpey Soufflé. This stuff is uniquely lightweight and bakes to a beautiful, suede-like matte finish. It’s also surprisingly strong and flexible, which makes those big, statement rings comfortable to wear instead of feeling like a lead weight.
My advice? If you’re just starting, grab a few 2oz blocks of Sculpey Premo in colors you love. For a typical size 7 ring, you’ll probably only need about 1/8th of a single block, so a little goes a long way. As you get the hang of it, you can branch out and see what feel you prefer.
Your Workspace: The Beginner’s Kit for Under $50
You don’t need a fancy studio. My first setup was literally the corner of my kitchen table. But getting a few key items will make your life so much easier. Oh, and a quick but important rule: once a tool is a clay tool, it’s always a clay tool. Don’t ever use them for food again, no matter how well you wash them.
Here’s what you actually need to get started:
- A Work Surface: Something smooth and non-porous is a must. A big ceramic tile from Home Depot (they’re like $2-$3) is perfect. A sheet of glass or a silicone craft mat also works great.
- An Oven Thermometer: If you buy one thing, make it this. The dial on your oven is probably lying to you, sometimes by 50 degrees or more! An independent thermometer that sits inside your oven is the only way to know the true temperature. You can grab one for about $7 on Amazon. It is NOT optional.
- Clay & Roller: A few blocks of Premo clay ($3 each at places like Michaels or JOANN) and a clear acrylic roller (about $10) will get you going.
- Cutting Tools: A basic craft knife is essential for trimming. A flexible tissue blade is also amazing for getting clean, straight cuts.
- A Sizing Tool: To shape your ring, you’ll need a ring mandrel. You can buy one from a jewelry supply store, or for a budget option, find a wooden dowel or even a deep socket from a wrench set that matches your ring size. Just wrap it in a little strip of parchment paper so the clay doesn’t stick when you bake it.
The Most Important Step: Conditioning Your Clay
Want to know the number one reason clay cracks? Unconditioned clay. Straight from the package, the plasticizers and PVC particles are not perfectly mixed. Conditioning is the process of warming and working the clay to align all those particles. It makes the clay stronger, more pliable, and way less likely to crack.
You can do it by hand for small amounts. Just break off a piece, warm it in your hands, and then roll, twist, and fold it over and over. You’ll feel it change from crumbly to soft and smooth. When you can fold it in half without the edge looking cracked and jagged, you’re good to go.
For bigger batches, a clay conditioning machine (which is just a pasta machine for clay) is a lifesaver. You feed a flattened piece through on the thickest setting, fold it, and feed it through again, about 20-30 times. This forces out trapped air and gives you a perfectly conditioned slab.
By the way, any leftover conditioned clay can be saved! Just wrap it tightly in plastic wrap and store it in a cool, dark place like a drawer or a plastic container.
Making the Ring: From Blob to Band
Alright, time for the fun part! Plan on your first ring taking about 2-3 hours from start to finish, and that includes baking and cooling time. It’s a perfect weekend afternoon project.
1. Create a Uniform Slab: A strong ring starts with an evenly thick band. A great trick is to use playing cards as guides. Put an equal stack of cards (maybe 3-4 cards high for a 2mm-2.5mm thick band) on either side of your clay. Let the ends of your roller rest on the cards as you roll. Voila! A perfectly even slab.
2. Size and Cut: To figure out your ring size, just do a quick search online for a “printable ring sizer.” There are tons of free ones you can use. Once you have your size, consult a ring size chart to find the inner circumference. Cut a strip of clay to that length (plus maybe 1mm extra to account for the clay’s thickness) and your desired width.

3. Join the Seam Securely: This is a critical moment. Don’t just mash the ends together. Wrap your clay strip around the mandrel. Where the ends overlap, use your craft knife to slice through both layers at a 45-degree angle. This bevel cut creates a much larger surface area for a super-strong bond. Remove the tiny extra pieces and press the angled ends together. Now, blend that seam. Use a smooth, rounded tool to gently smooth the clay across the seam on the outside and inside until it completely disappears. Quick tip: After I blend the seam, I like to let the ring rest on the mandrel for about 15 minutes before baking. It just seems to help the seam settle and become even stronger.
Curing: Where the Magic Happens
Your beautiful little ring is formed. Now it’s time to make it permanent. Double-check your oven thermometer! Preheat to the temperature on your clay package (for Premo, it’s 275°F / 130°C). Wait until the oven has held that exact temperature for at least 15 minutes.
Place your ring (still on its parchment-wrapped mandrel is best) on a ceramic tile. To stop light-colored clays from browning, make a little “tent” out of folded cardstock or foil and place it over your ring without touching it.
The rule of thumb is to cure for at least 30 minutes for every 1/4 inch (6mm) of thickness. To be safe, I cure most rings for a minimum of 45-60 minutes. It’s really hard to over-bake clay if the temperature is correct, but it’s incredibly easy to under-bake it. When the time is up, turn off the oven and crack the door, letting it cool down slowly inside to prevent shock-cracking.
The Pro Finish: Sanding & Buffing
This is what elevates a piece from “homemade” to “handmade.” Grab a shallow dish of water with a drop of soap, and some waterproof sandpaper in various grits (start with 400, then 600, 800, and up to 1200 or more). Dip the ring and the paper in the water and sand the entire surface gently, working your way up through the grits. It sounds tedious, but it gives you a stunning, satiny-smooth finish.

For a high-gloss shine, you can buff it! Rub the ring vigorously with a piece of denim, or use a rotary tool like a Dremel on low speed with a muslin buffing wheel. (Safety glasses on for that, please!) A properly buffed piece doesn’t need glaze, but if you want that glassy look, use a water-based polyurethane varnish like Varathane. Never use nail polish—it will get sticky over time.
Oops! Common Problems & How to Fix Them
Things go wrong. It happens. Here are the most common issues:
- Problem: My ring cracked after baking!
Cause & Solution: This is almost always from not conditioning enough or not baking long enough. Sadly, there’s no real fix for a crack. Prevention is the only cure here. - Problem: There are ugly bubbles or bumps on my ring.
Cause & Solution: Trapped air that expanded in the heat. Next time, inspect your piece before baking and pierce any bubbles with a fine needle to release the air. - Problem: My ring is still bendy and flexible.
Cause & Solution: This is the BEST problem to have because it’s fixable! It just means the clay is under-cured. Here’s a lesser-known trick: you can bake it again! Pop it back in the oven at the correct temperature for another 30-45 minutes. It’s a total game-changer.
A Final Thought
Making a polymer clay ring is easy to start, but making a good one that lasts takes a bit of patience. Don’t get discouraged. Every piece you make teaches you something new. By focusing on that solid foundation—good conditioning, precise curing, and a nice finish—you’ll be creating little pieces of art that you can be truly proud to wear.
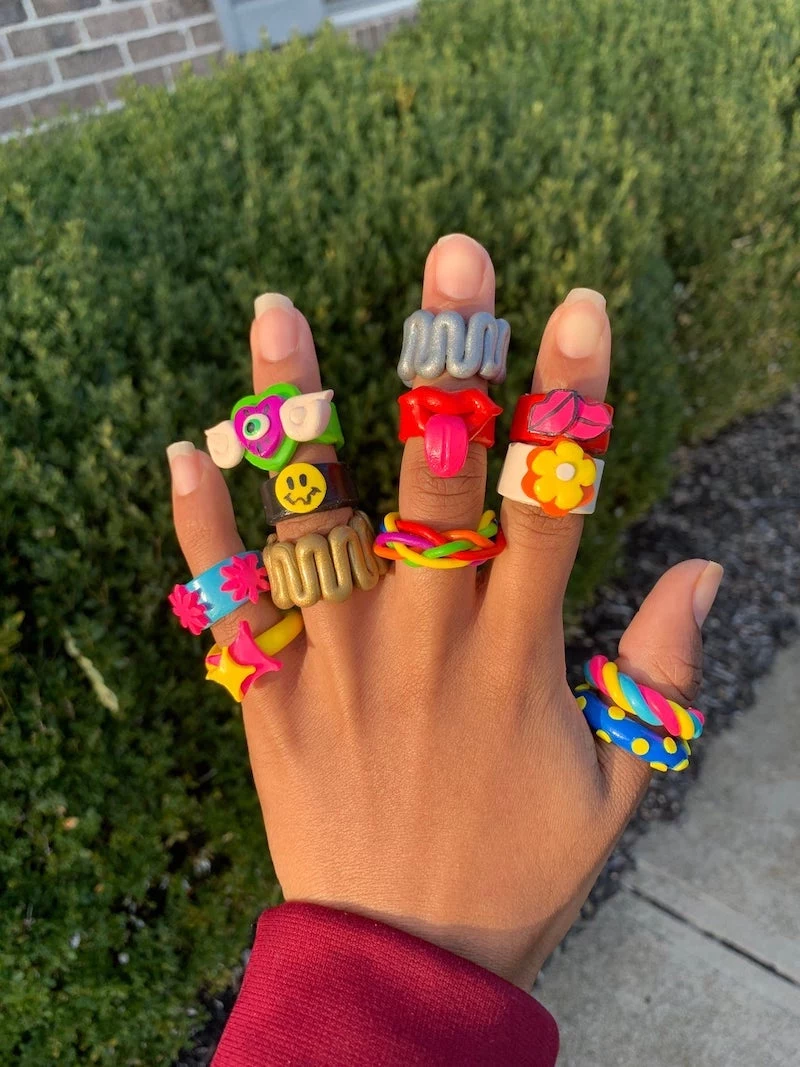
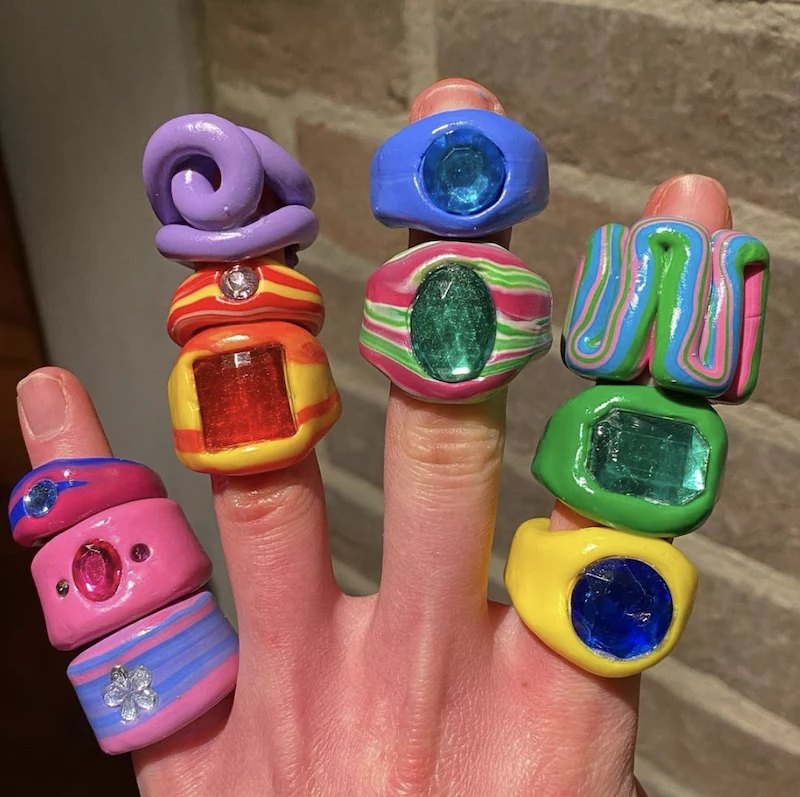
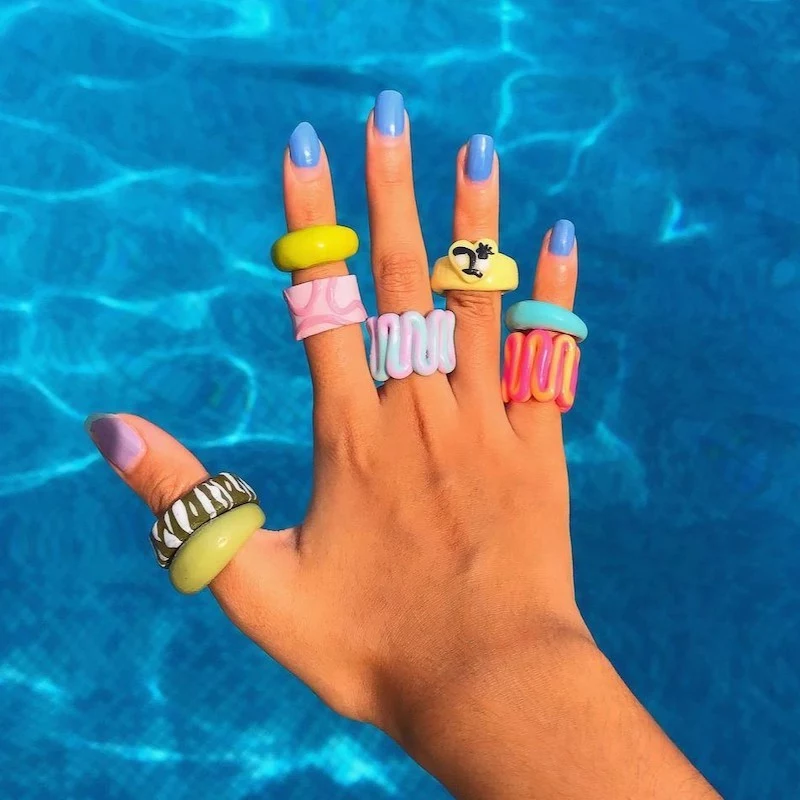
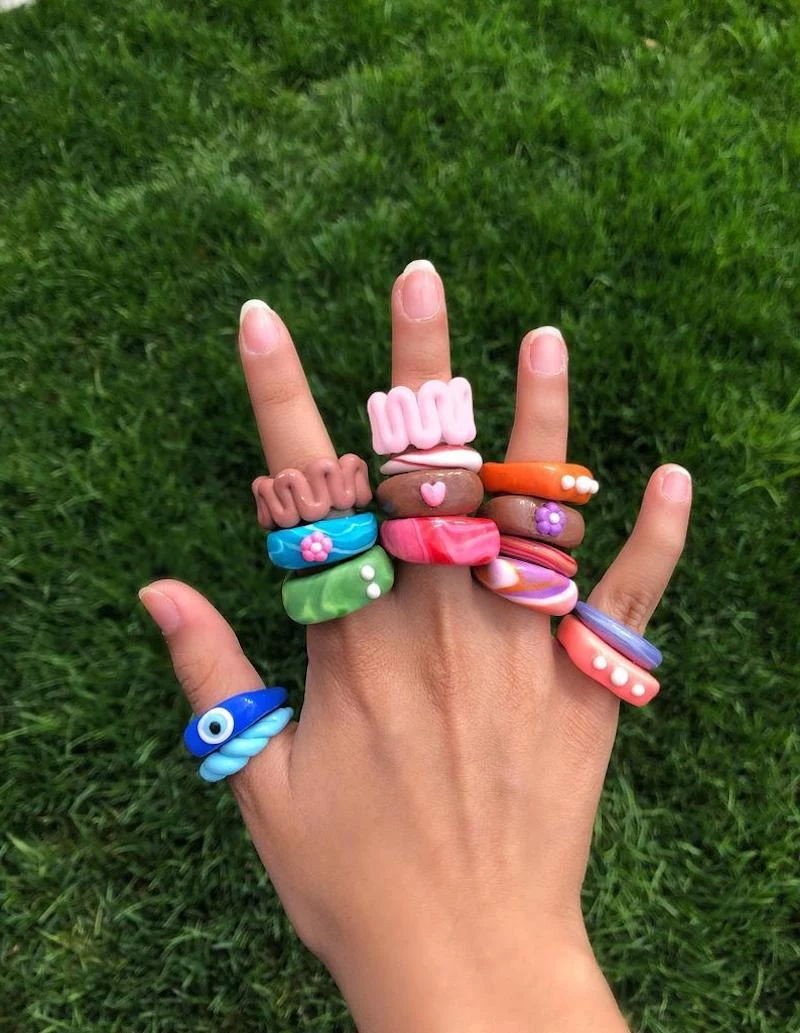
Inspirational Gallery
- Sculpey Premo: Known for its strength and slight flexibility after baking, making it a go-to for wearable items that might get bumped. It holds fine detail beautifully.
- Fimo Professional: A firmer clay to work with, but its durability is top-notch. It’s an excellent choice for rings that need to be truly robust.
- Kato Polyclay: Praised by artists for its minimal color change after baking and its extreme strength, it can be a bit more challenging for beginners but yields professional results.
The secret? These professional-grade clays have a higher concentration of plasticizers, resulting in a much stronger bond when cured correctly.
How do I get that ultra-glossy, glass-like finish I see on professional rings?
That stunning shine comes from a protective top coat. The most popular method right now is UV resin. After your ring is baked and cooled, you paint on a thin layer of resin and cure it under a UV lamp for 1-3 minutes. It creates a waterproof, scratch-resistant, and incredibly shiny layer that makes colors pop. It’s a small investment, but it elevates a simple craft into a piece of high-quality jewelry.
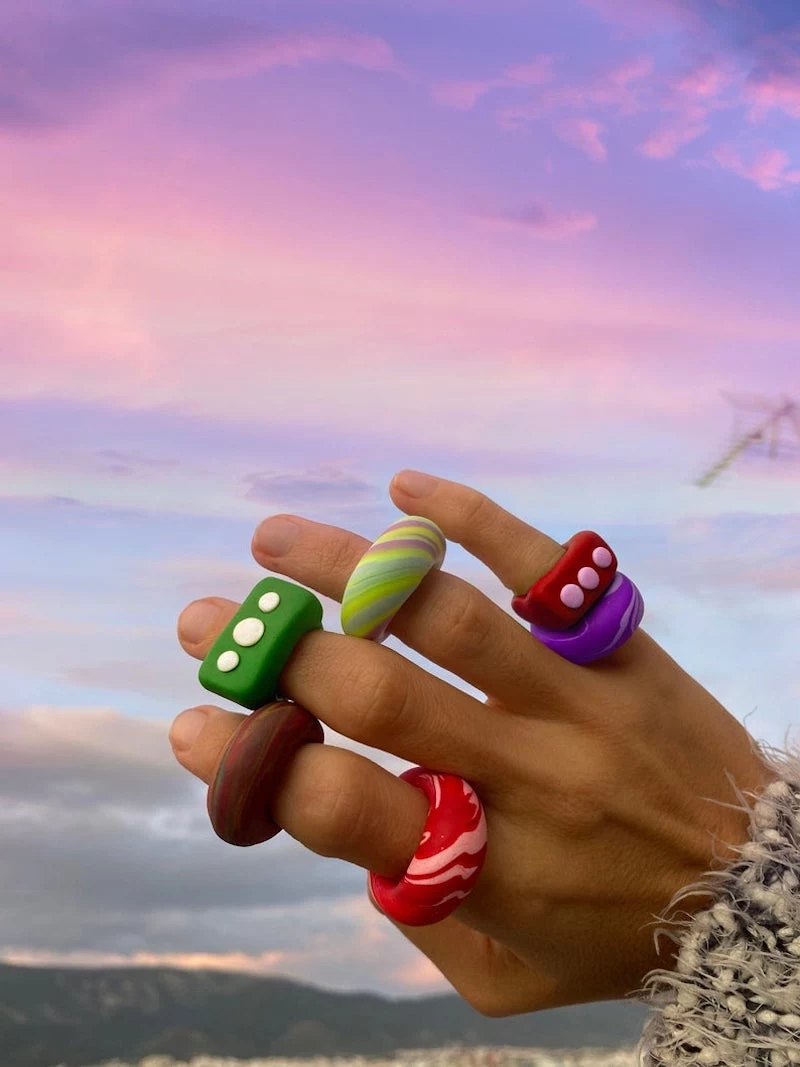
The ‘bend test’ is the ultimate proof of a good cure. A properly baked piece of polymer clay, about 1mm thick, should be able to bend significantly without snapping.
Don’t be afraid to test a small, flat sample piece baked along with your rings. If it bends, your rings are strong. If it snaps, your oven is likely too cool, and the clay isn’t fully fused. It’s a five-minute check that can save you from the heartache of a broken piece.
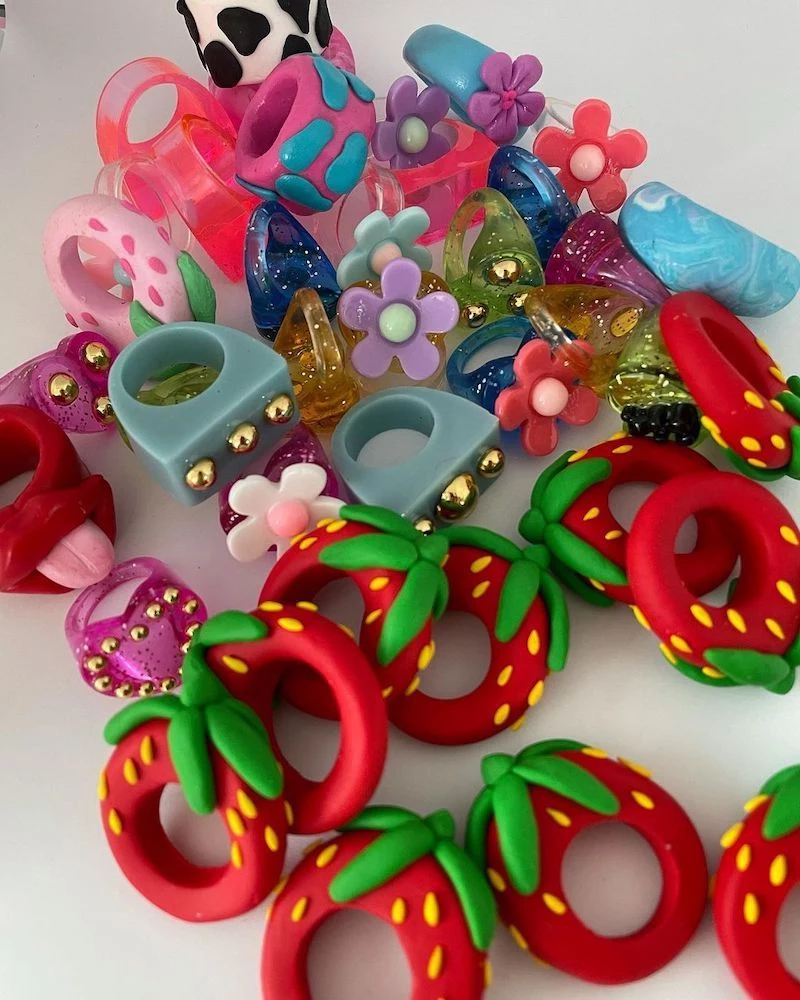
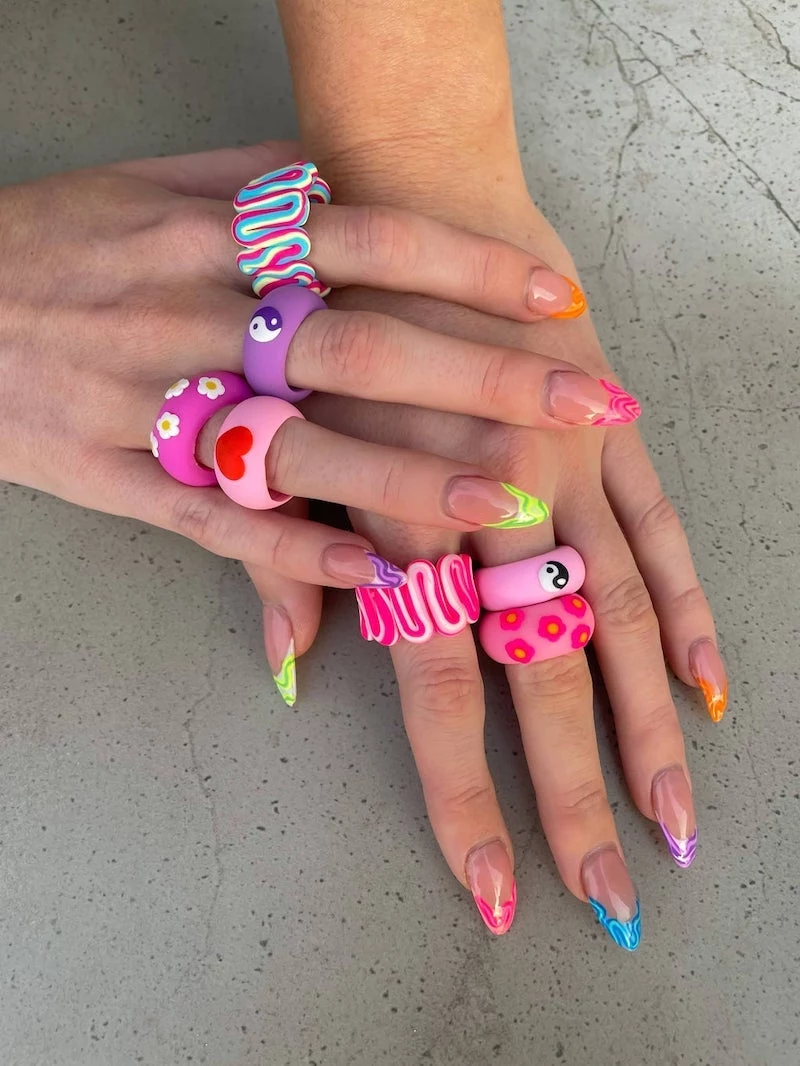
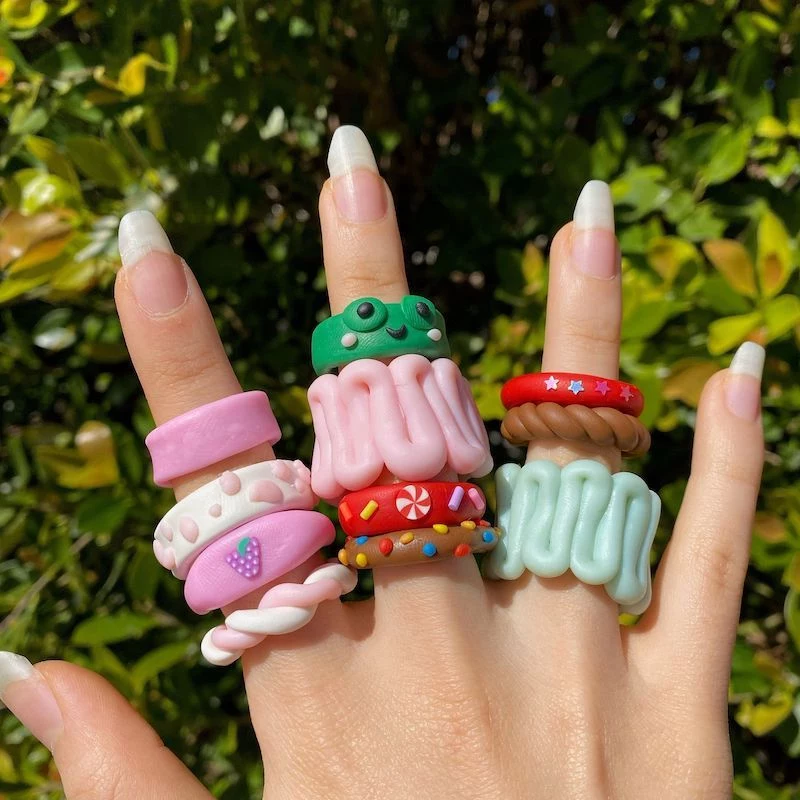
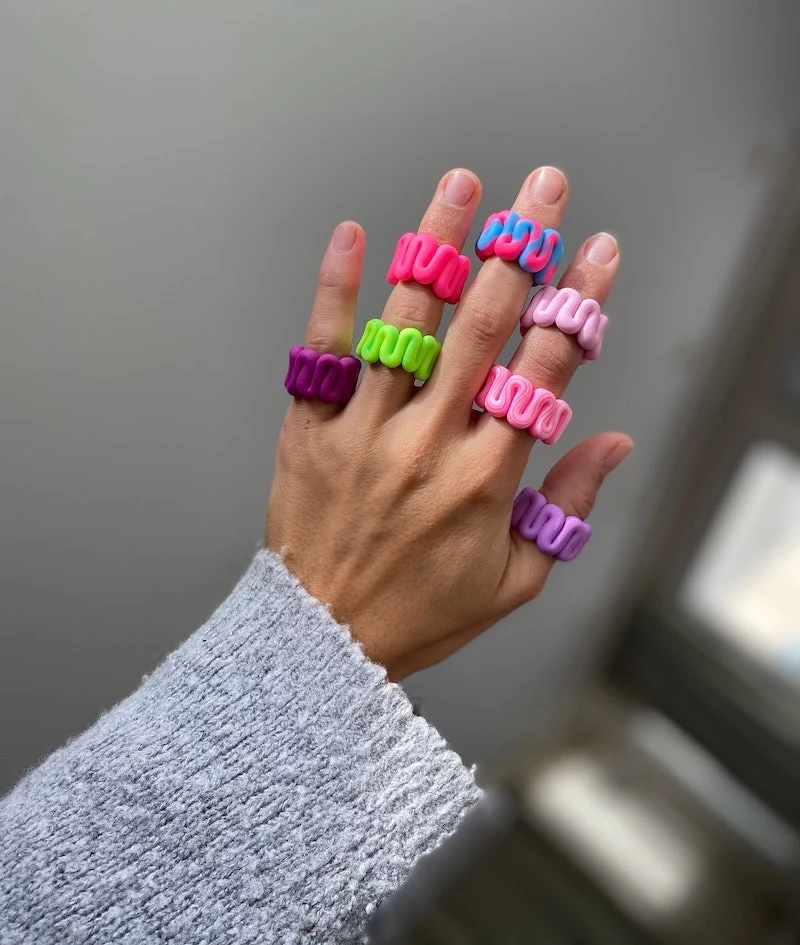
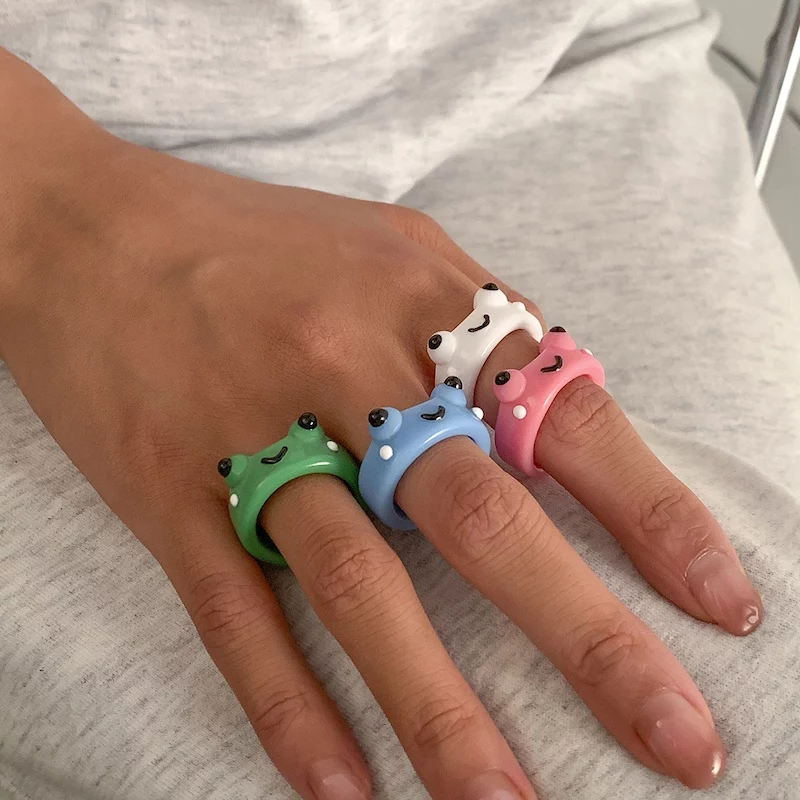
Beyond the current TikTok trends of frogs and swirls, look to the history of glass and ceramic art for timeless inspiration. The intricate patterns of Murano glass beads or the bold, earthy glazes of mid-century pottery can be beautifully translated into polymer clay. Experimenting with millefiori-style canes or textural imprints can result in a ring that’s not just trendy, but a unique piece of wearable art.
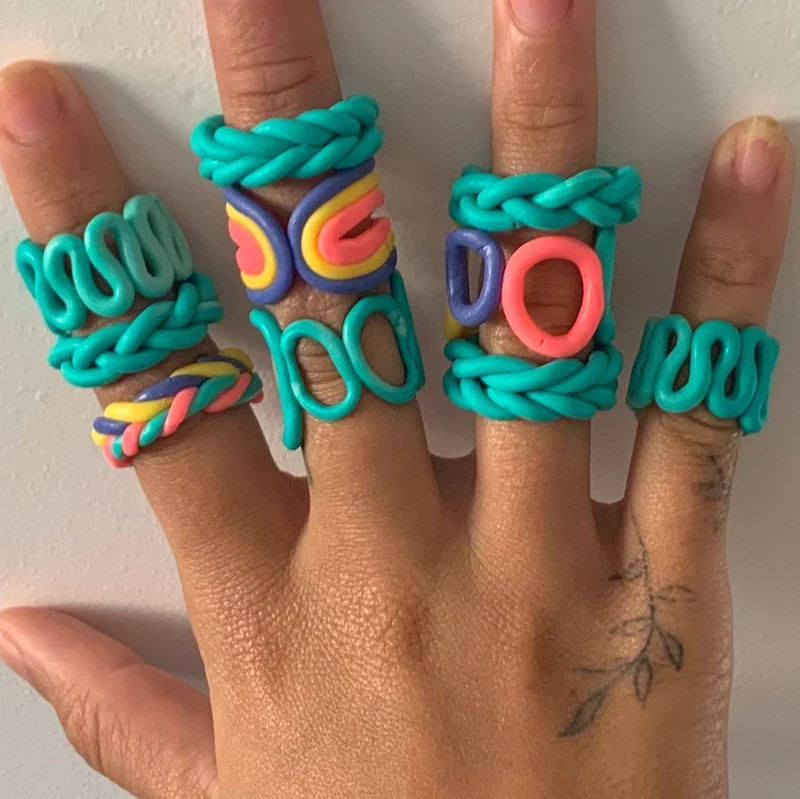
Important point: Never skip conditioning your clay! Vigorously kneading and rolling the clay before you start shaping does more than just soften it. It aligns the polymer particles and evenly distributes the plasticizer, which is essential for strength. Under-conditioned clay is a primary cause of cracking and brittleness, even if you bake it perfectly.
For a delicate look with hidden strength: Try building your ring on a metal armature. You can buy pre-made adjustable ring blanks or simply form a loop from 16- or 18-gauge craft wire. Covering this metal core with a thinner layer of clay gives you a durable, sturdy base without the bulk of a solid clay band. It’s the perfect technique for more elegant, less chunky designs.
- A perfectly smooth, professional surface.
- No distracting fingerprints or smudges.
The secret? A light dusting of cornstarch on your fingers and work surface. It prevents the clay from sticking and allows you to smooth surfaces without leaving marks. A quick wipe with a soft cloth before baking removes any excess powder.
Varnish: A brush-on polyurethane varnish, like Varathane’s water-based formula, is an accessible and affordable way to seal your rings. It provides good protection and comes in gloss, satin, or matte finishes.
UV Resin: A liquid plastic cured under a UV light. It offers a thicker, harder, and more glass-like coating that is extremely durable and waterproof. It’s more expensive but provides a truly professional finish.
For rings that will see a lot of daily wear, UV resin is the superior choice for longevity.