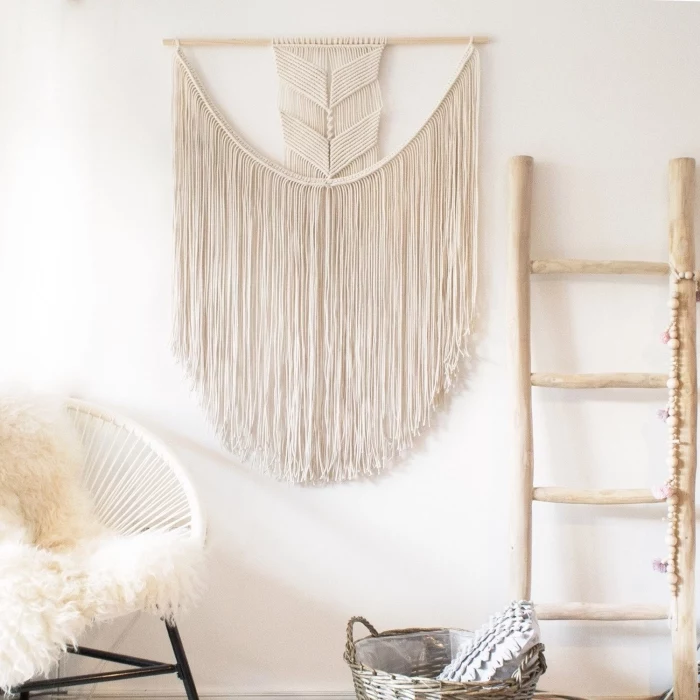
Your First Macrame Wall Hanging: A Guide for Real People
I’ve spent more hours than I can count with cord in my hands, twisting it into all sorts of designs for my own home and for others. My very first piece? Oh, it was a lumpy, uneven mess. But it taught me something huge: macrame isn’t about having some secret, innate talent. It’s about getting to know your materials and how they play together.
In this article
Honestly, it’s a craft of tension, texture, and a little bit of physics. I see people get intimidated by those beautiful, elaborate wall hangings online, but you don’t need to be. All it takes is some patience and a good handle on the basics. So let’s get you there.
This guide is all about giving you the practical know-how to make something you’re genuinely proud of. We’ll go beyond just learning a few knots and talk about why you’d pick one cord over another, how to fix the most common mistakes, and how to do it all safely.
First Things First: Let’s Talk About Cord
Before you even think about tying a knot, we need to talk about your main material: the cord. This choice is a big deal. It affects the final look, the feel, and even how long your piece will last. Starting with the right cord will save you a world of frustration, trust me.
A quick tip on size: For beginners, a cord that’s between 3mm and 5mm thick is the sweet spot. Anything smaller is really fiddly and tough to learn on, while anything chunkier can be hard on your hands and gets expensive fast.
The Feel of the Fiber
Macrame cord comes in a few key flavors, and each one has its own personality:
- Cotton: This is the go-to for a reason, and what I use for most of my indoor projects. It’s soft, easy on the hands, holds knots like a champ, and is pretty affordable. It’s also fantastic if you ever want to try dyeing your work. Best of all, it gives you that beautiful, soft fringe. It’s a total win for beginners and pros alike.
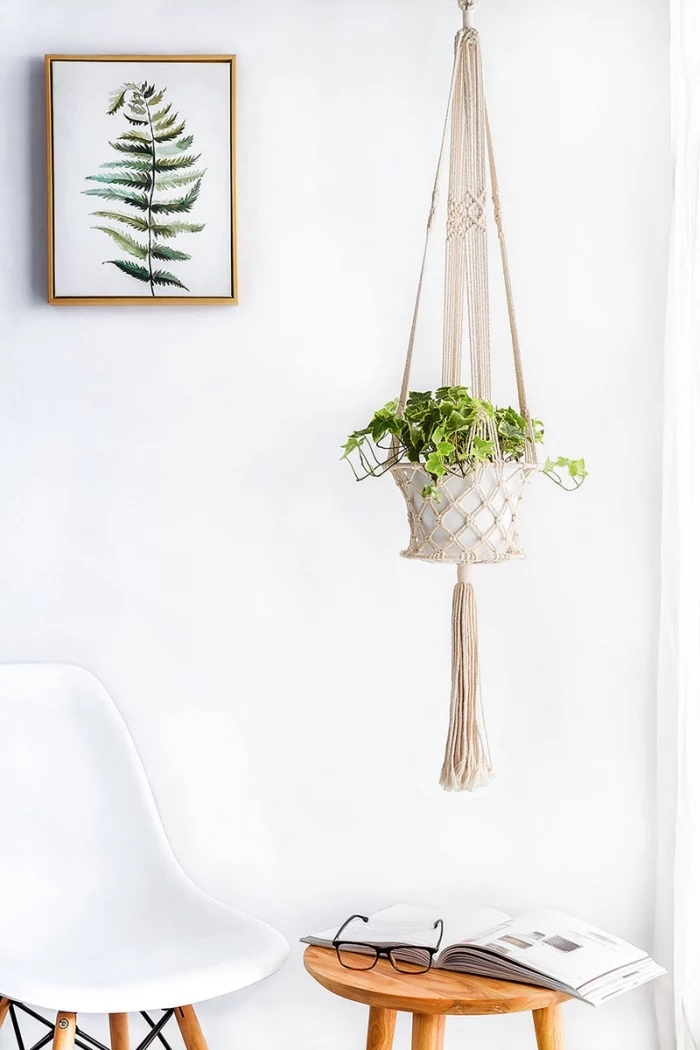
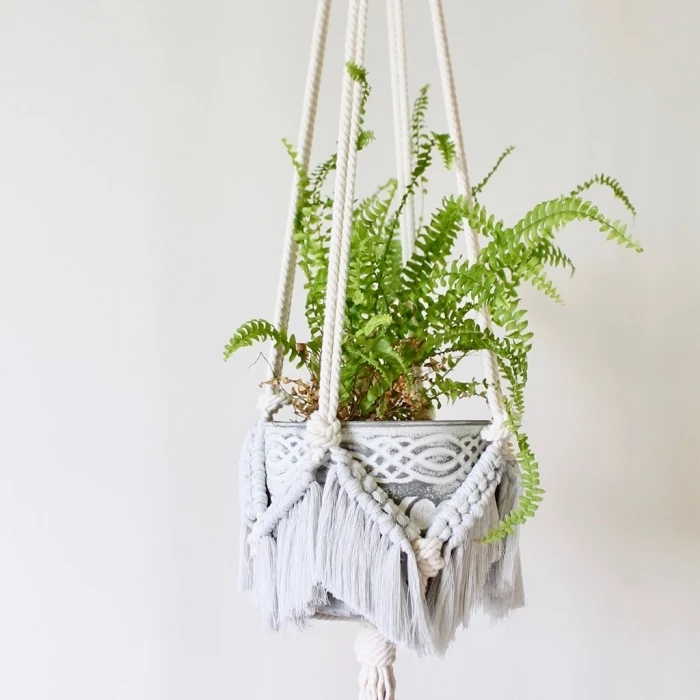
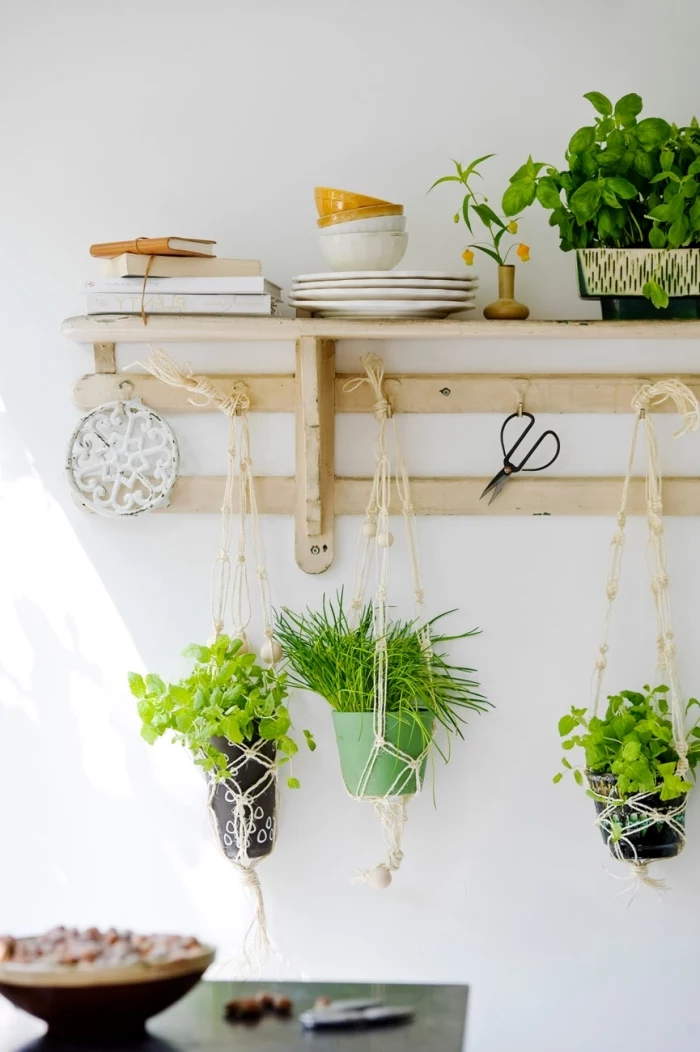
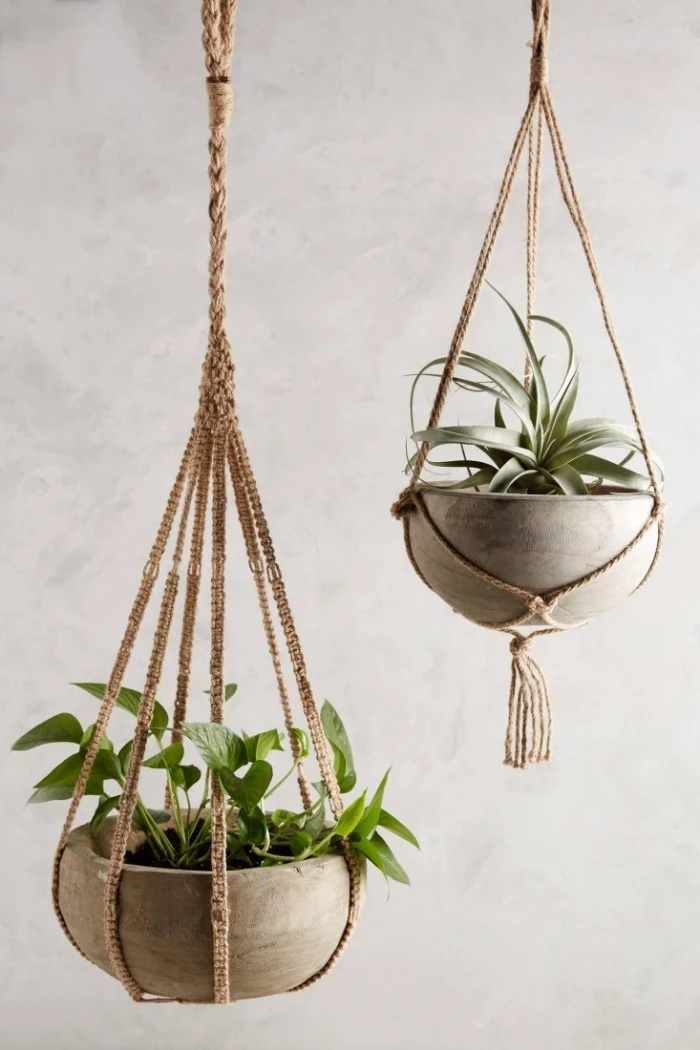
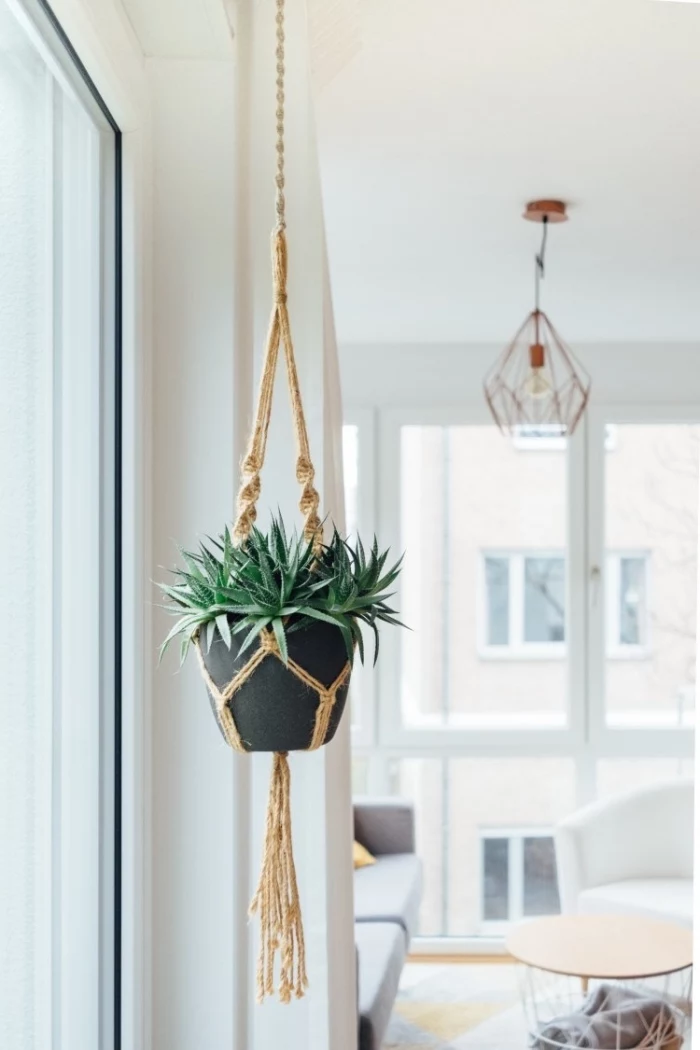
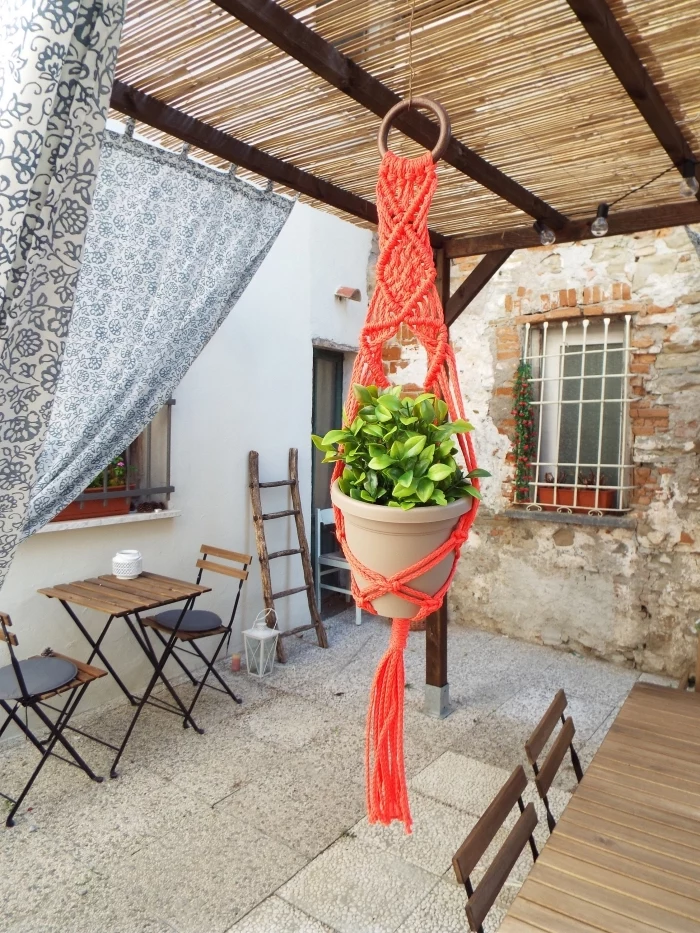
- Jute and Hemp: If you’re going for a more rustic, earthy vibe, these are your guys. They’re super strong and durable, which makes them great for things that might live outdoors, like plant hangers. Heads up, though: they can be a bit rough on the hands and tend to shed fibers, so your workspace might get a little dusty.
- Linen: Linen is gorgeous, no doubt. It has a subtle sheen and creates incredibly crisp, well-defined knots. It’s also a bit of a splurge and can be stiff to work with at first. I usually save it for special projects where the client wants that high-end, unique texture.
- Synthetic Stuff (like Polypropylene): These cords are practically indestructible and waterproof, making them perfect for outdoor furniture or boating gear. But for a decorative wall hanging? I’d steer clear unless it’s for a super high-humidity space like a bathroom. Their slick surface can make it tough to get knots to stay put.
Twisted, Braided, or Single-Strand?
Just as important as the fiber is how the cord is put together.
- Twisted Cord: This is what you probably picture—a few bundles of yarn twisted together to form a rope. The big advantage here is that you can unravel the ends to create a lovely, wavy fringe. The only downside is it can start to unravel while you work. Quick tip: a little piece of tape on the ends of your cut cords works wonders to prevent this.
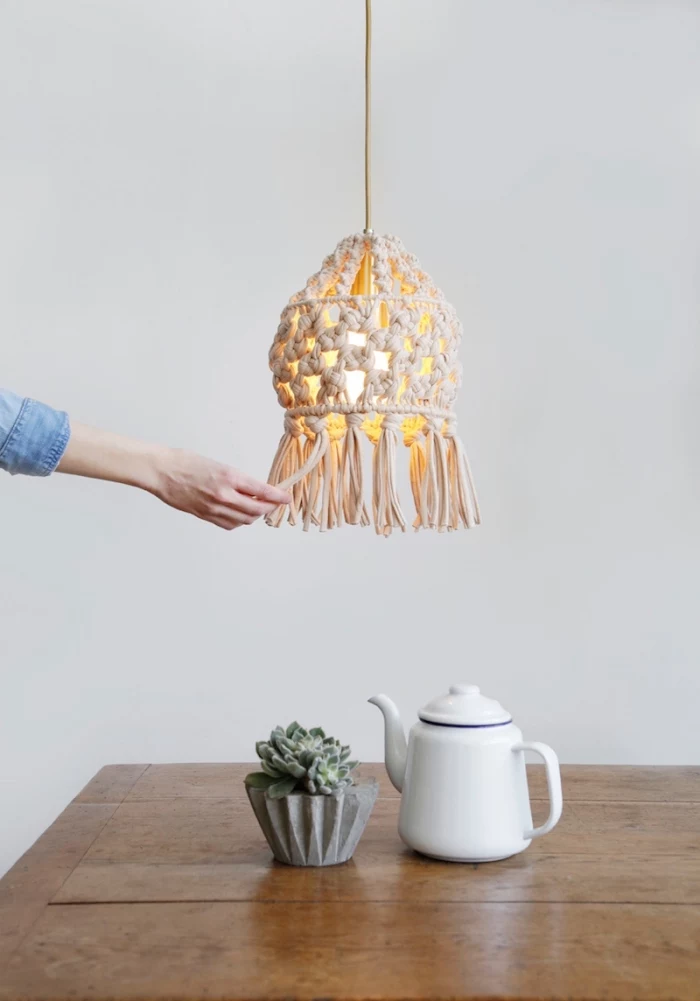
- Single-Strand Cord: My personal favorite for that soft, ‘boho’ look. It’s basically a big, gentle twist of soft fibers. It creates the fluffiest, most beautiful fringe you can imagine. The trade-off is that it’s a bit delicate, and the knots are softer and less defined. You have to be gentle with it.
- Braided Cord: Think of a shoelace. It has a woven structure, which makes it very strong and keeps it from unraveling at all. This makes it super easy for beginners to handle. The knots are firm and uniform. The only catch? You can’t comb it out into a fringe. You just have to cut the ends and leave them as is.
You can find a great selection of all these cords online from sellers on Etsy, Amazon, or dedicated fiber art shops. Even big-box craft stores are starting to carry some good options these days.
The Million-Dollar Question: How Much Cord Do I Need?
Everyone asks this, and for good reason—running out of cord mid-project is the worst. The rule of thumb I teach is to measure the final length of your project and multiply it by four. So, for a 3-foot long wall hanging, you’d cut cords that are each 12 feet long.
But why so much? Well, every single knot you tie eats up cord. A simple Square Knot can easily use up 1.5 to 2 inches of each of your working strands. If your design is packed with knots, that adds up incredibly fast! For a really knot-heavy pattern, I’ll even multiply the length by six or eight. It’s always, always better to have extra cord to trim off at the end.
The Only Three Knots You Really Need to Know
You can create mind-blowingly complex designs with just a few foundational knots. Don’t try to learn a dozen at once. Just focus on these three until they feel like second nature.
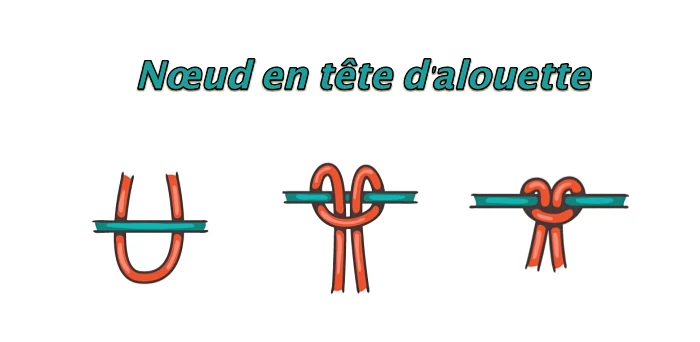
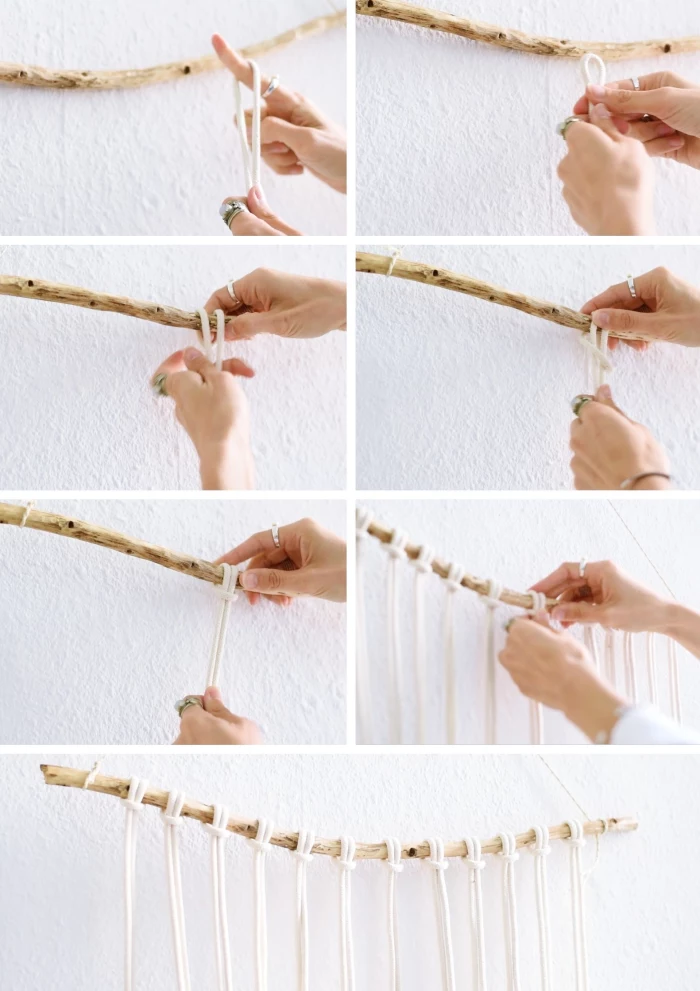
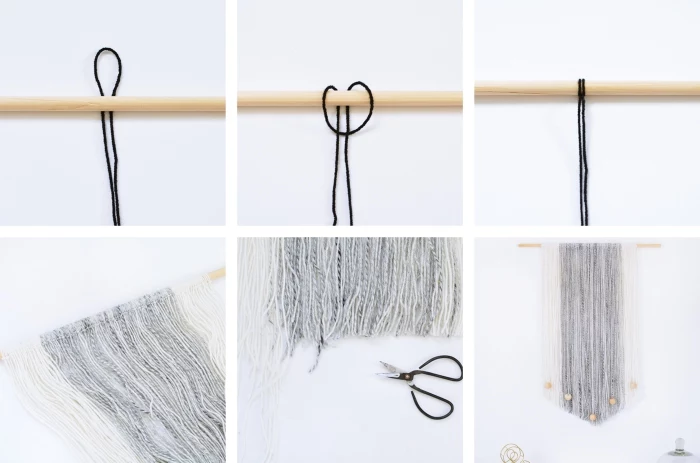
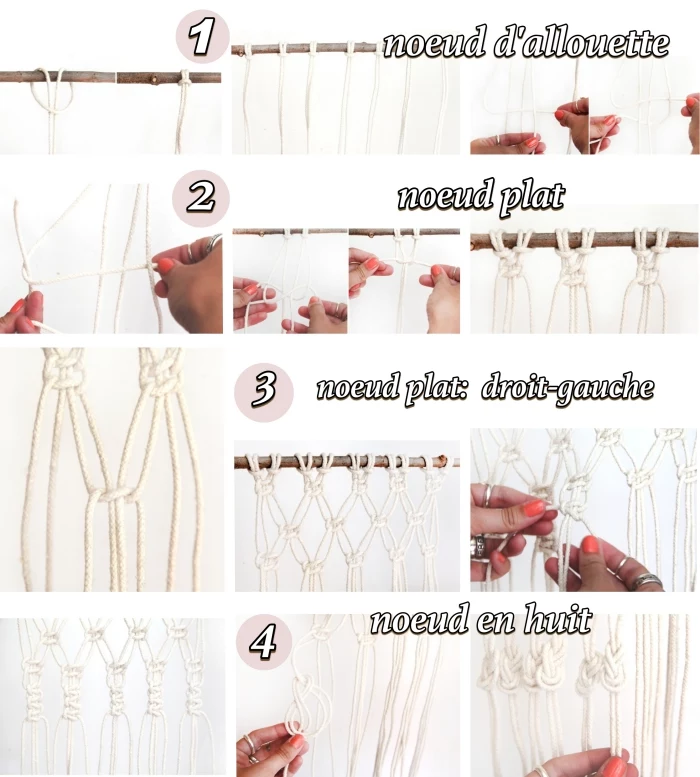
1. The Lark’s Head Knot: Getting Started
This is how you attach your cords to your dowel. A sloppy start here can make the rest of your work look wonky, so let’s get it right.
- How to do it: Fold a cord perfectly in half, creating a loop. Drape that loop over your dowel so the loop is hanging in front. Now, just pull the two dangly ends up and through that loop from behind. Pull down firmly, and you’ll feel it lock into place. That’s it!
- For a cleaner look: Try the Reverse Lark’s Head. Start with the loop behind the dowel, bring it up and over toward you, then feed the ends through from the front. This leaves a clean, simple bar on the front of your dowel, hiding the knot’s bump. It’s a subtle but professional touch.
- Common Mistake: Not folding the cord exactly in half. This leaves you with one strand that’s shorter than the other, which will cause a headache later. Always double-check!
- Try This Now: Grab a shoelace and a pencil. Can you tie a perfect Lark’s Head Knot in under 60 seconds? This is the very first real macrame knot you’ll ever learn!
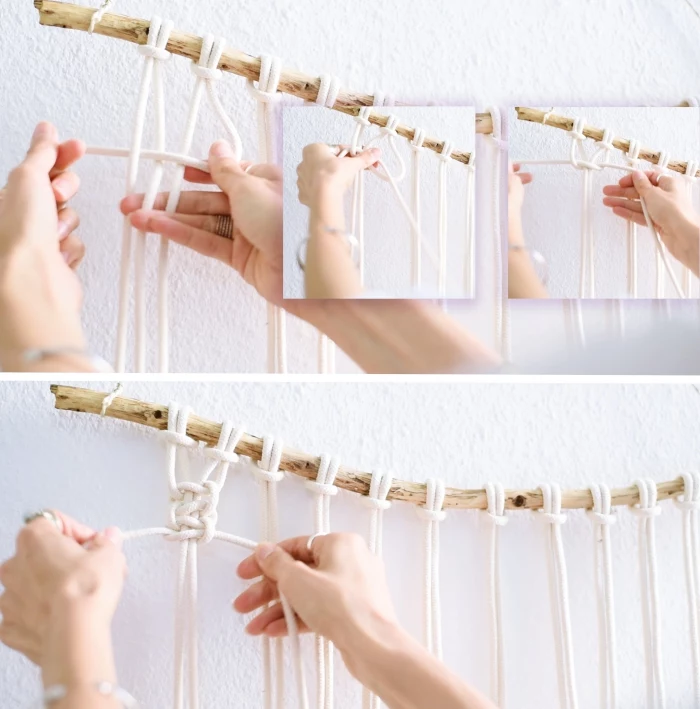
2. The Square Knot: The Workhorse
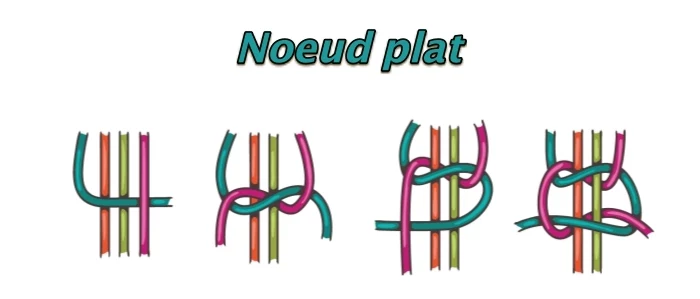
The Square Knot is the heart and soul of most macrame patterns. It’s what creates the ‘fabric’ of your wall hanging. You’ll need four cords to make one.
- How to tie it: Think of it in two halves. First, take the far-left cord, cross it over the two middle cords, and under the far-right cord (it should look like a number ‘4’). Then, take that far-right cord, pass it behind the middle two, and bring it up through the ‘4’ loop. Pull the two outer cords to tighten. That’s a Half Knot.
- To finish it: Now you just do the mirror image. Take the far-right cord, cross it over the middle two and under the far-left one. Then take that far-left cord, pass it behind the middle, and bring it up through the new loop. Pull to tighten. That’s one complete Square Knot.
- The Secret: The most common mistake is repeating the first step twice, which creates a spiral instead of a flat square. The key is to alternate: left-over, then right-over. A good way to remember is to look at your knot—the side with the little vertical bump is the side you should start your next half-knot from.
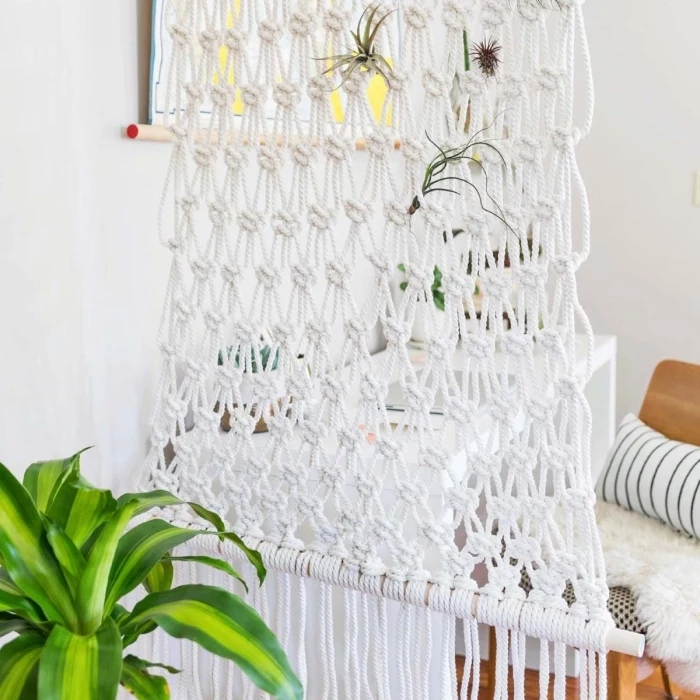
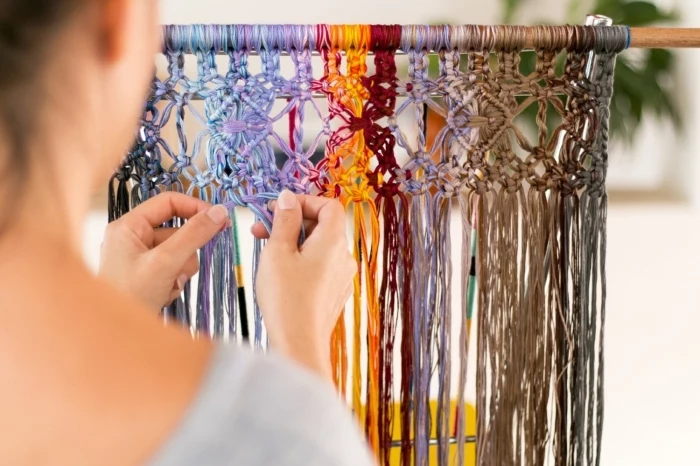
3. The Double Half Hitch: The Line Drawer
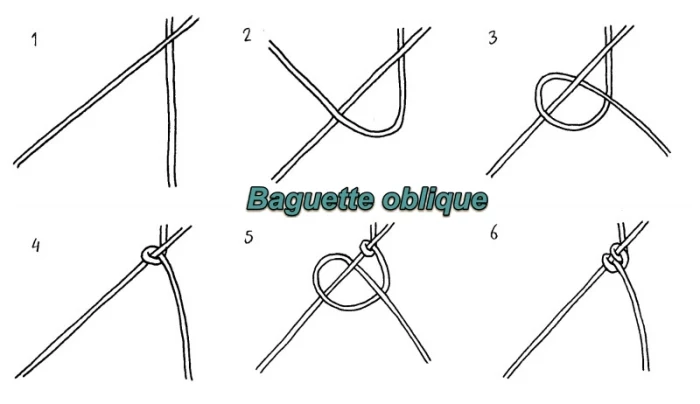
This is the knot you’ll use to create lines, borders, and shapes. It looks tricky, but the idea is simple: you have one ‘filler’ cord that holds the line, and you tie a series of simple hitches onto it with your other cords.
- How to do it: Let’s make a diagonal line. Take the cord you want to start the line with—this is your filler cord. Hold it taut with one hand at the angle you want. Now, with your other hand, take the very next cord (your working cord). Loop it up and over the filler cord, then back down through the hole you just made. Pull it tight. Do that exact same motion one more time with the same working cord. That’s one complete Double Half Hitch.
- To continue the line: Drop that working cord, keep holding your filler cord steady, and pick up the next cord in the row. Repeat the process—two hitches. Keep going for as long as you want the line to be.
- Troubleshooting: It’s all about tension. If you pull the working cords too tight, your line will buckle. If your filler cord is too loose, your line will be saggy and uneven. My advice? Hold that filler cord firm and steady, and make the hitches snug, not strangled. Practice on some scraps until you get the feel for it.
A Little Historical Context
By the way, macrame is anything but a new trend. Its roots are ancient, with early forms being used by weavers in the Middle East to create decorative fringes on textiles. The craft later spread through Europe and became a popular pastime for sailors, who had plenty of rope and time on their hands during long sea voyages. They used it to create everything from hammocks to belts.
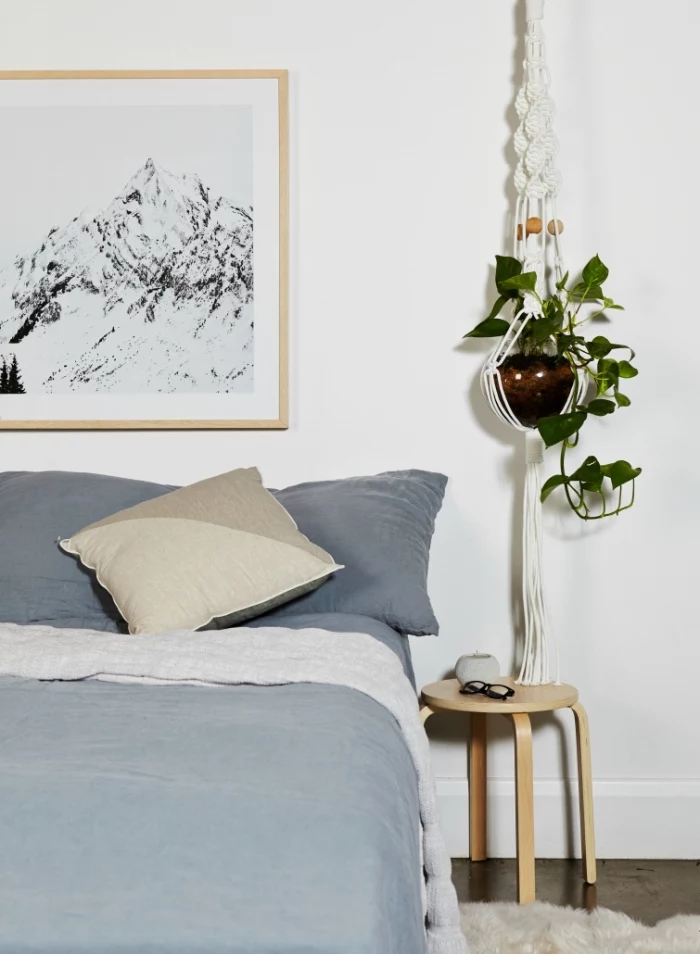
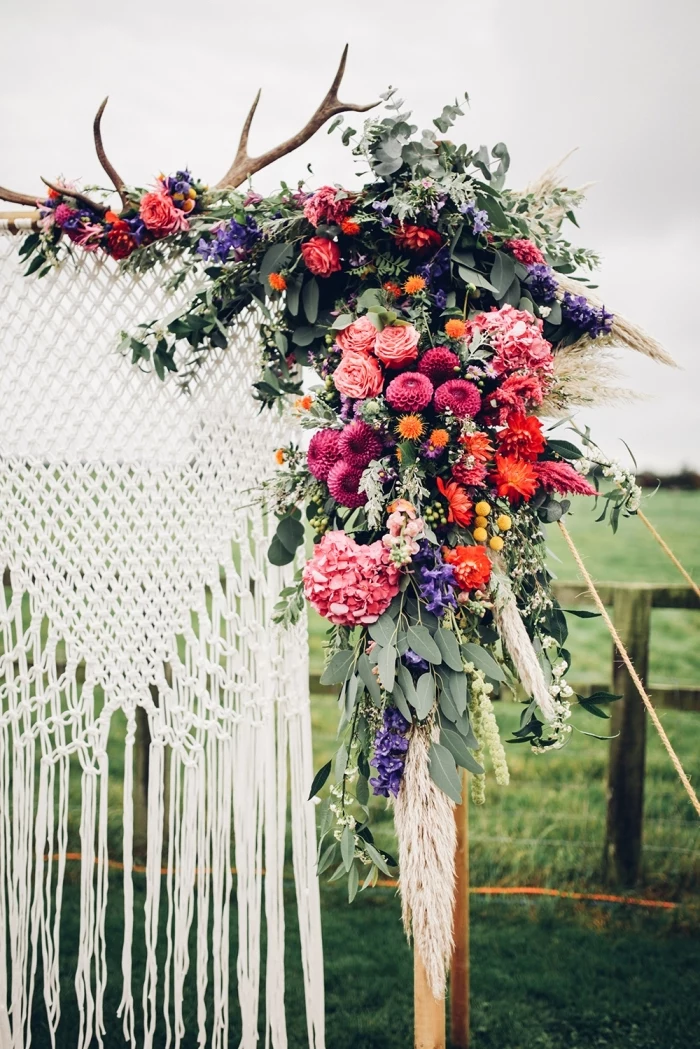
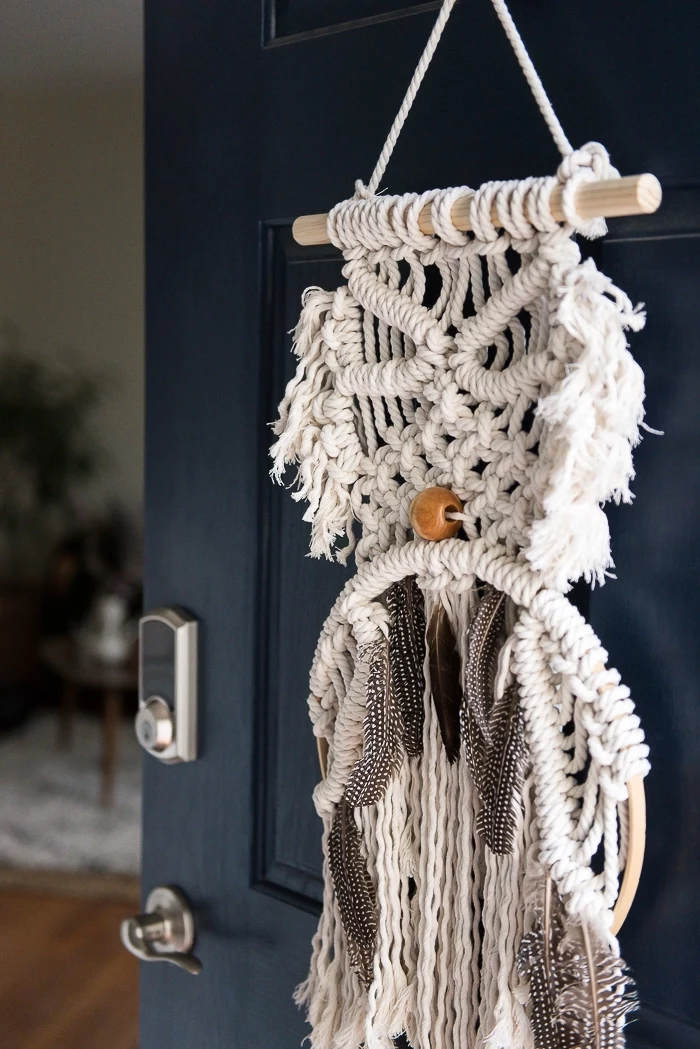
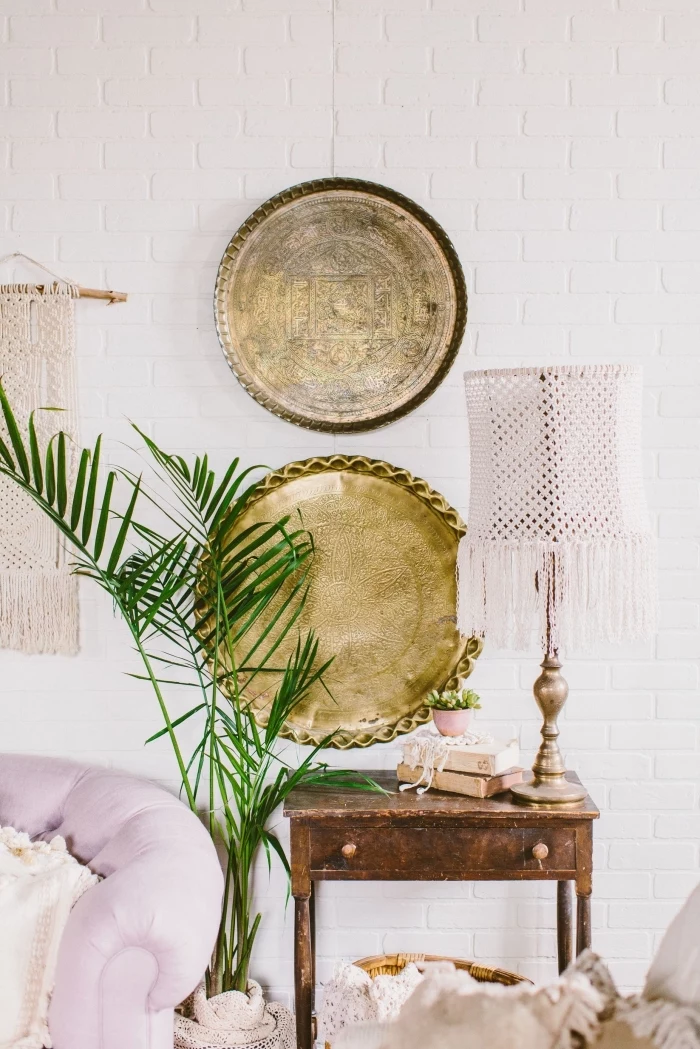
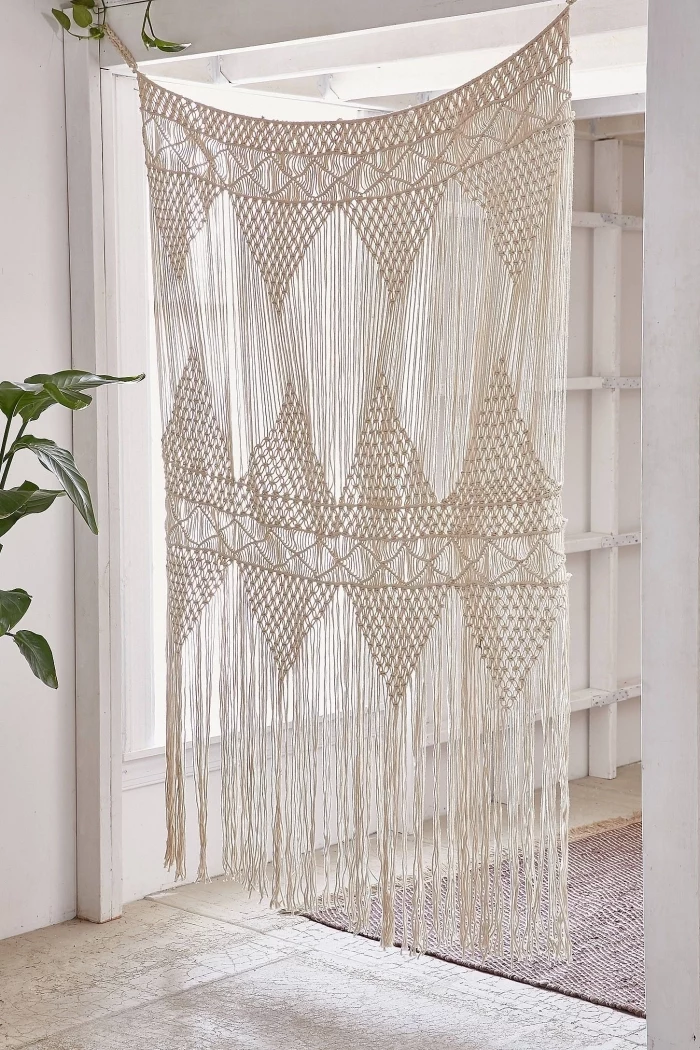
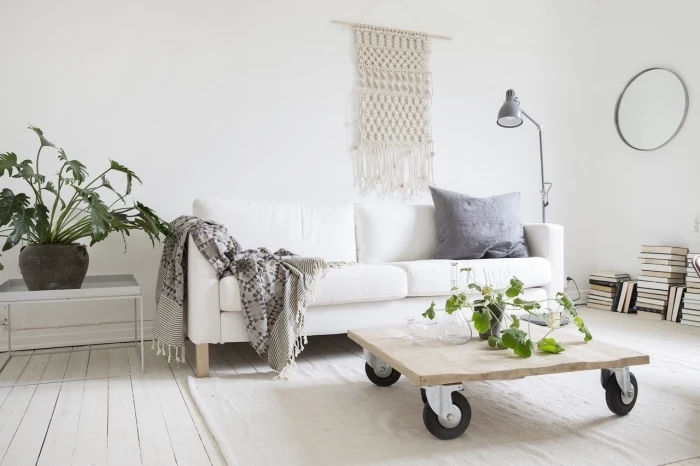
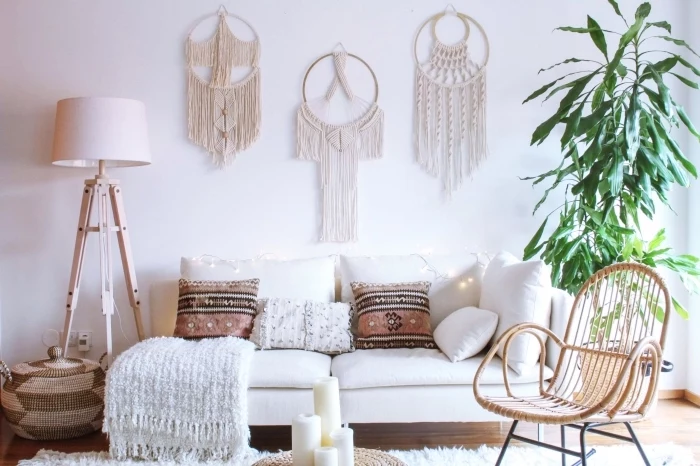
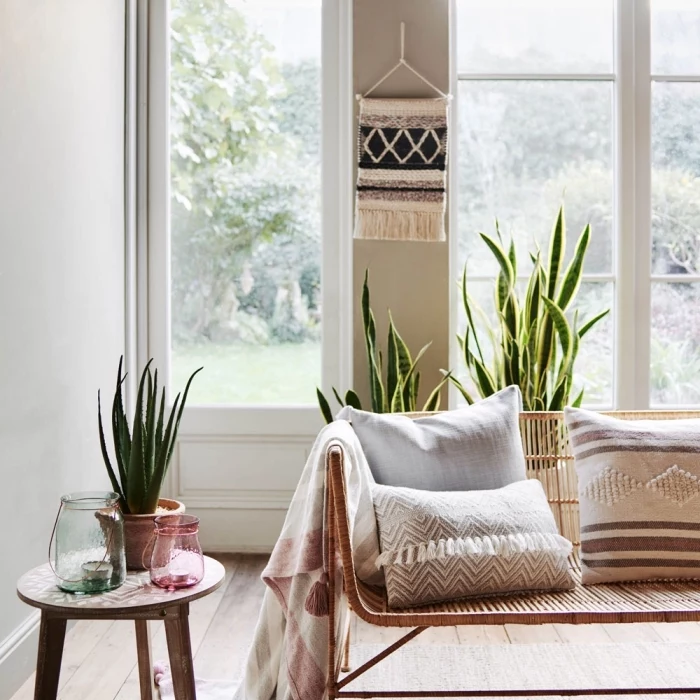
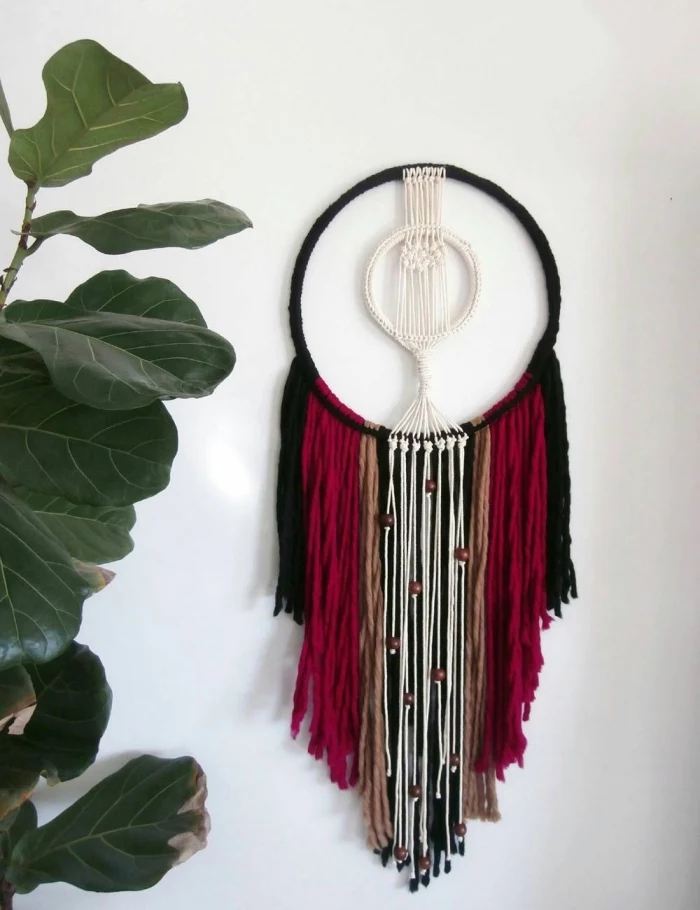
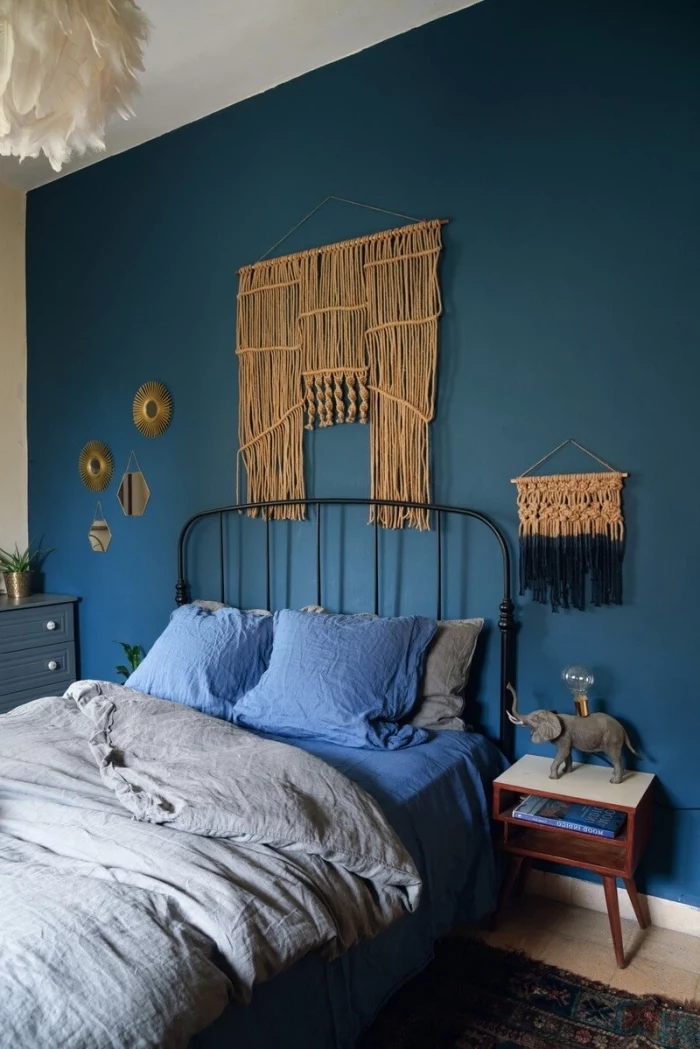
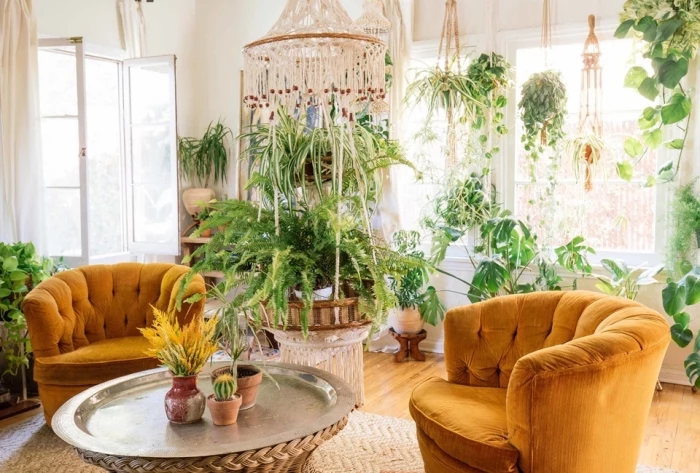
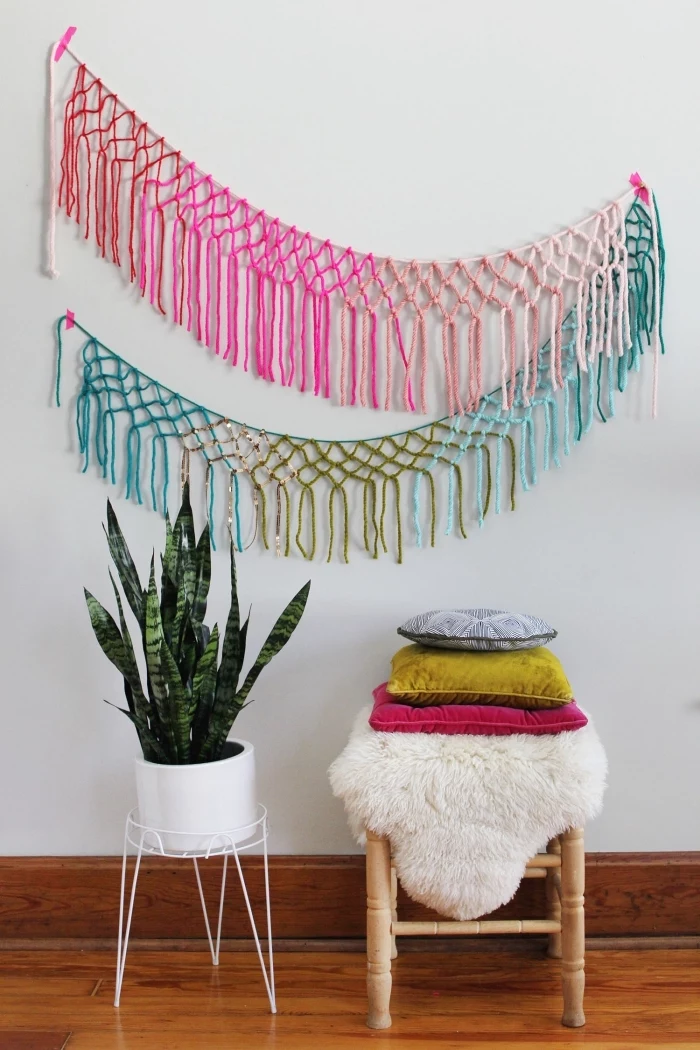
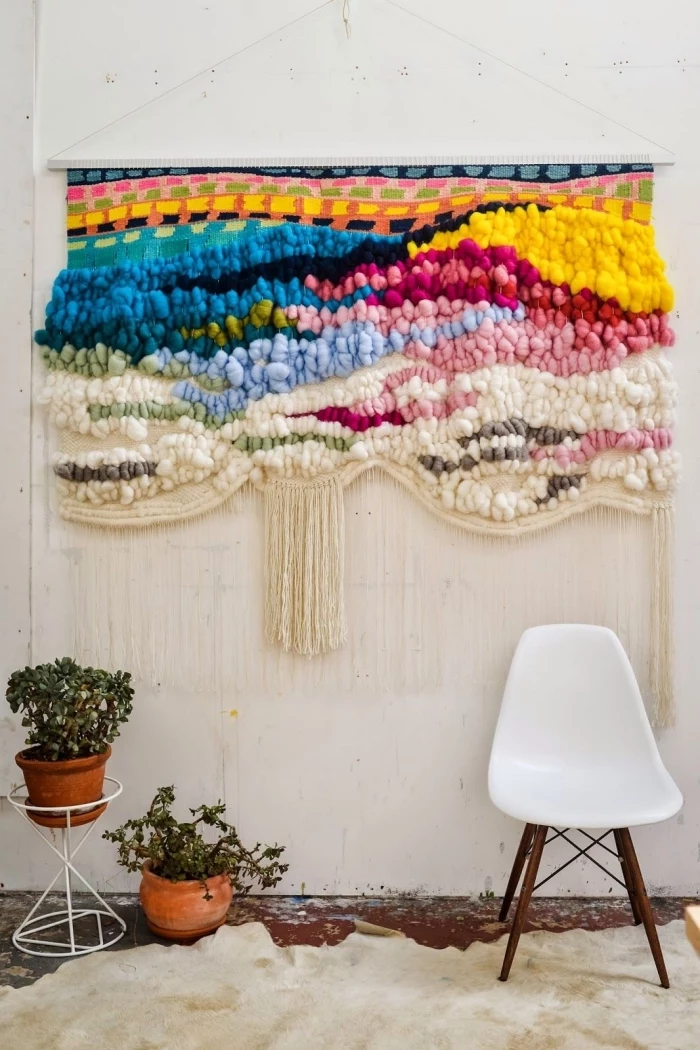
Different regional styles also developed over time. In warmer, coastal climates, you often see designs with more open, net-like patterns made from raw, earthy fibers like jute. In contrast, Scandinavian-inspired styles tend to be more minimalist and geometric, usually with clean white cotton and long, straight fringes. And in places like South America, the craft is often full of vibrant color and texture, with artisans weaving in beads, feathers, and colorful yarn.
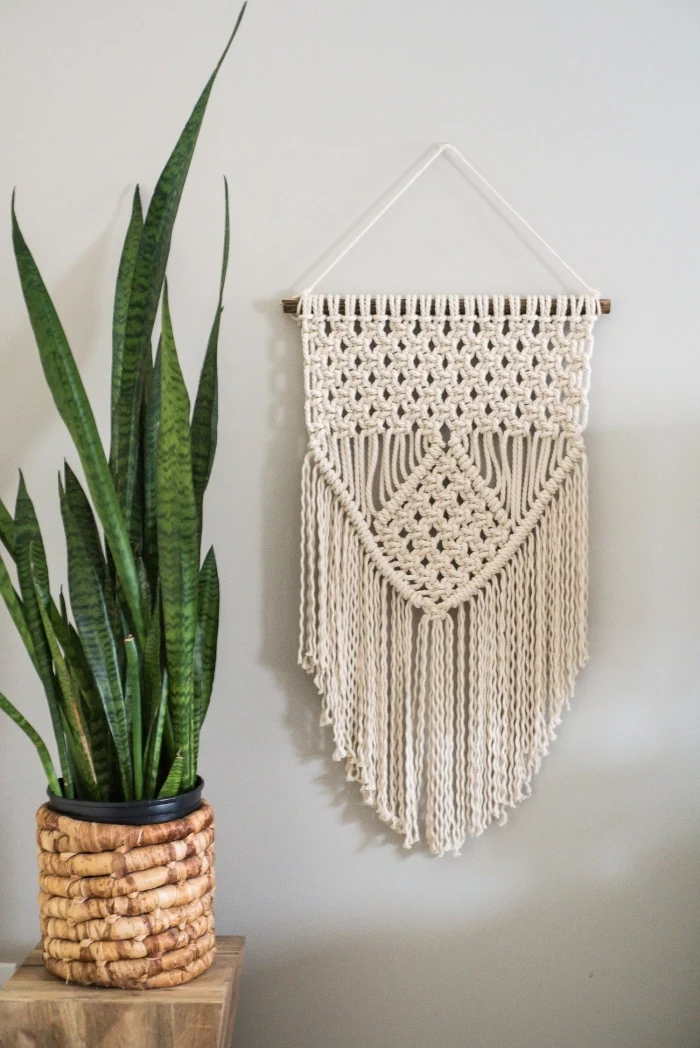
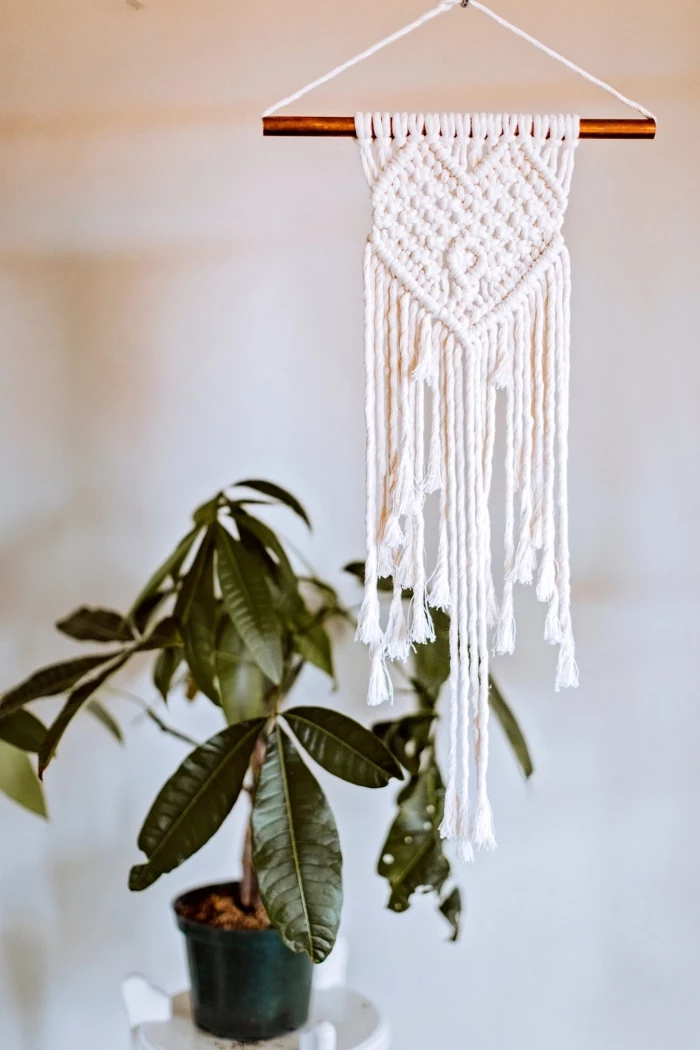
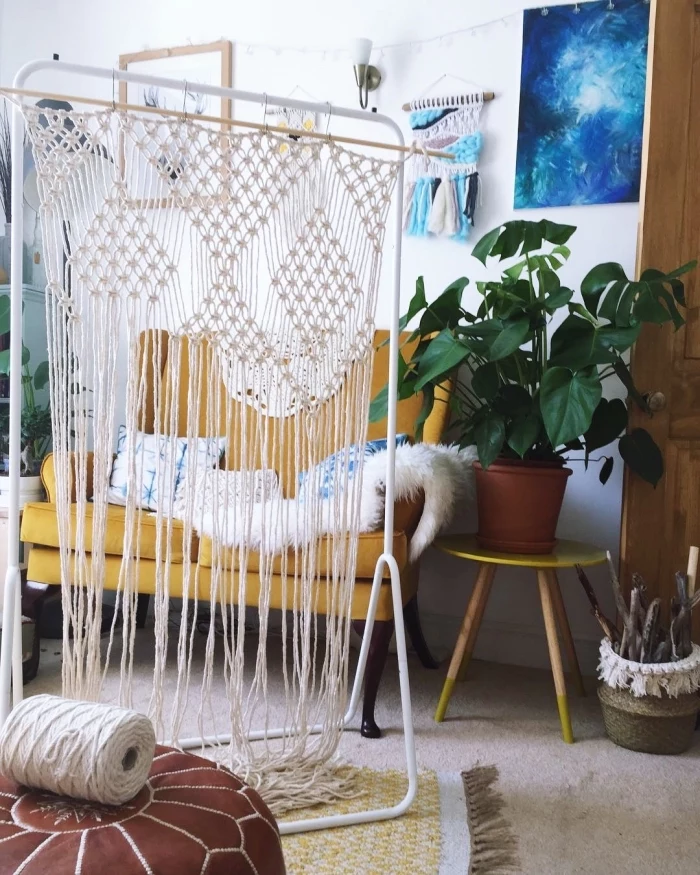
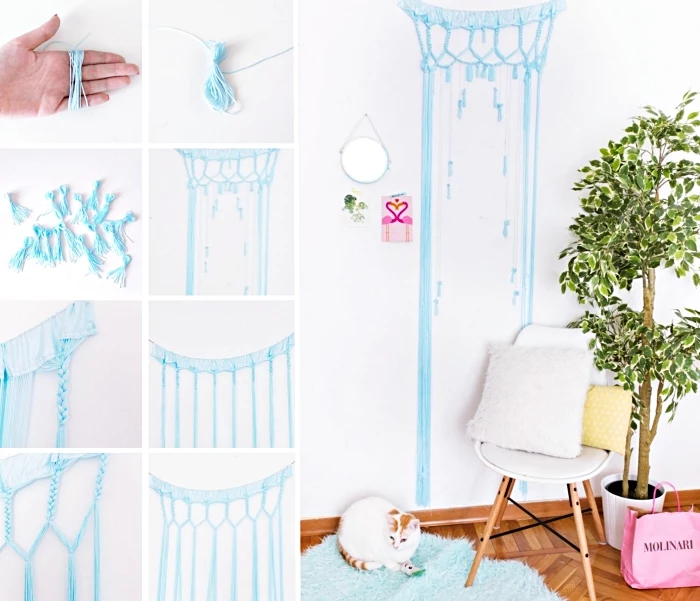
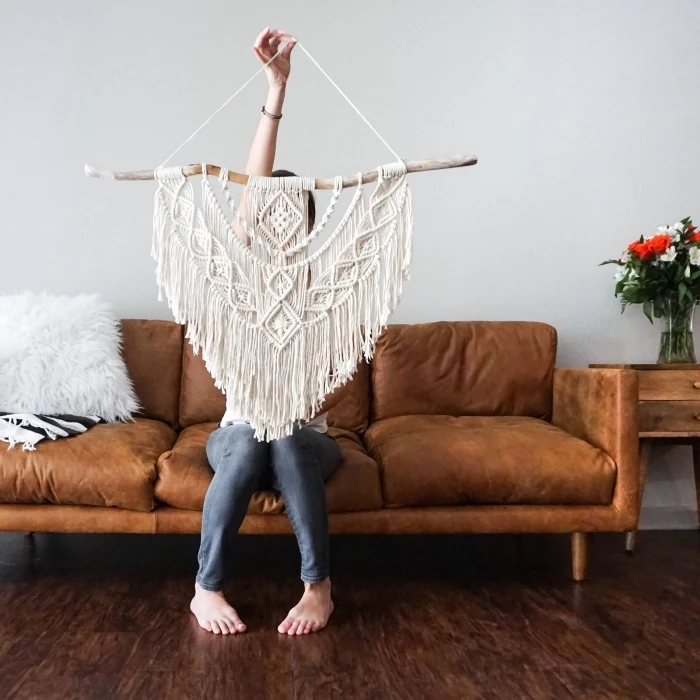
Let’s Make Something! Your First Wall Hanging
Okay, time to put all this into practice with a simple, elegant piece that uses all three of our essential knots. The goal here is to build your confidence and muscle memory.

Your Beginner’s Shopping List:
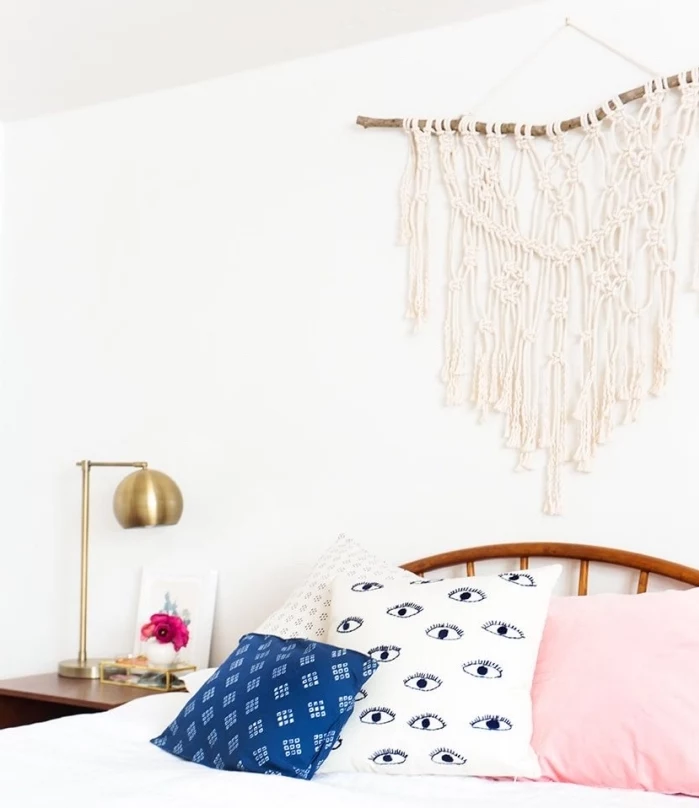
- A Wooden Dowel: An 18-inch dowel that’s about 3/4-inch thick is perfect. You can find these at any hardware or craft store for about $3-$5. By the way, you can absolutely use a cool branch you find outside! Just make sure it’s dry and strong. Give it a good scrub with soapy water and let it dry completely. To be extra safe, you can even bake it on low heat (around 200°F) for 20-30 minutes to make sure no little critters are hiding in it.
- Macrame Cord: You’ll need about 60 yards of 4mm cotton cord (single-strand or 3-ply will work great). This will probably cost you between $15 and $25.
- Sharp Scissors & a Tape Measure: You’ve probably got these already!
- Total Startup Cost: You can get everything you need to start this hobby for around $20-$40. Not bad at all!
Step 1: Get Set Up (15 mins)
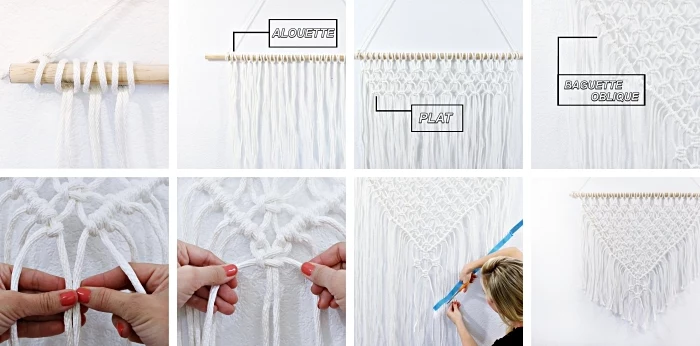
Cut 12 individual cords, each 5 yards (15 feet) long. Take one cord, fold it in half, and attach it to the middle of your dowel using a Lark’s Head Knot. Repeat with all 12 cords, so you have 24 strands hanging down.
To work, you’ll want to hang your dowel. A garment rack is perfect, but if you don’t have one, no sweat. You can use a couple of heavy-duty Command hooks on a wall, the back of a sturdy chair, or even a doorknob.
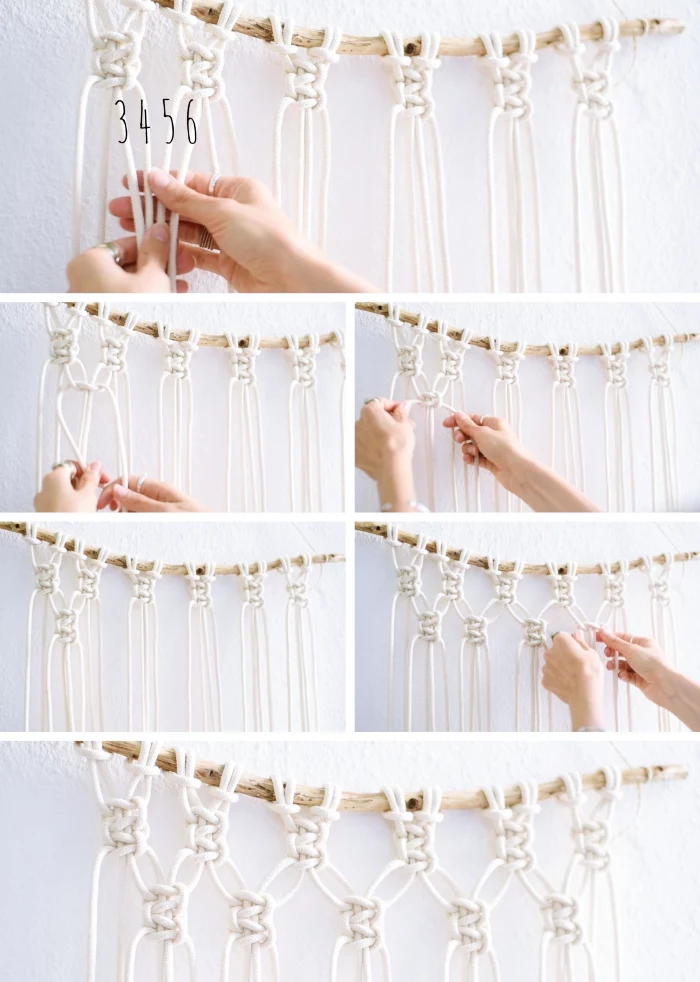
Step 2: The Main Panel of Square Knots (1-2 hours)
We’re going to create a panel of alternating Square Knots.
- Row 1: Starting on the far left, take the first four cords and tie one Square Knot. Move to the next four cords and do it again. Continue across the whole row. You should have 6 knots.
- Row 2: To create the alternating pattern, leave the first two cords on the left alone. Start your first Square Knot of this row using cords 3, 4, 5, and 6. This will place it right between the two knots above it. Continue across. You’ll end up with 5 knots in this row, with two cords left untouched on the right side as well.
- Repeat: Just keep alternating between rows of 6 knots and rows of 5 knots. Do this for about 10-12 rows to create the main body of your piece.
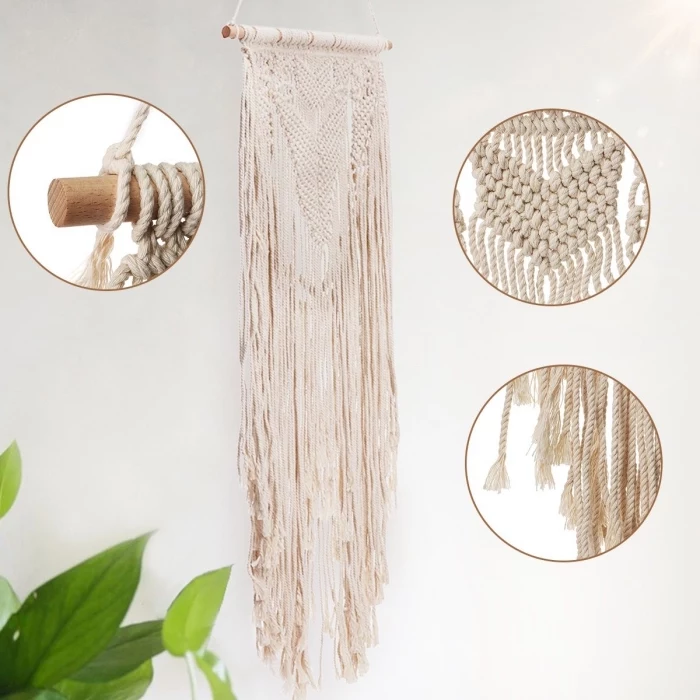
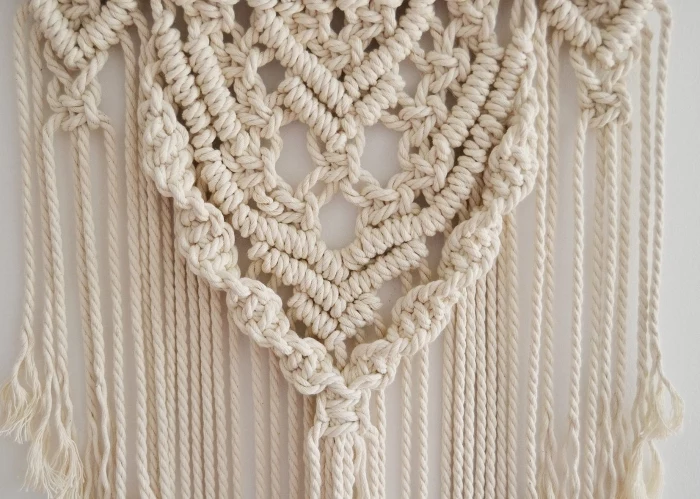
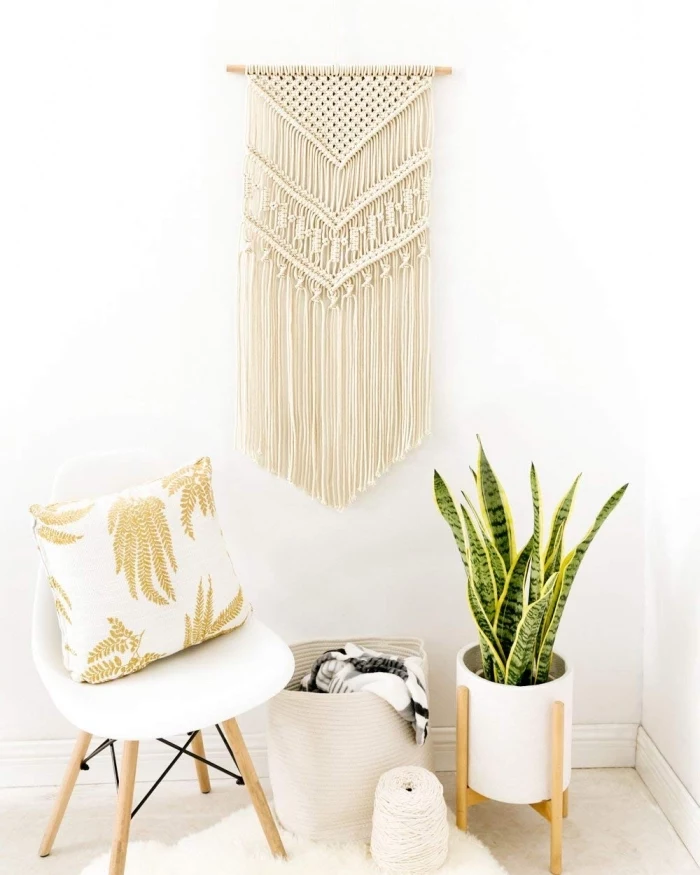
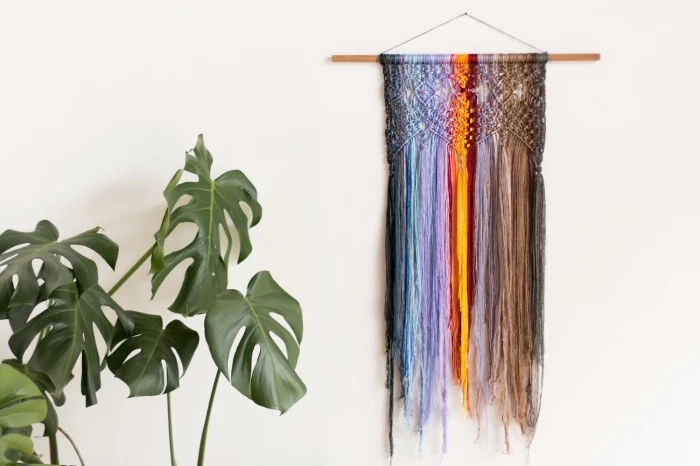
Step 3: Add a ‘V’ Shape (1 hour)
Now for some flair. Find the center of your piece (right between the 12th and 13th cords). The 12th cord will be your filler cord for the right side of the V, and the 13th will be the filler for the left.
- Right Side: Take that 12th cord and hold it diagonally down toward the right. Using every cord to its right, tie a Double Half Hitch onto it.
- Left Side: Now take the 13th cord and hold it diagonally down toward the left. Use every cord to its left to tie a Double Half Hitch onto this filler cord.
You should now have a nice, clean V-shape. If your lines look a little wavy, it just means your tension wasn’t perfectly even—totally normal for a first-timer!
Step 4: The Fringe (30 mins)
This is the fun part. You can cut the fringe straight across, in an inverted V to match the lines you just made, or leave it long and natural. Use your sharpest scissors for a clean cut. If you used twisted or single-strand cord, grab a simple pet brush or a comb and gently brush out the ends for that professional, feathery finish.
Pro Tips and Troubleshooting
A couple of tricks to keep in your back pocket…
Ran out of cord? It happens to everyone. Here’s how to fix it: lay a new piece of cord right alongside the one that’s too short. Then, when you tie your next Square Knot, just treat those two pieces (the new cord and the short old one) as a single filler cord. The knot will hide the join. Trim the tails on the back, and no one will ever know.
Want to add color? Dip-dyeing a finished piece is a blast. For cotton, you’ll want a cold-water fiber-reactive dye, which you can get at most craft stores or online for about $5-$10 a bottle. Always, always test the color on a scrap piece of cord first, because it will look much darker when it’s wet. Dip your fringe, let it sit, then rinse in cold water until it runs clear and hang to dry.
A Quick Word on Safety
Okay, this part is important. As a craftsperson, I feel it’s my duty to share the not-so-glamorous stuff, too.
- Take Care of Your Body: Macrame involves a lot of repetitive motions. It can be tough on your wrists, shoulders, and back. Work at a comfortable height so you’re not hunched over. And please, take breaks! Get up, stretch your hands and shoulders every hour or so.
- Material Safety: Some natural fibers can be dusty. If you’re sensitive or working on a huge project, a simple dust mask is a good idea. And if you’re dyeing, always wear gloves and work somewhere with good airflow.
- Hanging Your Work: This is my biggest warning. A large macrame piece can get surprisingly heavy, easily 10-15 pounds or more. Please, never hang a piece that heavy from a single nail or a flimsy picture hook, especially not over a bed, a crib, or a sofa. You need to use a proper wall anchor that’s rated for the weight, and if you can, screw it directly into a wall stud. It is just not worth the risk.
The journey of learning macrame is all about patience. Your first knots might be a little loose, and your lines might be a bit wavy. That’s okay. That’s part of it. I still have that first lumpy piece I ever made. It’s a good reminder that every expert was once a beginner, just figuring it out one knot at a time.
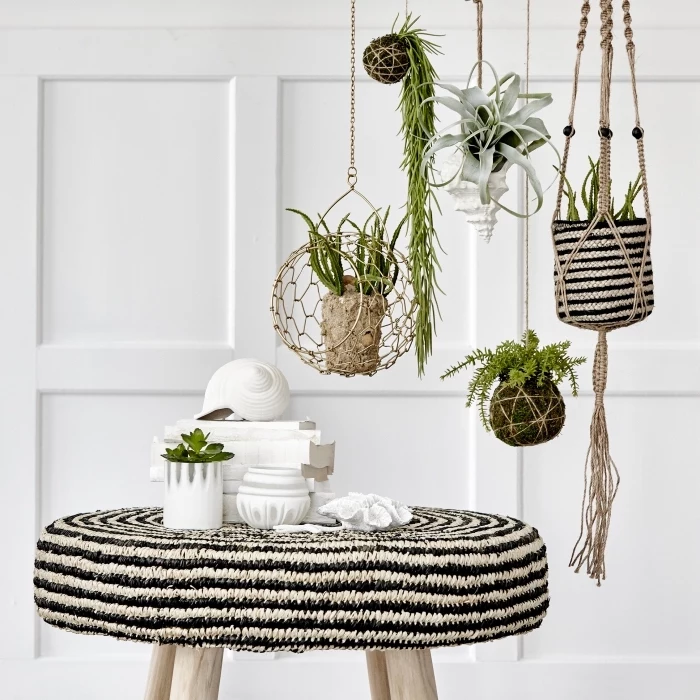
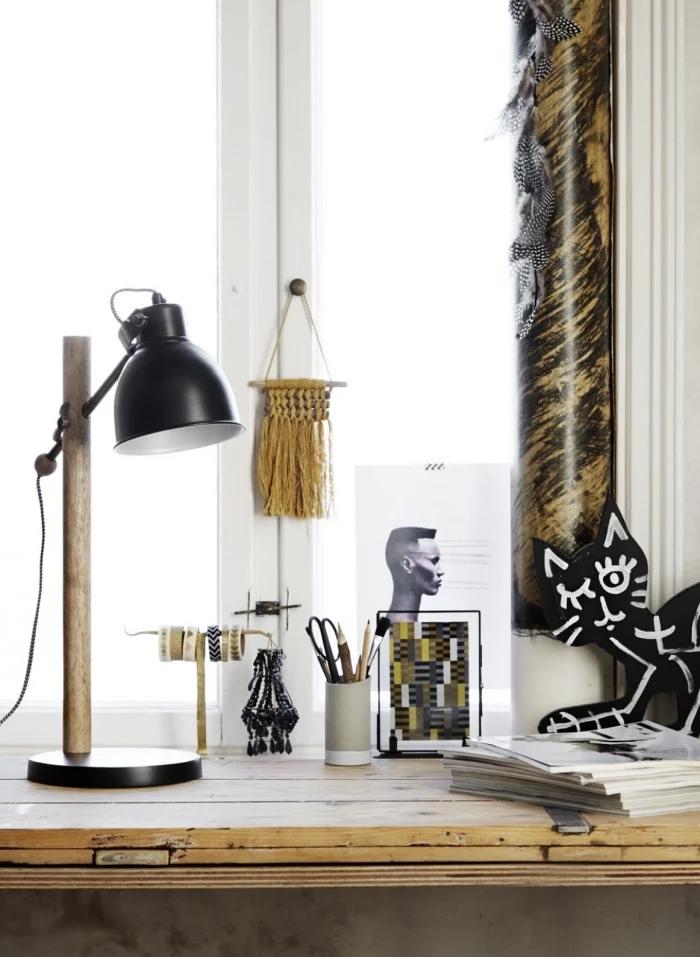
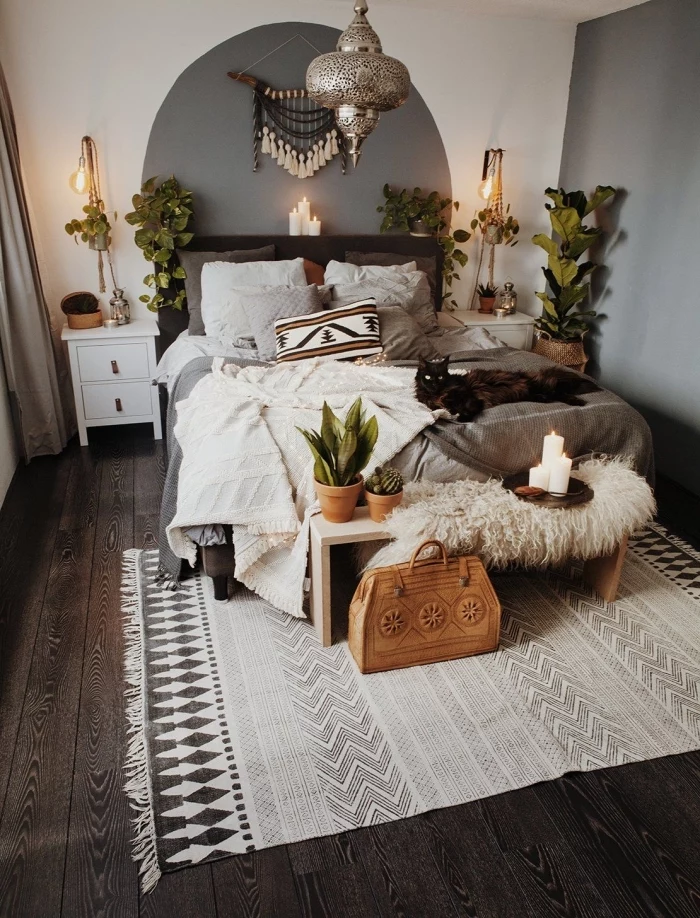
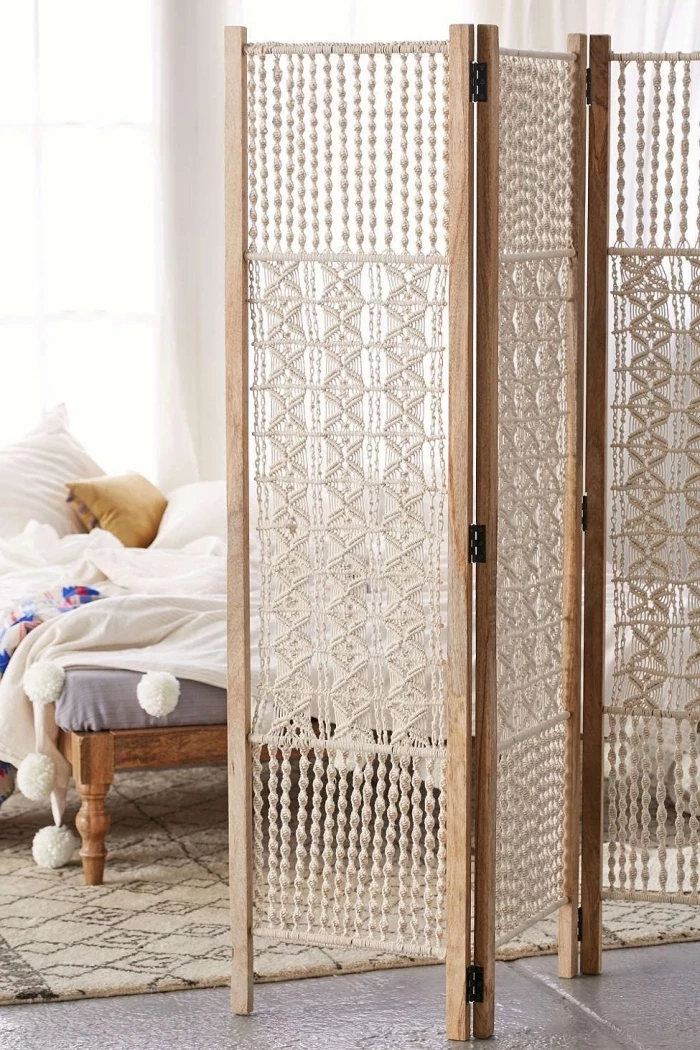
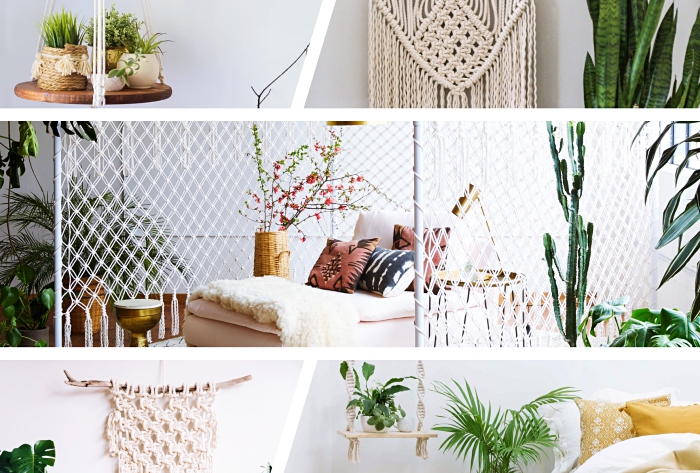
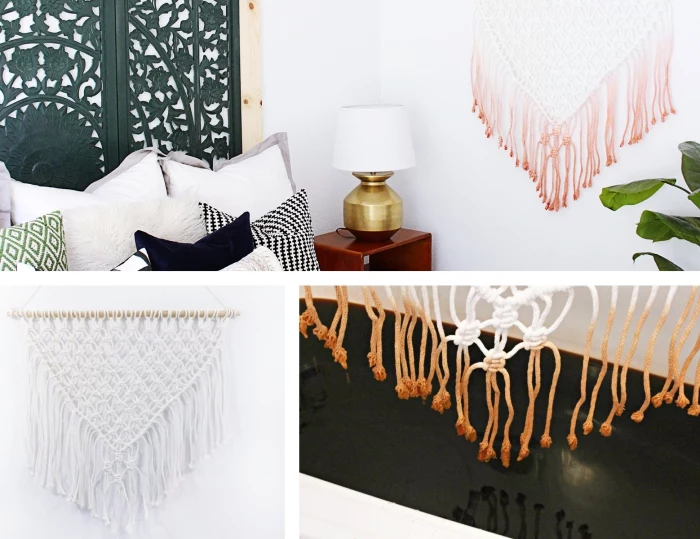
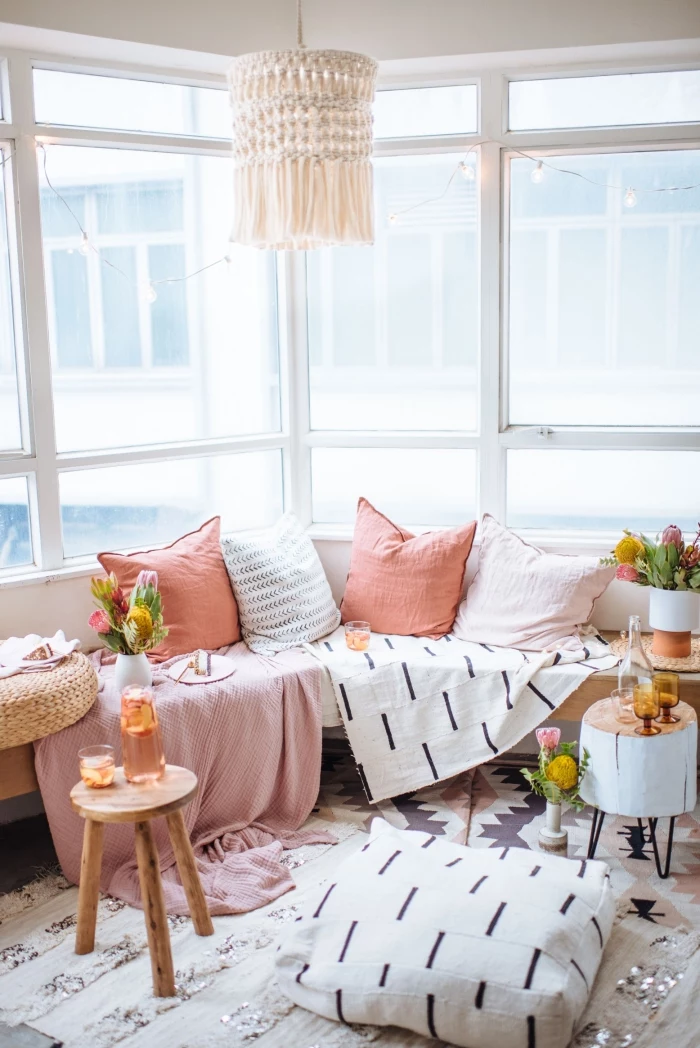
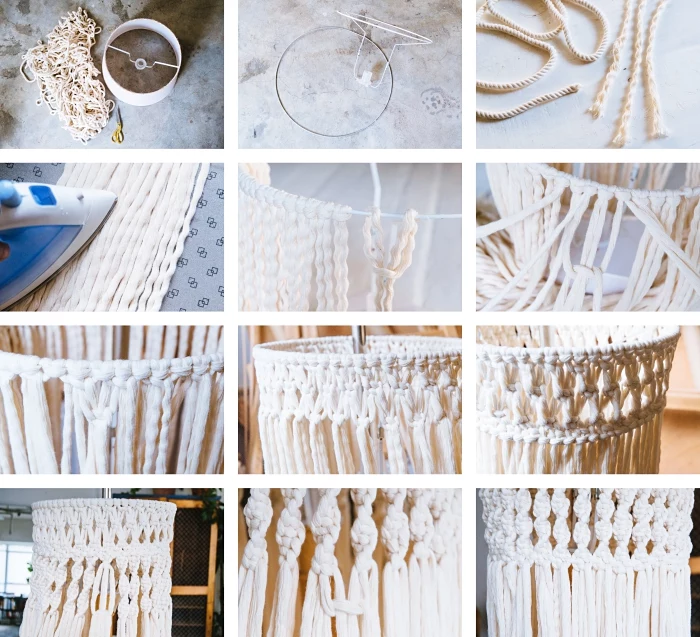
Inspiration Gallery
How much cord do I actually need?
A good rule of thumb for a wall hanging is to measure the desired final length of your piece and multiply it by four. Then, double that amount because you’ll be folding each cord in half to attach it to the dowel. It sounds like a lot, but knots eat up length surprisingly fast! Always add a little extra; it’s better to trim at the end than to run short.
- A sturdy dowel or branch: Your foundation.
- Sharp scissors: A dedicated pair for fabric, like Fiskars Amplify, gives the cleanest cuts for fringe.
- A tape measure: For consistency and planning your design.
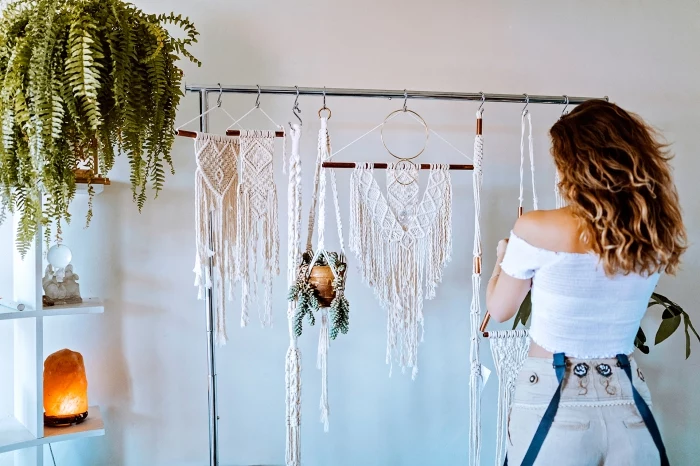
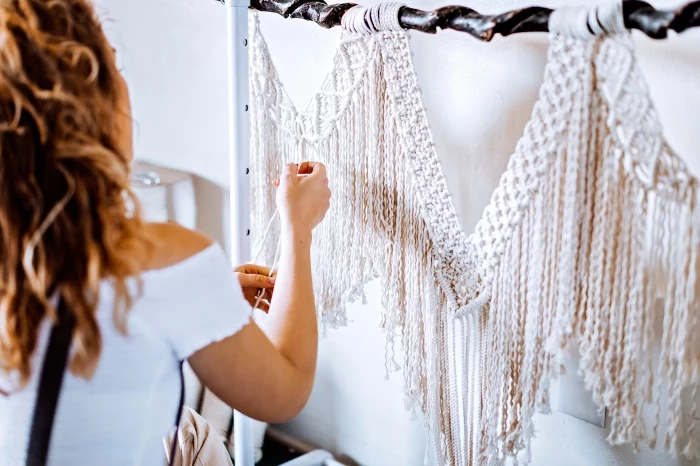
- A clothing rack: An amazing hack for working comfortably while standing, letting you see how the piece hangs.
The secret to a professional look: Consistent tension. It’s the invisible ingredient that separates a neat, flat piece from a buckled, uneven one. Don’t pull your knots so tight that they distort the piece, but keep them firm and uniform. Practice a few rows of square knots focusing only on how evenly you pull each cord.

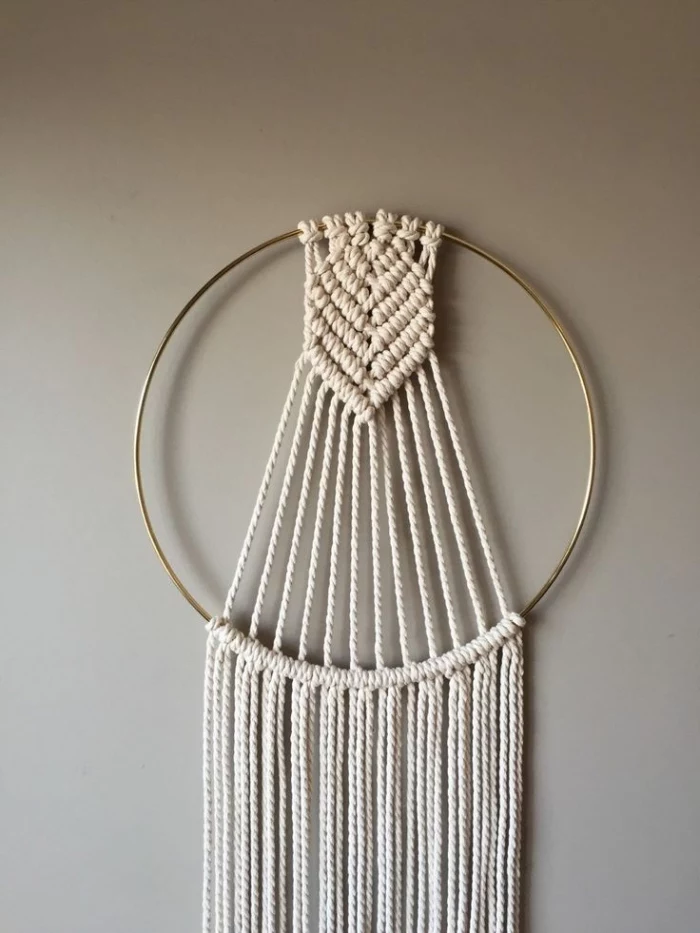
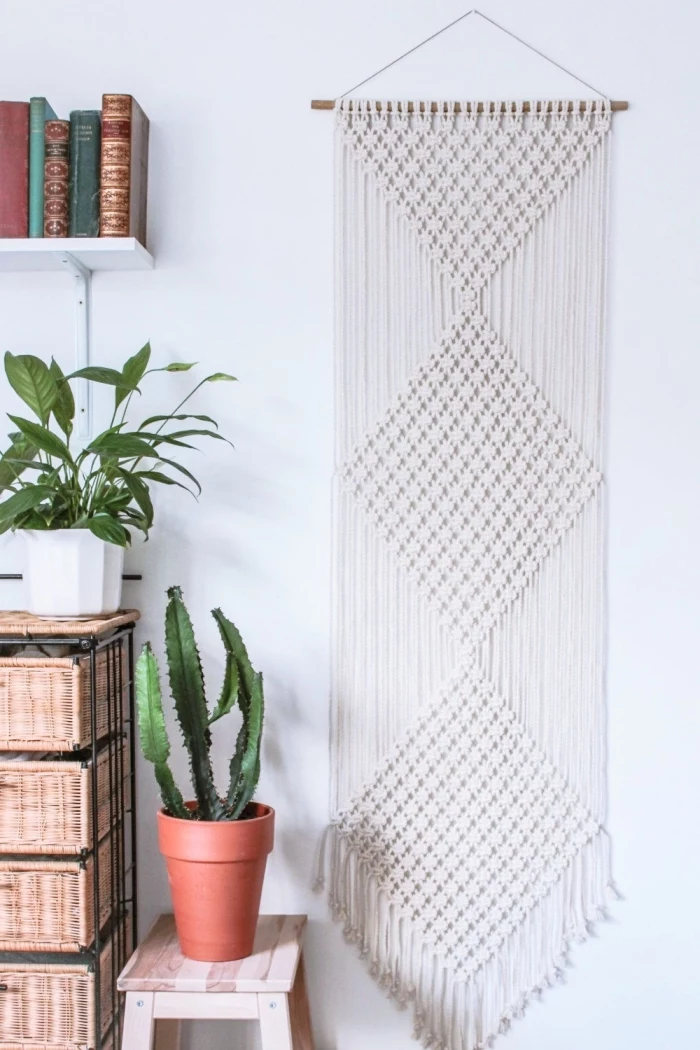
Dowel Rod: Provides a clean, straight, modern line. Perfect for geometric and minimalist designs. Easy to find at any hardware store.
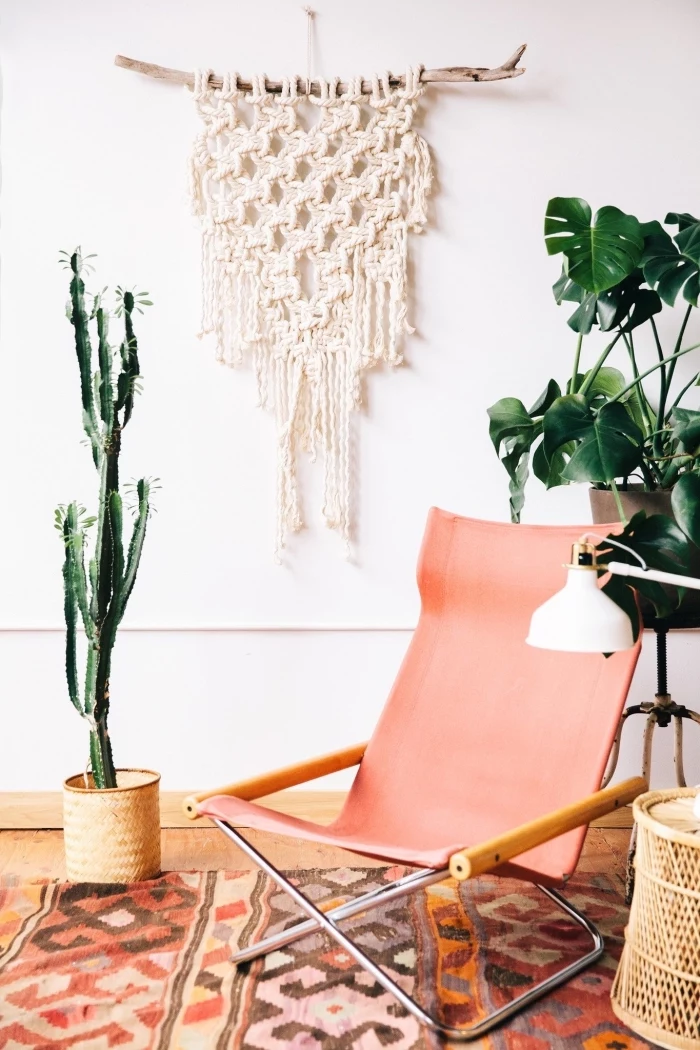
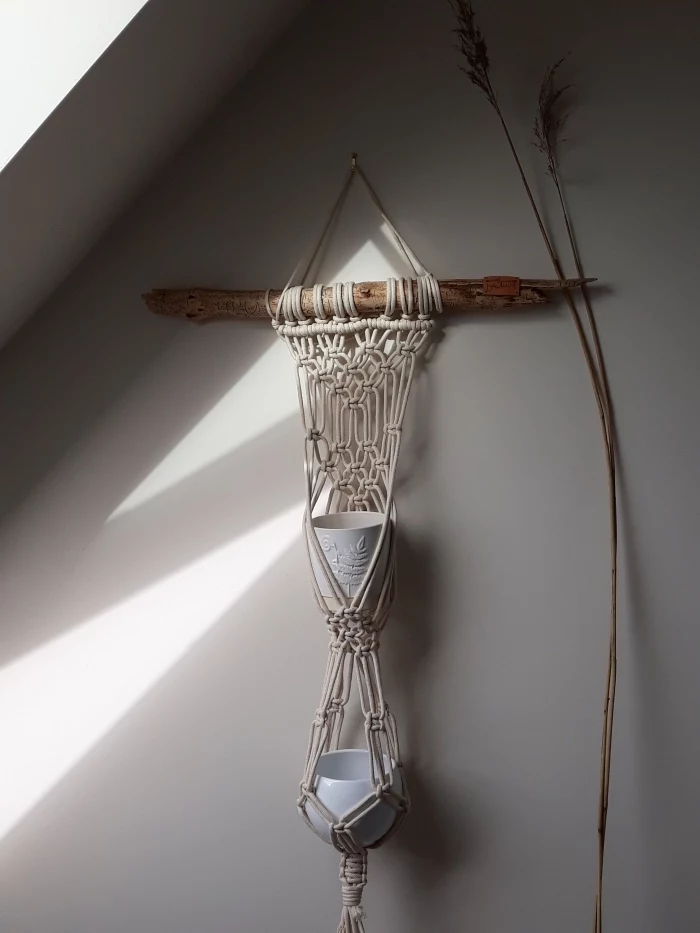
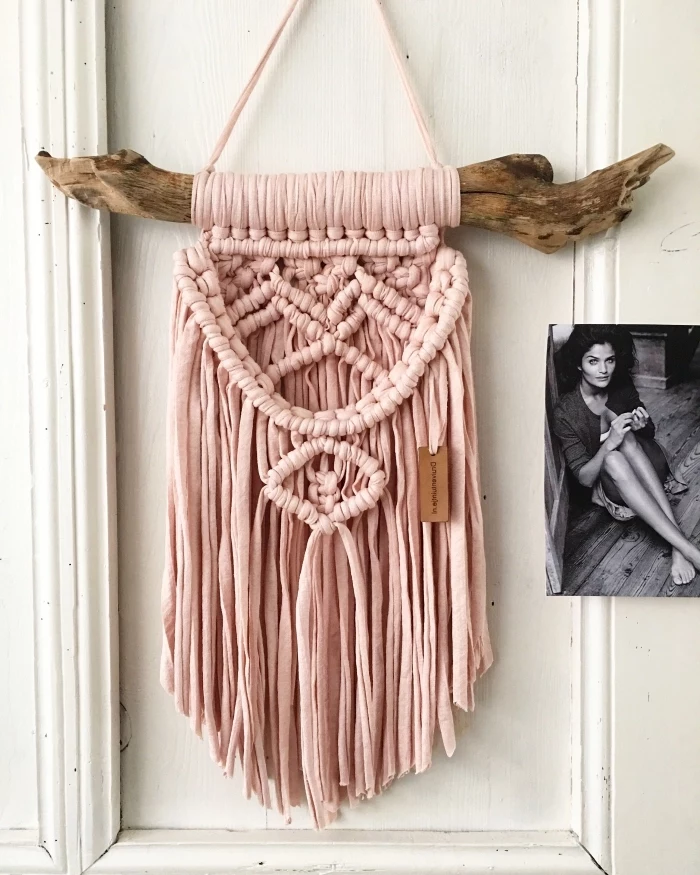
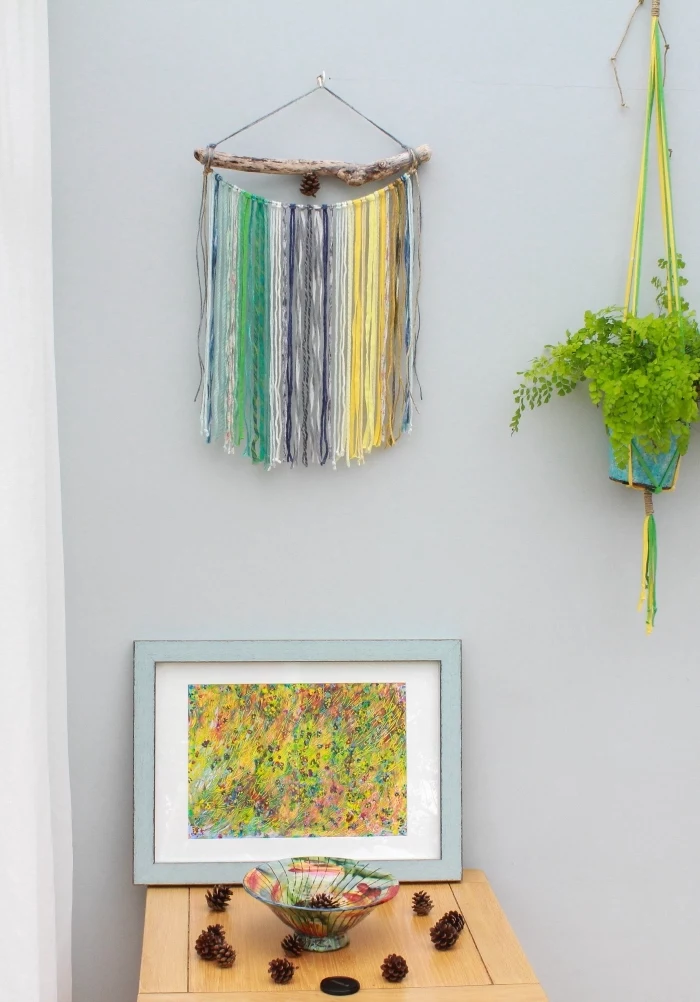
Natural Driftwood: Lends an organic, bohemian, one-of-a-kind feel. Its unique curves can inspire the flow of your design.
For your first project, a straight dowel is easier to manage and will help you keep your knots even.
Don’t be discouraged by the
Did you know many premium macrame cords are made from recycled cotton? Brands like Bobbiny champion this, using textile waste that would otherwise end up in a landfill.
Choosing a recycled cotton cord doesn’t just reduce waste; it also saves thousands of liters of water compared to producing new cotton. These cords are often Oeko-Tex certified, meaning they’re free from harmful substances, making them a safe and beautiful choice for your home.
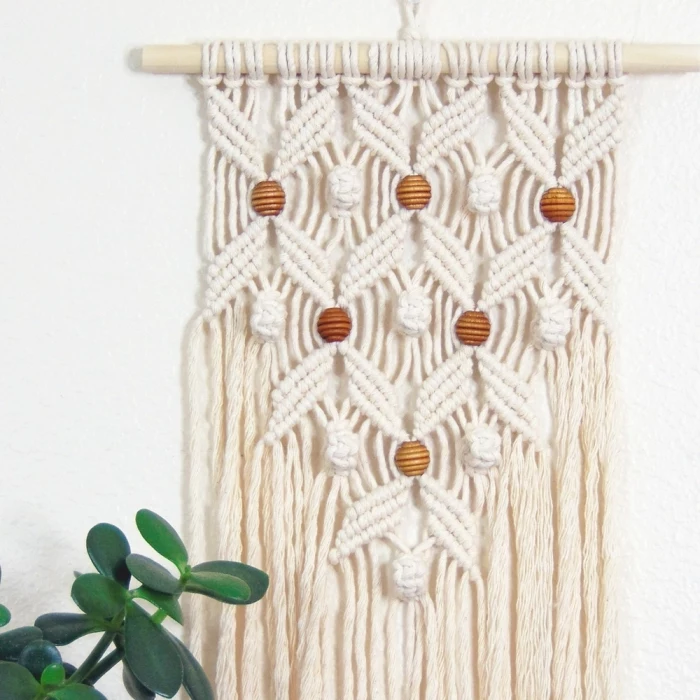
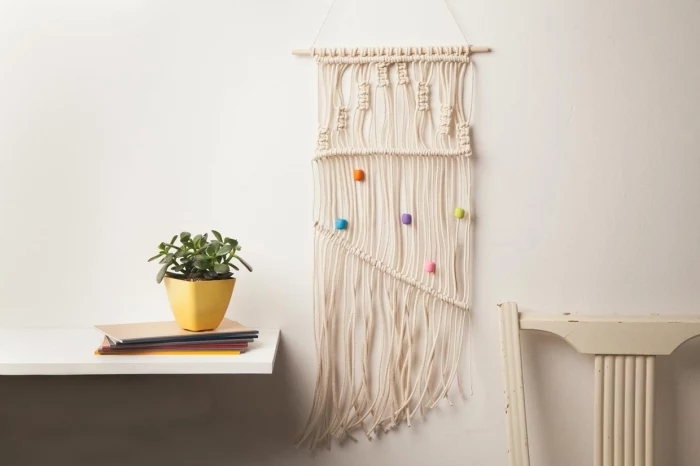
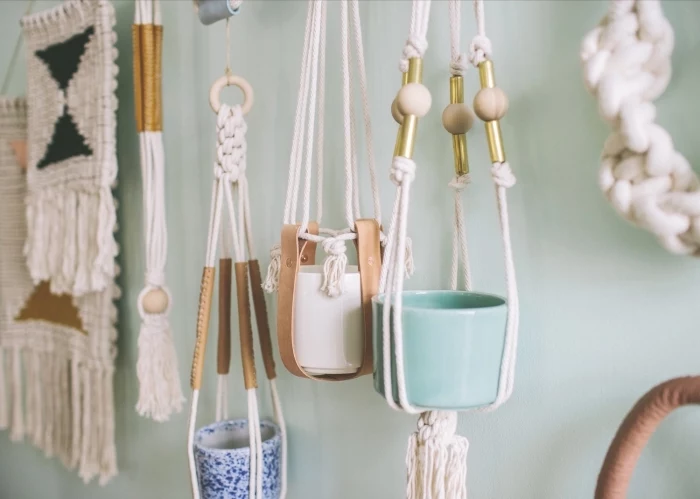
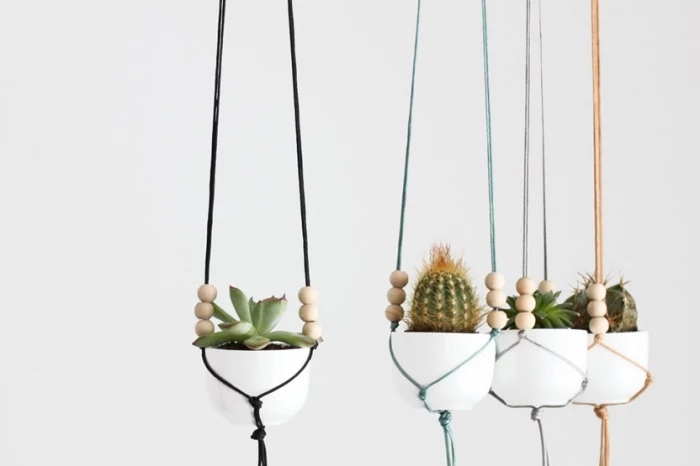
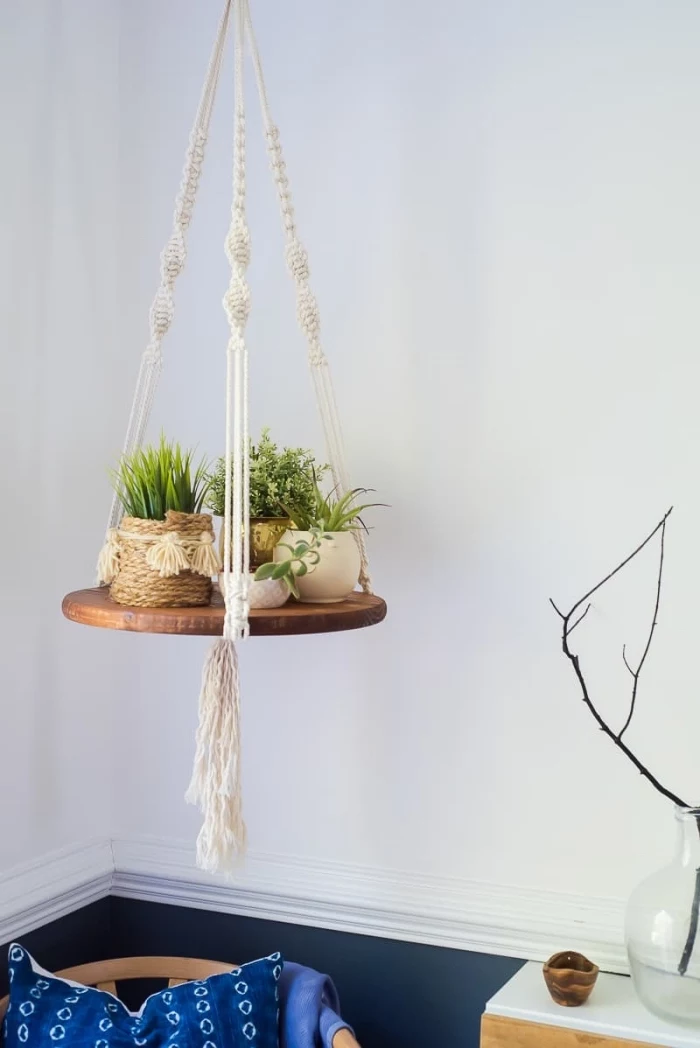
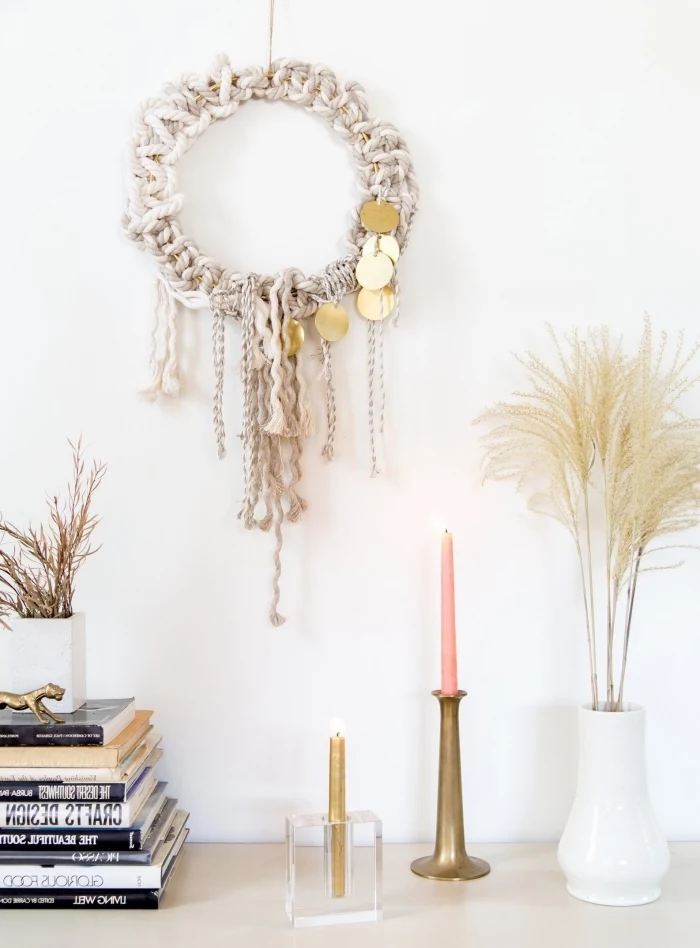
Adding wooden or ceramic beads can elevate a simple design. The trick is choosing beads with a hole large enough for your cord to pass through twice if needed.
- For a 4mm cord, look for a bead with at least a 10mm hole.
- To thread it, wrap a small piece of tape tightly around the end of your cord to create a


- You save hours of frustrating unknotting.
- You don’t have to restart the whole section.
The secret? A small crochet hook. If you spot a mistake several rows back, carefully unpick just the single knot with the error. Use the crochet hook to skillfully pull the correct cords through and re-tie the knot in place, all without disturbing the surrounding work.


A note on cord quality: Not all cords are created equal. Investing in a quality brand like Ganxxet or Unfettered Co not only supports small businesses but ensures your cord is consistent in thickness and color. Cheaper, generic cords can have frustrating weak spots or vary in diameter, which will definitely show in your final piece.


Trending now is the fusion of macrame and weaving. You can create a macrame base with sections of open space between knots, then use a weaving needle and chunky wool roving to weave texture and color directly into your wall hanging. This

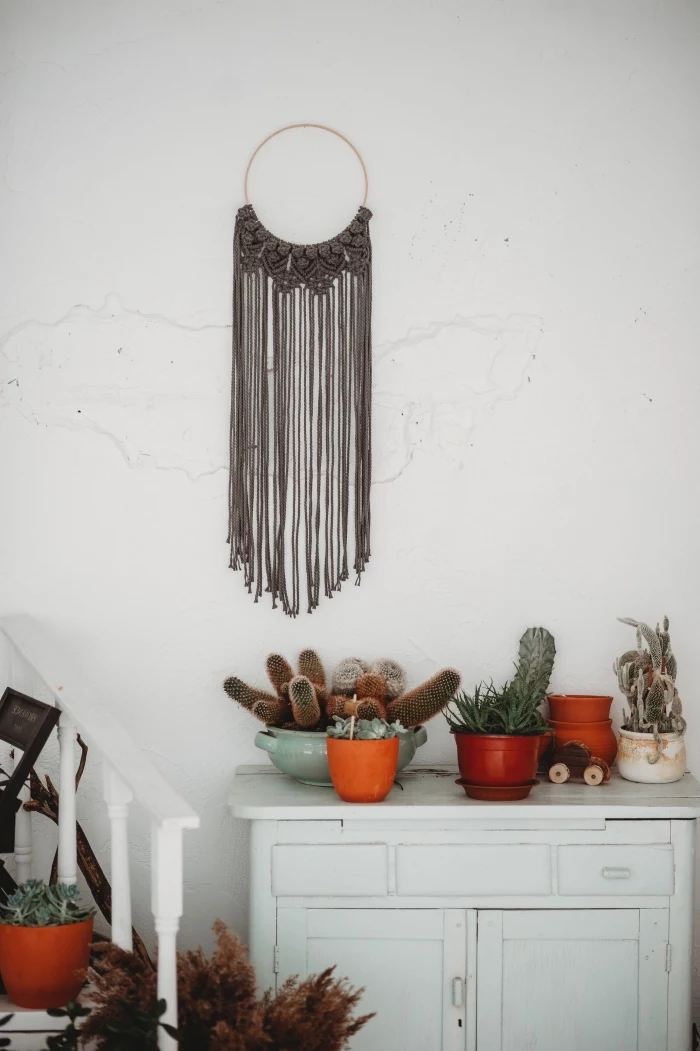
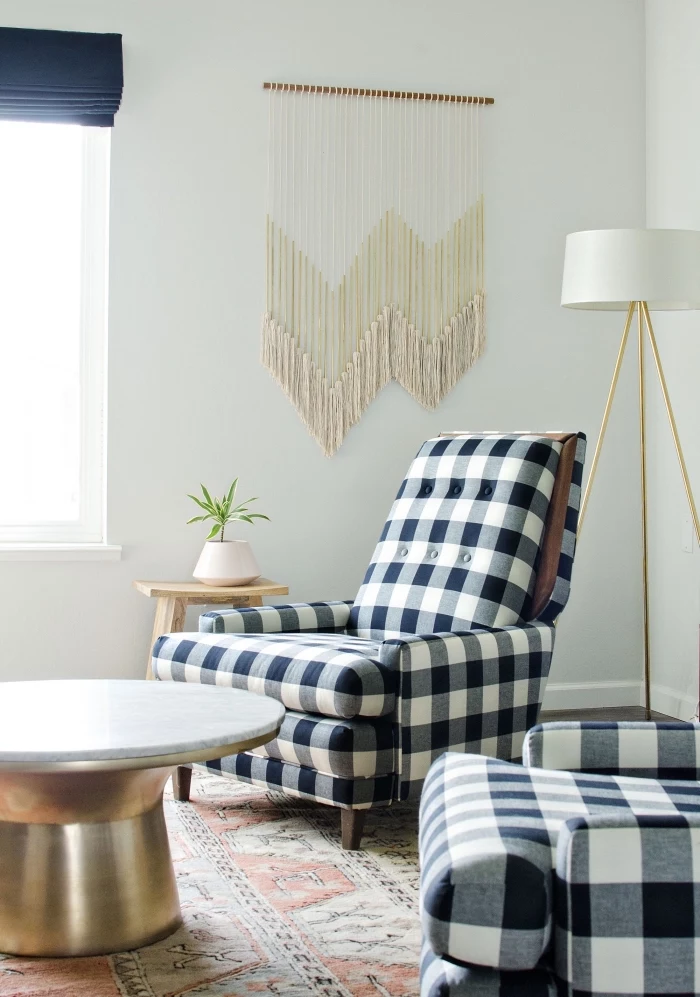
- The Classic Straight Cut: A sharp, clean line across the bottom.
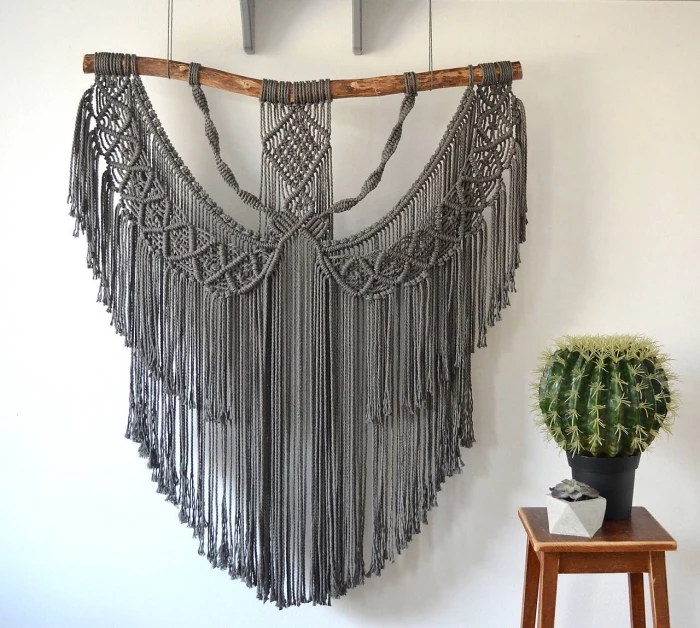
- The V-Shape: An angular cut that adds dynamic movement and a focal point.
- The Brushed-Out Fluff: Use a pet brush or a fine-toothed comb to unravel the twists of your cotton cord for a super soft, cloud-like finish.

Want to add a pop of color?
Dip-dyeing is a fantastic way to customize your finished piece. Use 100% natural cotton cord for the best results, as synthetic fibers won’t absorb the color. After your wall hanging is complete (but before you comb the fringe), mix a fabric dye like Rit or Dylon. Dip the fringe for an ombré effect, or submerge more of the piece for a color-blocked look. Rinse well and hang to dry!


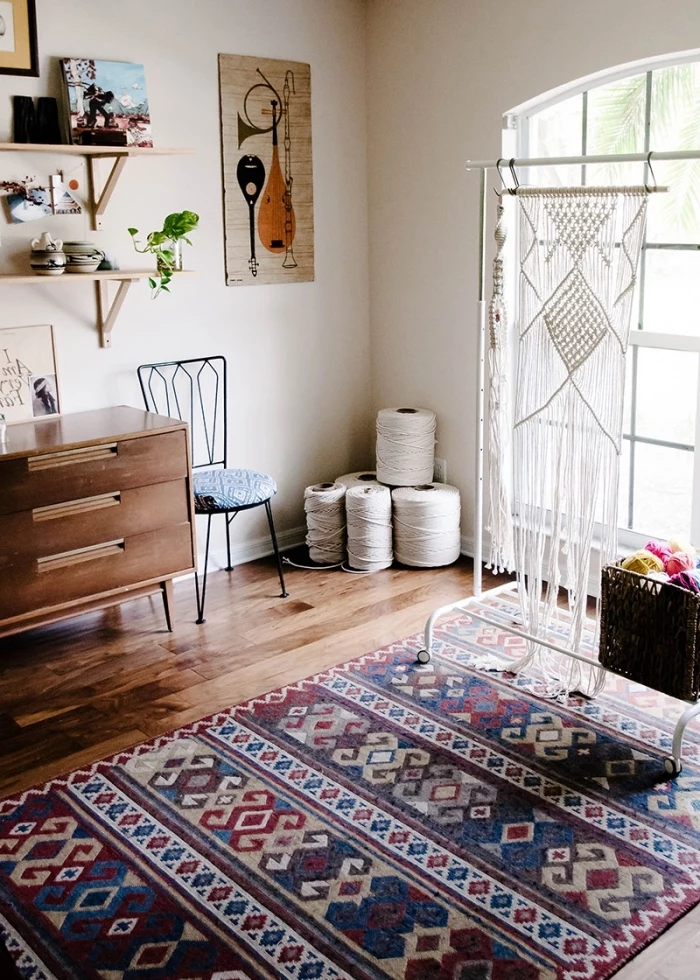
Set up your workspace for success. A portable clothing rack or even a sturdy hook on the back of a door allows you to work on your piece vertically. This helps you see how it hangs naturally and prevents your back from aching. Keep a small tray nearby for your scissors and tape measure so they don’t get lost in the cords.


The art of macrame has roots in 13th-century Arabic weavers. The word


The finishing touch that screams ‘professional’: A perfect gathering knot. This is the tight wrap of cord used to bundle the fringe neatly before it flows down. Practice making it super tight and even, ensuring the wraps sit flush against each other. A sloppy gathering knot can cheapen the look of an otherwise beautiful piece.


Why are the sides of my square knot section slanting inwards?
This is a classic beginner issue caused by pulling the outer
- For light dust, use a lint roller or the upholstery attachment of your vacuum on its lowest setting.
- For small spots, spot-clean gently with a damp cloth and a touch of mild soap. Dab, don’t rub.
- Avoid fully submerging your piece in water, especially if it’s on an untreated wooden dowel, as this can cause discoloration or warping.
Single-Strand Cotton: Incredibly soft and gentle on the hands. It combs out into a dreamy, fluffy fringe. Ideal for pieces that will be touched or have a soft, cloud-like aesthetic.
3-Ply Jute: Rough, sturdy, and fibrous. It feels rustic and substantial to work with, and holds its shape well. The fringe will be more defined and wavy rather than fluffy.
Choose based on the final texture you want to see *and* feel.

- It’s the first knot you’ll make.
- It secures all your cords to your dowel.
The secret to a clean start? Mastering the Lark’s Head Knot. For an even cleaner look, try a

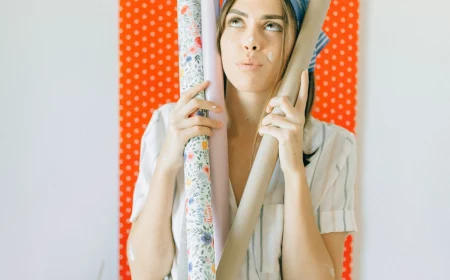
You don’t need a huge budget to start. Many essential items can be found affordably or for free.
- Support: Look for interesting fallen branches in a park after a storm (ensure they are fully dry and pest-free before using).
- Cord: Hardware stores often sell basic cotton clothesline or butcher’s twine that works great for practice pieces.
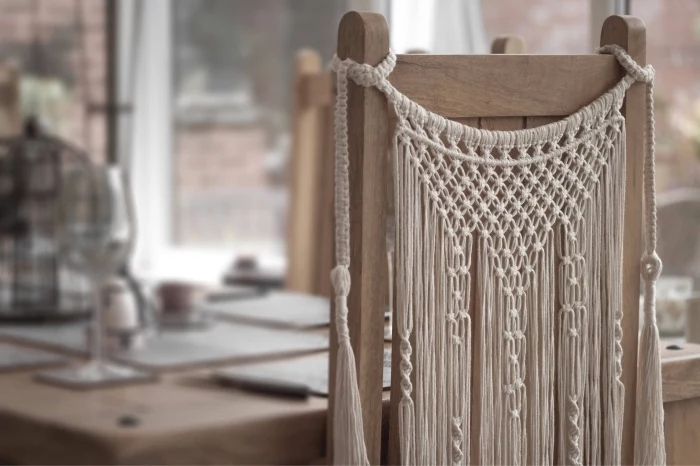
- Workstation: The back of a sturdy dining chair can substitute for a hanging rack for smaller projects.

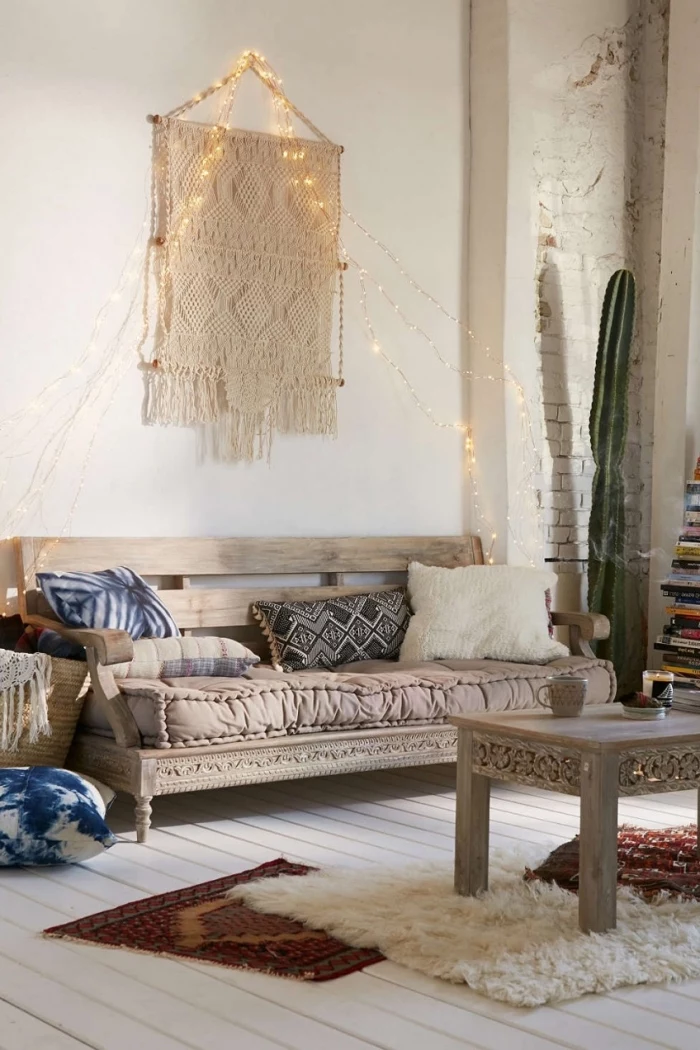
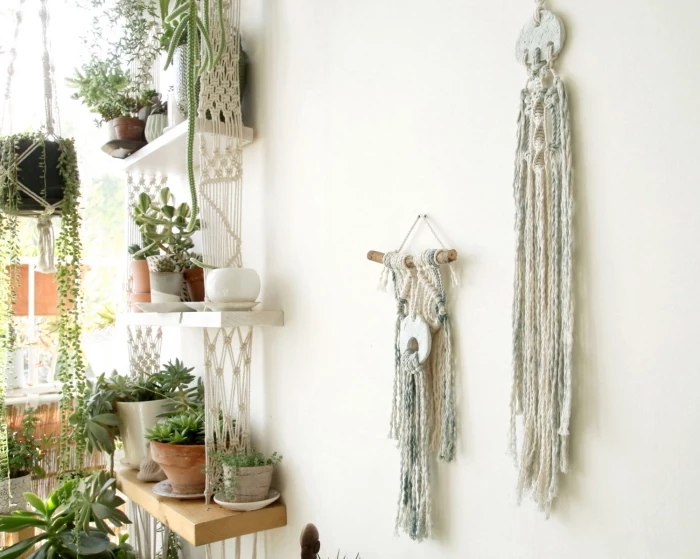
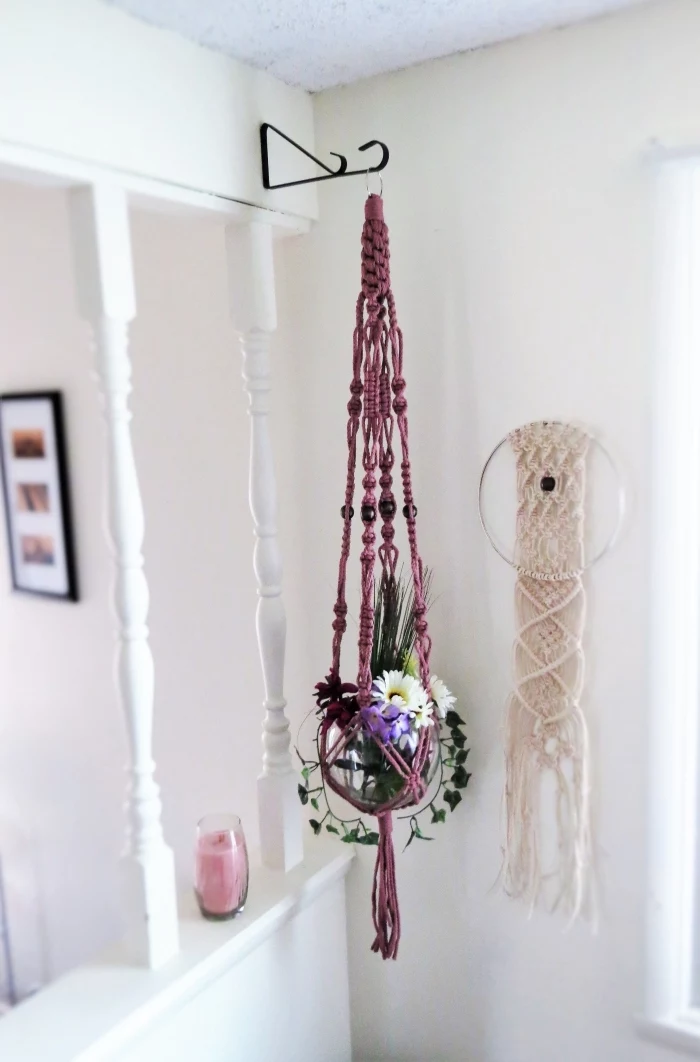
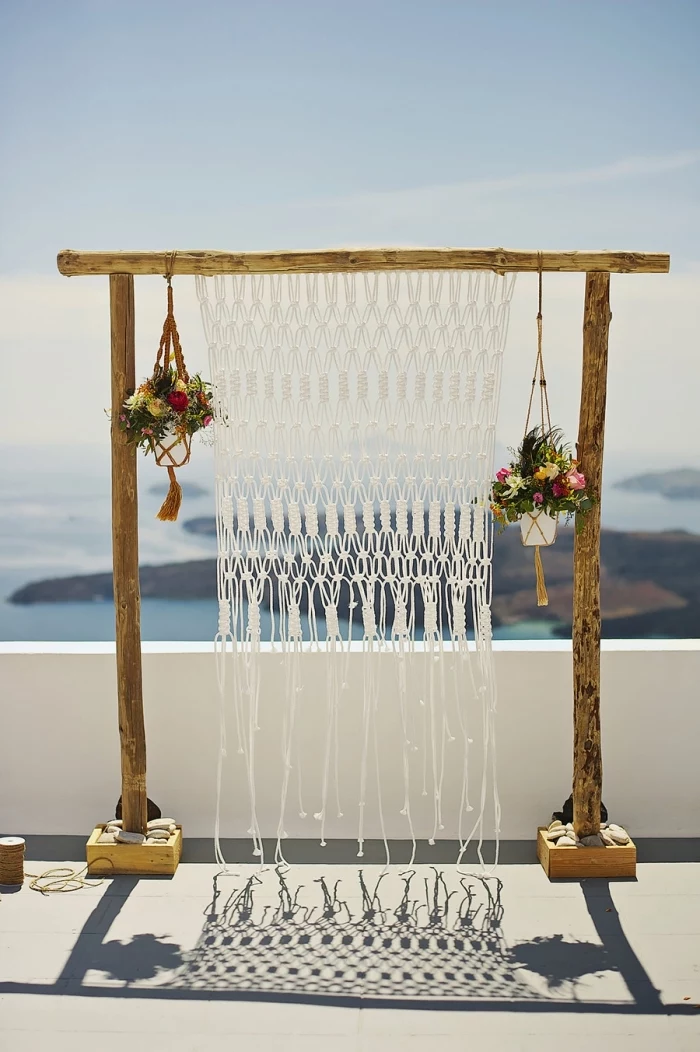
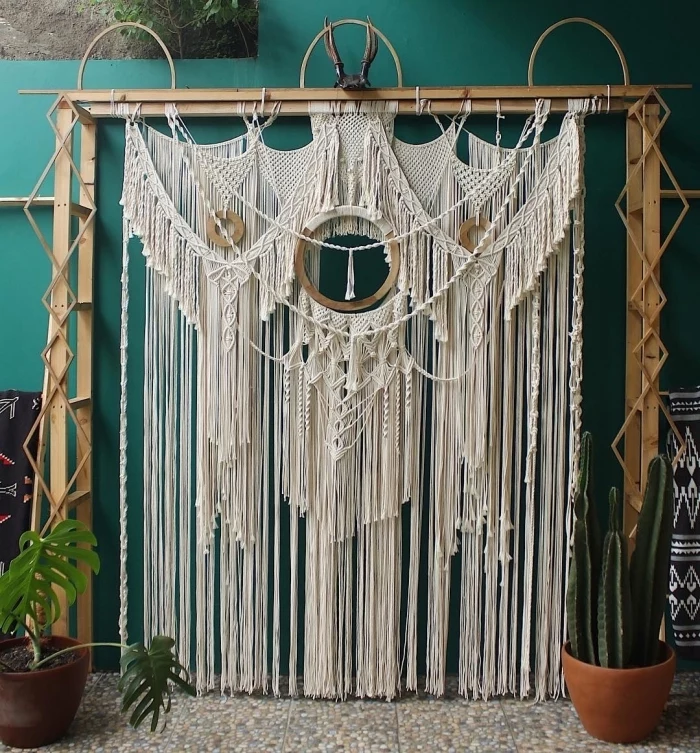
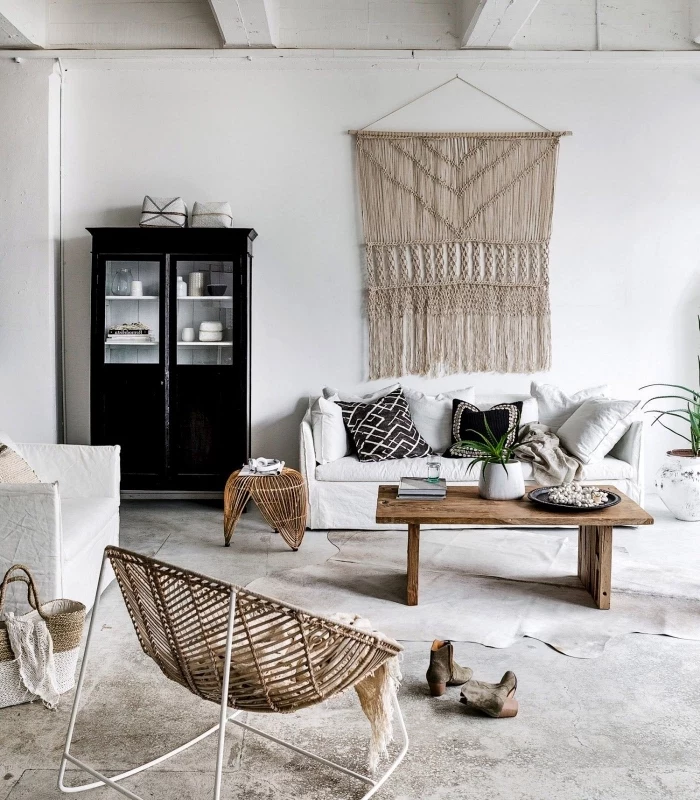
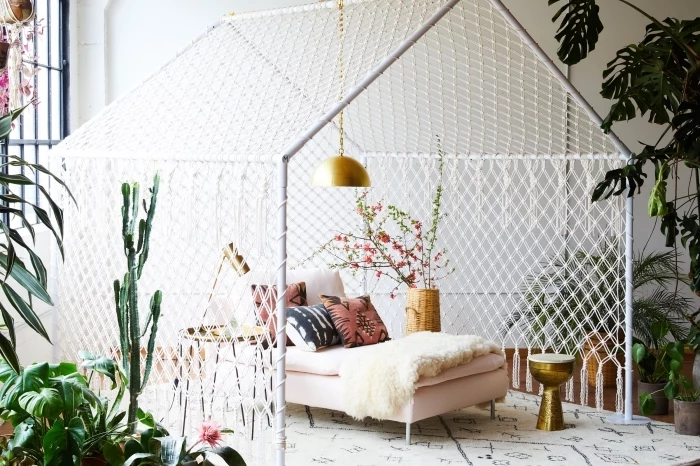
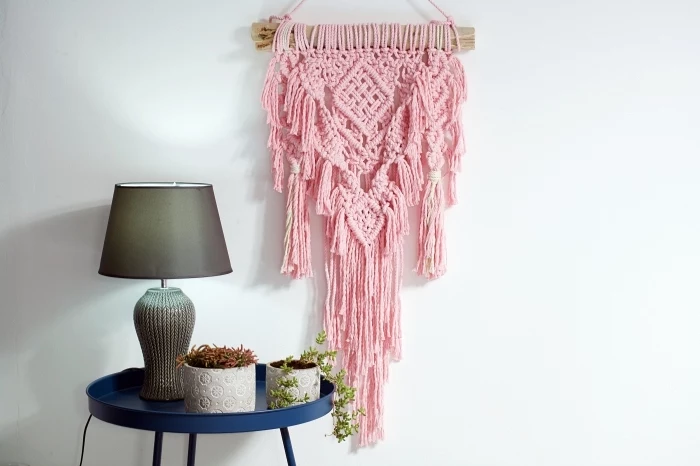
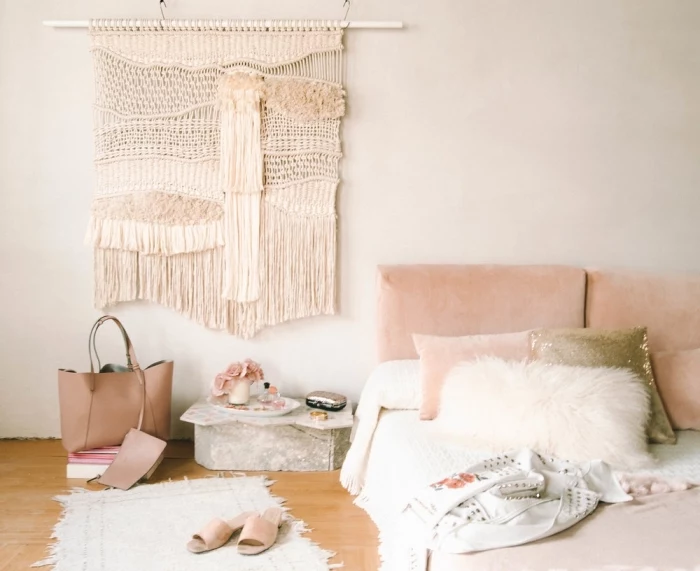
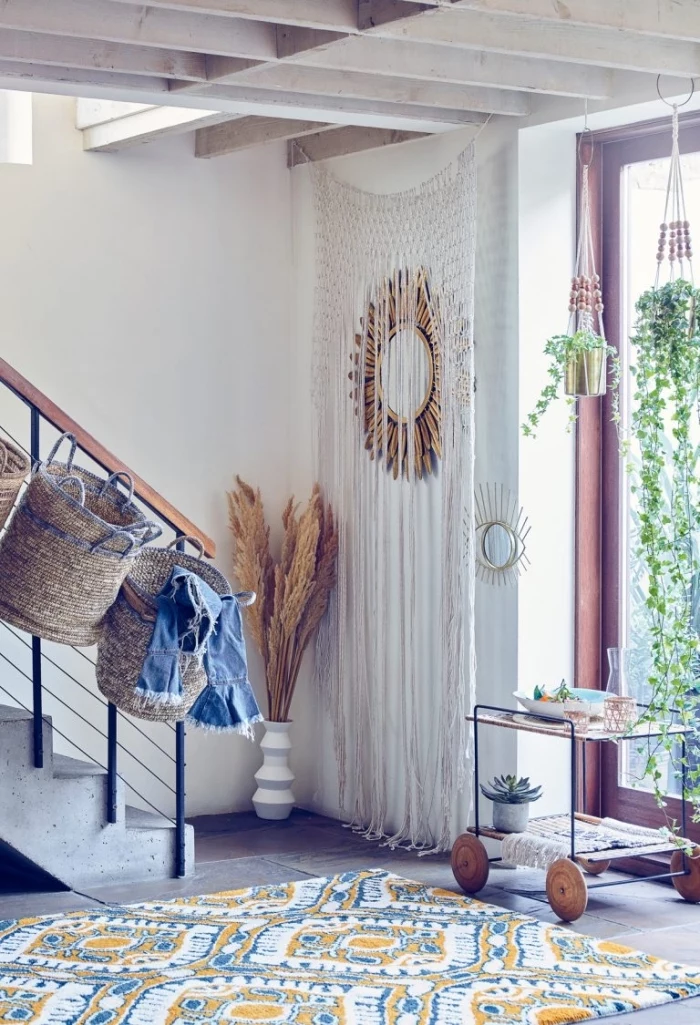
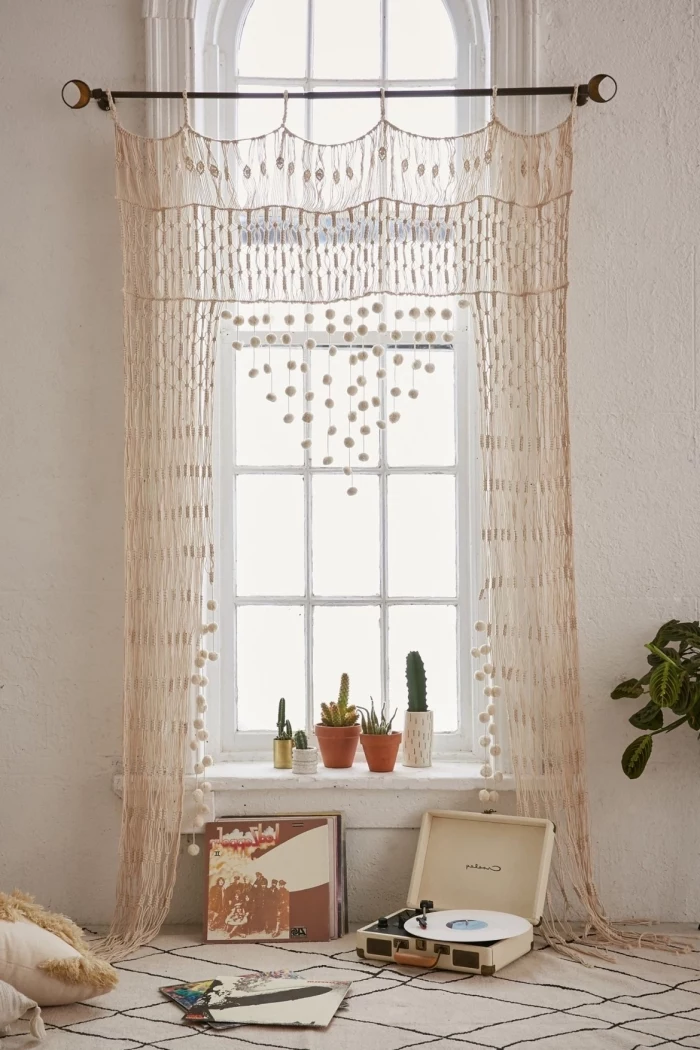
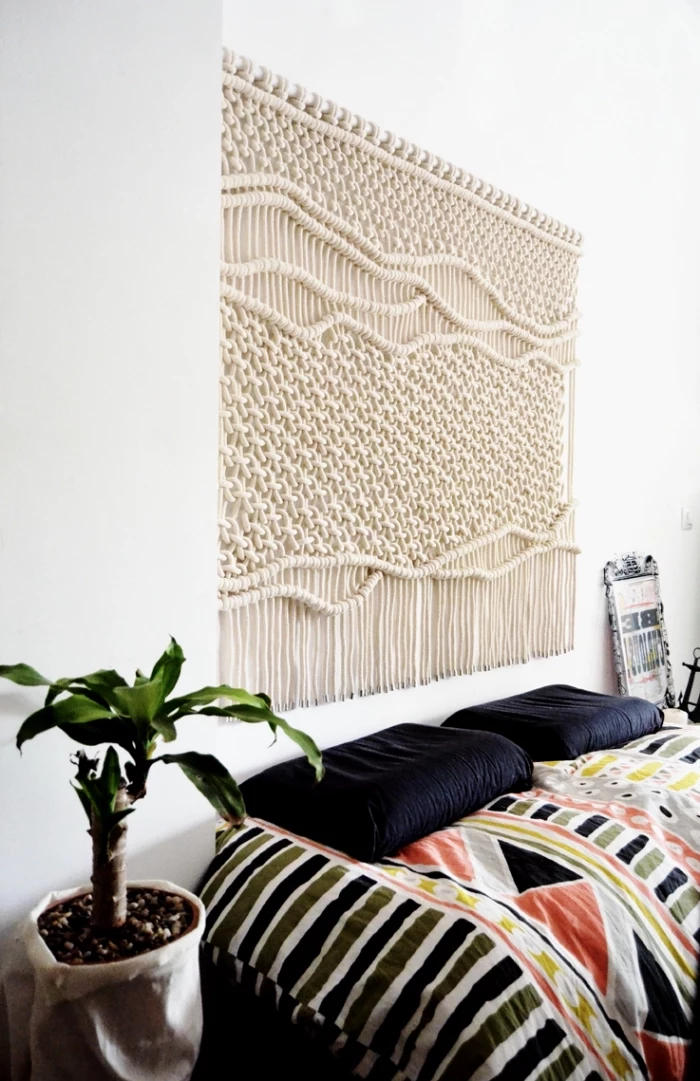
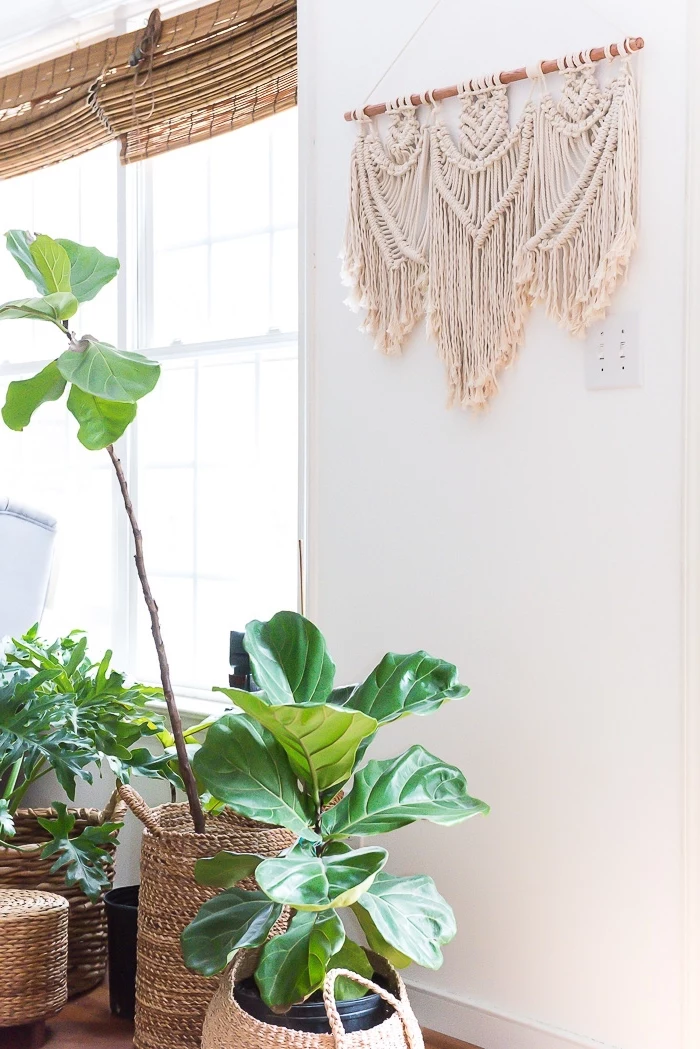
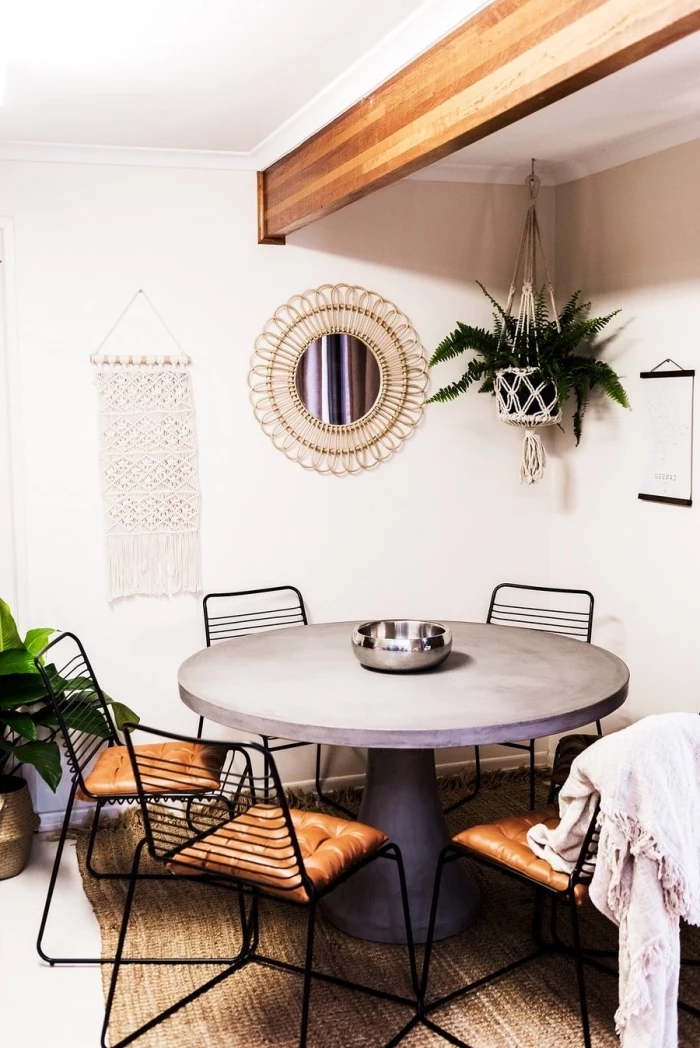
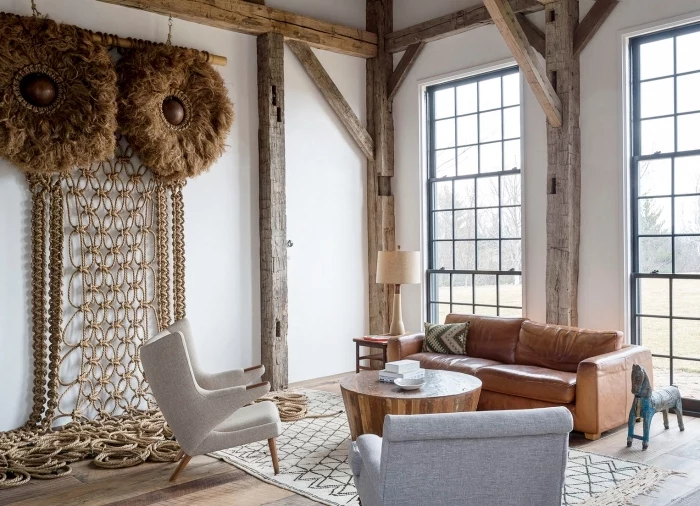
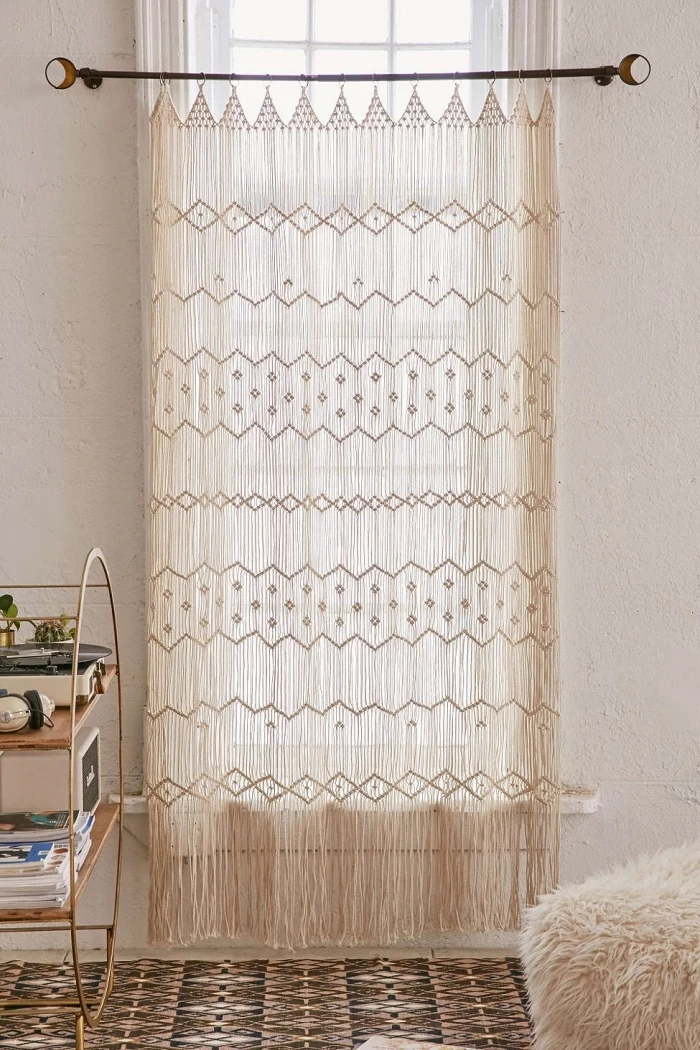
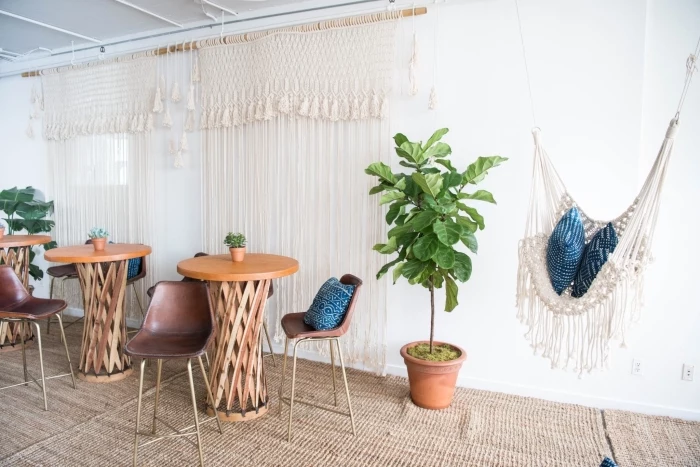
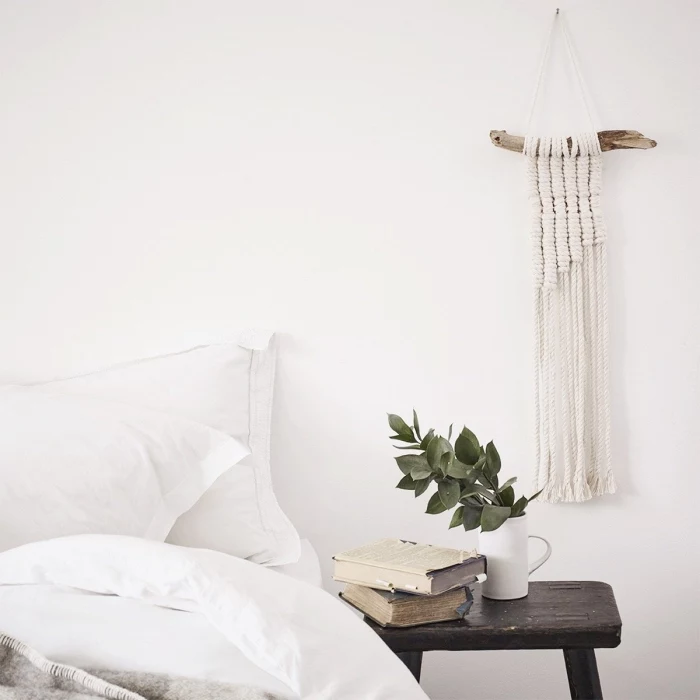
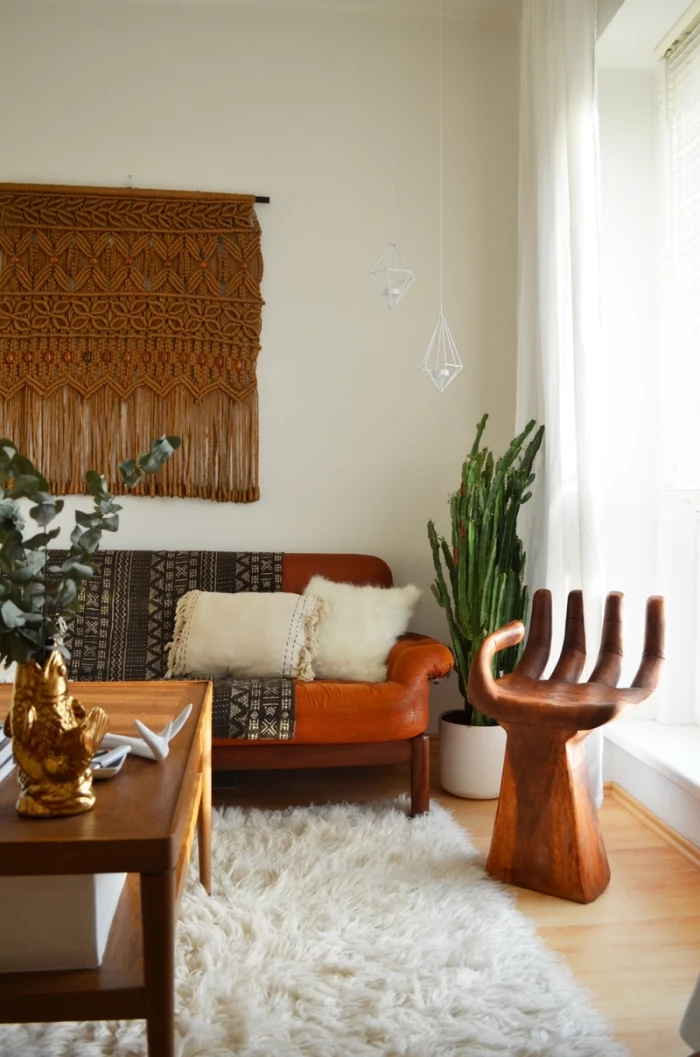
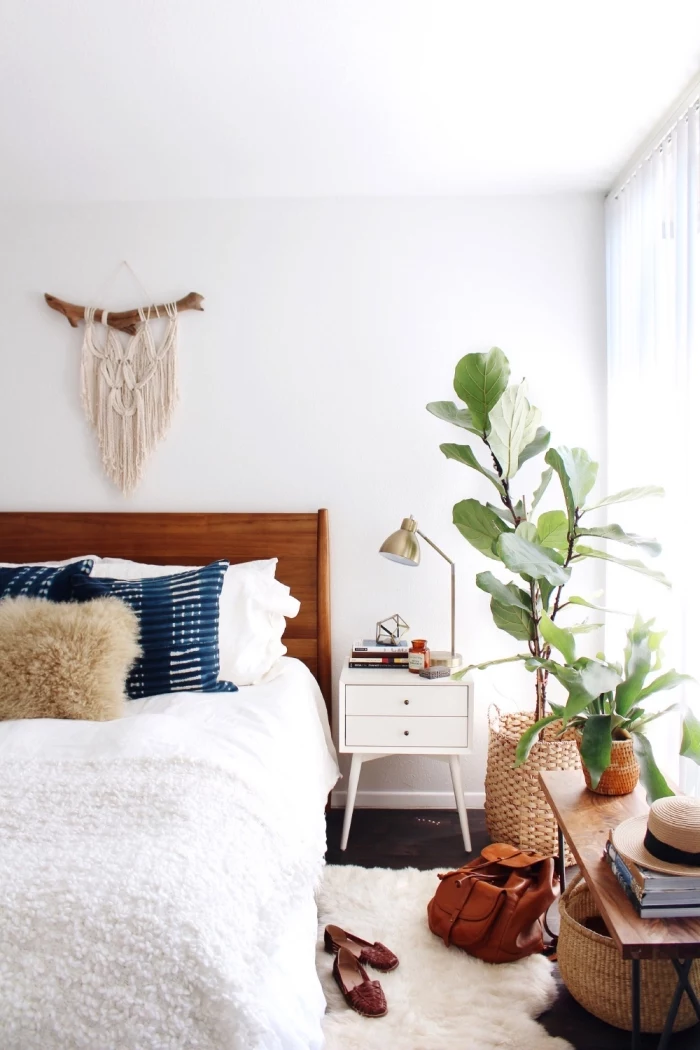
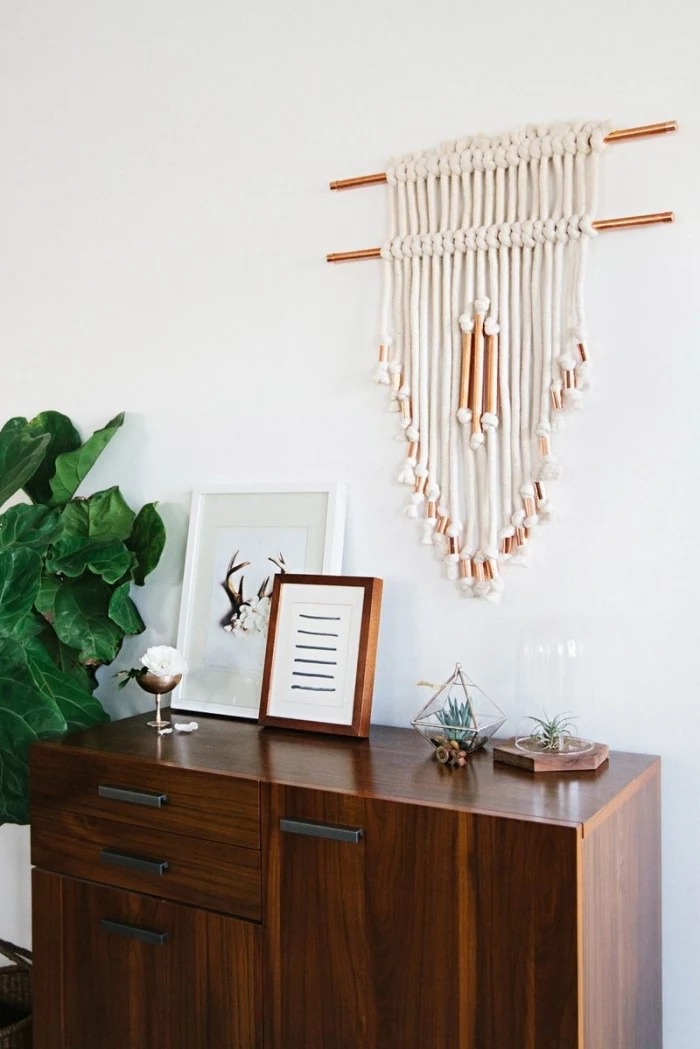
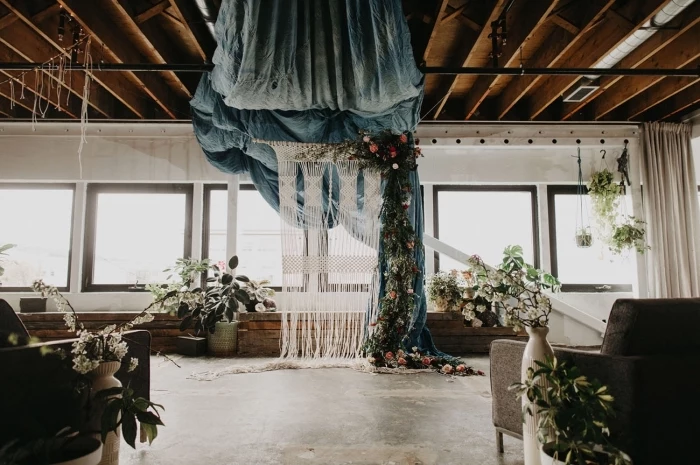
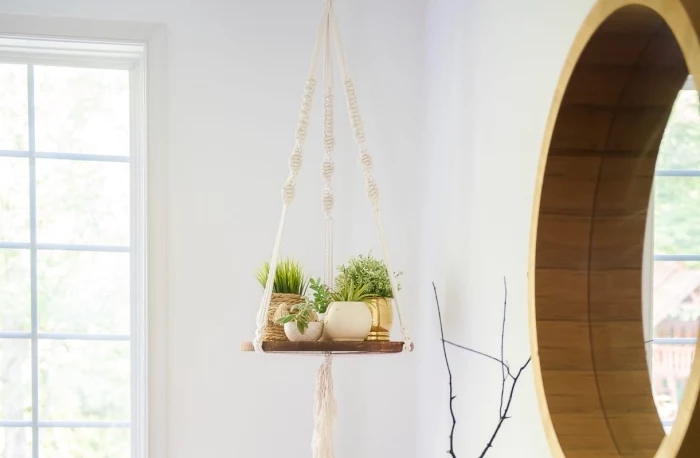
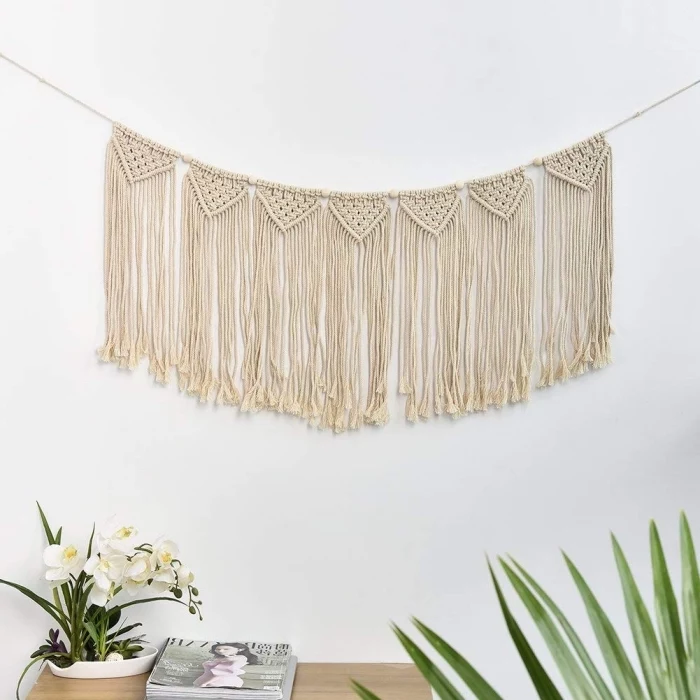
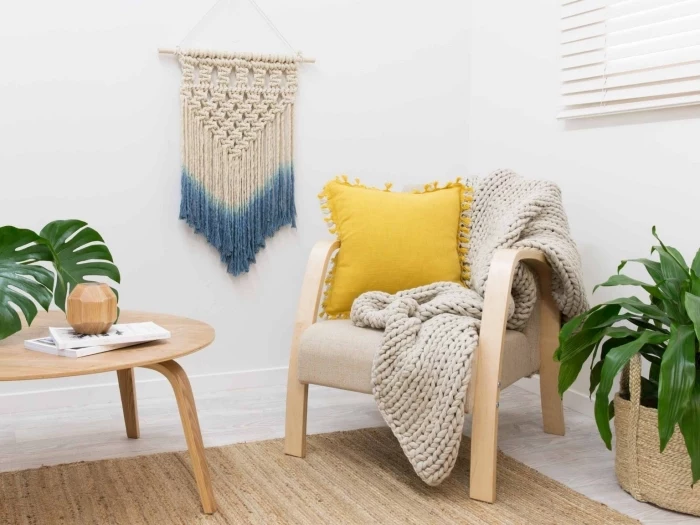
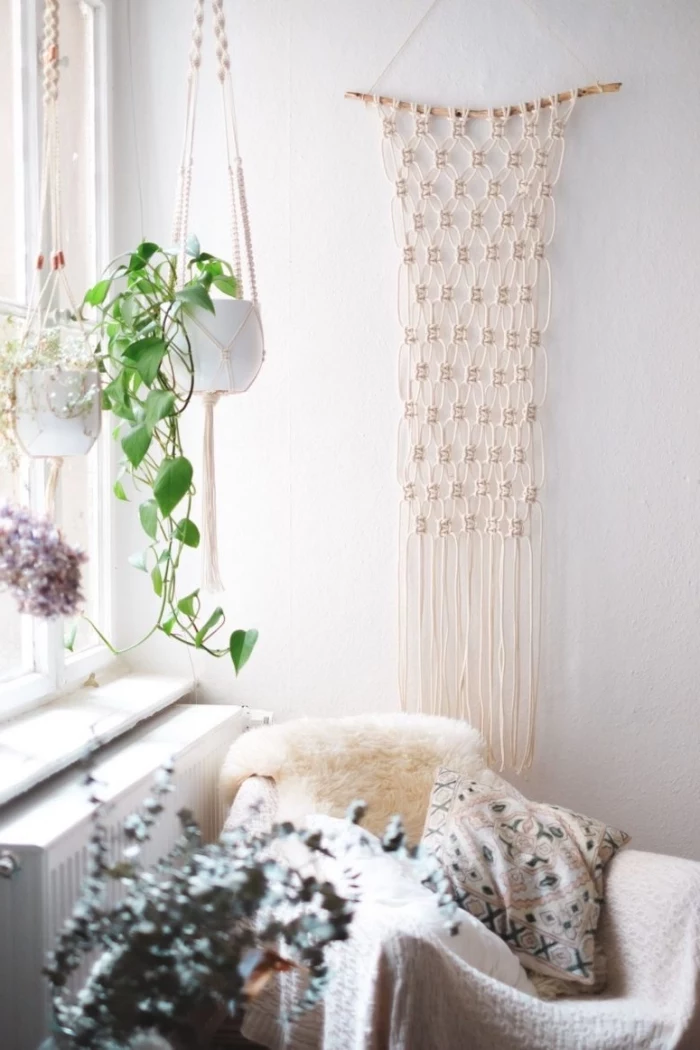
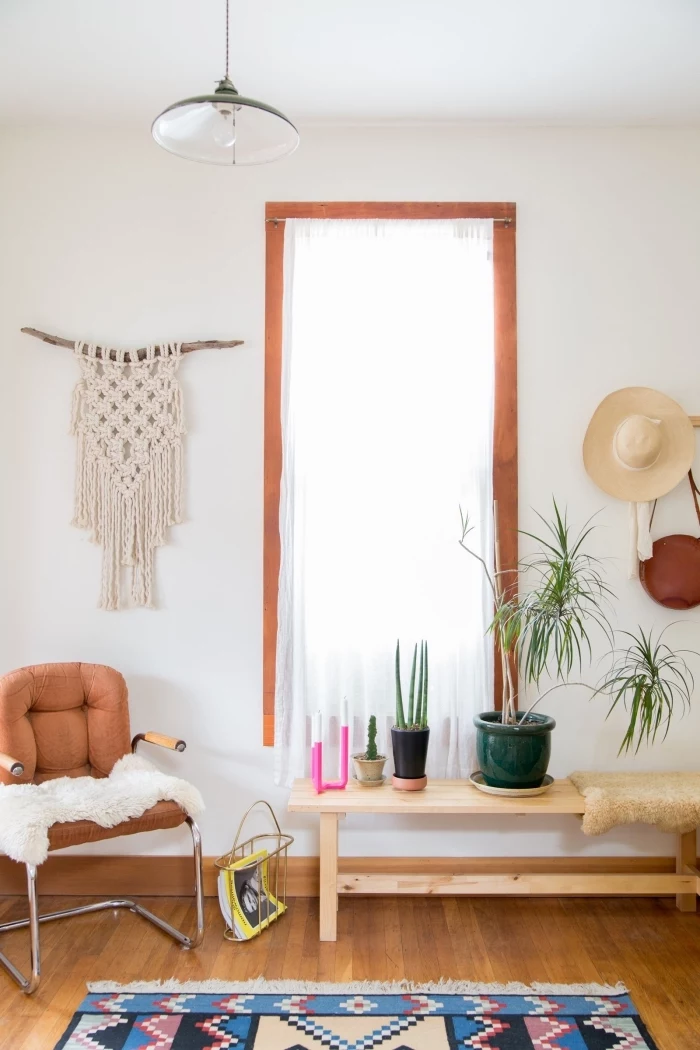
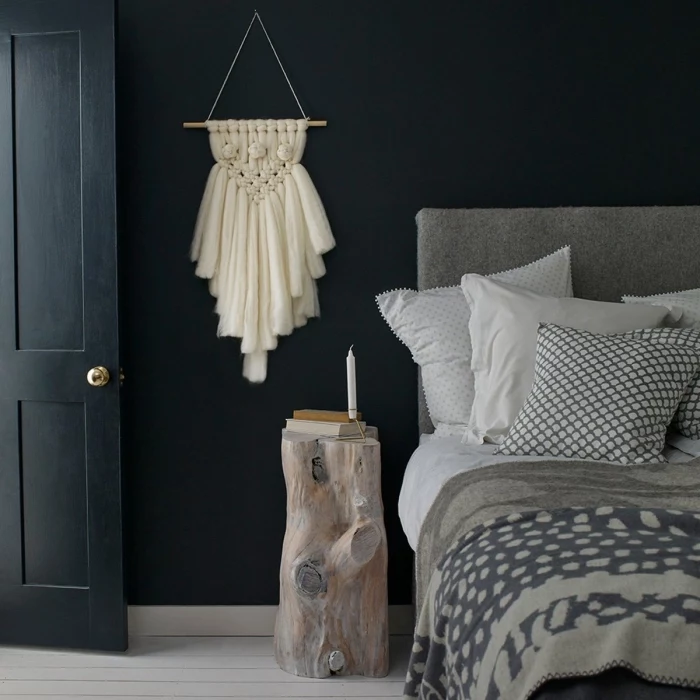
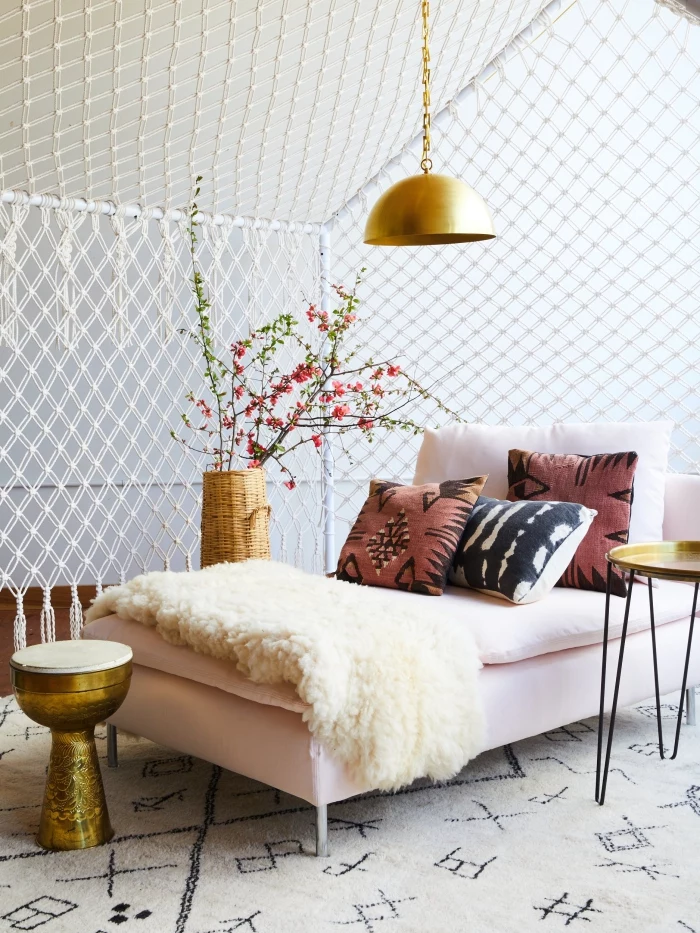
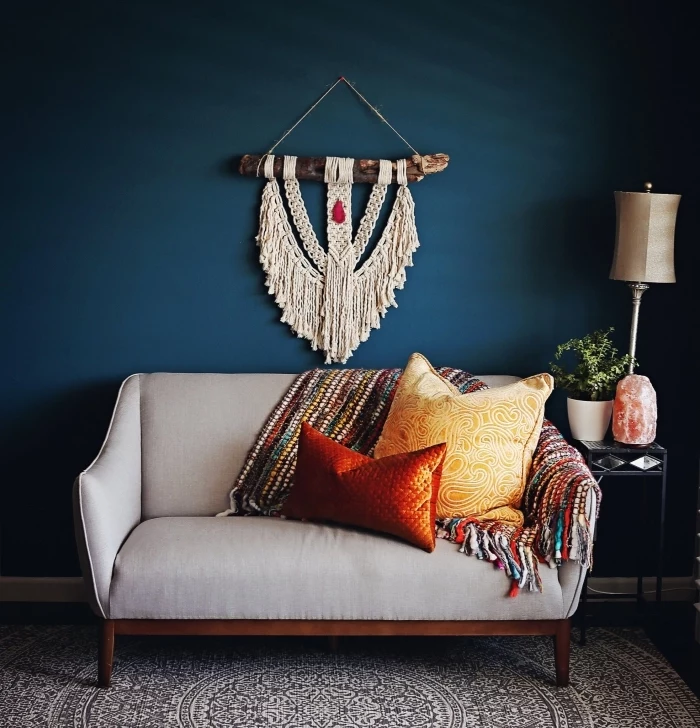
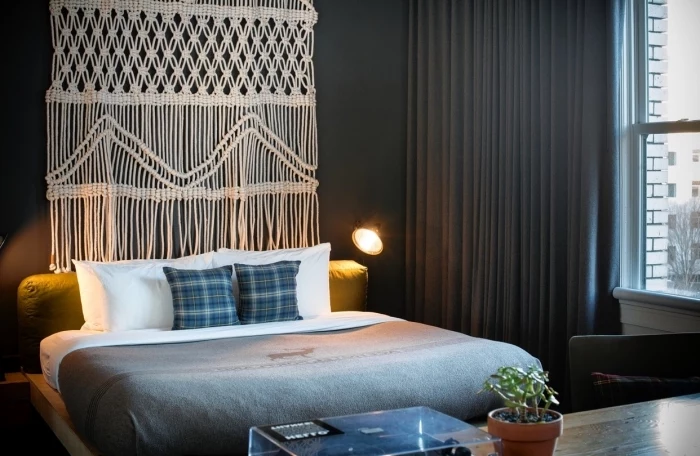
Think about where your macrame will live. A piece made with thick, chunky cord adds cozy texture and visual weight to a large, empty wall above a sofa. A more delicate, intricate design shines in a smaller space, like above a bedside table or in an entryway, where its details can be appreciated up close.


If you fall in love with the process, consider exploring micro-macrame. Using fine threads (less than 2mm thick), this technique creates intricate jewelry like bracelets and earrings. It uses the same fundamental knots but on a miniature scale, requiring precision and a delicate touch. It’s a perfect way to use up leftover bits of thinner cord from your larger projects.


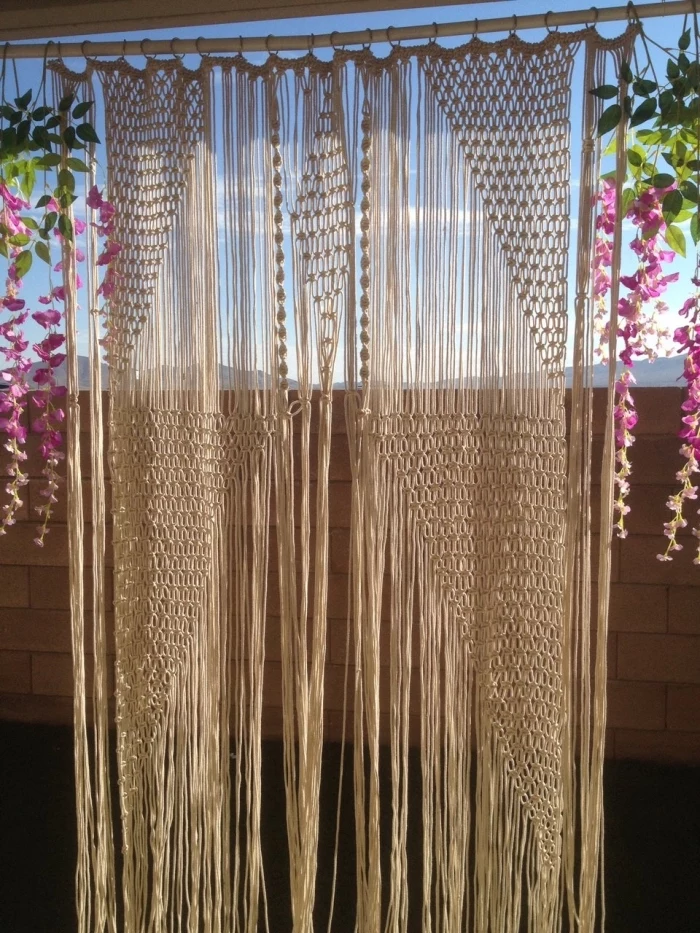
- Alternate between tight knotting and long, unknotted spaces.
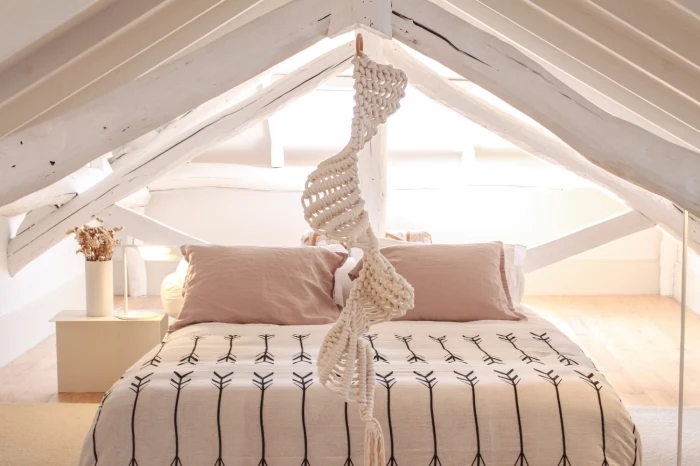
- Incorporate the Berry Knot, which creates a 3D