The Honest Guide to Growing Yuccas (Without Killing Them)
I’ve spent years working with plants, from pristine greenhouses to rugged outdoor projects, and I can tell you this: few plants demand respect quite like a yucca. I learned this lesson the hard way, of course. When I was just starting out, I was working on a commercial site with a big, beautiful Spanish Dagger. Feeling a bit too confident, I reached into the plant to clear some dead leaves without proper gloves. That was a mistake.
In this article
The tip of one leaf, which was as sharp and hard as a nail, went straight into my knuckle. It was a painful, humbling reminder that these plants aren’t delicate little ferns. They are survivors, fully armed and armored for a tough existence.
That experience taught me the single most important rule of yucca care: you have to respect the plant’s nature. People buy them thinking they’re easy, then proceed to kill them with kindness—usually by overwatering. The key isn’t just following a checklist; it’s about understanding why a yucca is the way it is. You have to learn to provide conditions that honor its rugged heritage, whether it’s a small spineless yucca in your living room or a massive specimen anchoring your entire yard.
First Things First: How a Yucca Works
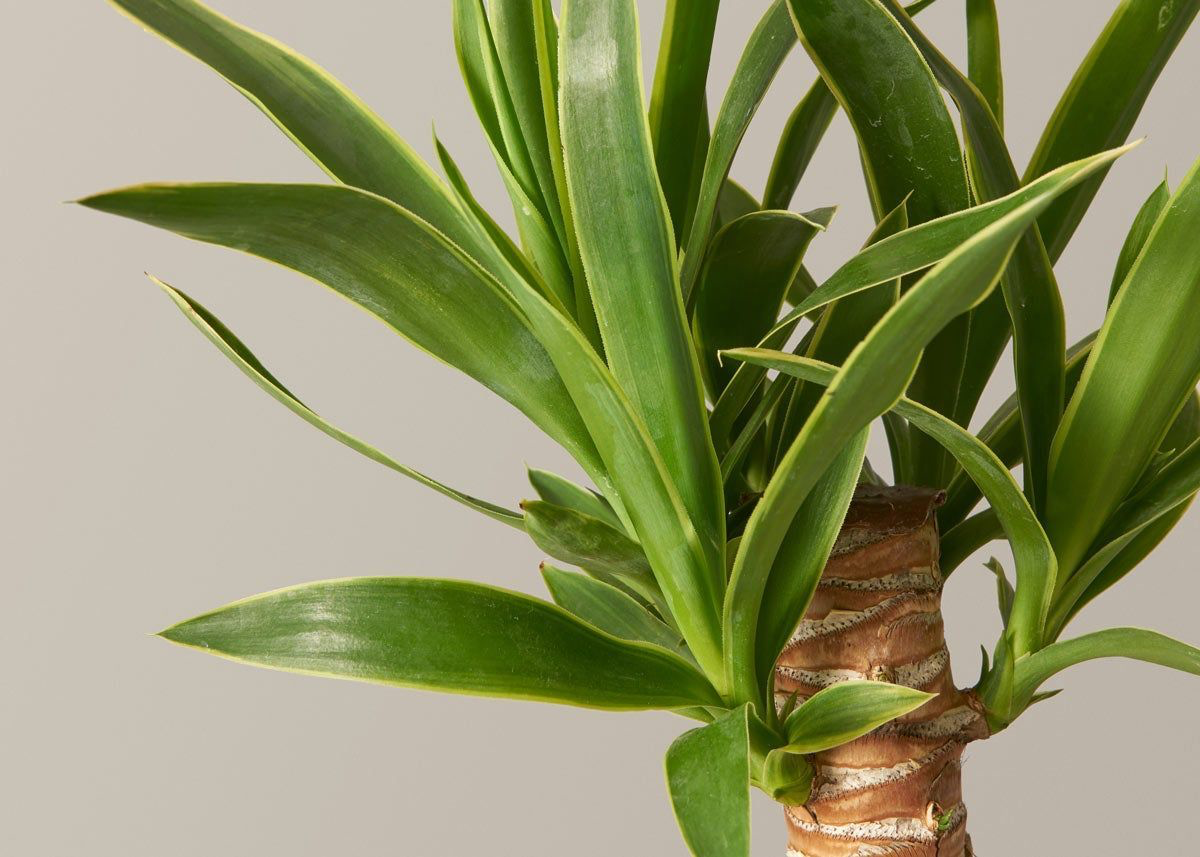
Before we even talk about soil or water, let’s get into the biology, because it’s honestly fascinating. A yucca’s entire system is built to handle a lack of water. Unlike a rose bush with fine, thirsty roots, yuccas have thick, fleshy roots or rhizomes that act like built-in water bottles. They are water storage organs.
So when you drench the soil and keep it soggy, you’re not just giving the plant a drink. You’re submerging its emergency rations in a swampy mess that’s perfect for rot. This is, without a doubt, the number one reason these plants die in people’s homes.
I’ve performed countless plant autopsies on drowned yuccas, and the signs are always the same. The base of the trunk gets soft and wobbly. The soil has a sour, unpleasant smell. And when you pull the plant out, the roots aren’t firm and light-colored; they’re black, mushy, and fall apart. That’s root rot, and once it gets into the main stem, it’s game over. It all starts with soil that just can’t dry out.
Oh yeah, and they even breathe differently. Most plants open their pores (stomata) during the day to take in CO2. But this also releases a ton of water. Yuccas have a clever trick: they often open their pores at night when it’s cooler, grab their CO2, and then shut down during the heat of the day to save every last drop of moisture. It’s an incredible adaptation that lets them handle intense sun and drought. It also means they absolutely do not need constantly damp soil.
Getting the Planting Right (This Prevents 90% of Problems)
Get the planting right from day one, and you’re already most of the way there. Whether it’s in a pot or in the ground, the goal is identical: create a root zone that drains like a sieve and provides good stability.
Your First Yucca Starter Kit: Potting Indoors
That standard bag of potting soil from the hardware store? It’s basically a death sentence for a yucca. It’s designed to hold moisture for tropical plants, which is the exact opposite of what you want. It stays too wet, and if it dries out completely, the peat in it can become hydrophobic and actually repel water.
Here’s the mix I’ve perfected over the years. It’s simple. Don’t worry about exact measurements; think of it like a recipe in parts. Your ‘part’ can be a coffee mug, a yogurt container, whatever you have.
My Go-To Yucca Potting Mix:
- 2 parts coarse horticultural sand. And I mean coarse. Play sand is too fine and will compact. Coarse sand creates air pockets for drainage. You can find this at any decent garden center or online, usually for under $10 for a big bag.
- 2 parts perlite or pumice. These are lightweight volcanic rocks that keep the soil from compacting. I personally prefer pumice because it has a little more weight, which helps keep top-heavy plants from tipping over. A bag of either will run you about $10-$20.
- 1 part basic potting mix or coconut coir. This just adds a little bit of organic matter.
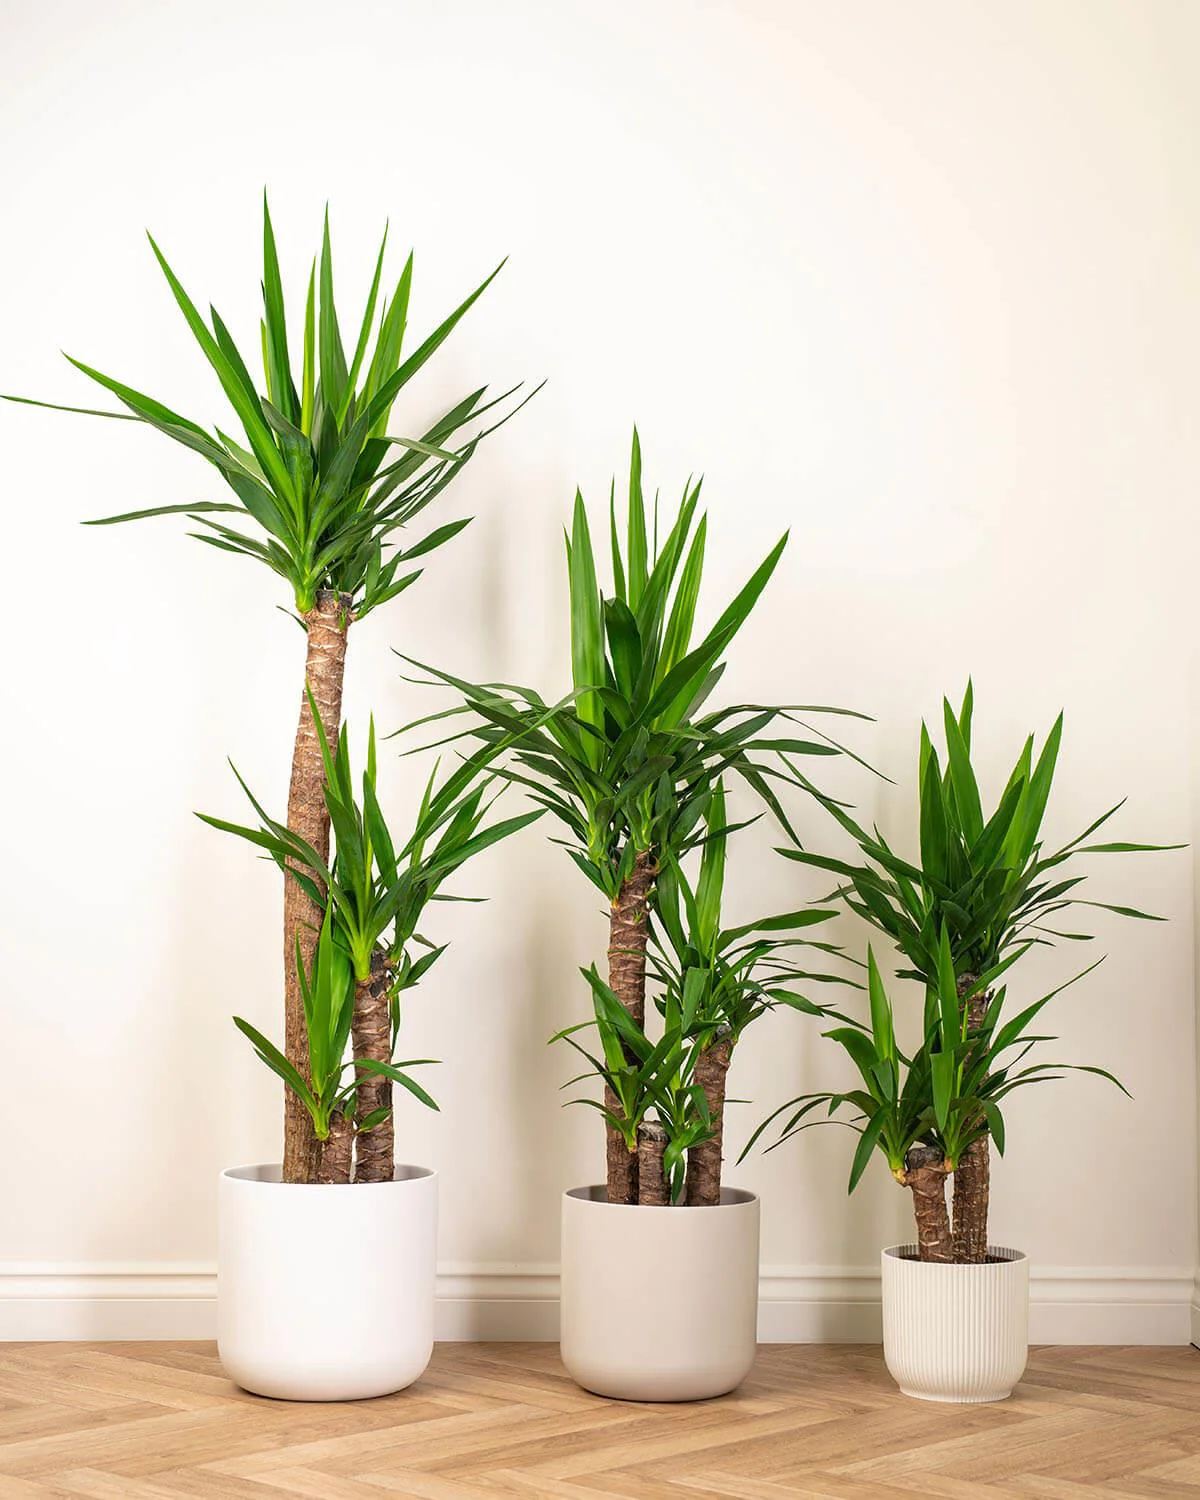
When you’re ready to pot, pick a container that’s only an inch or two wider than the root ball. A huge pot holds way too much soil, which stays wet for too long. And for the love of all that is holy, it must have a drainage hole. No exceptions. I’m a big fan of unglazed terracotta pots for yuccas; the porous clay helps the soil dry out faster.
Planting Yuccas in the Landscape
If you’re planting a yucca outside, you have to be honest about your native soil. If you have sandy, gritty soil, congratulations, you’ve won the lottery. But if you have heavy clay soil, you need to make some adjustments. Just digging a hole in clay and filling it with good soil is like making a bathtub—water will pool in there and rot the roots from the bottom up.
The pro solution is to plant it high. Dig a hole that’s just as deep as the root ball, but twice as wide. Then, you’ll amend the soil you removed by mixing it 50/50 with compost and coarse sand. Place the yucca in the hole so the top of its root ball is actually an inch or two above the surrounding ground level. Then you backfill with your amended soil, creating a gentle mound or ‘berm.’ You’re not building a giant hill, just aiming for a gentle slope that raises the plant’s base 2 to 4 inches above the native soil line. This uses gravity to pull excess water away from the plant’s sensitive crown.
Heads up! Before you start digging any big holes in your yard, please call 811 (or your local utility locating service). It’s free, it’s the law in most places, and it prevents you from hitting a buried gas or electric line, which is a genuinely life-threatening mistake.
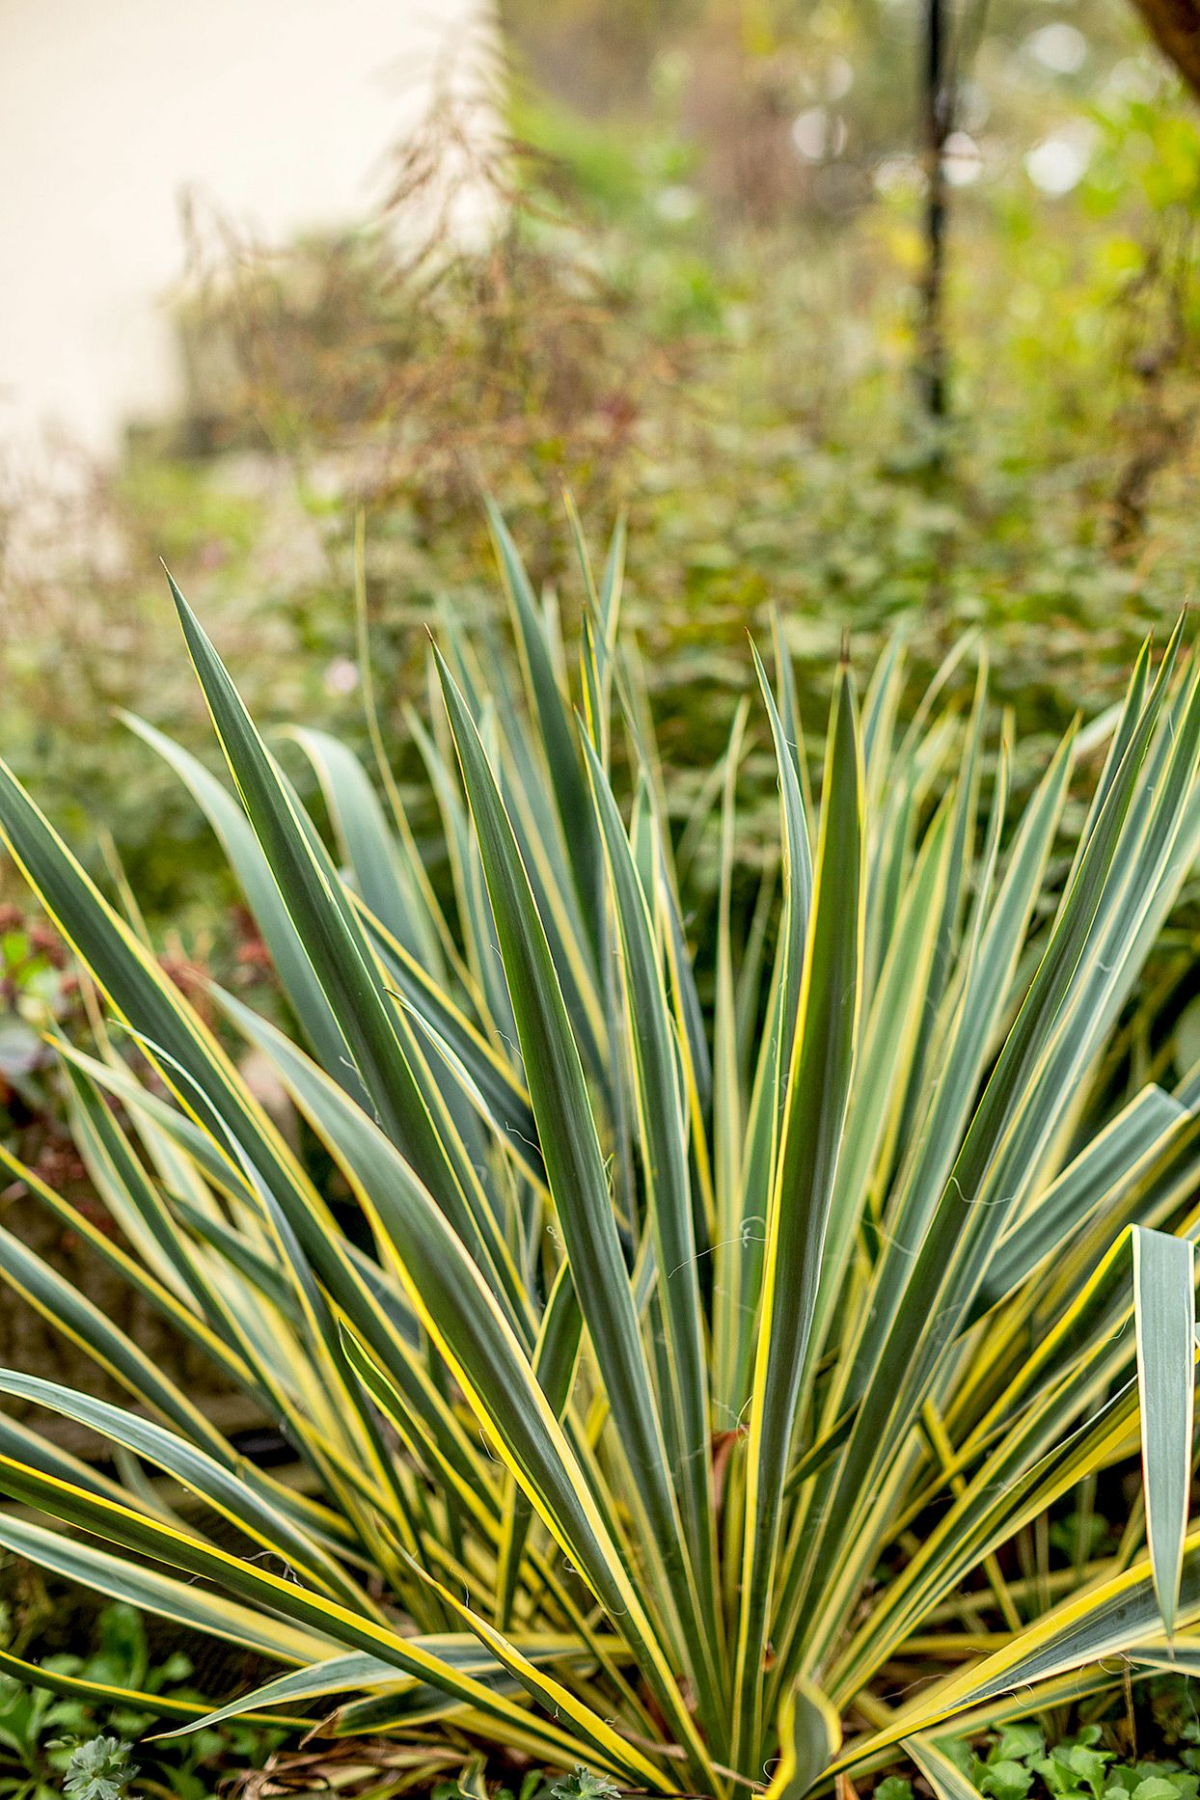
Choosing the Right Yucca for Your Space
The word ‘yucca’ covers around 50 different species. Picking the right one for your climate and location is critical. A desert plant won’t survive a rainy winter, and a tropical one can’t handle a freeze.
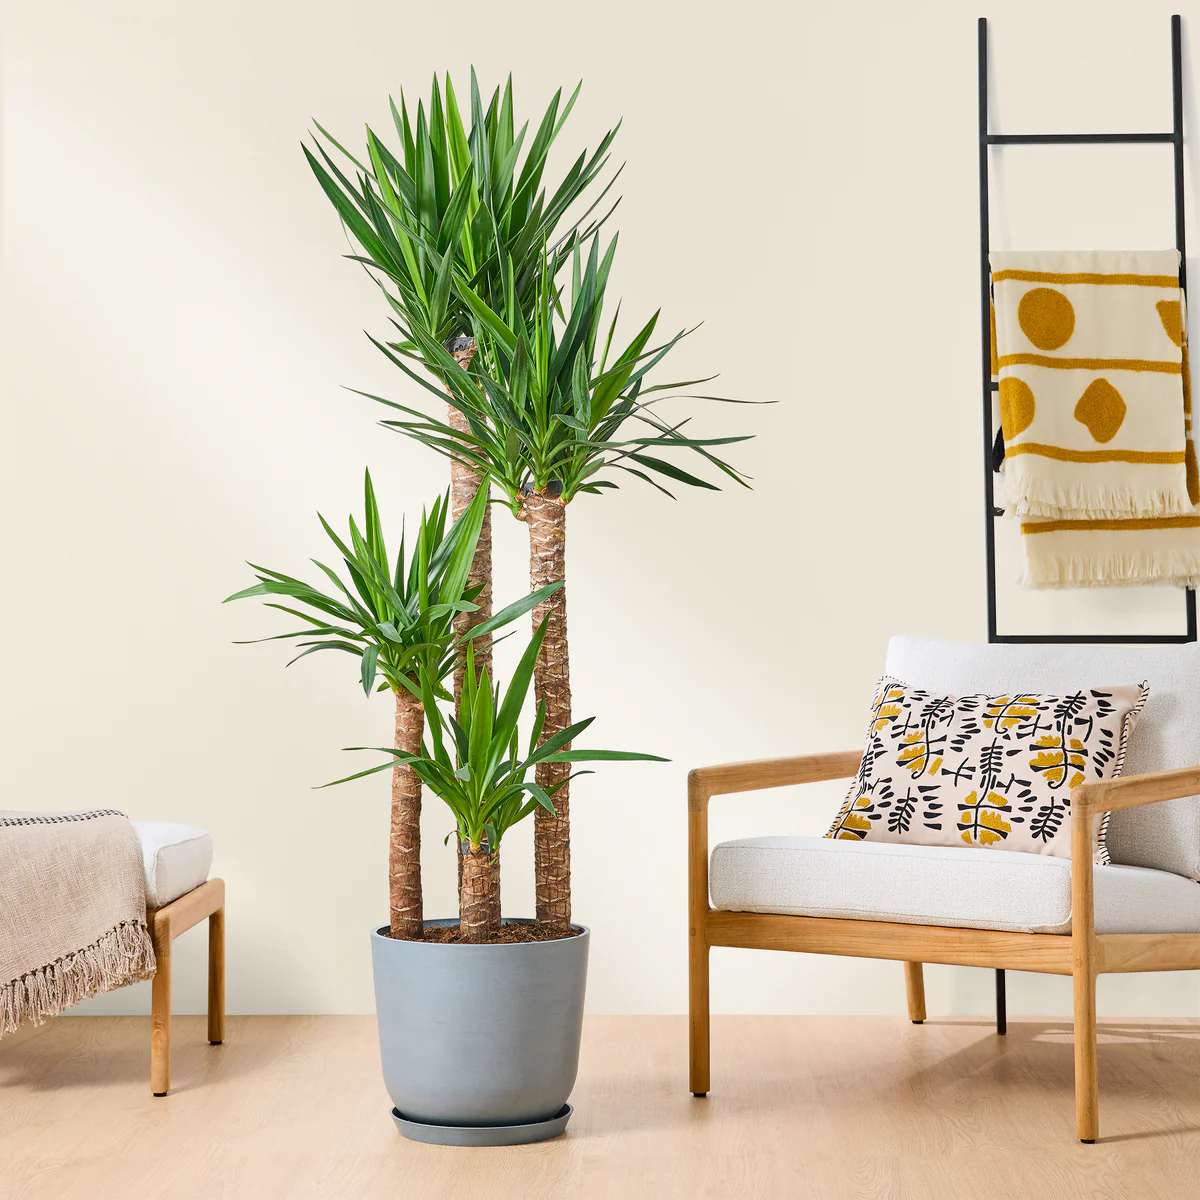
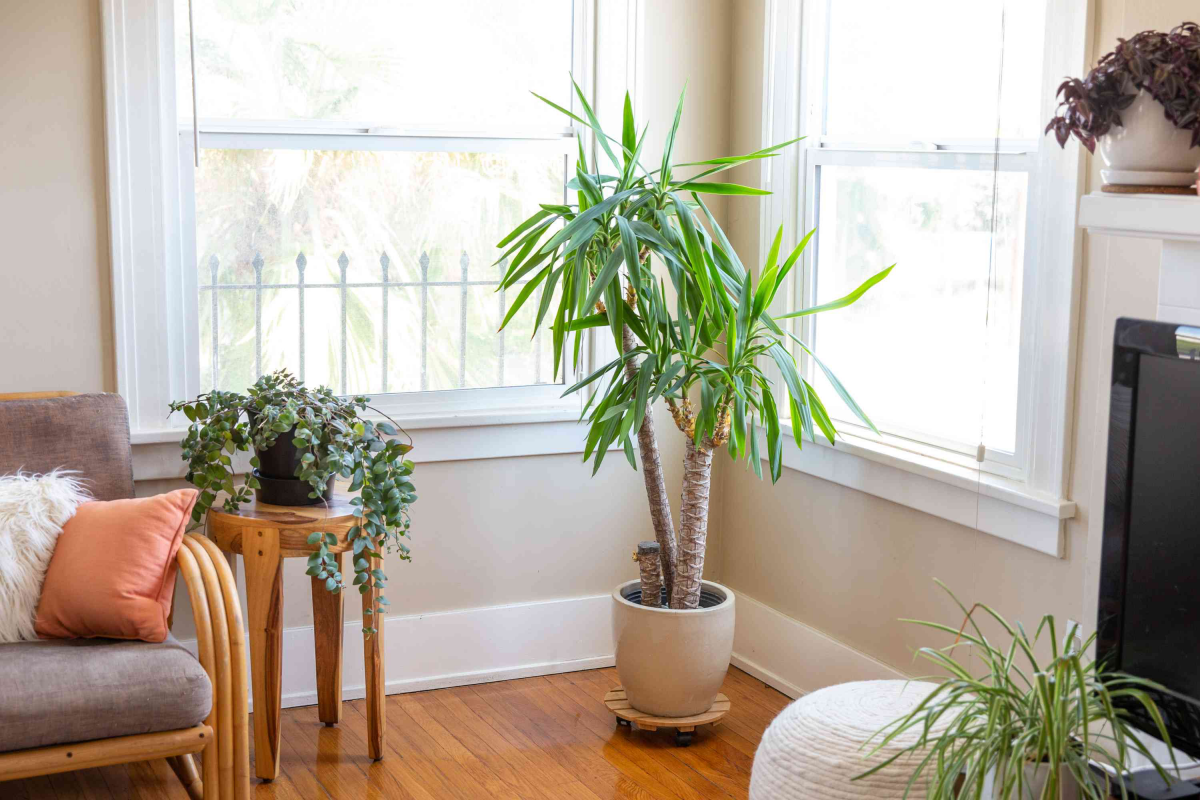
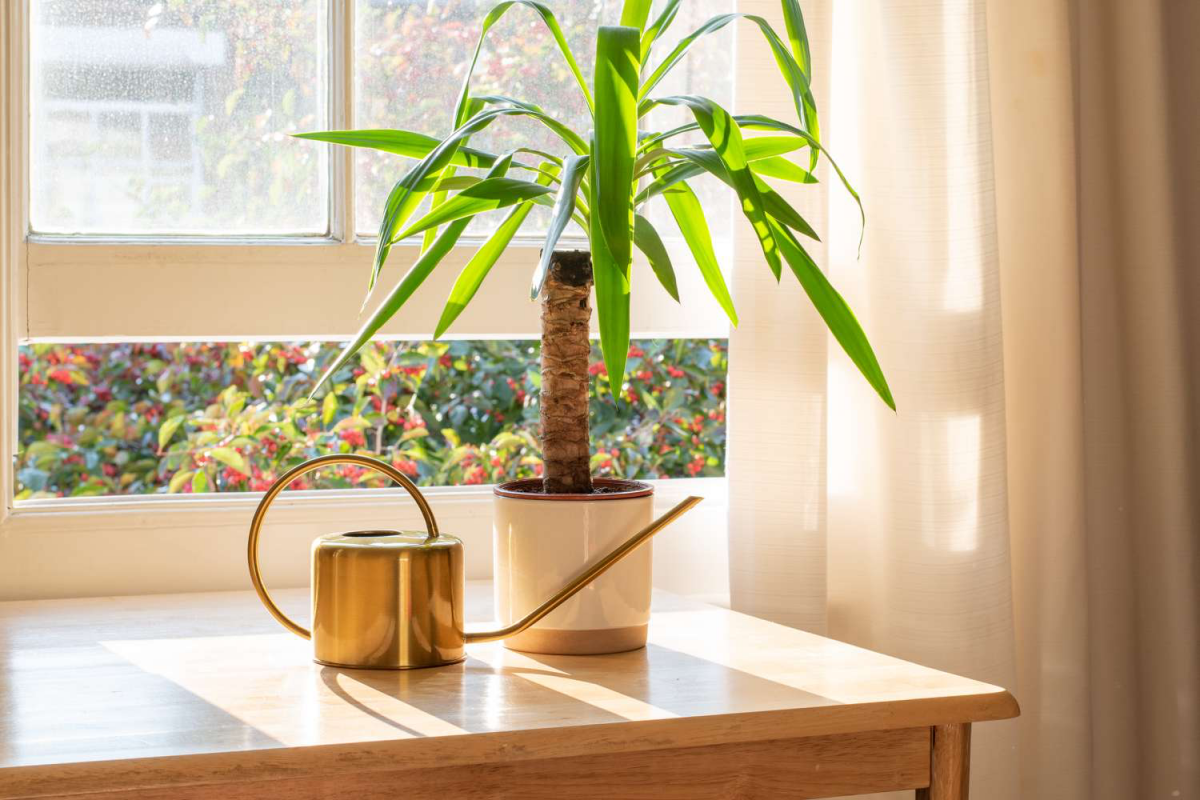
For Indoors & Mild Climates: Spineless Yucca
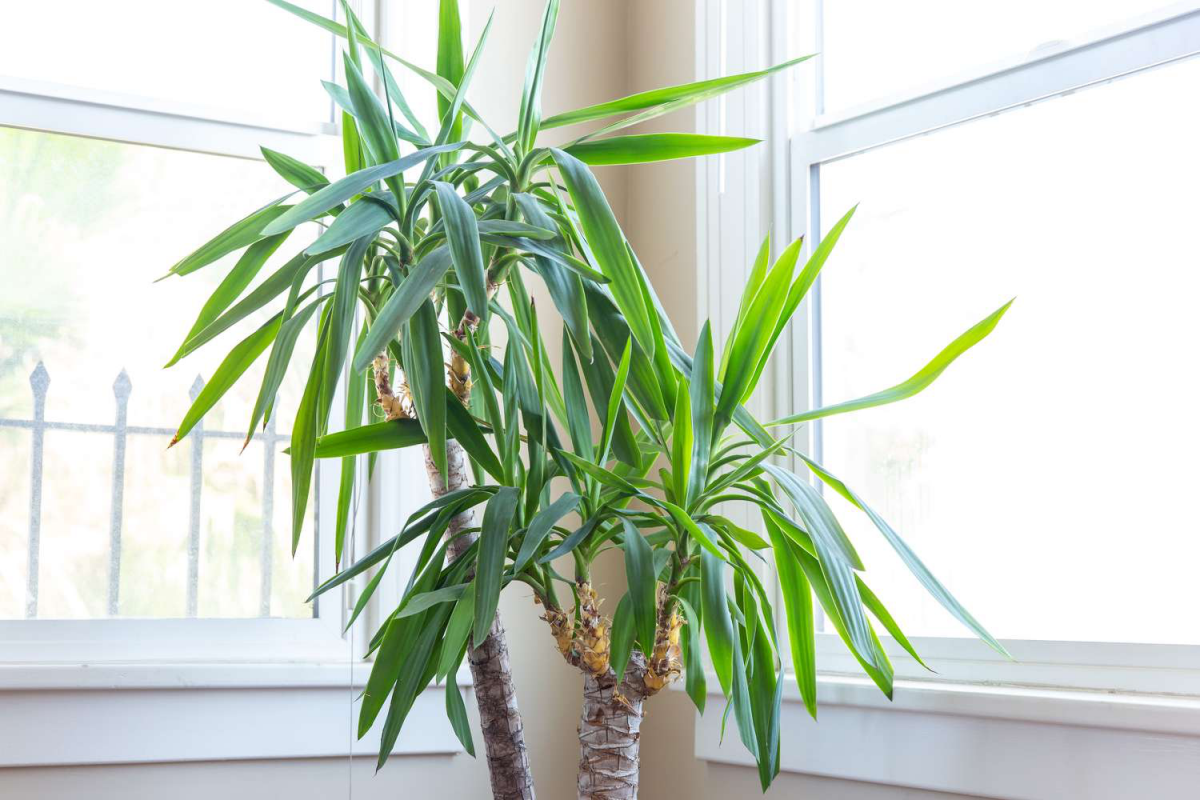
This is the classic houseplant yucca. It’s not frost-tolerant, so keep it inside unless you live somewhere warm year-round. It’s popular indoors because it handles lower light better than its desert cousins, but it still needs a bright spot. It’s not spiky at all, making it safe for homes. A common mistake is placing it near a drafty vent or door, which can cause its leaves to drop suddenly.
For Cold Climates: Adam’s Needle
This one is a champ. I’ve used it in landscapes in places that get heavy snow and frost (down to Zone 5). It’s incredibly tough and forms a low-growing clump. The leaves are a bit sharp but not truly dangerous, and it’s famous for the white threads that peel from the leaf edges. The key to its survival in cold, wet areas is planting it on that berm we talked about to keep its roots from sitting in icy water all winter.
For True Desert Landscapes: Joshua Tree
This is an iconic, incredible plant, but it is NOT a casual garden choice. They are often protected, require permits to move, and demand perfect drainage. I’ve seen homeowners kill a mature Joshua Tree just by planting a lawn nearby—the overspray from the sprinklers was enough to cause fatal rot. Honestly, these are best left to their native habitat or handled only by specialists in the right climate.
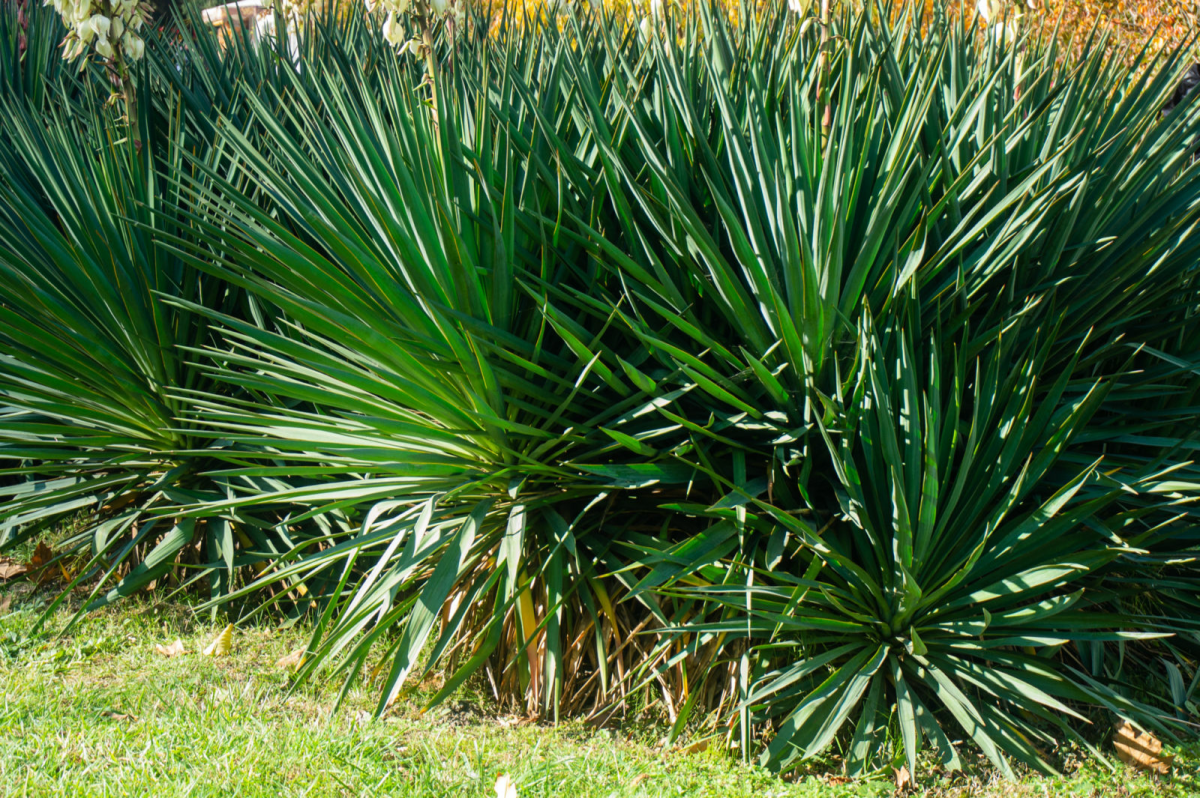
A Quick Word of Warning: Spanish Dagger
These plants are stunning, but their leaf tips are stiff, sharp, and can easily puncture skin. Remember my knuckle story? When working around these, I insist on thick leather gloves and safety glasses. A leaf whipping around in the wind is a real eye hazard. If you have kids or pets who play in the yard, I would strongly advise you to choose a different plant for any high-traffic areas.
Day-to-Day Care: Keep It Simple
People love to overthink this part. The philosophy is simple: less is more.
Watering: The Golden Rule
Drown it, then dry it. When you water, do it thoroughly until water pours out the drainage hole. Then—and this is the most important part—let the soil dry out completely. For a potted yucca, this means the top 2-3 inches feel bone dry to the touch. I often use a cheap wooden dowel (like from a craft store) and stick it deep into the soil. If it comes out dark and damp, wait. In a typical home, you might water every 2-4 weeks in summer and every 4-8 weeks in winter.
Quick Win: Seriously, if you do one thing after reading this, go check your potted yucca. If it’s sitting in a decorative pot with no drainage hole, take it out. If it’s in a saucer that’s full of water, dump the water out. Right now. You just saved it from its #1 killer.
Light: Let the Sun Shine In
Before you even think about buying that gorgeous 6-foot yucca at the nursery, take a hard, honest look at your windows. If you don’t have a spot that gets at least 6 hours of bright, direct sun a day, you’re setting yourself up for failure. A yucca will slowly decline in low light. A south-facing window is perfect. East or west will do. A north-facing window is a no-go.
Feeding: A Very Light Touch
I’ve seen more yuccas damaged by too much fertilizer than not enough. These plants are built for poor soil. A heavy dose of fertilizer will just create soft, weak growth that attracts pests.
If you feel you must, use a balanced liquid fertilizer for cacti and succulents, diluted to half-strength. Feed it once every couple of months during spring and summer only. A bottle of this stuff costs about $10 and will last you for years. Don’t fertilize in the fall or winter.
Getting Fancy: Pruning and Making More Plants
Once you’ve got the basics down, you can start shaping your yucca and even propagating it. This is the fun part!
Pruning for Looks
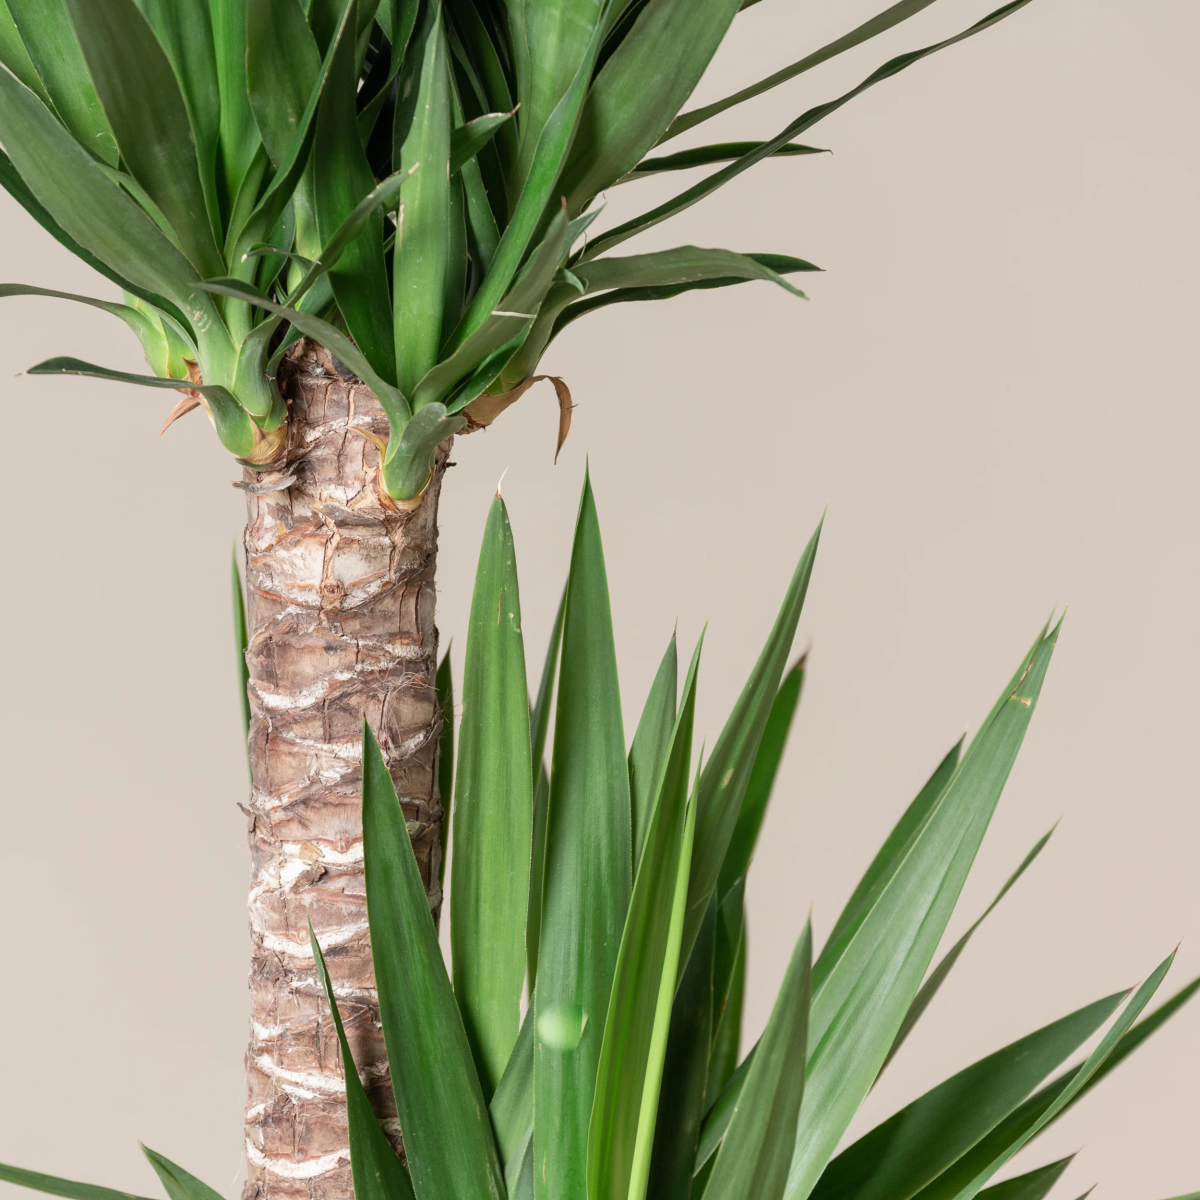
This is mostly just housekeeping. As the plant grows, the lower leaves will naturally die and turn brown. You can just cut them off close to the trunk with clean shears to keep things tidy. For an overgrown Spineless Yucca that’s gotten too tall, you can do something that sounds terrifying: behead it. It feels wrong, I know. But you can take a clean saw and cut the main trunk at pretty much any height you like. Don’t worry, you can’t really mess this up. The rooted bottom part is incredibly resilient and will usually start sprouting new heads of leaves just below the cut within 4 to 8 weeks during the growing season.
Propagation: Free Plants!
And the top part you just cut off? You can use that to make a whole new plant.
- Cane Cuttings: Take that top section and let it sit in a dry, shady spot for about a week. This allows the cut end to dry and form a callus, which prevents rot. Then, just plant the bottom few inches of the cane into a pot with your yucca mix. Water it once, then wait. It can take a month or two, but eventually, new leaves will sprout from the top.
- Offsets (Pups): Many yuccas grow little baby plants, or ‘pups,’ at their base. Let them grow to a decent size, then use a clean knife to separate one from the mother plant, trying to get some roots with it. Let it callus for a day or two, then pot it up.
- Root Cuttings: For clumping types like Adam’s Needle, you can dig up a piece of the thick root in early spring, cut it into 2-3 inch pieces, and plant them just under the surface of some sandy soil. With a little time, they’ll send up new shoots.
Troubleshooting the Common Stuff
Even with good care, you might see an issue pop up. Here’s what to look for.
- Yellowing Lower Leaves: A few leaves at the very bottom turning yellow is just normal aging. If a lot of leaves are yellowing and feel soft, you are definitely overwatering. Stop watering immediately and let that pot dry out for a long, long time.
- Brown, Crispy Leaf Tips: This is usually a sign of very low humidity or letting the plant get too bone dry for too long between waterings. It’s more of a cosmetic issue than a health crisis.
- Pests (Mealybugs & Scale): These little suckers love to hide deep in the base of the leaves, especially on stressed indoor plants. For a small infestation, dip a cotton swab in 70% isopropyl alcohol and just wipe the bugs off. It’s tedious but effective.
- Those Annoying Brown Spots on the Leaves: This is usually a fungal leaf spot, caused by water sitting on the leaves in a place with bad air circulation. The fix is simple: stop watering the plant from overhead. Water the soil, not the leaves. You can also prune off the worst-looking leaves to improve airflow.
Finally, a word of trust in the process. There will be times when a plant is too far gone. I’ve had to tell people that a prized yucca they’ve had for ages just can’t be saved from advanced root rot. It’s better to be honest about a plant’s chances than to offer false hope. By respecting these tough, beautiful plants for what they are, you give them the best possible chance to thrive for years to come.


