Don’t Let Your Dipladenia Die This Winter: A Complete Survival Guide
I’ve been working with tropical plants for what feels like a lifetime, both in sprawling commercial greenhouses and tucked-away private gardens. And every single year, I see the same sad story: gorgeous, vibrant Dipladenia plants turned into a brown, mushy mess by the first real frost. People treat them like any old perennial, and it just never ends well.
In this article
Believe me, I’ve been there. My first attempt to save one was a disaster. I hauled a stunning red Dipladenia inside, put it in my warm living room, and kept watering it like it was the middle of summer. A month later? It was a sad skeleton of yellow leaves and rotted roots. That failure taught me the most important lesson about overwintering: you’re not trying to spoil your plant. You’re trying to help it sleep.
Bringing a Dipladenia indoors for the winter is all about managed survival. You aren’t aiming for a lush, blooming beauty from December to March. The real goal is to guide the plant into dormancy—a sort of suspended animation—so it has the energy to explode with new growth come spring. This is the exact method I’ve perfected over the years, based on what these plants actually need, not what we think they need.
First Things First: Why Your Dipladenia Can’t Handle Winter
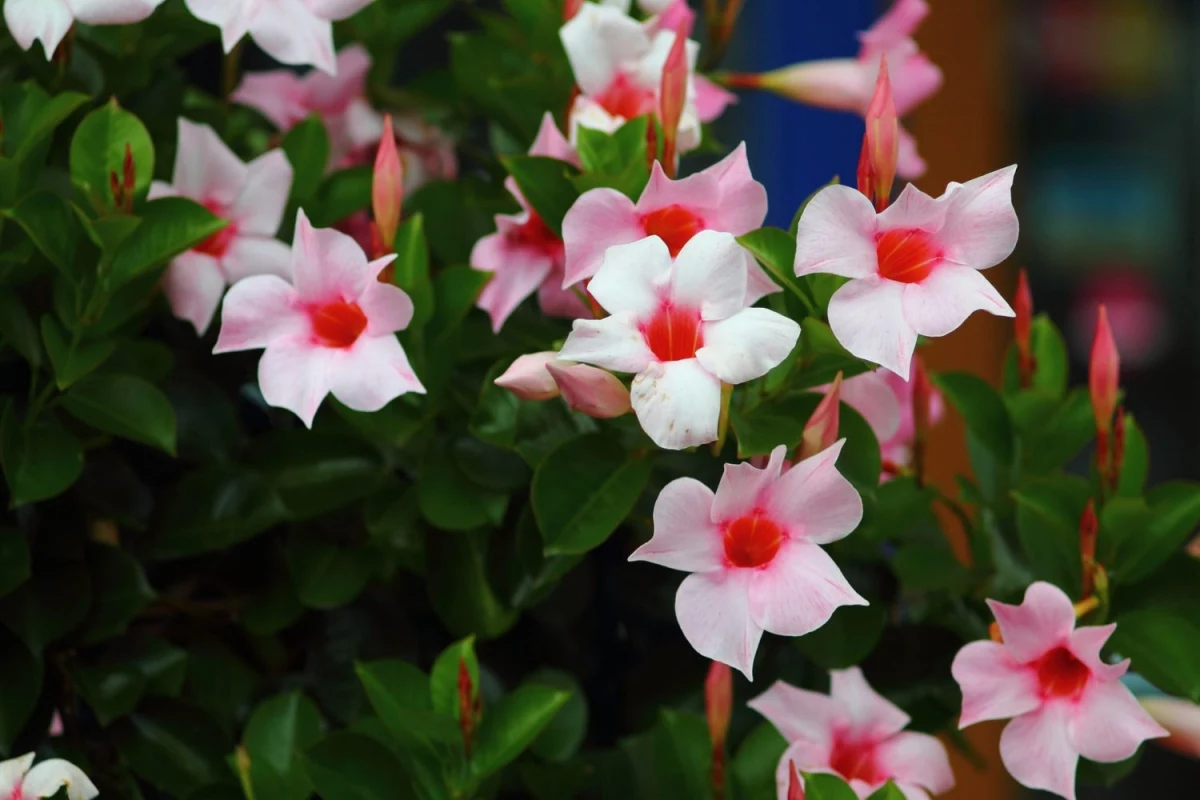
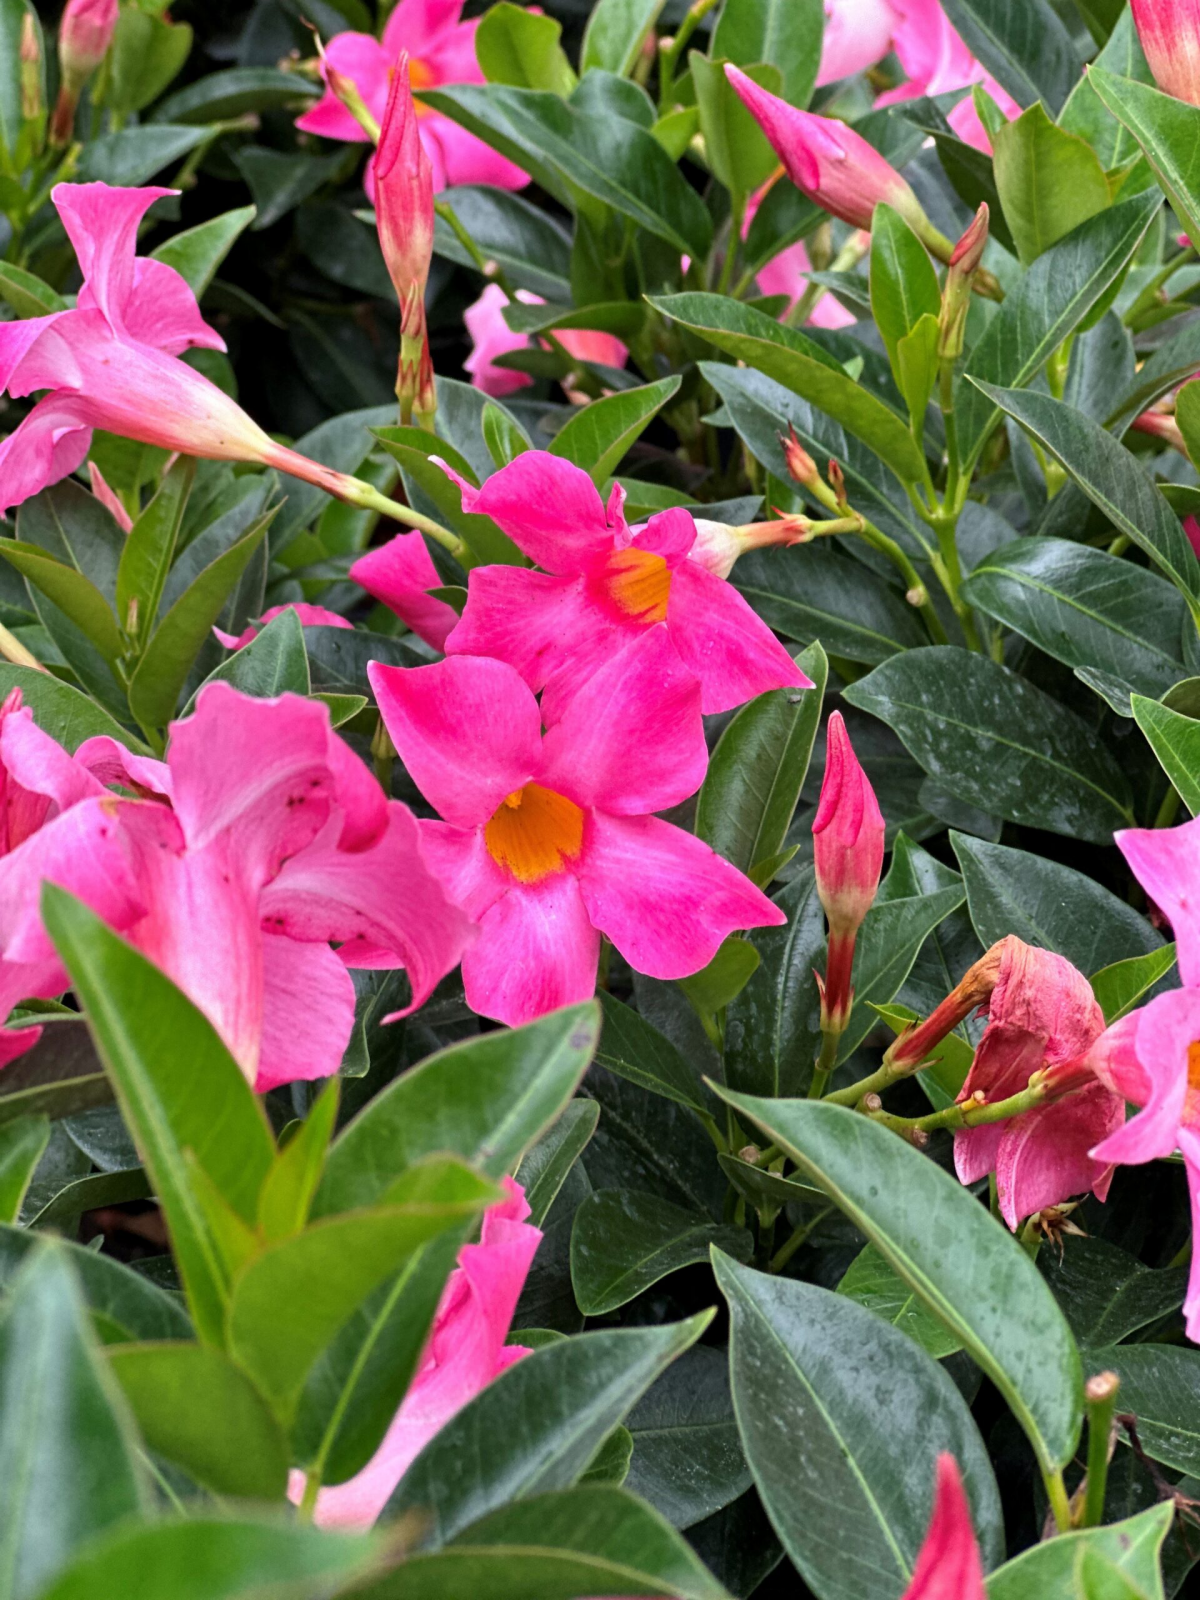
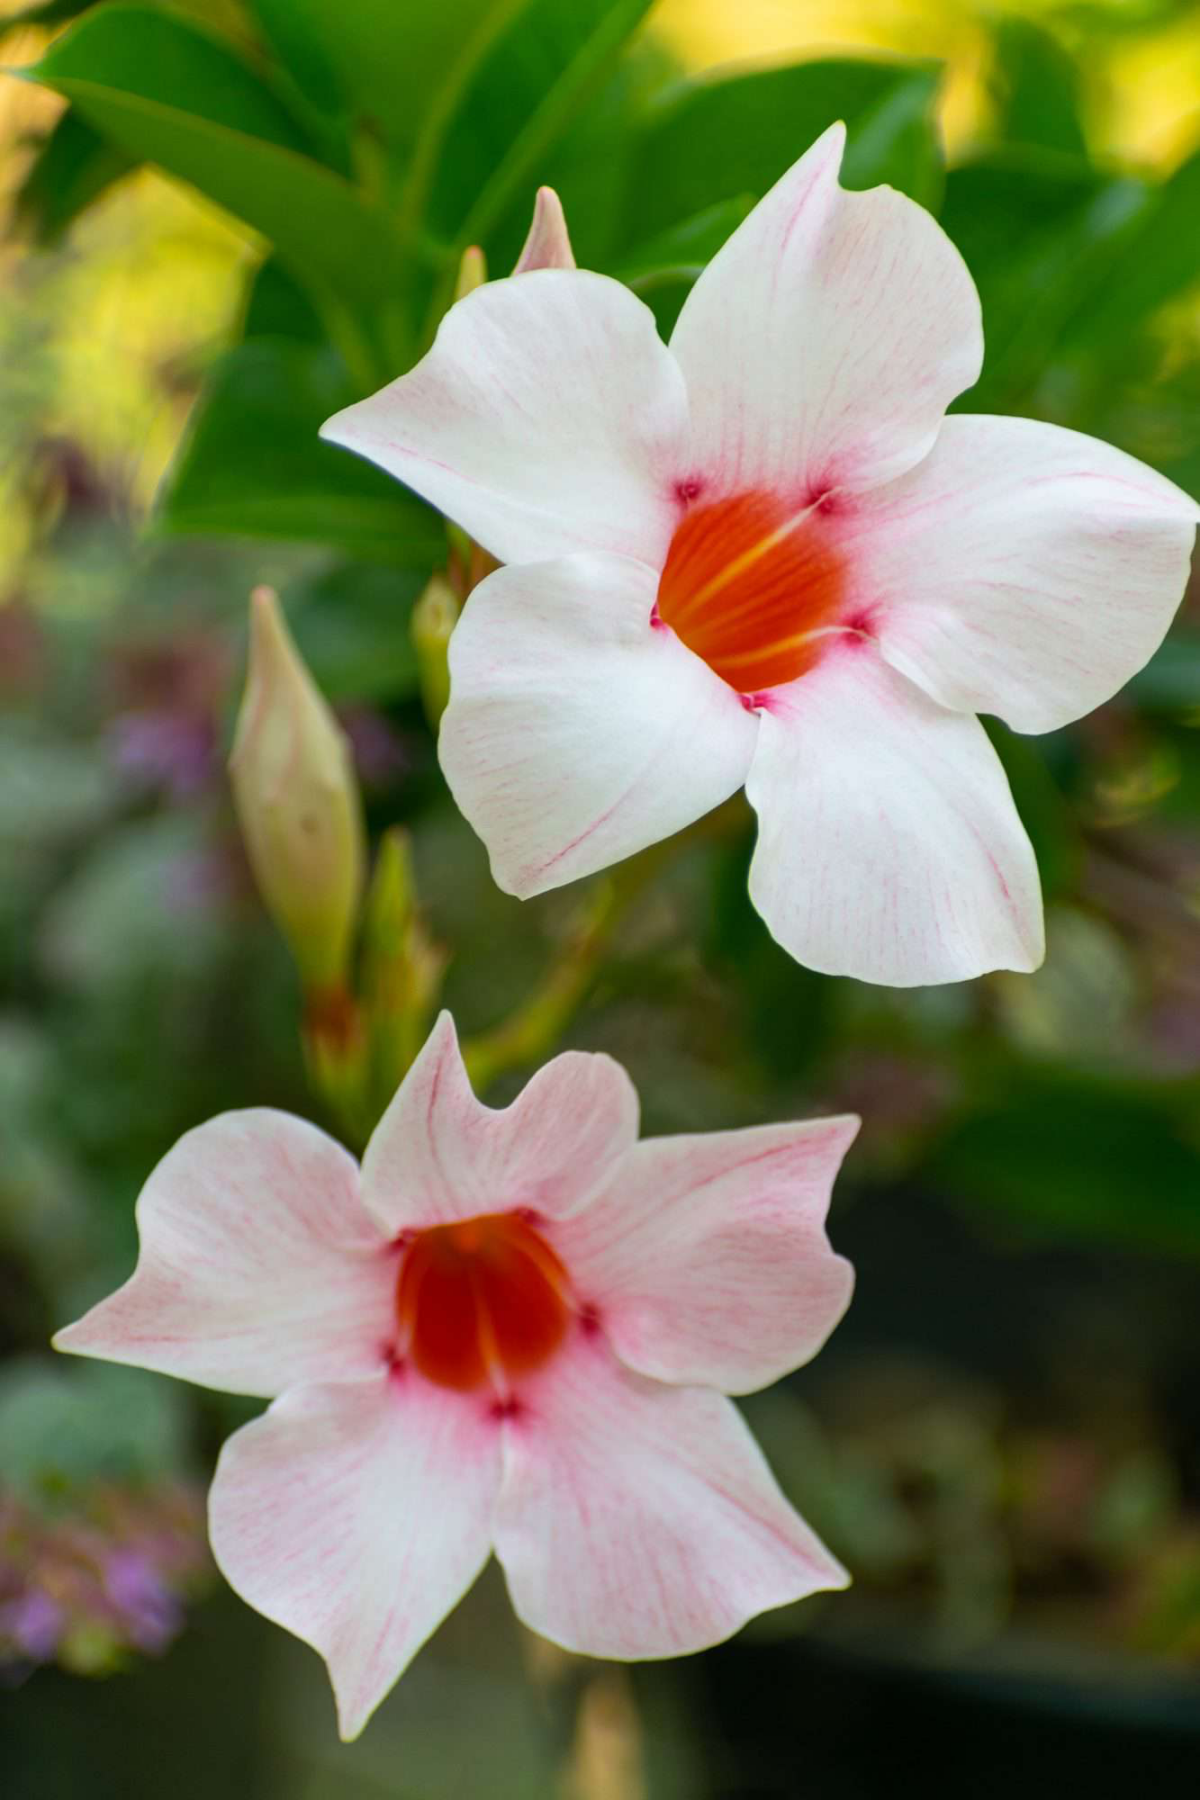
Before you even think about picking up the pruning shears, let’s get into the why. Dipladenia (which, by the way, is often sold as Mandevilla—they’re very close cousins) originally comes from tropical parts of the world. In its natural home, it has never felt a frost, seen snow, or dealt with the short, dim days of a northern winter. Its entire biology is wired for year-round warmth and light.
This means for most of us, it’s a tender plant that needs to be brought inside. Once the temperature drops below 50°F (10°C), the plant’s internal clock gets the message. Triggered by the cold and the shorter days, it starts shutting down to conserve energy. Our job is simply to give it a safe, stable place to do that. Trying to force it to grow is where things go wrong.
Step 1: The Pre-Move Prep (This is Non-Negotiable)
Your success for the entire winter really depends on what you do in the week before bringing the plant inside. Don’t wait until the weather forecaster is screaming about frost! By then, the plant is already stressed, making it a prime target for pests and disease indoors.
When to Act
Start checking the 10-day forecast as summer winds down. The key isn’t the daytime temperature; it’s the nighttime low. Once you see the nights are consistently dipping below 50°F (10°C), it’s go-time. A few chilly nights in the low 40s can be enough to cause leaf damage and start things off on the wrong foot.
The Pest Purge
Okay, listen up, because this is the step everyone wants to skip, and it’s the most critical. Your garden has beneficial insects that keep pests like aphids and spider mites in check. Your house does not. It’s a warm, dry paradise for these bugs, and an infestation can explode and spread to all your other houseplants.
Here’s my proven pest-clearing routine:
- The Inspection: Get a good look at your plant in bright light. Check under the leaves for the super-fine webbing of spider mites. Peer into the little nooks where leaves meet the stem—that’s where you’ll find the white, cottony tufts of mealybugs or tiny green aphids.
- The Power Wash: Use a garden hose with a decent spray nozzle to blast the entire plant. Get the tops and, most importantly, the bottoms of every leaf. This physically knocks off a huge percentage of bugs and their eggs.
- The Treatment: Let the plant drip dry in the shade for an hour. Now, you need to spray. I recommend either horticultural oil or insecticidal soap. Both work by suffocating pests on contact and are low in toxicity. From my experience, horticultural oil is a bit better for this job because it’s fantastic at smothering stubborn eggs, while soap is great for active adult bugs. For this big pre-winter clean, oil is my go-to. You can find a bottle for about $15 and a simple 1-gallon sprayer for another $15 at any hardware store. Mix it according to the label—and please, wear gloves!—and spray the plant until it’s dripping wet. Cover every single surface.
- Quarantine: Don’t bring it straight inside! Move it to a sheltered spot like a porch or garage for a few days and inspect it one last time. This ensures you didn’t miss anything. I learned this the hard way one lazy year and spent the next three months battling spider mites on every plant I owned. An hour of prevention is worth months of cure.
Oh Yeah, What If It’s Planted in the Ground?
Good question! If your Dipladenia spent the summer in a garden bed, you’ll need to dig it up before the first frost. Try to get a generous root ball, gently knock off the loose garden soil, and pot it into a container that’s just a little bigger than the roots. Use fresh, all-purpose potting mix. Once it’s potted, then you can start the pest purge process I just described.
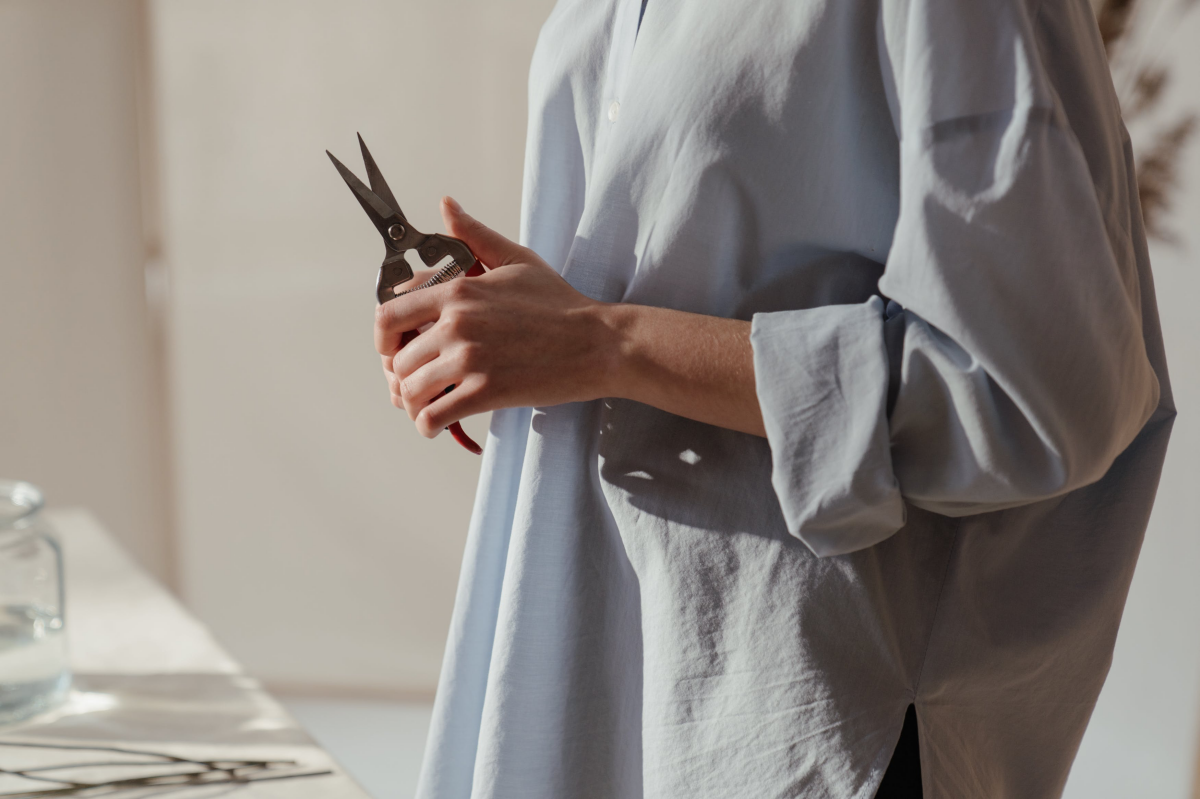
Step 2: To Prune or Not to Prune?
After it’s clean, you have a choice to make about pruning. It really depends on how much space you have.
Option 1: The ‘Brave’ Hard Prune
This is my preferred method and involves cutting the plant back hard—by about half or even two-thirds. I chop off all the long, trailing vines, leaving just a framework of the thickest, woodiest stems, maybe 6 to 12 inches long.

It looks absolutely brutal, and you’ll probably think you killed it. But trust the process. A smaller plant is easier to store, has fewer leaves for pests to hide on, and uses less energy over the winter. Best of all, this kind of prune encourages a ton of strong, bushy growth in the spring. Just grab a clean pair of bypass pruners (a good pair costs about $20) and get to it.
Heads up: Dipladenia drips a milky white sap when cut, which can irritate your skin, so I definitely recommend wearing gloves for this part.
Option 2: The ‘Cautious’ Tidy-Up
If you have the space and the idea of a hard prune gives you anxiety, you can just do a light trim. Snip off any yellow or dead leaves, remove old flower stalks, and shorten any wild, tangled vines to give it a more manageable shape. This is less shocking for the plant, but you’ll have a bigger plant to find a home for, and you’ll need to be extra careful about checking for pests all winter.

Step 3: Finding the Perfect Indoor Spot
Once the plant is clean and pruned, it’s time to find its winter home. The goal is to encourage sleep, not growth. So, that warm, cozy spot in your living room? That’s the worst place for it.
- Light & Temperature: The ideal location is the coolest, brightest spot you have. Think of an unheated sunroom, a chilly basement with a window, or even a spare bedroom where you keep the heat low. The sweet spot for temperature is between 50-60°F (10-15°C). It needs bright, indirect light to stay alive. A spot near an east-facing window is often perfect.
- What if I have no light? If you’re working with a dark corner, a simple utility shop light can be a game-changer. You don’t need a fancy, expensive grow light. A basic $25 LED shop light from the hardware store, hung about a foot or two above the plant, is plenty. Plug it into a cheap $10 outlet timer and set it for about 10 hours a day. Problem solved.
Step 4: Watering (This is Where Most People Fail)
This is it. The single most important part of overwintering. A dormant plant is barely using any water. Overwatering is the #1 killer of indoor Dipladenia because cool, soggy soil leads to fatal root rot.
Quick tip: If you brought your plant inside already, go check the soil right now. Stick your finger two inches deep. If you feel even a hint of moisture, DO NOT WATER IT. Back away. This one action could save your plant.
Forget watering on a schedule. The only way to know when to water is to physically check. Stick your finger deep into the soil. If it’s dry two inches down, it’s time to water. If it’s not, check again in another week. When you do water, take it to a sink and soak it until water runs out the bottom. Then—and this is critical—let it drain completely. Never, ever let it sit in a saucer of water.
Mid-Winter Check-In & Waking It Up
From December to February, your job is easy: just observe. Don’t you dare fertilize it! The plant is sleeping and can’t use the nutrients. You will see some yellow leaves fall off, which is totally normal. It’s just shedding weight for winter. As long as the stems are firm, you’re good.
Around late winter, as the days start to get longer, you can begin the wake-up process.
- A Final Trim: Snip off any skinny, weak stems that grew over the winter to encourage strong new growth.
- Increase Water: As you see tiny new leaf buds appearing, you can start watering a little more frequently (but still use the finger test!).
- Start Feeding: Once you see active new growth, you can give it its first meal. Start with a balanced liquid fertilizer mixed at half-strength.
- Go Outside Slowly: Don’t just chuck it out into the full sun! You’ll scorch the tender new leaves. You have to ‘harden it off’ by moving it outside to a shady spot for just an hour or two a day, gradually increasing the time and sun exposure over a week or two.
And that’s the whole system. It’s a little bit of work in the fall and spring, but the reward is a massive, stunning plant that gets better every single year. But honestly? If you don’t have a cool, bright spot, there’s no shame in treating it as a beautiful annual and buying a new one next year. Sometimes, knowing your limits is the smartest move a gardener can make.
Galerie d’inspiration
What about those yellowing leaves I see right after bringing it in?
Don’t panic! It’s completely normal for your Dipladenia to shed a significant portion of its leaves within the first few weeks indoors. This isn’t a sign of failure; it’s a sign that the plant is successfully transitioning into dormancy. The reduced light and cooler temperatures trigger it to conserve energy by dropping foliage it can no longer support. Your main job is to simply sweep them up and resist the urge to ‘fix’ the situation with more water, which is the number one mistake at this stage.

Over 90% of overwintering failures for tender perennials are due to root rot from excessive watering in dormant conditions.
Once your Dipladenia is in its cool, resting place, your watering can should be mostly retired. The soil should be allowed to dry out almost completely between waterings. A good rule of thumb is to check the soil once a month. If the top 2-3 inches are bone dry, give it just enough water to moisten the soil, not drench it. Using a pot with excellent drainage, like a classic terracotta pot, can provide an extra layer of protection against accidental overwatering.
Severe Pruning: A hard prune back to about 6-8 inches from the base. This is ideal for large, unruly plants or if you have very limited storage space. It feels drastic, but the plant will re-sprout vigorously from the old wood in spring.
Light Pruning: Simply trimming off any remaining flowers, seed pods, and long, tangled vines to neaten the plant’s shape. This is a good option if you have more space and want a slightly larger plant to start with next season.
Either way, pruning reduces the plant’s mass, making it easier for the roots to support it through its long winter nap.


