Sick of Sweaty Windows? Your Guide to Fixing Winter Dampness for Good
I’ve been in the home construction game for more than two decades, and I’ve stood inside hundreds of homes in the dead of winter. The story is almost always the same. It starts with those annoying steamy windows every morning. Before you know it, the basement feels a little clammy, or you catch a musty whiff from a closet. So many people just chalk this up to winter. But I’m here to tell you it’s not normal—it’s a warning sign that your house is losing the battle against moisture.
In this article
- In a Hurry? Try These 3 Things Today
- First, Let’s Understand the Enemy
- Step 1: Get the Right Tools and Measure
- Step 2: Control Moisture at the Source
- Special Advice for Renters
- Step 3: Bring in the Mechanical Big Guns
- Step 4: Air Sealing, Insulation, and the Big Picture
- When to Call a Professional (and Who to Call)
- A Healthy Home is an Active Process
- Inspirational Gallery
And honestly, high indoor humidity isn’t just about feeling a bit gross. It’s a serious problem. That dampness is a welcome mat for mold, mildew, and dust mites. Over time, it can literally rot the wooden frame of your house and turn your insulation into a soggy mess. I’ve seen it happen, and it’s not pretty. My goal here is to cut through the confusion and give you a real, practical plan for a drier, healthier home. No quick fixes, just the stuff that actually works.

In a Hurry? Try These 3 Things Today
Look, I get it, you’re busy. If you do nothing else, start here:
- Run your bath fan longer. Every time you shower, leave that fan running for a solid 30 minutes after you get out. It makes a huge difference.
- Do the “toilet paper test.” Turn on your bathroom and kitchen fans. Can they hold a single square of toilet paper against the grille? If it falls, your fan is too weak or clogged to do its job.
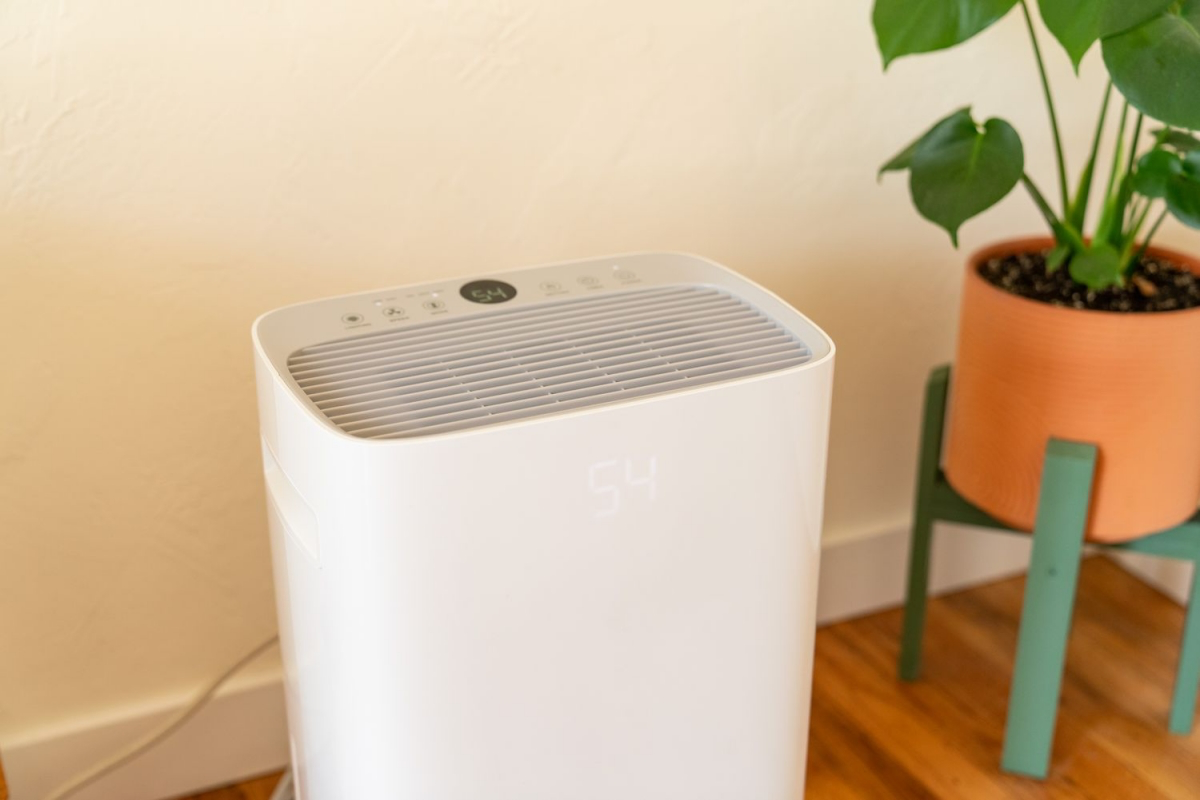
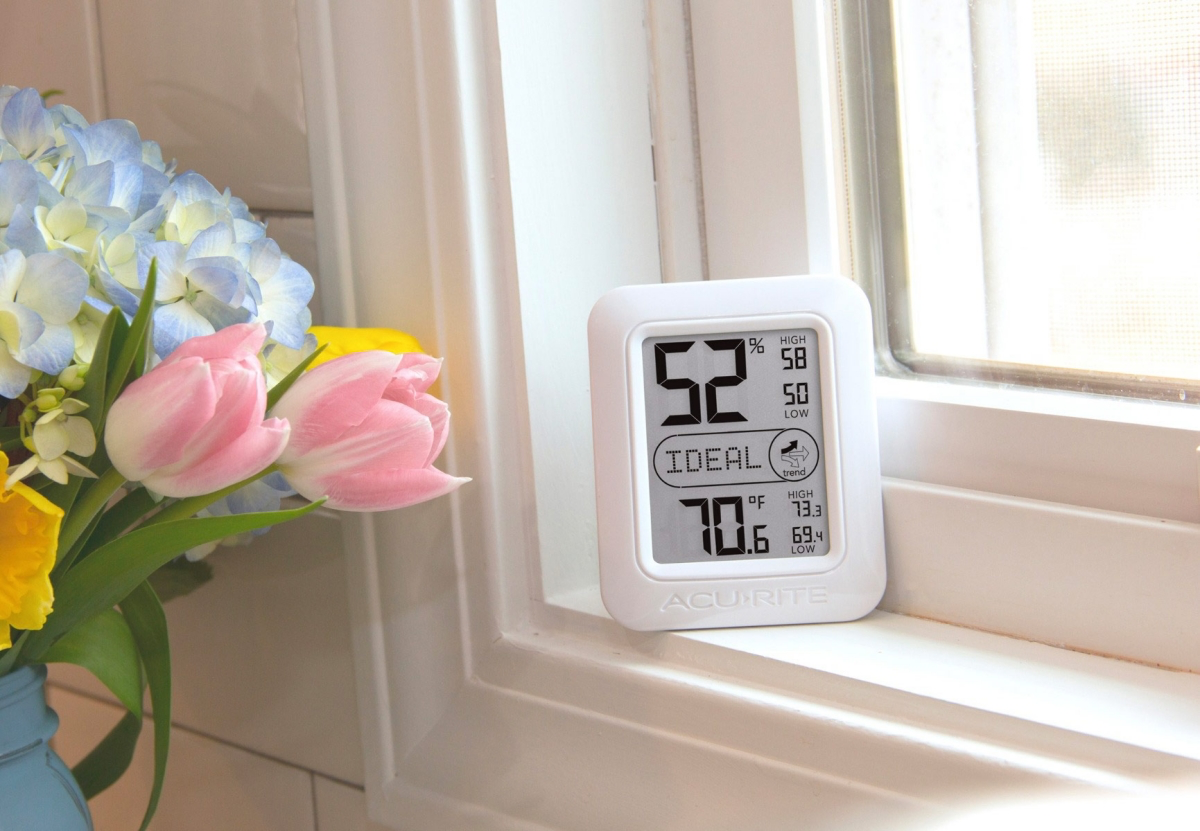
- Buy a hygrometer. You can’t fix what you can’t measure. A decent digital one costs about $15 and is the single most important tool you can own for this fight. If your humidity is consistently over 50-55%, it’s time to take action.
First, Let’s Understand the Enemy
To really solve this, you need to know what you’re up against. It all comes down to a couple of simple ideas: relative humidity and the dew point. Don’t worry, this isn’t a science lecture, but knowing this helps a ton.
Think of air like a sponge. Warm air is a big, fluffy sponge that can hold a lot of water. Cold air is a tiny, compressed sponge that can’t hold much. Relative Humidity (RH) is just a percentage that tells you how “full” that air-sponge is with water vapor.
Here’s the winter twist. We take cold, dry air from outside and heat it up. Heating the air makes the “sponge” expand to a much bigger size, but the amount of water in it hasn’t changed. This makes the RH drop, which is why some houses feel so dry. So, where does all the extra moisture come from? Us! A family of four can pump two or three gallons of water into the air every single day just by breathing, cooking, and showering.
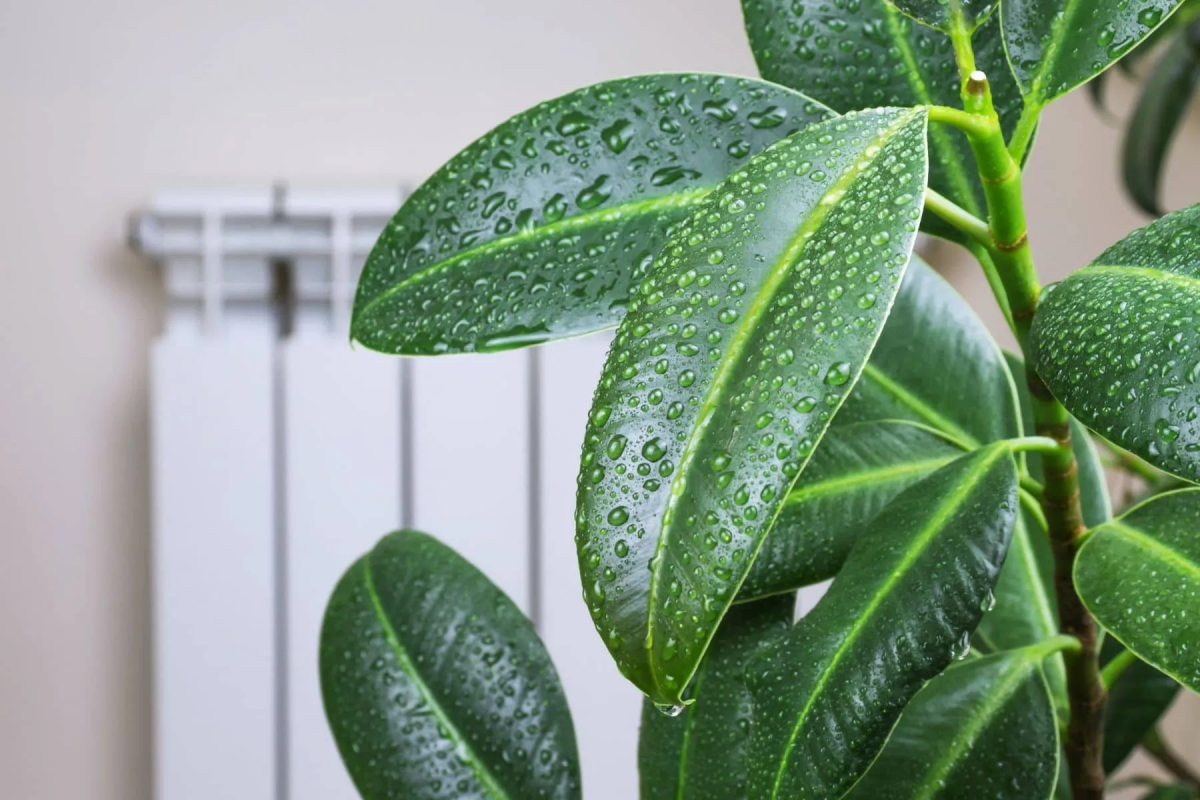
Since our homes are sealed up tight to save on heating bills, that moisture gets trapped. The indoor RH starts to creep up. Now you have warm, moist air inside… and that’s where the problem starts. This brings us to the dew point. That’s simply the temperature where the air gets so cold it can’t hold its water anymore, and the vapor condenses back into liquid. Your windows are usually the coldest surfaces around. When your warm, moist indoor air hits that cold glass, the “sponge” gets squeezed, and water appears. That condensation is your canary in the coal mine. If your windows are wet, you can bet other hidden spots in your walls are, too.
Step 1: Get the Right Tools and Measure
You have to start by getting real numbers. Guessing is a waste of time. Your first move is to buy a good digital hygrometer. You can find a reliable ThermoPro or Govee model online for between $15 and $25. Don’t bother with the cheap little analog dial ones; they’re often wildly inaccurate.
I’d suggest getting two. Put one in your main living area (away from kitchens and bathrooms) for a baseline reading. Put the second one wherever you’re most concerned, like the basement or a chilly bedroom. Let them sit for a day to get a true picture.
So, what’s a good number? For most climates, you want to keep your indoor RH between 30% and 50% in the winter. The pros who set building standards say to always keep it below 60% to stop mold in its tracks.
Heads up! This target can change with the outdoor temperature. If it’s brutally cold outside, your windows will be colder, and you’ll need your indoor air to be drier to prevent condensation. Here’s a good rule of thumb:
- If it’s 20°F to 40°F outside, aim for no more than 40% humidity inside.
- If it’s 10°F to 20°F outside, you’ll want to be closer to 35%.
- And if it drops below 0°F, you might need to get your humidity down to 30%.
Step 2: Control Moisture at the Source
The cheapest and easiest wins come from simply putting less moisture into your air to begin with. This is all about habits and checking your gear.
Bathroom & Kitchen Ventilation
A hot shower is like a steam bomb. That exhaust fan is your best weapon, but only if you use it right. Run it every single time you shower, and—this is the part everyone forgets—leave it running for at least 20-30 minutes after you’re done. This pulls out all that lingering dampness.
In the kitchen, your range hood is for more than just smoke. Boiling a big pot of pasta releases a ton of steam. A critical point here: your hood MUST vent to the outside. Those cheaper “recirculating” hoods just blow steamy, greasy air back into your kitchen. They do absolutely nothing for moisture control.

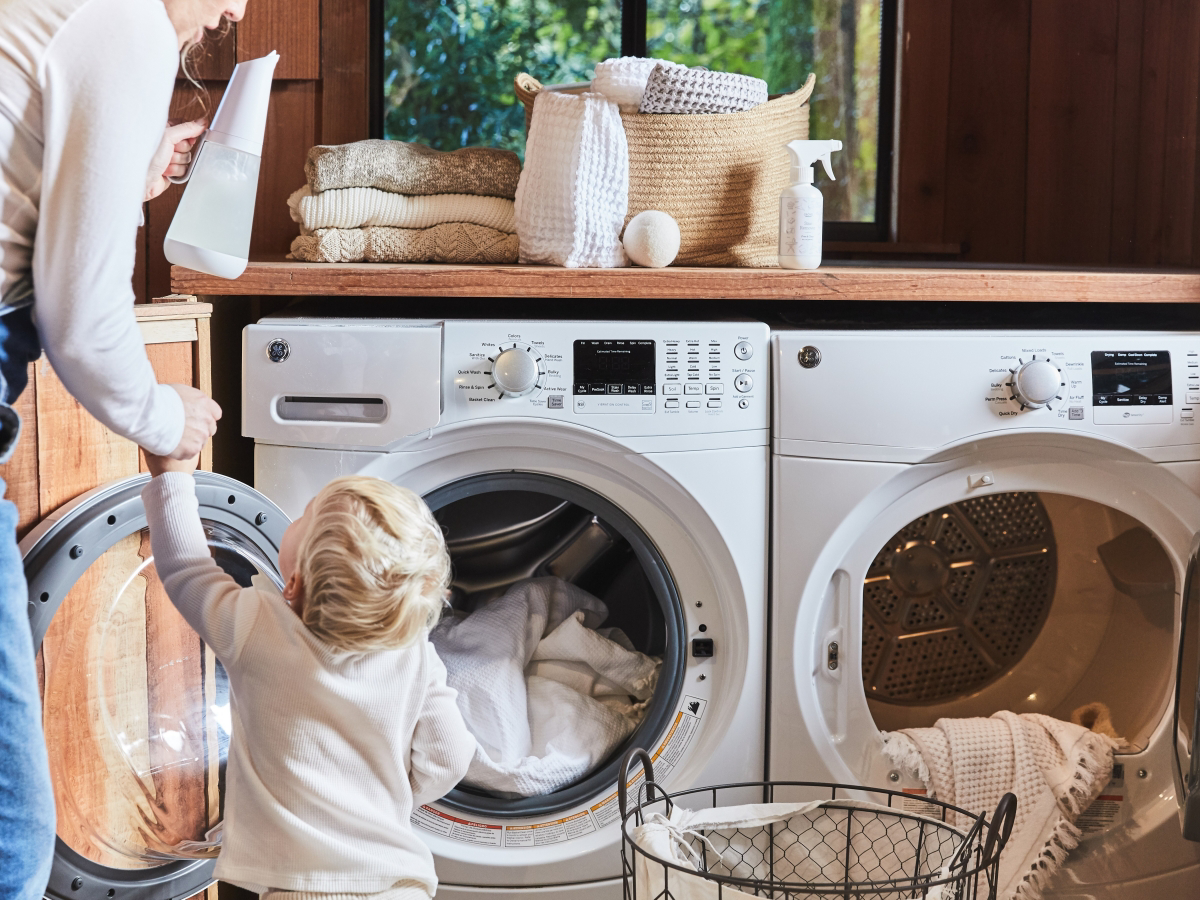
Laundry and Clothes Drying
Your clothes dryer is supposed to vent all that moisture outside. Go find where your dryer vents out. Turn the dryer on a no-heat/air-fluff cycle and feel the airflow. Is it a strong, steady stream or a sad little puff? A weak flow means your vent duct is probably clogged with lint, which is a fire hazard and forces moist air back into your house. Make sure the duct is smooth metal, not that flimsy, ribbed plastic stuff.
And please, I’m begging you, avoid drying clothes on racks inside during the winter. I’ll never forget a job where we had to tear out an entire wall of black, mushy drywall. The cause? The homeowner hung wet laundry in their bedroom all winter. A single large load can release over a gallon of water into your air. If you absolutely have to do it, put the rack in a small, closed room with a dehumidifier running right next to it.
Basements and Crawl Spaces
These areas are ground zero for moisture. The earth is damp, and that moisture can pass right through concrete. If you have a crawl space, a proper vapor barrier is non-negotiable. This is just a thick sheet of plastic (at least 6-mil) that covers the entire dirt floor, with the seams sealed and run up the walls a bit. It’s one of the single most effective fixes for a chronically damp house.
Special Advice for Renters
Feeling helpless because you can’t just install a new fan or tear into a crawl space? Don’t worry, you still have options. Your focus should be on aggressive moisture removal.
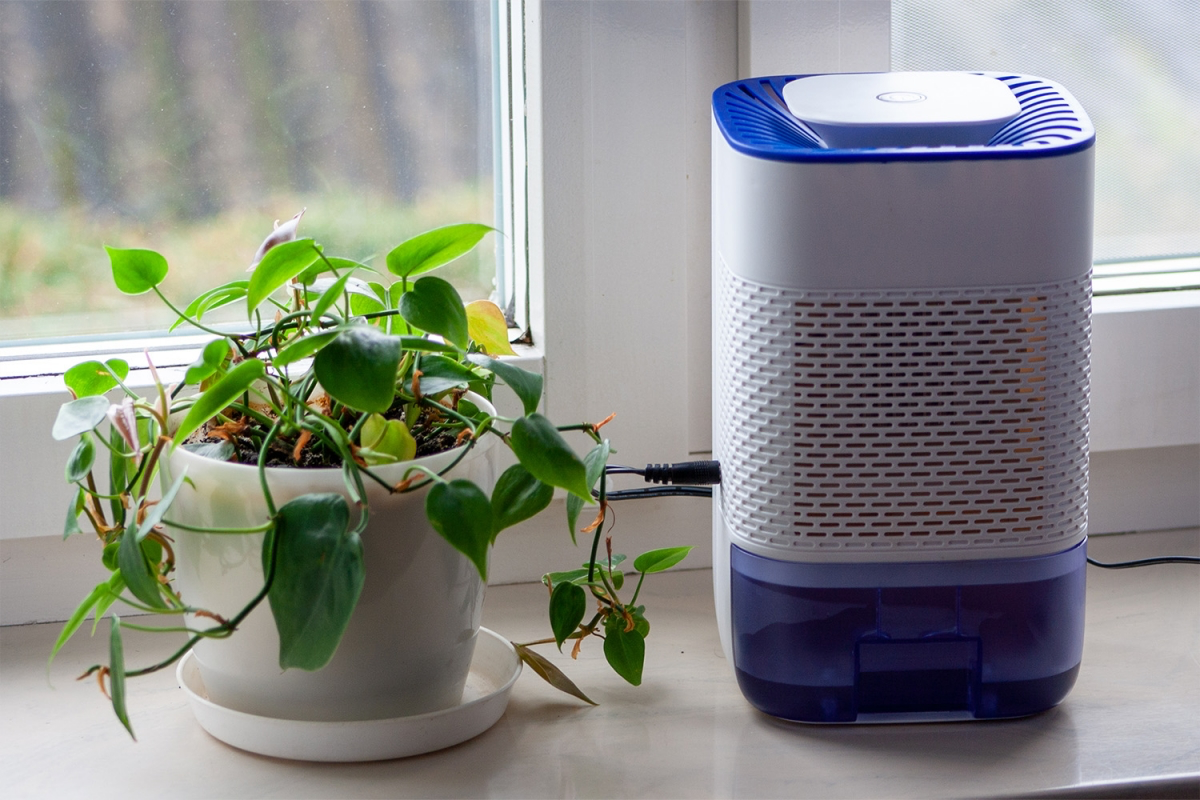
- A good dehumidifier is your best friend. Invest in a solid portable unit for your main living space or a problem area. More on this in a second.
- Be militant about fan use. Use those bath and kitchen fans every single time, and for longer than you think you need to.
- Try a window insulation kit. These are clear plastic films you tape over your windows. They create an insulating air gap that keeps the interior pane of glass warmer, which can seriously reduce condensation. You can get them for a few bucks at any hardware store.
- Use moisture absorbers. Products like DampRid can be surprisingly effective in small, enclosed spaces like closets or under sinks. They won’t solve a whole-house problem, but they can definitely help in trouble spots.
Step 3: Bring in the Mechanical Big Guns
If you’ve controlled the sources and your humidity is still high, it’s time for some hardware.
Portable Dehumidifiers
A portable dehumidifier is a fantastic tool for a damp basement or a specific problem area. When you’re shopping, look at the capacity, which is measured in pints of water removed per day. A 50-pint unit is a great all-around choice for most basements and will run you between $180 and $280. It’s always better to get one that’s slightly oversized; it’ll work more efficiently.
Pro tip: Find a model with a continuous drain hose connection. Emptying the bucket every day is a chore you’ll quickly abandon. Running a simple garden hose to a floor drain or sump pump makes it a “set it and forget it” solution. And don’t worry too much about the electric bill. A modern Energy Star unit might add $20-$30 to your monthly bill in the damp season, which is way cheaper than the thousands you’d spend on mold remediation.
Whole-House Ventilation
For homes with a serious, widespread humidity issue, the pro-level solution is a whole-house ventilation system. The best options are balanced systems called HRVs (Heat Recovery Ventilators) or ERVs (Energy Recovery Ventilators). They work with your furnace to constantly exchange stale, moist indoor air for fresh outdoor air. An HRV is great for very cold climates as it efficiently transfers heat to the incoming air. An ERV does the same but also transfers some moisture, making it ideal for climates with both cold winters and humid summers. This isn’t a DIY job; you’ll need an HVAC pro to install one.
Step 4: Air Sealing, Insulation, and the Big Picture
This might sound backward, but sometimes a leaky house is a damp house. If you have air leaks between your damp basement and your living space, the natural “stack effect” (hot air rising) will suck all that musty, moist air right up into your home. Sealing those gaps is key.

At the same time, good insulation keeps your interior wall surfaces warmer. If a wall is warm, the moist air touching it won’t cool down to its dew point, and you won’t get condensation inside your walls where mold loves to grow. The modern philosophy is simple: build tight and ventilate right. We seal up the house to control airflow, then use mechanical systems to provide the fresh air we need. It’s the best of both worlds.
When to Call a Professional (and Who to Call)
A musty smell isn’t just an odor; it’s the byproduct of active microbial growth that can impact your health. If you find a small patch of mold (less than about a 3×3 foot area) on a hard surface, you can clean it yourself with a simple detergent solution. Wear gloves, goggles, and an N95 mask. But if the mold is widespread or on something porous like drywall, you need a pro.

You should call for help if your humidity stays high after trying these steps, or if you have any signs of leaks or standing water. But don’t just call any contractor. You want to search for a “Home Performance Contractor” or a “BPI Certified Building Analyst.” These are the pros who understand the house as a whole system. They have the right tools, like a blower door to test for air leaks, and can give you a true diagnosis. An assessment like this might cost between $300 and $600, but it can save you thousands by pinpointing the exact problem.
A Healthy Home is an Active Process
At the end of the day, keeping your home dry in the winter isn’t a one-time fix. It’s about paying attention. Your house is a dynamic system, and how you live in it matters. By using a hygrometer to keep score, controlling moisture where it starts, and using the right tools for the job, you can absolutely win the war against winter dampness. The payoff is huge: a home that’s more comfortable, more durable, and a whole lot healthier for you and your family.

Inspirational Gallery
Did you know? Indoor air can be two to five times more polluted than outdoor air, and high humidity is a major contributor, fostering environments for dust mites and mold to thrive.
This isn’t just about comfort; it’s a health imperative. The American Lung Association links high humidity to increased respiratory issues. A properly ventilated home actively flushes out these pollutants, creating a healthier living space, especially for children and those with asthma.
Does my dehumidifier placement really matter?
Absolutely. Tucking it away in a corner is a common mistake that severely limits its effectiveness. For best results, place your dehumidifier in a central location, like a hallway, with at least 15 cm of clear space on all sides for optimal airflow. If you’re targeting a specific problem room, close the doors and windows to create a contained zone. This allows the machine to work more efficiently, pulling moisture from the entire space rather than just the air immediately surrounding it.
Refrigerant Dehumidifier: This is your classic workhorse, ideal for heated living spaces (above 15°C). It works like a mini-fridge, cooling a metal plate to condense moisture from the air. Models from brands like Midea or Frigidaire are powerful and efficient in typical home temperatures.
Desiccant Dehumidifier: Perfect for colder areas like garages, basements, or unheated utility rooms (works well even at 1°C). It uses a special water-absorbing material (a desiccant) to extract moisture. Brands like Meaco and EcoAir are known for their quiet and effective desiccant models, which are often lighter and operate more effectively at lower temps than refrigerant types.
Think beyond just your bathroom and kitchen fans. Everyday activities release surprising amounts of moisture into your air. To combat this, practice ‘source control’:
- Always use lids on pots and pans when cooking. This simple act drastically reduces the amount of steam released into your kitchen.
- If you dry clothes indoors, do it in a single, smaller room with the door closed and a window cracked open or a dehumidifier running.
- Avoid storing large quantities of firewood inside the heated part of your home, as it slowly releases moisture as it acclimates.
A common misstep: Turning the heating way down or off when you leave for the day. While it seems like a money-saver, it allows the internal surfaces of your home—especially windows and exterior walls—to get very cold. When you return and crank up the heat, the warm, moist air immediately condenses on these frigid surfaces, creating a burst of window sweat. It’s better to maintain a low, consistent background temperature (around 15-16°C) to keep surfaces from becoming condensation magnets.
The battle against dampness is often won by ensuring good airflow. Check that your furniture, especially large items like sofas and wardrobes, is pulled at least 5-10 cm away from exterior walls. This small gap allows air to circulate behind them, preventing the cold, stagnant air pockets where damp and mold love to start.
- Dramatically reduces window condensation, even on the coldest mornings.
- Freshens the air by constantly replacing stale, moist air with fresh, filtered air.
- Recovers up to 90% of the heat from the outgoing air, saving on energy bills.
The secret? A whole-house Heat Recovery Ventilation (HRV) or Energy Recovery Ventilation (ERV) system. While a significant investment, systems from manufacturers like Vent-Axia or Nuaire are the ultimate long-term solution for tightly sealed, modern homes that struggle with trapped moisture.
For every 1°C you lower your home’s temperature, the air can hold approximately 6-7% less moisture.
This is why a slight temperature adjustment can have a big impact. If your hygrometer reads 60% at 21°C, lowering the thermostat to 20°C could be enough to bring your relative humidity down to a healthier 55% without needing to run a dehumidifier 24/7. It’s about finding the sweet spot between temperature and humidity.
For persistent condensation on window sills, you need a two-step approach. First, tackle any existing mold or mildew. A dedicated mold and mildew remover spray (like those from HG or Astonish) is essential. Don’t just use bleach, which often only whitens the mold without killing the roots. After cleaning and thoroughly drying the area, place a passive moisture absorber, such as a UniBond Aero 360 or Kontrol Streamline Moisture Trap, on the sill. These use calcium chloride crystals to quietly pull excess moisture from the immediate vicinity, preventing water from pooling again.
Don’t underestimate the power of ‘trickle vents’—the small, slidable vents often found at the top of modern window frames. Many people keep them permanently closed, not realizing they are designed for secure, continuous background ventilation. Opening them provides a constant, gentle exchange of air that helps carry moisture out without creating a noticeable draft or significant heat loss.


