My Guide to a DIY Dog Shampoo That’s Actually Safe (And Super Cheap!)
After more than two decades in the dog grooming world, I’ve seen it all. From tiny pups to gentle giants, they all find their way into my tub, and one of the first questions owners ask is always about shampoo. “Are the store-bought kinds okay? Can I just make my own?” The short answer is yes, you absolutely can! But—and this is a big but—it’s not as simple as just mixing some soap and water together.
In this article
It’s a great instinct to want to control what goes on your dog’s body. Making your own shampoo means you can skip the weird chemicals and overpowering perfumes. Plus, it can be a fantastic way to tackle specific issues like dry skin or that lingering doggy odor. Before you grab the dish soap, though, there’s one crucial piece of science you need to understand. Getting this wrong can cause the exact skin problems you’re trying to avoid.
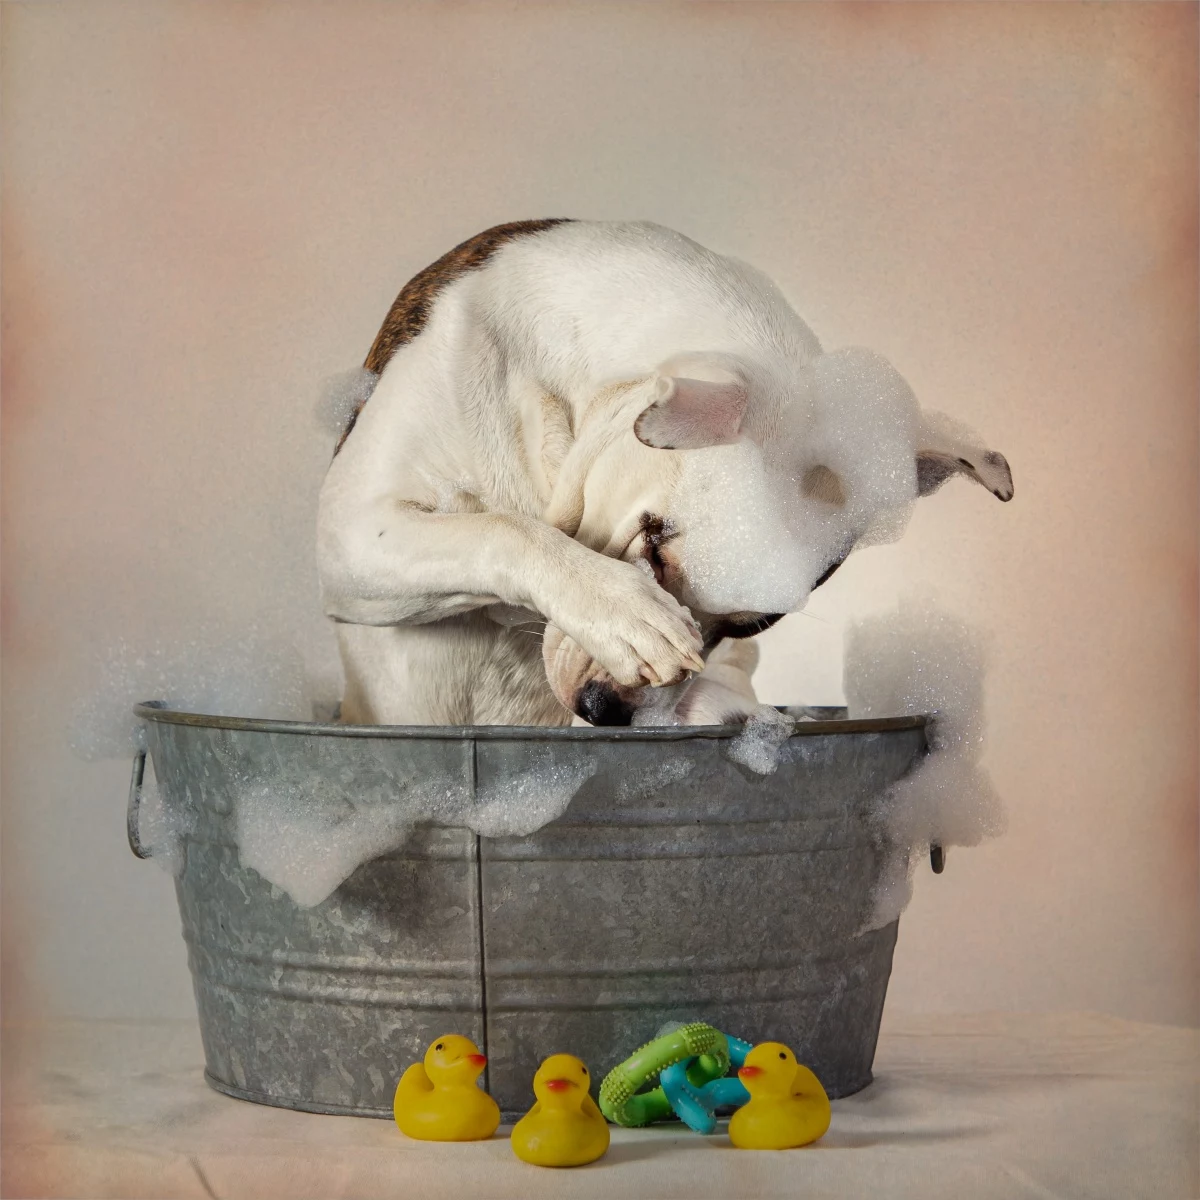
So, let’s go beyond just a few recipes. I’m going to share what I’ve learned from countless baths and chats with vets, so you can formulate a shampoo that’s both safe and genuinely effective for your best friend.
The
1 Rule: Respect Your Dog’s Skin pH
This is the golden rule of dog grooming: your skin and your dog’s skin are worlds apart. The biggest difference is the pH level, which is just a scale for how acidic or alkaline something is.
Human skin is acidic, usually around a 4.5 to 5.5 pH. This “acid mantle” is our natural defense system, protecting us from bacteria and keeping our skin hydrated. Dog skin, on the other hand, is much more neutral, typically falling somewhere between 6.5 and 7.5. That might not sound like a huge jump, but in chemistry terms, it’s massive.
Using a product made for our acidic skin on their neutral skin is asking for trouble. It strips away their skin’s protective layer, leaving it dry, vulnerable, and irritated. This creates a perfect playground for bacteria, leading to rashes, hot spots, and that relentless scratching. I’ve seen the painful results firsthand. That’s why you should NEVER use human shampoo on a dog, no matter how “gentle” the bottle claims it is.
The DIY Shampoo Toolkit: Your Building Blocks
A great homemade shampoo only needs a few key things. Think of it like cooking—the quality of your ingredients makes or breaks the final dish. Here’s what you need to know.
1. The Cleansing Agent (The Soap)
The whole point of shampoo is to lift dirt and oil away. For that, you need a good, gentle cleanser. But not all soaps are created equal.
- The Best Choice: Unscented Liquid Castile Soap. This is my absolute go-to. It’s a simple, effective soap made from vegetable oils, like olive oil. You can find popular brands at most health food stores or online. Always, always grab the unscented “baby-mild” version. It rinses clean and is incredibly gentle.
- The Budget-Friendly Breakdown: Don’t let the price tag on a bottle of good Castile soap scare you. A 16oz bottle might run you $10 to $15, but since you only use about 1/4 cup per batch, you can get more than a dozen washes out of it. Honestly, that brings the cost per bath down to less than a dollar—way cheaper than most fancy pet store shampoos!
- The Last-Resort Option: Non-Toxic Dish Soap. Some online recipes suggest this, but I’d only use it in a real pinch. It’s formulated to slice through heavy grease, which can be way too harsh and drying for a dog’s skin. If you absolutely have to, find one with zero dyes, phosphates, or fragrances, and use it sparingly.
- What to AVOID: Steer clear of laundry detergent, human hand soap, and bar soaps. They are packed with harsh detergents and perfumes that are guaranteed to irritate your dog’s skin.
2. The Liquid Base
Plain water works just fine, but why not give it an upgrade? I love using simple herbal infusions instead of tap water to add some extra benefits.
To make one, just steep a couple of tea bags or a sprig of fresh herbs in hot (not boiling) water for about 10-15 minutes, like you’re making tea. Let it cool completely before you mix it.
- Chamomile Tea: Fantastic for its calming properties. It’s super gentle and can help soothe mildly irritated skin.
- Rosemary Water: A great natural moisturizer that leaves a nice, fresh scent and has some helpful antimicrobial properties.
- Green Tea: Packed with antioxidants that are great for skin health.
3. Soothing & Moisturizing Add-Ins
This is where you get to customize the shampoo for your dog’s unique needs. These ingredients add back moisture and condition the coat.
- Vegetable Glycerin: This stuff is a moisture magnet. It pulls hydration from the air into the skin. Just a teaspoon can make a huge difference in preventing dryness.
- Aloe Vera Gel: A true powerhouse for soothing skin. It’s naturally anti-inflammatory and gives great relief from itching. Heads up! You must use 100% pure aloe vera gel. Avoid those bright green sunburn gels, which are often loaded with alcohol and chemicals that will sting.
- Colloidal Oatmeal: This isn’t your breakfast oatmeal. It’s ground into a super-fine powder that dissolves in water and forms a protective film on the skin, locking in moisture and soothing irritation. You can make your own by blitzing plain, uncooked rolled oats in a clean coffee grinder until it’s as fine as flour.
- Coconut Oil: It’s a popular moisturizer, but use it with caution. A little bit can condition a dry coat, but too much will leave your dog feeling greasy and is a nightmare to rinse out. For a small dog, start with just 1/2 a teaspoon; for a larger dog like a Lab, don’t use more than 1 teaspoon. A little goes a very long way!
My Go-To DIY Dog Shampoo Recipes
Okay, let’s put it all together. I always mix these in a clean plastic squeeze bottle for easy application. And a quick tip: mix by gently rocking the bottle, don’t shake it like crazy unless you want a bottle full of foam.
Recipe 1: The All-Purpose Gentle Cleanser
This is the perfect starting point for most dogs with normal skin. It cleans beautifully without being harsh.
Ingredients:
- 2 cups warm water (or cooled chamomile tea)
- 1/4 cup unscented liquid Castile soap
- 1 tablespoon pure aloe vera gel
- 1 teaspoon vegetable glycerin
Method:
- Pour the warm water or cooled tea into your bottle.
- Add the glycerin and aloe, then swirl gently to combine.
- Slowly pour in the Castile soap—tilting the bottle helps prevent a foam-over.
- Cap it and rock it gently until it’s all mixed.
Storage Note: This fresh mixture has no preservatives! Store it in a labeled bottle in the fridge and plan to use it within 1 to 2 weeks. If it looks or smells off, toss it and make a fresh batch.
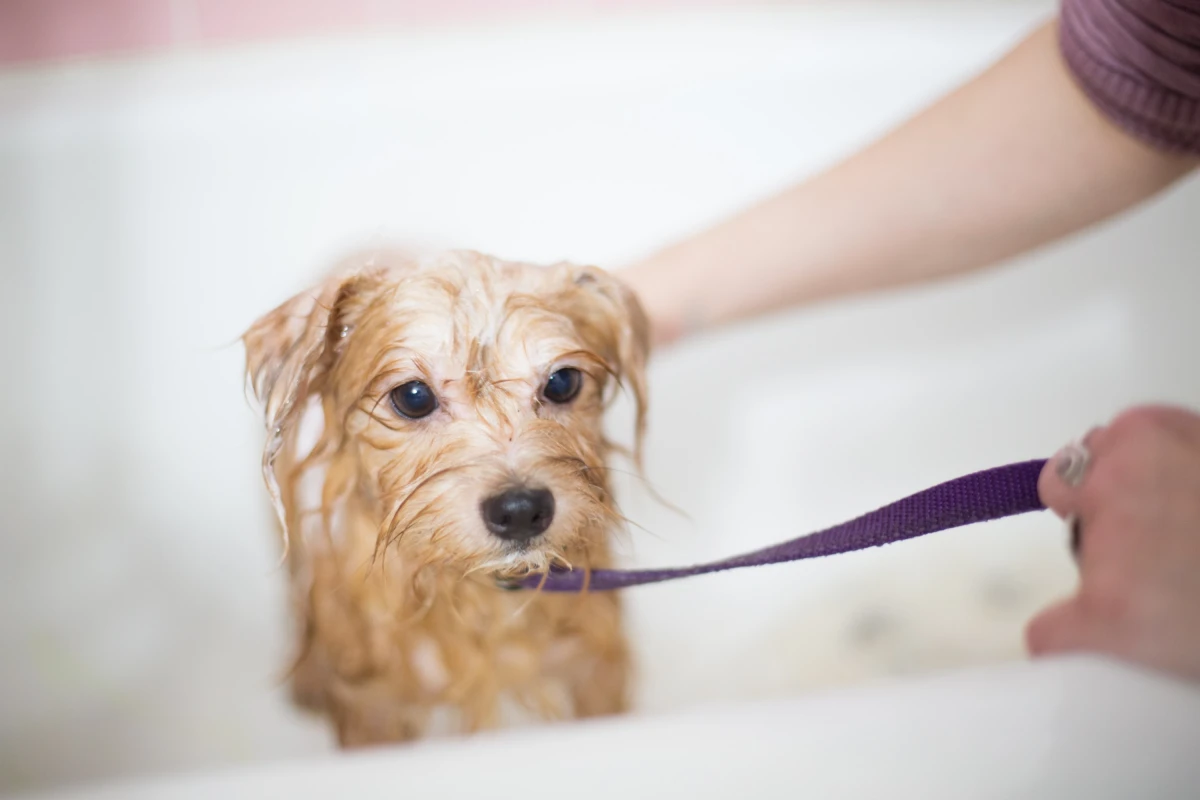
Recipe 2: Soothing Oatmeal Skin Treatment
Important: This is NOT a shampoo for cleaning a muddy dog. Think of it as a calming skin mask or a soothing treatment. If your dog is actually dirty, wash them with the All-Purpose Cleanser first, rinse, and then apply this treatment.
Best For: Dry skin, seasonal itchiness, and minor irritations.
Ingredients:
- 1 cup colloidal oatmeal (or finely ground rolled oats)
- 4 cups warm water
- 1/2 cup baking soda (for deodorizing and extra soothing)
- 2 tablespoons pure aloe vera gel
Method:
- In a big bowl, whisk together the oatmeal powder and baking soda.
- Slowly add the warm water, whisking until it’s a smooth, lump-free paste.
- Stir in the aloe vera gel.
- To use, wet your dog and massage this thick mixture all over, right down to the skin. Let it sit for 5 to 10 minutes to work its magic, then rinse thoroughly.
Recipe 3: The Quick Freshen-Up Dry Shampoo
Bathing too often can dry out your dog’s skin. For a quick refresh between baths, this dry shampoo is a lifesaver.
Ingredients:
- 1 cup baking soda
- 1 cup cornstarch
- Optional: 1/4 cup ground colloidal oatmeal for extra soothing
Method:
- Mix all the powders in a jar with a shaker lid (an old spice jar works great).
- Sprinkle it lightly onto your dog’s dry coat, avoiding their face.
- Massage the powder into the fur, then let it sit for about 10 minutes to absorb oils.
- Now for the most important step: BRUSH thoroughly until all the powder is gone. Brushing removes the powder along with the dirt and oil it just absorbed.
A Serious Warning About Essential Oils
Let’s be crystal clear about this. You’ll find tons of DIY flea shampoo recipes online that use essential oils. As a professional who puts safety first, I’m telling you to run the other way.
Dogs process things differently than we do. Their livers can’t handle many of the compounds in essential oils, leading to toxic buildup. Even oils considered “safe,” like lavender, can cause nasty allergic reactions. And oils like Tea Tree, Pennyroyal, and Pine are known to be highly toxic to dogs, potentially causing everything from skin burns to seizures.
The risk is simply not worth it. The best way to deal with fleas during a bath is with simple soap and water, followed by a thorough combing with a flea comb on their damp fur. For a real infestation, your first and only call should be to your veterinarian for a safe, regulated treatment.
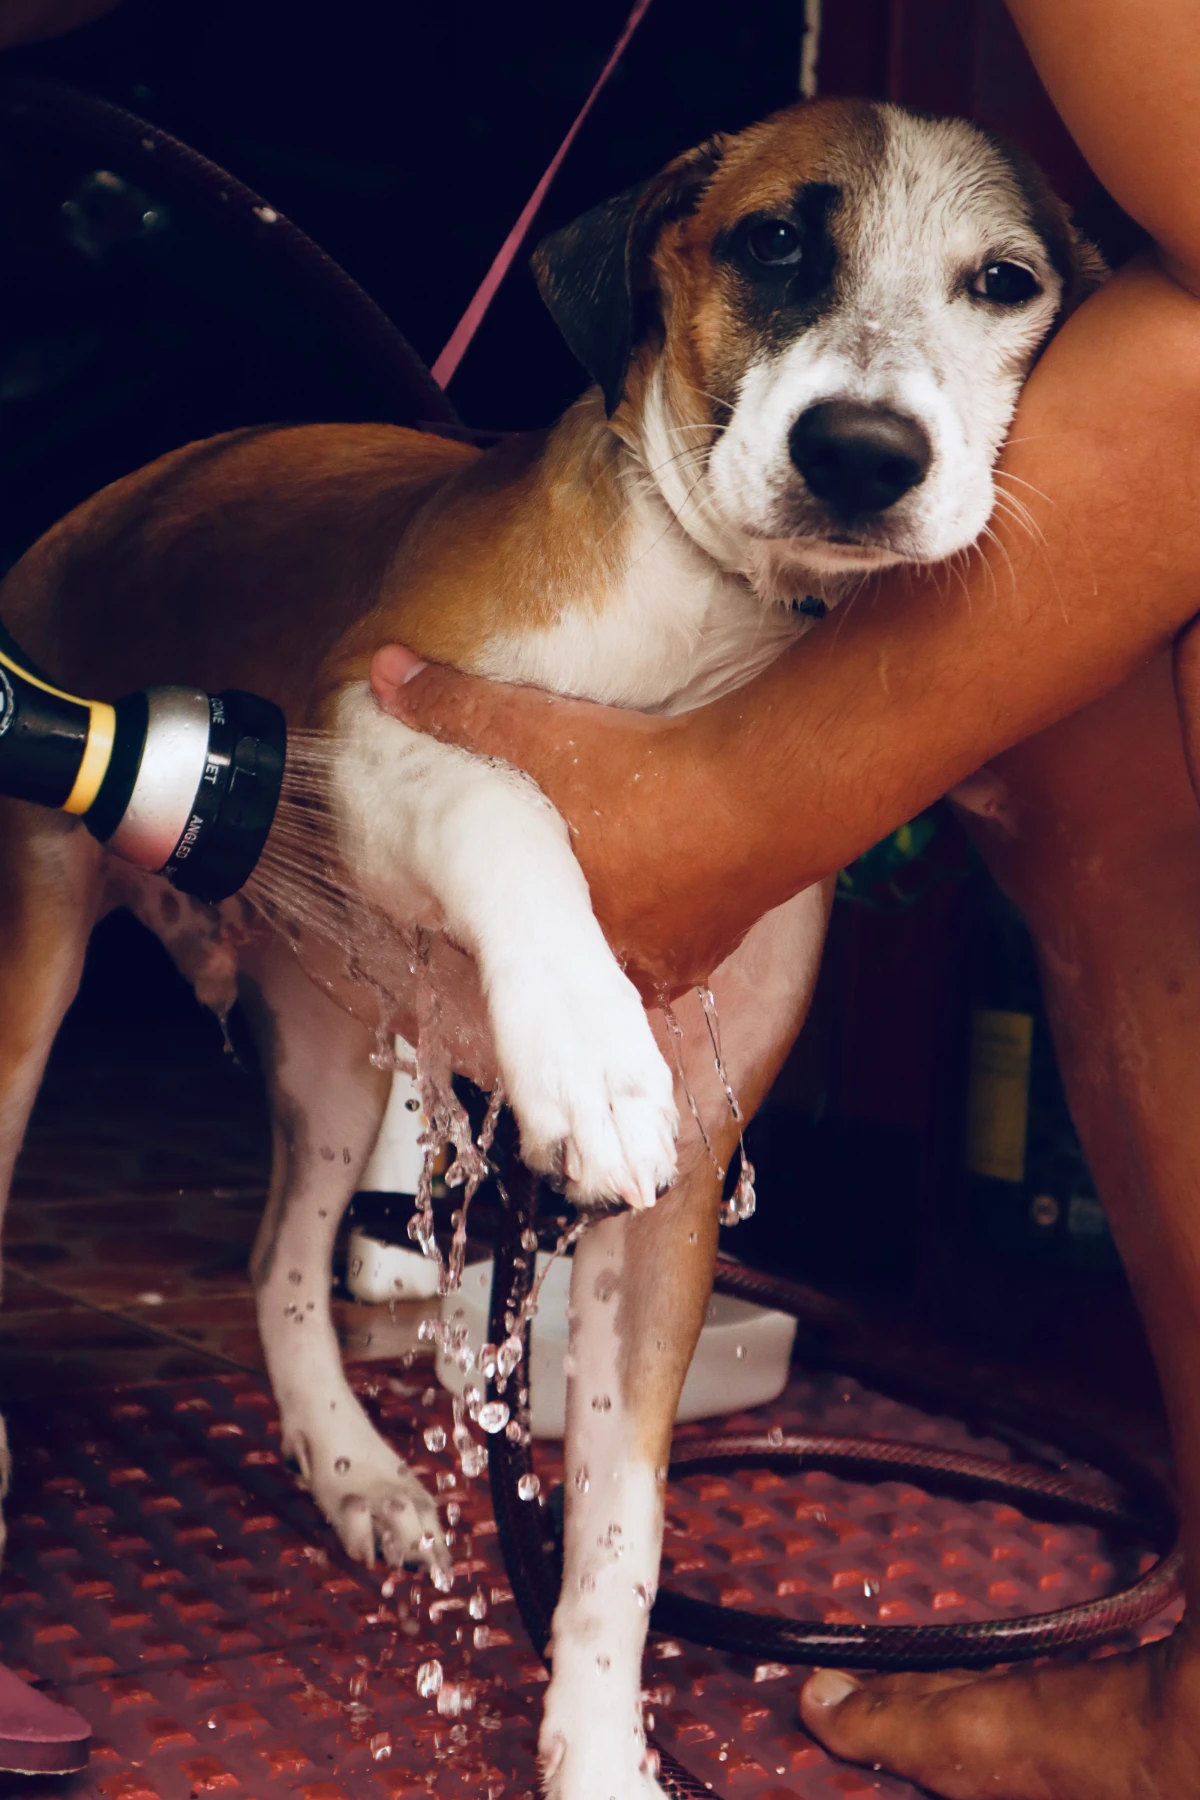
How the Pros Bathe a Dog: The Right Technique
- Brush First. Water makes mats and tangles ten times worse. Always brush out your dog completely before they get wet.
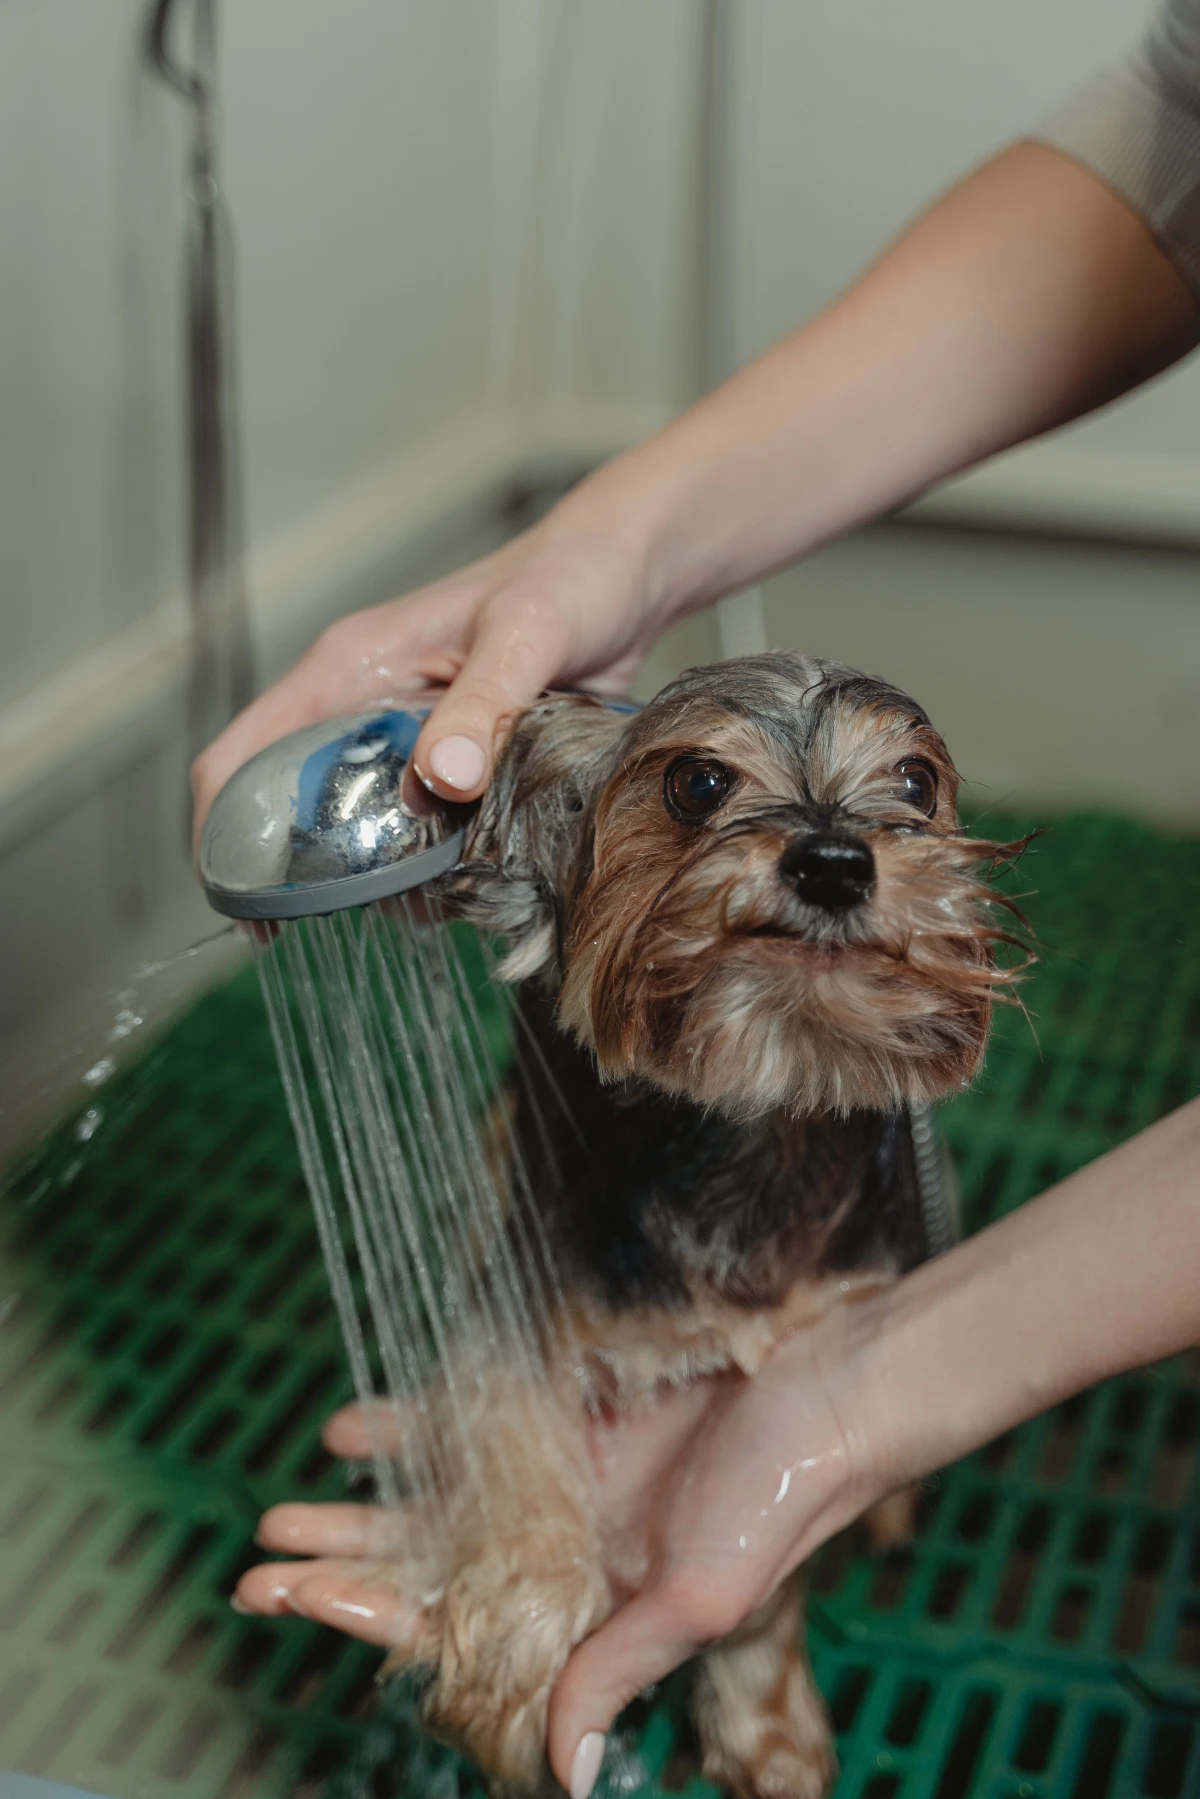
- Protect Eyes & Ears. Gently place a cotton ball in each ear (not too deep!) to keep water out. Use a washcloth to clean their face. By the way, Castile soap is NOT tear-free, so be extra careful around the eyes.
- Use Lukewarm Water. Test it on your wrist. If it’s comfortable for you, it’s comfortable for them.
- Apply the Shampoo. Your homemade mixes are already perfectly diluted and ready to use straight from the squeeze bottle! Start at the neck and work your way down to the tail.
- Rinse, Rinse, and Rinse Again. This is where most people go wrong. Leftover soap residue is the
1 cause of post-bath itchiness. When you think you’re done rinsing, rinse for two more minutes. The coat should feel squeaky clean, not slippery.
- Dry Thoroughly. Towel dry as much as you can. For dogs with thick coats, a blow dryer on the lowest, coolest setting is a must. Keep it moving to avoid burning their skin.
Quick Troubleshooting: Common Questions I Get
“Help! My dog’s coat feels sticky or greasy after the bath.”
You didn’t rinse enough! It’s almost always the answer. That sticky feeling is soap residue. The only fix is to get back in the tub and rinse until the fur feels completely clean.
“Why isn’t my homemade shampoo making a lot of suds?”
That’s a good thing! It means there are no harsh chemical foaming agents like sulfates. Low lather doesn’t mean low cleaning power. It’s still working, I promise!
Final Thoughts From the Grooming Table
Making your own dog shampoo is a rewarding way to care for your pet, but it’s about more than a recipe. It’s about respecting your dog’s biology and using safe ingredients with the proper technique. Always do a patch test on a small spot of skin first, and remember, shampoo is for cleaning, not for treating medical issues. If you see a persistent rash, open sores, or hair loss, your vet should be your first call.


