Don’t Just Hang Curtains—Transform Your Room: An Insider’s Guide
I’ve spent a ton of time installing window treatments in every kind of home you can imagine, from old houses with wonky walls to brand-new builds with massive windows. And I’ve learned one thing for sure: hanging a curtain isn’t just about drilling a few holes. It’s a craft. A poorly hung curtain can make even the most expensive fabric look cheap, but when you get it right? It can completely transform a room, making it feel warmer, quieter, and more pulled together.
In this article
A lot of people get stressed out just thinking about it. They’re worried about measuring wrong or turning their walls into Swiss cheese. I get it. Honestly, my first solo job was a total learning experience. I was installing these incredibly heavy, lined velvet drapes and was so obsessed with getting the rod perfectly level that I didn’t use the right anchors for the weight. A week later, I got the call. The whole thing had pulled right out of the drywall. It was embarrassing, but it taught me a valuable lesson: the details behind the wall are just as important as the ones you can see. This guide is built on all those lessons, so you can get a result you’re truly proud of.

First, Get to Know Your Space
Before you even think about touching a tape measure, take a second to understand what you’re working with. A curtain rod isn’t floating in space; it’s anchored to a wall. Knowing what that wall is made of is the key to a secure installation that will last.
What’s Your Wall Made Of?
Most modern homes have drywall screwed onto a wooden frame. The vertical parts of that frame are called studs, and they are your best friends. They’re strong. The drywall in between them? Not so much. Whenever you can, you want to screw your curtain rod brackets directly into a stud. It’s the most secure hold you can get.
To find them, an electronic stud finder is your best bet. Seriously, don’t cheap out on this tool. A reliable one will cost you between $20 and $50 at a place like Home Depot or online, and it’s worth every penny. You just slide it across the wall, and it beeps when it finds the solid wood. If you’re in a pinch, you can try the old-school knock test. Tap along the wall—you’ll hear a hollow sound, and then a solid, dull thud when you hit a stud. They’re usually 16 inches apart, so once you find one, you can often measure to find its neighbors.

Good to know: Most windows also have a solid horizontal beam of wood above them called a header. This is a fantastic, super-strong place to mount your brackets, and it usually extends a few inches past the window frame on either side.
The Simple Physics of Fabric
Your fabric choice does more than just set a color scheme. Sheer fabrics, like voile or some linens, are great for filtering light and cutting glare, but they won’t give you much privacy. On the other hand, heavy fabrics like velvet or tightly woven cotton are light-blocking champions. If you need total darkness for a bedroom or media room, look for curtains with a blackout lining—it’s a special coated fabric that blocks nearly all light.
This is also how curtains help with temperature and sound. A heavy, lined drape traps a pocket of air between the fabric and the window, which acts as an insulator. It keeps heat out in the summer and warmth in during the winter. The denser the fabric, the better it also absorbs sound, which can really cut down on echo in a room with hardwood floors.
The Art of Measuring (And Getting It Right the First Time)
Measuring for curtains is all about precision. A tiny fraction of an inch can be the difference between a perfect look and something that just feels… off. My motto has always been: measure twice, drill once. Trust me, I’ve had to patch and repaint my share of walls from rushing this step in my early days.
Your Toolkit for Success
Forget that flimsy little sewing tape. You need a proper 25-foot steel tape measure, which you can get for about $15. It stays rigid when you extend it, giving you a true, accurate measurement. You’ll also need a good level—at least 24 inches long is great, but a 48-inch one is even better for long rods. And finally, a sharp pencil. Quick tip: If you’re marking on a dark wall, stick a small piece of blue painter’s tape on the wall and mark on that. It’s easy to see and peels off without a trace.
How to Choose Your Rod and Curtain Width
This is probably the single biggest mistake I see people make. They buy a curtain rod that’s the exact width of their window. This forces the curtains to block a big chunk of the glass even when they’re open, which makes the window look smaller and robs you of natural light. You want the curtains to hang mostly over the wall when they’re open. This is called “stackback.”
Here’s the simple pro formula:
(Window Frame Width) + (Desired Stackback on Each Side) = Total Rod Length
So, how much stackback do you need? For lighter, sheer curtains, aim for about 20% of your window’s width for stackback. For heavy, thick drapes like velvet, you’ll want more like 30-35%. So for a 60-inch window with heavy curtains, you’d want about 20 inches of stackback on each side, meaning your rod should be at least 100 inches long (60 + 20 + 20). This “high and wide” method is a game-changer. It makes your window feel huge and lets in the maximum amount of light.
Finding the Perfect Curtain Length
The length of your curtains really defines the style of the room. Here are the most common looks—and I’m skipping the tables and just telling you straight up what works:
-
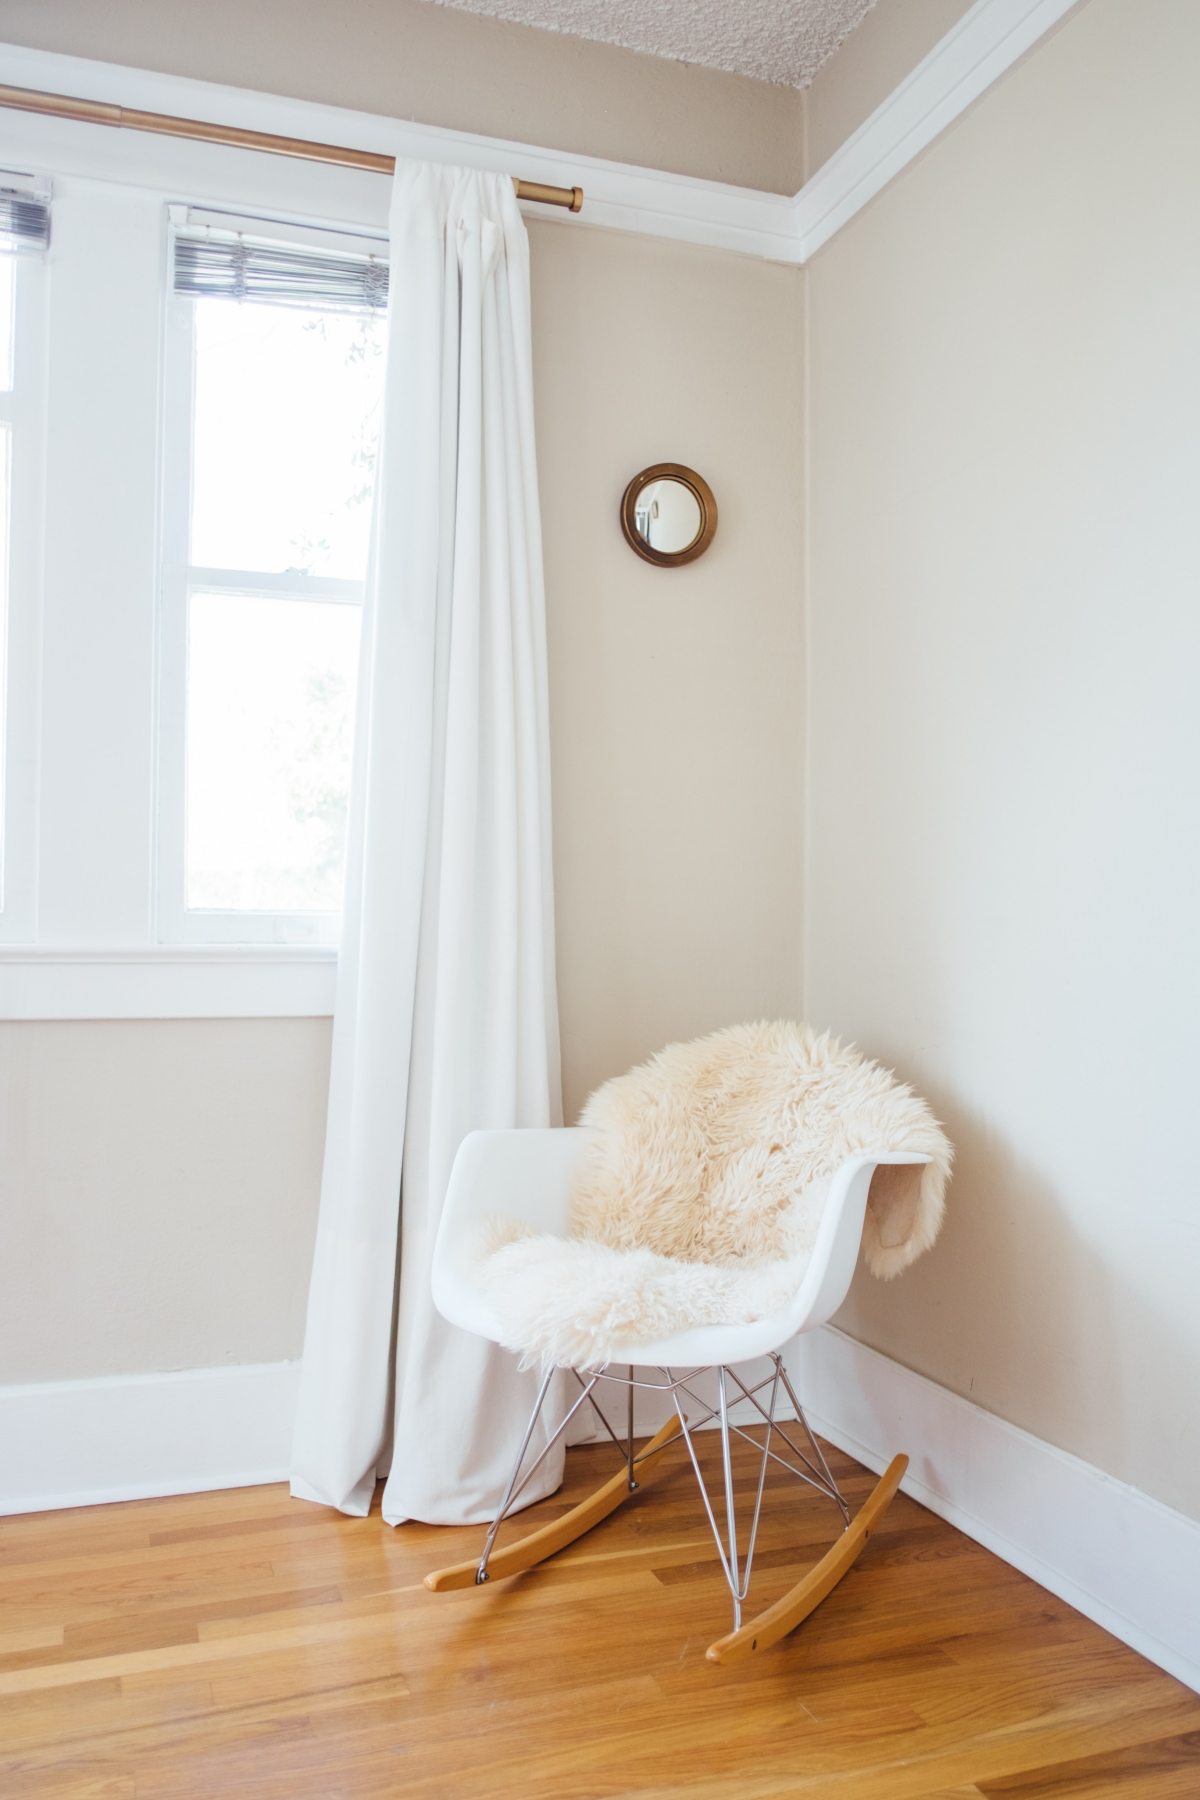
The Float: This is where the curtain hangs about a half-inch above the floor. It’s super practical, easy to clean around, and the hems stay pristine. I recommend this for high-traffic areas, kitchens, or any home with pets. It gives a clean, tailored vibe.
-
The Kiss: This is a high-end, custom look where the curtain just grazes the floor. It requires incredibly precise measurements, but the result is beautiful and intentional. It’s probably the most popular style right now for a polished look.
-
The Puddle: This is a very formal, luxurious style where you have extra fabric (from 1 to 6+ inches) pooling on the floor. To be frank, it’s not very practical. It’s a magnet for dust and pet hair and can be a tripping hazard. I only suggest this for purely decorative panels in a room that doesn’t see a lot of foot traffic.
-
Sill or Apron Length: If you have a radiator or a counter under a window, shorter curtains are the way to go. Sill-length curtains end right at the windowsill, while apron-length curtains end about an inch below the bottom window trim.
A tip you can trust: Floors are almost never perfectly level. When you measure for length, take three measurements: on the left, in the middle, and on the right. For a “float” length, use the shortest measurement to make sure your curtain doesn’t drag anywhere.
Choosing Your Gear: Rods, Fabrics, and More
The hardware is the backbone of your window treatment, and the fabric is its personality. Getting this combo right is everything.
Rods, Brackets, and Why Size Matters
The diameter of your curtain rod isn’t just about looks; it’s about physics. A flimsy rod will sag, and nobody wants that.
- For lightweight sheers or small windows, a 1-inch diameter rod is usually fine.
- For most standard, lined curtains, a 1 3/8-inch rod is the workhorse. This is my go-to, and a good one will run you about $40-$80 depending on the length and finish.
- For very heavy drapes (like velvet) or extra-wide windows, you need a 2-inch or larger diameter rod. Don’t fight it. A client once insisted on a thin rod for a 10-foot window, and within a month it was bowing sadly in the middle. We had to replace it.
And here’s a non-negotiable rule: any rod wider than 60 inches needs a center support bracket. Most kits for longer rods include one. USE IT.
Let’s Talk Fabric and Lining
When you’re choosing a fabric, think about its personality. Linen is airy and casual. Cotton is a versatile champ. Velvet is formal and a fantastic insulator. Silk is gorgeous but very delicate and must be lined to protect it from the sun.
Lining is one of the biggest things that separates cheap curtains from high-quality ones. I almost always recommend it. A simple cotton lining adds body and helps the curtain hang beautifully. An interlining—which is a thick, flannel-like layer—provides incredible insulation and soundproofing. And of course, a blackout lining is a must for bedrooms. A good lining is an investment that can easily double the life of your curtains by protecting them from sun damage.
The Installation: Let’s Do This!
Okay, with all your planning and shopping done, it’s time to make it happen. Work slowly, be methodical, and you’ll be fine.
Heads up: For your first window, set aside a solid 2 to 3 hours. This isn’t a race! Rushing leads to mistakes.
Your Toolkit & Shopping List:
- Steel Tape Measure (25 ft.): about $15
- 24-inch or 48-inch Level: $20-$30
- Electronic Stud Finder: $20-$50 (don’t get the cheapest one)
- Pencil and Blue Painter’s Tape
- Drill with various bits
- Wall Anchors: Make sure they are rated for the weight! For heavy drapes, I only use toggle bolts or screw-in anchors rated for at least 50 lbs. You can find these at any hardware store.
- Steamer or Iron
- A sturdy step ladder
Step 1: Prep the Curtains
First things first, get the wrinkles out! Hanging creased curtains will throw off the length and they’ll never look right. A handheld steamer works great. If you don’t have one, use an iron on the correct setting, but test a hidden corner first.
Step 2: Mark Your Bracket Locations
This is the moment of truth. A good starting point for height is 4 to 6 inches above the window frame. Let’s say you choose 4 inches. Measure up 4 inches from one top corner and make a mark. Then, use your level to extend that mark across to the other side. This ensures your rod is level with the universe, even if your window frame isn’t.
Lesser-known trick: To get your bracket screw holes perfectly spaced every time, make a simple template. Take a small piece of cardboard, hold it up to the bracket, and punch holes where the screws go. Now you can just hold the template on your marks on the wall and pencil in the drill spots. Perfect every time.
Step 3: Drill and Install Anchors (Safety First!)
Please wear safety glasses. Dust in the eye is no fun. If you hit a wood stud or header, great! Drill a small pilot hole and drive your screw right in. If you’re in hollow drywall, you MUST use an anchor. For heavy curtains, the basic plastic ones aren’t enough. Use a toggle bolt or a heavy-duty screw-in anchor rated for 50 lbs or more. It’s not worth the risk of your beautiful new curtains ending up on the floor.
Step 4: Hang the Rod and Curtains
Attach your brackets to the wall, but don’t fully tighten them yet. Slide your curtains onto the rod. Pro-tip: If you’re using rings, place one ring on the outside of each end bracket. This anchors the end of the curtain and keeps it from sliding toward the middle. Now, place the rod in the brackets, put your level on top of the rod one last time to double-check, and then tighten all the screws. Add your center support, and you’re golden.
Step 5: Dress the Curtains
This is the final touch that makes it look professional. You need to “train” the fabric to hang in nice, even folds. Arrange the pleats neatly from top to bottom. Then, use soft strips of fabric or ribbon to loosely tie the panel together at the top, middle, and bottom. Leave it tied up for 2-3 days. When you untie it, the fabric will have a beautiful memory of those folds and will hang perfectly.
When Things Get Tricky… And When to Call for Help
Sometimes you run into a weird window situation. For bay or corner windows, you’ll need special corner connectors for the rod. For arched windows, you can hang a straight rod above the arch or get a custom-bent rod to follow the curve. These can be complex, and honestly, this is where you might want to call in a pro.
I’m all for DIY, but sometimes it’s smarter and even cheaper in the long run to hire an expert. I’d recommend calling a professional installer if:
- You’re installing motorized drapes.
- You have super high windows that require scaffolding.
- You have a complex bay or corner window.
- You’ve invested in very expensive fabric and can’t risk a mistake.
- You’re just not confident about finding studs and using the right anchors.
Expect to pay somewhere between $75 and $200 per window for a professional installation, depending on the height and complexity. For a tricky job, that peace of mind is priceless.
Inspirational Gallery
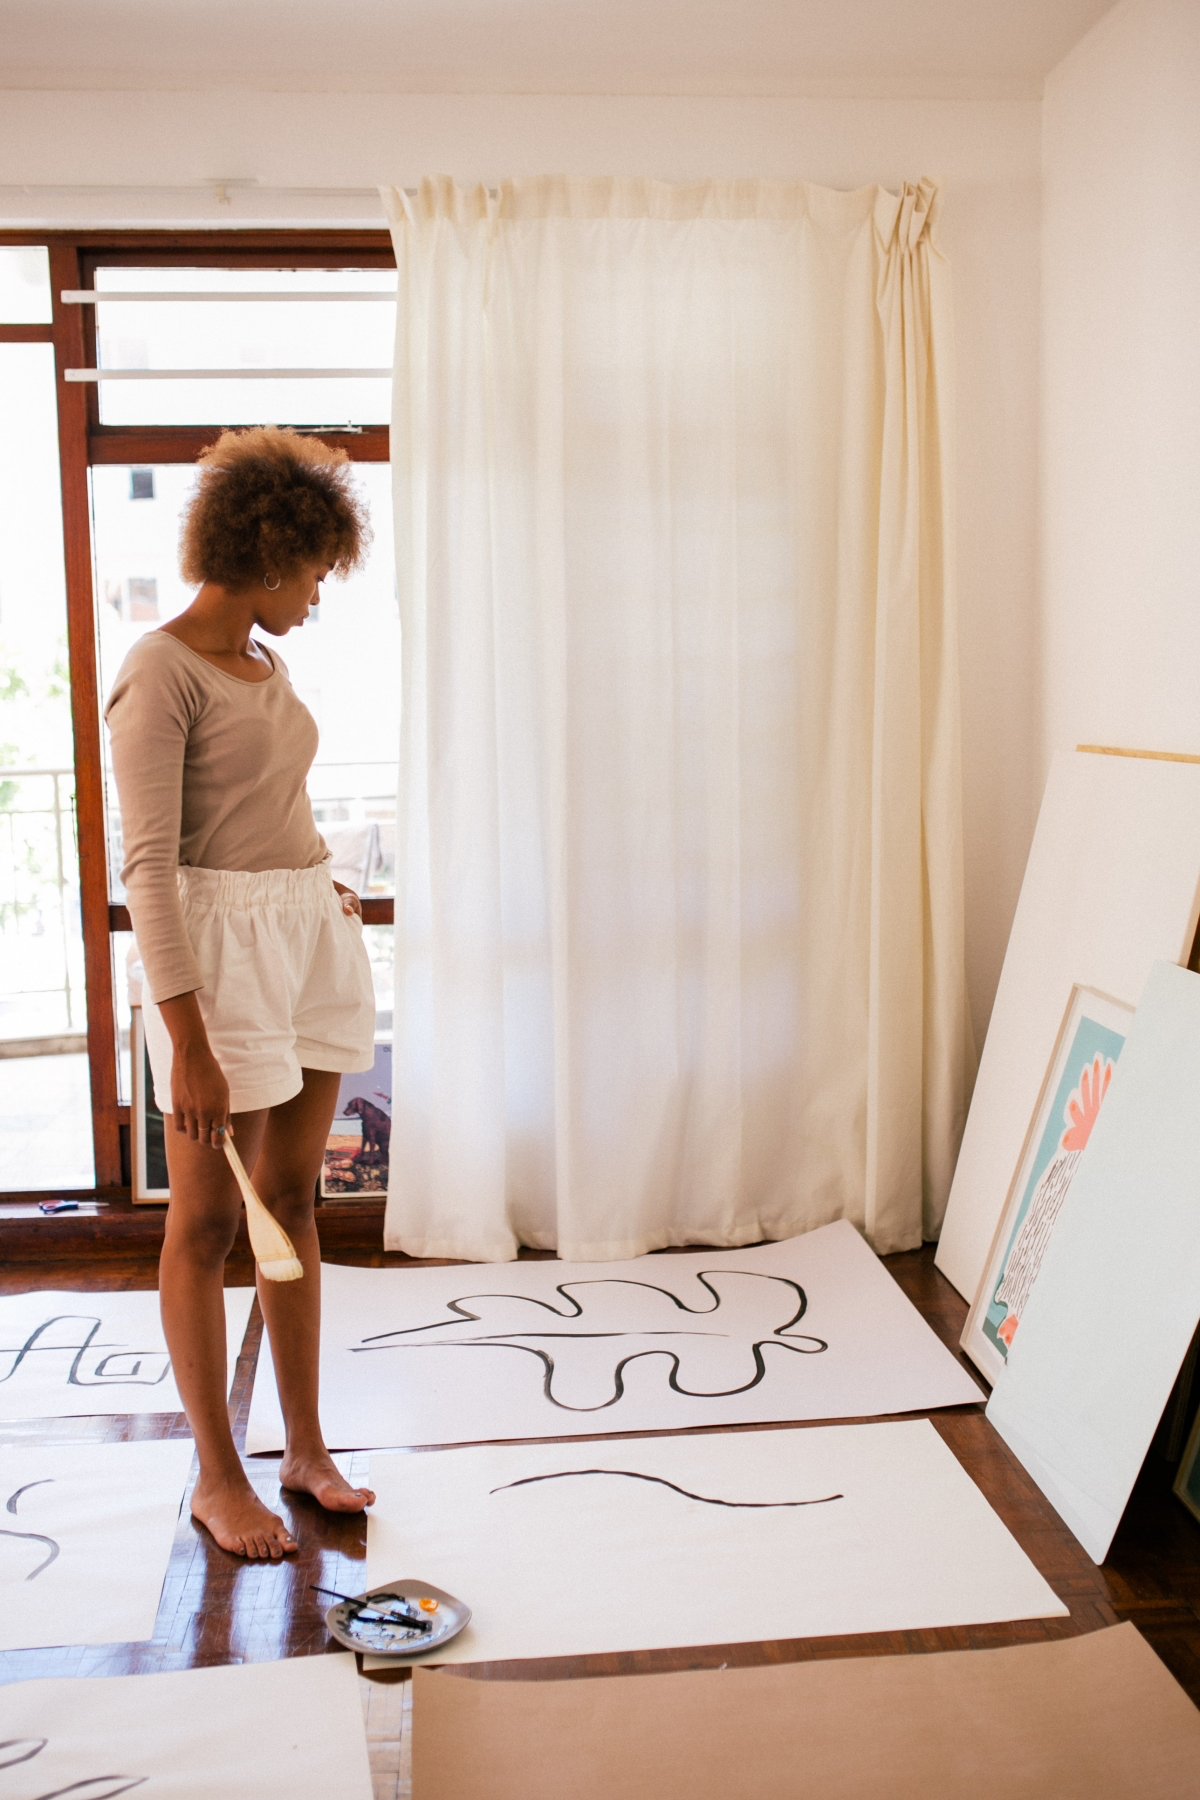
The standard rule for curtain fullness is that the combined width of the panels should be 2 to 2.5 times the width of the window.
This isn’t just an aesthetic suggestion; it’s what gives drapes their rich, structural folds. For lighter fabrics like linen or cotton, you can stick closer to 2 times the width. But for heavy materials like velvet or lined silk, aiming for 2.5 times the width is essential for that luxurious, plush look and to ensure they don’t appear sparse or flimsy when closed.
Wondering how to achieve that dreamy, layered window look?
The solution is a double curtain rod. This clever piece of hardware features two parallel rods on a single set of brackets. The inner rod, closer to the glass, is perfect for lightweight sheer curtains that diffuse sunlight and provide daytime privacy. The outer rod holds your main decorative drapes, which can be drawn at night for full privacy, insulation, and darkness. Brands like Room Essentials from Target or the RÄCKA / HUGAD combination from IKEA offer affordable and effective double rod systems.
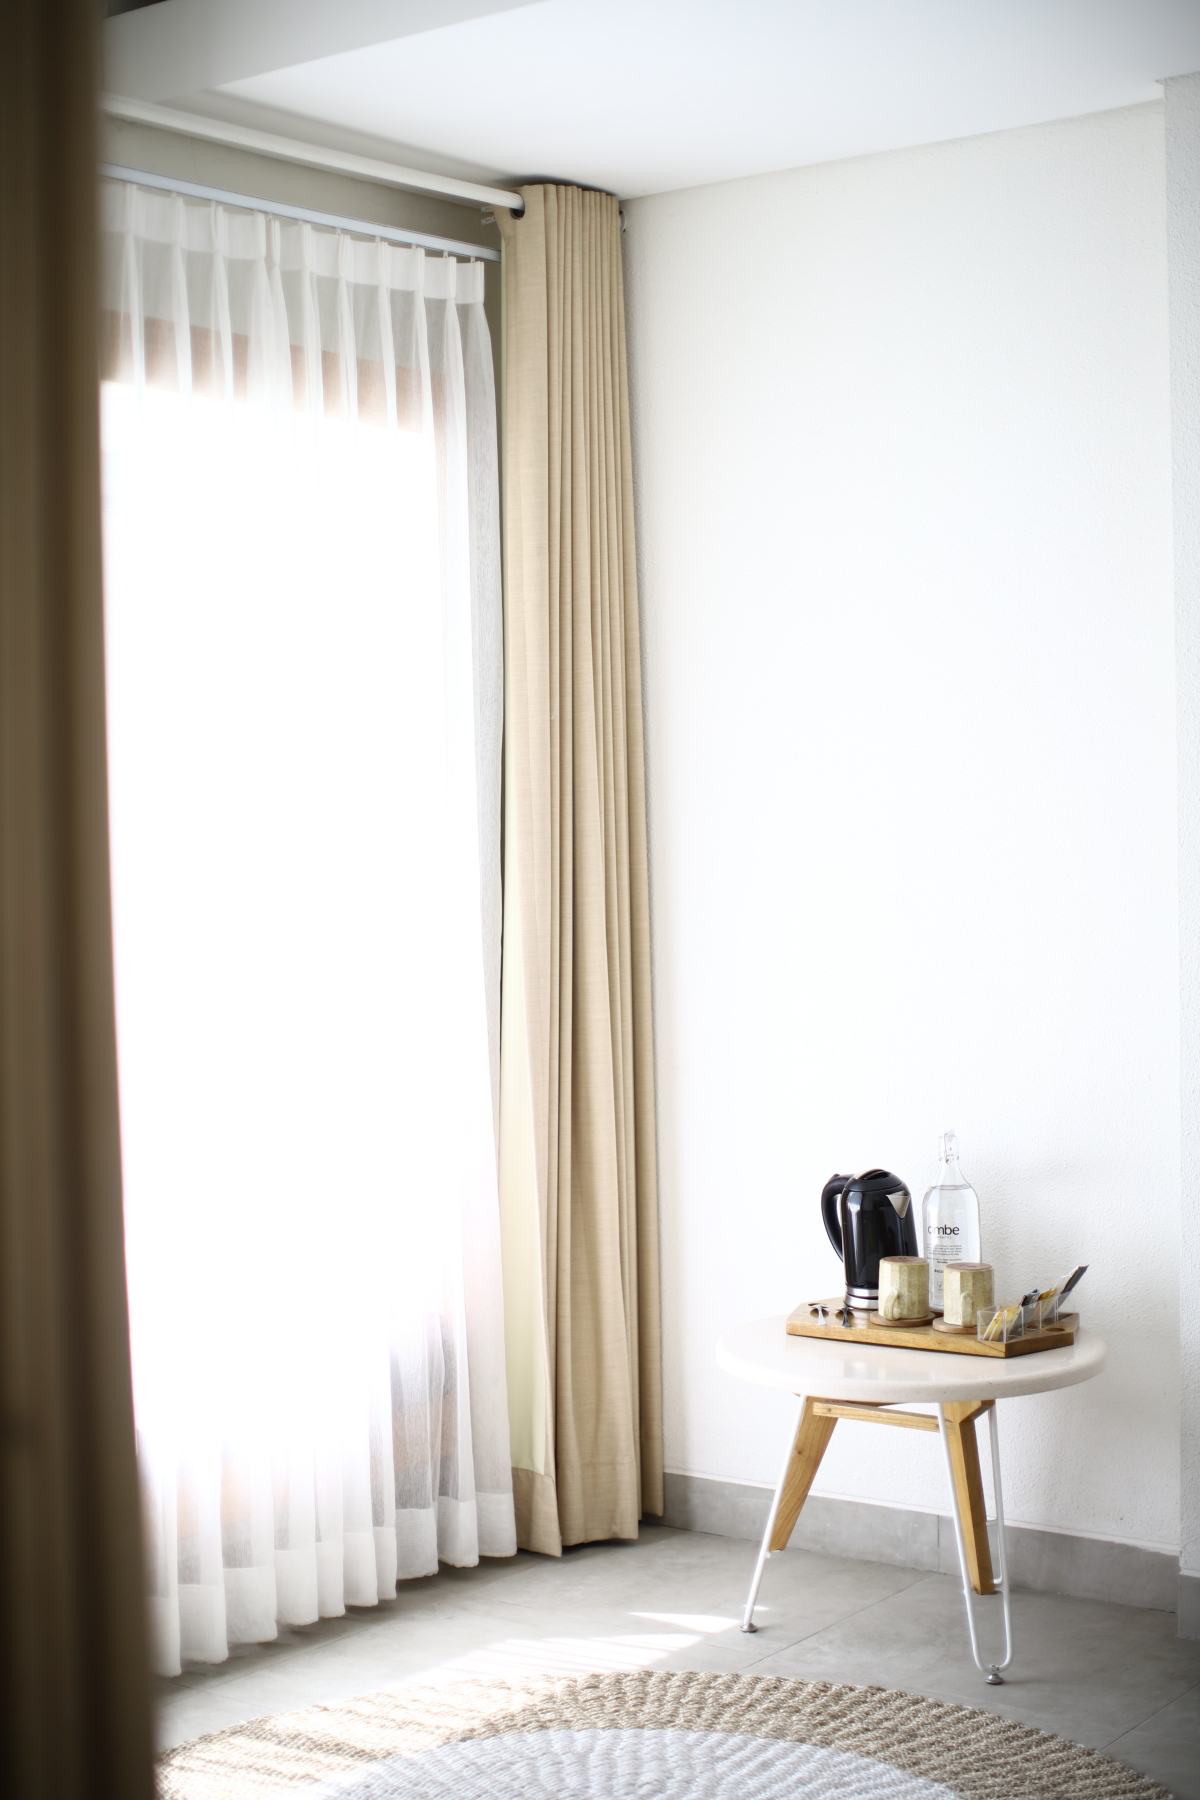
Don’t forget the stackback! This is the amount of space your curtains occupy on the wall when they are fully open. To maximize natural light and enjoy an unobstructed view, the curtain rod should extend at least 6 to 10 inches beyond the window frame on each side. This allows the curtain panels to ‘stack back’ against the wall rather than covering the edges of the glass.
- Rod Pocket: Casual and traditional. The fabric is simply shirred onto the rod. Best for stationary panels as they can be difficult to slide.
- Grommet Top: Modern and clean. Large metal rings are set into the fabric, creating deep, uniform waves that glide easily.
- Pinch Pleat: Classic and formal. Fabric is gathered into elegant pleats, which are then attached to the rod with drapery pins and rings for a tailored finish.
The rod’s diameter has a huge impact on the final look. A standard 1-inch rod is a versatile workhorse for most medium-weight curtains in average-sized rooms. For grander spaces with high ceilings or for hanging heavy, lined blackout drapes, upgrading to a thicker rod (1.5 to 2 inches) provides the necessary structural support and adds visual weight, making the entire window treatment feel more substantial and high-end.
Metal Rods: Sleek and versatile, available in finishes like matte black, brushed nickel, or warm brass. Perfect for modern, industrial, or transitional styles. Look to brands like Crate & Barrel or West Elm for quality options.
Wood Rods: Offer a warm, traditional, or rustic feel. They can be stained or painted to match your trim and are ideal for classic or farmhouse interiors.
For a truly durable and classic choice, consider Kirsch’s wood hardware collections.
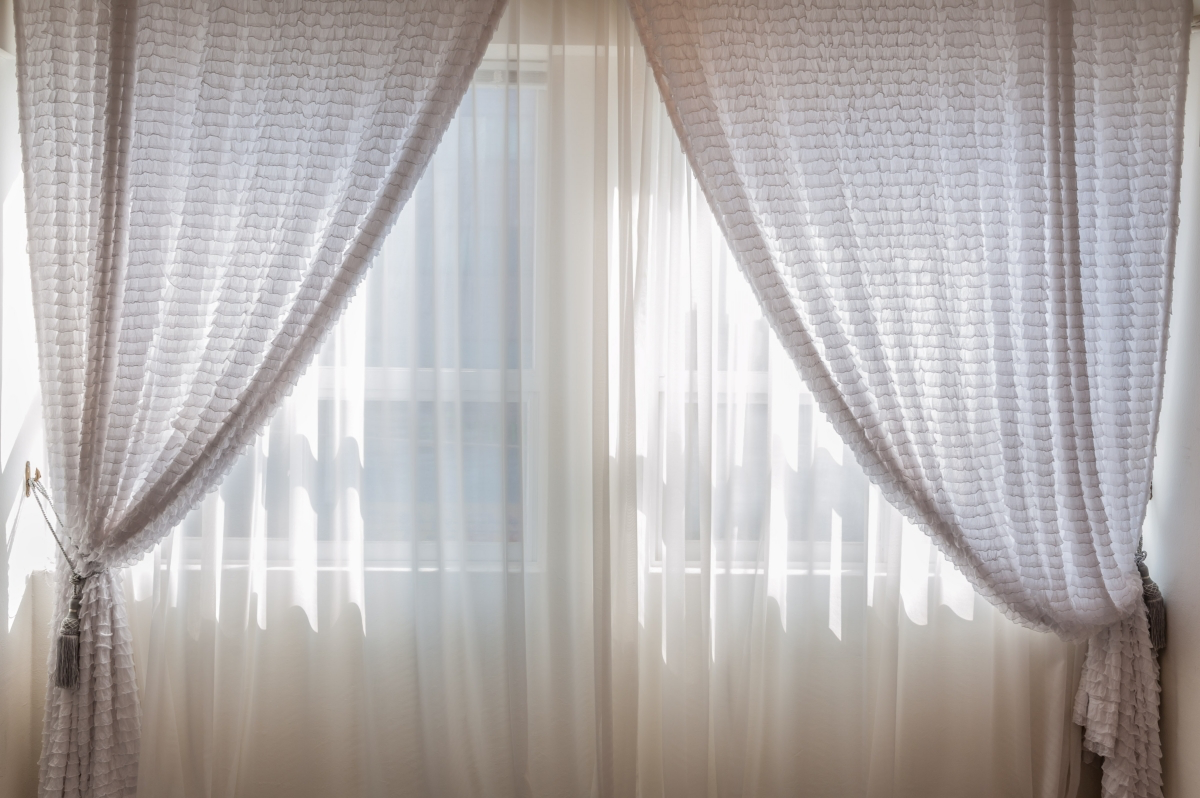
- Creates a soft, romantic, and luxurious atmosphere.
- Elegantly conceals slightly uneven floors or minor miscalculations in length.
The secret? It’s a designer technique known as ‘puddling.’ This involves ordering drapes that are 2 to 6 inches longer than the floor-to-rod measurement, allowing the excess fabric to pool on the floor. It’s a stunning look, best reserved for formal spaces or low-traffic areas where the fabric won’t be constantly disturbed.


