Your Guide to a Stunning Fall Porch That Actually Lasts
You know the feeling. You spend an afternoon and a good chunk of cash creating the perfect fall front door, only to watch it all fall apart. The mums die after one chilly night, the squirrels treat your pumpkins like a personal buffet, and that gorgeous wreath you bought looks sad and droopy after a single rainstorm. It’s frustrating, and honestly, it makes you want to give up.
In this article
But what if I told you there are a few pro secrets that can change everything? I’ve spent years figuring out what works and, more importantly, what doesn’t. This isn’t about just plopping a pumpkin on your step; it’s about building a beautiful display with integrity that you can be proud of all season long. Let’s get into it.
First Things First: Understanding Your Materials
A great display starts with choosing the right stuff. Knowing a little bit about why certain things last and others don’t is the key to creating something that looks good for three months, not just three days.
The Magic of Color and Texture
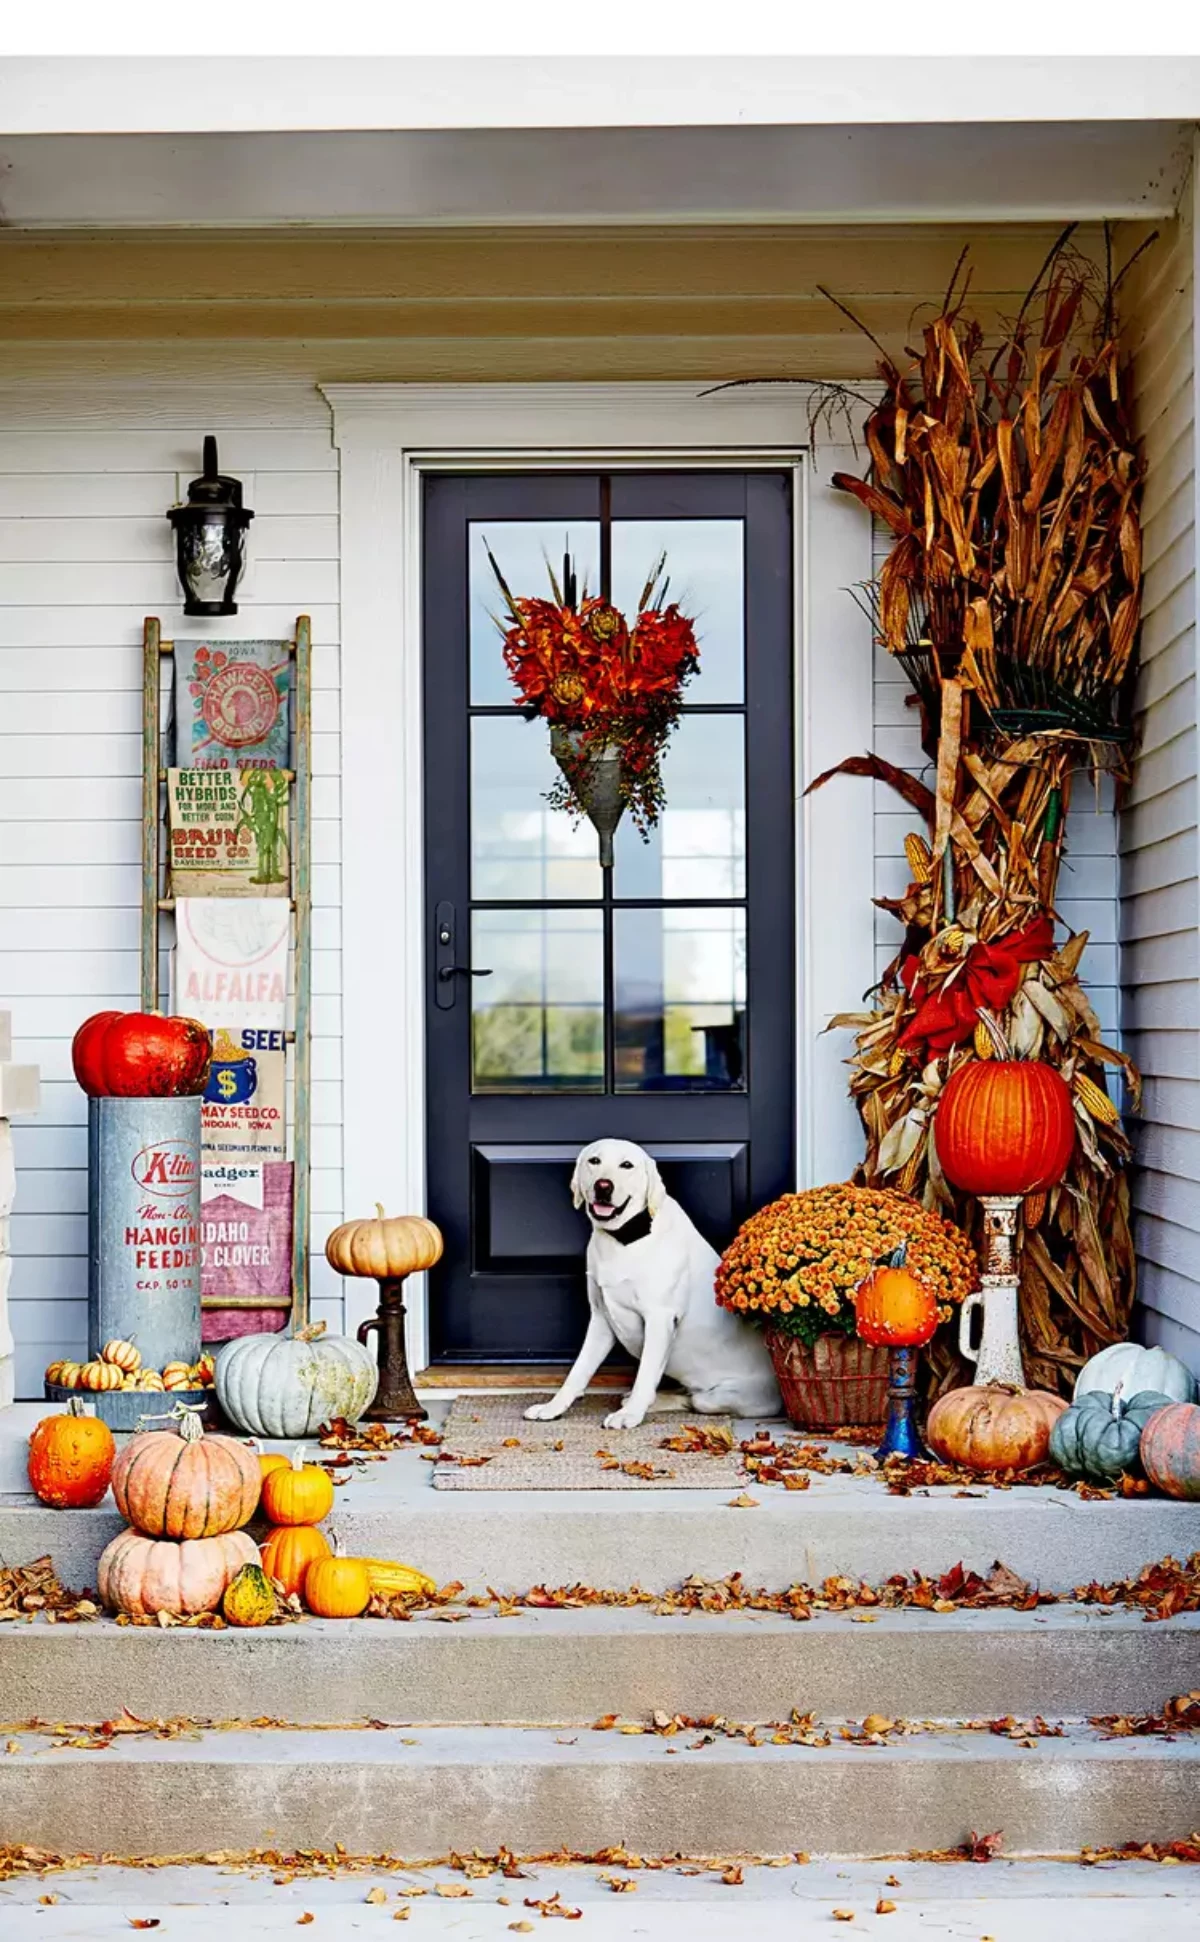
Fall colors are naturally stunning together—think of all those warm reds, oranges, and yellows. They create a really harmonious vibe. But if you want to make those colors truly pop, add a tiny bit of a complementary color. What does that mean? Just find a color on the opposite side of the color wheel. For example, tossing a deep purple aster or a cool blue-gray pumpkin into your sea of orange makes everything look richer and more intentional.
Texture is just as crucial. A porch with only smooth, round pumpkins can look a little… flat. The best displays mix it up. Think about combining the rough, scratchy feel of dried corn stalks, the smooth skin of a pumpkin, the waxy leaves of ornamental kale, and maybe the soft, feathery tops of some grasses. This variety creates so much visual depth and makes your display interesting from the curb and up close.
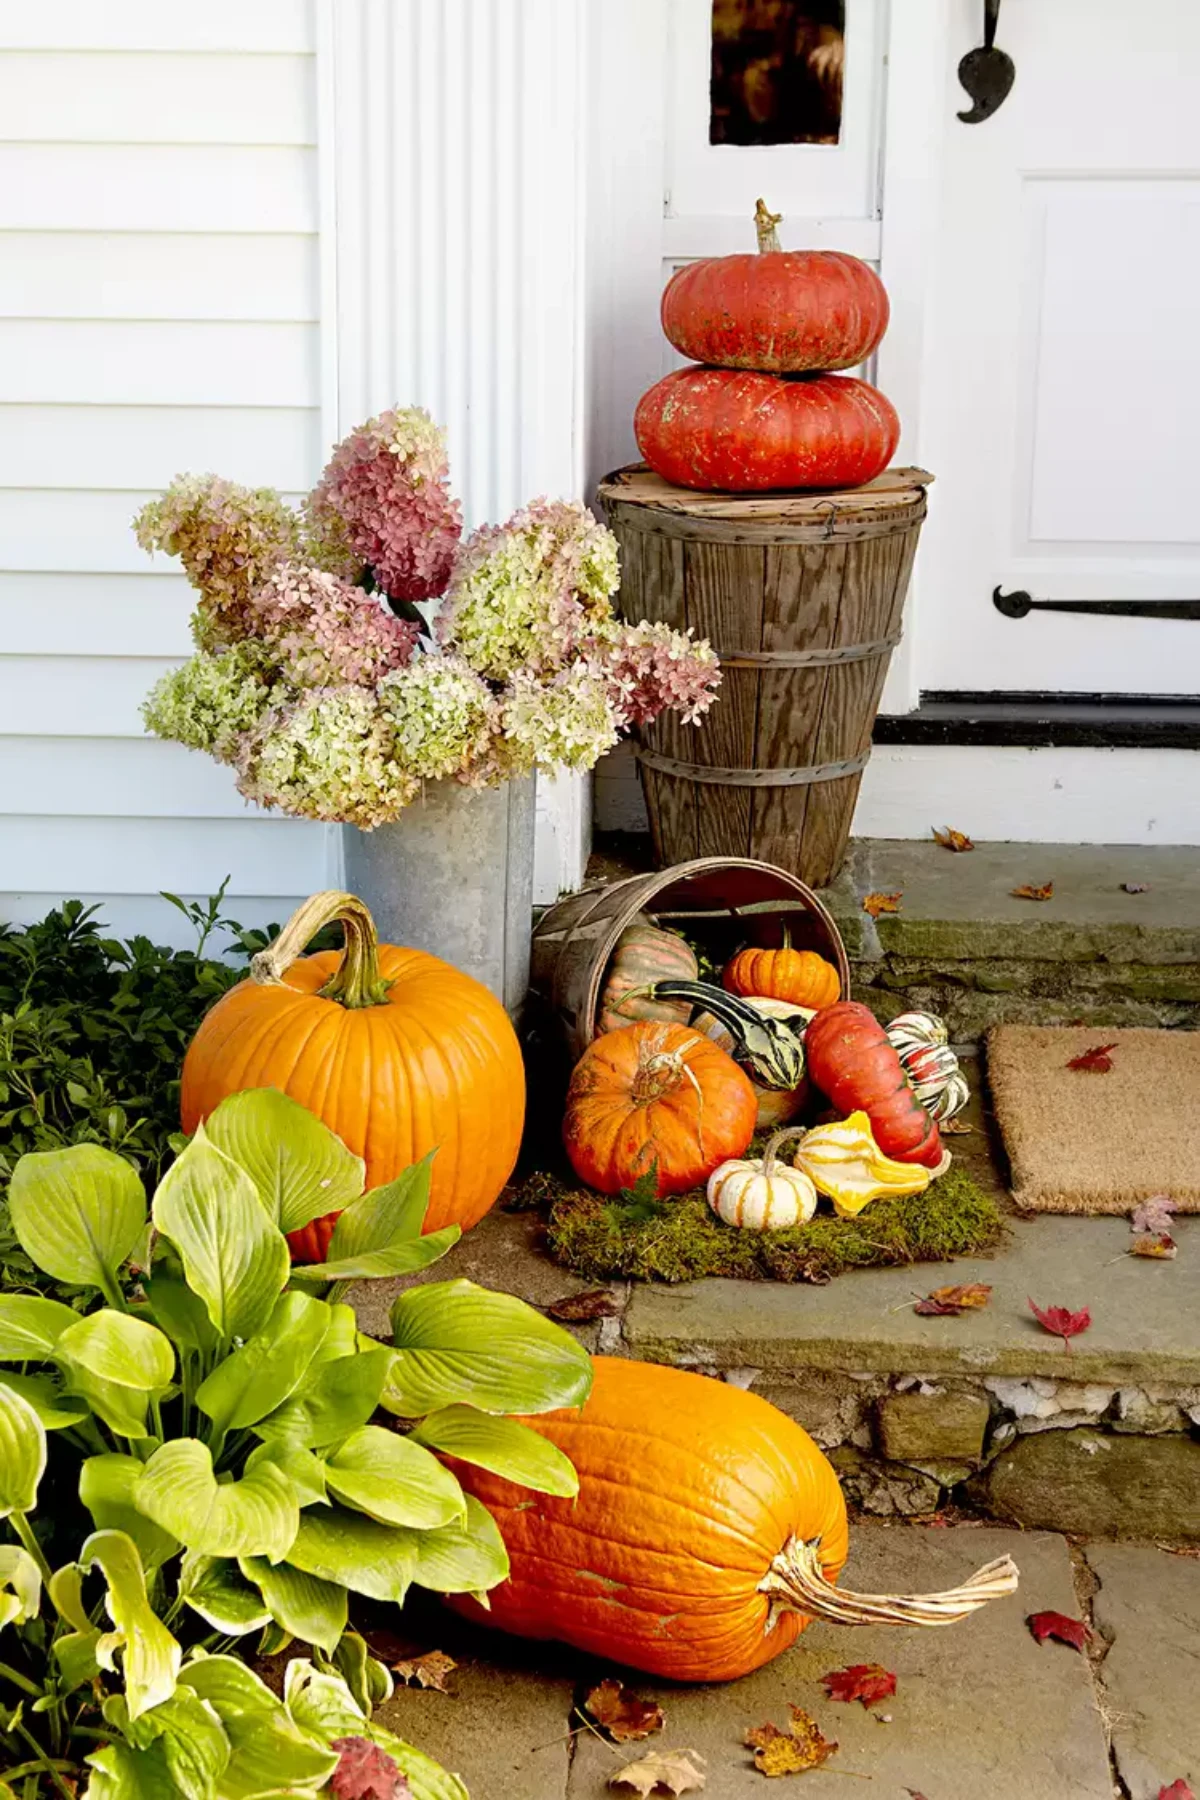
Why You Can’t Skip Curing Your Pumpkins
Here’s a step most people miss, and it’s a game-changer. You can’t just grab a pumpkin from the patch and expect it to last until Thanksgiving. You need to cure it. Curing simply hardens the pumpkin’s skin, heals any nicks from the field, and seriously slows down the rotting process.
It’s super easy to do. Gently wipe the entire surface of your pumpkin with a cloth dipped in a mild bleach solution (about one part bleach to ten parts water). You don’t need to rinse it; just let it air dry completely. Then, let the pumpkin sit in a sunny, dry spot for about a week. This simple process toughens up the skin like armor. An uncured pumpkin might rot in a couple of weeks, but a cured one can easily last two months or more, even outside.
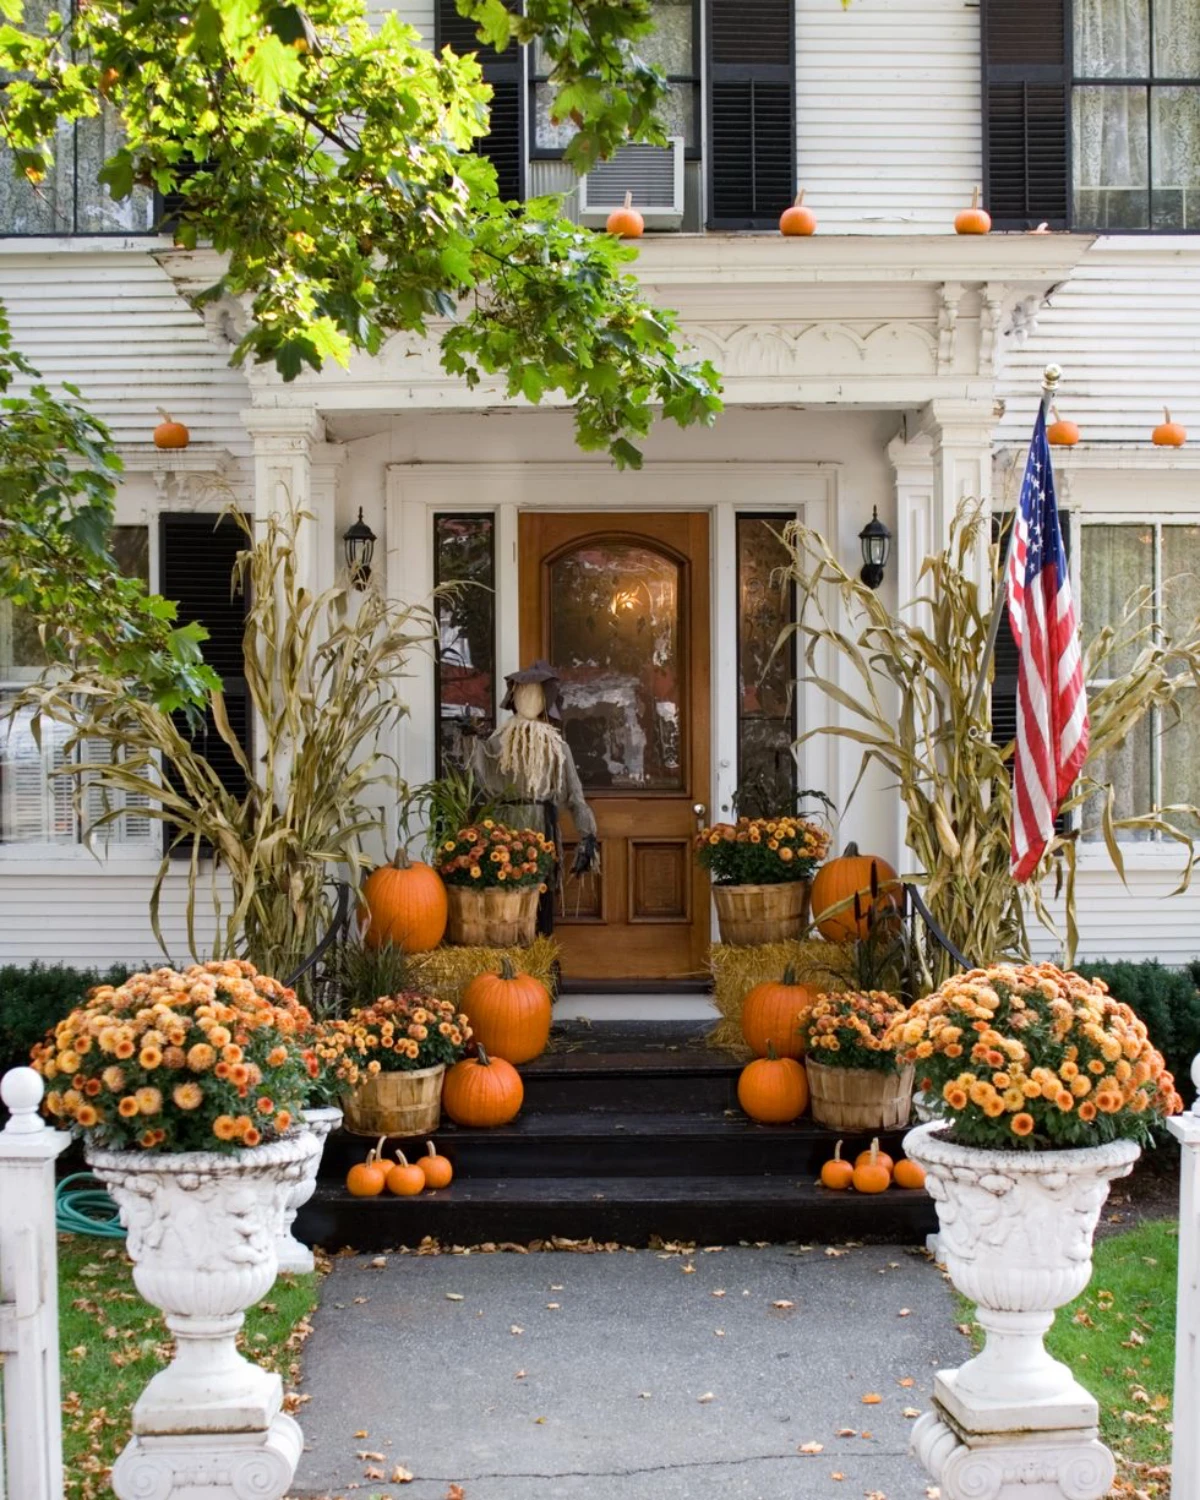
Not All Mums Are Created Equal
Heads up! The cheap, colorful mums you see in grocery store foyers are usually “floral mums.” They’re grown in greenhouses for one quick, beautiful bloom and are NOT meant for cold weather. They’ll likely give up the ghost after the first frost.
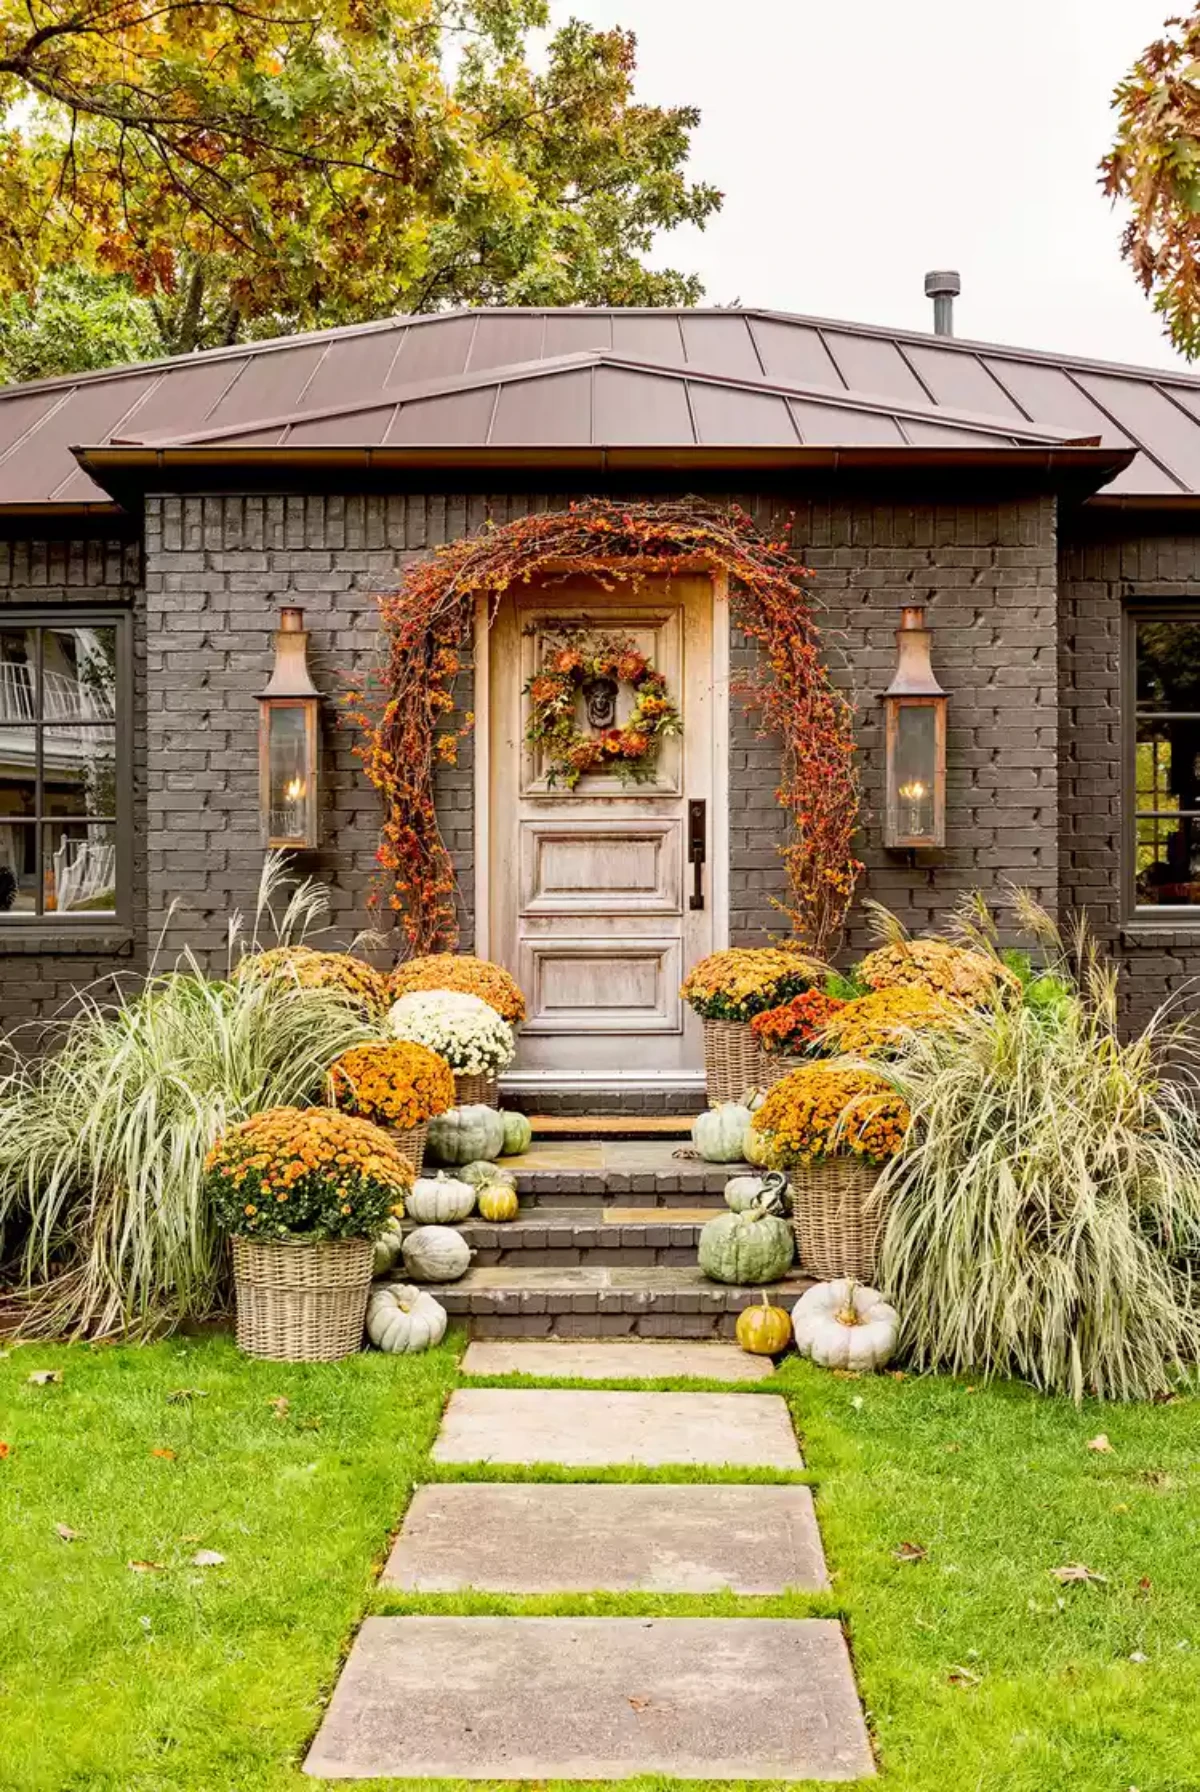
What you really want are Hardy Mums, sometimes called Garden Mums. They’ve been bred to handle colder temperatures and have much stronger root systems. When you’re shopping, look for plants that have more closed buds than open flowers—this is your ticket to weeks of color, not just a few days.
Let’s Talk Budget, Sourcing, and Quick Wins
Creating a beautiful fall display doesn’t have to break the bank or eat up your entire weekend. It’s all about smart planning.
Sourcing and a Realistic Budget
While big-box stores are convenient, I’ve found that local nurseries and farm stands often have healthier plants and more interesting, heirloom pumpkin varieties. You’ll pay a bit more, but the quality is usually worth it.
So, what does this actually cost? Let’s break it down.
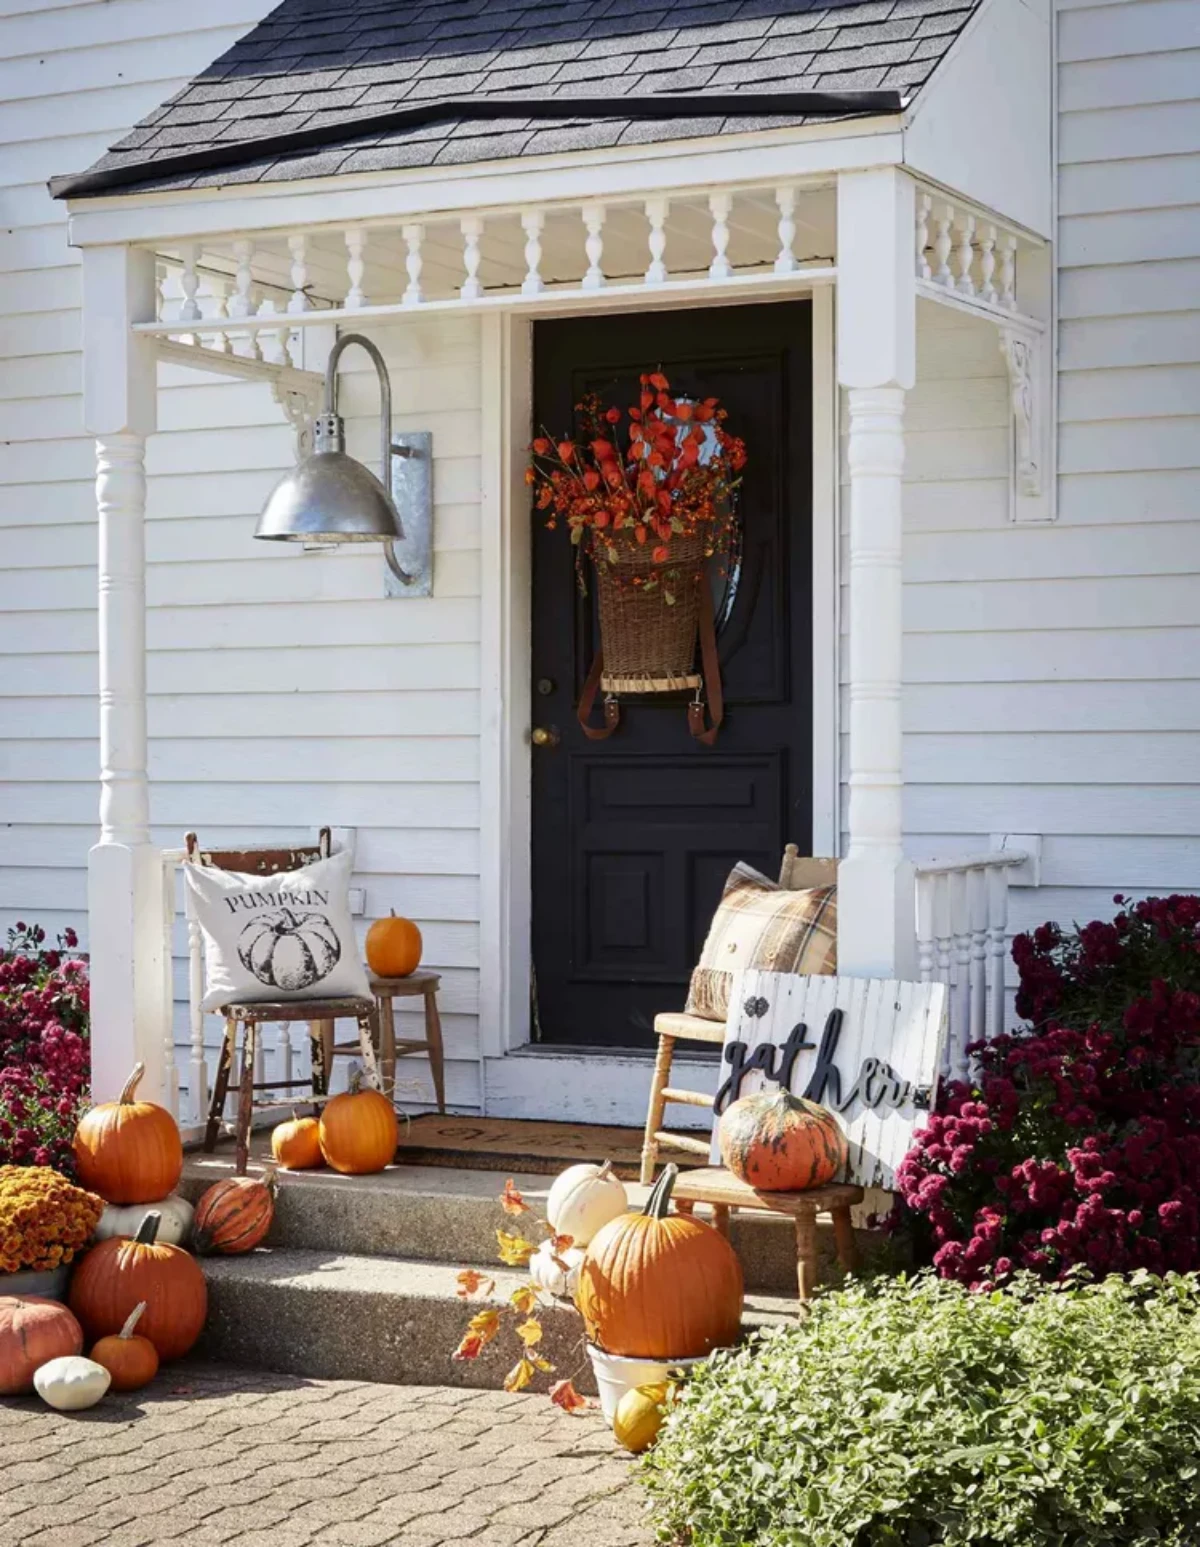
- The 5-Minute Porch (Under $30): No time? No problem. Grab one large, interesting heirloom pumpkin (the weirder, the better!) and flank it with two small pots of ornamental cabbage or kale. Instant autumnal style, minimal effort.
- The Classic Porch Display ($60 – $80): This is the sweet spot for most people. Here’s a sample shopping list to give you an idea: Two nice-sized hardy mums ($20-$30), one bale of STRAW ($10-$12), and a fun assortment of cured pumpkins and gourds ($30-$40).
- The All-Out Display ($150+): If you’re thinking custom garlands, lighting, and a whole pumpkin family, the sky’s the limit. This is often where it makes sense to hire a pro if you don’t have the time for a big DIY project.
Oh yeah, a quick tip: Always choose straw bales, not hay bales. Hay is animal feed, full of seeds and allergens that will make a huge mess on your porch. Straw is just the leftover stalks from harvested grains, making it much cleaner and better for decorating.
Putting It All Together Like a Pro
How you assemble your display is just as important as what you buy. A little technique goes a long way in making your porch look polished and intentional.
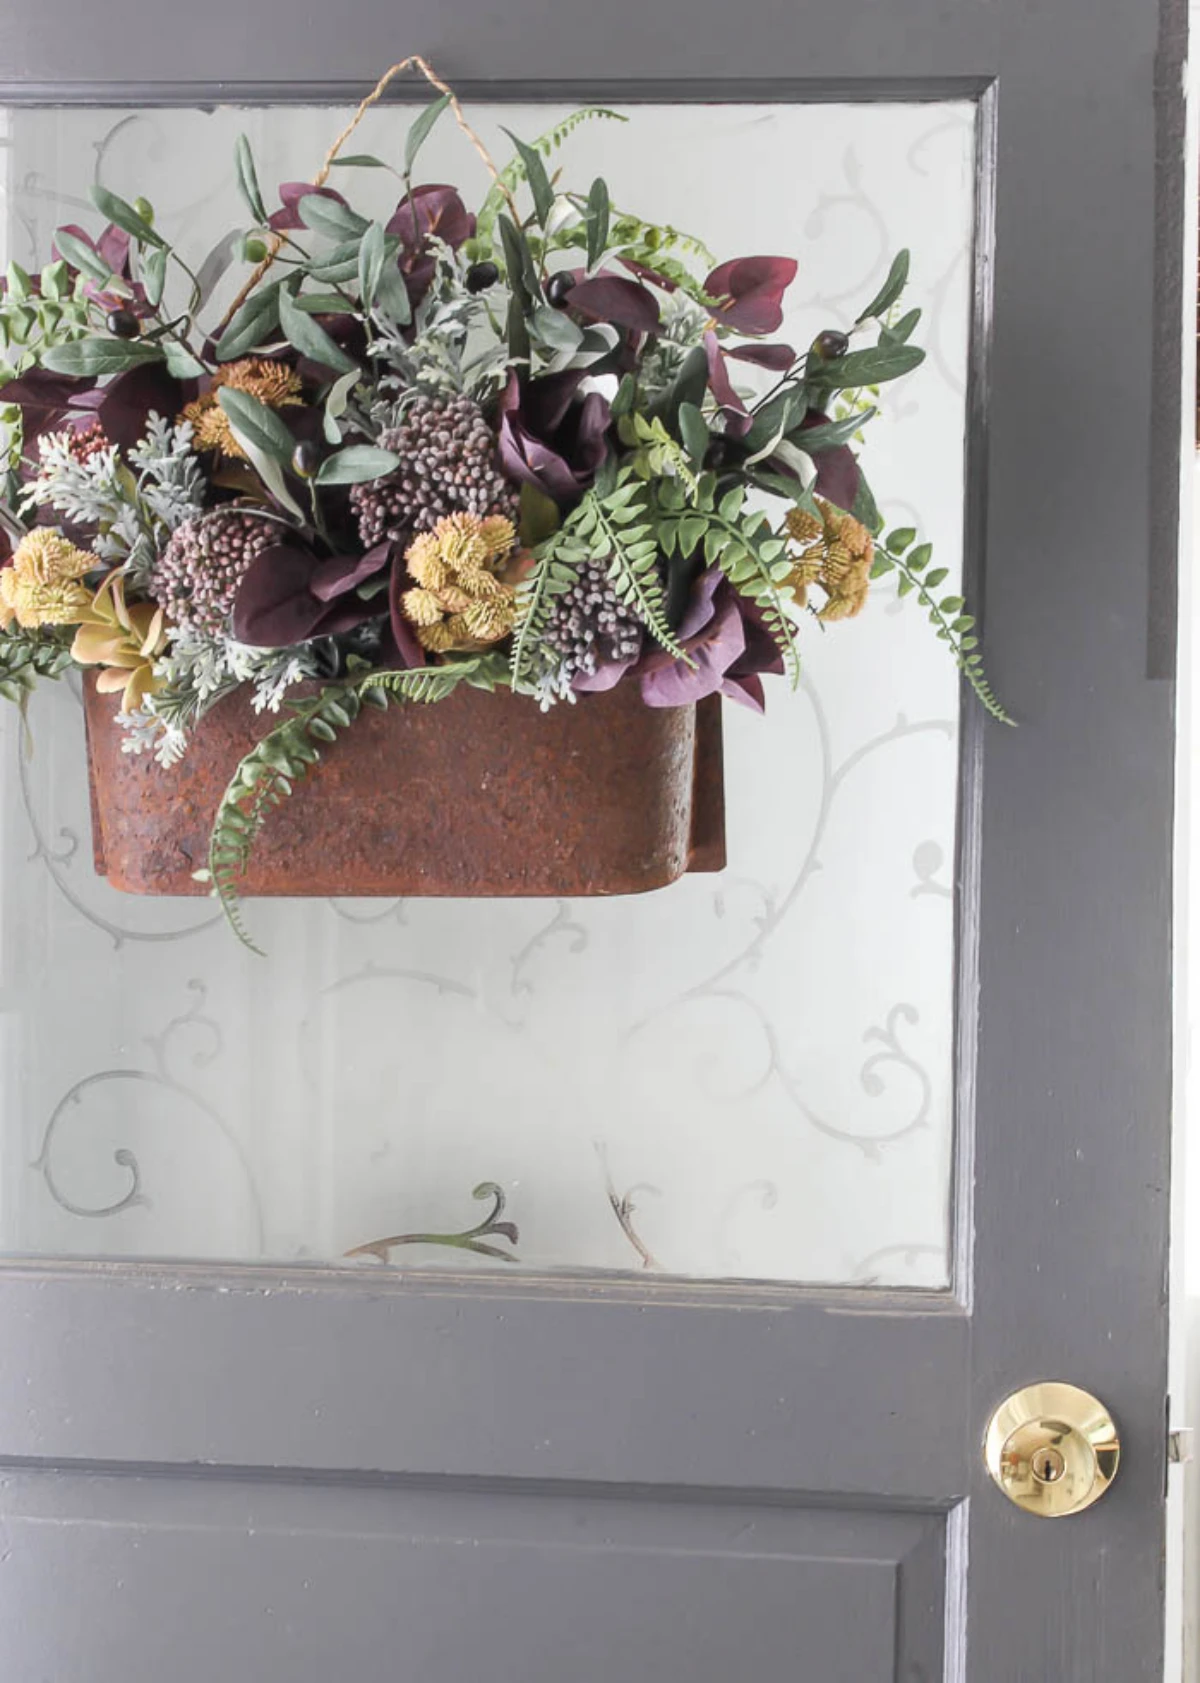
Building a Wreath That Lasts
A handmade wreath has so much more character. I always start with a grapevine wreath base, which you can get for about $10 at any craft store. They’re sturdy, rustic, and have tons of nooks and crannies for adding your own touches.
For attaching heavier things like mini-gourds, I drill a tiny, hidden hole through the gourd, thread a piece of 22-gauge floral wire through it, and twist it securely to the grapevine base. For lighter things like dried leaves or flowers, a high-temp hot glue gun is your best friend. A little dot of glue on the wreath base is all you need.
And please, skip those thin metal over-the-door hangers! They can scratch your door paint and send your beautiful wreath flying in a storm. A heavy-duty magnetic hook for a metal door or a properly installed permanent hook for a wood door is a much safer bet.
Arranging the Big Stuff
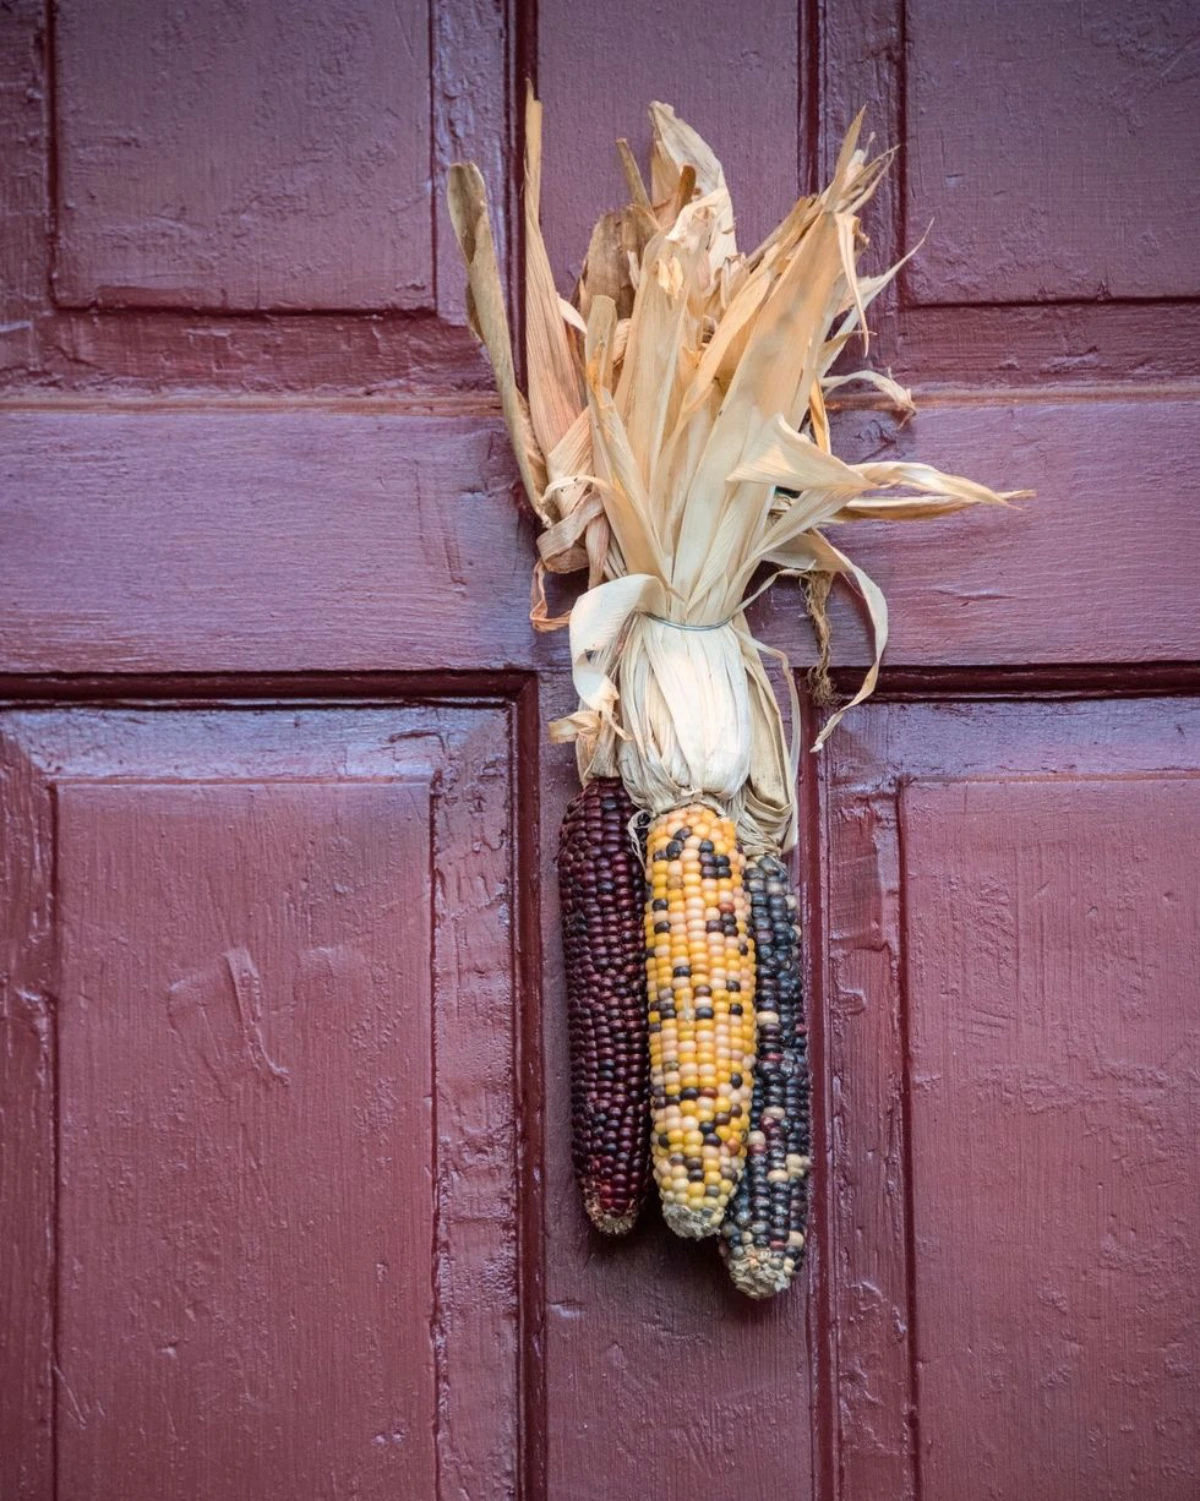
The large elements like corn stalks and straw bales are the bones of your design. For corn stalks, a bundle of 5-7 stalks makes a good-looking shock. Bind them tightly with jute twine in two spots—once in the middle and once near the top—to keep them from looking messy.
When using straw bales, I always follow the rule of odds. Group them in threes or fives and stagger their heights to create a more natural, layered look. This gives you different levels to place your pumpkins and mums, which is way more interesting than a flat, symmetrical lineup.
Troubleshooting the Annoying Stuff
Even with the best planning, problems can pop up. Here’s how to handle the most common ones.
- Squirrels and Chipmunks: These little guys are the worst. My go-to secret weapon is a light dusting of cayenne pepper around the base of the pumpkins. They hate the smell and will leave them alone. Just remember to reapply after it rains. For a pet-safe alternative, a spray made of water and a few drops of peppermint essential oil also works wonders.
- Wilting Mums: If your mums look sad and droopy, they’re probably just thirsty. Give them a deep drink until water runs out the bottom of the pot. If the soil is super dry, you might need to submerge the whole pot in a bucket of water for an hour to fully rehydrate the roots.
Don’t Forget About Safety!
This is the non-negotiable part. A beautiful display is worthless if it’s a hazard. Dried corn stalks and straw bales are incredibly flammable. Keep them far, far away from any open flames, including jack-o’-lanterns with real candles, smokers, or even hot outdoor light bulbs. My rule? Use battery-powered LED candles ONLY. They give you that beautiful flicker with zero risk.
The After-Party: End-of-Season Cleanup
So, autumn is over… now what do you do with a porch full of fading decor? Don’t just toss it all in the trash!
- Compost: Your pumpkins, gourds, and mums can all go right into your compost bin. They’ll break down and enrich your soil for next year’s garden.
- Store & Reuse: If your corn stalks and straw bale stayed dry, shake them out well to remove any critters and store them in a dry garage or shed for next year. That grapevine wreath base? Definitely save it! You can use it again for winter, spring, and summer wreaths.
Ultimately, decorating your front door for fall is a creative craft. It’s a mix of art, a little bit of science, and some fun, hands-on work. Take your time, choose materials that you love, and build something that makes you happy every time you come home.
Galerie d’inspiration
Tired of mums that give up after the first frost?
While beautiful, chrysanthemums are sensitive. For true longevity and a touch of the unexpected, consider swapping them for ornamental cabbage and kale. Their ruffled leaves in shades of deep purple, dusty green, and creamy white not only withstand the cold but actually become more vibrant as the temperature drops. They provide incredible texture and structure that will anchor your display all the way to Thanksgiving, long after traditional mums have faded.


