I’ve been cleaning floors for a living for a long, long time. I’ve seen it all, from high-end homes with delicate flooring to bustling commercial kitchens that take a serious beating. And I can tell you one thing for sure: most of us were taught to mop all wrong.
We think it’s about dunking a mop in a bucket of soapy water and sloshing it around. But honestly? That method often just turns grime into a sticky, evenly-distributed film. It doesn’t really remove the dirt; it just moves it around. Real mopping is a skill, and it’s about getting your floors truly, deeply clean.
Over the years, I’ve shown dozens of new cleaners the ropes. I always tell them we’re fighting an invisible battle against grit, oils, and bacteria. The right techniques aren’t about working harder; they’re about working smarter. So let’s forget those streaky, dull results and talk about how the pros get it done. This will change how you see your floors forever.
First, Know Thy Enemy: What’s Actually On Your Floor?
Before you even think about water, you need to understand what you’re trying to clean up. It’s not just “dirt.” On a microscopic level, you’re dealing with a few different things.
First up is what we call particulate soil. This is all the dry stuff: sand, dust, pet hair, crumbs, you name it. These little particles are often abrasive. If you just add water, you’re basically creating a liquid sandpaper. Pushing that gritty paste around with a mop is the
1 reason why hardwood and laminate floors get those tiny, swirling scratches that make them look dull.
Then you have oily or greasy soil. This comes from everything—cooking fumes that settle, oils from our skin, paw prints from pets. Water by itself just beads up and slides right over this stuff. This is where your cleaning solution is key. A good cleaner has things called surfactants that grab onto the oil and let the water whisk it away. It’s a neat little process called emulsification.
Finally, there’s the easy stuff: soluble soil, like a spilled soda. This stuff dissolves in water, but the trick is to remove it completely so you don’t leave a sticky spot that just attracts more dirt later.
The Golden Rule: Always, ALWAYS Prep the Floor First
If you only remember one thing from this entire guide, let it be this: get rid of the dry dirt before you introduce a wet mop. I cannot say this enough. Every single professional job starts with a thorough dry cleaning. Skipping this step makes mopping a complete waste of time and can actively damage your floors.
I once got a call to a house with these gorgeous dark oak floors. The owner was frustrated because they always looked hazy. The afternoon sun hit them just right, and I could see the whole surface was covered in fine, swirly scratches. She admitted that to save time, she’d just go straight to mopping. All that grit was being ground into the finish with every pass. We had to get the floors professionally buffed to restore the shine—a fix that cost hundreds of dollars, all to avoid a five-minute task.
Your best tools for this prep step are:
A Microfiber Dust Mop: For smooth floors, this is your daily driver. It uses static electricity to grab dust and hair instead of just pushing it around. A quick run-through takes just a couple of minutes.
A Vacuum Cleaner: This is the gold standard. Use a canister vac with a soft-bristled hard floor attachment. If you use an upright, make sure you can turn off the spinning beater bar. That stiff, rotating brush is great for carpets but can scratch and dull wood, laminate, and vinyl over time.
Your Mopping Toolkit: Ditch the Old Sponge Mop
The right gear makes a world of difference. Let’s build your ideal mopping kit.
The Mop Itself
Let’s be frank, not all mops are created equal. Some are downright terrible.
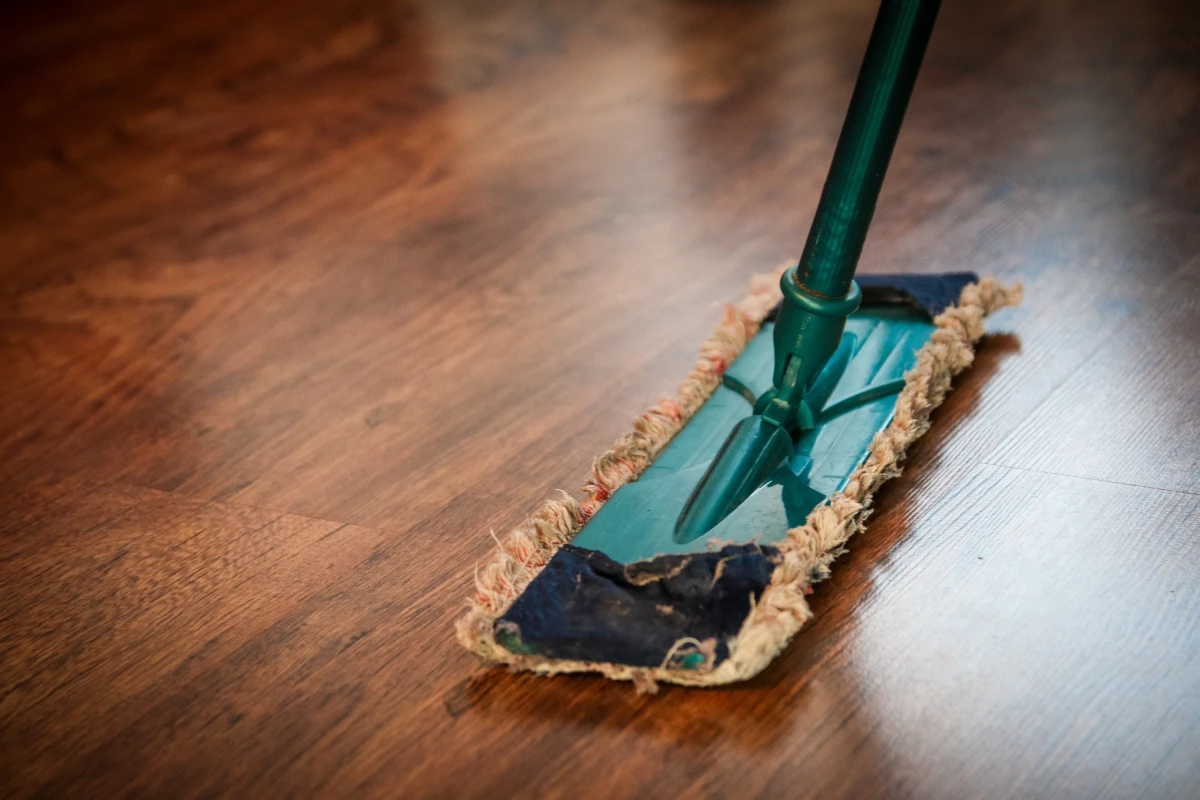
Microfiber Flat Mops: This is the modern standard, and for good reason. The pros use them on almost everything—hardwood, laminate, LVT, you name it. The split fibers are designed to grab and hold onto dirt particles. They use way less water, which is safer for your floors, and the pads are machine washable. An O-Cedar or Rubbermaid system is a great starting point, usually running you about $30 to $50.
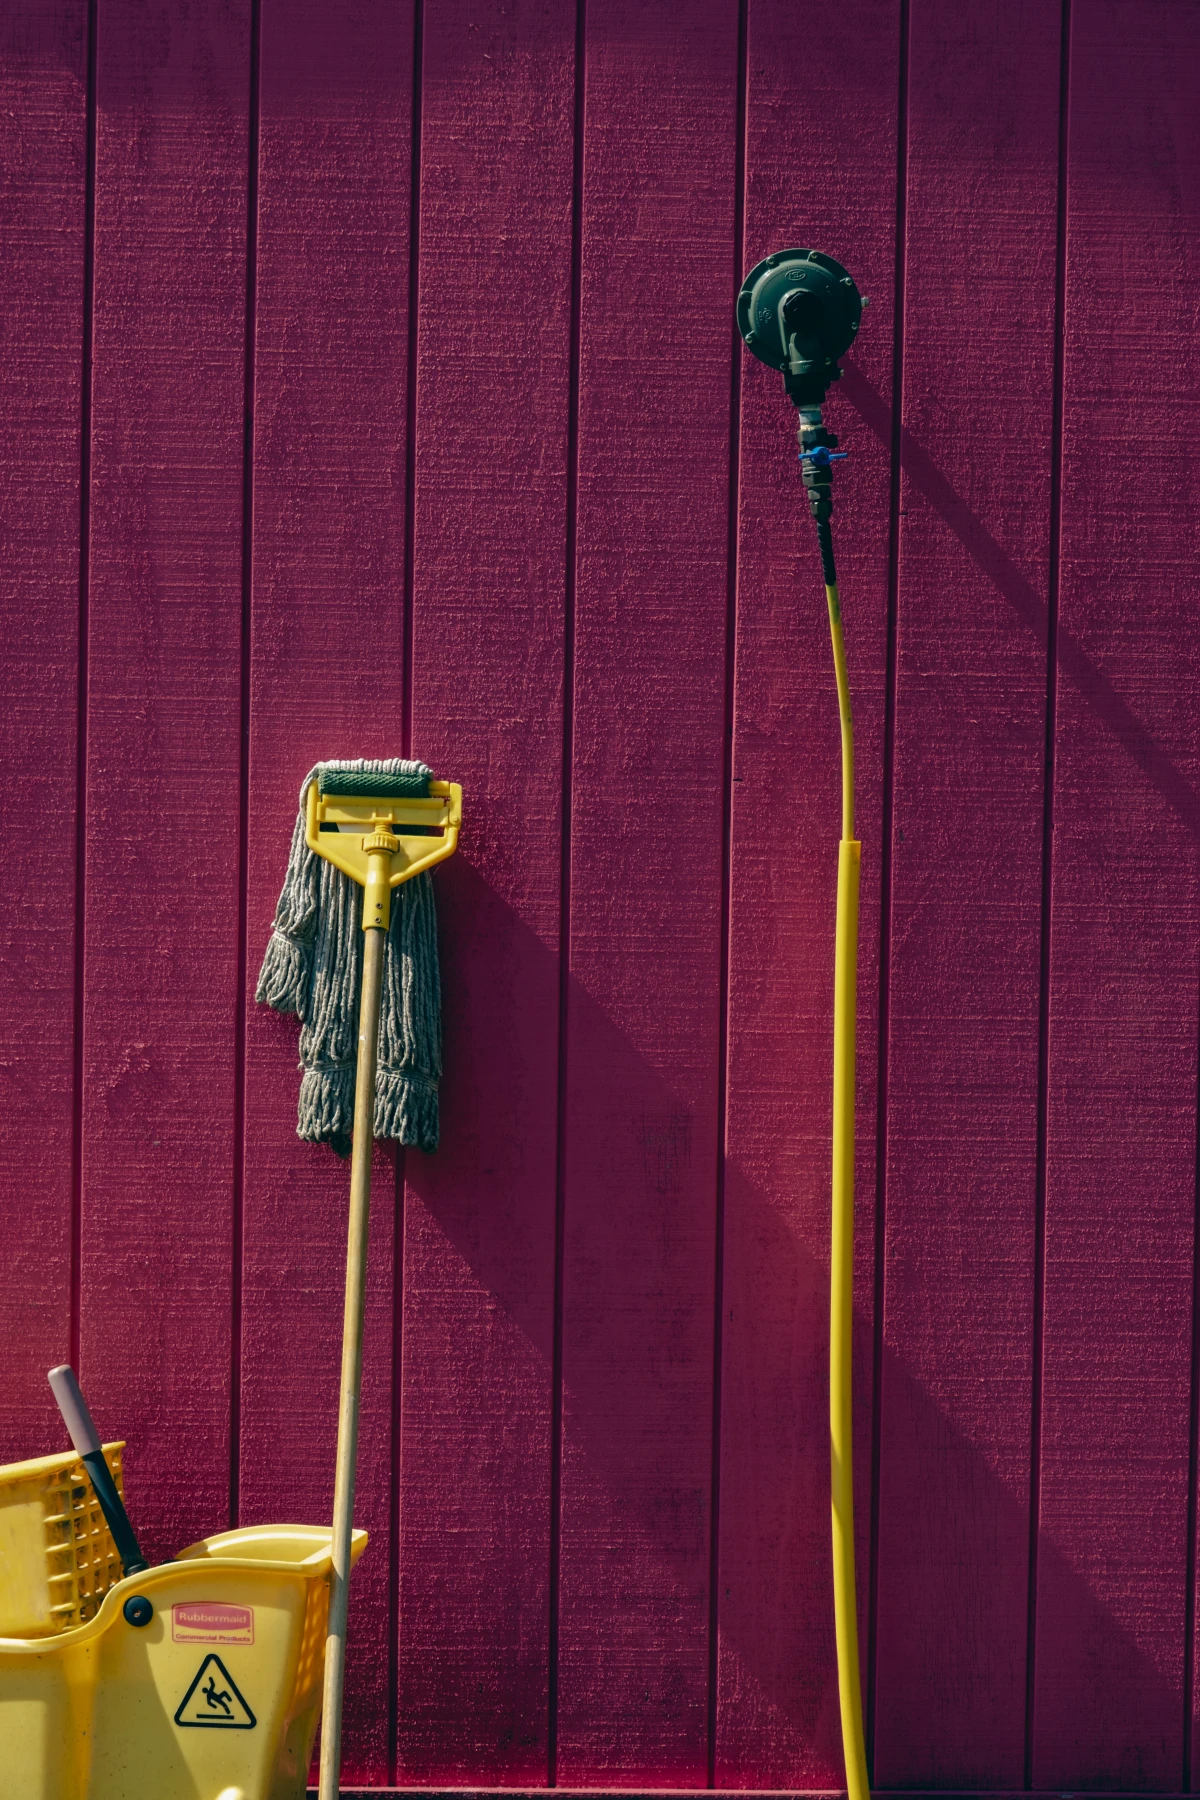
String Mops: The classic janitor mop. They’re great for absorbing huge spills or for very rough surfaces like unfinished concrete. But for home use? They’re not great. They tend to just push dirt around, they’re hard to wring out properly (leaving floors too wet), and they get gross and mildewy fast.
Sponge Mops: Please, just don’t. I know they seem convenient, but they are notorious for pushing dirty water directly into your grout lines, staining them permanently. And that sponge head is a perfect breeding ground for bacteria. Avoid.
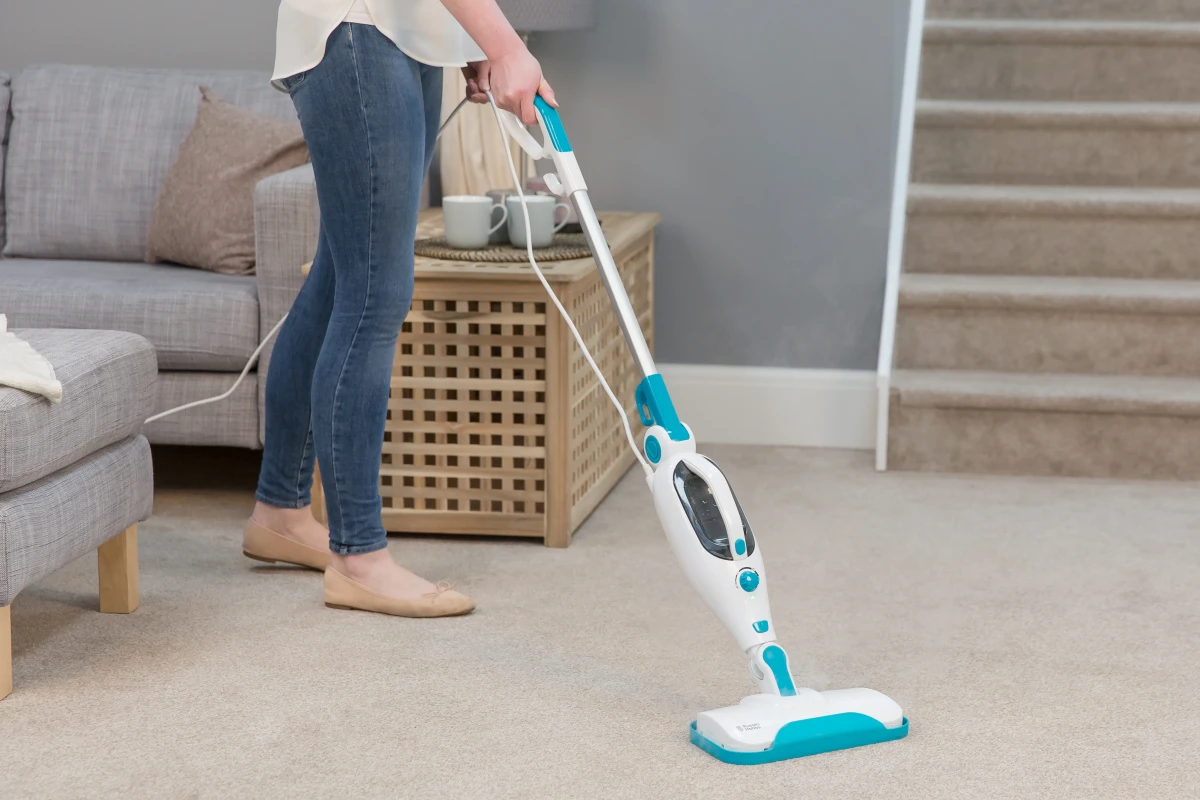
What about Steam Mops? Ah, the steam mop. People love them, but you need to be careful. They are fantastic for sanitizing durable, sealed surfaces like ceramic or porcelain tile. However, the high heat and moisture can be disastrous for wood, laminate, and some types of vinyl. It can cause the layers to delaminate or the edges to swell and peel. Always check your flooring manufacturer’s guidelines before even thinking about using steam.
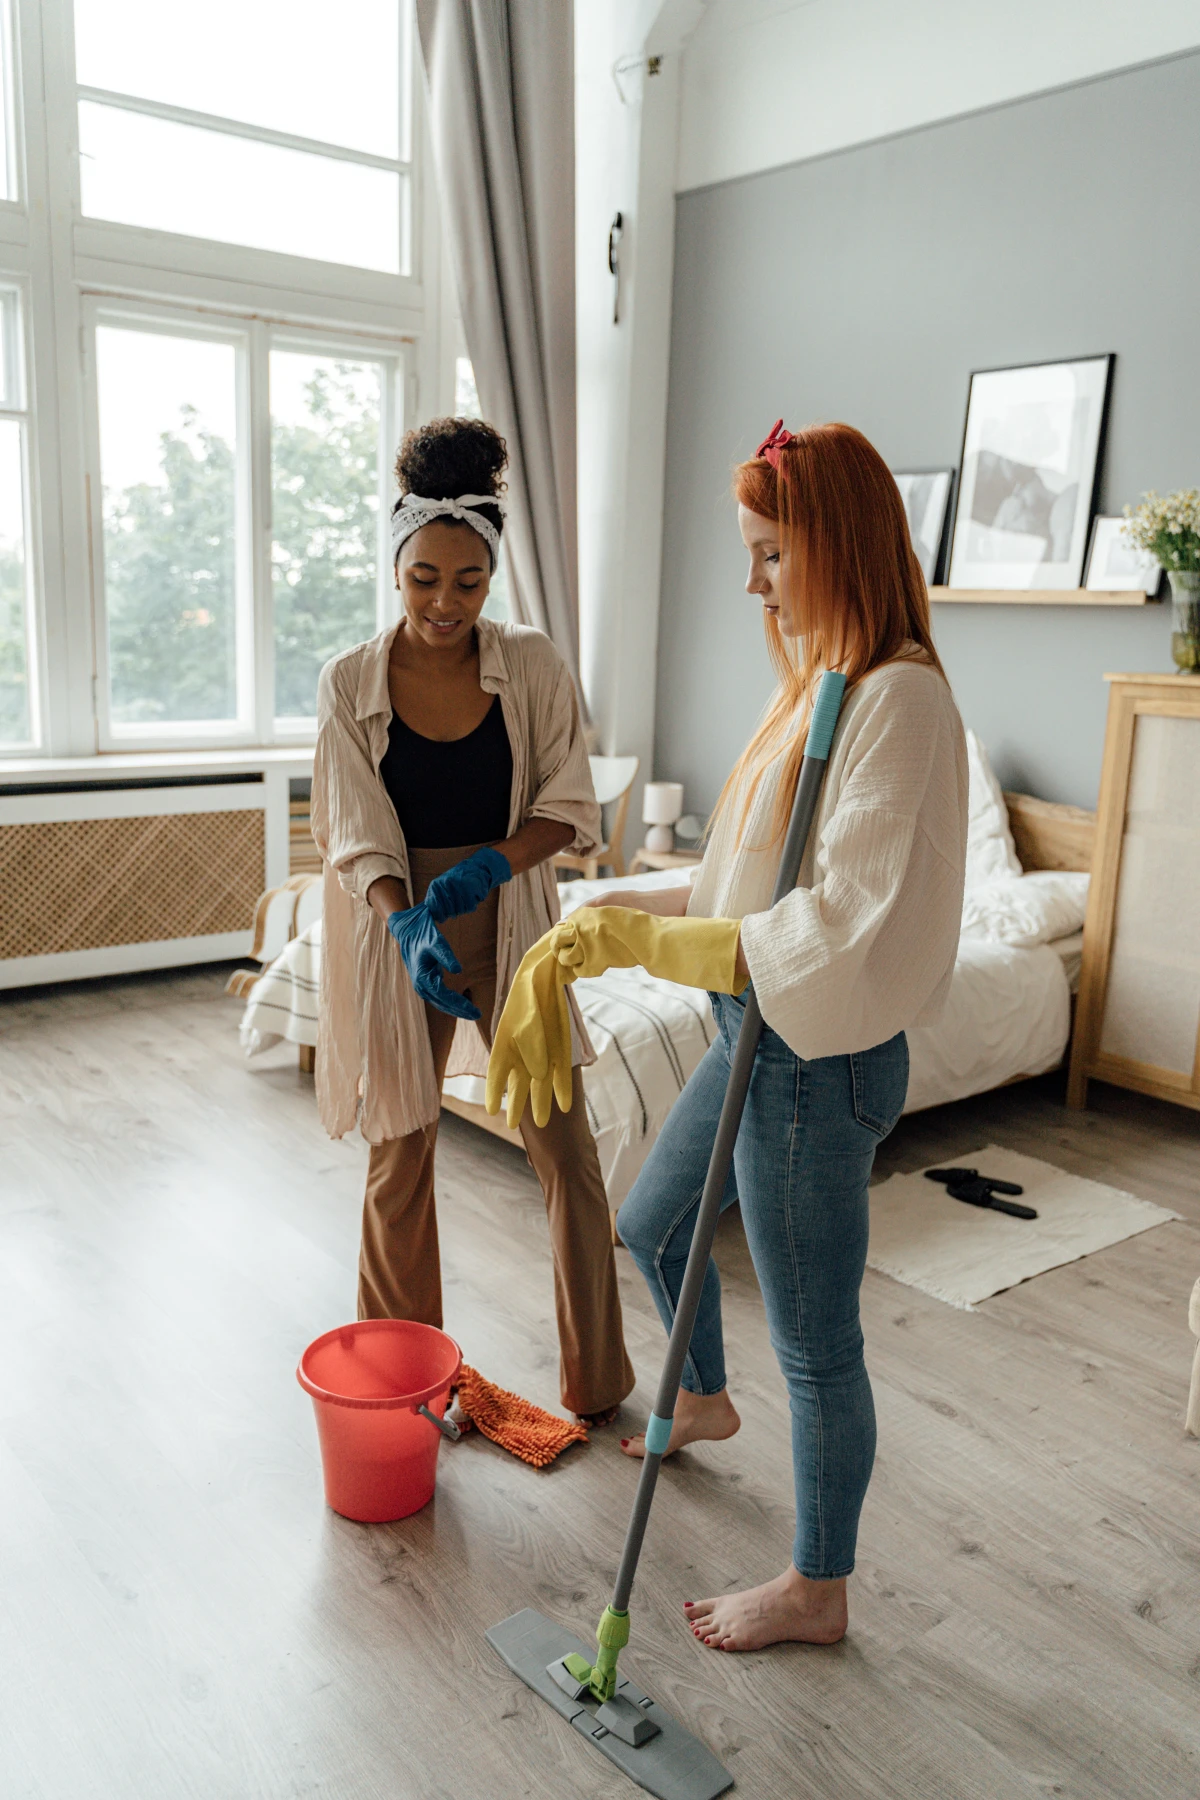
The Two-Bucket System: This is Non-Negotiable
If you’re using one bucket, you’re mopping with dirty water after the very first rinse. The two-bucket method is the secret sauce. It’s simple: one bucket for your clean solution, and a second for wringing out the dirty mop.
You can buy fancy janitorial buckets with wringers, but honestly, two basic 3-gallon buckets from Home Depot or Lowe’s (about $5 each) work just fine. You’ll just have to wring the mop out by hand.
Bucket
1 (Solution): Has warm water and your cleaner.
Bucket #2 (Rinse): Has plain, clean water.
You dip your clean mop in the solution, mop a section, then rinse the dirty mop in the rinse bucket. Wring it out thoroughly, and only then does it go back into the solution bucket. This keeps your cleaning water clean and actually lifts the dirt off your floor.
The Cleaning Solution: pH is Everything
Most floor cleaners promising a “miracle shine” are just leaving behind a polymer or silicone film that builds up over time. For 95% of your routine cleaning, all you need is a pH-neutral cleaner. It’s gentle enough for any water-safe floor—sealed hardwood, stone, LVT, laminate—and it won’t leave a residue or damage the finish. Look for products that specifically say “pH-neutral.” Brands like Zep or Bona make great, widely available options for around $15 a bottle.
Quick Tip: Never, ever mix cleaning chemicals, especially bleach and ammonia. It creates a toxic gas. It’s just not worth it.
The Professional Mopping Method, Step-by-Step
Alright, your floor is prepped and your kit is ready. Let’s do this.
Plan Your Escape: Always start in the corner farthest from the door and work your way out. You don’t want to walk all over your clean, damp floor.
Dip and Wring: Submerge your mop head in the solution bucket, then wring it out until it’s just damp. It should not be dripping at all. For wood and laminate, you want it to be even drier—almost like a barely damp towel.
Mop in a Pattern: Work in a manageable 4×4 foot section. The pros use an “S-pattern.” With a flat mop, you simply push the mop forward and then pull it straight back, overlapping your last pass by about a third. This technique keeps the leading edge of the mop in front, collecting the dirt instead of just swishing it side-to-side.
Rinse, Wring, Repeat: After finishing a section, take the now-dirty mop to your rinse bucket. Swish it around vigorously to release the grime. Wring it out as tightly as possible. Now it’s ready for a fresh dip in the clean solution for the next section.
Watch Your Water: Pay attention to your rinse water. A good rule of thumb: if it’s so murky you can’t see the bottom of the bucket, it’s time to dump it and get fresh water. Doing this is the key to a truly clean, streak-free floor. For an average room, you might need to change it once.
Floor-Specific Rules: One Size Does NOT Fit All
You can’t treat every floor the same. Here are the quick-and-dirty rules for the most common types.
Sealed Hardwood & Bamboo: Water is the enemy. Your mop should be almost dry. Never let water pool or sit on the floor. The polyurethane finish is water-resistant, not waterproof. Water can seep between the boards and cause swelling, warping, and discoloration.
Laminate: Think of laminate as even more sensitive than hardwood. Its core is basically high-density fiberboard. If water gets into the seams, it will swell and bubble up—and that damage is irreversible. A barely-damp microfiber mop is the only way to go.
LVT (Luxury Vinyl Tile/Plank): This stuff is pretty tough and waterproof, which is great. You can be a little more liberal with water than on wood or laminate, but you still don’t want to flood the floor. A pH-neutral cleaner is perfect for preventing a dulling film.
Ceramic & Porcelain Tile: These are workhorses. The main challenge here is the grout. Mop with your two-bucket system, and change your rinse water frequently to avoid turning it into a muddy mess that settles in the grout lines. For a deep clean, a dedicated grout cleaner and a stiff brush are your best friends, but that’s a separate, once-or-twice-a-year project.
Troubleshooting Common Problems
Problem: My floors look hazy or feel sticky after mopping. Solution: You’re almost certainly using too much cleaning solution. More soap does not equal more clean! Cut the amount you use in half. If they’re still sticky, do a final rinse pass with a fresh mop pad and just plain water.
Problem: I’m seeing streaks everywhere! Solution: This is usually one of two things: your mop is too wet, or your rinse water is too dirty. Wring your mop out more thoroughly and change your water the second it starts to look murky.
The Final Word: How Often and When to Call for Help
So, how often should you really be mopping? For a busy household with pets and kids, high-traffic areas like the kitchen and entryway probably need a mop once a week. For a single person in a quiet home, every two to four weeks might be plenty. Just remember to do that quick dry dust-mopping in between!
And sometimes, you need to call in a pro. If you have deep-set stains, grout that won’t come clean, or scratches like the ones on those oak floors I mentioned, it’s time to call a professional floor care company. They have the equipment—like buffers, polishers, and commercial-grade extractors—to tackle problems that no amount of mopping can fix.
Galerie d’inspiration
What about the actual cleaning solution? Can I just use anything?
Absolutely not. Using the wrong cleaner is as bad as using a dirty mop. For hardwood or laminate, avoid oil-based soaps or wax-heavy products that promise a quick shine; they build up and attract more grime. A pH-neutral cleaner is your best friend here. Brands like Bona Hardwood Floor Cleaner or Zep Hardwood & Laminate are specifically formulated to clean effectively without leaving residue or damaging the finish. For tile or vinyl, you have more flexibility, but a splash of distilled white vinegar in your water bucket often works wonders to cut through grease and disinfect without harsh chemicals.
John combines 12 years of experience in event planning, interior styling, and lifestyle curation. With a degree in Visual Arts from California Institute of the Arts and certifications in event design, he has styled luxury weddings, corporate events, and celebrity celebrations. John believes in creating memorable experiences through innovative design and attention to detail.
To provide the best experiences, we use technologies like cookies to store and/or access device information. Consenting to these technologies will allow us to process data such as browsing behavior or unique IDs on this site. Not consenting or withdrawing consent, may adversely affect certain features and functions.
Functional
Always active
The technical storage or access is strictly necessary for the legitimate purpose of enabling the use of a specific service explicitly requested by the subscriber or user, or for the sole purpose of carrying out the transmission of a communication over an electronic communications network.
Preferences
The technical storage or access is necessary for the legitimate purpose of storing preferences that are not requested by the subscriber or user.
Statistics
The technical storage or access that is used exclusively for statistical purposes.The technical storage or access that is used exclusively for anonymous statistical purposes. Without a subpoena, voluntary compliance on the part of your Internet Service Provider, or additional records from a third party, information stored or retrieved for this purpose alone cannot usually be used to identify you.
Marketing
The technical storage or access is required to create user profiles to send advertising, or to track the user on a website or across several websites for similar marketing purposes.