How to Actually Get Cherry Stains Out of Everything (From Someone Who’s Cleaned It All)
I learned about the true power of a cherry stain the hard way. Early in my career, our team was handling the cleanup for a massive summer event, and a server tripped on a packed dance floor. An entire tray of cherry pies went airborne. It was like a slow-motion disaster movie. It hit a white backdrop, splattered all over guests’ clothing, and even stained the light maple dance floor.
In this article
- First, Why Are Cherry Stains So Tough?
- IN A CHERRY STAIN EMERGENCY? Do This in the First 10 Minutes
- Treating Washable Fabrics (Cotton, Linen, Synthetics)
- A Word of Caution for Silk & Wool
- Getting Cherry Stains Out of Carpet & Upholstery
- Tackling Wood and Hard Surfaces
- What About Porous Stone and Grout?
- When a Stain Just Won’t Budge
It was a baptism by, well, cherry juice. That one night taught me more than any training manual ever could. It showed me that cherry stains aren’t just red marks; they’re a complex chemical problem that you have to tackle with a smart, methodical approach.
Over the years, I’ve fine-tuned these methods on everything from expensive silk shirts to old stone patios. The first step is always understanding what you’re up against. A cherry stain gets its staying power from natural compounds that are literally designed by nature to be vibrant and permanent. Our job is to gently reverse that process. This isn’t about some miracle spray you see on TV—it’s about using the right tool for the right job. So, let’s get into the pro methods I use every day, so you can handle these stubborn stains like a boss.
First, Why Are Cherry Stains So Tough?
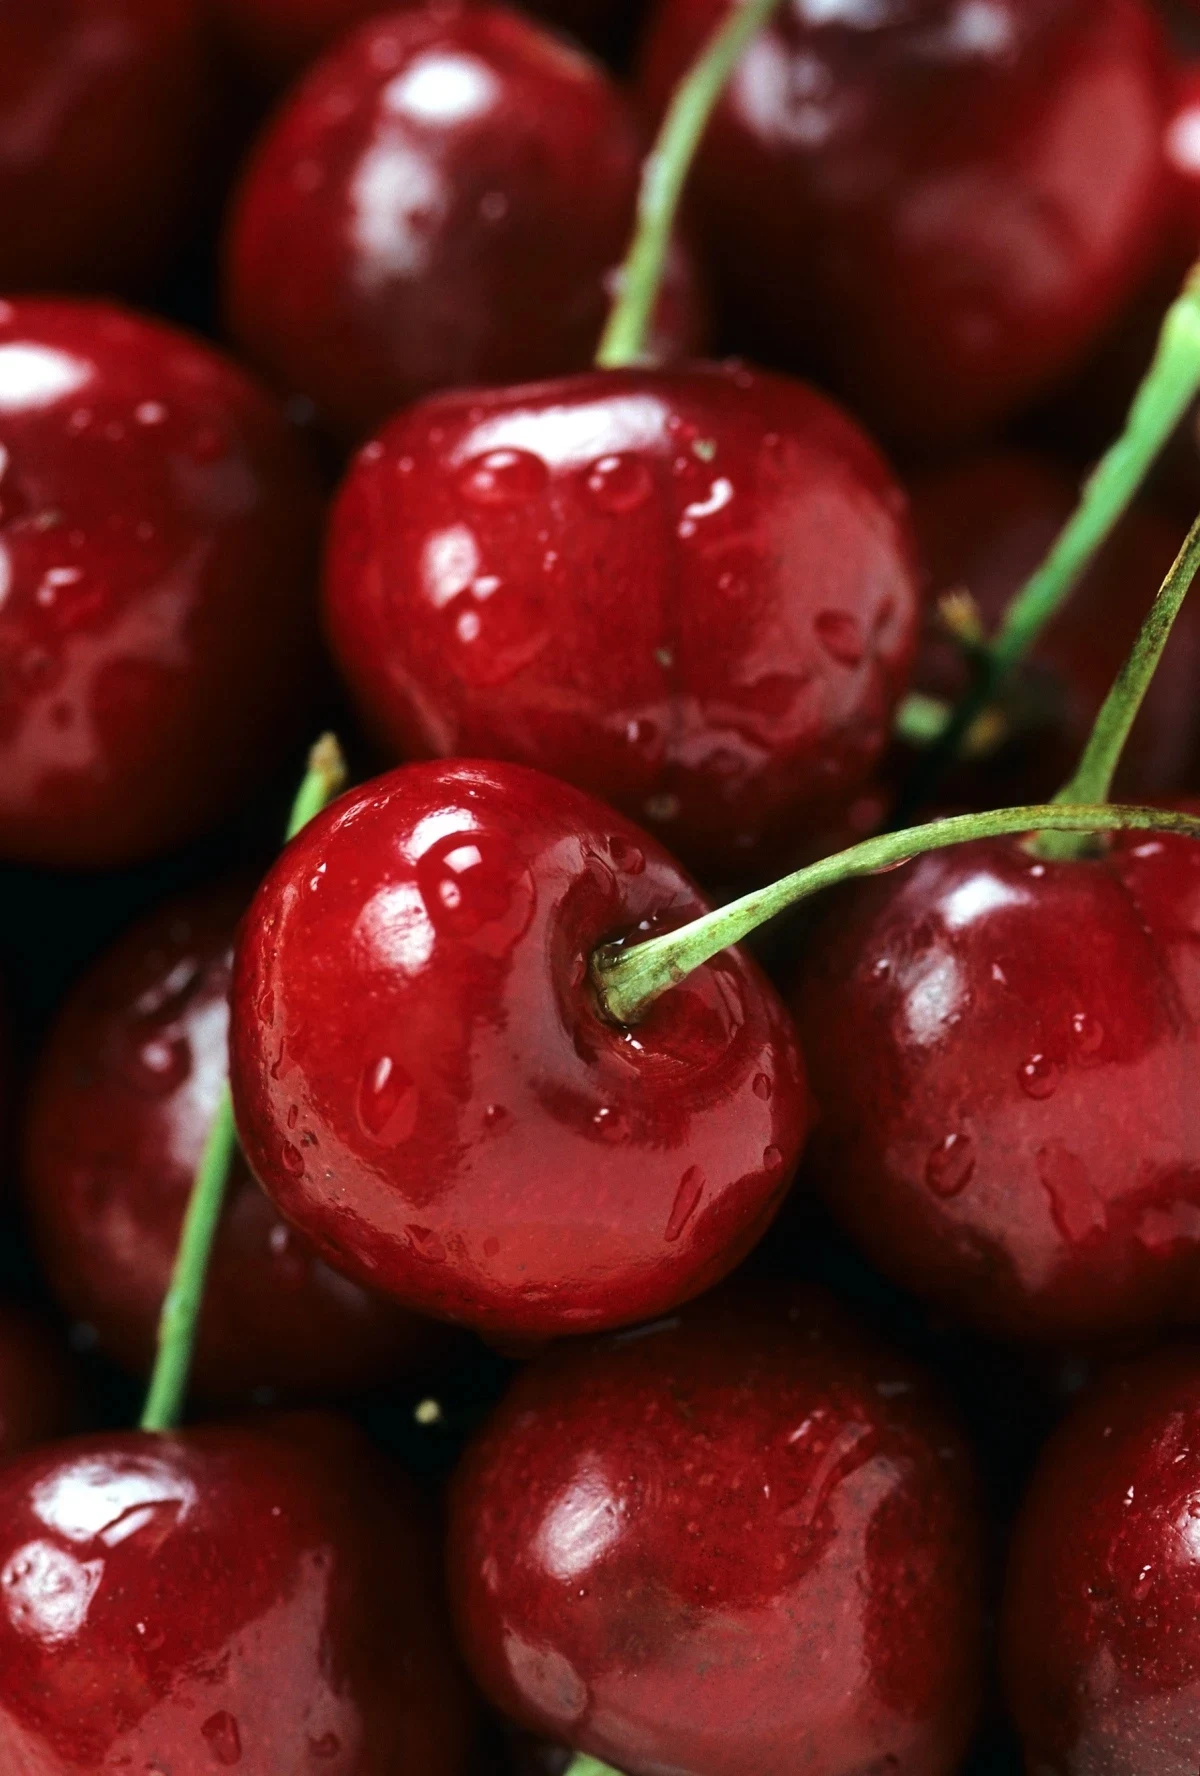
Before you attack the stain, you need to know your enemy. The deep red color in cherries comes from pigments called anthocyanins. These are the same things that give blueberries and red wine their color. They’re great for your health, but they’re also powerful natural dyes that just love to grab onto fibers—especially natural ones like cotton, wool, and wood.
The problem is twofold. First, they spread like crazy with water. Second, they are super sensitive to pH. This is the golden ticket, by the way. It’s why acidic solutions like white vinegar or lemon juice often work wonders. The acid actually changes the chemical shape of the pigment, making it less colorful and way easier to wash away.
But wait, there’s more! Cherries also have tannins. As a tannin stain gets older and is exposed to air, it can morph from red or purple into a dingy yellowish-brown. That’s why an old cherry stain is a whole different beast. And here’s the single biggest mistake people make: using heat or harsh, alkaline soaps (like many bar soaps or old-school powdered detergents). This will chemically “set” the tannin, basically bonding it to the fabric forever. Seriously, avoid heat at all costs until you know the stain is 100% gone.

IN A CHERRY STAIN EMERGENCY? Do This in the First 10 Minutes
Okay, deep breath. What you do right now will determine about 80% of your success. Do not panic and do not rub!
1. Get the Gunk Off: If there are any chunks of cherry, lift them off. Don’t wipe. Use a spoon, the dull side of a butter knife, or even a credit card to gently scrape the solids away. Lift, don’t press.
2. Blot, Blot, Blot: Grab a clean, dry, WHITE cloth or paper towel. (You don’t want to transfer dye from a colored towel onto your stain, right?) Press it firmly onto the stain. You’ll see the juice wicking up into your cloth. Move to a clean spot on the cloth and repeat until you’re not pulling much color up anymore.
3. Cold Water Flush (for washable fabrics): If it’s on clothes or a tablecloth, get it to a sink. Turn the item inside out and flush the stain from the BACK with cold water. This pushes the stain particles back out the way they came in. Hot water is your enemy here—it can start to set the stain for good.
Treating Washable Fabrics (Cotton, Linen, Synthetics)
This is for your t-shirts, tablecloths, and most everyday items. They’re pretty resilient, so we can be a bit more aggressive. But first, always, ALWAYS check the care label. If it says “Dry Clean Only,” just blot the stain and take it to a professional. Don’t be a hero.
Oh, and if you have a blended fabric, like a 60/40 cotton/poly shirt? Just follow this guide. It’s durable enough to handle it.
Here’s the step-by-step process:
- Give it an Acid Soak. After the cold water flush, mix up a simple solution: one part plain white vinegar to two parts cold water. And yes, it should be white vinegar—apple cider vinegar has its own color that could complicate things. You can find a huge jug of white vinegar for about $3 at any grocery store. Submerge the stained part for at least 30 minutes. You’ll see the stain start to fade.
- Pre-Treat It. Rinse out the vinegar with more cold water. Now, work a good liquid laundry detergent or an enzyme-based stain remover directly into the spot. Enzyme cleaners like Shout or Zout (usually around $4-$6 a bottle) are fantastic because they’re designed to break down organic stuff like fruit. Let it sit for at least 15 minutes.
- Wash, but Check Before Drying! Launder the item in the warmest water its care tag allows. But before you even THINK about putting it in the dryer, check the stain. Is it completely gone? If you see even a faint shadow of it, do not apply heat. The dryer will set that stain permanently. I’ve seen countless items ruined this way.
- The Finisher: Oxygen Bleach. If a faint stain is still hanging on, it’s time for the big guns: an oxygen bleach soak. Products like OxiClean or store-brand versions (a tub costs about $10-$15 and lasts forever) are generally color-safe. Follow the package directions to make a soaking solution and let the whole garment soak for a few hours, or even overnight. Wash it again, and it should be gone. This is my go-to for stubborn stains on whites.
A Word of Caution for Silk & Wool
Okay, let’s be real. Silk and wool are delicate. They’re protein fibers, a lot like your own hair, and they are sensitive. Strong acids can ruin wool, and the enzymes in many stain removers can literally digest the fibers, leaving a hole. Yikes.
For these, after blotting, you can try dabbing the stain with a cloth dampened with club soda or a very weak vinegar solution (think one part vinegar to five parts water). But you absolutely must test it on a hidden spot first, like an inside seam.
Honestly, my best professional advice for a bad cherry stain on silk, wool, or any pricey garment is to stop after blotting and take it to a good dry cleaner. Tell them what the stain is and what you did. They have pH-controlled chemicals that are safe for these fabrics. The risk of you causing a permanent watermark or color loss at home is just too high.
Getting Cherry Stains Out of Carpet & Upholstery
This is tricky because you can’t just toss a couch cushion in the wash. The first step is to find the cleaning code on your furniture tag. It’s usually under a cushion.
- W: You’re good to go with water-based cleaners.
- S: Use solvent-based cleaners only. NO water.
- W/S: You can use either.
- X: Vacuum only. Call a pro.
The following method is for ‘W’ or ‘W/S’ coded items and most synthetic carpets.
- Mix Your Solution. After scraping and blotting, mix one tablespoon of white vinegar into two cups of cool water.
- Dab and Transfer. Get a clean white cloth damp with the vinegar solution. Dab it onto the stain, working from the outside in. Don’t scrub. Then, take a separate DRY white cloth and press it firmly on the spot. The goal is to transfer the dissolved stain from the carpet to your dry cloth. Keep alternating between the damp cleaning cloth and the dry blotting cloth until the stain is gone.
- Rinse and Dry. “Rinse” the spot by blotting with a new cloth dampened with just plain water. Then, blot with a dry cloth or a stack of paper towels to soak up as much moisture as possible. You can even stand on it!
- Quick Tip for Light Carpet: For a stubborn spot on a light-colored synthetic carpet, you can try 3% hydrogen peroxide (the cheap stuff from the pharmacy). TEST IT in a closet or under a sofa first to be sure it doesn’t bleach your carpet. If it’s safe, apply a few drops, let it fizz for a minute, then blot it up.
Heads up! If you have wool carpets, they are much more sensitive. It’s best to find a pH-neutral detergent with the WoolSafe logo on it, which you can find at some specialty stores or online. Using the wrong cleaner can permanently discolor wool.

Tackling Wood and Hard Surfaces
With wood, it all comes down to one thing: is the wood sealed or unsealed?
For Sealed Wood (most floors and furniture): This is easy. The protective finish is doing its job. Just wipe up the spill with a soft, damp cloth. For sticky residue, use a few drops of dish soap in water, wipe, then “rinse” with a plain damp cloth, and immediately dry the surface completely. Don’t let water sit.
For Unsealed Wood (cutting boards, butcher block): This is a different story. The wood will soak up the juice like a sponge. Here are a couple of classic tricks:
- Salt and Lemon Scrub: Sprinkle coarse salt on the stain, then use half a lemon to scrub the salt into the wood. The salt is a gentle abrasive, and the lemon’s acid bleaches the stain. Let it sit for 15 minutes, then rinse well and dry thoroughly.
- Baking Soda Paste: For a less acidic option, mix baking soda and water into a thick paste. Slather it on the stain, let it dry completely (this might take an hour or more), then scrub it off. The paste pulls the stain out as it dries.
- Last Resort: Sanding. If a deep stain remains on a thick butcher block, you may have to physically remove it. Use a fine-grit sandpaper (220-grit is good) and sand lightly with the grain. Afterward, you must recondition the wood with food-grade mineral oil to protect it.
What About Porous Stone and Grout?
For materials like marble, limestone, travertine, or even concrete and grout lines, the pro technique is to use a poultice. It sounds fancy, but it’s just a paste that pulls the stain out of the stone.
Here’s how: Mix an absorbent powder (like baking soda or talcum powder) with a cleaning liquid. For cherry stains, 3% hydrogen peroxide is a great choice. Mix them into a thick paste, like peanut butter. Spread it about a quarter-inch thick over the stain, cover it with plastic wrap, and tape the edges. Let it sit for 24-48 hours. Then, remove the plastic, let the paste dry completely, and gently scrape it off. The stain should be pulled up into the dried paste. Good to know: You can often buy pre-made poultice powders at tile shops or big-box hardware stores to make this even easier.
CRITICAL WARNING: Never, ever use vinegar or lemon juice on marble, limestone, or travertine. The acid will literally eat into the stone, causing dull spots called “etching.” This damage is permanent and can only be fixed by a professional with polishing equipment. Don’t do it!
When a Stain Just Won’t Budge
Sometimes a stain is old, has been heated, or treated with the wrong thing. It happens. You can try warming up a little glycerin (from the pharmacy) and applying it to an old, dried-on stain for an hour. This can sometimes rehydrate it enough for you to treat it again.
But it’s also important to be realistic. I’ve had to tell clients that a stain is permanent. If a cherry stain on a white cotton shirt was ironed, the chances of total removal are pretty much zero. Sometimes, the best you can do is learn for next time. With these tips, you’re way better equipped to make sure the next cherry spill is just a minor cleanup, not a major catastrophe.


