Your Garbage Can Stinks. Here’s the Pro-Level Fix.
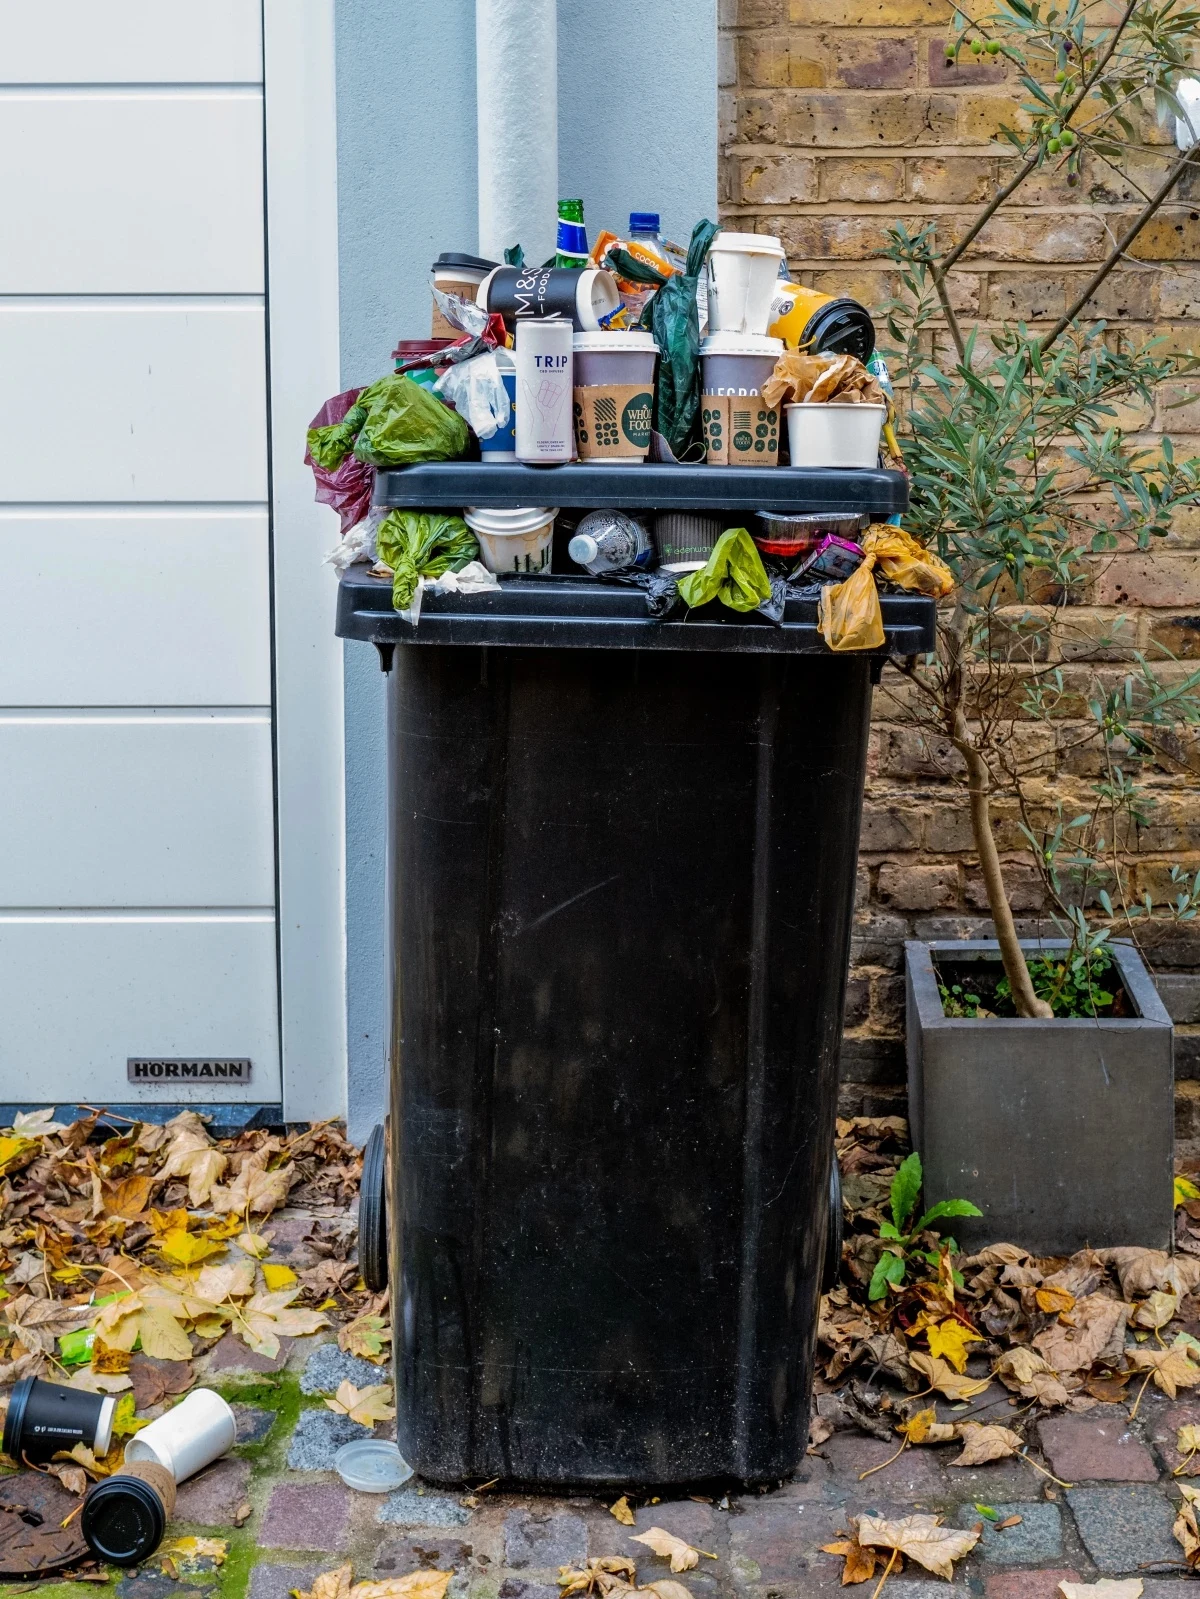
Alright, let’s talk about something nobody wants to talk about: the dreaded garbage can stink. For over two decades, I’ve been in the property management game, which is a nice way of saying I’ve solved a lot of problems most people would rather ignore. And trust me, from May to September, the number one complaint is always the trash can.
In this article
A foul smell wafting from your kitchen or outdoor bin can absolutely wreck a beautiful day. It’s more than just unpleasant; it’s a giant, stinky sign that a biological process is running wild. Plus, it’s an open invitation for pests you definitely don’t want hanging around your home.
Over the years, I’ve seen every mistake and tried every trick in the book. I’ve learned that stopping the stench isn’t about masking it with flowery sprays. It’s about creating a simple, repeatable system. This isn’t a list of flimsy hacks. This is the professional method for ending waste odor for good, and it works just as well for a small kitchen can as it does for a big outdoor bin.
Why Your Trash Smells (Hint: It’s Science)
Before we get our hands dirty, you need to know what you’re up against. That awful smell is the direct result of microscopic life going to town in your trash. The main culprits are bacteria and fungi, and they need three things to throw a rager: food (your garbage), moisture, and warmth.
Think of your trash can as a tiny, gross ecosystem. When you toss in food scraps, you’re ringing the dinner bell. At first, with oxygen present, aerobic bacteria do a pretty clean job, producing stuff like carbon dioxide and water—no big deal. But once you tie that bag shut, the oxygen runs out fast.
That’s when the real troublemakers show up: anaerobic bacteria. They thrive without oxygen, and their breakdown process is messy, creating nasty byproducts like hydrogen sulfide (think rotten eggs) and other lovely compounds that smell exactly like something rotting. This is the signature scent of garbage.
Heat and moisture are like fuel on the fire. For every 18-degree (Fahrenheit) jump in temperature, the speed of bacterial growth can double or even triple. A bin sitting in 90°F heat is basically a five-star resort for bacteria. Your job is to deny them that warmth and moisture. You can’t stop giving them food, but you can control the other two variables.
The Foundation: A True Deep Clean
You can’t build a clean house on a dirty foundation. If you have a persistent smell, you have to start from zero. This means deep cleaning the can itself to remove the greasy, sticky film of bacteria called a biofilm. Just spraying it with a hose won’t cut it.
I recommend doing this at the start of the warm season, and then every month or two after that—or immediately after a dreaded bag leak. First, let’s get your gear in order.
Your Deep Clean Shopping List
You can get all this at any hardware or big-box store. It’s a small investment that pays off big time.
- Waterproof Gloves: Non-negotiable. A good pair costs maybe $2-$5.
- Eye Protection: Safety glasses are fine. You don’t want a splash of bin juice in your eye. Ever. ($3-$10)
- A Long-Handled, Stiff-Bristled Brush: Look for a “deck brush” or even a dedicated toilet-style brush that you’ll use only for this job. Expect to pay around $10-$20.
- Dish Soap: Any brand that’s good on grease will work.
- Basic Household Bleach: The cheap, unscented kind is perfect.
The Step-by-Step Pro Cleaning Method
This is the exact process I teach my maintenance crews. It works every time.
Step 1: Empty and Pre-Rinse. Take the can outside to a driveway or lawn. Empty any loose crud. Then, using a hose with a high-pressure nozzle if you have one, blast the inside to knock off all the loose gunk. Get in those bottom corners!

Step 2: The Degreasing Scrub. Biofilm is greasy, and water alone won’t touch it. Squirt a generous amount of dish soap into the can, add a few inches of the hottest water you can get from your tap, and let it sit for about 10 minutes. This helps loosen that stubborn grime. Now, get that long-handled brush and scrub everything—the bottom, the sides, the rim, and the inside of the lid.
Step 3: The Sanitizing Soak. Dump the soapy water and rinse the can well. Now for the kill shot. You need to sanitize to eliminate the bacteria you couldn’t scrub away. A simple bleach solution is the industry standard. The pros use a ratio of about 5 tablespoons (or 1/3rd of a cup) of bleach per gallon of water.
Heads up! This is a HUGE safety rule: Never, ever mix bleach with other cleaners, especially ammonia. The combination creates a toxic gas that can cause serious lung damage. I once saw a new guy mix them to clean a dumpster pad, and the fumes sent him straight to the ER. Always rinse out the soap completely before you add the bleach solution.
Pour the bleach solution in, swish it around to coat every surface, and let it sit for at least 10 minutes. That contact time is crucial.
Step 4: Final Rinse and BONE DRY. Dump the bleach solution and give the can a final, super-thorough rinse. And now for the most important step of all: let the can dry completely. Turn it upside down in a sunny spot. The sun’s UV rays add a little extra sanitizing punch.
A damp can will start breeding new bacteria almost immediately. It has to be bone dry before a new bag goes in.
What If You Live in an Apartment?
No driveway? No problem. You can absolutely do this in your bathtub or shower without creating a disaster zone. Here’s how:
- Protect Your Tub: Lay down a couple of old towels or a cheap plastic tarp in the bottom of your tub to prevent scuffs and scratches.
- Use the Shower Head: Your shower head is the perfect substitute for a hose. Do your pre-rinse, then add the hot water and soap for the soaking step.
- Scrub Away: Same as the outdoor method, scrub everything down.
- Dispose of Dirty Water Smartly: This is key. Instead of pouring the gunky, debris-filled water down your tub drain (which can cause clogs), carefully dump it down the toilet. The toilet is designed to handle solids.
- Rinse and Dry: Use your shower head for a thorough final rinse. Then, if you have a balcony, let it air dry out there. If not, prop it upside down in the tub or a well-ventilated bathroom until it’s completely dry.

Daily Habits to Keep the Stink Away
A deep clean is your reset button. These daily habits are how you keep it from getting bad again. It’s all about managing moisture and what goes in the bag.
Choosing Your Odor-Fighting Champion
There are a few good options for absorbing odors and moisture. Forget the fancy scented discs; these are the things that actually work.
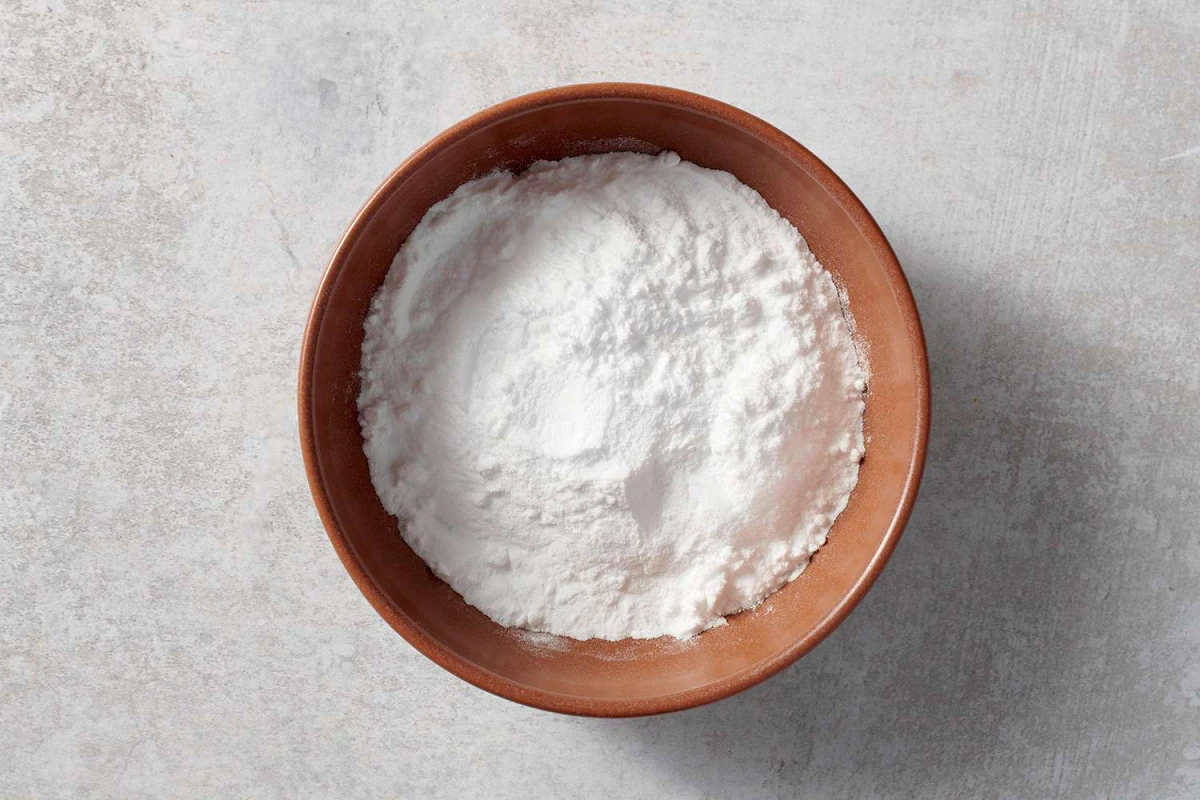
- Baking Soda: The Budget-Friendly Classic. It’s cheap, effective at neutralizing the acidic smells from decomposition, and absorbs some moisture. Just sprinkle a half-cup in the bottom of your clean, dry can. It’s perfect for indoor kitchen cans but you’ll need to replace it every week or so.
- Activated Charcoal: The Heavy-Duty Pro Choice. This stuff is on another level. It works through adsorption, trapping odor molecules in its incredibly porous surface. You can buy pouches of it online or at pet stores. A pack of four might run you $15, but they last for months and are way more powerful than baking soda. This is my go-to for really tough jobs.
- Cat Litter: The Moisture-Sucking Powerhouse. Honestly, this is a brilliant trick for outdoor bins. A one-inch layer of basic, clay-based cat litter at the bottom will absorb any leaky liquids before they can cause trouble. It’s a bit much for an indoor kitchen can, though.
By the way, things like lemon peels and coffee grounds? They just mask the smell. They don’t solve the problem, and since they’re organic, they’ll eventually start rotting themselves.

Smart Bagging is Your First Defense
- Always Bag It: Never toss loose trash into the can. You’re just asking for a slimy mess.
- Double-Bag the Nasty Stuff: For anything super wet or stinky—like meat packaging or fish scraps—use a second bag. I often reuse smaller produce bags for this.
- Squeeze the Air Out: Before tying the bag, gently press down to push out as much air as you can. Less oxygen means a slower start for those odor-causing bacteria.
- Do a Quick Leak Check: When you pull the bag out, glance at the bottom of the can. Wiping up a tiny spill now is a million times easier than doing a full deep clean later.
The Single Best Strategy: The Freezer Trick
All the cleaning in the world is just playing defense. The best offense is controlling what goes into the can. If you can separate the worst offenders, you’ll solve 80% of the problem.
This is a powerful technique I picked up from professional chefs. Keep a large, resealable bag (like a 2-gallon Ziploc) or an old coffee can with a lid in your freezer. Put all your high-stink food scraps in there: meat trimmings, fish skins, shrimp shells, anything that’s going to get really funky.
The freezer completely halts all bacterial activity. Zero decomposition means zero smell. Then, on trash collection day, you just toss the frozen block of scraps into the bin right before you take it to the curb. It gets picked up before it ever has a chance to thaw and stink.
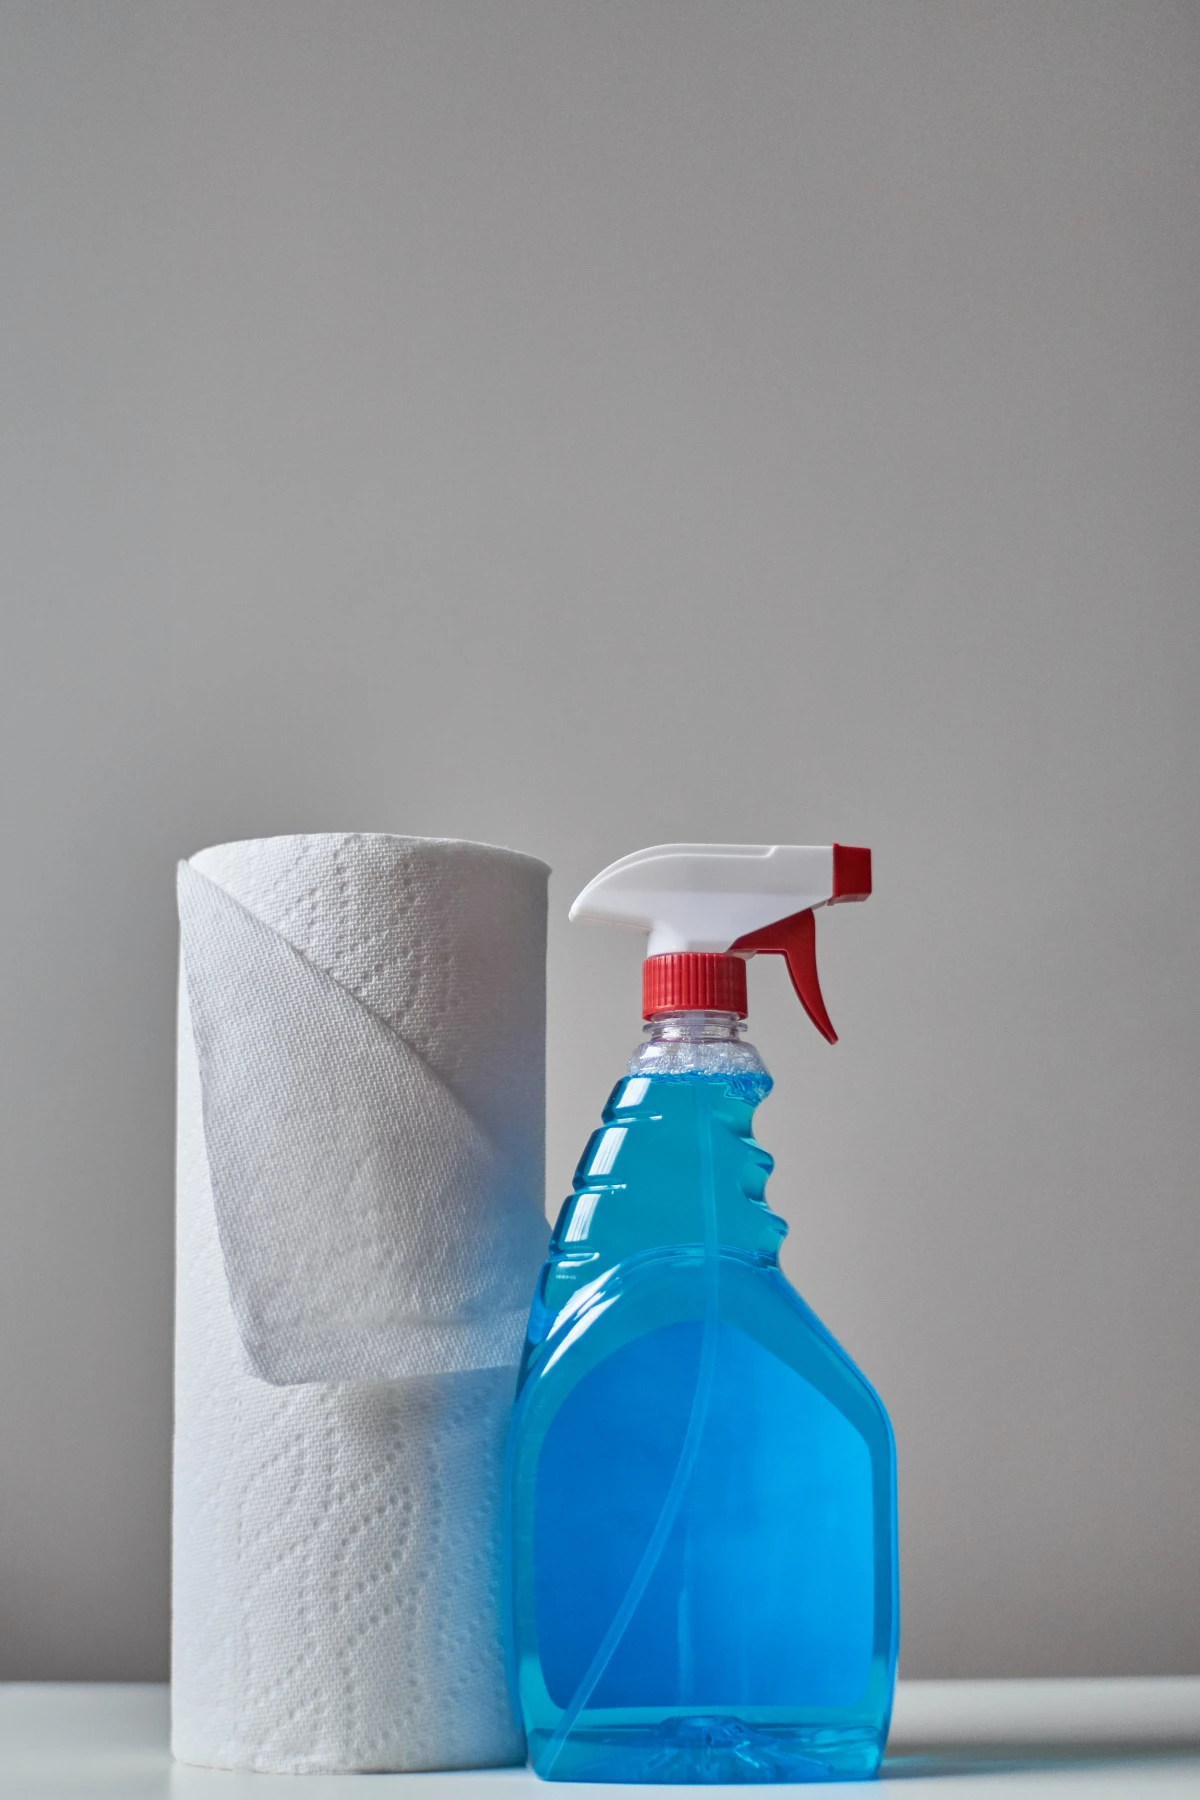
If You Only Have 5 Minutes…
In a rush and just need a quick fix? Grab a bleach-based cleaning wipe and give the inside of your can a quick wipe-down. Pay attention to the lid and rim. Let it air dry for a minute, then toss in a cup of baking soda. It’s a temporary patch, but it’ll get you through the week.
When to Get Help or a New Can
Sometimes, a can is just too far gone. If you’ve deep cleaned it and the plastic itself seems to have permanently absorbed the odor, try a 24-hour vinegar soak. Fill the can with a solution of one part white vinegar to four parts water. The acid can help break down what’s trapped in the plastic. If that fails… honestly, it might be time to buy a new can. A new, non-porous can for $40-$60 is a worthwhile investment.
Oh yeah, and if you see maggots, you have to act fast. Empty the can, carefully pour boiling water inside to kill any eggs, and then do a full deep clean and sanitize. For raccoons, bungee cords are your best friend. For bears, you need a certified bear-proof can—check with your local waste authority.
Finally, professional can cleaning services are a thing now. They’ll come to your house with a special truck and steam-clean your bin for about $25-$40. It’s a great way to get a professional reset once a year, especially if you’re not up for the deep clean yourself.
Inspirational Gallery
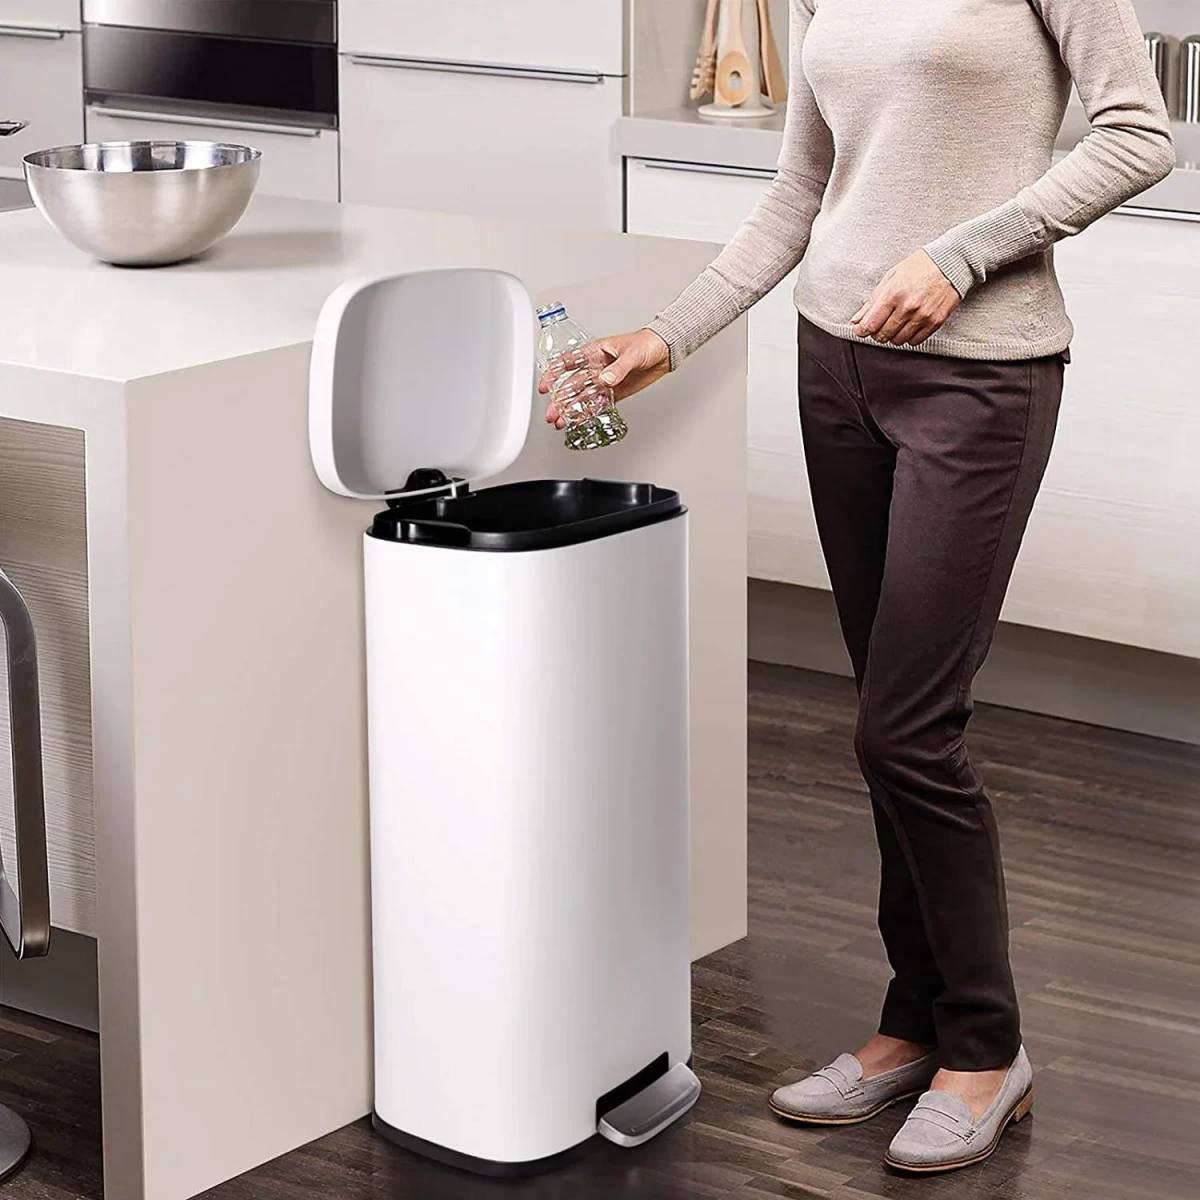
Stainless Steel: Its non-porous surface is naturally resistant to absorbing odors and is a breeze to wipe down. Brands like simplehuman often add an invisible fingerprint-proof coating that also helps repel grime.
Plastic: More affordable, but it’s a porous material. Over time, it can absorb smelly liquids and develop a permanent funk that’s tough to remove, even with deep cleaning.
For longevity and odor-fighting, stainless steel is the clear winner.
The U.S. Environmental Protection Agency reports that food is the single largest category of material placed in municipal landfills, where it emits methane, a potent greenhouse gas.
Tackling your kitchen bin’s odor isn’t just about home comfort; it’s a small but direct way to be more mindful of food waste. Less waste means less organic matter to rot and produce those foul-smelling gases in the first place.
Tired of sprays that just mask the problem? Create your own odor-absorbing pods. It’s incredibly simple and effective.
- Mix a cup of baking soda with 10-15 drops of a purifying essential oil like tea tree or lemon.
- Add just enough water (a tablespoon at a time) to form a thick, damp paste.
- Press the paste into an ice cube tray, let it dry completely for 24-48 hours, then pop out your DIY deodorizers.
Drop one at the bottom of your can before putting in a new bag. It will absorb moisture and release a subtle, clean scent.
Do scented trash bags actually work, or are they a waste of money?
They’re a bit of both. Bags infused with scents, like Glad’s popular Febreze-scented options, don’t eliminate the source of the smell—the bacteria. They work by masking odors with a stronger, more pleasant fragrance. They can be very effective for mild smells or as a first line of defense, but they won’t stop the stench from a leaking bag of raw chicken scraps. Think of them as a temporary fix, not a permanent solution.
- Dramatically reduces ambient bin humidity.
- Actively neutralizes foul-smelling organic compounds.
- Lasts for months without needing replacement.
The secret? Activated charcoal. Instead of baking soda, try placing a porous sachet of activated charcoal, like those from Moso Natural, at the bottom of your garbage can. It’s a powerhouse for trapping odor molecules rather than just covering them up.
One of the fastest ways to turn your trash into a stinking mess is by tossing in wet, sloppy items. Before they go in the bag, adopt these two habits:
- Drain all liquids from cans, containers, or food packaging in the sink.
- For particularly messy scraps like meat trimmings or soggy leftovers, give them a quick wrap in old newspaper or a paper towel first. It creates an extra barrier and absorbs the initial moisture.
The number one rule for food scraps: Never, ever toss hot items directly into the trash. Warm coffee grounds, leftover pasta, or recently cooked food create a warm, steamy environment inside the bag. This rapidly accelerates bacterial growth, essentially turning your bin into a high-speed stink incubator. Let all food cool to room temperature on the counter before disposing of it.
If you’re constantly battling food scrap odors, look to Japan’s Bokashi method. It’s not composting in the traditional sense, but a fermentation process. You layer food scraps in a special airtight bin with an inoculated bran mixture. The microbes pickle the waste, neutralizing odors completely and pre-digesting it for your garden. It handles meat, dairy, and oils—items usually forbidden in a standard compost pile.
Under ideal conditions with sufficient warmth and moisture, a single bacterium can multiply into over one billion bacteria in less than 10 hours.
This isn’t just a lab curiosity; it’s what’s happening in your bin on a hot day. The science in the article about temperature isn’t an exaggeration. Keeping your outdoor bin in the shade can genuinely make a huge difference by slowing down this exponential, odor-causing growth.
You’ve scrubbed the inside of the can, but a faint smell lingers. Check the hidden spots. The lid’s underside, the hinge mechanism, and the rim where the bag folds over are notorious traps for smelly grime and splatters. A quick wipe-down of these forgotten areas with a disinfectant spray is often the final step to total freshness.


