Can You Really Whiten Your Teeth with Food? A Dental Pro Spills All the Secrets
For over fifteen years, I’ve been the person on the other side of the dental chair, cleaning thousands of teeth and answering just as many questions. And honestly? The number one topic is always, always whitening. People will whip out their phones to show me a picture and ask, “Can I get my teeth to look like this?” They’re curious about everything—charcoal powders, oil pulling, fancy blue lights they saw on Instagram, you name it.
In this article
But the biggest question is whether they can get a brighter smile just by changing their diet. They want to know if an apple can really scrub away coffee stains, or if mashing up some strawberries is the secret to a pearly white grin.
I get the appeal, I really do. Professional whitening can feel like a big investment, and the idea of getting the same results from your grocery list is tempting. My job isn’t to sell you on expensive procedures; it’s to give you the straight-up truth based on science and what I’ve seen with my own two eyes. I’ve seen what works, what’s a total waste of time, and what can cause damage you can’t undo. So, let’s have a real chat about whitening your teeth with food. No magic cures, just the facts so you can make smart, safe choices.

First, Let’s Talk About What Makes Teeth… Not White
Before we even think about whitening, you’ve got to understand what you’re working with. Your tooth isn’t a solid white block. It has layers. The outer layer, the enamel, is the hardest stuff in your body and it’s kind of semi-transparent, like frosted glass. Underneath that is a layer called dentin, which is naturally a pale yellow or even grayish color.
So, the color of your teeth is really a mix of your dentin’s natural shade shining through the thickness and clarity of your enamel. Some people just hit the genetic lottery with thicker, whiter-looking enamel. Others might have thinner enamel or more yellowish dentin. No food on earth can change your genetics.
The Two Types of Stains: What You Can Actually Change
This is probably the most important thing to get your head around. Stains come in two flavors:
- Extrinsic Stains: These guys are on the surface of your enamel. They’re the usual suspects: coffee, black tea, red wine, berries, and especially smoking. These are the ONLY stains that any kind of food or scrubbing method can even begin to help with.
- Intrinsic Stains: These are inside the tooth—they’re part of its actual structure. This can happen from a tooth injury, certain medications taken during childhood (like tetracycline), or just plain aging. As we get older, our enamel naturally thins, letting more of that yellow dentin show. Food will do absolutely nothing for these. Only professional-grade bleaching agents can get in there and lighten them up.
So, when you hear about a “natural whitener,” just translate that in your head to a “natural extrinsic stain remover.” Knowing this will save you so much time, money, and disappointment. Seriously.
The “Scrubbing” Method: Can You Polish Your Way to White?
One way to tackle those surface stains is with a gentle scrubbing action. This is basically how whitening toothpastes work—they use mild abrasives to polish the enamel. Some kitchen staples try to do the same thing, but it can get risky fast.
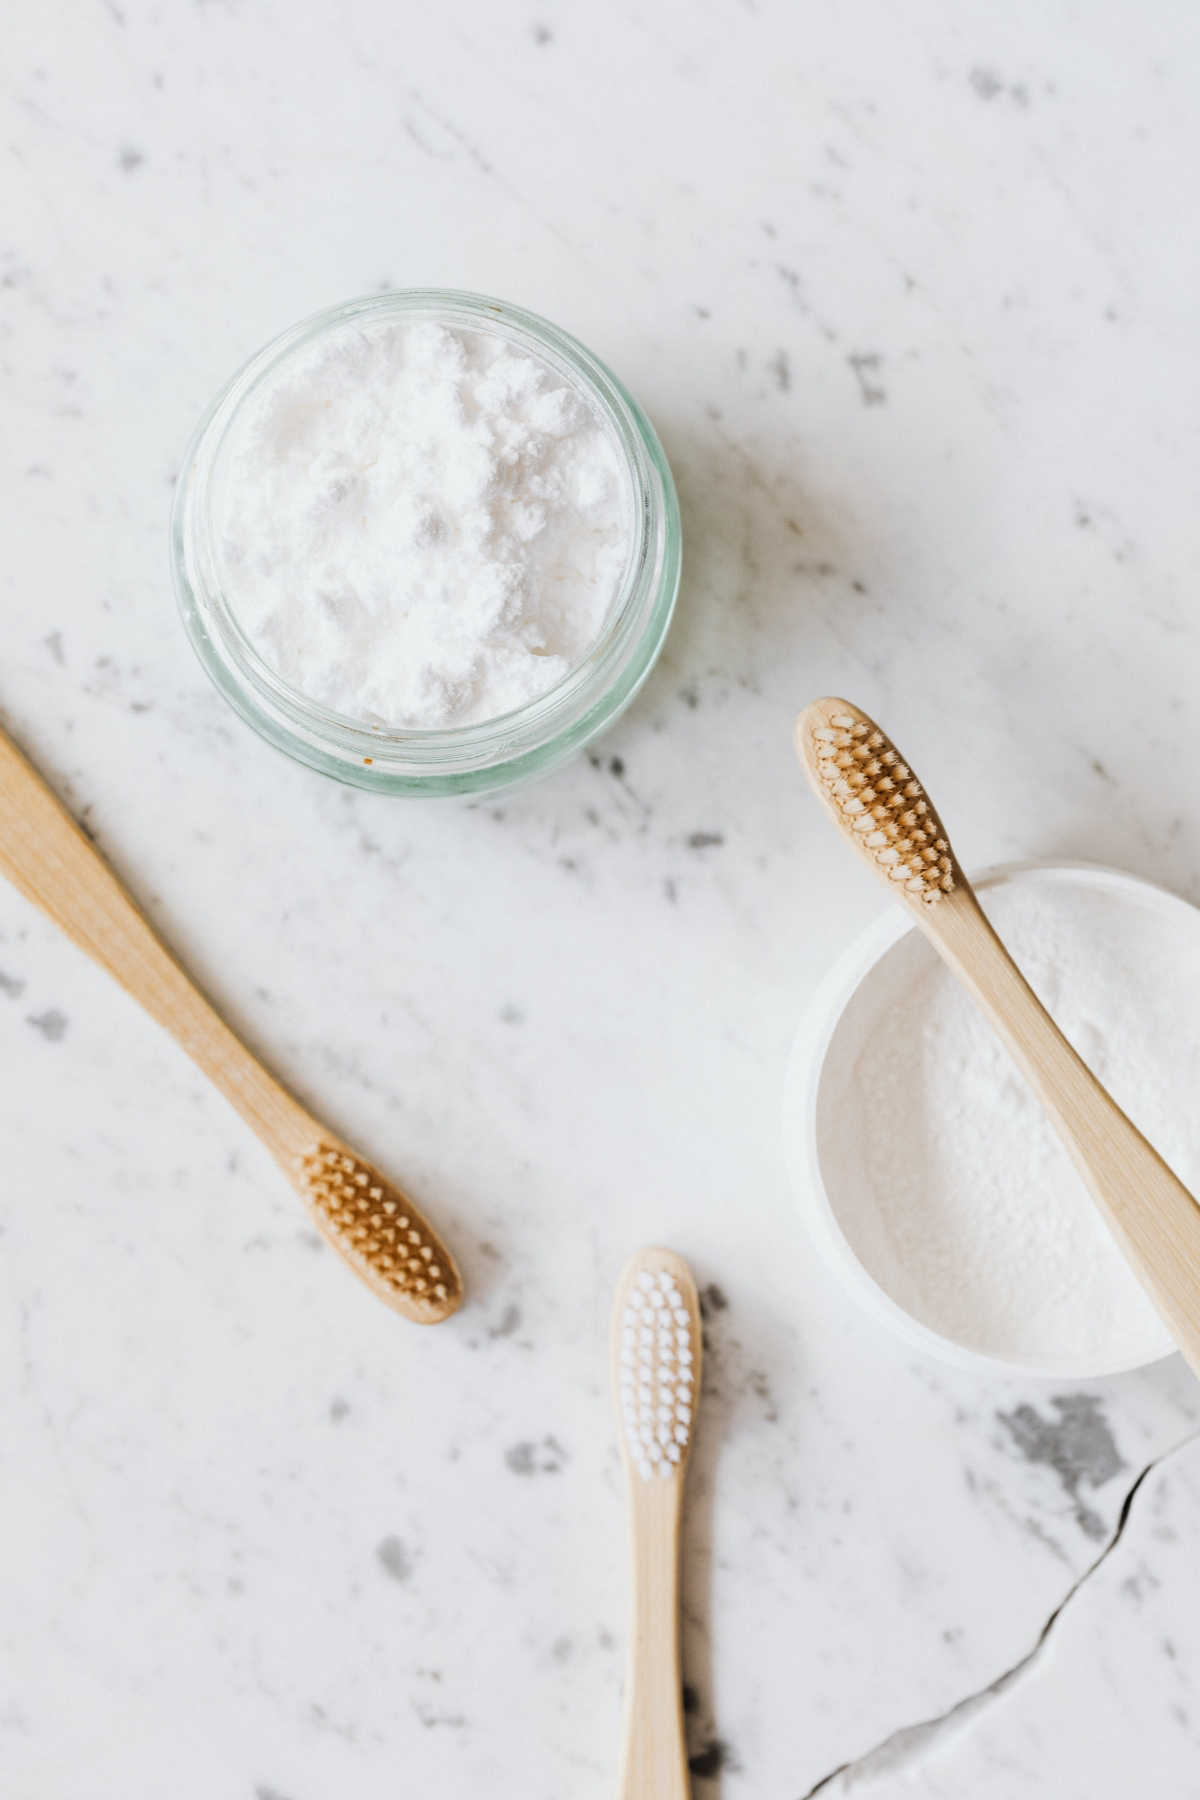
Baking Soda
Ah, good old baking soda. It’s the king of DIY whitening hacks. The idea is that its gritty texture scrubs stains away. While it is an abrasive, it’s actually very mild on the official scale dentists use (it has a Relative Dentin Abrasivity, or RDA, of about 7, while many toothpastes are over 100).
But here’s the danger: it’s not about the ingredient, it’s about the technique. I once had a patient who was aggressively scrubbing his teeth with dry baking soda and a hard toothbrush. He came in with bleeding, raw gums and had literally worn little notches into his teeth near the gumline. He thought more force meant better results. Big mistake.
The Verdict: It can remove some surface stains, but it’s a stain remover, not a tooth bleach. If you absolutely must try it, mix it into a watery paste, use the softest brush you can find, and be incredibly gentle for about a minute, maybe once or twice a week. But honestly, you’re much better off with a well-formulated whitening toothpaste.
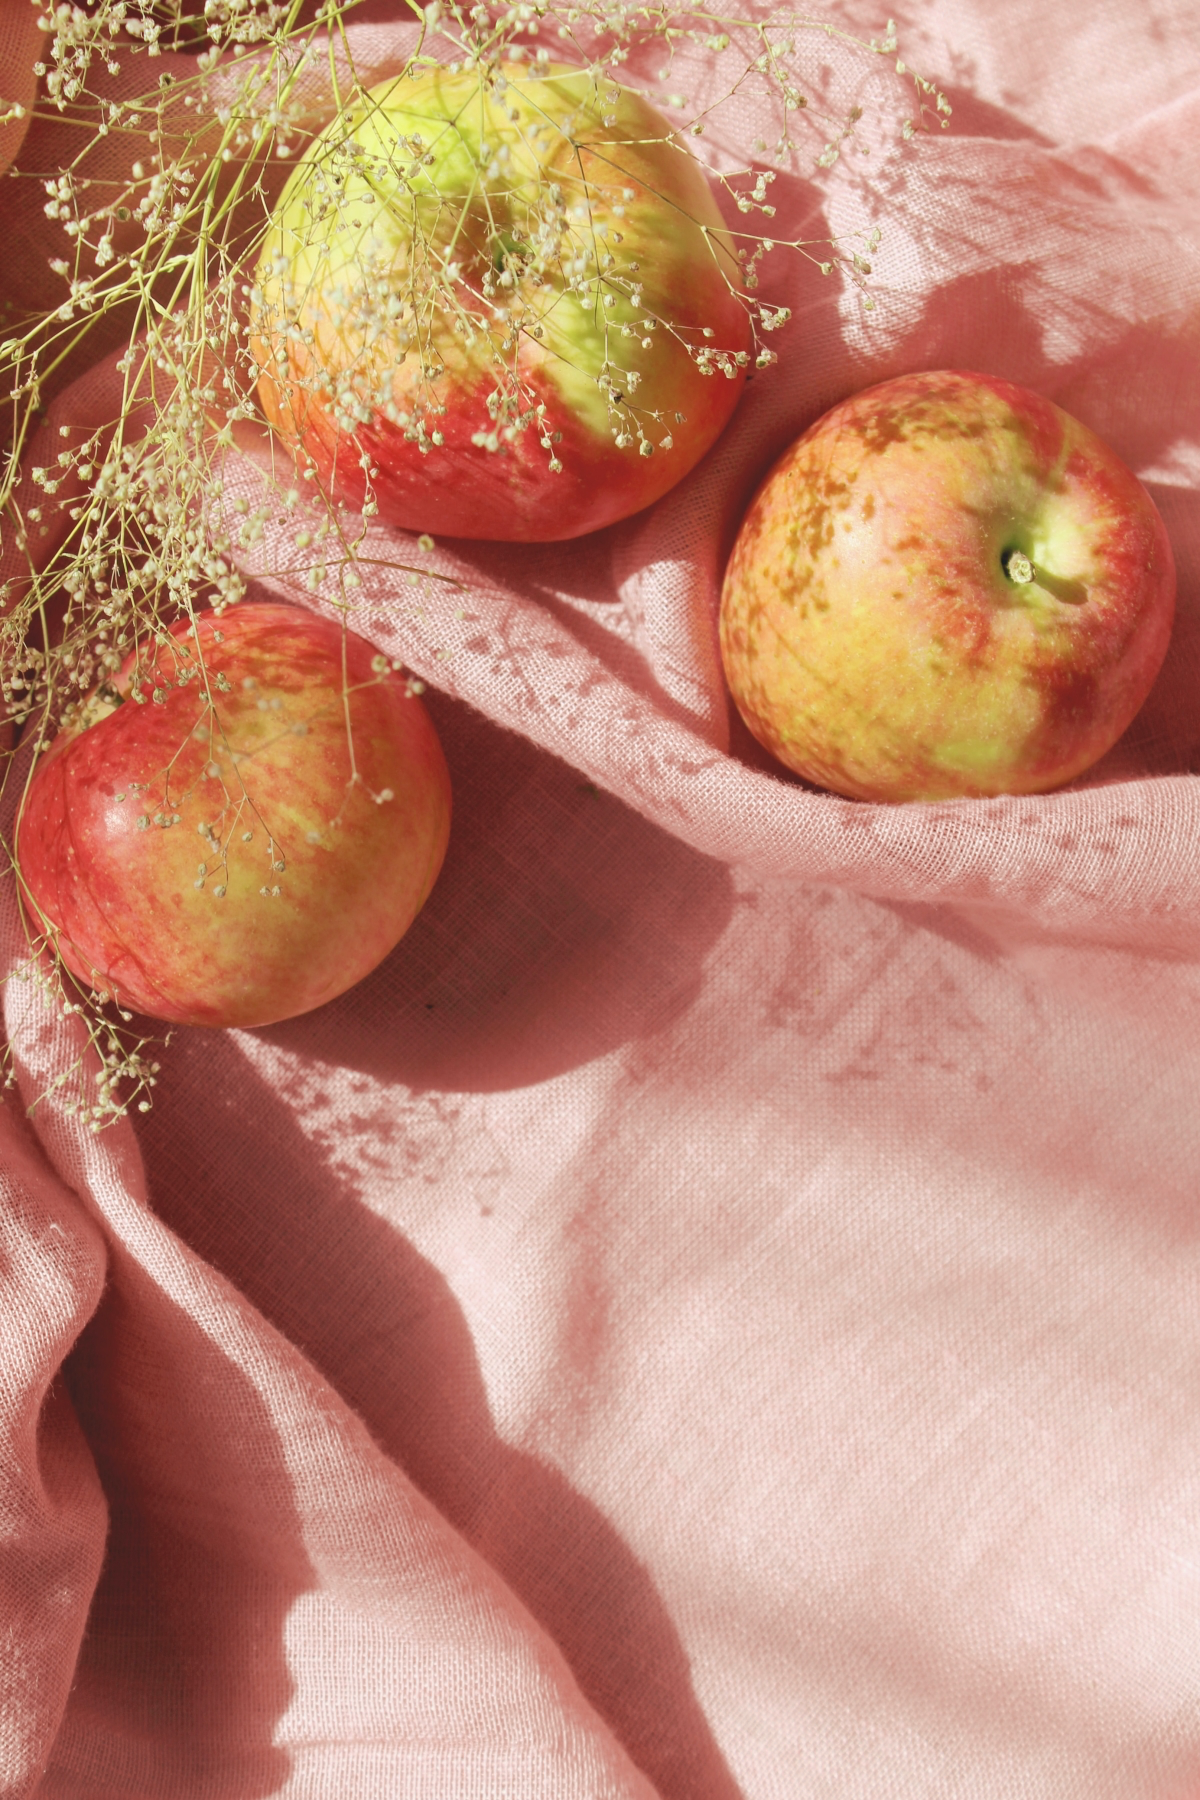
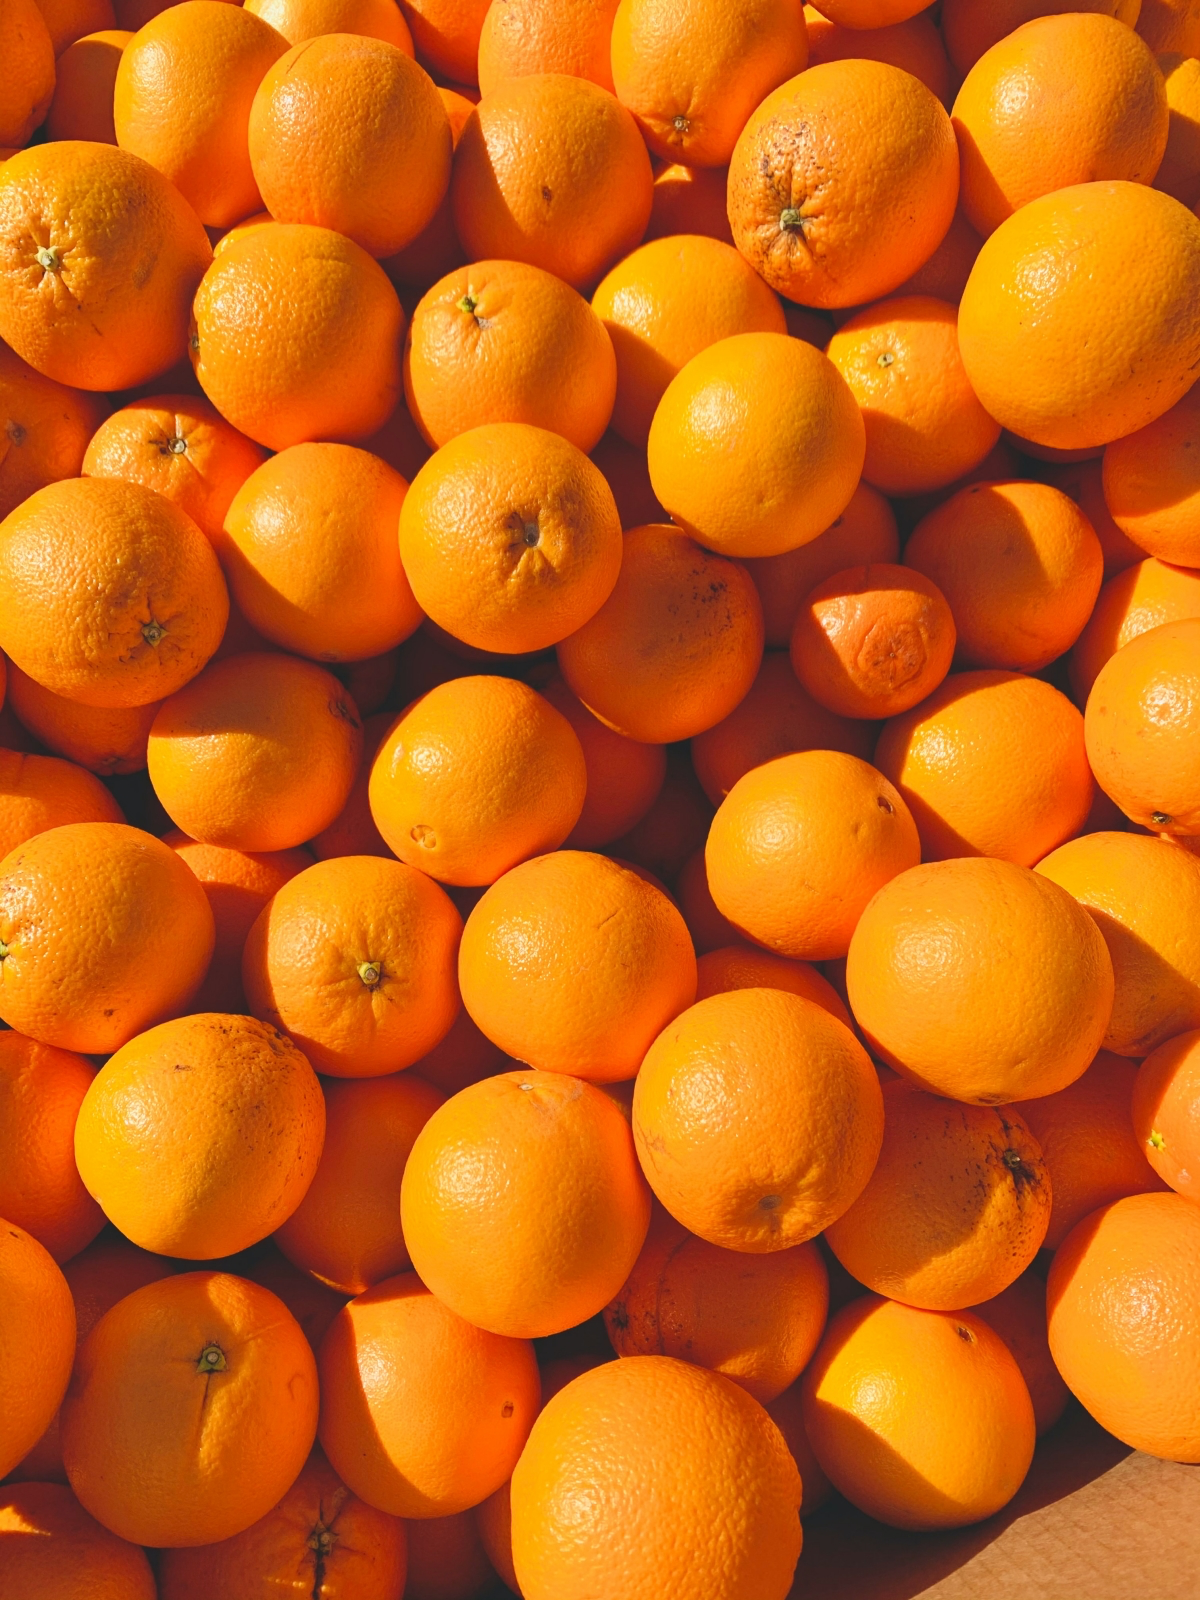
Crunchy Fruits and Veggies
You’ve heard it: “An apple a day keeps the dentist away.” People think the crunch acts like a natural toothbrush. And there’s a tiny bit of truth to it. Chewing fibrous foods like apples, carrots, and celery does help scrub away loose plaque and stimulates saliva—your body’s best natural mouthwash.
The Reality: The scrubbing effect is minimal. It won’t touch old, set-in stains. Plus, these foods contain acid and sugar. An apple is a perfect example. Snacking on them all day without brushing is a recipe for cavities. A quick tip? After you eat fruit, just swish your mouth with plain water to rinse away some of that sugar and acid.
The “Chemical” Method: Acids and Enzymes
This is where things get really dicey. Some foods contain acids or enzymes that claim to dissolve stains. This is a chemical approach, not a mechanical one, and it’s a fast track to damaging your enamel.
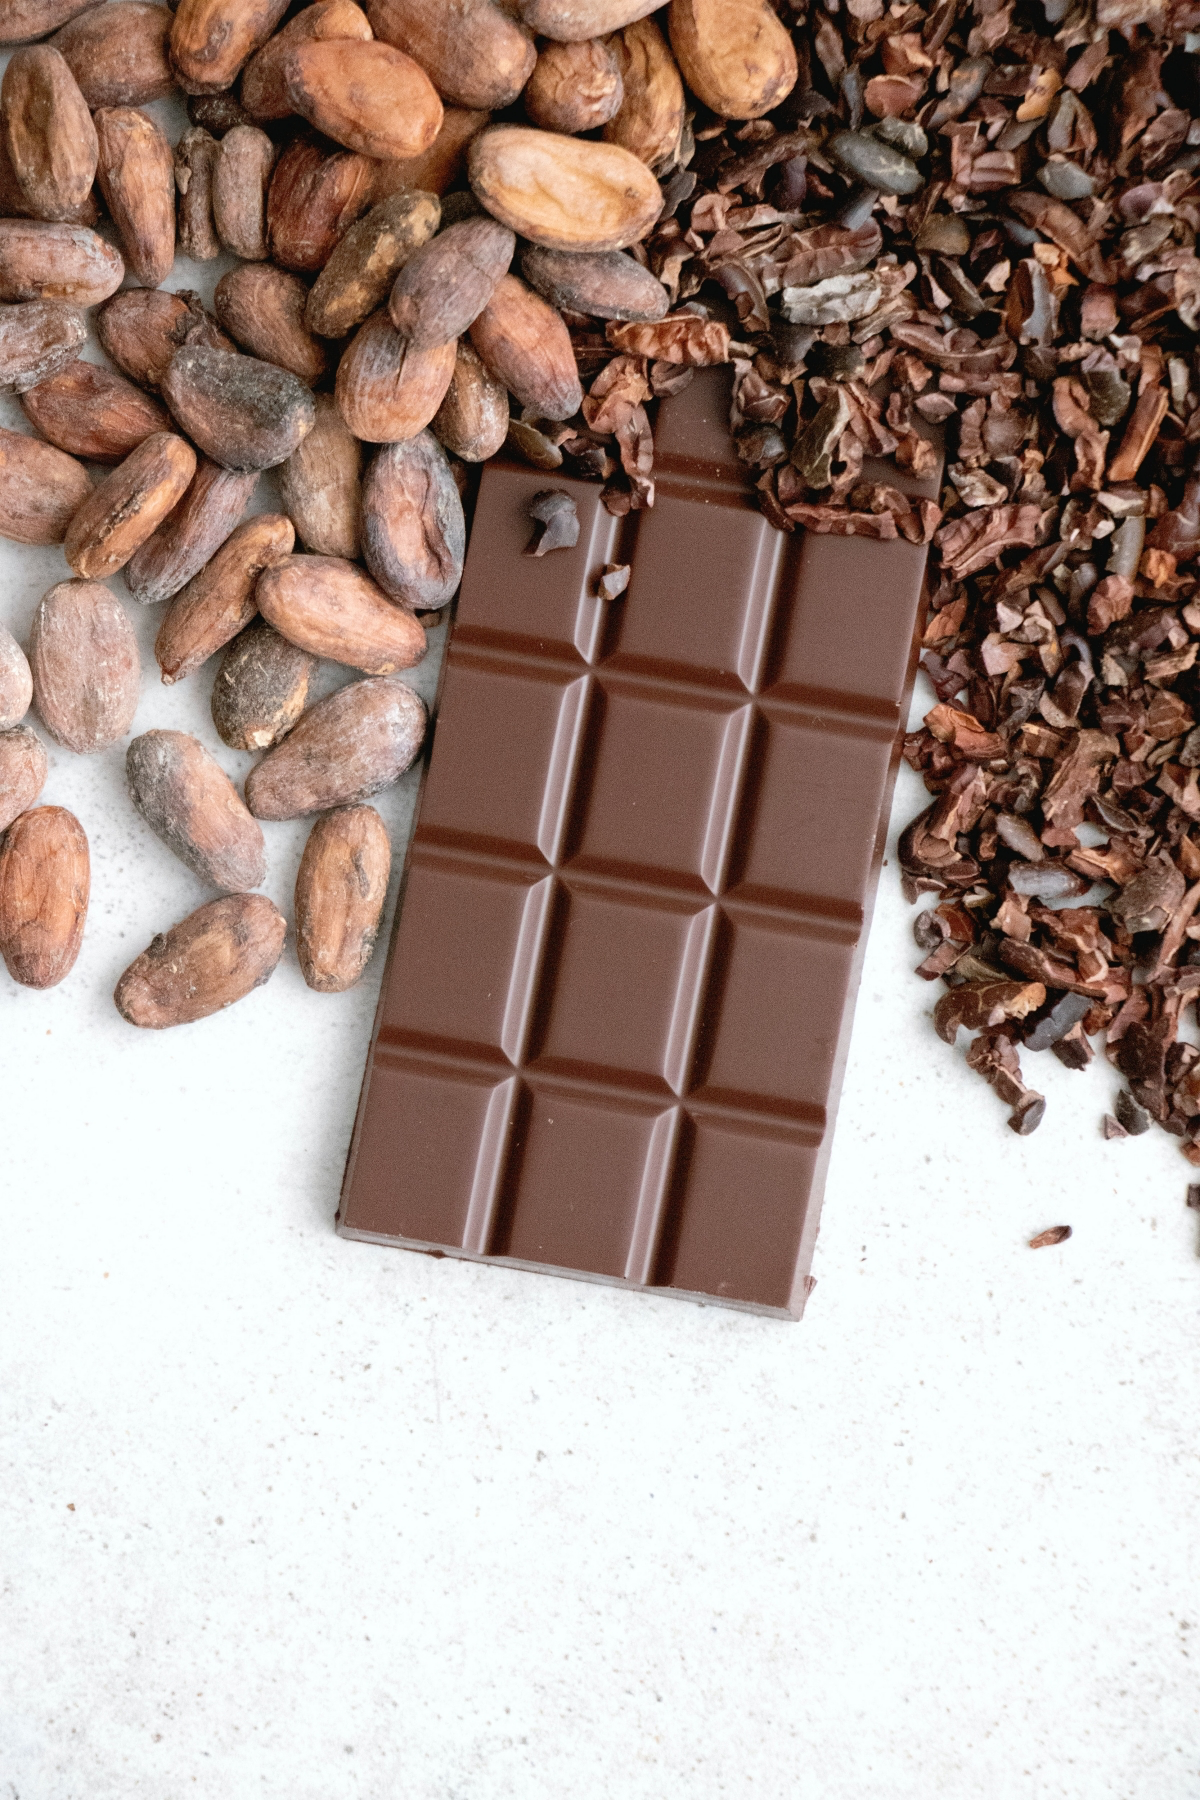
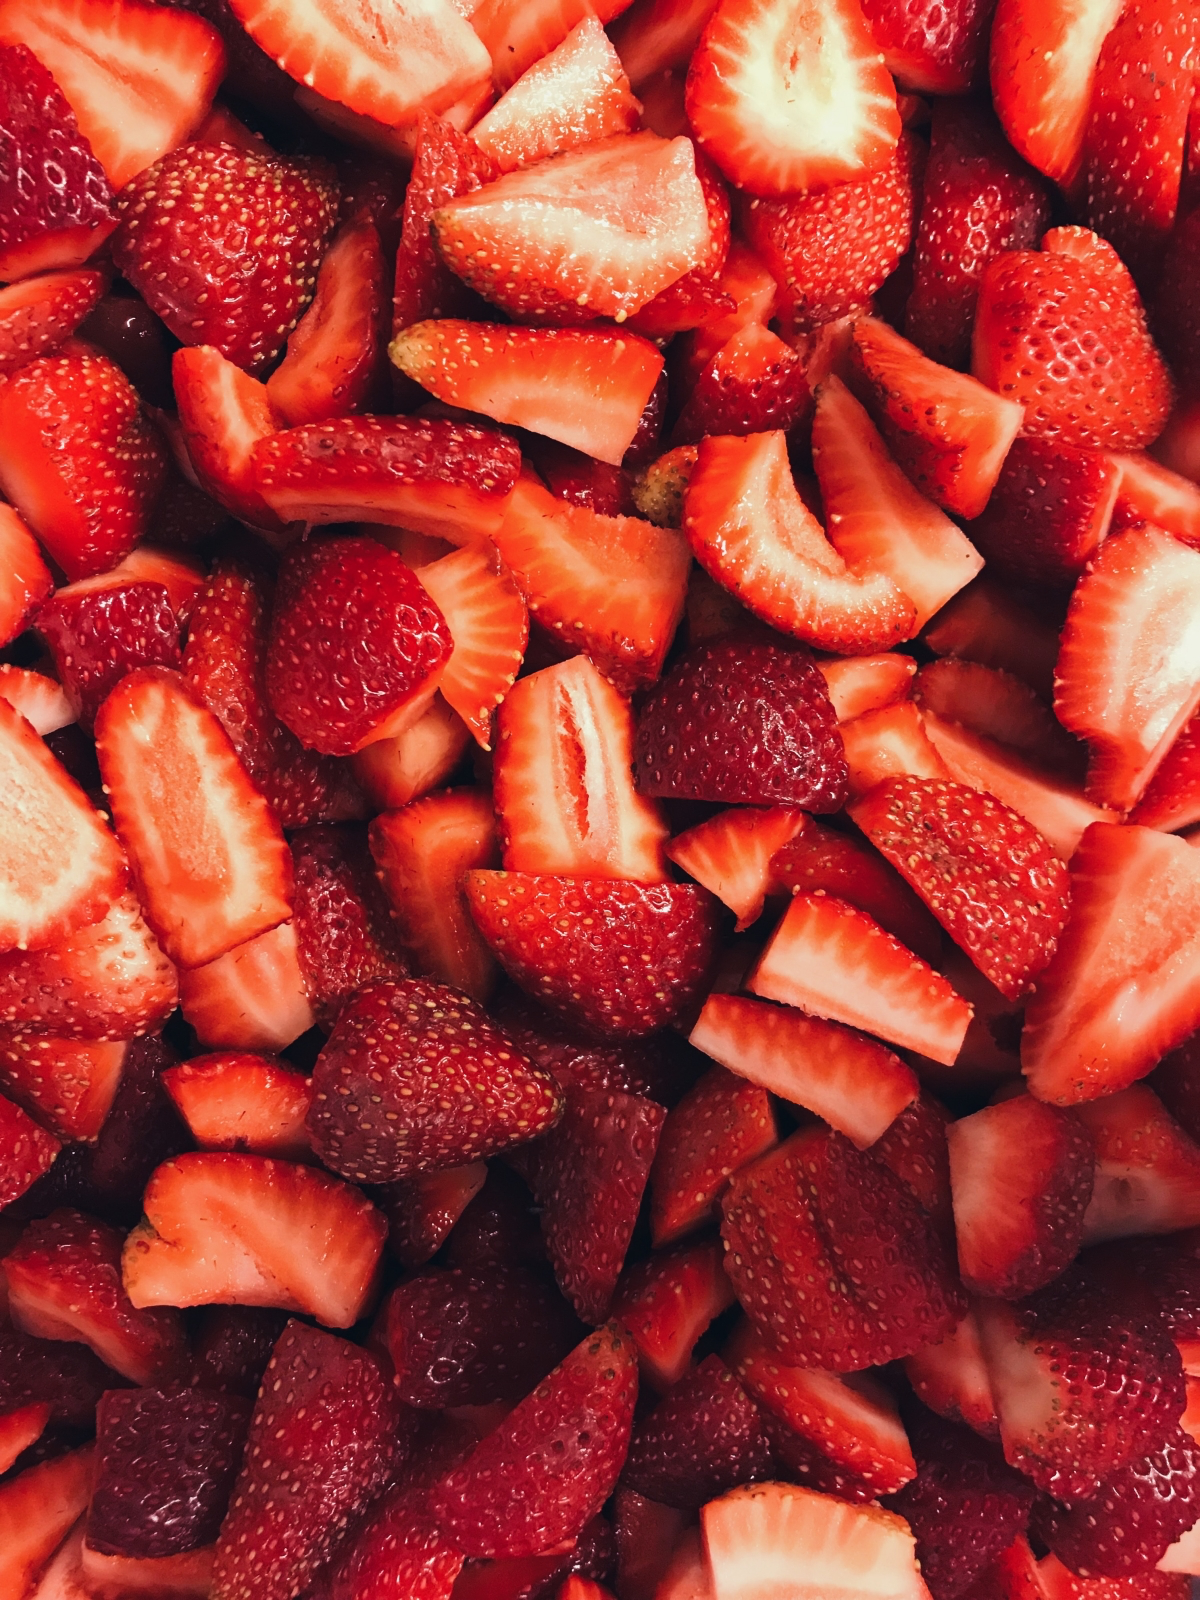
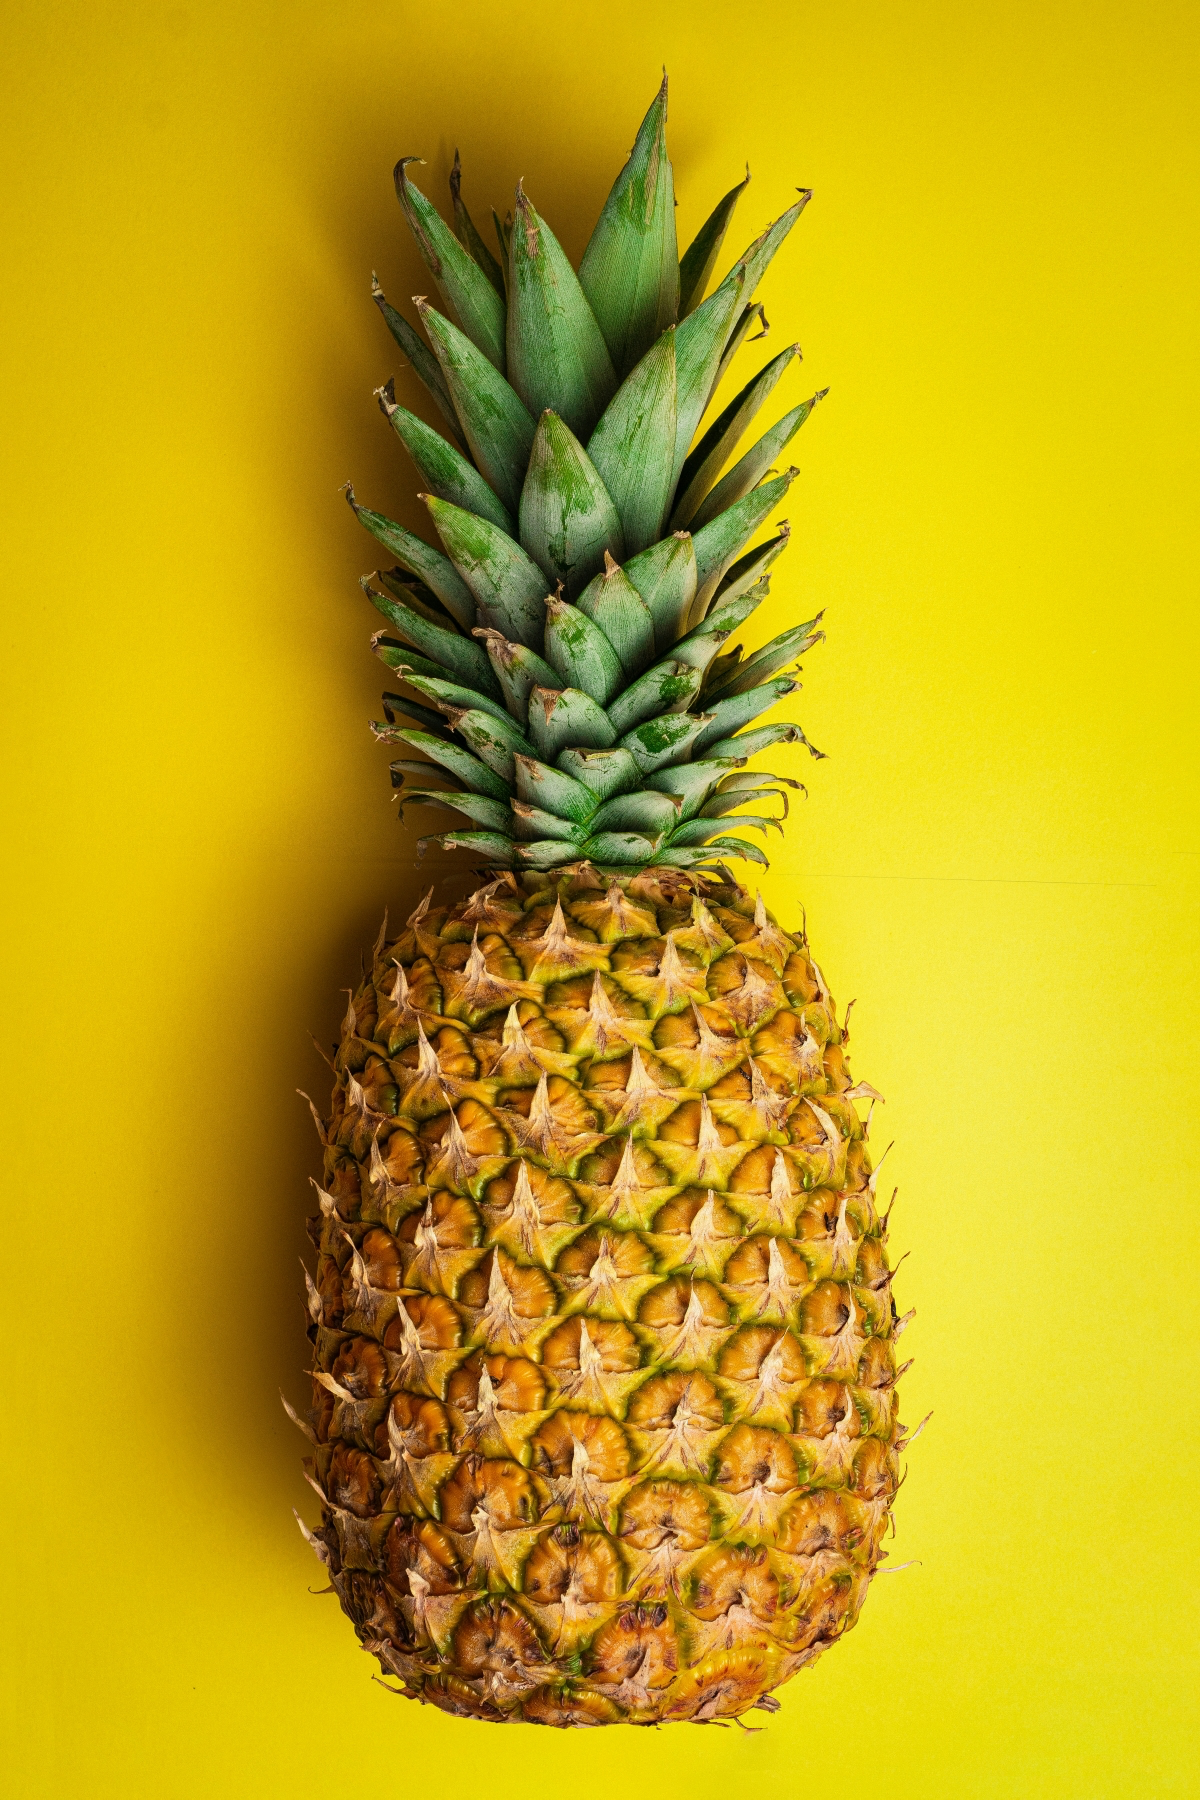
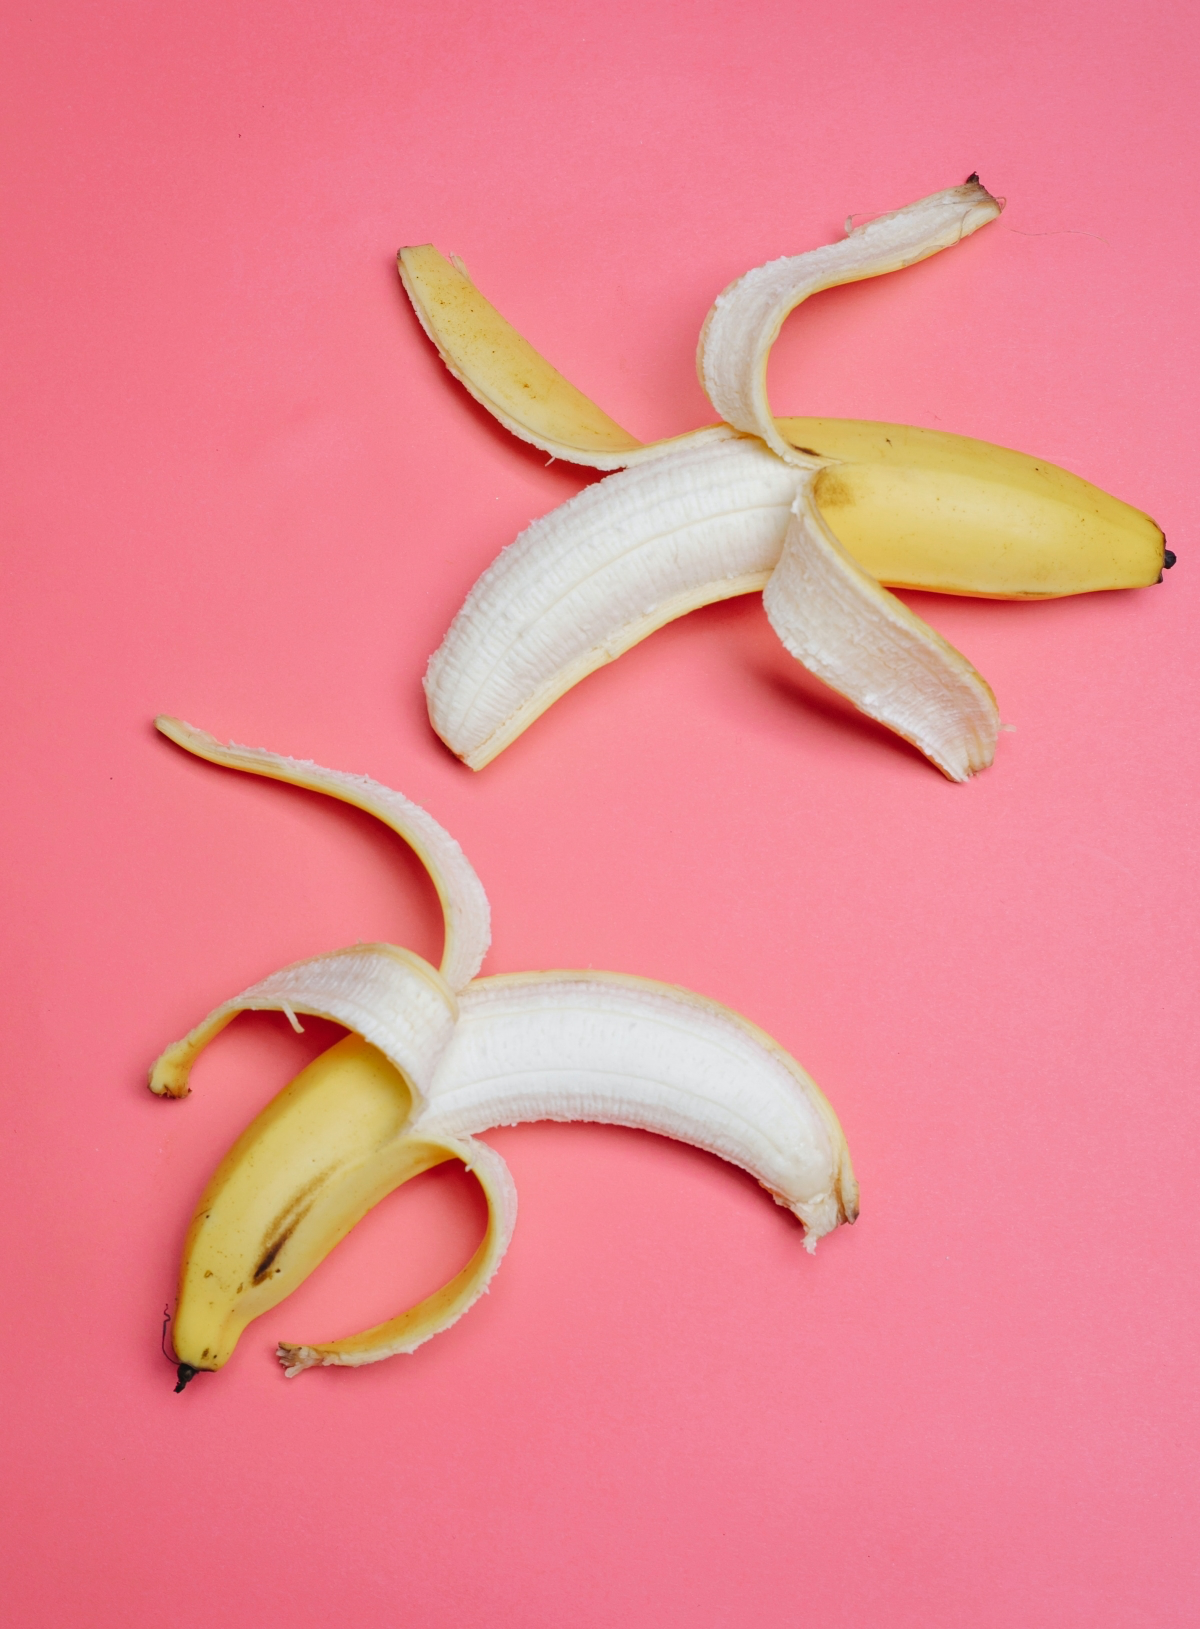
Strawberries, Pineapples, and Papayas
This is a huge trend—mashing strawberries (which contain malic acid) and mixing with baking soda. Similarly, pineapple and papaya contain enzymes (bromelain and papain) that can break down protein. In theory, since stains cling to a protein film on your teeth, these could help. In fact, some toothpastes use these enzymes.
The Problem: The concentration of enzymes in the fruit is super low. But more importantly, these fruits are VERY acidic. Pineapple juice has a pH of around 3.5; your enamel starts to dissolve at 5.5. You are literally dissolving your enamel to try and remove a stain from it. A key study in a dental journal confirmed that the strawberry-baking soda paste did nothing to whiten teeth but did decrease enamel hardness. Any temporary brightness you see is an illusion from removing a thin surface layer that grows right back.
The Verdict: Just don’t do it. The risk of permanent enamel damage is way too high for zero real benefit.
The Big Internet Myths You NEED to Avoid
Okay, let’s tackle the big ones you see all over social media. As a dental pro, these are the trends that genuinely worry me because the damage is often irreversible.
Myth
1: Activated Charcoal
Charcoal is super porous, and the idea is that it absorbs stains and toxins. Sounds good, right? Wrong. Activated charcoal is incredibly abrasive. There’s no good science to prove it’s safe or effective for teeth. In fact, it can be so abrasive that it wears down your precious enamel, making your teeth look more yellow over time as the dentin shows through. Oh yeah, and those tiny black particles can get stuck in your gumline and around fillings, making your smile look dingy. Hard pass.
Myth
2: Oil Pulling
This ancient practice involves swishing oil (usually coconut) in your mouth for 15-20 minutes. Proponents claim it “pulls” toxins and whitens teeth. While it’s not particularly harmful, there is zero scientific evidence that it does anything to change the actual color of your teeth. It might make your mouth feel cleaner by helping to dislodge some food bits, but so does swishing with water. For 20 minutes of your life every day, you’ll get no whitening benefit. It’s harmless, but totally ineffective for this purpose.
Myth #3: Rubbing Lemon Juice on Your Teeth
This is the most destructive myth of all. Please, I’m begging you, never do this. Lemon juice has a pH of 2-3, which is practically battery acid to your teeth. It doesn’t just remove stains; it dissolves your enamel. And once enamel is gone, it is GONE FOREVER.
I can spot erosion patients from a mile away. Their teeth get a dull, chalky, and almost transparent look at the edges. They become painfully sensitive. I once treated a young woman who loved sucking on lemons, and by her early twenties, her front teeth were so damaged they needed expensive crowns just to keep them from breaking. It’s just not worth it.
Okay, So What Actually Works? Your Roadmap to a Brighter Smile
After all that debunking, you’re probably wondering what you should do. Here’s a simple, effective plan.
Step 1: Start with a Professional Cleaning
Before you spend a dime on whitening, get a cleaning from a dental hygienist. We use special tools to remove hardened tartar and polish away surface stains you can’t get at home. For many people, especially coffee or tea drinkers, a thorough cleaning is enough to make their smile 1-2 shades brighter. It’s the best foundation you can build.
Step 2: Play Smart Defense at Home
The best whitening is preventing stains in the first place. This means great home care and being mindful of the top offenders. The biggest tooth-staining villains are typically: 1. Coffee 2. Black Tea 3. Red Wine 4. Soy Sauce & Balsamic Vinegar 5. Curry & Tomato-Based Sauces
Quick Wins: Drink dark beverages like iced coffee through a straw to bypass your front teeth. After a meal or a staining drink, chew some sugar-free gum to get saliva flowing and wash away residue.
Step 3: Choose the Right Whitening Option for You
If you want to go beyond just removing surface stains, you need a product with an active whitening agent. Here’s the breakdown, from mildest to strongest:
- Whitening Toothpastes: Look for ones with ingredients like hydrogen peroxide, carbamide peroxide, or enzymes like papain listed on the box. They won’t give you dramatic results, but used consistently, they can help lift new stains and maintain your color. You’ll probably see a subtle difference over 4-6 weeks.
- Over-the-Counter Strips: These are a decent entry-level option. You can find them at any drugstore for about $30 to $60. You typically wear them for 30 minutes a day for a couple of weeks. They’re good for mild staining but can cause some tooth sensitivity.
- Dentist Take-Home Trays: This is a big step up. Your dentist makes custom-fit trays for your teeth and gives you a professional-strength whitening gel. It’s more controlled and effective than strips. Expect to pay between $250 and $500 for this. You’ll usually wear them for about an hour a day for 1-2 weeks and see fantastic results.
- In-Office Whitening: This is the fastest and most dramatic option. It’s the one you see with the bright light. In about 90 minutes, your teeth can get several shades whiter. It’s also the most expensive, usually running from $600 to $1,200. Heads up: this method has the highest chance of causing temporary but intense sensitivity, often called “zingers.”
Your Final Action Plan
At the end of the day, there’s no magic food that’s going to give you a Hollywood smile overnight. A healthy, genuinely bright smile comes from consistent care and realistic expectations. The most important thing you can do is protect the enamel you have—it’s the only set you’ll ever get!
And a crucial last piece of advice: never start any whitening process without a dental check-up. If you have cavities or leaky fillings, the whitening gel can cause serious pain and problems. Before you do anything, go to your dentist and be ready to ask the right questions, like:
- “Is my mouth healthy enough for whitening?”
- “Based on my teeth, what option would work best for me?”
- “What kind of results can I realistically expect?”
Working with a pro is the true recipe for a radiant smile you can feel great about.
Galerie d’inspiration

Is your daily latte or iced tea habit sabotaging your smile?
It doesn’t have to. The key isn’t just what you drink, but how. Using a straw is your best defense, as it minimizes contact between the staining liquid and your front teeth. Can’t use a straw? Make a habit of swishing with plain water right after your last sip. This simple rinse helps wash away the chromogens (the pigment compounds in coffee and tea) before they have a chance to settle into your enamel’s microscopic pores.
The American Dental Association (ADA) notes that any food that can stain a white cotton t-shirt can also stain your teeth.
This is a great rule of thumb. Think about it: dark berries, soy sauce, tomato-based sauces, and even balsamic vinegar are all known for their staining power on fabrics. While you don’t need to eliminate these healthy foods, being mindful is key. Follow them up with a crunchy, cleansing food like a raw carrot or a glass of water to mitigate their staining effects before they set in.


