Tired of Your Useless Lawn? Here’s How to Actually Replace It
I’ve been in the landscape and horticulture world for a long, long time. And I can tell you, I’ve put in more traditional grass lawns than I can count. But you know what? I’ve probably torn out just as many.
In this article
It’s a story I hear all the time. A client calls me, totally fed up. They’ve poured years of watering, fertilizing, and weekend weeding into a patch of grass that, frankly, just doesn’t want to be there. They’ll point to a sad, thinning area under a big shade tree, or a crispy, sun-baked strip along the driveway. My first job isn’t to sell them on a fancy new turf. It’s to help them figure out why the old one gave up the ghost.
Think about it: a classic grass lawn is what we call a monoculture. It’s just one type of plant trying to thrive in conditions that are often a terrible match. This makes it incredibly fragile. One disease can wipe out the whole thing. Pests see it as an all-you-can-eat buffet. To keep it looking halfway decent, you’re stuck in a cycle of constant watering and chemical inputs. I’ve seen water bills that would make your eyes water, all for a lawn that looks stressed out for half the year.
So, this guide isn’t about hating on grass. It’s about being smarter. It’s about choosing the right plant for the right spot in your yard, creating a groundcover that works with your property, not against it. We’ll get into some fantastic plants that can step in for a traditional lawn, but more importantly, we’ll walk through how to look at your yard like a pro so you can make a choice that lasts.
First, Let’s Understand the Problem
Before we can find a fix, we have to get to the root of the problem (pun absolutely intended). The issues with most turfgrass lawns go way deeper than just needing a mow every Saturday.
Most of the popular grass types, like Kentucky bluegrass, have surprisingly shallow roots, usually only going down a few inches. This makes them totally dependent on you for frequent watering because they can’t reach moisture deeper in the soil. And when you water lightly and often, you’re actually training the roots to stay near the surface, which just makes the whole problem worse. It’s a vicious cycle.
Then there’s soil compaction. Over time, foot traffic, heavy rain, and even your mower press the soil particles together. This squeezes out the tiny air pockets that roots need to breathe. Water hits the ground and just runs off instead of soaking in. I often use a soil probe on a new site, and sometimes it’s like trying to shove a metal rod into concrete. A struggling lawn is almost always growing in compacted soil.
And finally, the dreaded thatch. This is a layer of dead and living plant gunk that builds up between the soil and the green grass blades. A little bit is fine, but when it gets over a half-inch thick, it acts like a thatch-roof cottage, blocking water and fertilizer from ever reaching the soil. It’s also a great place for pests and diseases to hang out. Understanding these things shows you why just tossing more seed and fertilizer on the problem rarely works.
Step 1: Prep Your Canvas (Getting Rid of the Old Lawn)
Okay, so you’re ready to make a change. The first big hurdle is dealing with the old lawn. You have two main routes here.
The Fast Way: Mechanical Removal
You can rent a sod cutter from a place like Home Depot for around $100 a day. This machine slices under the turf, letting you roll it up and remove it. It’s fast, effective, and gives you a clean slate immediately. Heads up, though: it’s physically demanding work, and you’ll be left with a lot of heavy sod rolls to dispose of.
The Easier, Soil-Building Way: Sheet Mulching
This is my favorite method, and it’s a game-changer for your soil health. It’s a no-dig, no-till technique that smothers the old lawn and builds rich soil at the same time. Here’s how you do it:
- Mow the old lawn as short as you can.
- Lay down a layer of plain, unwaxed cardboard right on top. Overlap the edges by at least 6 inches so no grass can peek through. Make sure to remove all plastic tape!
- Water the cardboard thoroughly to help it start breaking down.
- Add a 3-4 inch layer of compost on top of the cardboard. This is your new soil.
- Top it all off with a 2-3 inch layer of wood chips or other mulch.
And that’s it. You wait. This process takes a few months to fully smother the lawn and create a beautiful, plantable bed. The best time to start is in the fall, so the area is ready for planting in the spring. It’s less work upfront and a massive gift to your future plants.
Step 2: A Pro-Level Site Assessment (But You Can Do It)
I would never recommend a plant without walking the property first. You need to do the same. Grab a notepad, spend an hour outside, and get to know your yard. This is the single most important thing you can do.
Map Your Sunlight: “Full sun” means at least 6-8 hours of direct, unfiltered sunlight. Check your yard at 9 a.m., noon, and 3 p.m. to see what’s getting hit. Is it gentle morning sun, or is it the blazing afternoon heat? Is it the dappled shade under a tree or the deep shade on the north side of the house? This alone will narrow down your choices significantly.
Understand Your Soil: You don’t need a lab coat for this. Just do the simple jar test. Dig down 6 inches, put a cup of soil in a clear jar, fill it with water, add a drop of dish soap, and shake it like crazy. Let it settle for a day. The layers will tell you what you have: sand on the bottom, silt in the middle, clay on top. A lot of sand means fast drainage; a lot of clay means it holds water. Most alternatives love good drainage, so if you see a thick clay layer, you know you’ll need to add compost.
Watch the Water: After a big rain, where do puddles form? Those are your damp spots. Conversely, what part of the yard gets crispy first in a heatwave? Those are your dry zones. You can pick plants that are perfectly happy in those specific spots.
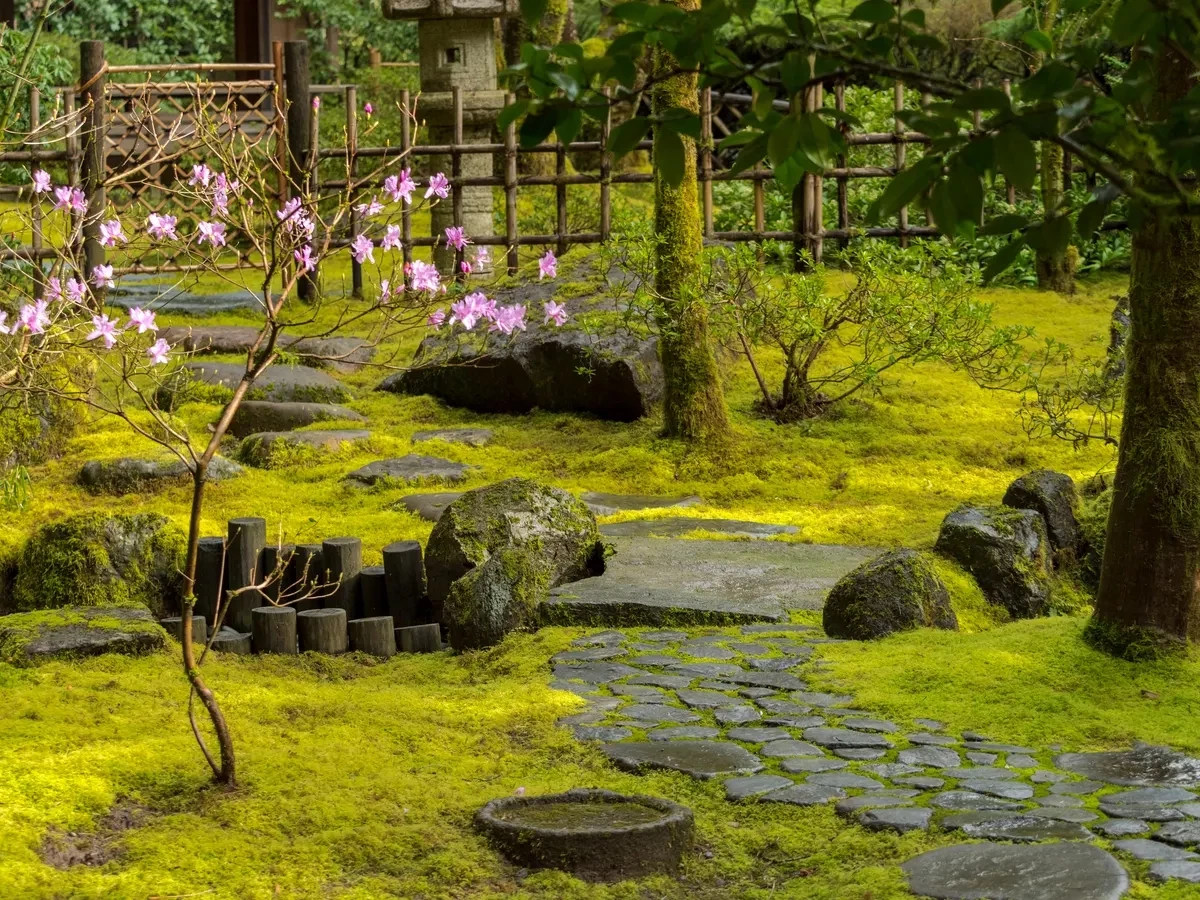
Be Honest About Foot Traffic: This is a big one. Is this the main path for the kids and the dog, or is it a corner that no one ever walks on? No groundcover is as tough as healthy turf for a soccer game. For high-traffic paths, plan on adding stepping stones. For a play area, a mix of grass and clover might be a better compromise than a delicate groundcover.
Top Lawn Alternatives: My Go-To Choices
Alright, let’s talk plants. These are some of the most reliable options I’ve worked with over the years, based on real-world projects.
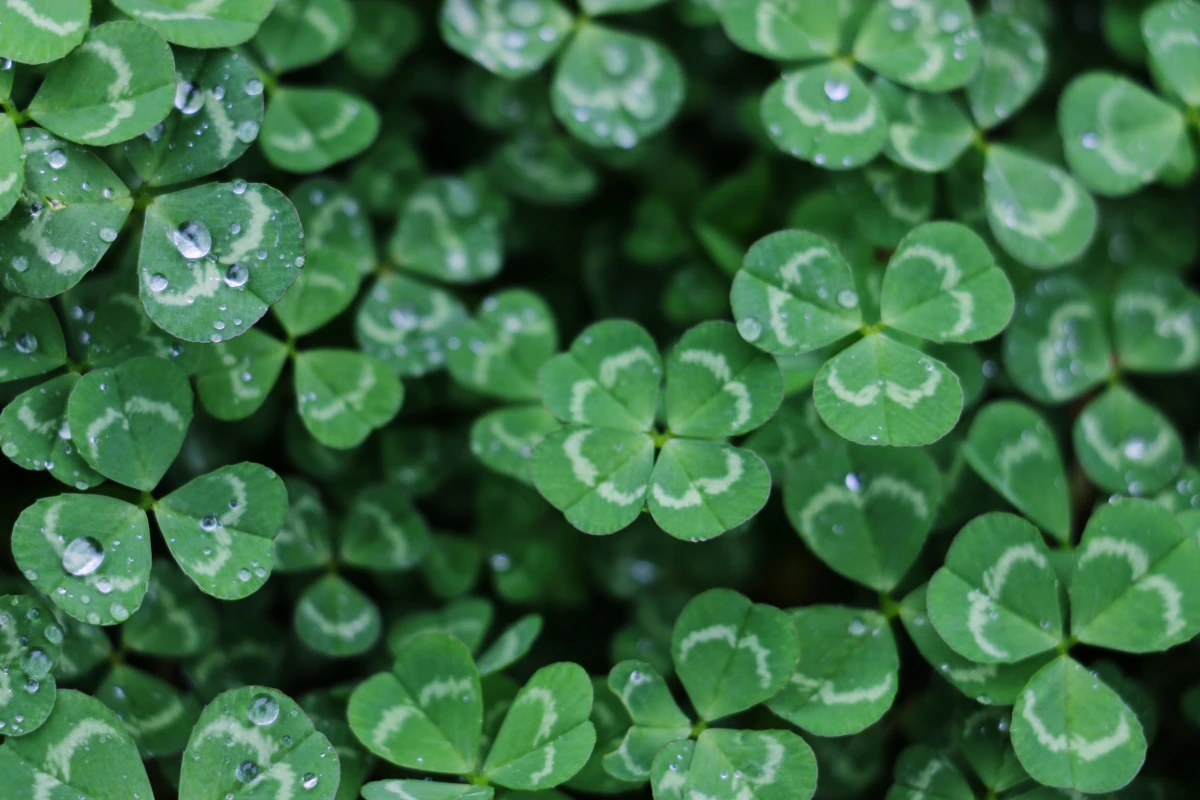
1. White Clover (Trifolium repens)
Clover used to be a standard part of lawn mixes before we got obsessed with weed-free monocultures. It’s making a huge comeback, and for good reason.
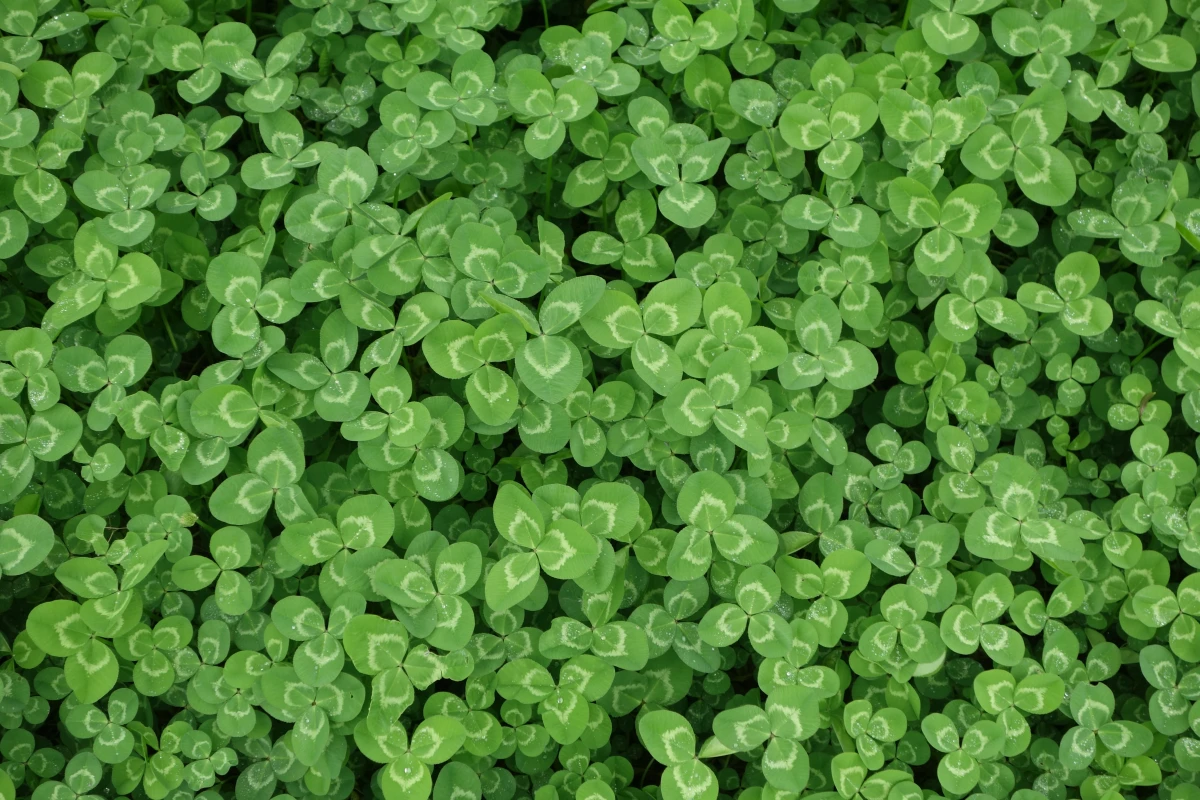
Best For: Mixed-use lawns with light to moderate traffic. It’s fantastic for improving crummy soil and stays green all summer with minimal water.
How to Plant: For a new clover lawn, you’ll want to prep the site and then broadcast seed. You only need about 2-4 ounces of seed per 1,000 square feet. Quick tip: the seed is tiny, so mix it with some sand to help you spread it evenly. Rake it in lightly and keep it moist for the first 7-10 days.
Care and Pitfalls: Once it’s established, clover is super drought-tolerant. A common mistake is thinking it needs a lot of care. It doesn’t. It actually creates its own nitrogen, fertilizing itself and any grass mixed in with it. The main heads-up? The flowers are a magnet for bees. This is amazing for pollinators, but a real concern if you have family with bee sting allergies. You can manage this by mowing a few times in the summer to clip the flowers before they bloom.
Good to know: I often recommend micro-clover varieties. They have smaller leaves and fewer flowers, so they blend in more smoothly with grass and attract fewer bees.
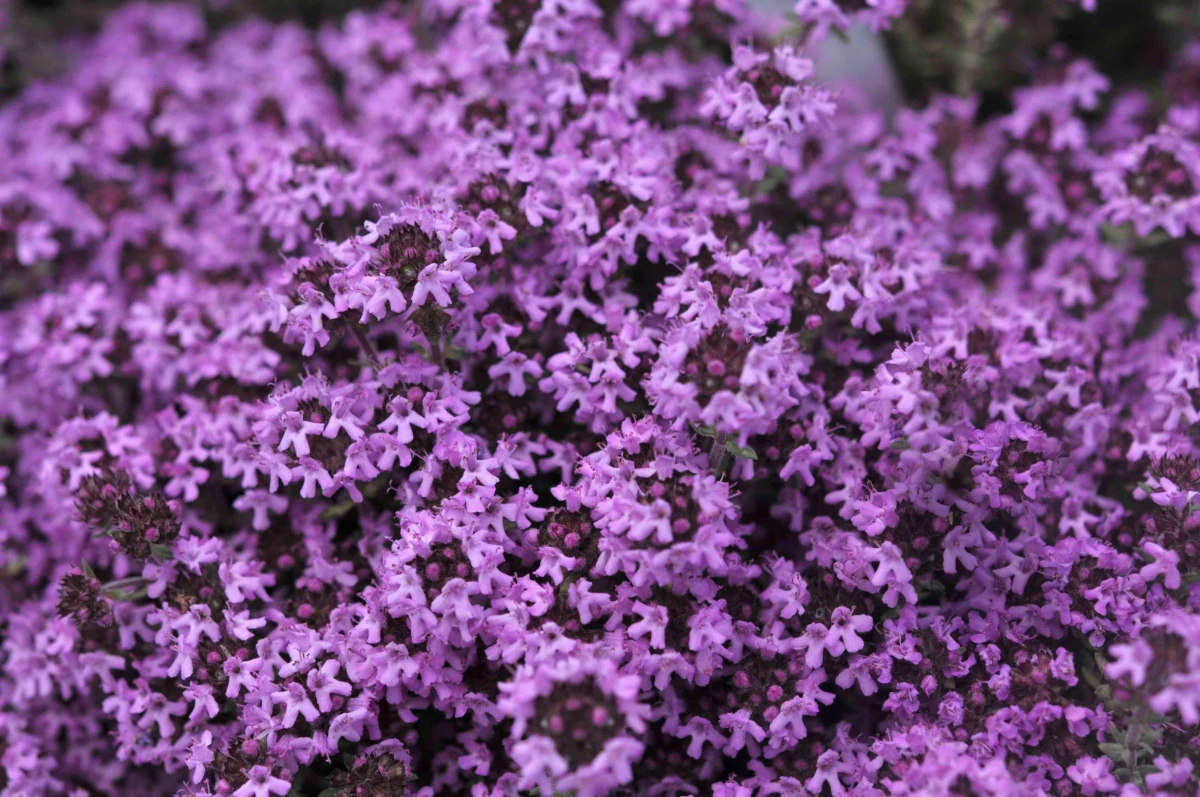
2. Creeping Thyme (Thymus serpyllum)
There’s nothing like walking on a thyme lawn and having that amazing herbal scent fill the air. It’s a tough, gorgeous plant, but it’s not a one-size-fits-all solution.
Best For: Full sun, well-drained (even poor) soil, and low foot traffic. Think slopes, rock gardens, or between pavers. It will die in a soggy, shady spot.
How to Plant: This is a job for plugs (small starter plants), not seed. Seeding is slow and frustrating. This means the upfront cost is higher. A common price is between $3 and $6 per plug, or $60-$90 for a flat of 32. To cover even a small 200 sq. ft. area, you could easily spend several hundred dollars on plants. Space them about 8-12 inches apart. It will look sparse at first, but have faith! It will fill in.
Care and Pitfalls: The first year is all about weeding. The open spaces are an open invitation. Here’s a pro-tip: to save your back and help the thyme, mulch between the new plugs with a thin layer of pea gravel or sand. It keeps weeds down and improves the drainage that thyme craves. The biggest mistake I see is overwatering. Once established, it almost never needs water.
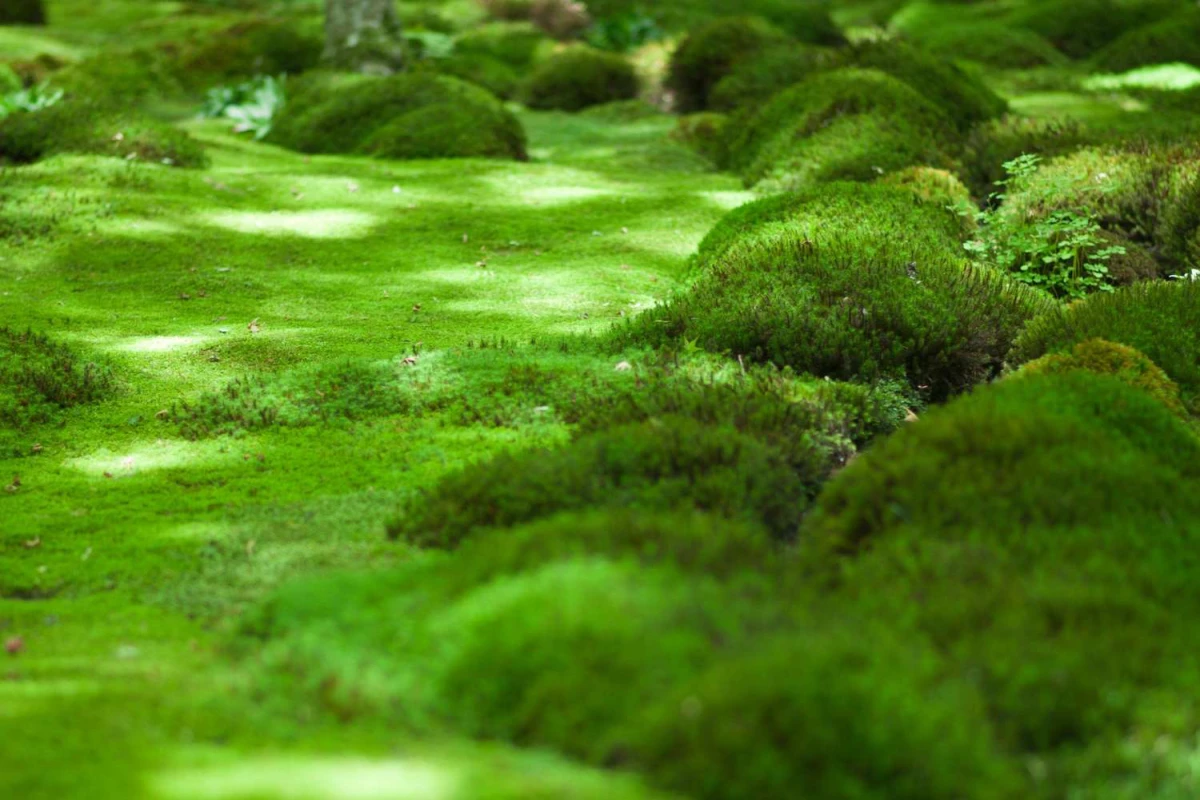
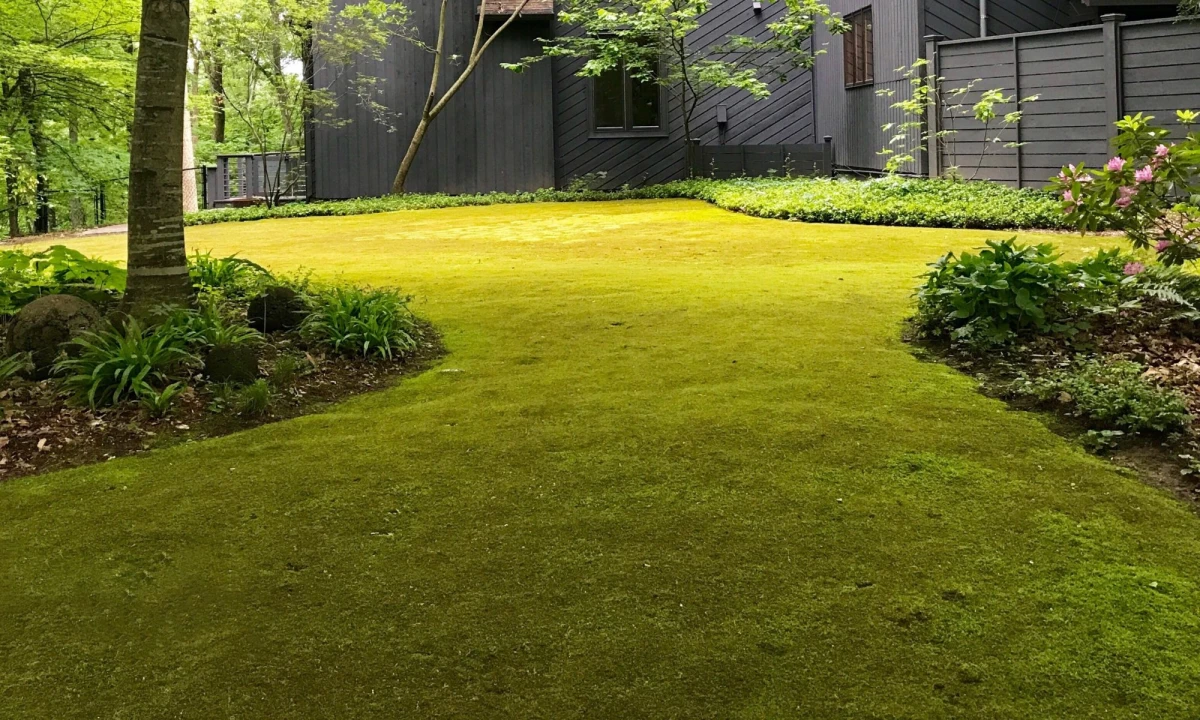
3. Moss (The Velvety Green Carpet)
A moss lawn is the polar opposite of a sunny grass lawn. It’s not for everyone, but in the right spot, its velvety, low-maintenance beauty is absolutely stunning.
Best For: Those shady, damp areas with acidic soil where grass has repeatedly failed. Perfect for under dense trees or on the north side of your house.
How to Plant: You can’t buy moss seed. You establish it from existing moss. The most reliable way is to transplant sheets of it. If that’s not an option, you can make a moss slurry. It sounds weird, but it works. Here’s my fail-proof recipe:
- Grab a few healthy handfuls of moss (from your yard or a friend’s).
- Crumble it into a blender.
- Add about 2 cups of buttermilk (or plain yogurt) and 2 cups of water.
- Blend it into a thick, paintable milkshake.
- Paint or pour this slurry onto bare, damp soil.
This is a project that requires patience. A moss lawn can take a couple of years to really establish, so you have to be in it for the long haul.
Care and Pitfalls: Moss needs no mowing, no fertilizer, and no pest control. Its only job is to stay moist. The biggest safety warning: moss is EXTREMELY slippery when wet. It’s a terrible choice for paths or play areas. It is purely ornamental.
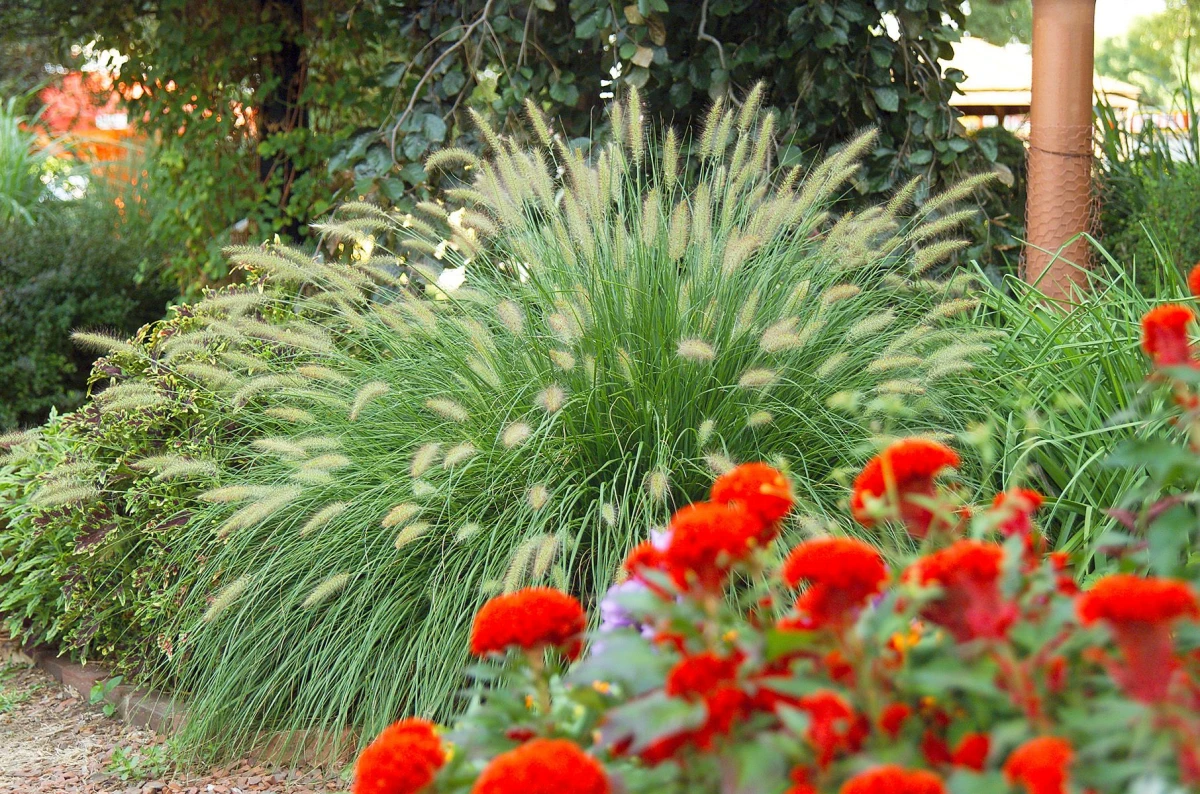
4. Sedges (Carex species)
Sedges are my secret weapon for tough spots. They look a lot like grass, but they’re a whole different kind of plant and way more adaptable.
Best For: Pretty much anywhere! There’s a sedge for sun, shade, wet soil, and dry soil. They are fantastic for creating a soft, naturalistic meadow look.
How to Plant: Like thyme, you’ll plant sedges from plugs. Spacing them about a foot apart is a good rule of thumb. This is another situation where your upfront costs will be in the plants, not seed.
Care and Pitfalls: This is where sedges are amazing. Most are considered “no-mow.” You can let them grow to their natural, graceful height or mow them 2-3 times a year for a more traditional look. They need very little extra care. The main challenge? Choosing the right one. There are hundreds of species. This is where a local native plant nursery is your best friend. They can point you to the specific sedge that thrives in your region, like Pennsylvania Sedge for dry shade in the East.
The Reality Check: Cost, Time & Where to Buy
Let’s be real for a second. Replacing a lawn is an investment. It’s often not cheaper in the short term, but it pays you back over years of lower maintenance and water bills.
A bag of grass seed is cheap, maybe $50. But a lawn of plugs is a different story. If you need 1,000 plugs to cover a larger area, at $4 a pop, you can see how the material cost can get up there. But remember to factor in what you’ll save on water, fertilizer, and your own time for years to come.
And it takes time. A plug-based lawn can take two or even three years to fully fill in and become the dense, beautiful groundcover you’re dreaming of. You have to be patient and diligent with weeding in the beginning.
Where to buy this stuff? Don’t expect to find sedge or thyme plugs at the big box stores. Your best bet is to search for a local native plant nursery in your area. They’ll have the right plants for your climate. For online shopping, specialists like Prairie Moon Nursery or Izel Native Plants are excellent resources (I have no affiliation, they’re just well-regarded in the industry).
Not Ready for a Full Overhaul? Try This First.
Feeling a little overwhelmed? I get it. Here’s a quick win.
The easiest first step is to simply overseed your existing lawn with micro-clover. You can buy a small bag for about $20-$30 and rake it into your current lawn this fall or spring. It will start to germinate, fix nitrogen in your soil, and make your entire lawn healthier and more drought-tolerant. It’s a small step that makes a big difference.
Ultimately, moving beyond a traditional lawn is about creating a landscape that’s more resilient, more beautiful, and a lot less work. By starting with a good, honest look at your yard and choosing the right plants, you can create a space that brings you joy instead of chores.
Inspirational Gallery
Is replacing a lawn expensive?
The initial outlay for groundcover plugs, seeds, or mulch can be higher than a bag of grass seed, it’s true. However, think long-term. Your investment stops there. You’ll drastically cut costs on water bills, eliminate the need for seasonal fertilizers and pesticides from brands like Scotts or Miracle-Gro, and reclaim the time once spent mowing. Within a few years, a low-maintenance groundcover often pays for itself in savings.
According to the U.S. Environmental Protection Agency, landscape irrigation can account for nearly a third of all residential water use, amounting to billions of gallons per day.
Choosing a drought-tolerant groundcover like sedum or native grasses isn’t just a personal garden choice; it’s a significant contribution to water conservation in your community. These plants thrive with minimal supplemental watering once established, drastically reducing your home’s environmental footprint.
For that tricky shady spot:
Japanese Pachysandra: A classic choice, this evergreen plant forms a dense, glossy green carpet that chokes out weeds effectively. It’s incredibly tough and reliable once it gets going.
Bugleweed (Ajuga): Offers more visual variety with options for bronze or deep purple foliage and charming blue flower spikes in spring. It spreads readily and is great for adding a splash of color to darker corners.
Both are excellent choices, but for a faster, more uniform look, Pachysandra wins. For seasonal interest, pick Ajuga.
Once the old sod is gone, don’t just start planting. The success of your new groundcover depends on this crucial next step. A little prep now prevents years of headaches.
- Aerate the soil to relieve the compaction caused by years of foot traffic and mowing.
- Incorporate 2-3 inches of quality compost to enrich the soil with nutrients and improve its structure.
- Level the area with a rake to ensure there are no low spots where water can pool.
A common mistake: Ignoring a plant’s growth habit. People often choose a groundcover for its look without considering *how* it spreads. Aggressive runners like Bishop’s Weed or certain ivies can quickly become a nightmare, invading garden beds and climbing walls. Always check if a plant spreads by runners (stolons), underground rhizomes, or is a clumping perennial. This will save you from a future of constant containment.
- Thrives in full sun and poor, dry soil where grass struggles.
- Stays green and vibrant through most of the year.
- Creates a beautiful, multi-textured carpet of color.
- Requires virtually no water once established.
The secret? A living carpet of mixed sedums. Instead of one plant, a mix of low-growing stonecrops like Sedum ‘Angelina’, ‘Dragon’s Blood’, and ‘Blue Spruce’ creates a resilient, dynamic, and visually stunning lawn alternative perfect for hot, dry zones.
The ‘No-Mow’ lawn isn’t unkempt; it’s intentionally textural.
Embrace a softer, more natural aesthetic with a fescue blend like the popular ‘No-Mow’ mix from Prairie Nursery. These fine-bladed grasses grow to about 4-6 inches and then gracefully fold over, creating a lush, meadow-like look. The effect is a moving sea of green that ripples in the breeze, a world away from the stiff crew-cut of a traditional lawn.
A lawn replacement is a chance to engage all the senses. Imagine stepping out onto a path of creeping thyme, releasing a fragrant puff of herbal scent with every footfall. Or the cool, spongy feel of a moss patch under your bare feet. The gentle hum of bees visiting a clover-filled yard is a sound many of us have lost. It’s about creating an atmosphere, not just a surface.
One of the most exciting trends in lawn replacement is


