Your House is Tidy, But Is It *Clean*? A Pro’s Guide to the Grime You Can’t See
I’ve been cleaning homes professionally for a long, long time, and I’ve learned one simple truth: most of us keep a tidy house, not a clean one. And trust me, there’s a huge difference.
In this article
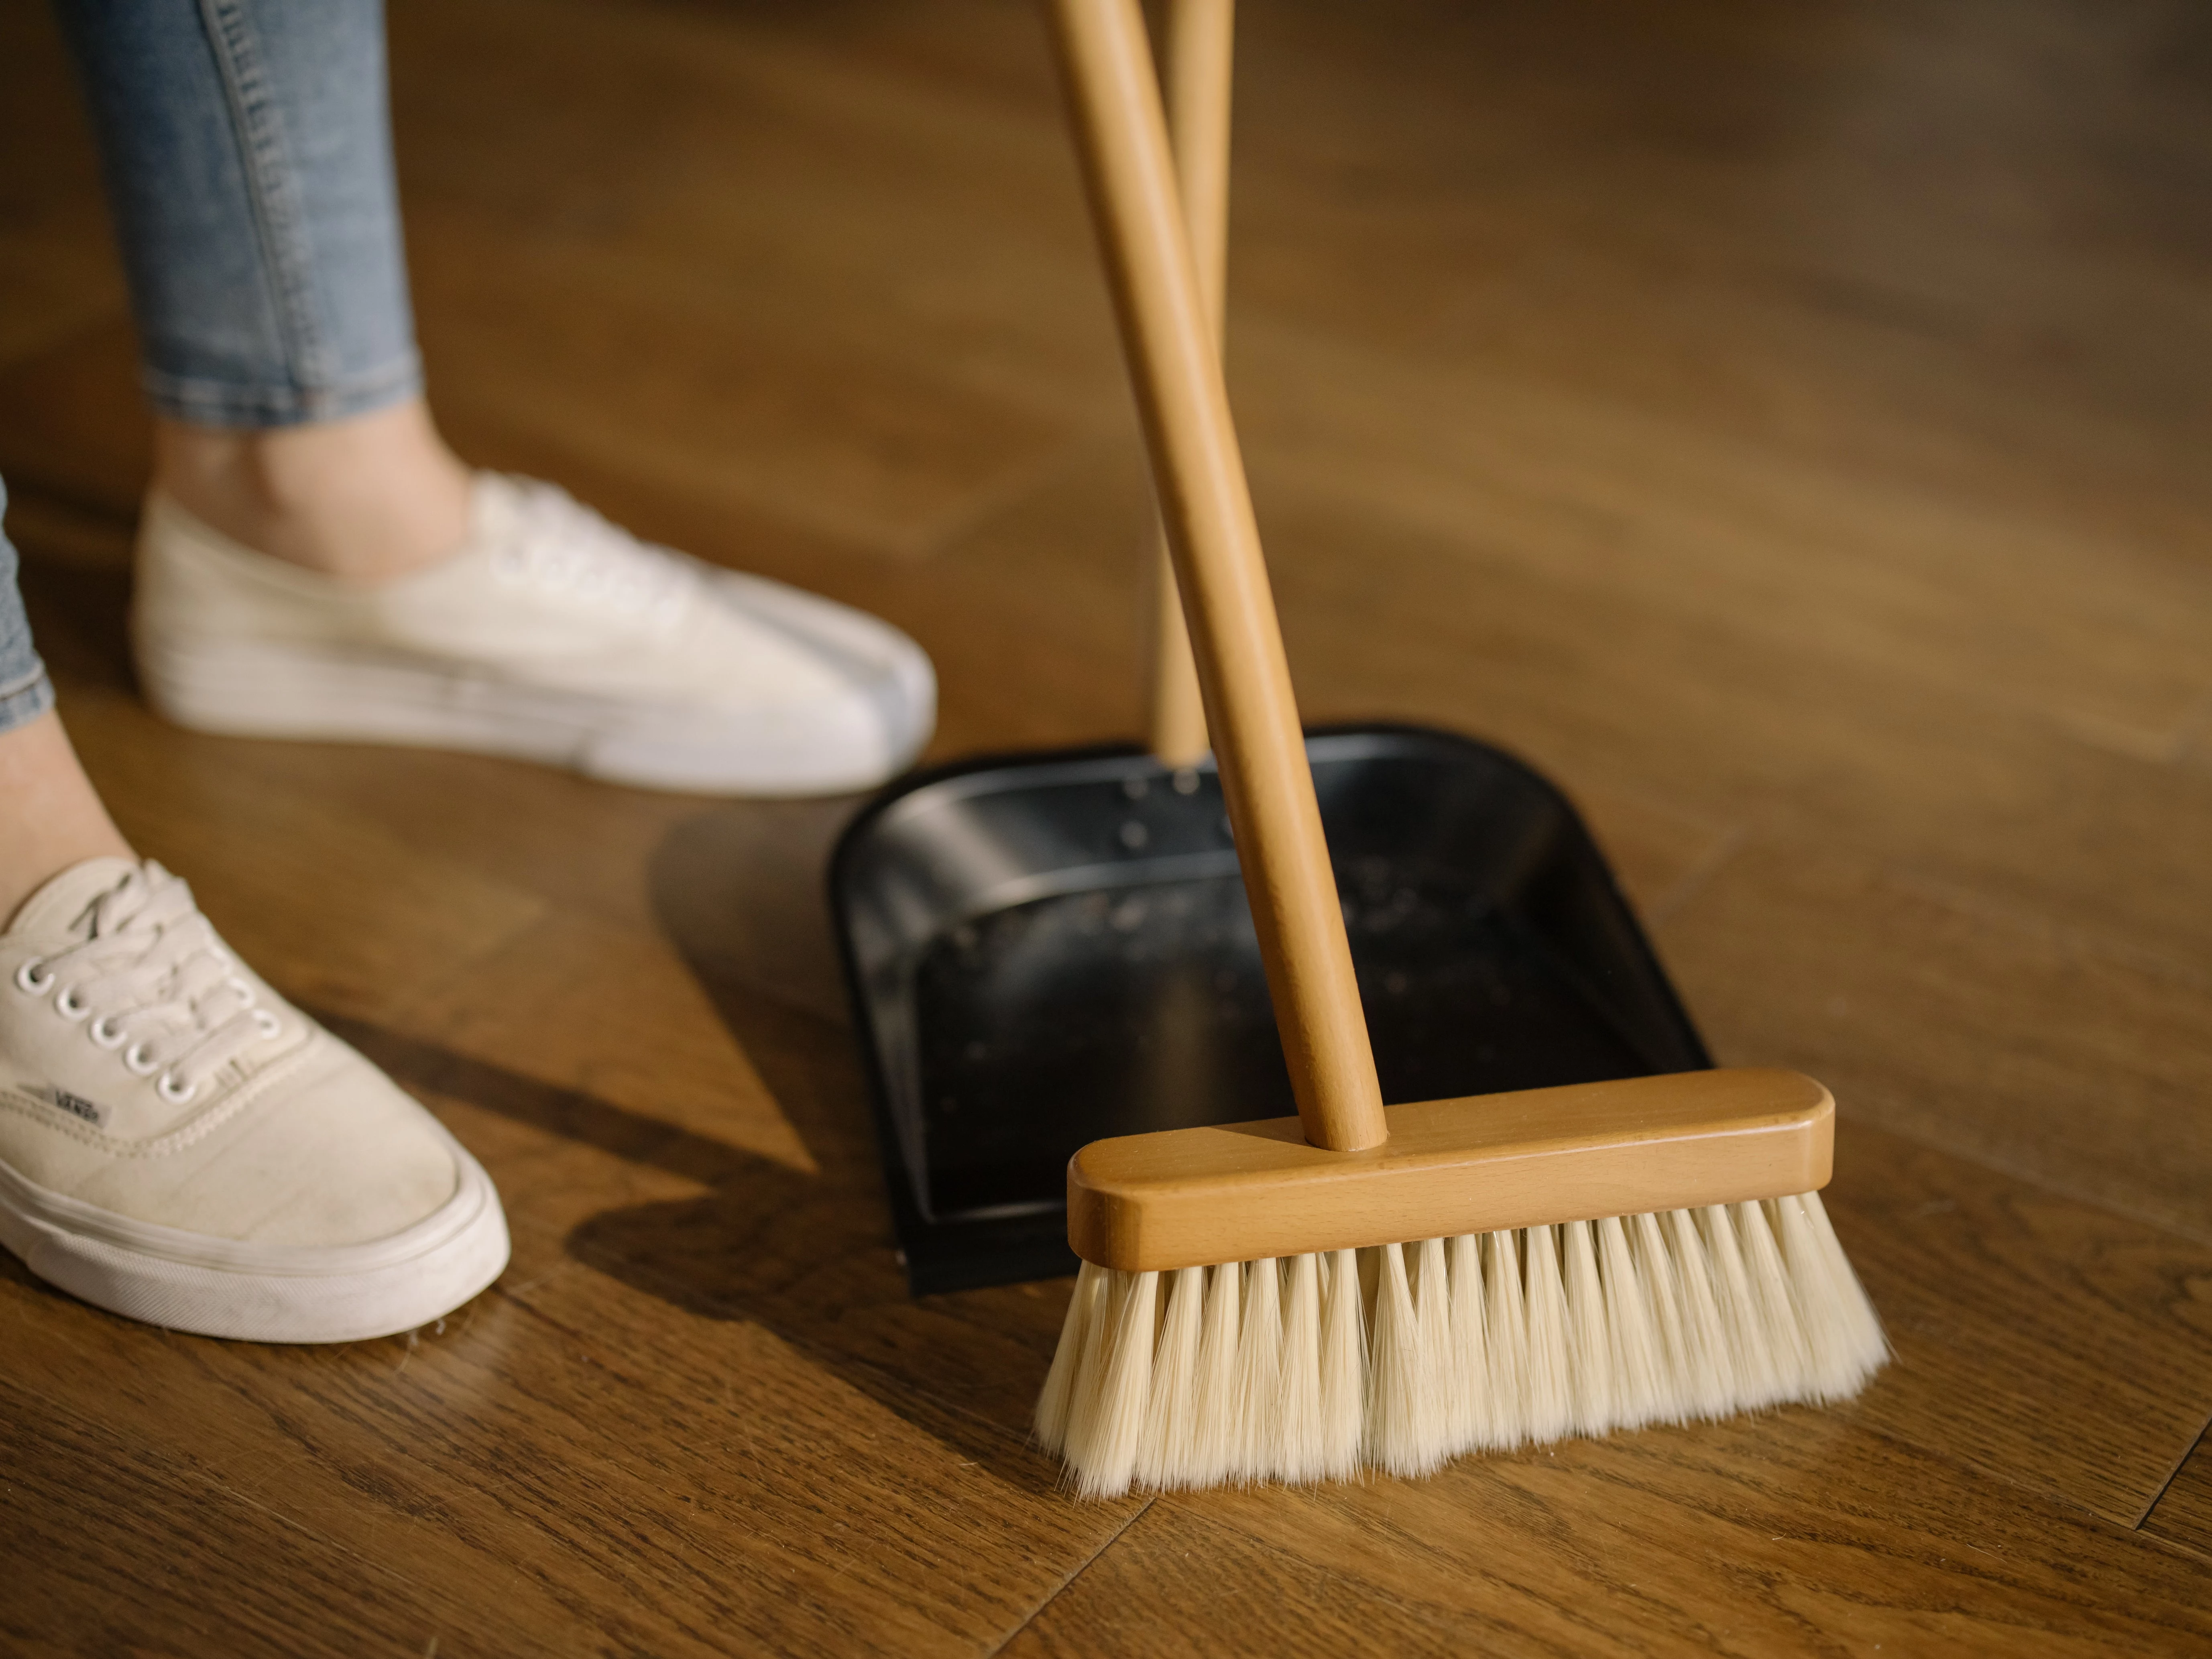
Tidy is putting your shoes in the closet. Clean is getting rid of the funky stuff that grows on the closet floor. Most of the calls I get are from people who’ve noticed a weird smell they can’t place, a sticky spot that keeps coming back, or a family member who suddenly has allergy flare-ups. The problem is almost never what you think it is. Everyone wipes down the toilet seat. The real villains are the places we touch every day without a second thought, and the dark corners we never look into.
This isn’t about scaring you. It’s about showing you where the grime actually hides so you can have a genuinely healthier home. Let’s walk through the house together, and I’ll point out the things I look for.
First, Know Your Enemy
Before you even grab a sponge, it helps to know what you’re actually fighting. We’re not just talking about dust bunnies. We’re managing tiny ecosystems.
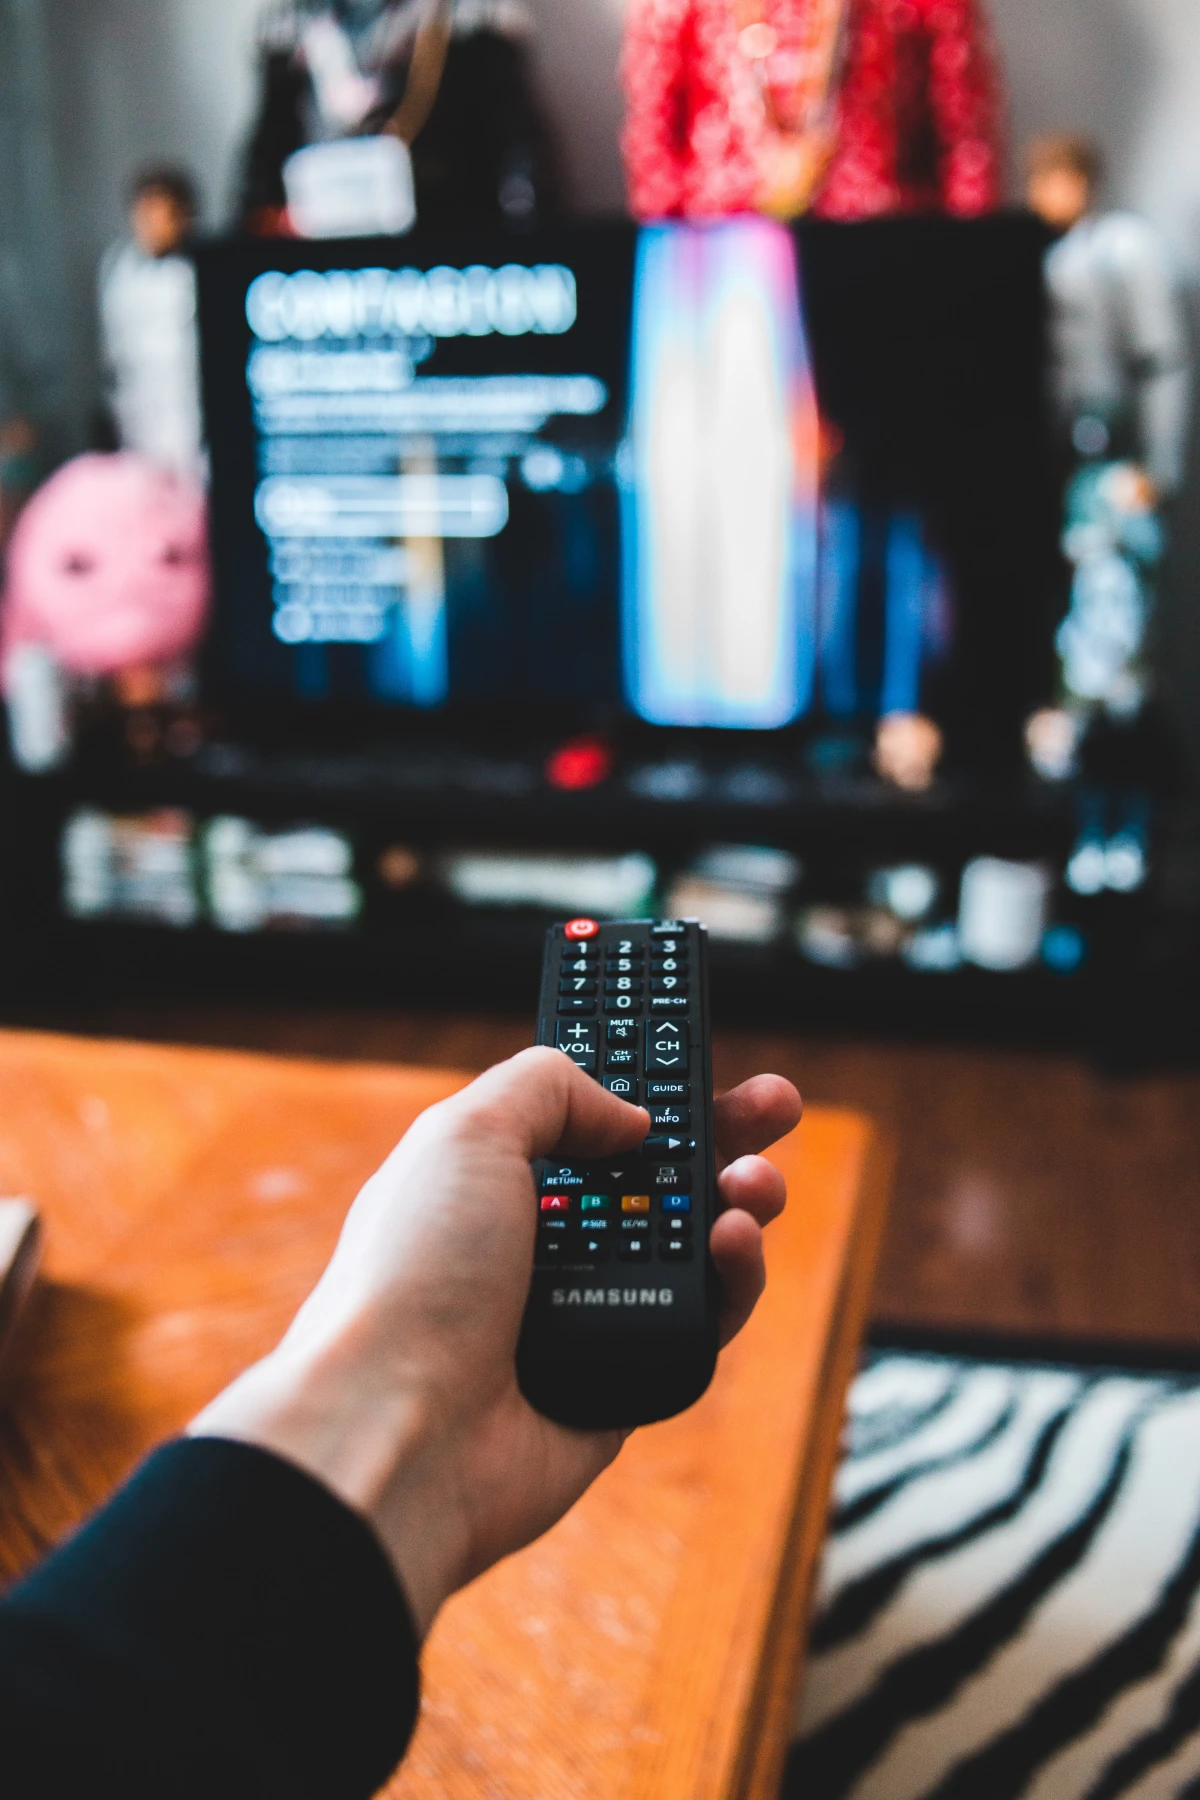
First, you’ve got bacteria. Nasty bugs like E. coli and Staph love to hang out on high-contact surfaces. They get there from our hands and feed on the skin oils and invisible food crumbs we leave behind on things like doorknobs and remote controls.
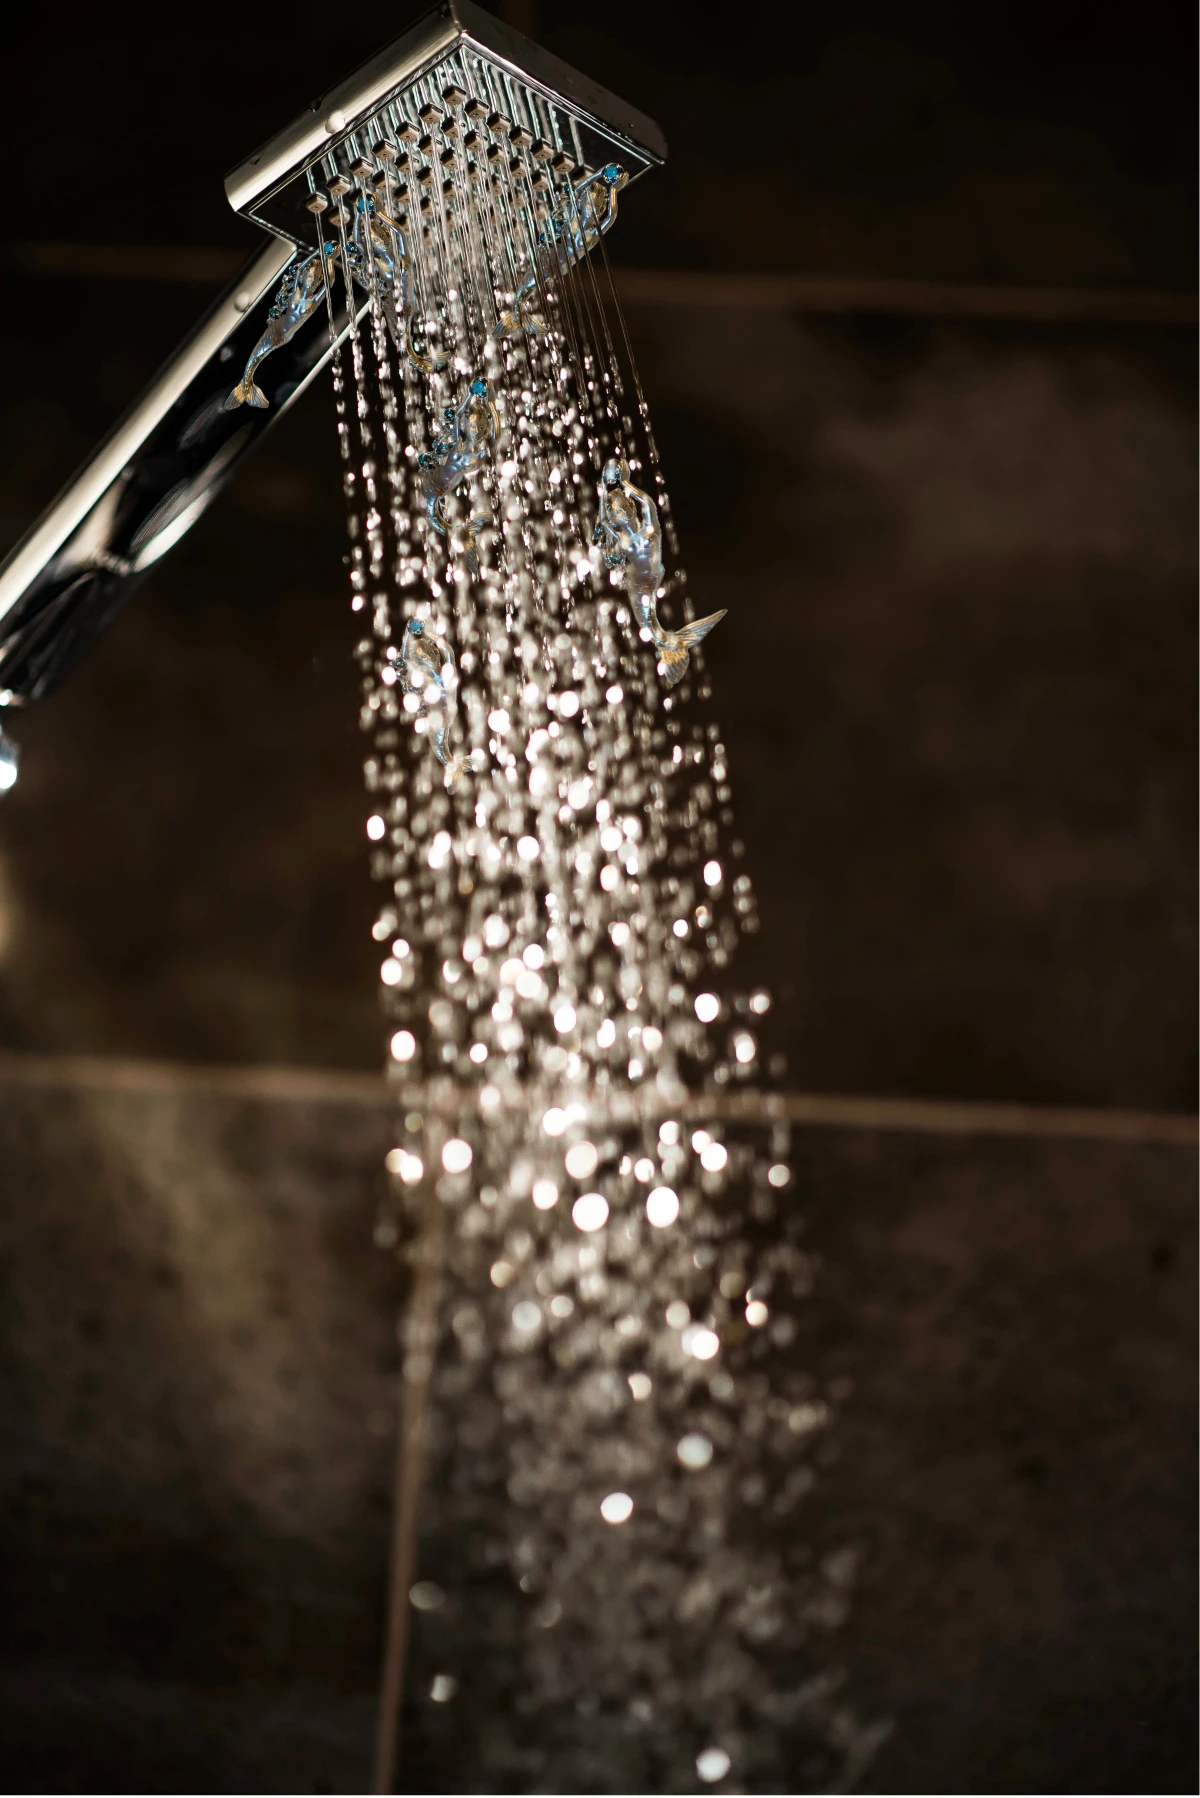
Then there’s mold and mildew. These fungi just need three things to party: moisture, warmth, and a food source (which can be anything from drywall paper to a bit of dust). This is why your bathroom and kitchen are their favorite hangouts. Oh, and that pinkish-orange slime you see in the shower? By the way, that isn’t mold. It’s a common airborne bacterium that basically shouts, “Hey, this spot is staying wet all the time!”
Finally, let’s talk about biofilms. This is a big one in the pro cleaning world. A biofilm is basically a little community of germs that builds a slimy, protective shield around itself. It’s like a fortress. This slime makes it really tough to kill the bacteria underneath with just a quick spray and wipe. You find these on showerheads, in sink drains, and even in your pet’s water bowl. To beat a biofilm, you have to physically scrub it to break that shield before you can disinfect the surface.
The Daily Transfer Zones: High-Contact Hotspots
These are the spots we all touch dozens of times a day, often without thinking. The contamination is constant, so cleaning them needs to be a regular habit. I’d aim for a weekly wipe-down, or even more often if someone in the house is sick.
Light Switches, Doorknobs, and Cabinet Handles
Think about what your hands have done right before you flick on a light switch. You might have handled raw chicken, used the restroom, or just come in from outside. All of that gets transferred right onto the switch. When I’ve done swab tests for curious clients, the light switches by the kitchen and bathroom are almost always the filthiest surfaces in the entire house.
Pro Tip: A single swipe with a disinfectant wipe isn’t really cutting it. You’re mostly just smearing the gunk around. The pros use a two-step method: clean first, then disinfect.
1. Clean: Use a microfiber cloth dampened with an all-purpose cleaner to physically wipe away the dirt and oil. This removes the surface-level filth.
2. Disinfect: Now apply your disinfectant spray or wipe. Here’s the most overlooked part: you have to let it sit! It’s called ‘dwell time,’ and it’s the amount of time the surface needs to stay wet for the product to actually kill germs. It says how long right on the label—it can be anywhere from 30 seconds to 10 minutes. If you spray and immediately wipe it dry, you’ve done nothing but waste product.
Heads up! Never spray cleaner directly onto a light switch or outlet. You don’t want liquid getting into the electrical parts. Spray your cloth, then wipe. For a great, cheap disinfectant, a solution of 70% isopropyl alcohol works perfectly on these spots and evaporates quickly.
Remotes, Keyboards, and Phones
Let’s be honest, these are basically a third hand. We eat while using them, take them everywhere (yes, everywhere), and almost never clean them. The little gaps between the keys are a buffet for bacteria, collecting food crumbs, skin cells, and Lord knows what else.
How to Clean Electronics Safely:
• First, turn them off and unplug them. Always.
• For keyboards, flip ’em over and give a gentle tap to shake out the big stuff. A can of compressed air is your best friend here—use short bursts to blow out whatever is stuck between the keys.
• Dampen a soft, lint-free cloth with 70% isopropyl alcohol. Make sure it’s damp, not dripping. Never use bleach or gritty cleaners; they’ll wreck the finish on your screens and keys.
• Gently wipe everything down. For the tight spots, use a cotton swab dipped in a little alcohol.
• Let it all air dry completely before you power it back on.
I once consulted for a small office where people were getting sick constantly. We swabbed their keyboards, and the results were… well, horrifying. Making electronics cleaning a weekly task actually led to a noticeable drop in sick days.
The Forgotten Corners: Out of Sight, Full of Grime
These are the areas that get zero love during a routine tidy-up. Because they’re hidden, they become perfect breeding grounds for all sorts of nastiness.
The Kitchen Sink and Sponge
Forget the toilet seat. The single dirtiest item in most homes is the kitchen sponge. It’s wet, porous, and full of food particles—a five-star resort for bacteria. And the sink itself isn’t much better, with its gross coating of grease and food waste forming biofilms around the drain.
Simple Solutions:
• Sponges: You have to sanitize your sponge daily. The best way is to get it soaking wet and microwave it on high for a minute or two. The steam kills pretty much everything. Or, just toss it in the dishwasher with a heated dry cycle. Replace your sponge every week or two. No excuses!
• Sink Basin: Don’t just rinse it. Once a day, give it a good scrub with a brush and a gentle scouring powder to break up any gunk. Pay extra attention to the rim around the drain.
• The Drain: To clean and deodorize, pour a half-cup of baking soda down the drain, follow it with a cup of white vinegar, and let the science fair volcano do its thing for 15 minutes. Then flush with very hot water. For the garbage disposal, grinding up some ice cubes and a few lemon peels helps clean the blades and makes it smell fresh.
Appliance Gaskets and Water Reservoirs
That rubber seal, or gasket, around your fridge door? It’s a prime spot for black mold. It traps moisture and is almost never wiped down. Same goes for the water dispenser tray on your fridge and the water tank in your coffee maker.
The Fix:
• Gaskets: Mix a 50/50 solution of white vinegar and water. Gently pull the gasket folds open, spray it in there, and use an old toothbrush to scrub out any mildew. Wipe it dry. Try to avoid bleach here, as it can make the rubber brittle over time.
• Coffee Reservoir: To clean out the mold and mineral buildup, fill the tank with half white vinegar, half water. Run a brew cycle halfway, then turn it off and let it sit for an hour. Finish the cycle, then run two more cycles with plain water to rinse it all out. I tell my clients who are daily coffee drinkers to do this monthly.

Under and Behind Your Big Appliances
The world behind your stove or under your fridge is a wasteland of dust, pet hair, and fossilized food bits. It can also attract pests. More importantly, the refrigerator coils get caked in dust, which makes the fridge work harder, drives up your electricity bill, and shortens its lifespan.
How to Tackle It:
1. Safety First: Unplug the appliance. If you have a gas stove, DO NOT try to move it unless you are a pro. Seriously, a gas leak is not something to mess with. For fridges with water lines, be careful not to kink the line when you move it.
2. The Clean-Out: Carefully slide the appliance out. Vacuum up all the debris. You can get a long, skinny refrigerator coil brush for about $10-$15 at a hardware store—it’s worth every penny. Use it to gently clean the coils. Then, mop the floor.
3. When to Call for Help: If you’re not comfortable moving heavy appliances, don’t. A handyman can usually do this for about $75 to $150. That’s way cheaper than fixing a gas leak or a flooded kitchen.
Let’s Talk Air Quality: Vents and Fans
What’s floating around in your air is just as important as what’s on your surfaces. Your home’s ventilation system can be a superhighway for dust and allergens.
Vent Covers and Bathroom Fans
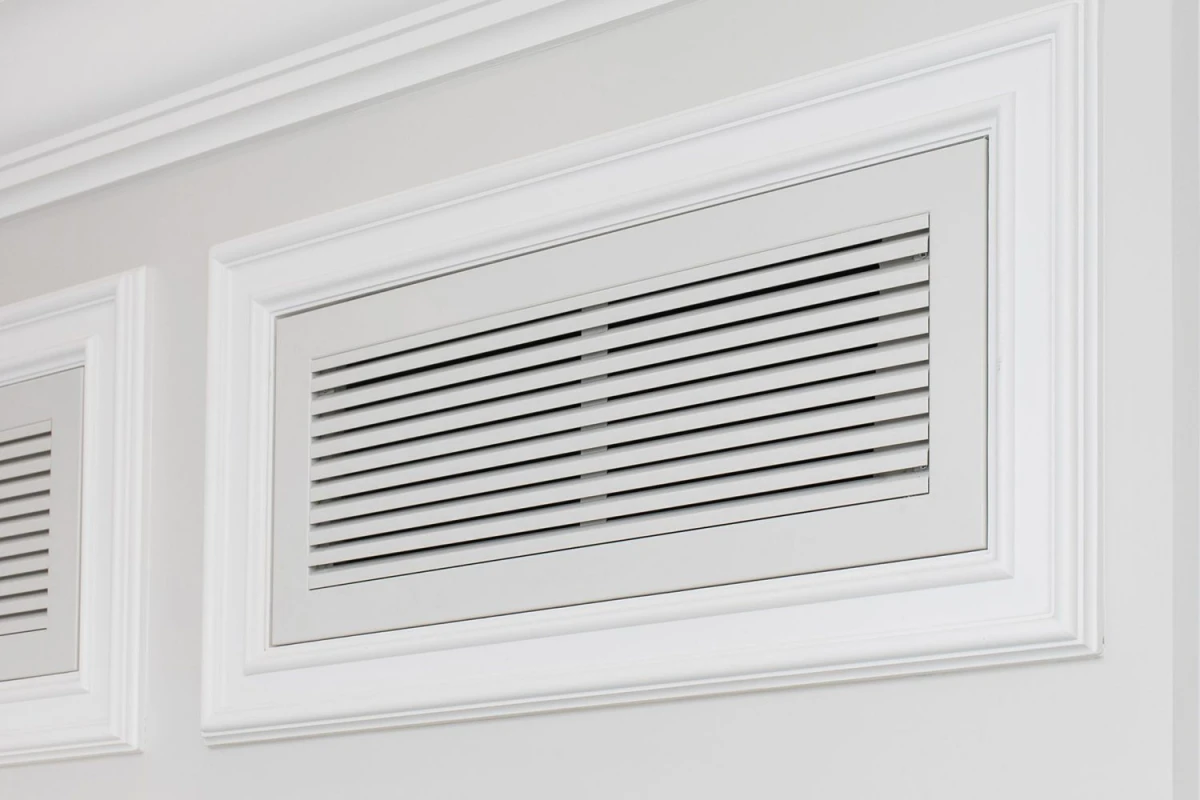
Those metal grilles over your air vents catch a shocking amount of dust and pet dander. But your bathroom exhaust fan is the real horror show. It pulls in steam along with dust, creating a sticky, fuzzy mat that’s perfect for mold.
The Technique:
• Vent Covers: Turn off your HVAC system at the thermostat. Unscrew the covers, take them outside, and brush off the thick layer of dust. Wash them in warm, soapy water, let them dry completely, and screw them back on.
• Bathroom Fans: This is critical—turn off the power to the fan at the circuit breaker. Pull the cover down; most have little metal clips you can squeeze to release it. Wash the cover. While it’s off, use your vacuum’s hose to carefully suck the gunk out of the fan housing. You will be disgusted and amazed.

Good to know: Cleaning your vent covers is your job. Cleaning the actual air ducts is a professional one. Be really wary of those super-cheap, $99 whole-house duct cleaning scams. A proper job is done with specialized equipment, takes hours, and is regulated by professional organizations. It costs hundreds of dollars for a reason.
A Simple Routine to Keep Up
Okay, that was a lot. Don’t feel like you have to do it all at once! The key is building it into a manageable routine. Here’s a simple rhythm that works for most people:
• Weekly Tasks: This is for the high-traffic stuff. Wipe down your light switches, doorknobs, remotes, and your phone. Sanitize that kitchen sponge daily.
• Monthly Tasks: Pick one or two of the bigger things each month. One month, tackle the appliance gaskets and descale the coffee maker. The next month, do the bathroom fan and clean a few vent covers.
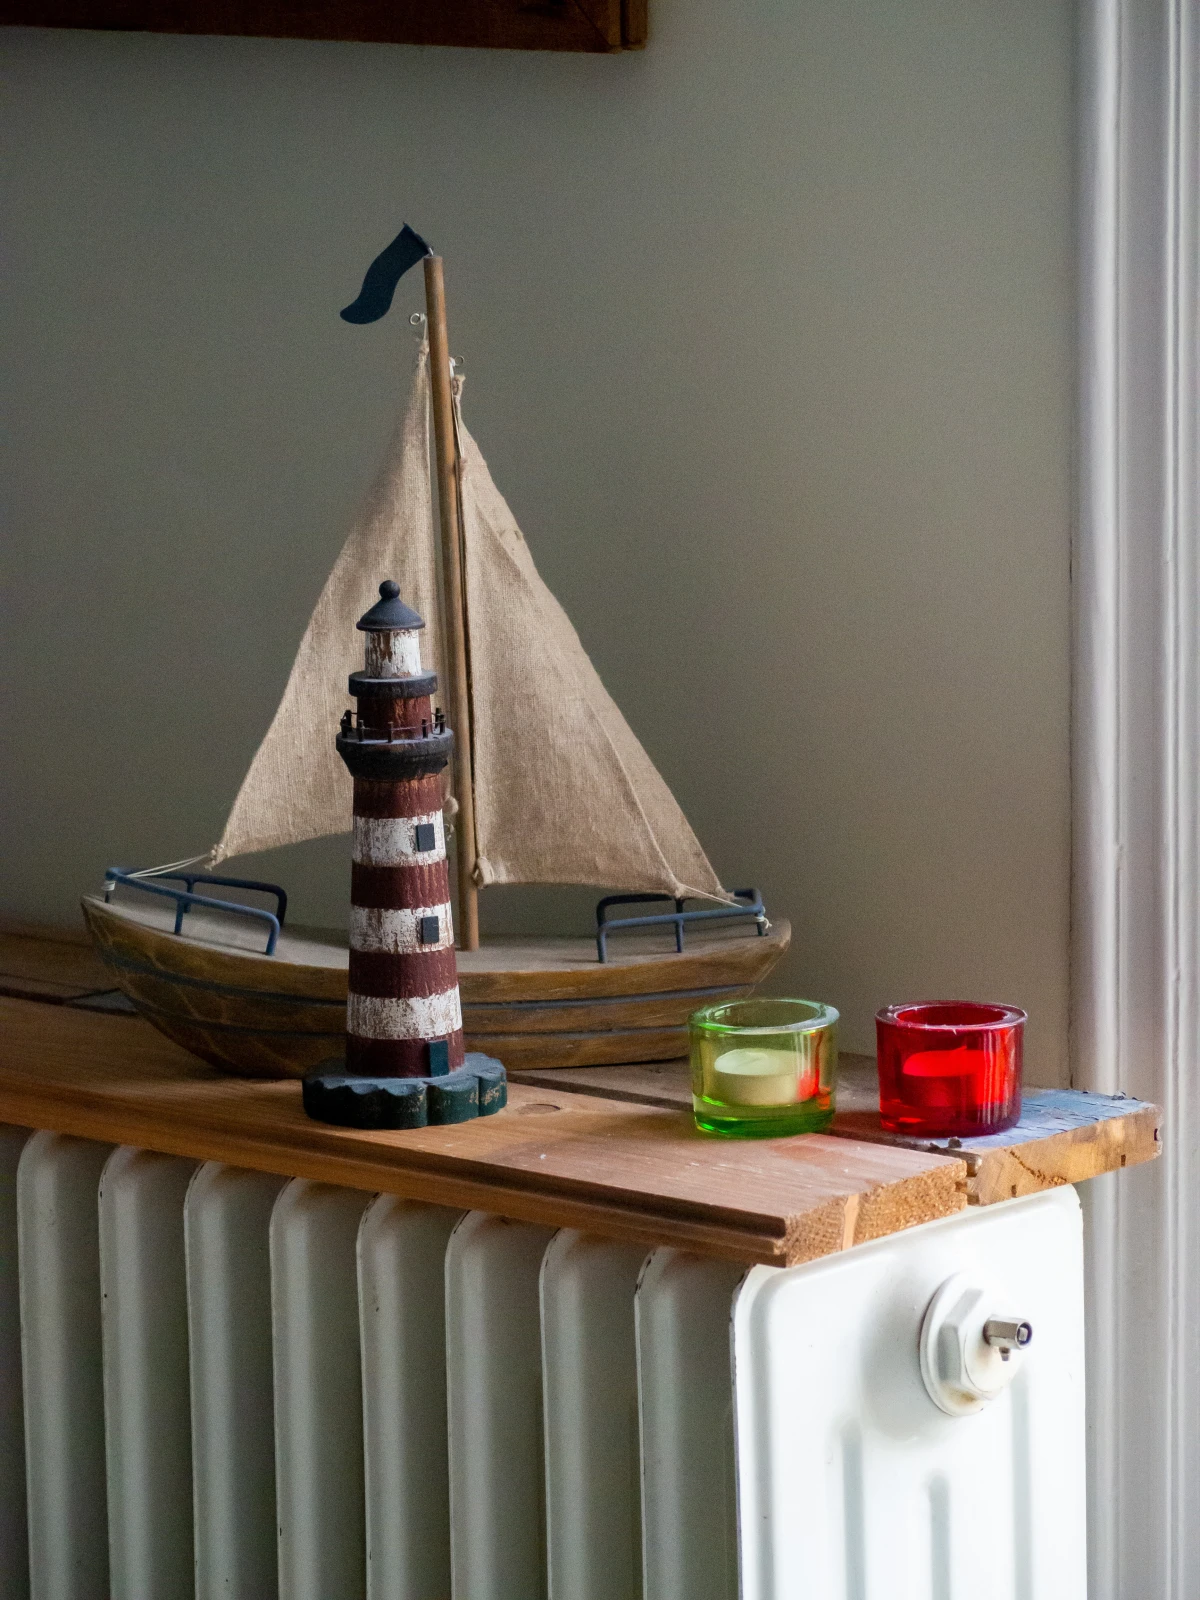
• Annual or Semi-Annual Tasks: These are the big jobs. Once or twice a year, plan to do the deep clean behind the fridge and stove, and clean out your radiator fins before winter.
Feeling Overwhelmed? Start Here.
If your to-do list just exploded and you don’t know where to begin, I get it. Do this one thing today: Grab a cotton swab, dip it in some rubbing alcohol, and clean out your phone’s charging port and the gunk around the camera lens. It takes 60 seconds, and you’ll feel like you accomplished something. It’s a small win!
A final word of warning from someone who has seen it all: never, EVER mix cleaning products, especially anything with bleach and anything with ammonia. It creates a toxic gas that can seriously harm you. Read your labels. When in doubt, just stick to one product at a time.
By paying attention to these hidden spots, you’re not just tidying up. You’re taking active control of your home’s health. And that’s a feeling that’s better than any freshly fluffed pillow.

Inspirational Gallery with Photos
Dwell Time is Non-Negotiable: A common mistake is spraying a disinfectant and wiping it away immediately. Pros know that for a product like Lysol Disinfectant Spray or Clorox Clean-Up to actually kill the germs listed on its label, it needs to remain wet on the surface for a specific amount of time—often between 3 to 10 minutes. This is called “dwell time.” Wiping too soon just smears the germs around.
The average kitchen sponge can contain up to 45 billion microbes per square centimeter, making it one of the dirtiest items in the entire home.
This is why many professionals advocate for either microwaving a damp sponge for one minute daily to sterilize it, or better yet, switching to machine-washable silicone scrubbers or microfiber cloths that can be properly sanitized between uses. The sponge you use to “clean” might be the source of the contamination itself.
What’s the pro-approved fix for a smelly garbage disposal?
Forget the lemon peels, which just mask the odor. The smell comes from food particle biofilm coating the grinder walls. First, throw a half-dozen ice cubes down the drain and run the disposal to physically knock off caked-on gunk. Follow that with a sprinkle of baking soda and a slow pour of white vinegar to create a foaming action that helps break down the remaining slime. Finish by flushing with very hot water for a full minute.
- Removes 99.9% of bacteria, germs, and dust mites.
- Sanitizes surfaces without any chemical residue.
- Forces grime out of porous materials and tight crevices.
The secret? High-temperature steam. A quality steam cleaner, like a Kärcher SC 3 or a Dupray Neat, is a professional’s weapon against stubborn biofilms and allergens. It cleans and disinfects using just superheated water, making it ideal for everything from tile grout and sealed wood floors to upholstery and shower doors.
The true scent of a clean home isn’t pine, lemon, or lavender—it’s the absence of smell. Those artificial fragrances from many cleaning products can mask underlying odors and contribute to indoor air pollution. For a fresh, neutral atmosphere, focus on eliminating the source of smells. After cleaning, open windows for 15 minutes. If you want a light, natural scent, simmer a pot of water with a cinnamon stick and orange peel, or add a few drops of pure eucalyptus oil to a diffuser.
Your coffee maker is a prime breeding ground for mold and yeast, especially single-serve machines. To deep clean it, you need to descale the internal parts you can’t see.
- Run a brewing cycle using a solution of equal parts water and distilled white vinegar.
- After the cycle, let the machine sit for an hour to allow the vinegar to break down mineral deposits and kill microbes.
- Run two to three more cycles with fresh water only to completely rinse out the vinegar taste and residue. This should be done at least every three months.
Microfiber Cloths: Their split fibers create a positive charge that attracts negatively charged dust and dirt particles, trapping them effectively instead of just pushing them around. They are highly absorbent and can be used with just water for many tasks.
Cotton Rags: Highly absorbent and great for soaking up spills, but their fibers tend to leave lint behind and don’t grab fine dust as effectively. They require a cleaning solution to break the surface tension of dirt.
For dusting and disinfecting, microfiber is the clear winner for a more effective clean.
According to the EPA, levels of indoor air pollutants can be two to five times higher than outdoor levels.
This isn’t just about industrial chemicals. Dust, pet dander, mold spores, and volatile organic compounds (VOCs) from cleaning supplies get trapped inside. A thorough cleaning routine that includes vacuuming with a HEPA-filter vacuum (like those from Miele or Shark), washing curtains, and cleaning upholstery directly reduces these particulates, improving the air you breathe every day.
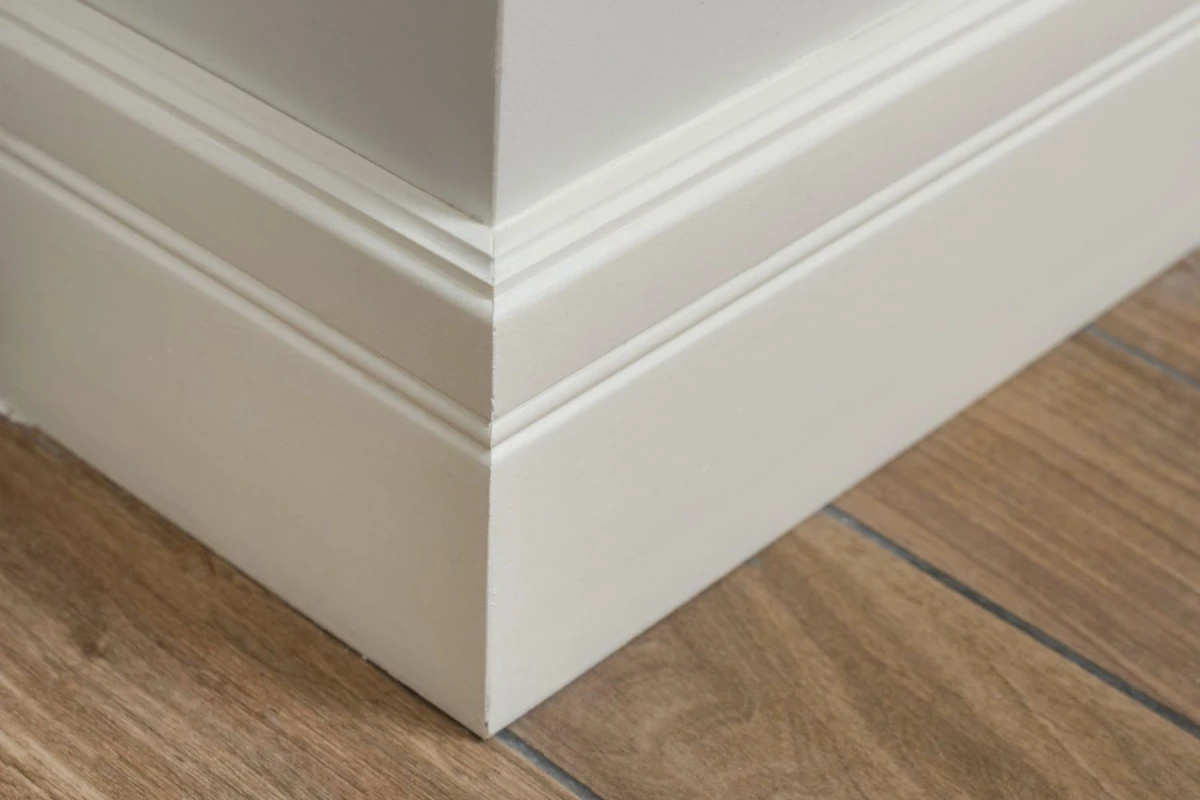
Don’t overlook the baseboards and the narrow floor gap beneath your kitchen cabinets. These areas collect an astonishing amount of dust, crumbs, pet hair, and greasy splatter that regular mopping misses. Use the crevice tool on your vacuum to clear out the loose debris, then wipe them down with a cloth and an all-purpose cleaner. It’s an often-forgotten step that significantly cuts down on overall dust and potential pests.
Are handheld UV-C sanitizing wands worth it for home use?
While UV-C light is proven to kill germs in lab and hospital settings, its effectiveness at home is limited. For it to work, the light must be held very close to a smooth, non-porous surface and exposed for a specific duration (often 30 seconds to several minutes), which is impractical for large areas. They may offer some peace of mind on items like phone screens or hotel remotes, but they are no substitute for physically scrubbing away biofilms and using a proven liquid disinfectant for a truly deep clean.


