Stop Fighting Your Iron: How to Get Perfect Results in Half the Time
I spent years in the world of professional garment care, from the back of a busy tailor shop to running my own service. And I can tell you one thing for sure: the press of a hot iron is just as crucial as a sharp needle. A perfectly pressed seam isn’t just about looking neat; it gives a piece of clothing its structure and life.
In this article
But let’s be honest, most people see ironing as a total chore. They crank the heat to max, blast steam everywhere, and just try to get through the laundry pile as fast as humanly possible. This approach not only burns a surprising amount of electricity but can also fry the fibers in your favorite clothes, shortening their lifespan. Ouch.
The truth is, there’s a real craft to ironing. It’s a dance between heat, moisture, and pressure. Once you get the rhythm, you stop fighting the wrinkles and start working with the fabric. The result? You get sharper-looking clothes in way less time, they last longer, and you use less energy without even trying. This isn’t about weird hacks; it’s about a better mindset.
First Things First: Understanding the ‘Why’
So what are you actually doing when you iron? You’re not just squashing wrinkles flat. You’re using science to rearrange the very fibers of your clothes.
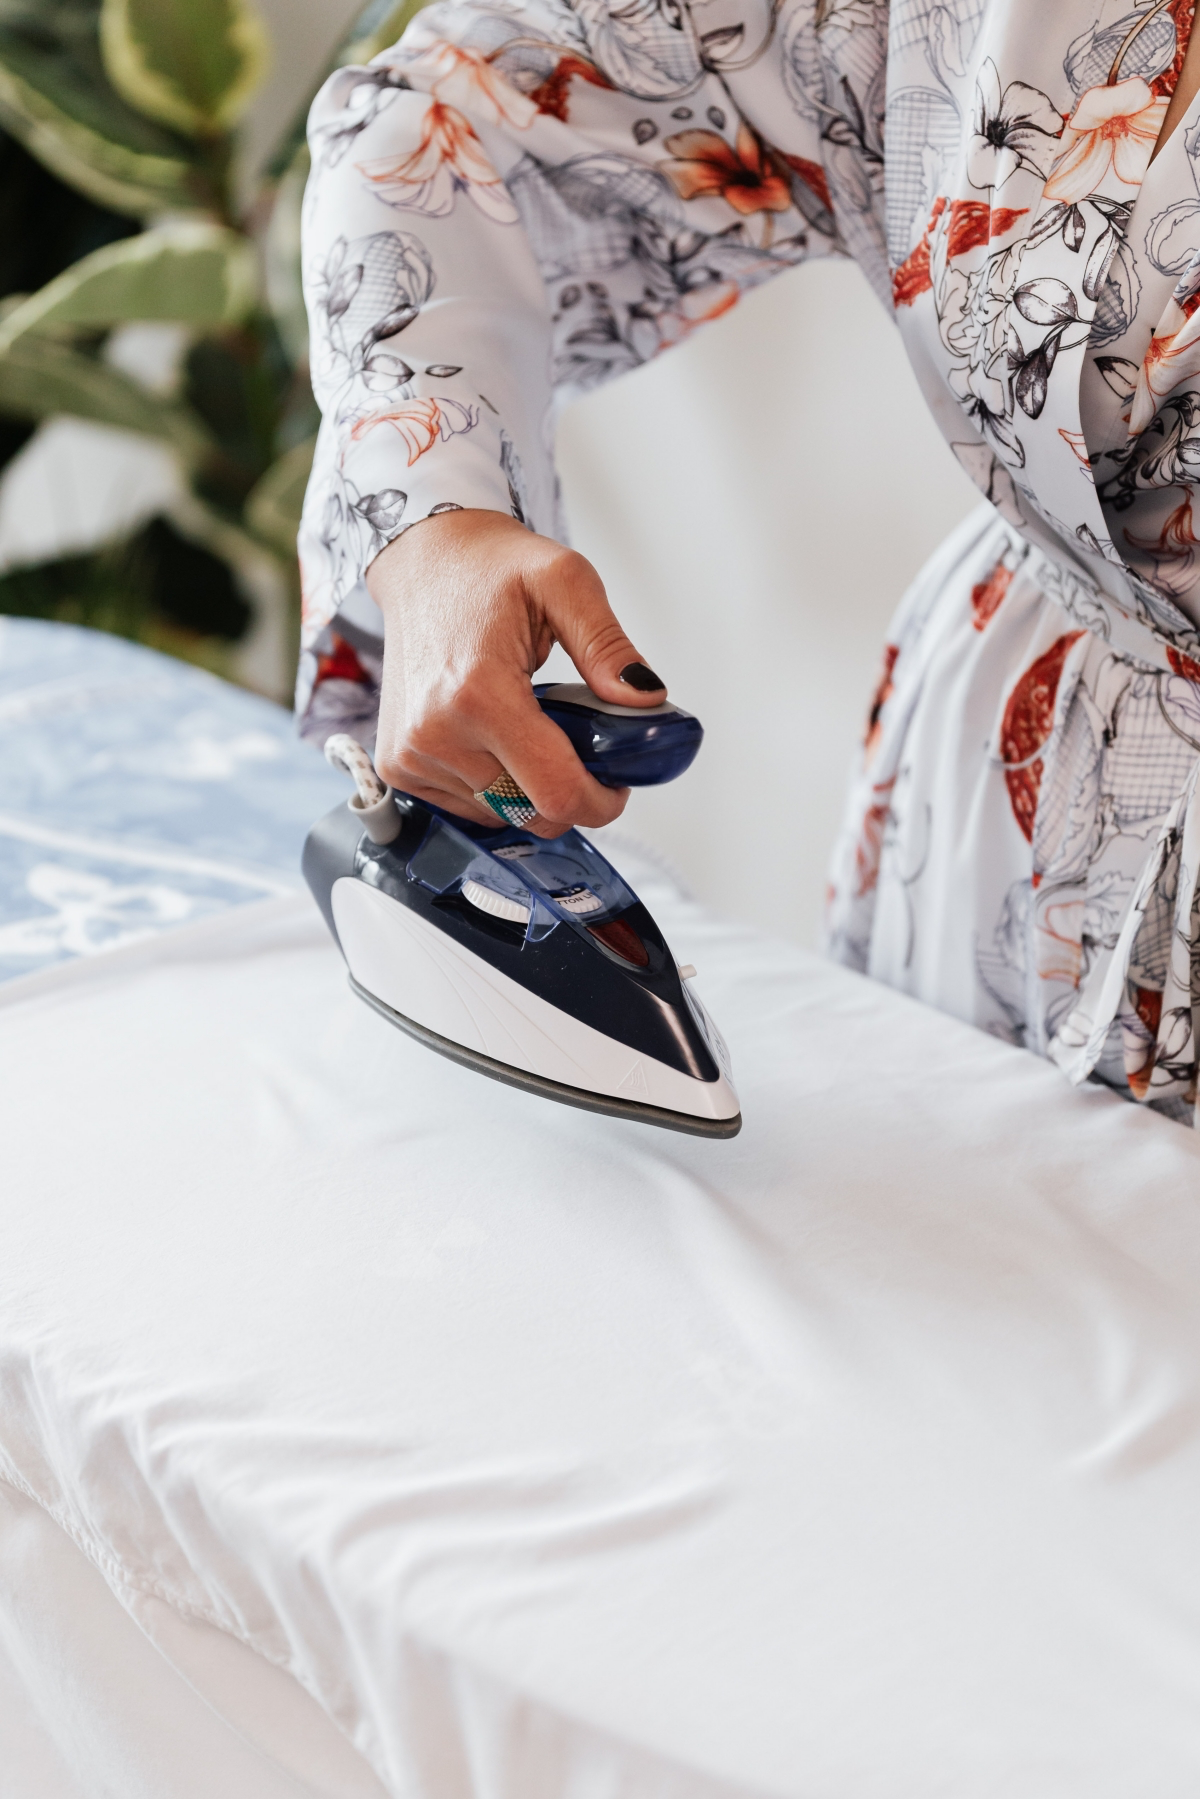
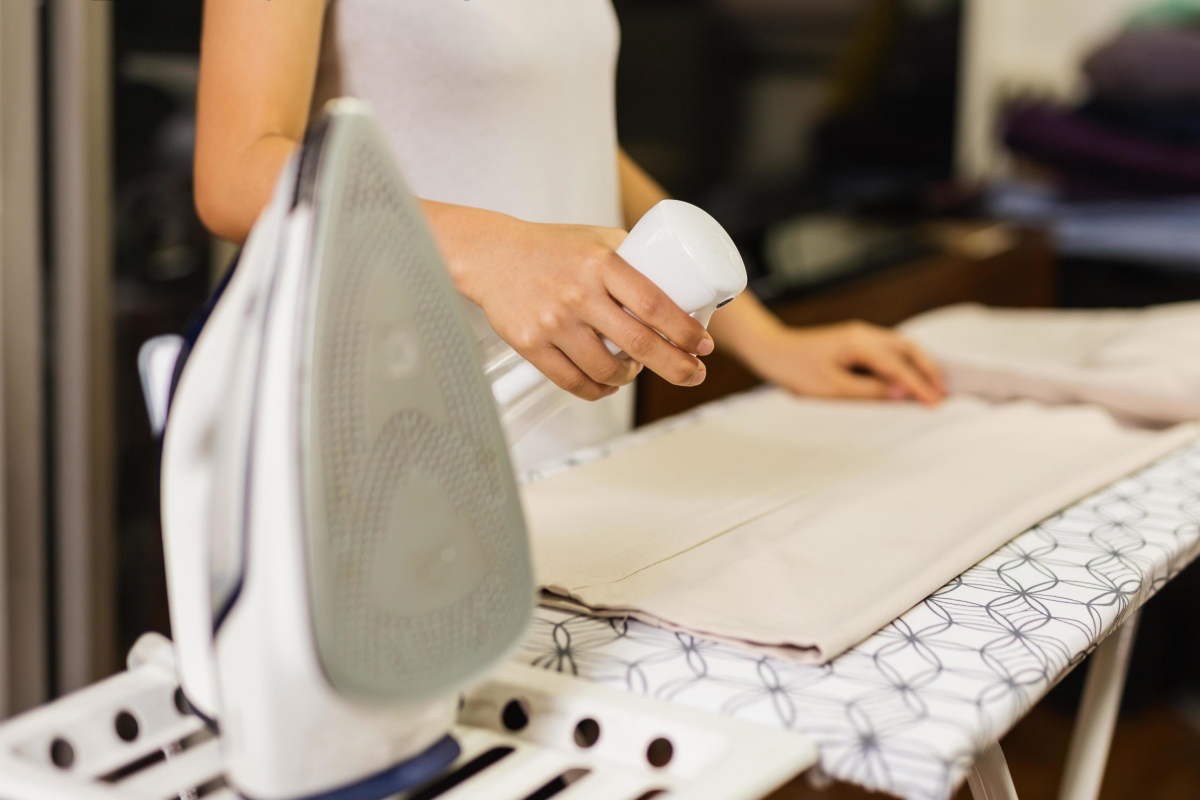
Every fabric is made of long-chain molecules called polymers. After a trip through the washer and dryer, these polymers get all tangled up, which is what we see as wrinkles. The heat from your iron gives these chains the energy they need to loosen up and become flexible. Moisture—either from a spray bottle or the iron’s steam—then acts like a lubricant, helping those fibers slide past each other easily. This is why trying to iron bone-dry clothes is a nightmare; the fibers are just too stiff.
Finally, the weight of the iron provides the gentle pressure needed to align everything into a new, smooth shape. As the fabric cools, the molecular bonds reform, locking in that crisp, clean look. Pretty cool, right?
Choosing Your Tools (Without Breaking the Bank)
You can’t do good work with bad tools. While any hot piece of metal will eventually smooth a shirt, the right gear makes the process faster, safer, and a whole lot less frustrating. It’s an investment that pays for itself in time saved.
- Standard Steam Irons: This is the go-to for most homes. When you’re shopping for one, don’t just grab the cheapest box. Look for a stainless steel or ceramic soleplate—they glide much better than non-stick ones. Aim for at least 1500 watts; anything less will struggle to produce consistent heat and steam. A good one will set you back between $50 and $150, and an auto-shutoff feature is a non-negotiable lifesaver.
- Steam Generator Irons: These are the next level. They have a big, separate water tank that boils water to create high-pressure steam. Because the powerful steam does most of the heavy lifting, you can often iron faster and at lower temperatures. They’re pricier, but if you do a lot of ironing, they are a dream to use.
Oh, and by the way, let’s talk about the unsung hero of this whole operation: the ironing board.
A wobbly board is a menace. But the real secret isn’t the frame—it’s the cover. Most boards come with a flimsy cotton cover that just absorbs heat. Do yourself a massive favor and upgrade to a heat-reflective cover. You can find them at places like Target or online for about $20 to $40. These silvery covers bounce the iron’s heat right back into the underside of your garment, essentially letting you iron both sides at once. From my experience, this trick alone can cut your ironing time on a cotton shirt by up to 30%. It’s the best $25 you’ll spend on your laundry routine, guaranteed.
The Real Work Starts Before You Plug In the Iron
The best ironing happens before the iron even gets hot. Seriously. How you wash and dry your clothes can either set you up for a quick-and-easy session or a long, frustrating battle.
For starters, stop overloading your washing machine. Jam-packed clothes get twisted and crushed, creating deep-set wrinkles that are a pain to remove. Also, consider dialing back the spin speed for items you know you’ll be ironing. A super-fast spin presses creases into the fabric. A medium spin leaves them a bit damper but much, much smoother.
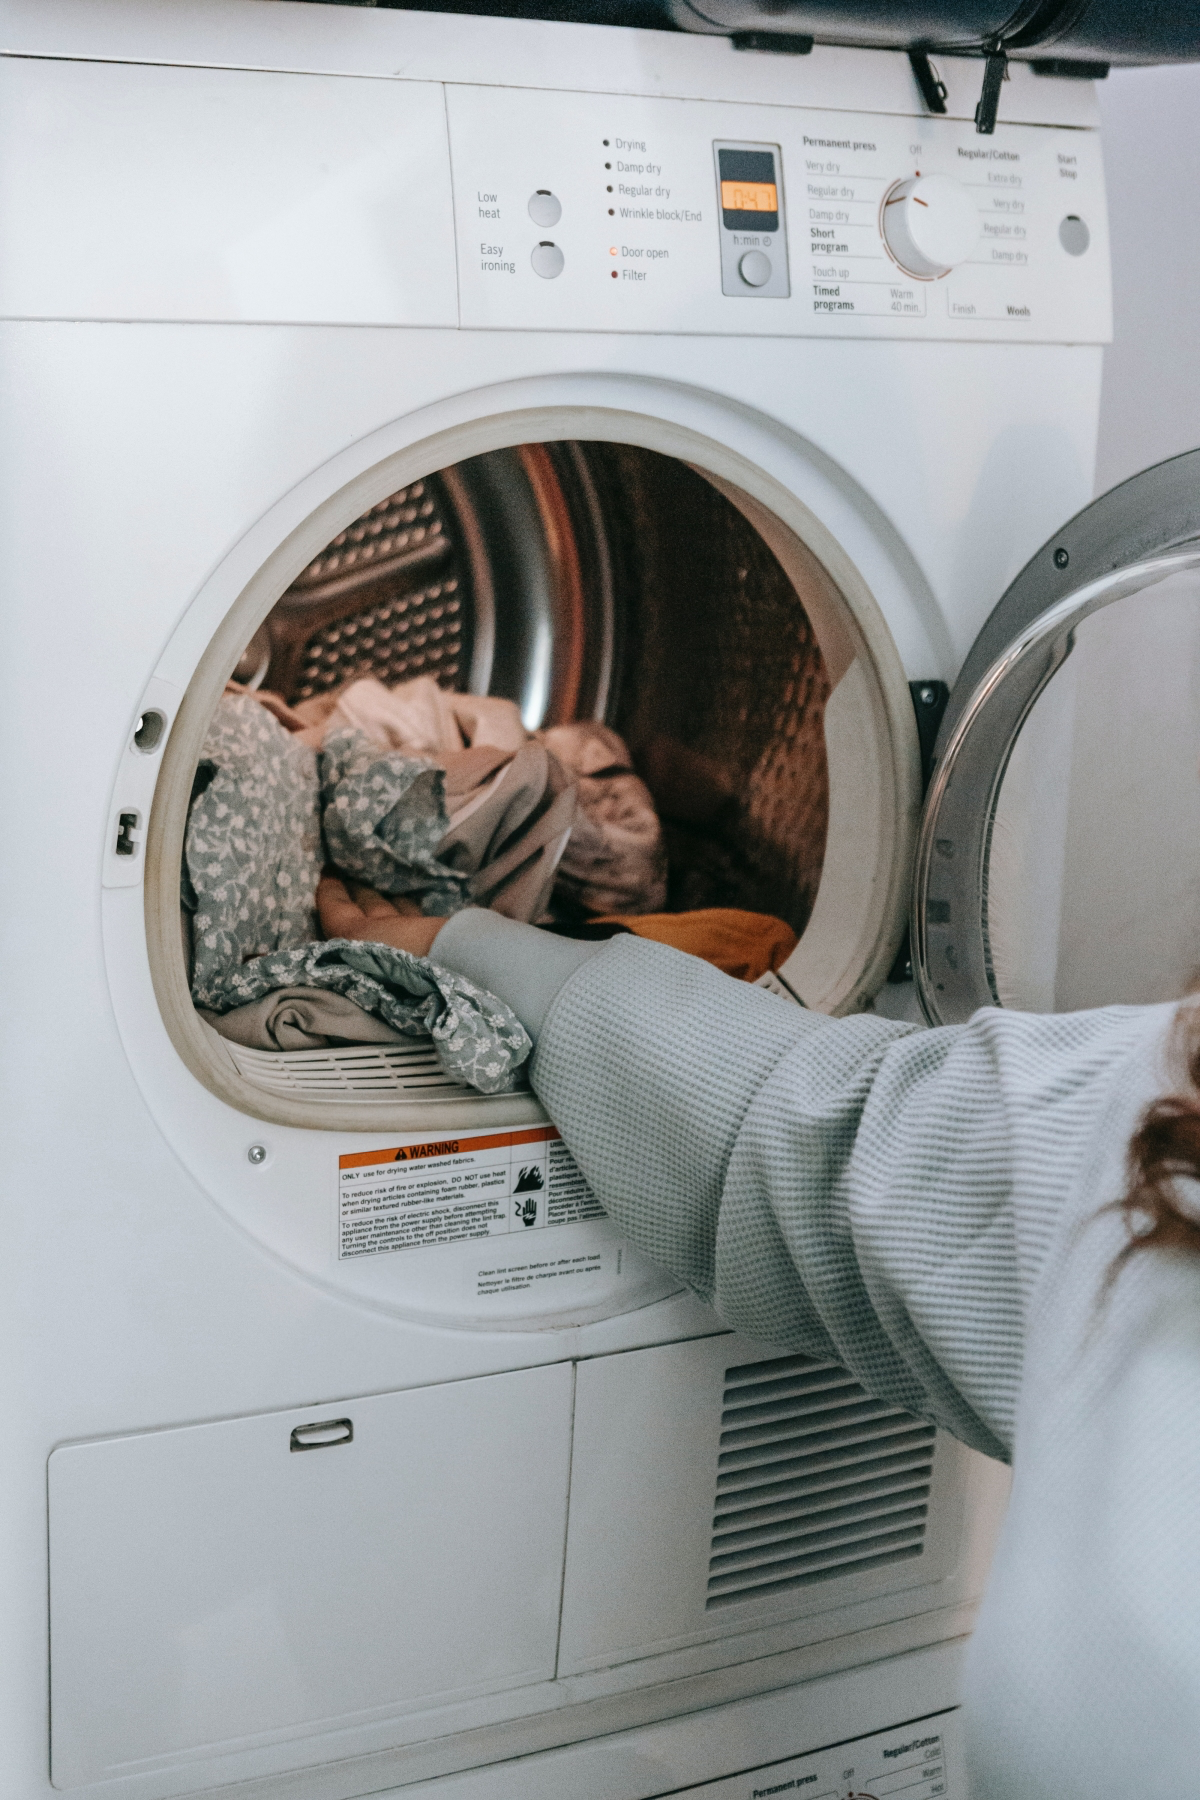
The biggest mistake, though? Over-drying. Baking your clothes until they are bone-dry also bakes in the wrinkles. The pro move is to pull them from the dryer while they are still ever so slightly damp. Give each item a sharp snap to shake out minor creases, then hang it up immediately. Gravity is your friend here.
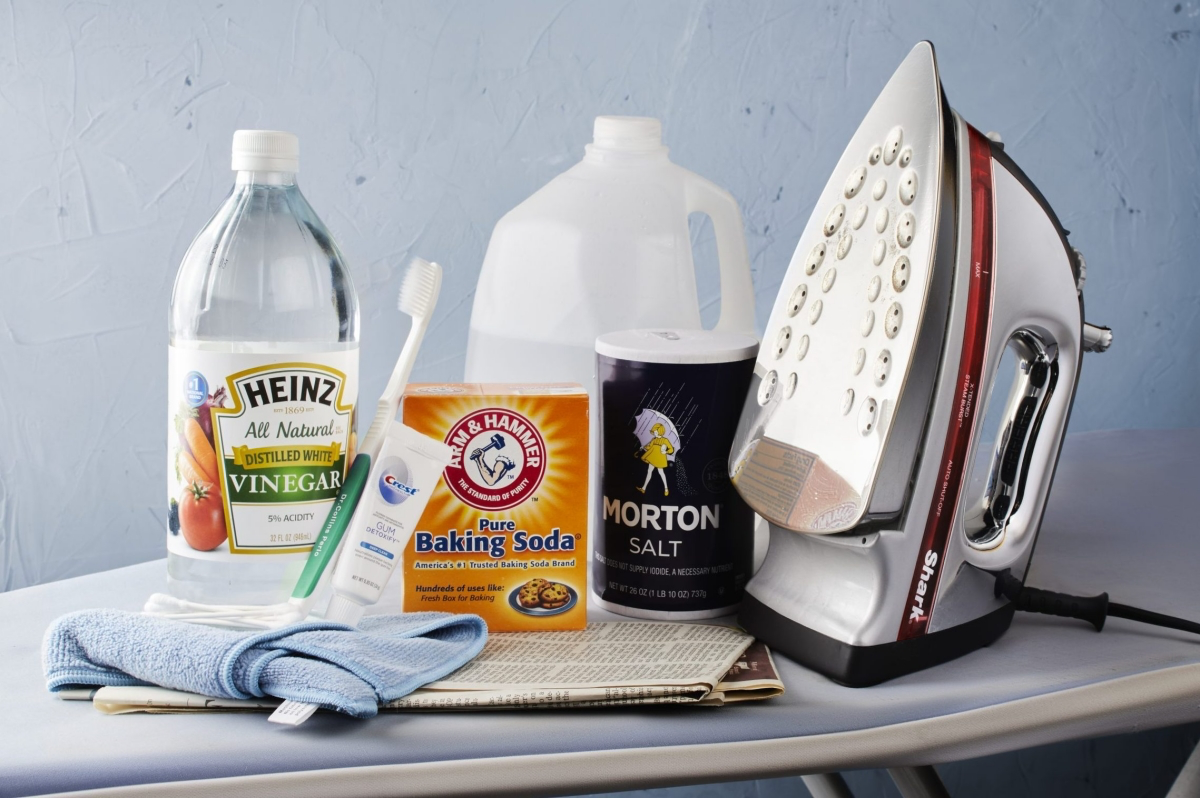
Quick tip: Don’t use tap water in your iron’s steam reservoir, especially if you have hard water. Over time, minerals will build up, clog the steam vents, and eventually spit rusty-looking gunk onto your clean white shirts. Always use distilled water. A gallon costs about a dollar at any grocery store and will save your iron (and your clothes).
The Method: Ironing with a System
Alright, your gear is ready, your clothes are prepped. Now for the main event. Professionals don’t just attack wrinkles randomly; they use a system.
First, batch and sort your laundry. An iron uses a big jolt of energy to heat up from cold. By doing all your ironing in one go, you only pay that energy cost once. But here’s the key: sort your pile by fabric type, from coolest to hottest. Start with synthetics like nylon or acetate on low heat. Then move up to polyester and silks on a low-medium setting. After that comes wool, and you finish with the high-heat fabrics like cotton and linen. This way, the iron is always heating up, and you never risk melting a delicate blouse because you started too hot.
Let’s use a dress shirt as our example. Here’s the most efficient way to tackle it:
- The Collar First: It’s the most visible part. Start with the underside, ironing from the outer points in toward the center. Flip it over and do the same on the top side.
- Next, the Cuffs: Open the cuff and press the inside first, then the outside. Easy.
- Then, the Sleeves: Lay one sleeve flat on the board and smooth it with your hand. Iron the main body of the sleeve, carefully avoiding the crease at the edge unless you actually want a sharp line there.
- The Front Panels: Start with the button-placket side, carefully working the tip of the iron around the buttons (never iron directly over them!). Then do the other front panel.
- Finally, the Back: Lay the back flat, with the top part (the yoke) draped over the narrow end of the board. Press the yoke first, then shift the shirt to do the rest of the back. And you’re done!
Troubleshooting Those Annoying Problems
Even with the best technique, things can go wrong. Here’s how to handle two common headaches.
The Problem: You get a shiny patch on your dark trousers. This happens when the hot iron directly flattens and melts the fabric’s surface fibers. To prevent this, always use a pressing cloth. You don’t need anything fancy—a clean piece of cotton fabric, like an old pillowcase or a tea towel, works perfectly. It creates a protective barrier. I’ll never forget the time I scorched a client’s favorite wool trousers because I got complacent and skipped the pressing cloth. An expensive lesson I’m now passing on to you for free!
The Problem: Your iron gets sticky and drags. This is usually due to melted synthetic fibers or starch buildup. To clean it, make sure the iron is unplugged and completely cool. Then, you can often wipe the soleplate clean with a cloth dampened with a 50/50 mix of distilled white vinegar and distilled water. For tougher gunk, you can buy a special hot-iron soleplate cleaner stick for a few bucks at a fabric or craft store.

And that’s it. By shifting your mindset from a chore to a craft, you really can make ironing faster, more effective, and a lot less of a drag. Your clothes will thank you for it.
Inspiration:

Should I ditch my iron for a garment steamer?
It’s a common question, but they serve different masters. An iron uses direct heat and pressure, making it unparalleled for creating sharp, lasting creases in fabrics like cotton and linen. It’s the tool for a perfectly pressed shirt collar or sharp trouser pleats. A garment steamer, like those from Jiffy or Philips, uses hot steam to relax fibers, which is faster and gentler for delicate or structured items like silk blouses, wool blazers, and beaded dresses. It de-wrinkles without flattening the fabric’s natural texture. The pro move? Own both. Use the iron for structure and the steamer for everything else.


