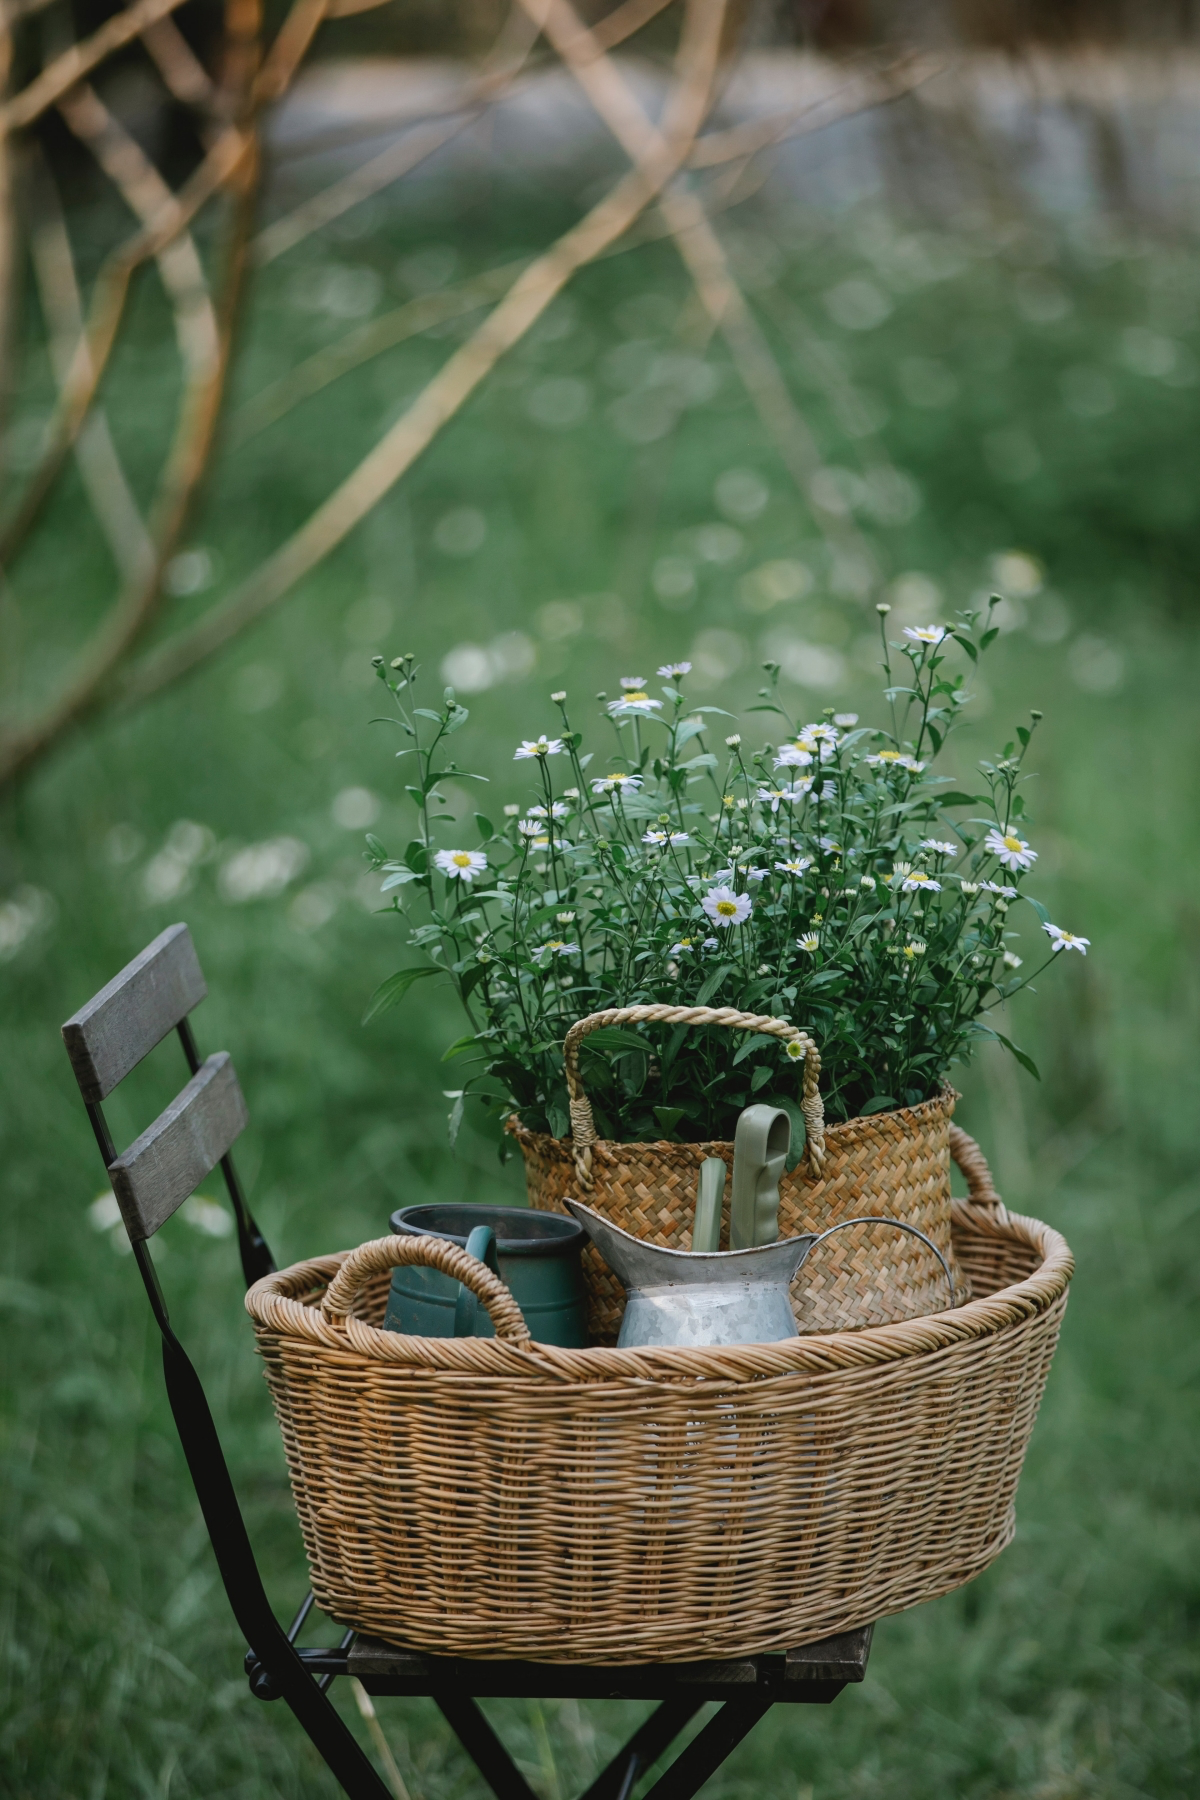
Your Spring Garden Tune-Up: Getting the Dirty Work Done Right
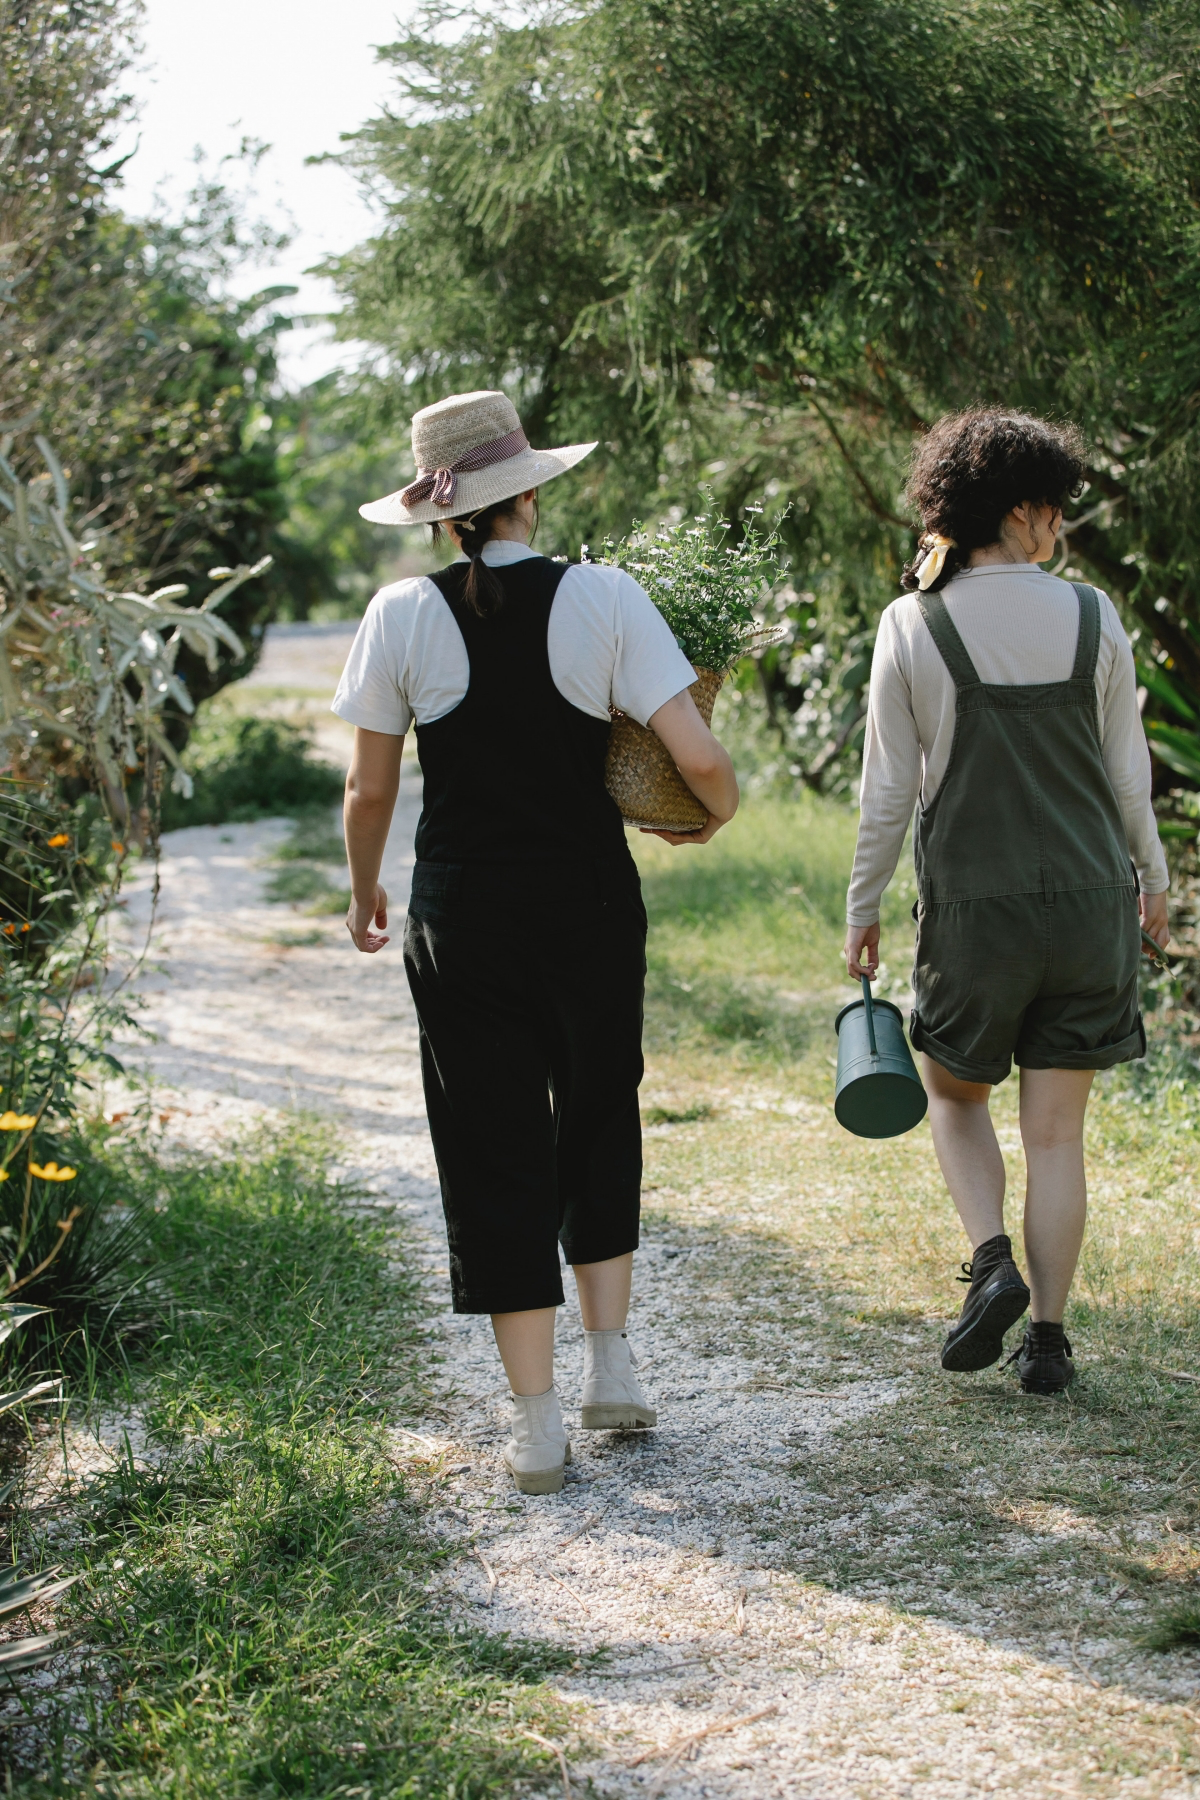
After spending more than my fair share of seasons with my hands in the dirt, I can tell you that spring has a certain feel to it. It’s more than just the sun getting a little warmer or the days stretching out. It’s the smell of damp earth finally thawing out. It’s a change in the light that you can almost feel. For anyone who loves to garden, April and May aren’t just months; they’re the starting gun for the whole season. The work you put in now is the foundation for everything you’ll enjoy in the heat of summer.
In this article
I’ve seen it all, from tiny balcony gardens to sprawling properties, and the most common mistake is always the same: people rush. A single warm day hits, and everyone runs to the garden center, eager to fill their carts with flowers. But here’s the secret: great gardening isn’t about speed. It’s about smart preparation, paying attention, and really understanding what your little patch of earth needs. So, let’s walk through the essentials for spring, focusing on the pro techniques that make all the difference.
First Things First: Let’s Talk About Your Soil
Before you even think about buying a single plant, you have to look down. Your soil is, without a doubt, the most important piece of the puzzle. All the fancy plants in the world won’t do a thing if they’re stuck in soil that’s basically lifeless concrete or runny sand.
Think of your soil less like dirt and more like a living city. It’s a bustling community of minerals, organic matter, water, air, and billions of tiny helpers like bacteria, fungi, and earthworms. These little guys are your garden’s MVPs. They break down organic stuff into nutrients that plants can actually use. Healthy soil smells earthy and sweet. If it smells sour or swampy, that’s a red flag for a lack of oxygen, which is bad news for most plant roots.
A key factor is your soil’s pH—basically, how acidic or alkaline it is. Most veggies and flowers are happiest in a neutral zone, somewhere between 6.0 and 7.0. If your pH is way off, nutrients get ‘locked up’ and become unavailable to your plants, no matter how much you fertilize. You can grab a simple test kit at any garden center, but honestly, for a truly accurate picture, I always recommend sending a sample to a local university co-op extension service. This is a pro step that usually costs between $15 and $30 and saves you way more in guesswork and wasted fertilizer in the long run.
Getting Your Hands Dirty: Amending the Soil
Once you know what you’re working with, you can start making it better. The goal is to load it up with organic matter, which is the magic ingredient that helps clay soil drain and sandy soil hold water. It’s a win-win.
- Compost is your best friend. Seriously. Good, well-rotted compost is the best all-around soil fixer. It releases nutrients slowly and feeds all those helpful microorganisms. Every spring, I spread about a 2-inch layer over all my garden beds. If you’re buying it, look for bags of “compost” or “soil conditioner,” not “topsoil” or “potting mix.” You want something dark and crumbly that smells like a forest floor. A good bag will run you about $5 to $10.
- Aged manure is great, too. It’s another fantastic source of organic matter, but a heads-up is critical here: NEVER use fresh manure. It’s way too “hot” with ammonia and will literally burn your plants’ roots, not to mention it can contain nasty pathogens. It needs to be aged for at least six months.
- Fertilizing the right way. When it’s time to add a granular fertilizer, it’s all about placement. Plant roots don’t feed from the base of the stem; their feeder roots are out at the “drip line”—the circle on the ground directly under the plant’s outermost leaves. I just scratch a small handful of a balanced, organic granular fertilizer into the soil around that drip line. By balanced, I mean something with numbers like 5-5-5 or 10-10-10 on the bag, representing the main nutrients. A good box of all-purpose organic feed (like Espoma Plant-tone) costs around $15 to $25 and will last you a while.
- To till, or not to till? We used to think you had to rototill the soil every year, but we now know that can wreck the delicate fungal networks that help plants thrive. For my existing beds, I’m a no-till guy. I just layer my compost on top and let the worms do the heavy lifting. If I’m breaking ground on a new, compacted bed, I’ll use a broadfork to aerate it without turning everything upside down.
Waking Up Your Plants: Pruning and Dividing
Your established perennials and shrubs are starting to wake up. Now is the perfect time to give them a little haircut to shape them up and encourage healthy, vigorous growth.
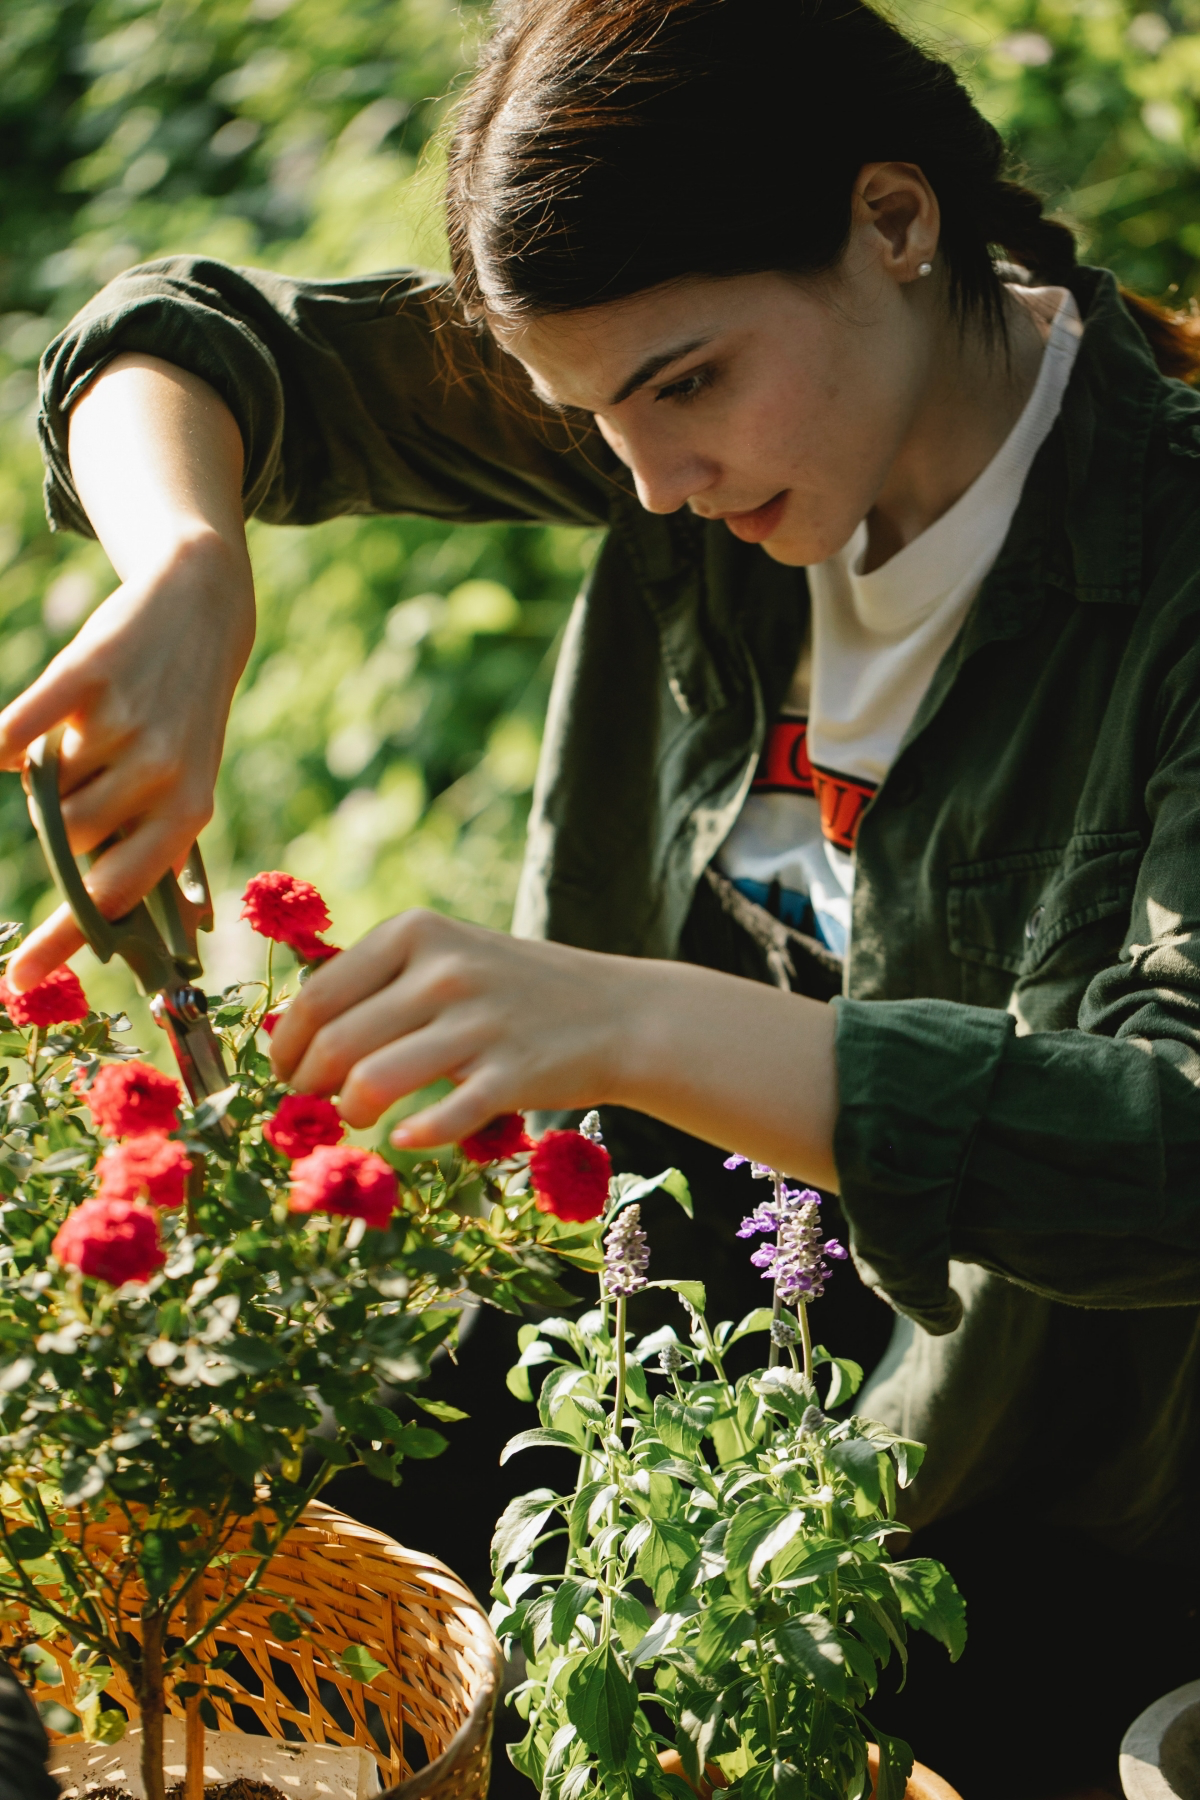
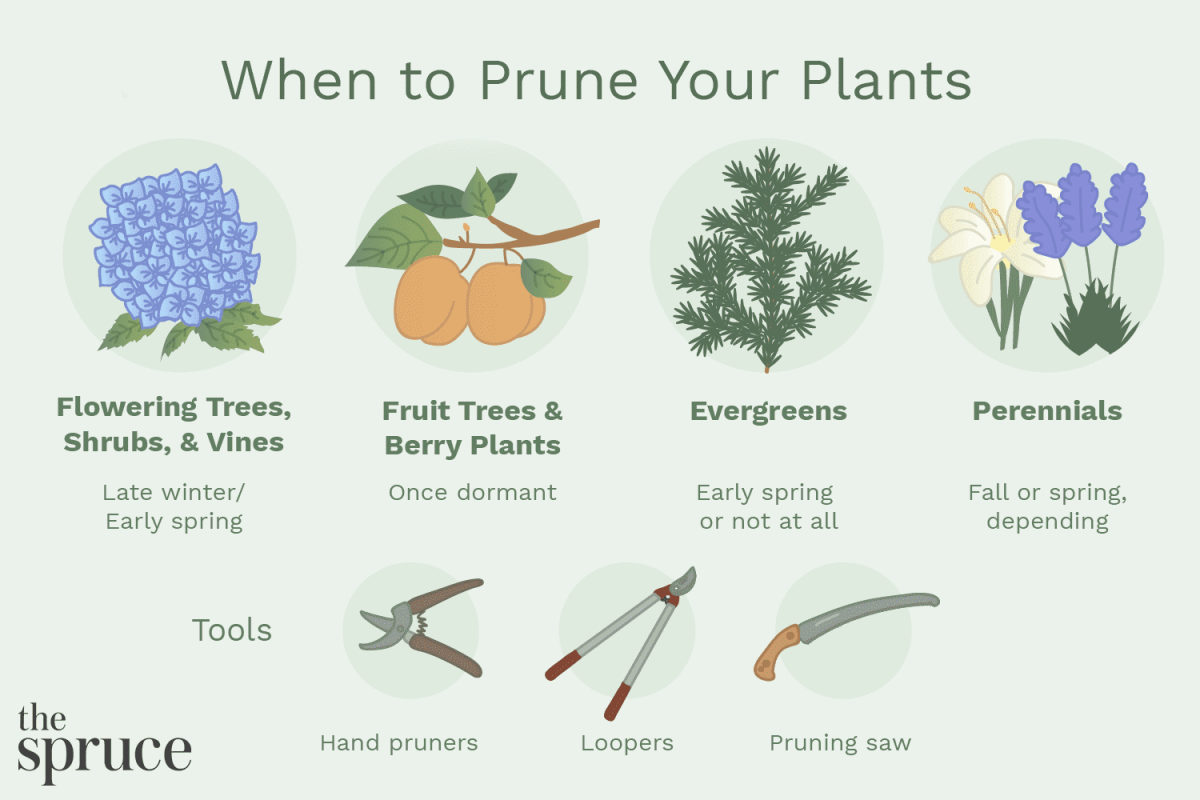
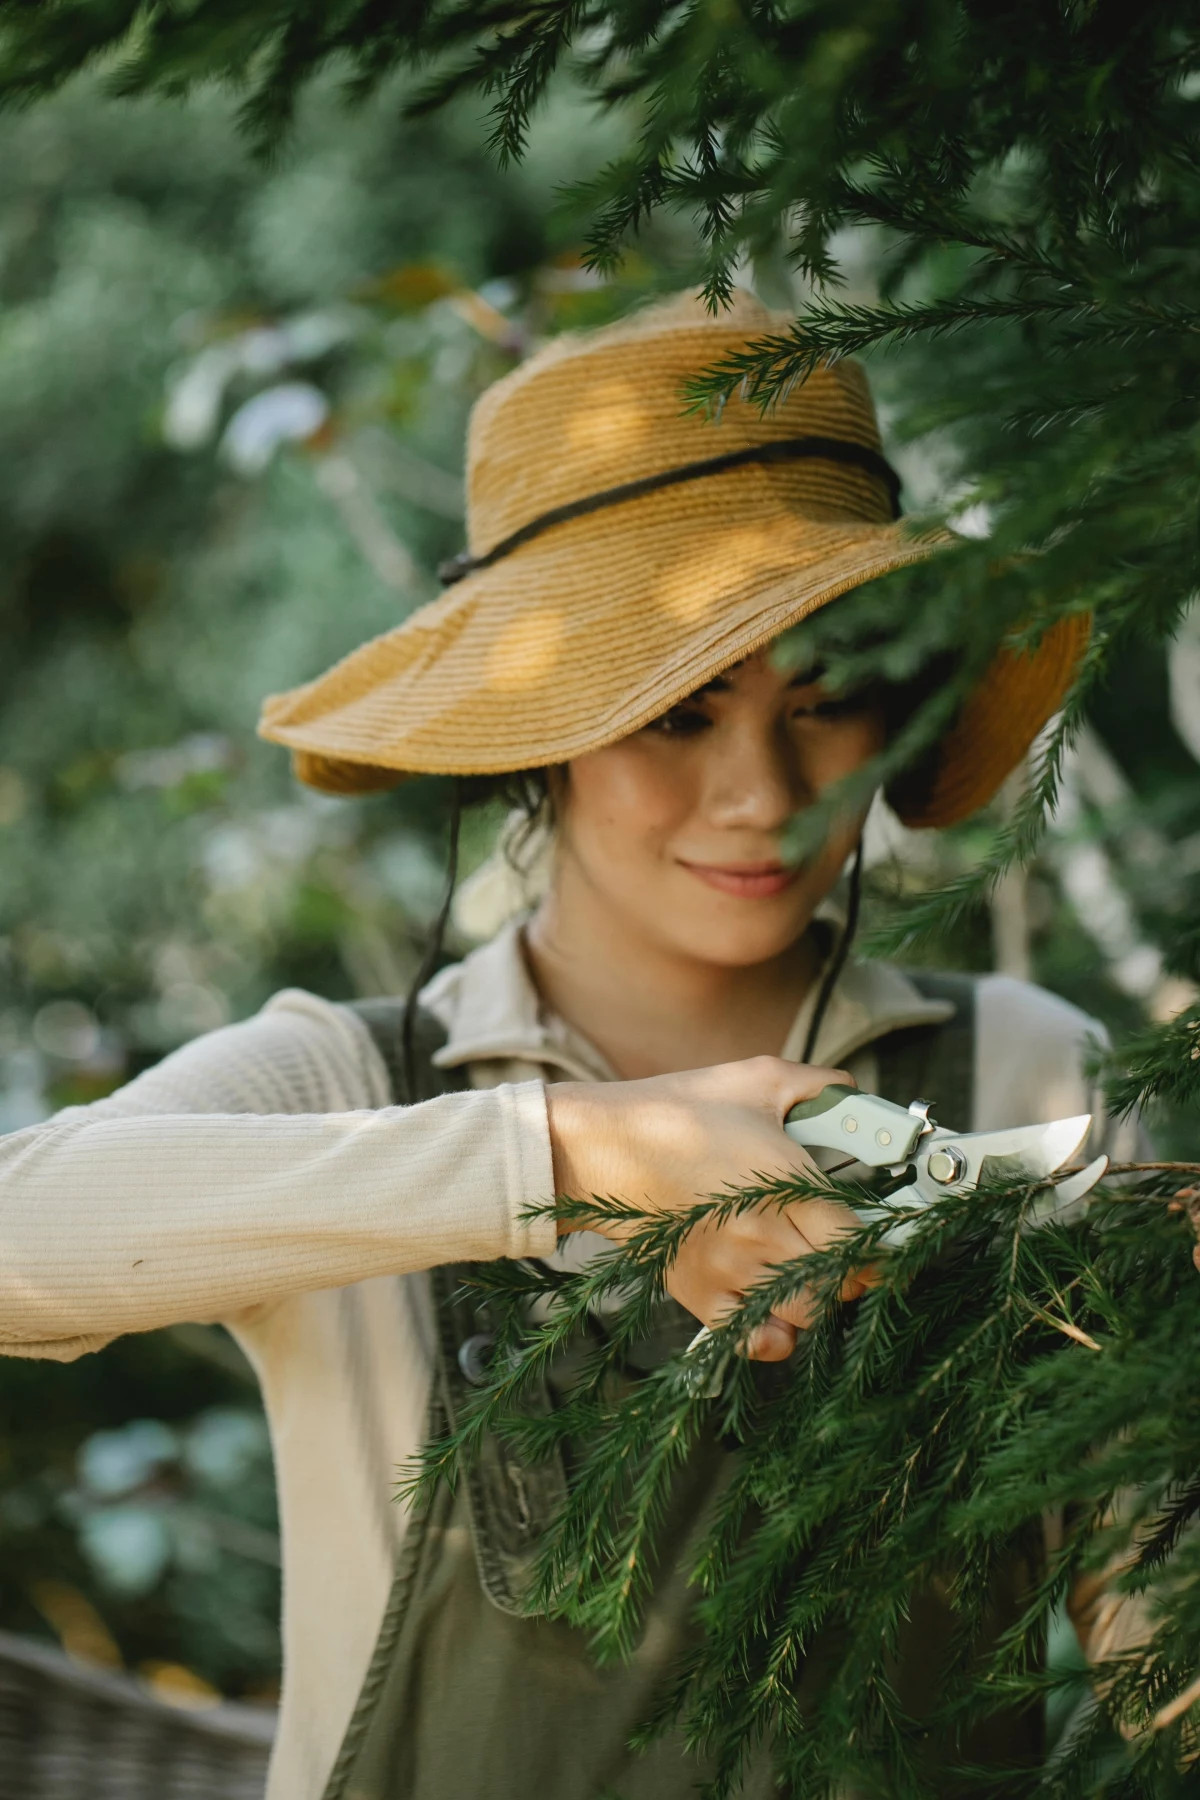
The When and How of Pruning
Pruning is all about knowing why you’re cutting. Are you just cleaning up dead branches? Trying to create a better shape? Or encouraging more flowers? The answer changes everything.
Here’s the simple rule to remember so you don’t accidentally cut off this year’s flowers. For shrubs that bloom in the spring on last year’s growth (think Forsythia, Lilac, Weigela), you have to wait to prune them until right after they finish flowering. If you prune them now, you’re cutting off all their buds!
On the other hand, for shrubs that bloom in the summer on new growth (like Panicle Hydrangeas and Rose of Sharon), early spring is the perfect time for a trim. You can cut these back pretty hard to encourage lots of strong new stems that will be covered in blooms later.
Oh yeah, and a quick word on tools. Please use sharp, clean bypass pruners. Anvil pruners crush stems and leave a ragged wound. You can get a great pair of bypass pruners from brands like Fiskars or Felco for anywhere between $20 and $60—it’s a worthy investment. And here’s a pro tip: I keep a small rag and a bottle of isopropyl alcohol (the $2 kind is fine!) with me and wipe my blades between plants. It’s a simple step that stops you from spreading diseases around the garden.
The Joy of Free Plants: Dividing Perennials
After a few years, clumping plants like Hostas, Daylilies, and many ornamental grasses can get crowded. The center might start to die out, and they won’t flower as much. Dividing them not only revitalizes the plant but also gets you free plants to expand your garden or share with friends.
It’s best to do this on a cool, overcast day. Just dig up the whole clump, and then, for tough ones, here’s a trick: stick two garden forks back-to-back into the center of the root ball and pry it apart. It works like a charm. Make sure each new piece has a healthy set of roots and a few “eyes”—those are the little bumps or new leaf shoots at the base of the plant where new growth will sprout from. Replant them right away and give them a good drink of water.
Heads up! Pruning big trees is NOT a DIY job. If a branch requires a ladder or a chainsaw, you need to call a certified arborist. I’ve heard too many horror stories. For context, a consultation might run you $150-$300, but that’s a whole lot cheaper than a trip to the ER or replacing a mature tree you’ve accidentally killed.
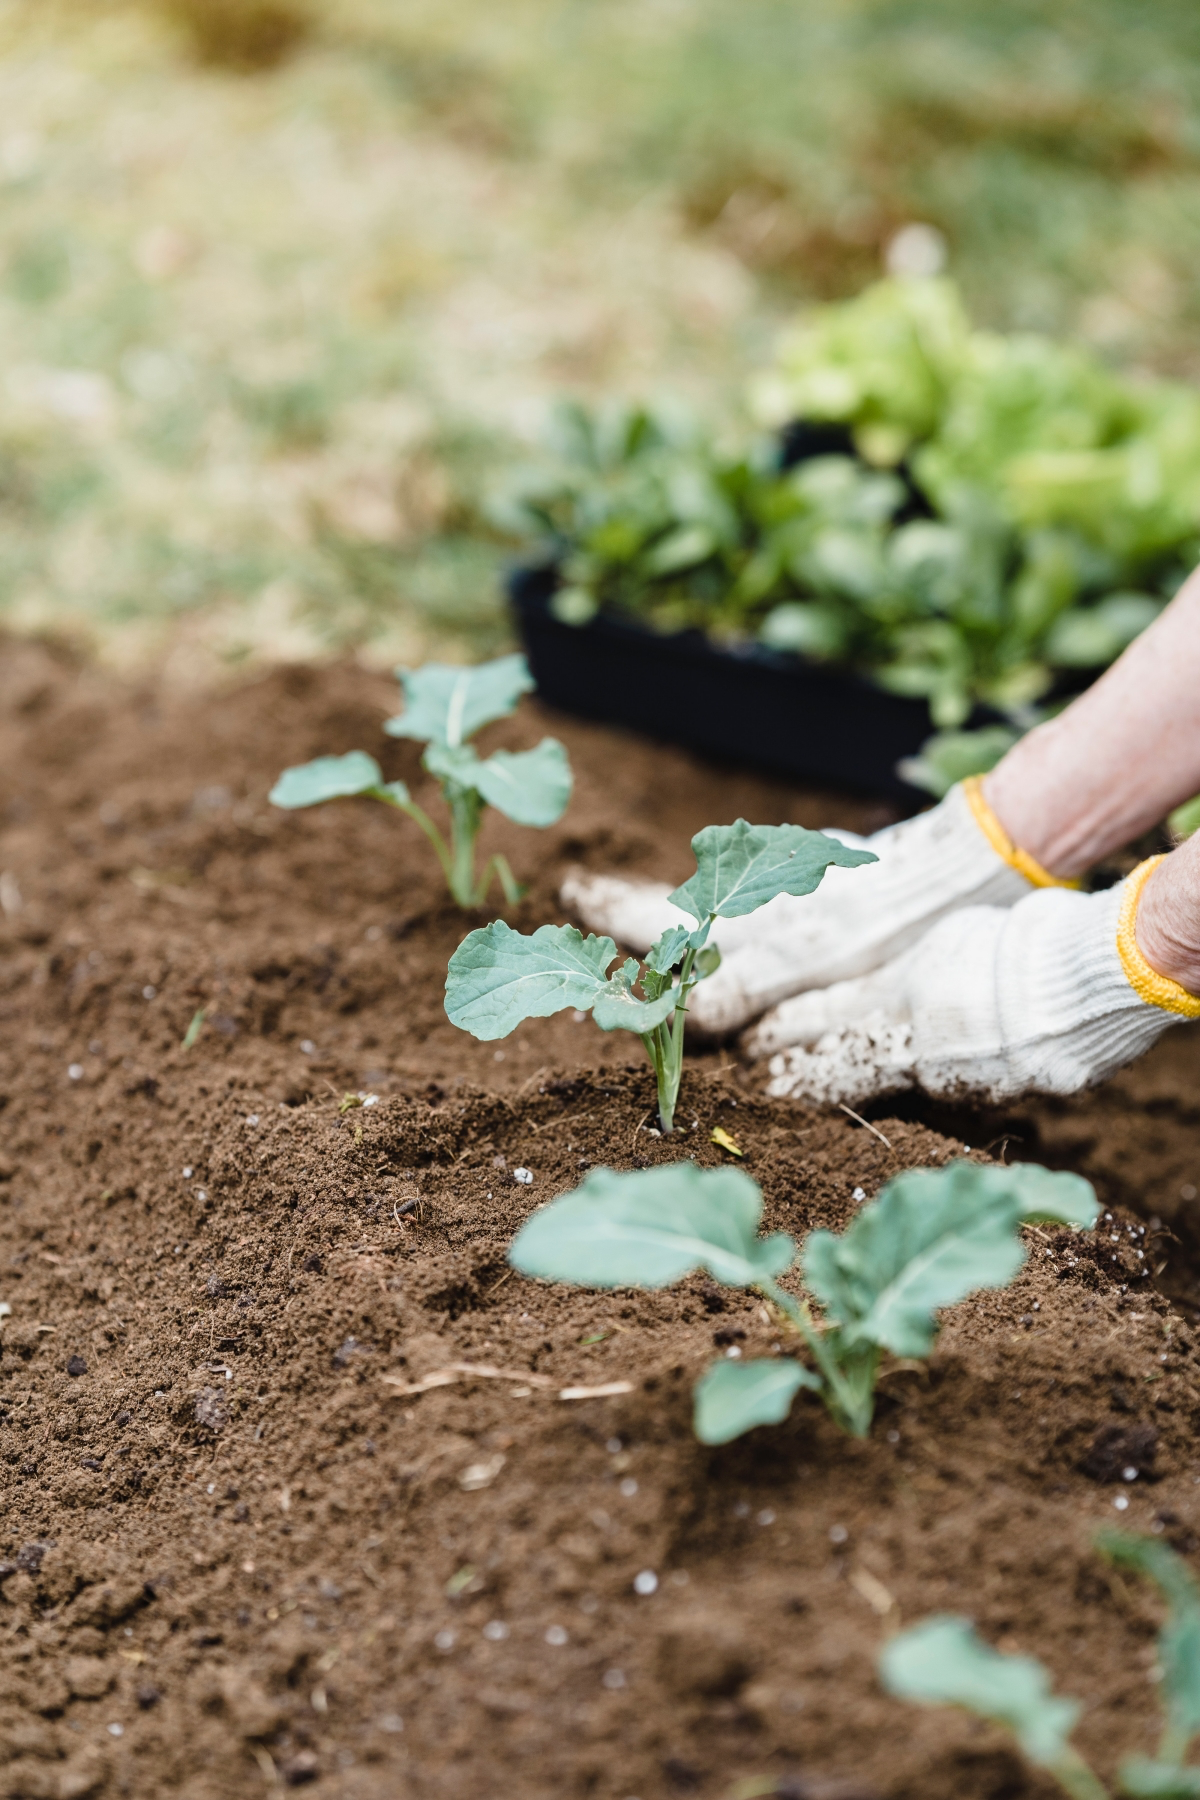
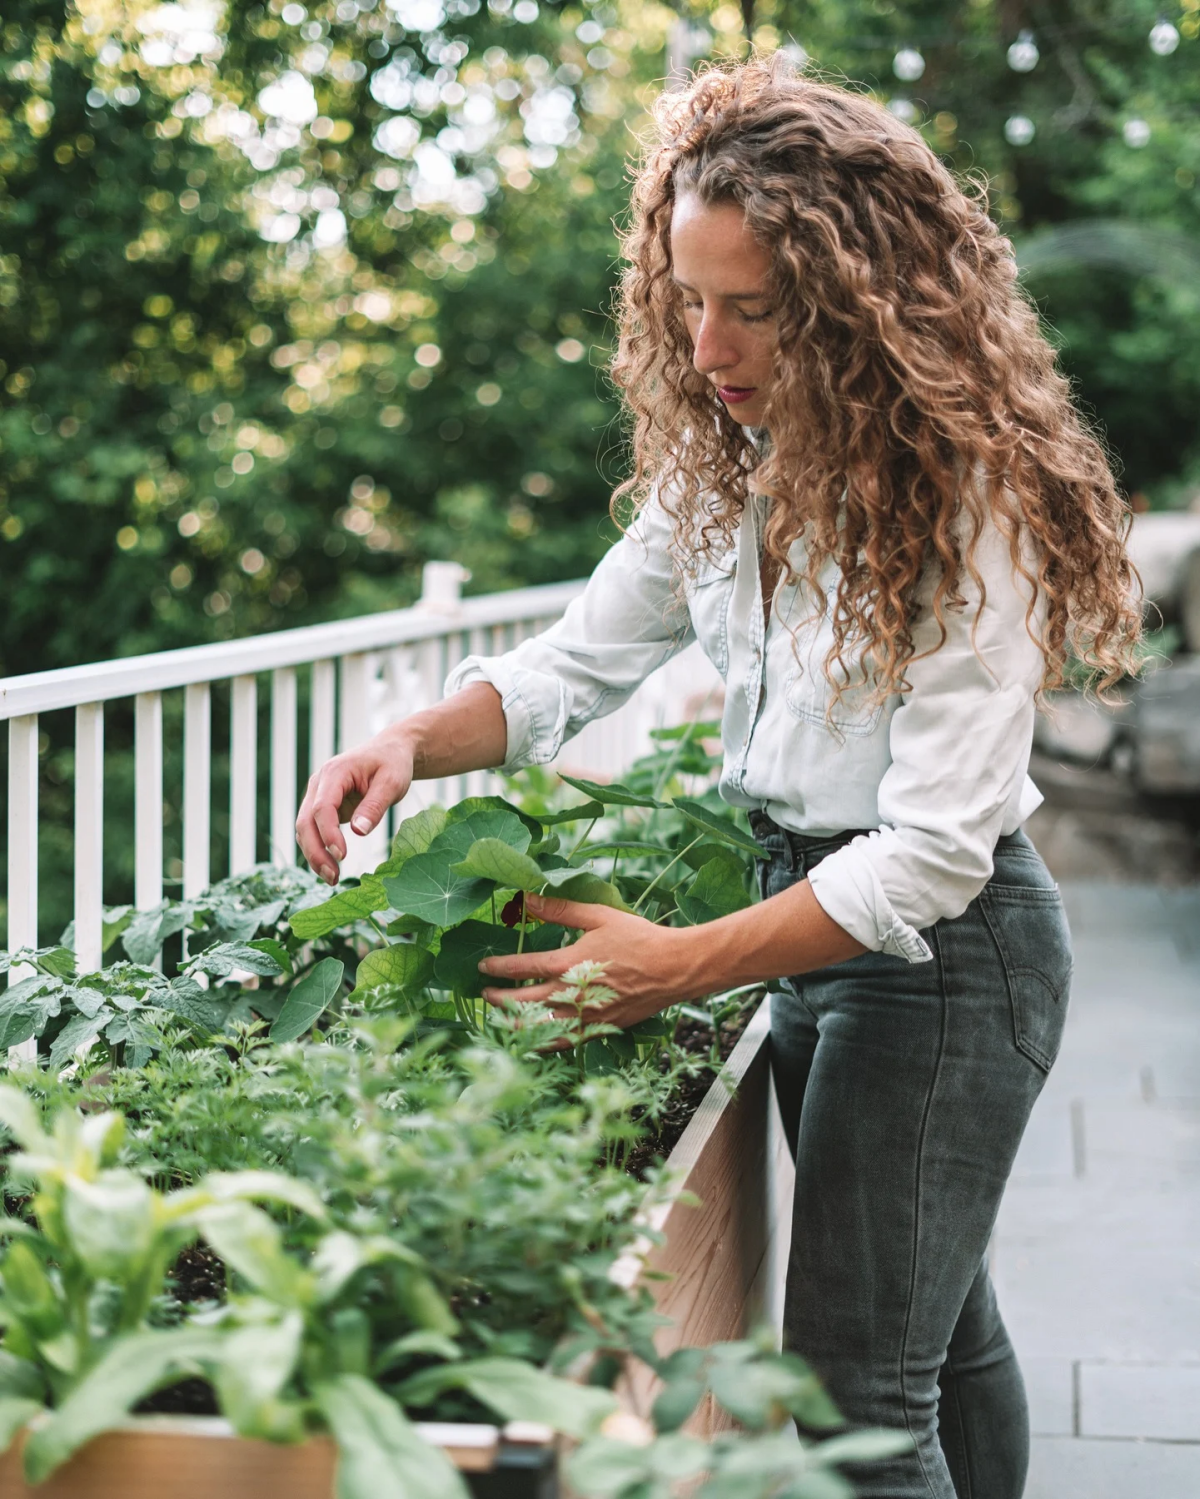
Bringing Home New Additions
Spring is prime time for planting. But you can’t just take a plant from a cozy greenhouse and plop it into the windy, wild world of your garden. That’s a recipe for disaster.
The Most-Skipped Step: ‘Hardening Off’
Plants grown indoors have been coddled. They need to be gradually introduced to the outdoors in a process called “hardening off.” Skipping this is a classic rookie mistake. I got cocky one year and put my tomato seedlings straight into the garden. They all got a wicked sunburn, their leaves turned white and crispy, and I barely got any fruit that summer. It’s a mistake you only make once.
Here’s my non-negotiable, 7-day schedule for tender plants:
- Days 1-2: Put them outside in a shady, protected spot for just an hour or two.
- Days 3-4: Move them into morning sun for 3-4 hours.
- Days 5-6: Increase their outdoor time to 6-8 hours, giving them a bit more direct sun.
- Day 7: If the forecast is clear, let them stay out overnight. (I wait for temps to stay above 50°F / 10°C for the really tender stuff.)
After that, they’re ready for their new home. It takes a little patience, but it makes a huge difference.
The Final Step: Frost Dates and Planting
When you’re finally ready to plant, dig a hole that’s twice as wide as the pot but no deeper. You want the top of the root ball to be level with the surrounding soil. Backfill the hole, firm the soil gently, and then give it a deep, slow watering.
But the most important piece of information for spring planting is your area’s average last frost date. Planting tender things like tomatoes, peppers, or zinnias before this date is a massive gamble. So here’s your one task for today: go to your computer, Google “[Your Town/Zip Code] average last frost date,” and write it on your calendar in big, bold letters. Seriously, do it now. All your spring prep hinges on that one piece of local knowledge.
Inspiration:
Your best garden tools are an investment. Before the season truly kicks off, give them the spa day they deserve. A few minutes with a wire brush to remove caked-on mud, a quick sharpening of your Felco pruners’ blades, and a light coat of 3-IN-ONE oil on all metal parts and hinges will prevent rust and make every cut clean and effortless. It’s a small ritual that pays big dividends.
- They invite birds and butterflies, turning your garden into a living spectacle.
- They offer natural pest control, with ladybugs and lacewings feasting on aphids.
- They improve pollination for your vegetables and fruit, leading to bigger harvests.
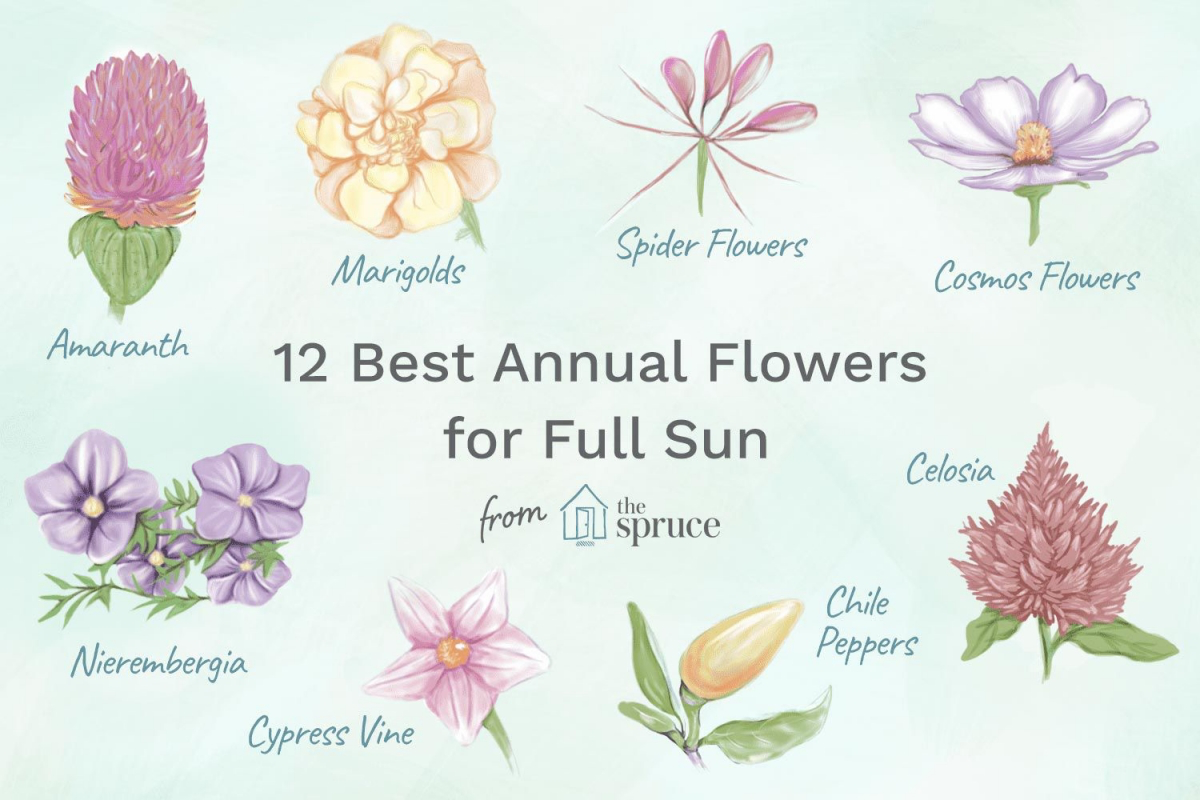
The secret? Creating an insectary. By planting a mix of dill, cilantro, sweet alyssum, and cosmos among your other plants, you build a beautiful, all-natural defense system.
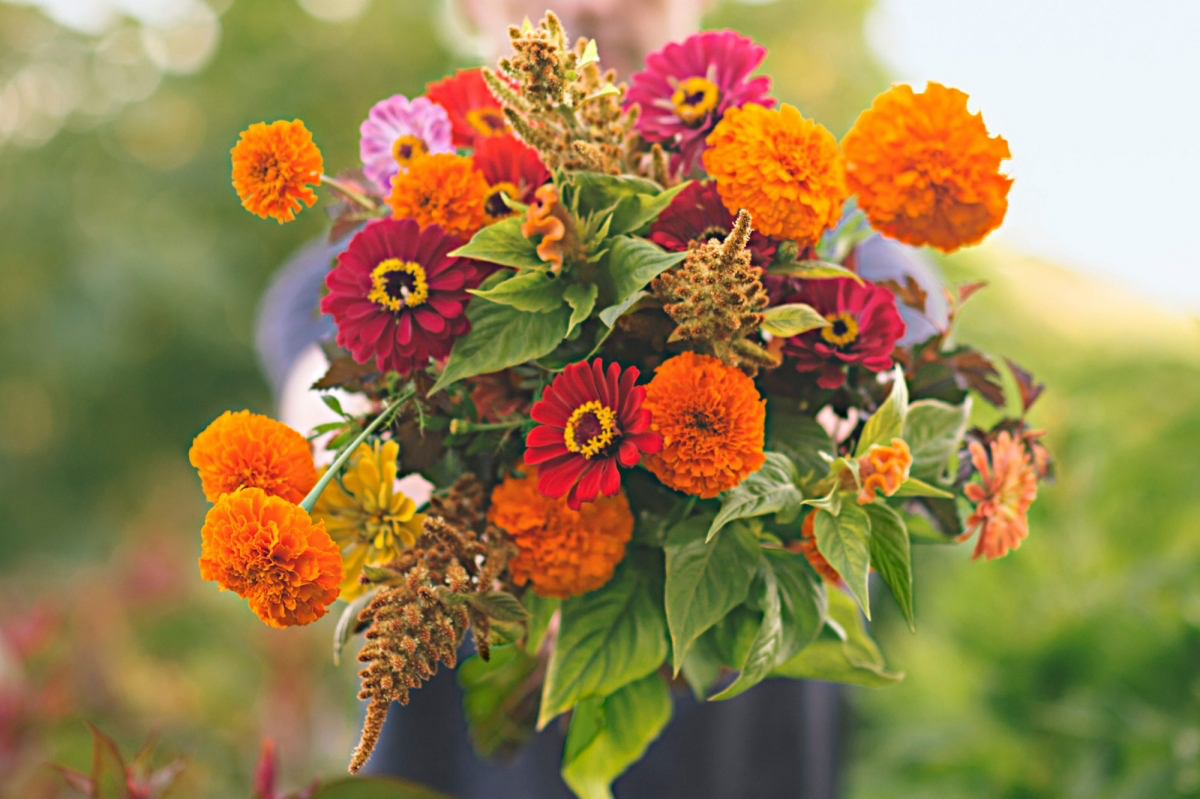
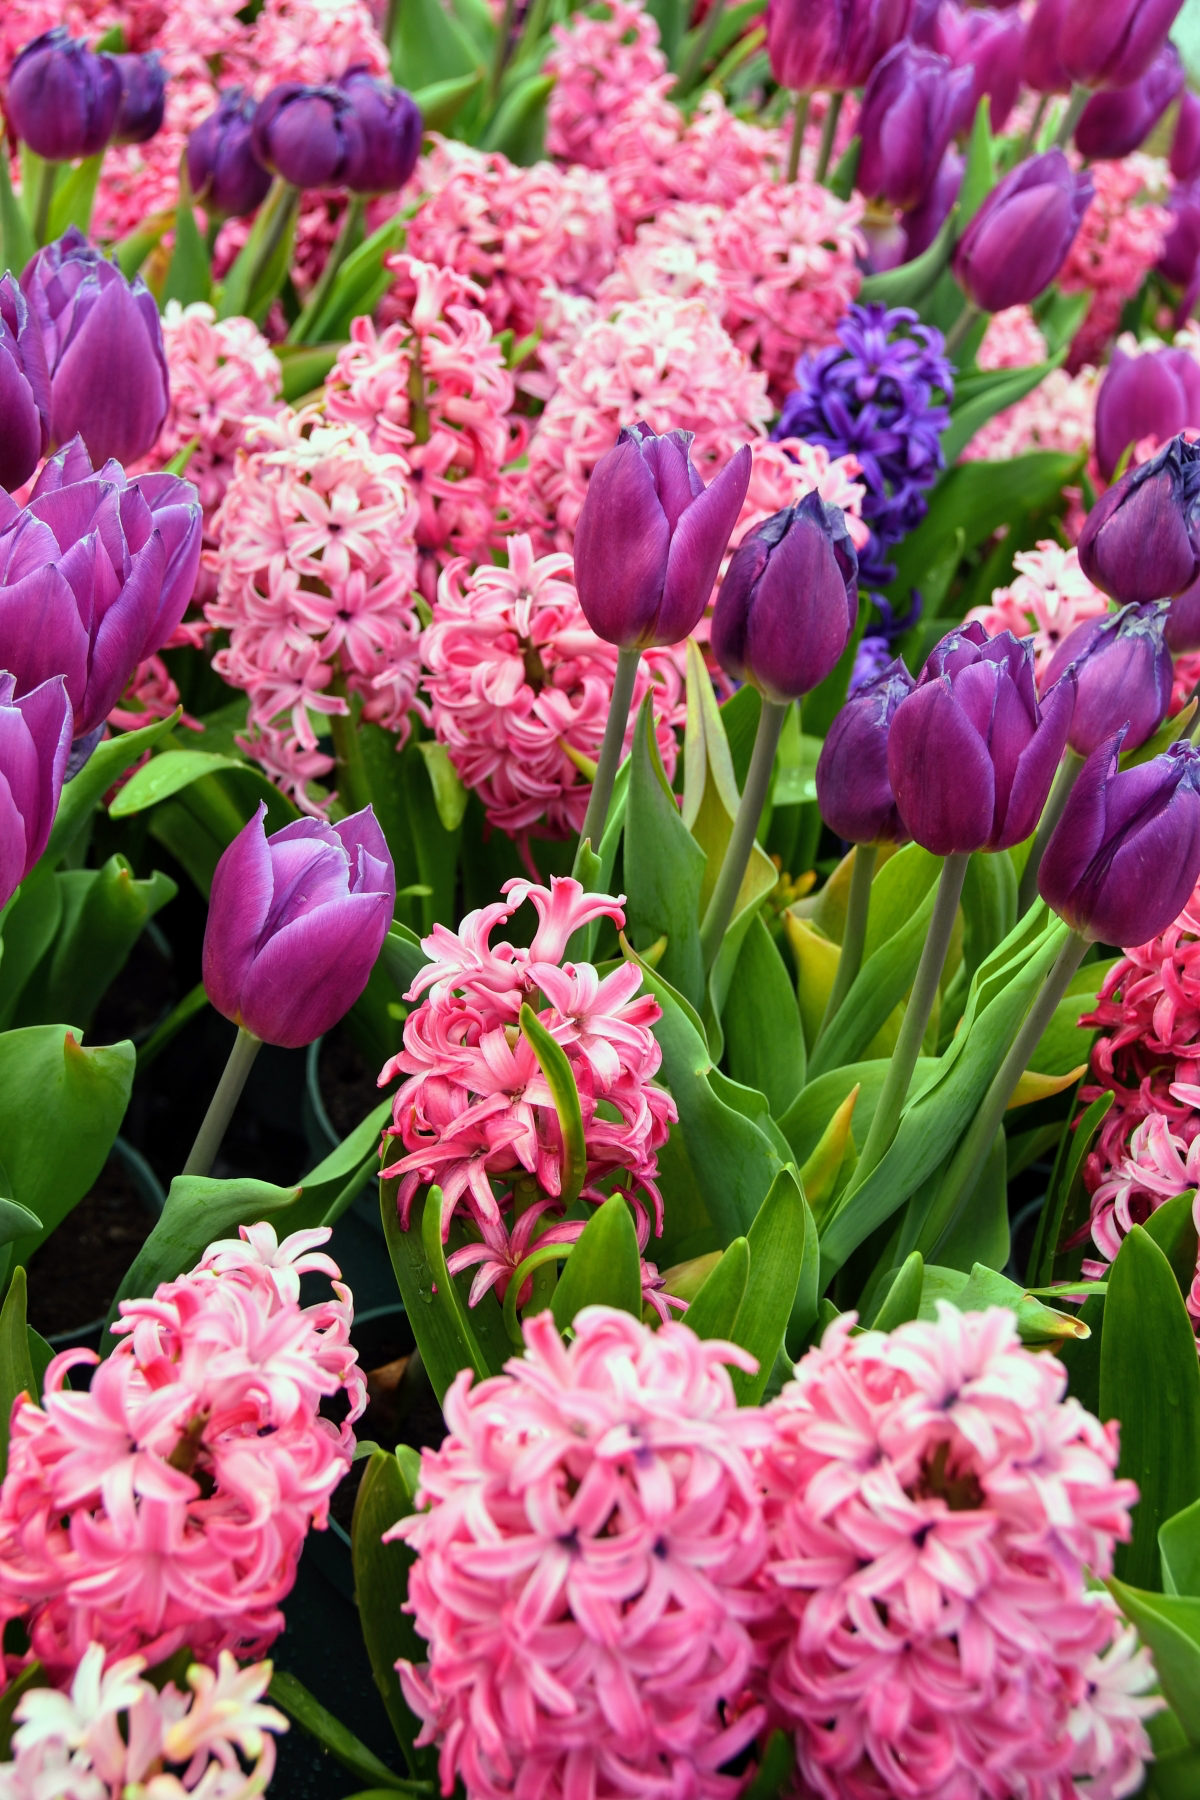
Important point: The key to a garden that looks lush from May to October is planning for succession. As you plant your spring pansies and tulips, think about what will replace them. Start seeds for summer bloomers like zinnias and marigolds indoors now, so they’re ready to pop into place once the early flowers fade. This simple overlap prevents those awkward ’empty’ periods in your flower beds.
One out of every three bites of food we eat exists because of pollinators like bees, butterflies, and hummingbirds.
This spring, make a conscious choice to include at least one pollinator-friendly plant in every pot or bed. Simple additions like bee balm (Monarda), coneflowers (Echinacea), or even a pot of lavender on the patio can make a huge difference to your local ecosystem and the productivity of your own vegetable patch.
To prune or not to prune that hydrangea—that is the question?
Getting this wrong can mean a summer with no flowers. The answer depends entirely on the type you have. If it blooms on ‘old wood’ (last year’s stems), like an Oakleaf or Mophead (Hydrangea macrophylla), only prune out dead stems. If it blooms on ‘new wood’ (stems that will grow this spring), like a Panicle or ‘Endless Summer’ variety, you can prune it back in early spring to encourage vigorous new growth and a strong shape.
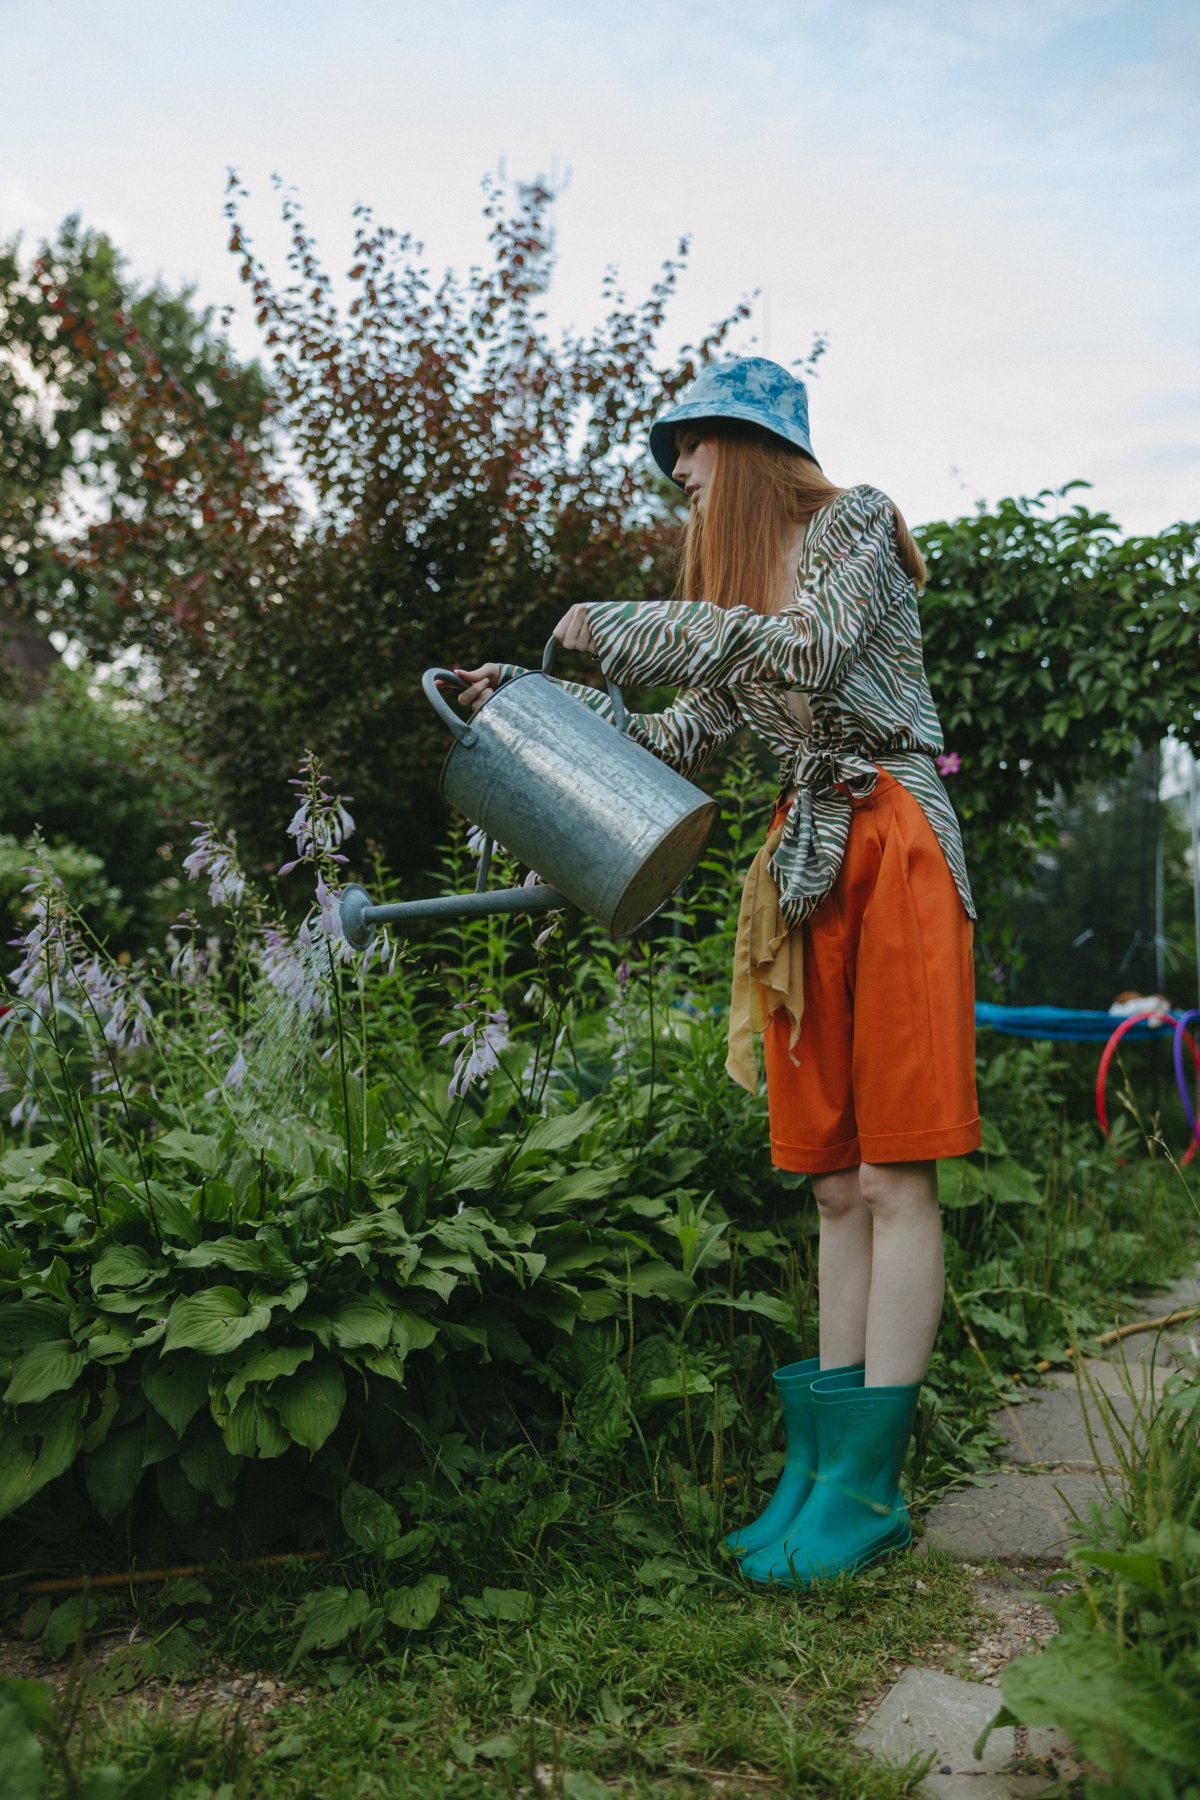
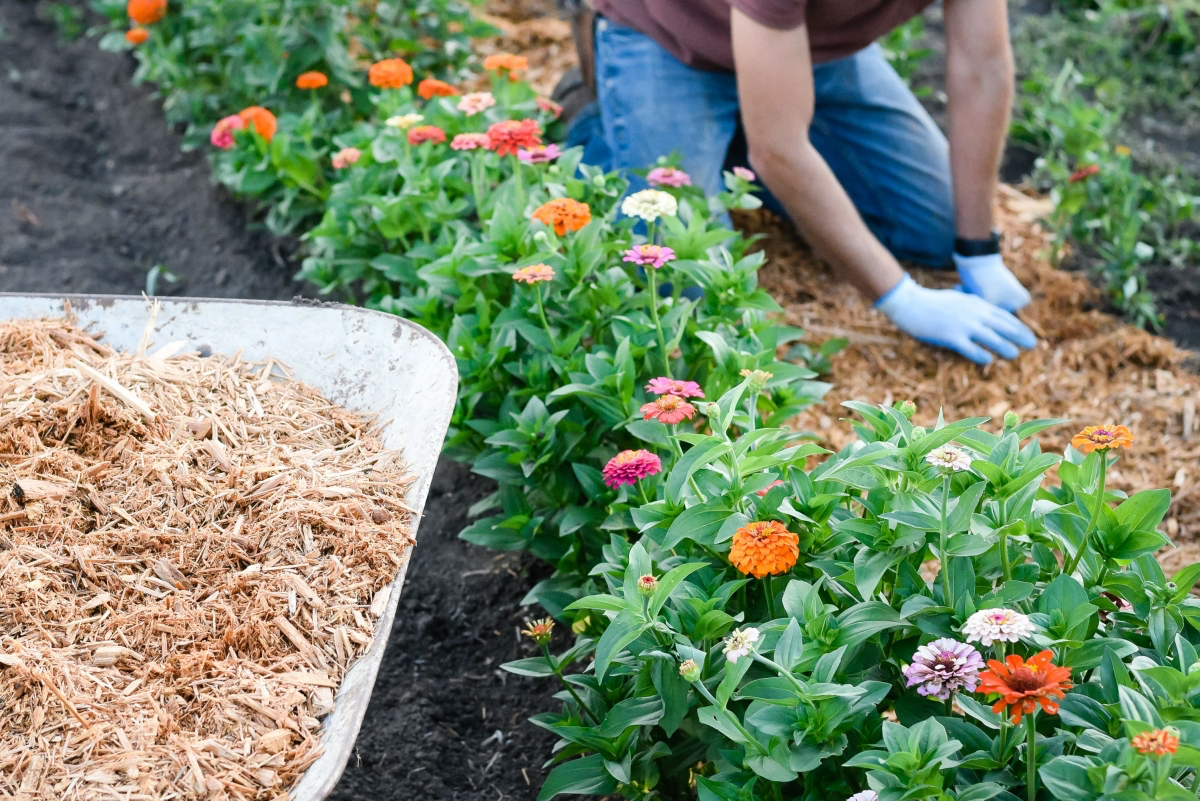
Mulching is more than just a finishing touch; it’s one of the most beneficial things you can do for your garden. A two-to-three-inch layer of quality mulch is your garden’s best friend for a reason.
- Moisture Retention: It acts like a sponge, reducing the need for constant watering as the weather heats up.
- Weed Suppression: It blocks sunlight from reaching weed seeds, drastically cutting down on your weeding chores.
- Temperature Regulation: It insulates the soil, keeping it cooler in the summer and warmer during unexpected cold snaps.
Consider cedar bark for its pest-repelling qualities or finely shredded hardwood for a classic look that breaks down beautifully over time.
According to the National Wildlife Federation, gardens that incorporate at least 70% native plants show a significant increase in the populations of beneficial native birds and insects.
This doesn’t mean you have to rip everything out. The trend is about smart integration. Swapping one high-maintenance exotic shrub for a native Viburnum or adding a patch of native milkweed (Asclepias) for monarch butterflies reduces your need for water and fertilizer while creating a resilient, self-sustaining habitat.
Slow-Release Granular: Products like Osmocote Smart-Release are mixed into the soil at planting time. They provide a steady, consistent trickle of nutrients over several months, making them a ‘set it and forget it’ option perfect for busy gardeners.
Water-Soluble Liquid: Feeds like Miracle-Gro are mixed with water and applied every week or two. This provides a quick, direct boost of nutrients, ideal for hungry annuals in containers or for giving a struggling plant an immediate pick-me-up.
For foundational spring feeding in garden beds, slow-release is often the pro choice for long-term health.
- Get ahead of weeds before they even start.
- Don’t disturb the soil’s natural layers.
- Keep your plants’ roots cool and moist.
The best way to achieve all three is with a ‘no-dig’ or ‘lasagna’ gardening method. Instead of tilling, simply layer cardboard over your existing grass or weeds in the fall or early spring, then pile on compost and topsoil. You plant directly into the top layer for a weed-free, incredibly fertile bed.


