Your First Veggie Garden: A No-Nonsense Guide to Actually Growing Food
I’ve been growing my own food for a long, long time, but my first attempt at a vegetable garden was a complete train wreck. Seriously. I flipped over a patch of grass behind the shed, tossed in some seeds I bought at the store, and basically just crossed my fingers. What I got was a mess of leggy, sad-looking plants, a couple of tomatoes the size of marbles, and more weeds than I knew what to do with.
In this article
- First Things First: Let’s Avoid the Classic Beginner Mistakes
- Finding the Perfect Spot: It’s All About Location
- Getting to Know Your Soil (It’s More Than Just Dirt)
- How to Build Your Garden Bed
- Choosing What to Grow (and When)
- Planting and Tending Your Garden
- Dealing with Pests (The Realistic Way)
- Your First-Year Gardener’s Toolkit
- Inspirational Gallery with Photos
But you know what? That failure was the best thing that could have happened. It taught me that gardening isn’t some mystical secret. It’s a craft, and like any craft, it’s built on a few core principles. Once you get a handle on sun, water, and soil, you can build a garden that will keep your kitchen stocked all season long.
So many of us get into this for the same reasons: we want fresh, delicious food that tastes way better than the stuff from the grocery store, and hey, saving a little money doesn’t hurt. But enthusiasm alone won’t get you a basket of ripe tomatoes. It takes a bit of planning and a willingness to get your hands dirty. This guide is built on everything I’ve learned along the way, so let’s get you started on the right foot.
First Things First: Let’s Avoid the Classic Beginner Mistakes
Before we even talk about dirt, let’s get this out of the way. I see new gardeners make the same few mistakes over and over. A quick heads up now can save you a ton of heartache later.
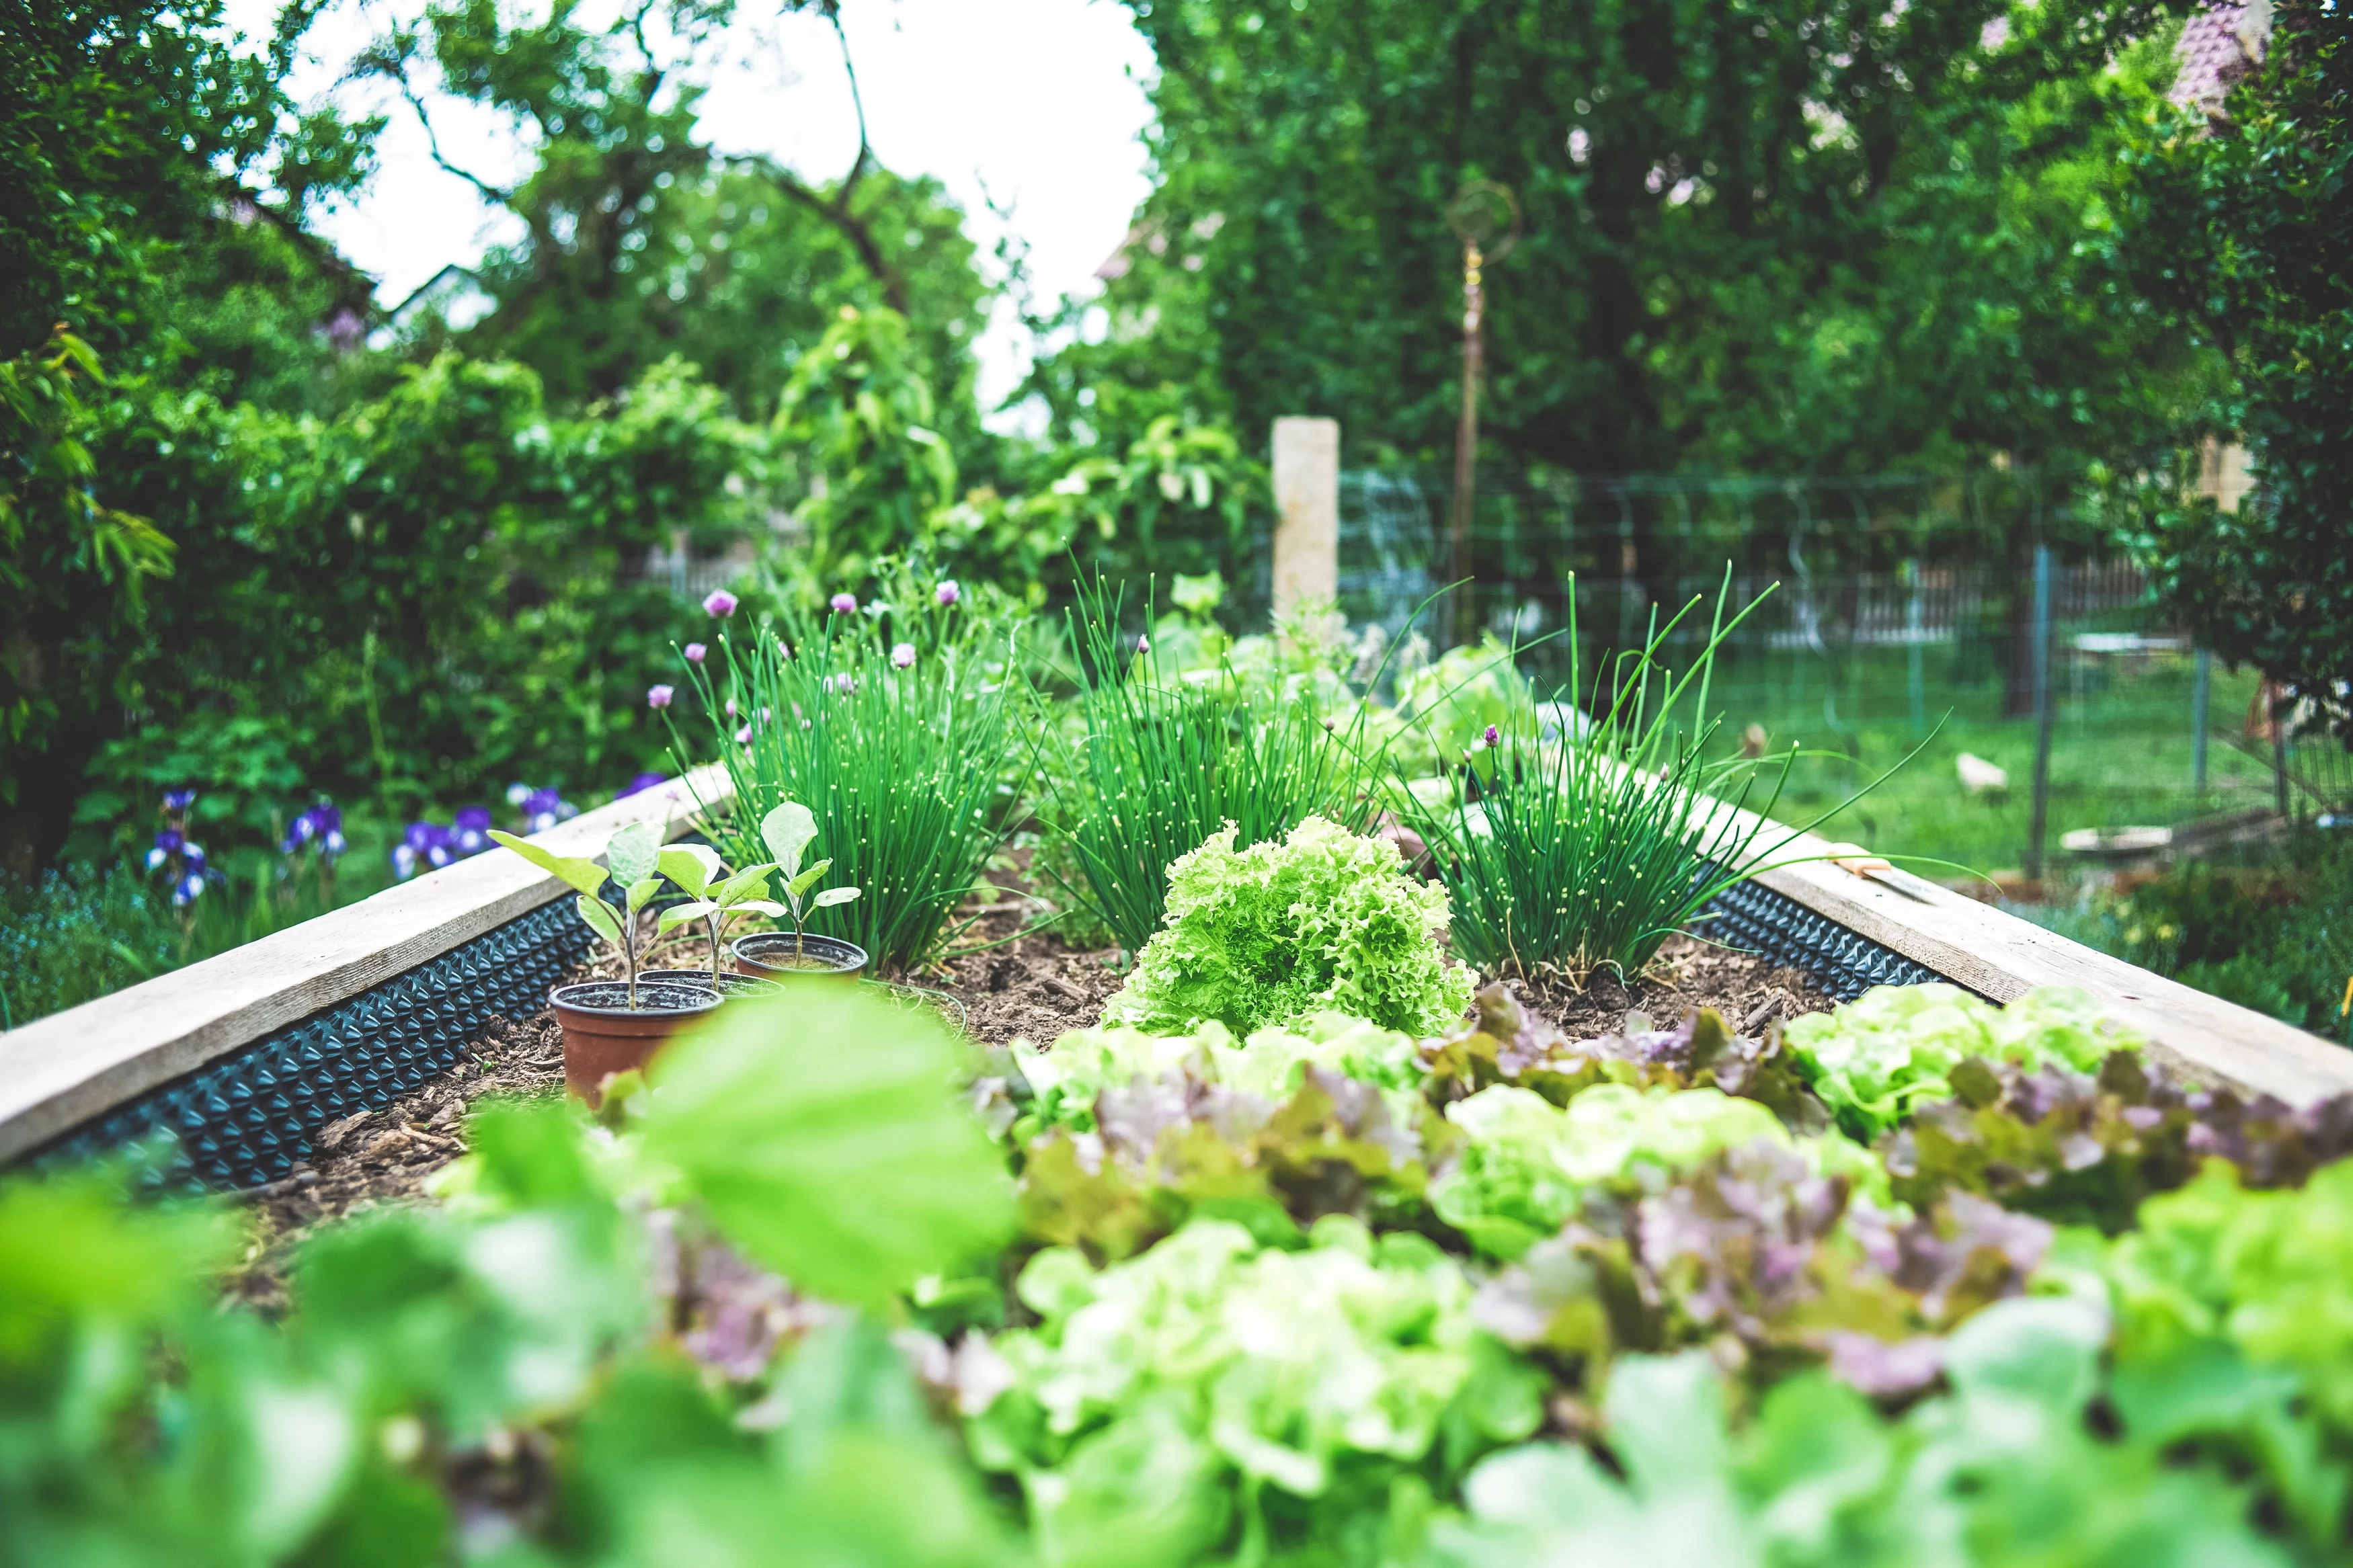
- Going Way Too Big: Your first garden should be exciting, not overwhelming. A single 4×8 foot raised bed is more than enough to start. You’ll be amazed at how much food you can grow in a small, well-managed space. Starting too big is the #1 reason people burn out.
- Ignoring the Sun: Wishful thinking doesn’t grow tomatoes. If a spot only gets 4 hours of sun, it’s just not the right place for sun-loving veggies. We’ll cover how to track this below, but please, don’t skip that step.
- Fearing the Thinning: When your little seedlings pop up, you’ll need to pull many of them out to give the others room. It feels wrong, I know! But if you don’t do it, you’ll end up with a bunch of stunted plants instead of a few thriving ones. Be ruthless. It’s for the greater good.
- Underestimating the Time: A small garden isn’t a full-time job, but it’s not zero work, either. Realistically, plan on spending about 2-4 hours a week during the peak season for watering, weeding, and harvesting.
Finding the Perfect Spot: It’s All About Location
Honestly, the success of your garden is often decided before you even buy a seed packet. You need to think like a plant. And what do plants want more than anything? Sunlight and water.
Sunlight is Everything
Sunlight is literally the engine that powers your plants. Most of the classic vegetables—we’re talking tomatoes, peppers, squash, cucumbers—are total sun hogs. They need at least six to eight hours of direct, unobstructed sunlight every single day to produce anything worthwhile. Less than that, and you’re setting yourself up for disappointment.
Don’t just guess where the sunniest spot is. Take a day and actually observe. Where is the sun hitting at 9 AM? What about at noon? And 3 PM? A really simple way to do this is to just put a few stakes in the ground in potential spots and check their shadows throughout the day. Pay attention to things like your house, a big tree, or your neighbor’s garage. Remember that the sun is higher in the summer, so a spot that looks good in early spring might be shaded by leafy trees later on. You’re looking for the place that gets the most sun during the peak growing months.
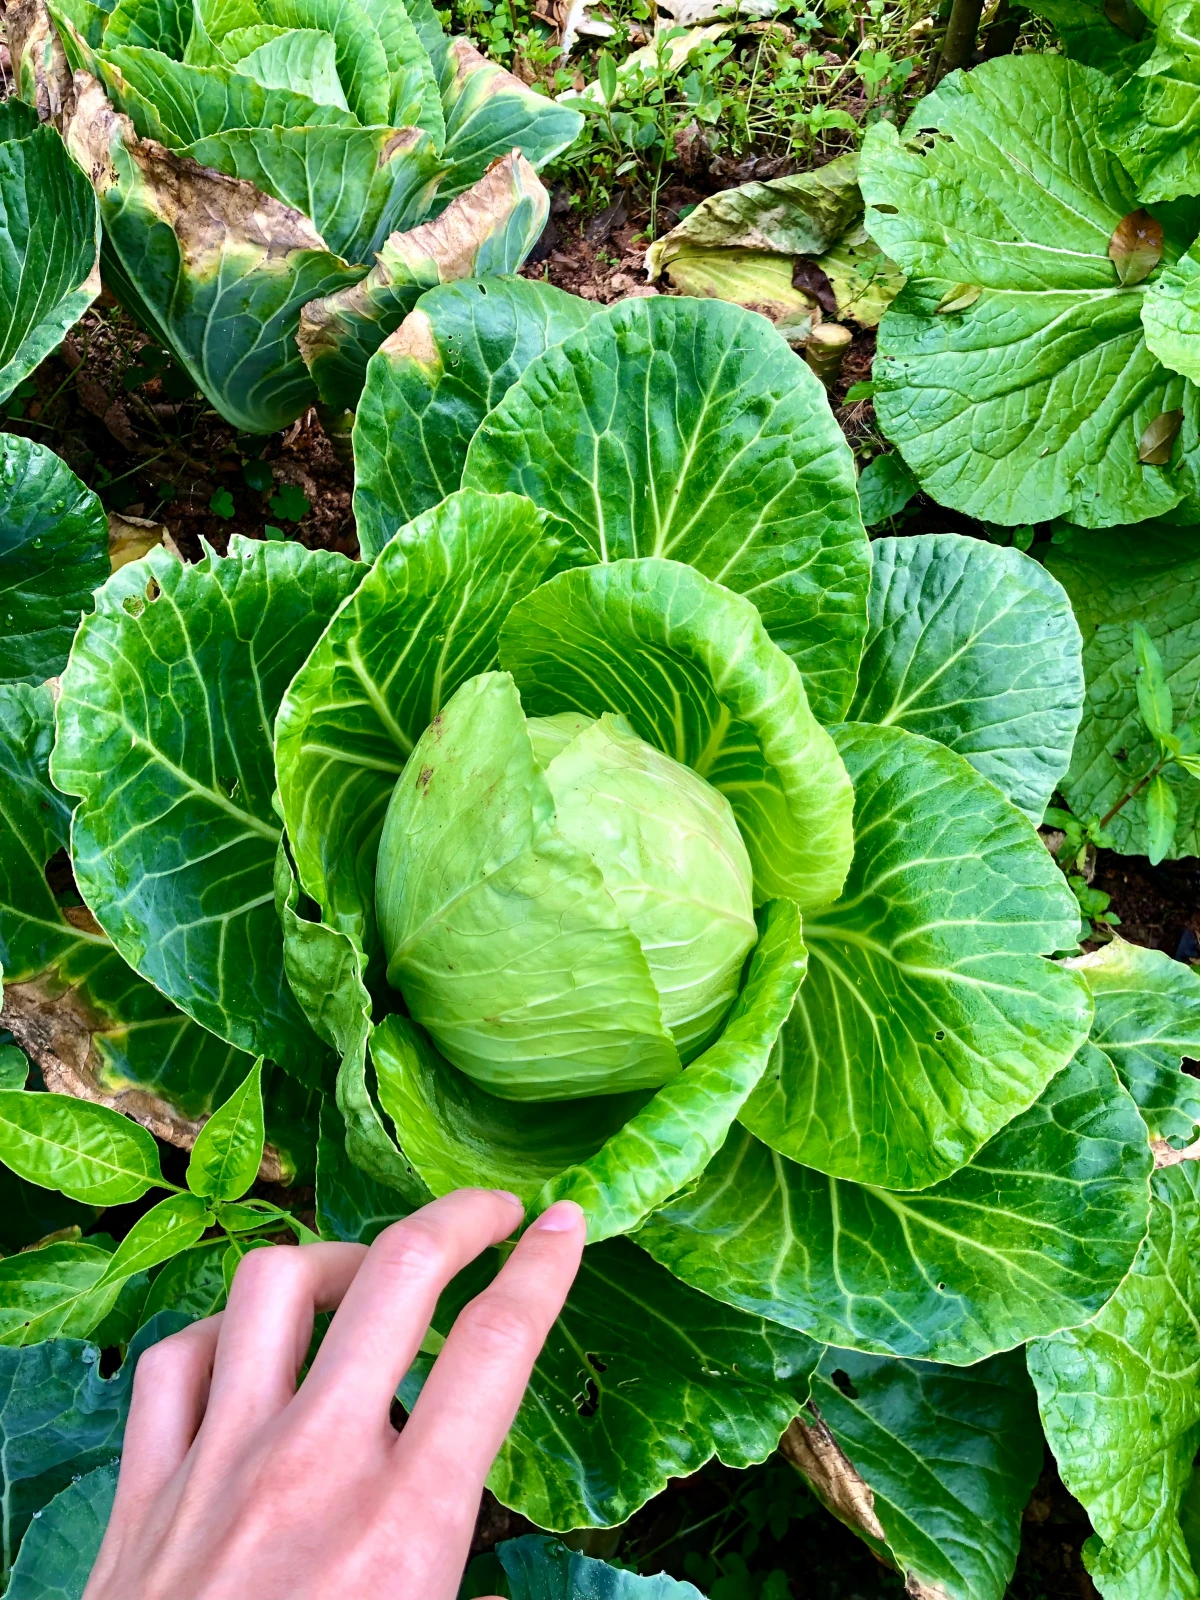
If your yard is mostly shady, don’t despair! You just need to adjust your expectations. Leafy greens like lettuce, spinach, and kale can get by just fine with about four to five hours of sun. But for that classic summer veggie patch, full sun is non-negotiable.
Water and Drainage
Next up is water. Your garden needs a convenient water source. Trust me, you do NOT want to be lugging heavy watering cans across your entire yard every other day in July. It gets old, fast. Make your life easier and pick a spot that’s within reach of a garden hose.
Just as important as getting water to the plants is making sure it can get away. Plant roots need to breathe, and if they’re sitting in a puddle of water, they’ll drown and rot. To check your drainage, dig a hole about a foot deep and fill it with water. Let it drain, then fill it again. Now, see how long it takes to drain the second time. If it drains at a rate of about one or two inches per hour, you’re in great shape. If water is still standing there hours later, you’ve got a drainage problem, which is super common with heavy clay soil. But don’t worry, there’s an easy fix for that we’ll talk about in a minute: raised beds.
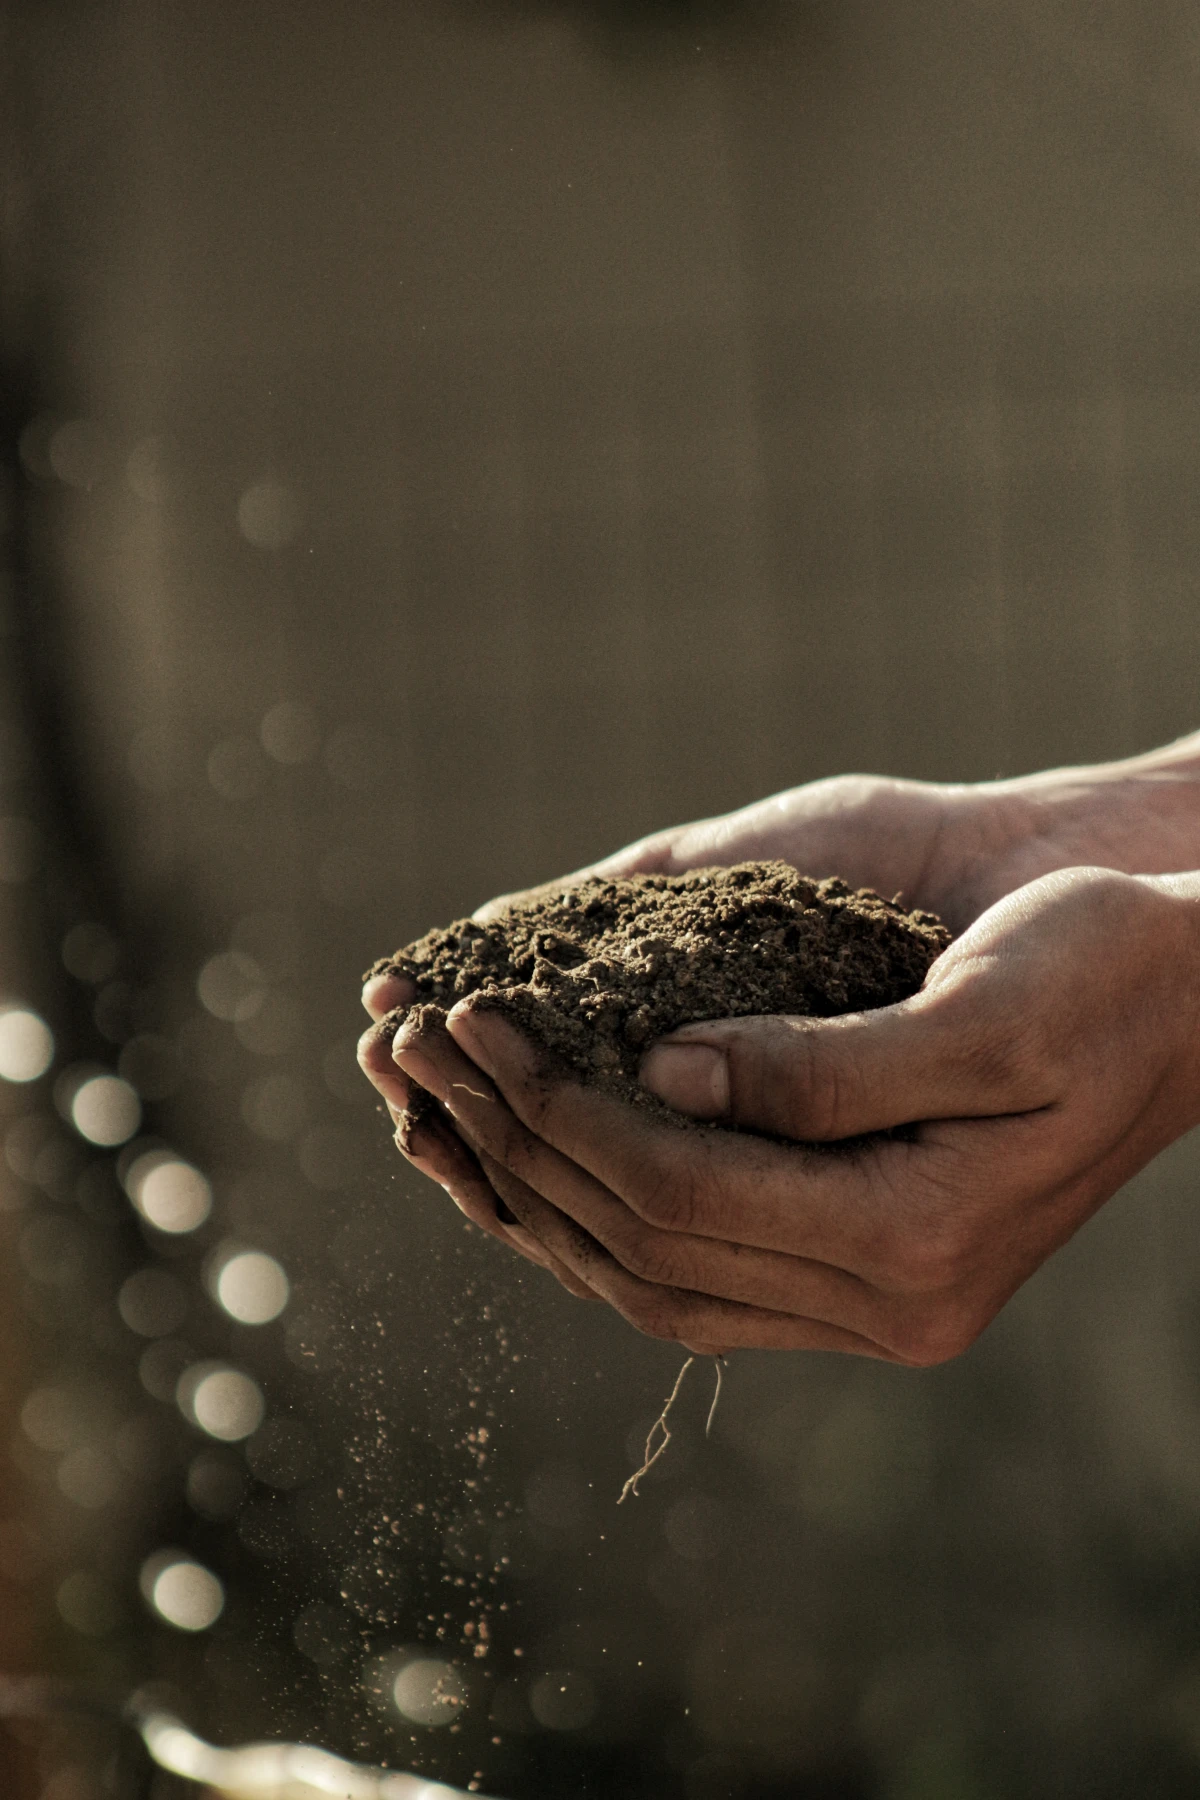
Getting to Know Your Soil (It’s More Than Just Dirt)
Soil is a living, breathing ecosystem. It’s the foundation of your entire garden. The best thing you can do for your future plants is to understand what you’re starting with.
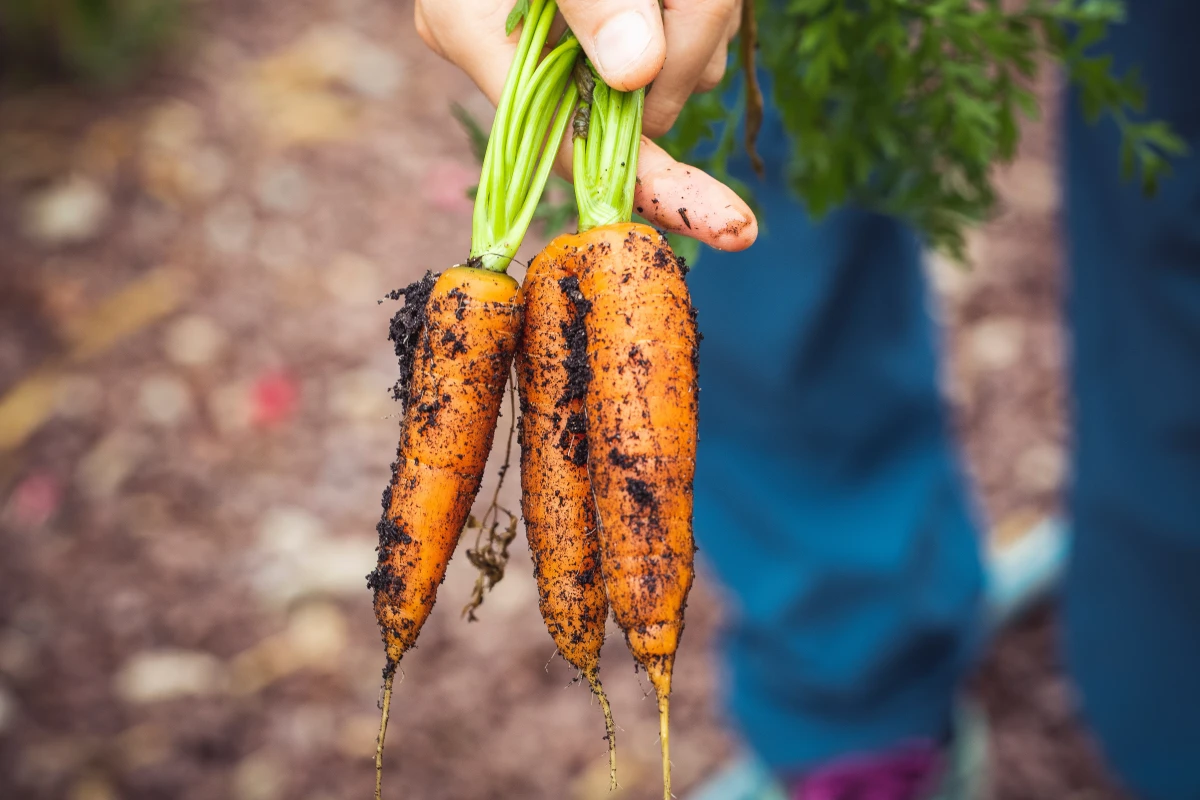
The ideal garden soil is called loam, which is a nice, balanced mix of sand, silt, and clay. It’s dark and crumbly and just feels alive. Most of us, though, have soil that’s too sandy (drains too fast) or too clay-heavy (drains too slow). My own garden is built on dense, sticky clay, and for years I couldn’t figure out why my carrots were always stubby little things. It was the soil!
The absolute best money you can spend on your garden is on a professional soil test. Forget those cheap kits from the big box stores; they’re notoriously inaccurate. Instead, look up your local university cooperative extension service. For a small fee—usually just $15 to $30—they’ll send you a kit and instructions. You scoop up some soil from your chosen spot, mail it in, and a few weeks later you get back a detailed report.
This report tells you everything you need to know:
- Your soil’s pH level, which is crucial for nutrient absorption. Most veggies like it between 6.0 and 7.0. The report will tell you exactly what to add (like lime to raise pH or sulfur to lower it) and how much.
- Key nutrient levels, like nitrogen, phosphorus, and potassium. It takes all the guesswork out of fertilizing.
- Your soil’s organic matter content. This is the secret sauce! Organic matter (think compost) improves any soil type. A good goal is to have at least 5% organic matter.
How to Build Your Garden Bed
Okay, you’ve got your spot and you know your soil. Time to build the bed! There are two main paths you can take here.
Path 1: The In-Ground Bed
This is the classic, old-school method. It’s cheaper upfront but can be more work. If you’re starting on a lawn, you have to get rid of the grass first. A rototiller is the fastest way, but honestly, I’d avoid it. It can mess up the soil’s natural layers and just chops up weed roots into tiny new weeds.
My favorite method by far is sheet mulching, or “lasagna gardening.” It’s a no-dig technique that builds incredible soil right on top of your lawn. Here’s the basic recipe:
- Lay down a layer of overlapping cardboard right on the grass. (Heads up: remove all plastic tape first!) This blocks the light and smothers the grass.
- Water the cardboard until it’s soaked.
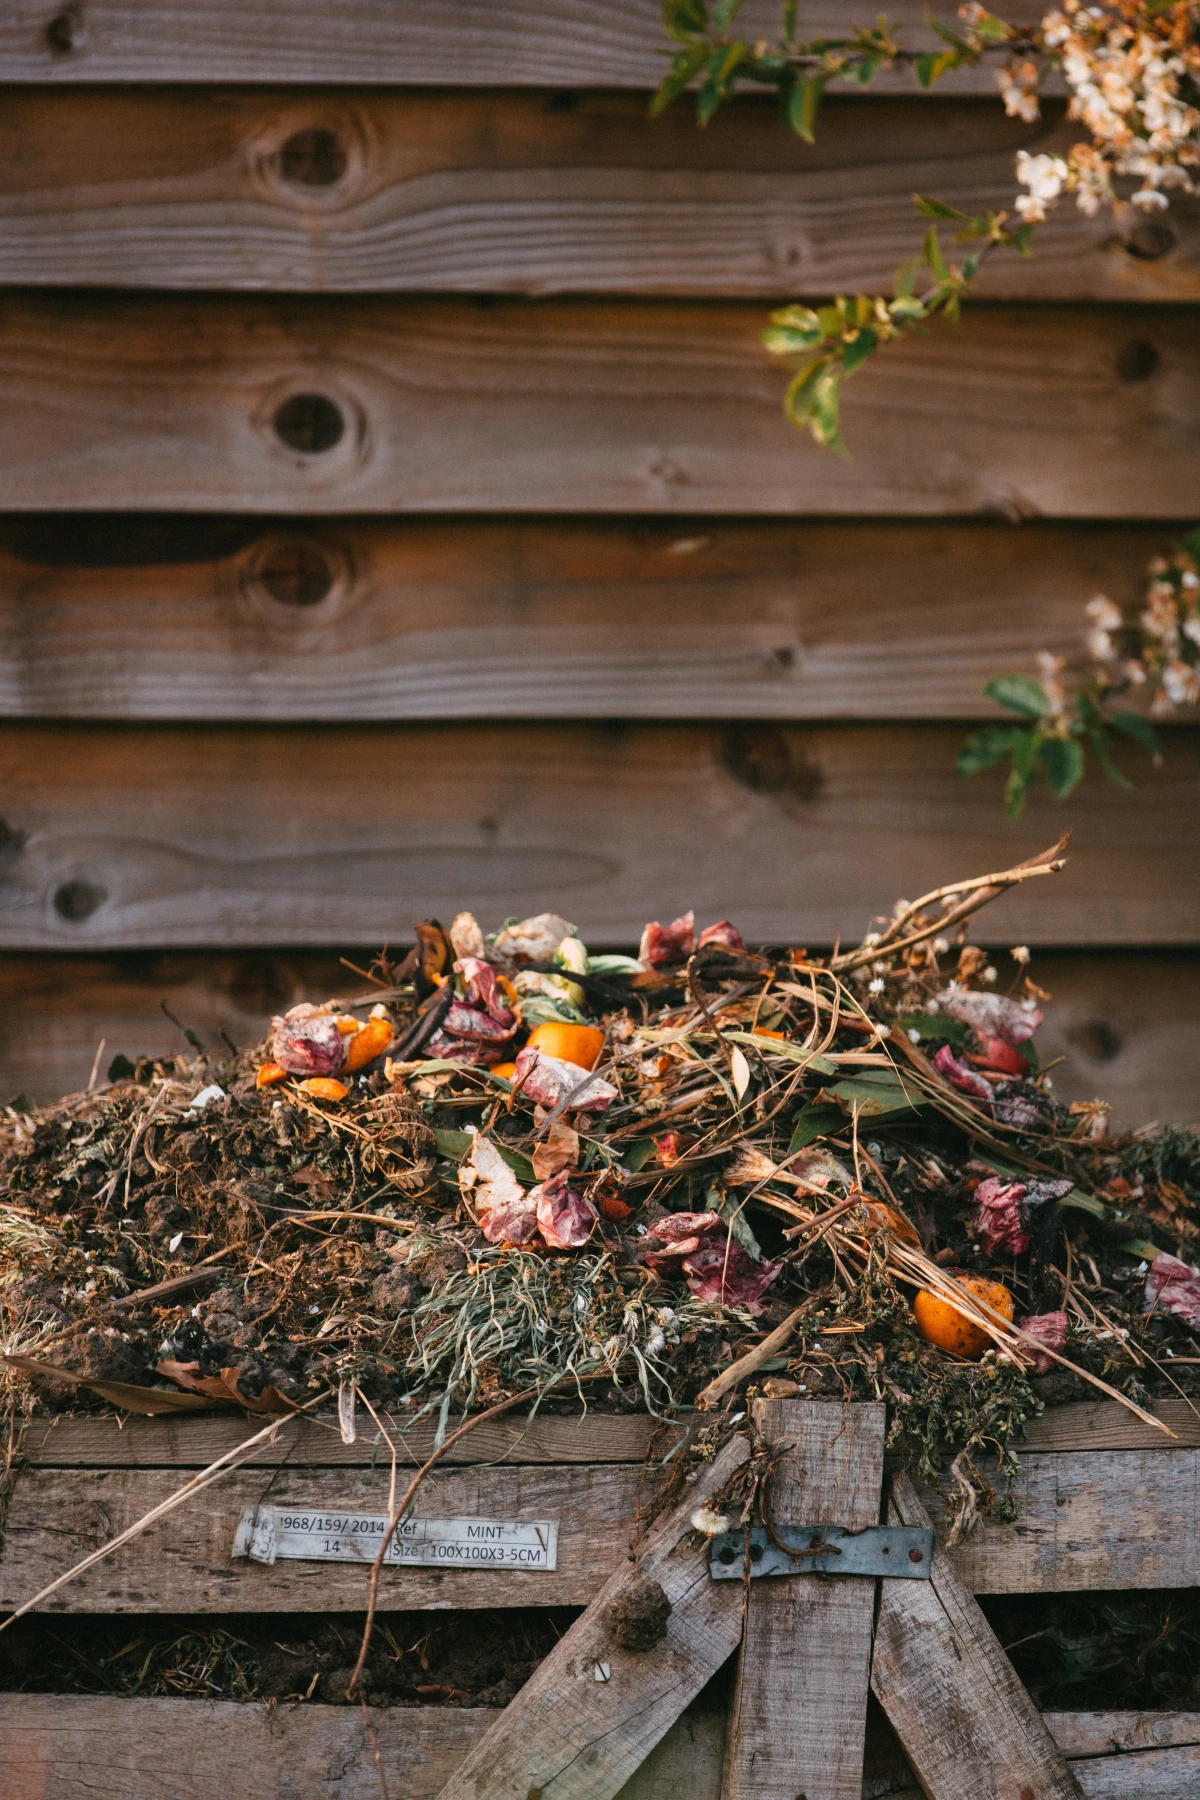
- Add a 2-inch layer of “green” materials—things like grass clippings or kitchen scraps.
- Add a 4-inch layer of “brown” materials—like shredded dry leaves, straw, or newspaper.
- Repeat those green and brown layers until you have a pile about a foot high.
- Top the whole thing off with a thick 4 to 6-inch layer of finished compost.
The downside is that this takes time to break down, so it’s best to build it in the fall for planting the following spring. But the soil it creates is absolutely amazing.
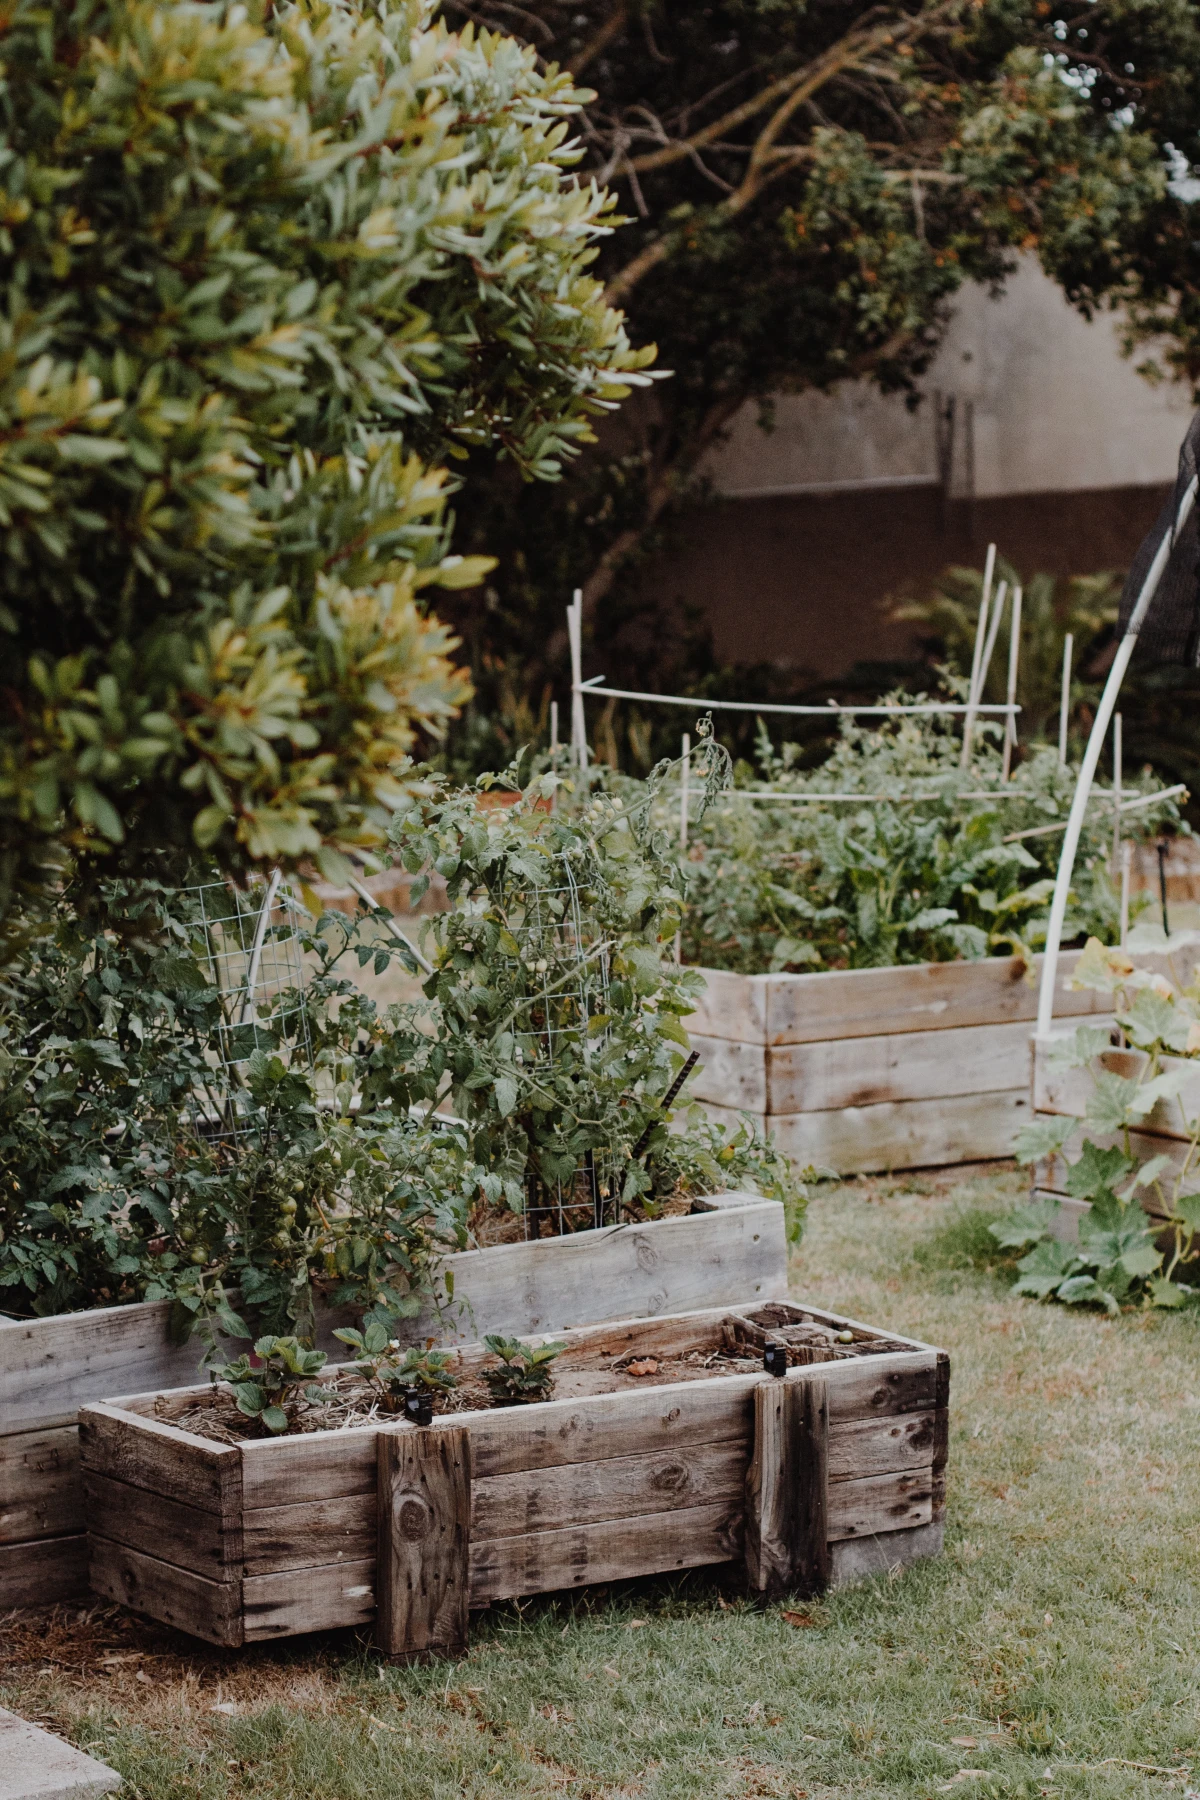
Path 2: The Raised Bed (My Top Pick for Beginners)
A raised bed is just a frame you build and fill with perfect soil. For a first-timer, I almost always recommend going this route. Why? You get total control. You can bypass your yard’s problematic soil (like my heavy clay) and fill the bed with a perfect mix from day one. Drainage issues? Solved. The soil also warms up faster in the spring, which means you can plant earlier. Plus, less bending over is always a win.
So what’s the difference? Let’s break it down:
- Cost: In-ground beds are cheaper to start. Raised beds have an upfront material cost. A simple 4×8 foot bed made from cedar can run you between $150 and $250 for the wood, screws, and all the soil to fill it.
- Soil Control: This is the huge advantage of raised beds. You control 100% of what goes in. For in-ground beds, you’re stuck amending what you already have, which can take years.
- Drainage: Raised beds offer perfect drainage, period. In-ground beds depend entirely on your native soil.
- Effort: The initial setup for a raised bed is more work, but the yearly maintenance (especially weeding) is often much easier.
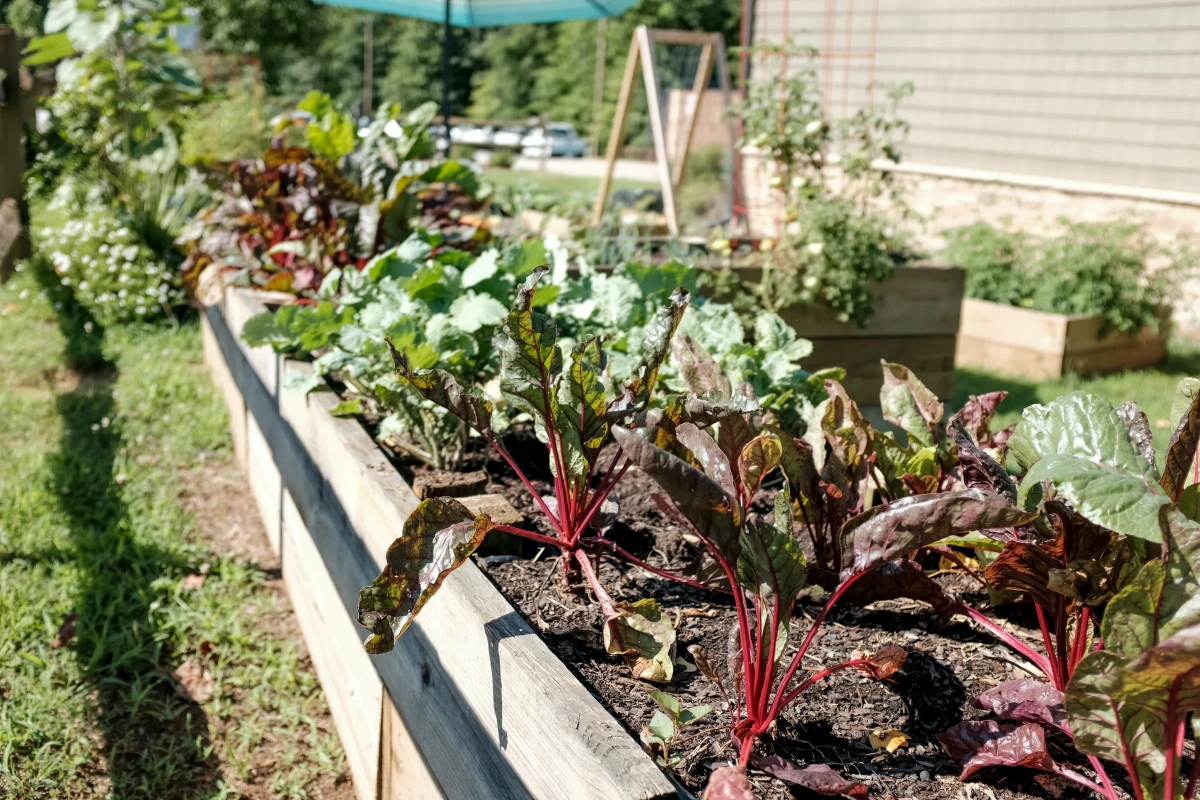
If you decide to build one, a 4-foot width is ideal because you can reach the middle from either side without ever stepping on and compacting the soil. A depth of 10-12 inches is plenty for most vegetable roots. To fill a 4×8 foot bed that’s 12 inches deep, you’ll need about 32 cubic feet of soil. A great, simple soil recipe is a mix of roughly 60% high-quality topsoil, 30% compost, and 10% an aeration amendment like perlite or vermiculite. You can often buy this pre-mixed as a “garden bed mix” at local landscape suppliers, which is way cheaper than buying it by the bag.
Choosing What to Grow (and When)
Success means working with your local climate, not against it. The key is knowing your growing season. You can easily find your area’s average first and last frost dates by searching online for your zip code + “frost dates.” This tells you how long your season is.
For your first year, focus on plants that are reliable and give you a big return for your effort. Success breeds confidence! Some fantastic choices for beginners are:
- Bush Beans: Super easy to grow from seed and they produce a ton.
- Leaf Lettuce: You can harvest the outer leaves as you need them, and the plant keeps producing.
- Radishes: They go from seed to salad in about three weeks. It’s the ultimate instant gratification in the garden.
- Zucchini/Summer Squash: These are famously productive. Seriously, one or two plants is probably all you need for a whole family. Just give them room to sprawl.
By the way, here’s a sample layout of what you could easily fit in one 4×8 foot raised bed: two determinate tomato plants (the bushier kind), one zucchini plant, about six bush bean plants, a dozen lettuce plants, and a row of radishes along the edge. That’s a ton of food from one small plot!
Planting and Tending Your Garden
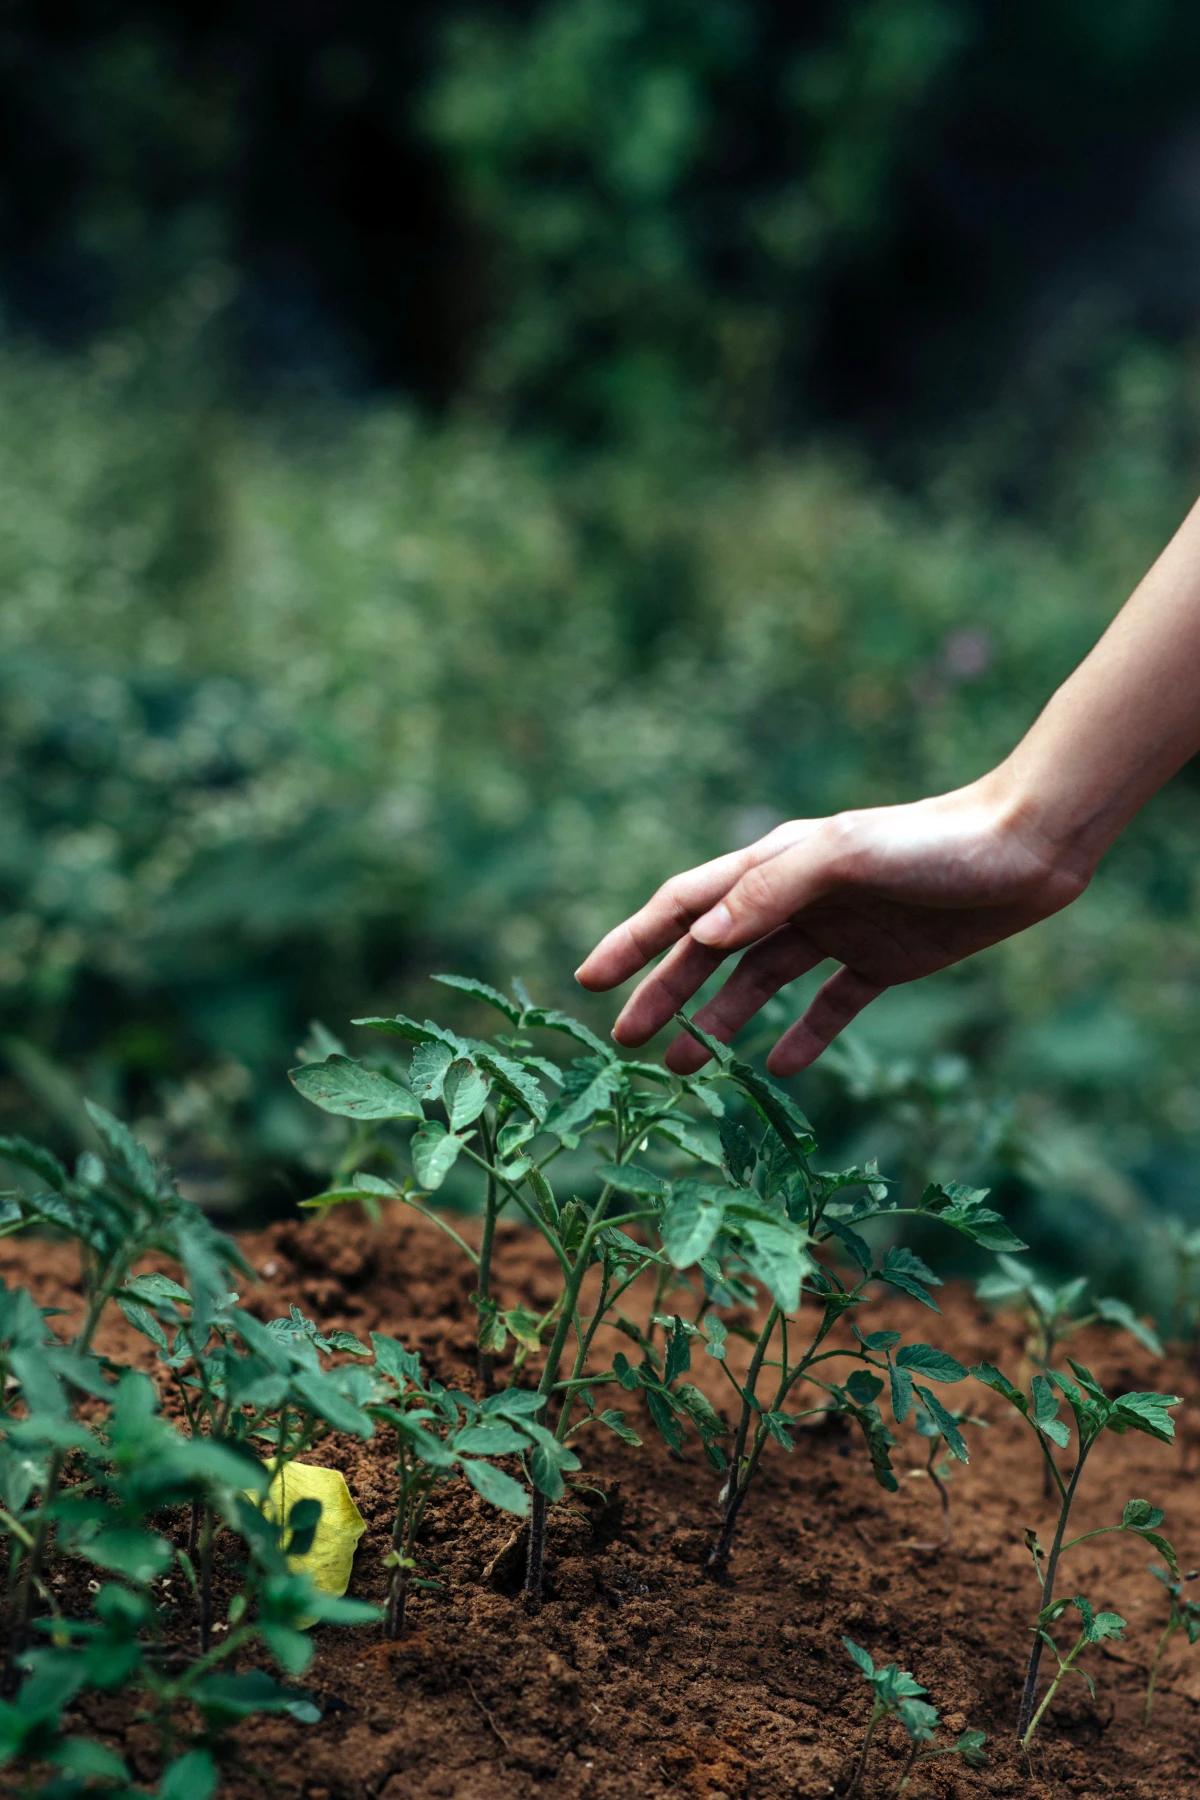
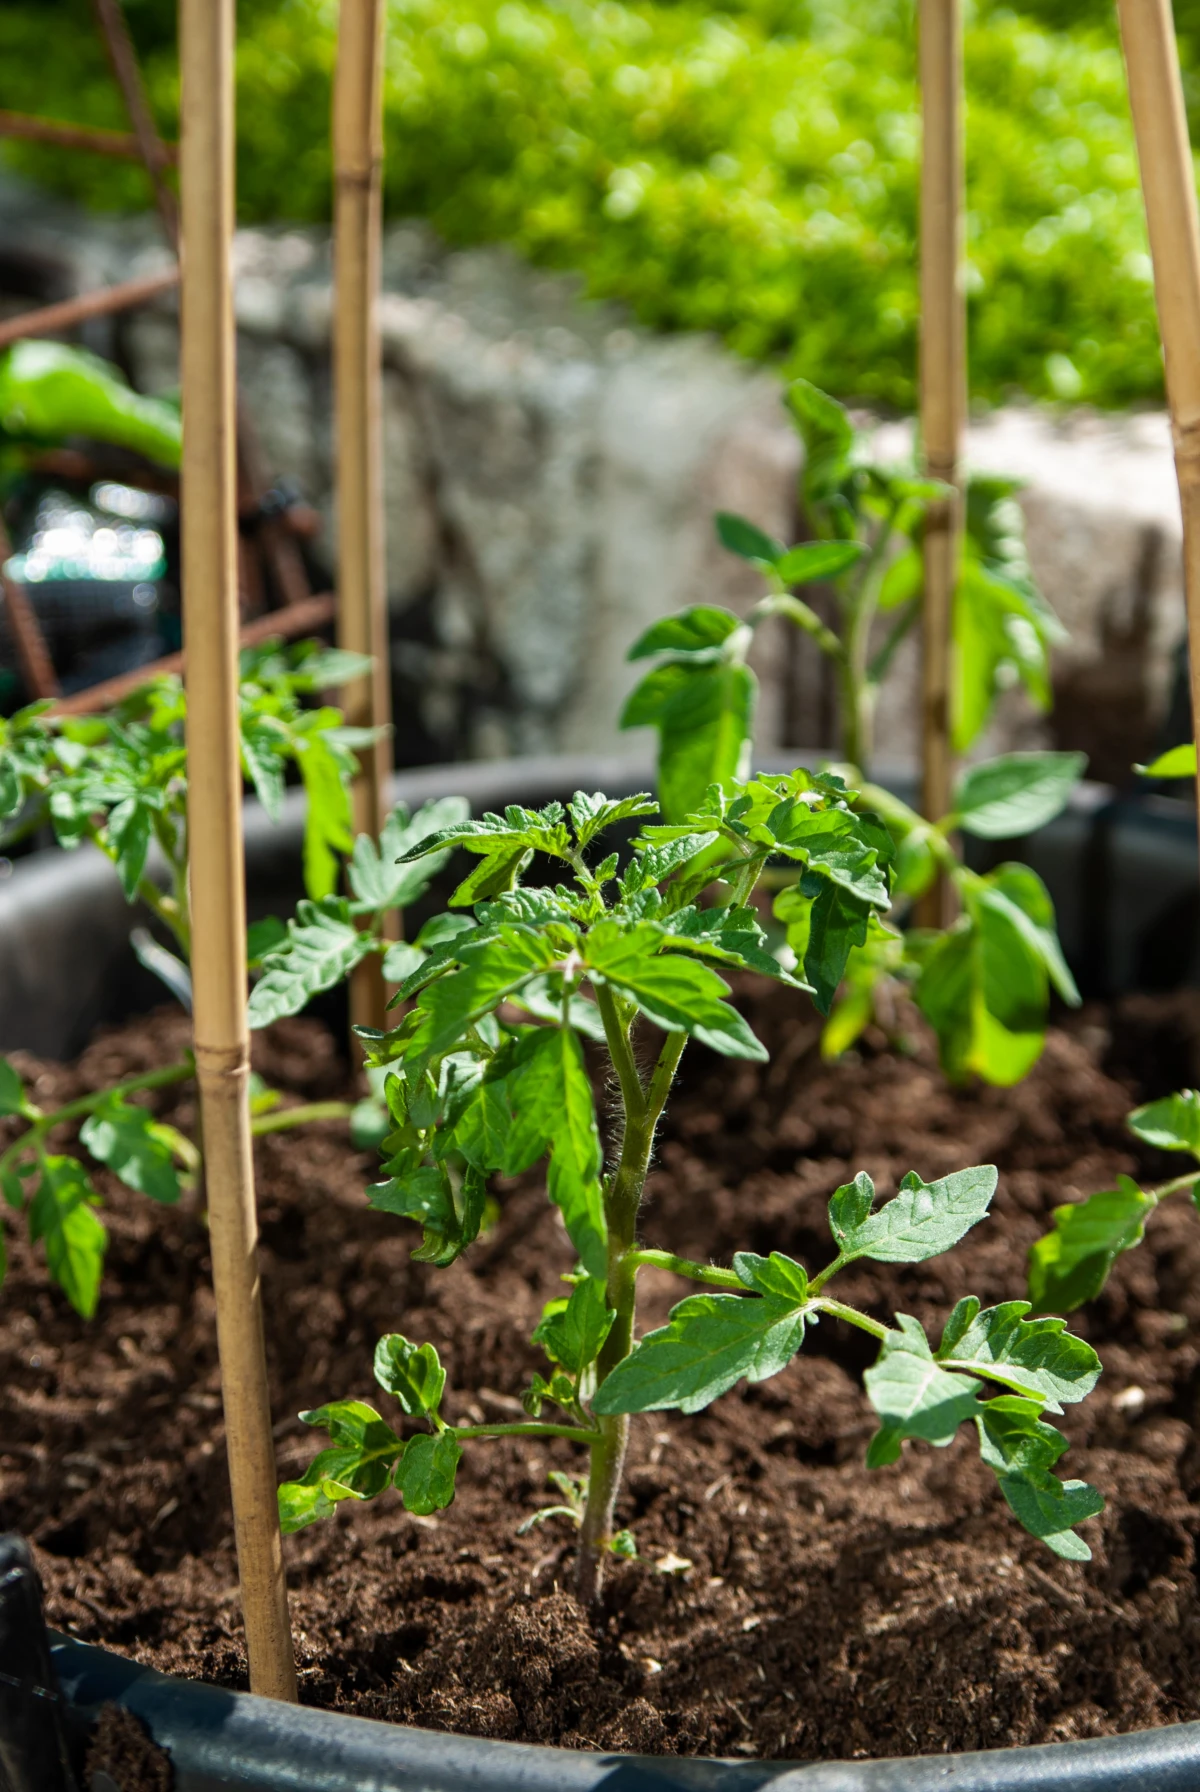
Alright, time for the fun part! You can either start with seeds or buy young plants, called transplants, from a nursery. Some plants, like carrots, beets, and beans, hate having their roots disturbed, so you should always plant those seeds directly in the garden. For plants that need a long season, like tomatoes and peppers, buying transplants gives you a huge head start.
Quick tip for tomatoes: plant them deep. Dig a hole and bury the stem right up to the first set of real leaves. That buried stem will sprout new roots, creating a much stronger, more resilient plant.
And remember what I said about thinning? When you plant seeds, you should always sow them a little thicker than you need. Once they sprout, you have to go back and remove the weaker seedlings so the strong ones have room to thrive. It feels cruel, but it’s essential for a good harvest.
When it comes to watering, the key is to water deeply but less often. A light sprinkle every day just encourages shallow roots. Instead, give the garden a good, deep soak once or twice a week (more if it’s really hot). The goal is to get the water down 6-8 inches. The best way to know if it’s time to water? Just stick your finger two inches into the soil. If it’s dry, it’s time.
Dealing with Pests (The Realistic Way)
Pests are going to show up. It’s a fact of life. The goal is not to create a sterile, bug-free zone, but to manage the bad guys and encourage the good guys.
The pros use an approach called Integrated Pest Management, which is just a fancy way of saying “start with the simplest, least toxic solution first.” Hand-pick bigger pests like tomato hornworms and drop them in soapy water. A sharp spray from the hose can knock off aphids. Physical barriers like a lightweight fabric row cover can keep moths from laying eggs on your broccoli.
One of the best long-term strategies is companion planting. This is the ancient practice of pairing plants that help each other out. A classic trio involves corn, pole beans, and squash. The corn provides a trellis for the beans, the beans add nitrogen to the soil for the corn, and the big squash leaves shade the ground, keeping weeds down and moisture in. A simpler one? Planting fragrant basil around your tomatoes is said to help repel some common pests.
Your First-Year Gardener’s Toolkit
You don’t need a shed full of fancy equipment. To be honest, you can get 90% of your garden tasks done with just a few key items.
- Good Gloves: A simple but essential piece of gear.
- A Sturdy Trowel: For digging small holes and transplanting seedlings.
- A Hori Hori Knife: This is my absolute favorite tool. It’s a Japanese gardening knife that’s part trowel, part knife, part saw. It’s perfect for digging, cutting through roots, and opening bags of soil. Once you use one, you’ll never go back. You can find them online or at good garden centers for $25-$40.
- A Good Watering Can or Wand: Something with a “rose” end that creates a gentle shower for your plants.
Starting a garden is a journey. You’ll have amazing successes and you’ll have frustrating failures. You’ll battle weeds, worry about weird-looking bugs, and become a chronic weather-checker. But then one day, you’ll walk out, pick a sun-warmed tomato, and eat it right there in the garden. And in that moment, all the work becomes completely, totally worth it.
Inspirational Gallery with Photos
Did you know that marigolds release a chemical called limonene from their roots?
This substance is a natural deterrent to root-knot nematodes, a microscopic pest that attacks the roots of tomatoes, peppers, and other vegetables. Planting a border of French Marigolds (Tagetes patula) around your beds isn’t just for looks; it’s an age-old organic pest control strategy that really works.
Bagged Potting Mix: Incredibly convenient for beginners with small beds or containers. Brands like Black Gold or Espoma Organic offer blends with balanced nutrients, compost, and perlite for excellent drainage right out of the bag. The downside is the cost per cubic foot.
Bulk Garden Soil: A mix of topsoil and compost, sold by the cubic yard from local landscape suppliers. It’s far more economical for filling larger raised beds (4×8 ft or more), but quality can vary. Always ask what’s in their blend!
For a single first-time bed, the convenience of high-quality bagged soil often outweighs the cost.
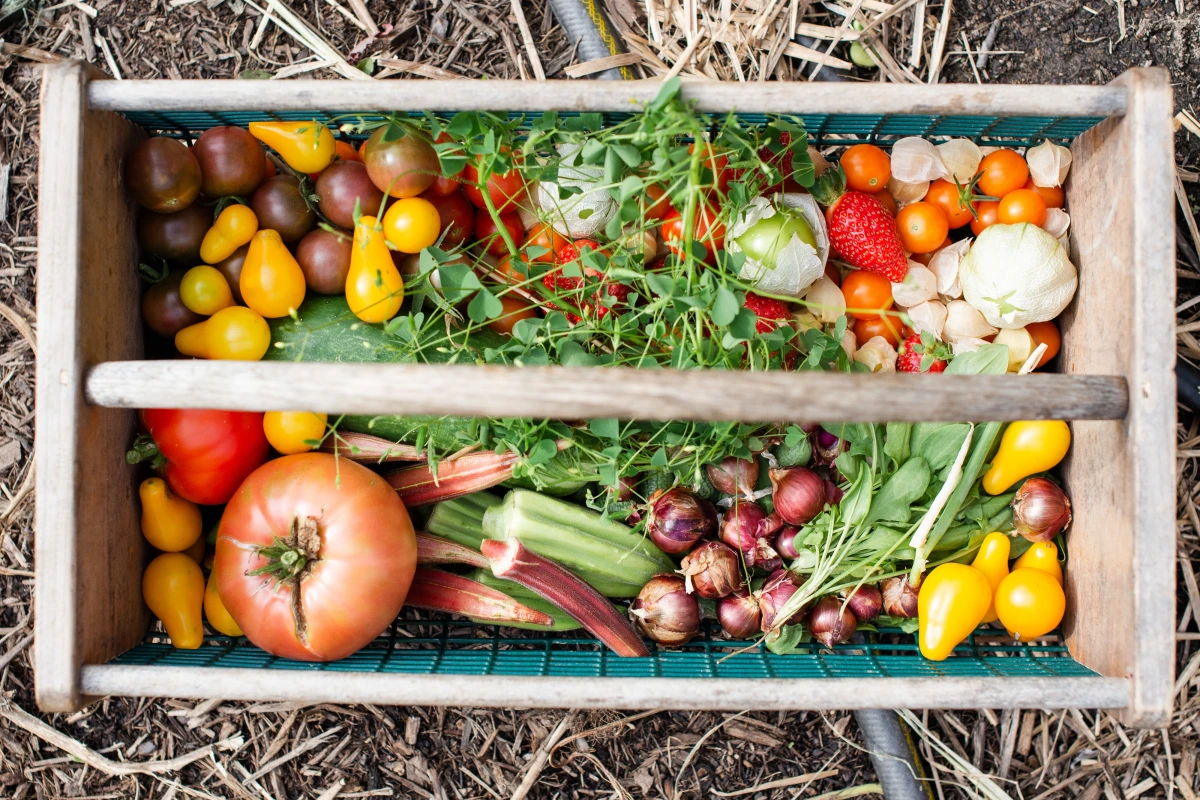
That first harvest, no matter how small, is a moment of pure magic. It’s the crisp snap of a bean picked fresh from the vine, the earthy scent of a new potato just pulled from the soil, or the surprising warmth of a cherry tomato that’s been soaking up the afternoon sun. This is the flavor you can’t buy in a store—the taste of your own hard work and patience.
- Protects plants from drought.
- Keeps the soil cool and moist.
- Dramatically reduces weed growth.
- Enriches the soil as it breaks down.
The secret? A simple 2-3 inch layer of mulch. Use straw, shredded leaves, or grass clippings (from an untreated lawn) spread around the base of your plants. It’s the single best thing you can do for your garden’s health after planting.
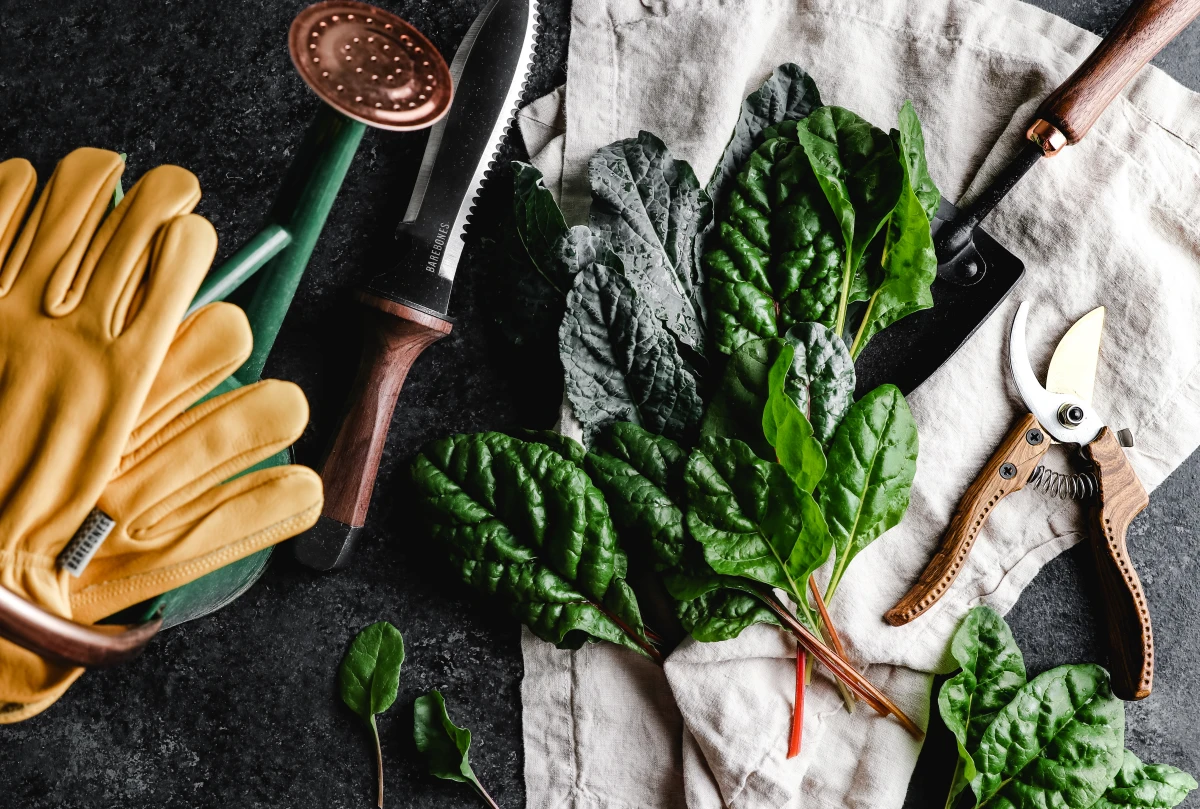
The essential starting trio: Don’t get overwhelmed by the tool aisle. For your first garden, you only need three core items. A sturdy steel trowel for digging and planting, a good pair of fitted gloves to protect your hands, and a watering can with a ‘rose’ (the sprinkler head) for gentle watering of seedlings. Brands like Fiskars offer durable, ergonomic options that will last for years.
Do I really need to fertilize my new garden?
If you started with good quality compost-rich soil, you may not need much fertilizer in your first year. However, ‘heavy feeder’ plants like tomatoes and zucchini will appreciate a boost. Wait until they’ve set their first fruits, then apply a liquid organic fertilizer, like Neptune’s Harvest Fish & Seaweed, every 2-3 weeks according to the package directions. It’s like a vitamin shot for your veggies.
The ‘Three Sisters’ is a traditional Native American companion planting method, perfected by Iroquois communities, that creates a self-supporting ecosystem.
Corn provides a natural trellis for pole beans to climb. The beans, in turn, pull nitrogen from the air and fix it in the soil, fertilizing the corn and squash. The large, spiny leaves of the squash spread out below, acting as a living mulch that smothers weeds and deters pests. It’s a brilliant example of how plants can work together.
Want to grow but don’t have a yard? Look around for containers you already have. A 5-gallon bucket (with drainage holes drilled in the bottom) is perfect for a single tomato or pepper plant. Old laundry baskets lined with burlap can grow lettuce or herbs. Even sturdy fabric grocery bags can work for a season. As long as it holds soil and allows water to drain, it can be a garden.
Important point: More gardeners kill their plants with kindness (overwatering) than neglect. The goal is consistently moist soil, not a soggy swamp.
Stick your finger two inches into the soil. If it feels dry at the tip, it’s time to water. If it feels damp, wait another day. This simple test prevents root rot, a fatal condition where roots drown from lack of oxygen.
Ready for some early wins? Try these three super-easy vegetables for near-instant gratification:
- Radishes: Many varieties go from seed to salad in under 30 days. They’re a perfect first-timer’s crop.
- Bush Beans: Productive and unfussy. Unlike pole beans, they don’t need a trellis. Plant them and watch them go!
- Loose-leaf Lettuce: You can harvest the outer leaves continuously for weeks, getting salads without having to pull up the whole plant.


