The Real Deal on Building a Pool in Florida: What Most Builders Won’t Tell You
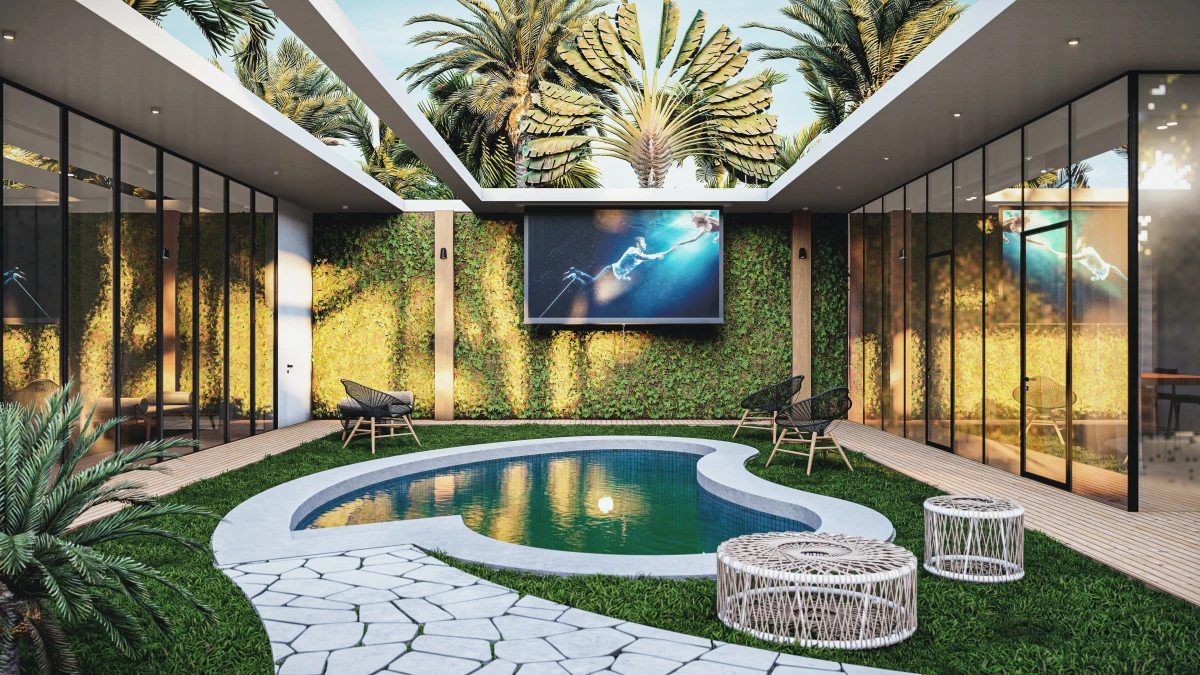
So, you’re thinking about getting a pool here in Central Florida. I get it. The dream is a sparkling blue oasis on a scorching summer day. But having been in this business for a long, long time, I can tell you that the path from a patch of grass to that perfect pool is a major construction project. It’s way more than just digging a hole and adding water.
In this article
I’ve seen pools that look brand new twenty years later, and I’ve been hired to rip out pools that were a complete disaster in less than five. The difference? It always comes down to doing things the right way, from the ground up, without cutting corners. This guide is all the stuff I tell homeowners who really want to understand what they’re paying for. We’re going to look past the glossy brochures and get into the guts of what makes a pool safe, durable, and actually worth the hefty price tag.
First Things First: It All Starts With the Ground
Before anyone even talks about pool shapes or fancy water features, a real pro looks at your yard. Seriously, what’s happening a few feet under your lawn is way more important than the lawn itself. Getting this part wrong is the fastest way to build a pool that’s doomed from the start.
Florida’s Tricky Soil and Water
Most of the ground here is sandy. While that’s great for the beach, it’s not so great for supporting the thousands of pounds of a concrete pool shell. Sand shifts. To counteract this, the first real step is site prep. We scrape away the topsoil and grass and then bring in special structural fill. We lay it down in 6 to 12-inch layers, compacting each one with heavy machinery until it’s rock solid. It’s tedious, but skipping this is how you get cracks and leaks down the road.
Oh yeah, and then there’s the water. Our groundwater is often super close to the surface. Dig a hole, and it starts filling up like a mini-pond. During construction, we have to constantly pump that water out. But more importantly, the finished pool has to be built to fight back against the constant upward pressure from that groundwater. It’s called hydrostatic pressure, and if a pool is built too thin (or without a proper relief valve in the drain), it can literally be pushed right out of the ground if you ever drain it for maintenance. I’ve seen it happen, and it’s a gut-wrenching sight.
Permits Aren’t Suggestions—They’re Your Protection
Let’s be crystal clear: if a builder ever suggests skipping the permit process, you need to end that conversation and show them the door. It’s the biggest red flag in the business. Permits ensure that a licensed engineer reviews the plans and that county or city inspectors check the work at every critical stage. It’s your single best protection as a homeowner.

The process requires detailed plans covering everything—the pool’s structure, the steel layout, the plumbing, the electrical. Those plans get an engineer’s stamp of approval, confirming the build is strong enough for your specific property. The inspections aren’t a pain; they’re your guarantee that things are being done to code. An inspector will physically check the steel placement before concrete is poured and verify all the electrical and safety components are correct before you ever fill it with water.
The Anatomy of a Concrete Pool Shell
Most in-ground pools here are concrete, built using a method called shotcrete (or gunite). This isn’t a pre-made fiberglass shell dropped in a hole; it’s a custom-built structure. This gives you unlimited design freedom, but the quality is 100% dependent on the skill of the crew.
The Steel Cage: Your Pool’s Skeleton
After the hole is dug with laser precision, a complex cage of steel reinforcing bars (rebar) is tied together by hand. This is what gives the concrete its tensile strength—the ability to flex under pressure instead of just cracking. A common shortcut I’ve seen on repair jobs is builders spacing the rebar too far apart or using undersized steel to save a few hundred bucks. The steel needs to be held up on little concrete blocks (we call them “dobies”) so it sits in the middle of the concrete wall, not against the dirt where it does nothing but rust.
Plumbing and the All-Important Pressure Test
While the steel cage is going in, the plumbing is laid out. We use thick, rigid PVC pipes for all the underground lines. Good design here is key for your long-term sanity and electric bill. Using larger pipes and long, sweeping turns instead of sharp 90-degree elbows means your pump doesn’t have to work as hard, saving you money every single month.
Before a single ounce of concrete is sprayed, we seal the whole plumbing system and pressurize it with air and water. Then we wait. If that pressure gauge moves even a little bit over 24 hours, there’s a leak. Finding it and fixing it now is easy. Finding it after it’s buried under tons of concrete and decking is a complete nightmare.
The Magic of Shotcrete
Shotcrete is a special mix of cement and sand that’s sprayed at high velocity onto the rebar cage. The force of the spray compacts the material, creating an incredibly dense and strong shell. The person on the nozzle is a true artist, shaping the walls and floor to a precise thickness. After it’s sprayed, the concrete needs to cure, not just dry. This means you’ll be asked to gently spray it down with a hose a few times a day for a week or so. This slow-curing process is what allows the concrete to reach its maximum design strength.
The Finishes: Where Quality Really Shines
The shell provides the strength, but the finishes are what you see and feel every day. This is where craftsmanship separates a decent pool from a stunning one. And remember, these materials have to survive the intense Florida sun and constant exposure to pool chemicals.
Coping, Tile, and Decking Choices
Coping is the smooth edge around the pool. Travertine is a fantastic choice here because it stays relatively cool in the sun, unlike concrete pavers which can get scorching hot. Below the coping, you have a six-inch band of waterline tile. This isn’t just for looks; it provides a stain-resistant, easy-to-clean surface where oils and sunscreen tend to collect.
For the main deck, pavers and travertine are top-tier choices because they’re set on a base of crushed stone that allows for excellent drainage—a must-have with our downpours. A poured concrete deck is usually cheaper upfront but is almost guaranteed to develop cracks over time. If you do go with concrete, make sure it has plenty of control joints and is properly sloped to drain water away from the pool and your house foundation.
The Interior Finish: What It Costs and How Long It Lasts
This is the final waterproof layer inside your pool and what gives the water its color. You have a few main options, and here’s the honest breakdown of cost versus longevity:
- Standard Plaster: This is the classic, budget-friendly choice. It’s a simple mix of white cement and marble dust that gives you that traditional light-blue water look. It’s the most affordable, typically running between $5,000 and $8,000 for an average-sized pool, but it has the shortest lifespan. Expect to resurface it in about 7 to 10 years.
- Quartz Aggregate: This is a big step up. It’s a plaster mix with small quartz crystals blended in. It’s much more durable and stain-resistant than standard plaster. The upfront cost is higher, maybe $7,000 to $11,000, but it can easily last 10 to 15 years, making it a great middle-ground option.
- Pebble Finish: This is the premium, top-of-the-line choice. It uses tiny, smooth river pebbles for a finish that is incredibly tough and forgiving. It feels great on your feet and can last over 20 years with proper care. It’s the most expensive, often in the $9,000 to $15,000+ range, but you won’t have to think about resurfacing for a very, very long time.
After the finish is troweled on, we start filling the pool immediately. Quick tip: a garden hose can leave mineral stains on a fresh finish. It’s worth paying the extra $300-$500 for a water truck delivery to fill it quickly and cleanly.
The Nitty-Gritty: Timeline, Budget, and Ownership Costs
Okay, let’s talk about the two things everyone really wants to know: how long will this take, and what’s the real bottom line?
A Realistic Project Timeline
Forget what you see on TV. You will not be swimming in 30 days. A quality pool project in Florida has a more realistic timeline, and good builders are often booked out. Here’s a typical breakdown:
- Months 1-2: Design & Permitting. This phase involves a lot of back-and-forth. Finalizing the design, getting engineering plans, and then submitting to the local building department, which can take weeks or even months to approve.
- Month 3: The Heavy Lifting. This is when the fun begins. Excavation, forming the shape, installing all the steel and plumbing, and finally, shooting the concrete shell.
- Month 4: The Details. This is for all the tile, coping, and any stone or water features. Then the crew will prep and pour the deck. After that, the equipment (pump, filter, etc.) is installed.
- Month 5: Finishing Up. The final interior finish is applied, the pool is filled with water, and the startup process begins. This involves balancing the chemicals, programming the equipment, and a final cleanup.
So, from the day you sign a contract to your first cannonball, it’s realistically a 4 to 6-month process, assuming no major weather delays or supply chain issues.
The True Cost of a Pool & Ongoing Ownership
A basic, no-frills concrete pool in Central Florida will likely start in the $60,000 to $70,000 range. The average pool with popular features like a spa, travertine deck, and a screen enclosure will typically land in the $90,000 to $120,000+ bracket. Things like vanishing edges, waterfalls, and high-end automation can push that number much higher.
But the spending doesn’t stop when the builders leave. Here’s what to budget for ongoing ownership:
- Electricity: Modern variable-speed pumps are very efficient, but they still run. Expect your electric bill to go up by $40 to $80 per month.
- Chemicals: Whether you use traditional chlorine or a salt system, you’ll need to buy chemicals. Budget around $30 to $60 per month.
- Maintenance & Repairs: This is the one everyone forgets. Set aside a
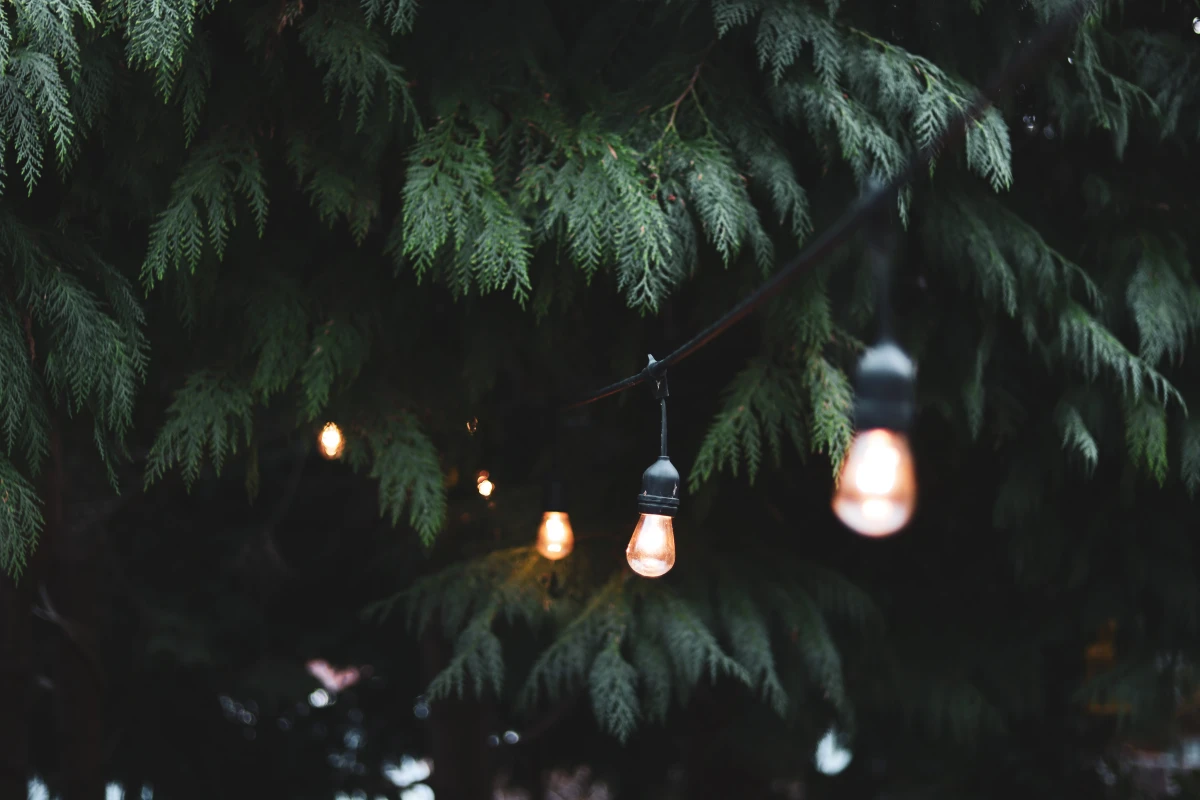
Inspiration:
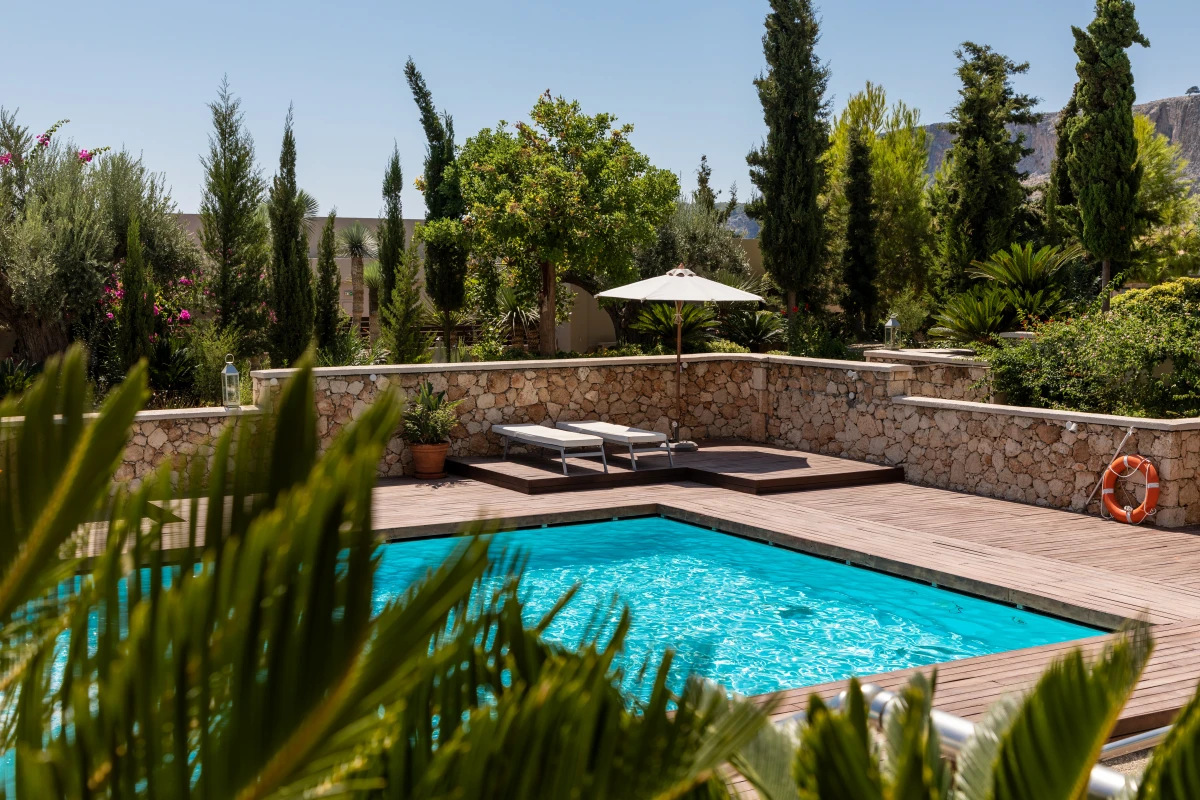
What about the surface surrounding your pool? It’s just as important as what’s inside.
Travertine Pavers: This natural stone is a Florida favorite for a reason. Its porous structure allows it to stay significantly cooler to the touch than other materials, a huge plus in the summer heat. It also provides a naturally non-slip surface, which is ideal for wet areas.
Stamped Concrete: A more budget-friendly option that can be poured and stamped to mimic the look of stone or brick. The downside? It can get scorching hot underfoot and is prone to developing surface cracks over time due to ground settling—a real concern with Florida’s sandy soil.


