A Pro’s Guide to Duct Tape: Stop Using the Wrong Stuff
Throughout my career in general contracting and on event production crews, I’ve seen duct tape used to solve problems you wouldn’t believe. But I’ve also seen it fail in spectacular ways, creating bigger messes and, honestly, some pretty serious safety hazards.
In this article
Here’s the thing: that common silver roll you grab at the hardware store is just one member of a huge family of tapes. And most people use it for everything, which is a bit like trying to build a car with a single wrench. It just doesn’t work. This isn’t about clever life hacks; it’s a real-world guide to understanding tape as a professional tool. My goal is to show you how to pick the right tape for the job, saving you time, money, and a ton of frustration.
So, What Makes It Stick Anyway?
To use tape correctly, you have to know what it’s made of. It’s actually a three-part system, and the quality of each layer is what makes one roll a champ and another a total dud. When a tape fails, it’s because one of these parts wasn’t up to the task.

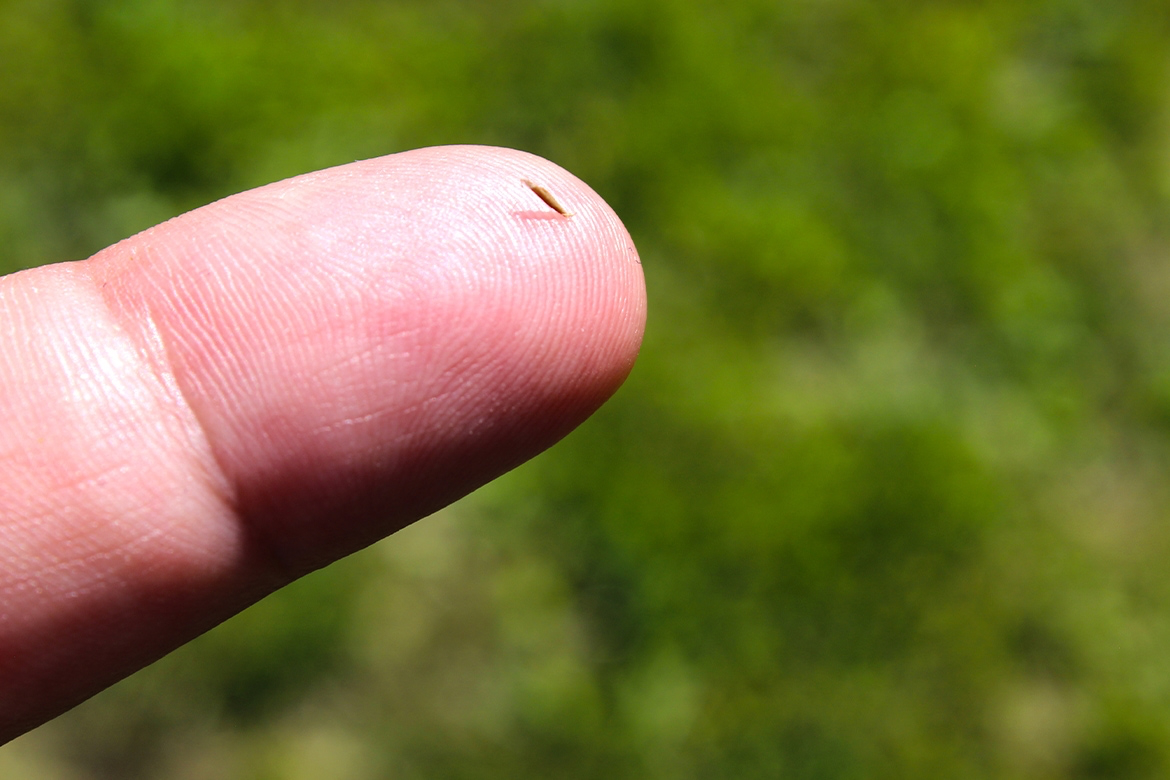
First, you have the shiny top layer, a plastic coating that makes the tape water-resistant. It’s why you can slap it on a leaky garden hose for a temporary fix. But heads up, this plastic breaks down in direct sunlight. UV radiation makes it brittle, causing it to crack and flake away after just a few weeks or months outdoors.
The real muscle of duct tape is the fabric mesh in the middle, called a scrim. This is the secret sauce. The quality is measured in Threads Per Inch (TPI). A cheap, general-purpose roll might have a low TPI, feel flimsy, and tear super easily. But a real industrial-grade tape has a much higher TPI, giving it incredible strength to resist stretching and breaking. Good to know: You won’t usually find the TPI printed on the package. Instead, you have to go by the product name, like “Contractor Grade” or “Industrial,” and honestly, you can feel the difference in stiffness and weight right away.
Finally, there’s the adhesive itself. Most duct tapes use a rubber-based adhesive that’s designed for a high initial grab. It’s great for quick fixes, but it has two big weaknesses: temperature and residue. In high heat (think above 140°F), it gets soft and gooey. In the cold (below 40°F), it hardens and won’t stick to anything. And as we all know, it’s notorious for leaving behind a thick, gummy mess.
Your Tape Options: The Good, The Bad, and The Sticky
Walking into a place like Home Depot, you’ll see a whole wall of tapes that look alike. But they are definitely not the same. Here’s the breakdown of what you should have in your toolkit.
General Purpose Duct Tape
This is the cheap, classic silver roll you’ll find for about $5 to $8. It’s fine for light, temporary tasks like taping a drop cloth down for a few hours or labeling a moving box. I never, ever use this for anything important on a job site. From my experience, it’s just not reliable. I once tried to secure a tarp over a woodpile with cheap tape before a storm… I came back to a shredded tarp and a soaking wet mess. That’s when I learned to always spend the extra few bucks for a better roll.
Industrial or Contractor Grade Tape
This is your go-to workhorse. It’s stronger, tougher, and has a thicker layer of adhesive. We’re talking brands like Gorilla Tape or T-Rex. A roll will set you back about $10 to $15, but it’s worth every penny for its reliability. I use this for bundling lumber, temporary patches on equipment, and securing plastic sheeting against the weather. But remember, it still uses a rubber-based adhesive, so it will leave residue over time and won’t hold up in extreme heat or cold.
HVAC Foil Tape (The Real Duct Tape)
Okay, this is a critical point: you should NEVER use standard silver duct tape on HVAC ducts. It’s against building codes for a reason. The adhesive dries out and fails from the temperature swings, causing air leaks that waste energy and can even be dangerous. The correct tape for the job is an aluminum foil tape, which you can find at any big box hardware store. It uses a special acrylic adhesive that can handle huge temperature swings without failing. It creates a permanent, airtight seal. Look for tape that is “UL 181B-FX listed” on the label—that’s the official certification that it’s safe for flexible ducts. A roll typically costs around $15.
Gaffer’s Tape
In my event production work, this stuff is gold. It looks like black duct tape but has a matte, non-reflective cloth finish. Most importantly, it uses a high-quality adhesive designed for clean removal. You can tape cables across a nice floor for a week, and it will pull up without leaving a single sticky spot. It is much more expensive—a good roll can cost between $18 and $25—but using regular duct tape on a venue’s floors could easily cost you your security deposit. You can find it online or at specialty camera or music supply stores.
The Nightmare: How to Clean Up That Gummy Residue
We’ve all been there. You peel off old duct tape and are left with a sticky, black rectangle of gunk that attracts every piece of dirt and dust. I once spent a full day with a putty knife and solvent scraping melted tape residue off a client’s window frames. It was a nightmare.

Here’s how to deal with it without losing your mind:
- For hard surfaces (metal, glass, finished wood): Start with a lubricant-based product like WD-40 or a citrus-based cleaner like Goo Gone. Apply it, let it sit for about 10-15 minutes to dissolve the adhesive, and then gently scrape it off with a plastic scraper or an old credit card. Finish by cleaning the area with soapy water.
- For fabrics (use caution!): Isopropyl (rubbing) alcohol can work, but always test it on a hidden spot first to make sure it doesn’t damage the color. Dab it on, let it work, and then gently rub the residue off.
- A quick tip: A little heat from a hairdryer can sometimes soften old, hardened adhesive just enough to make it easier to scrape off before you use any solvents.
Quick Fixes: The Right and Wrong Way to Do It
Let’s look at some common tape hacks from a pro’s perspective.
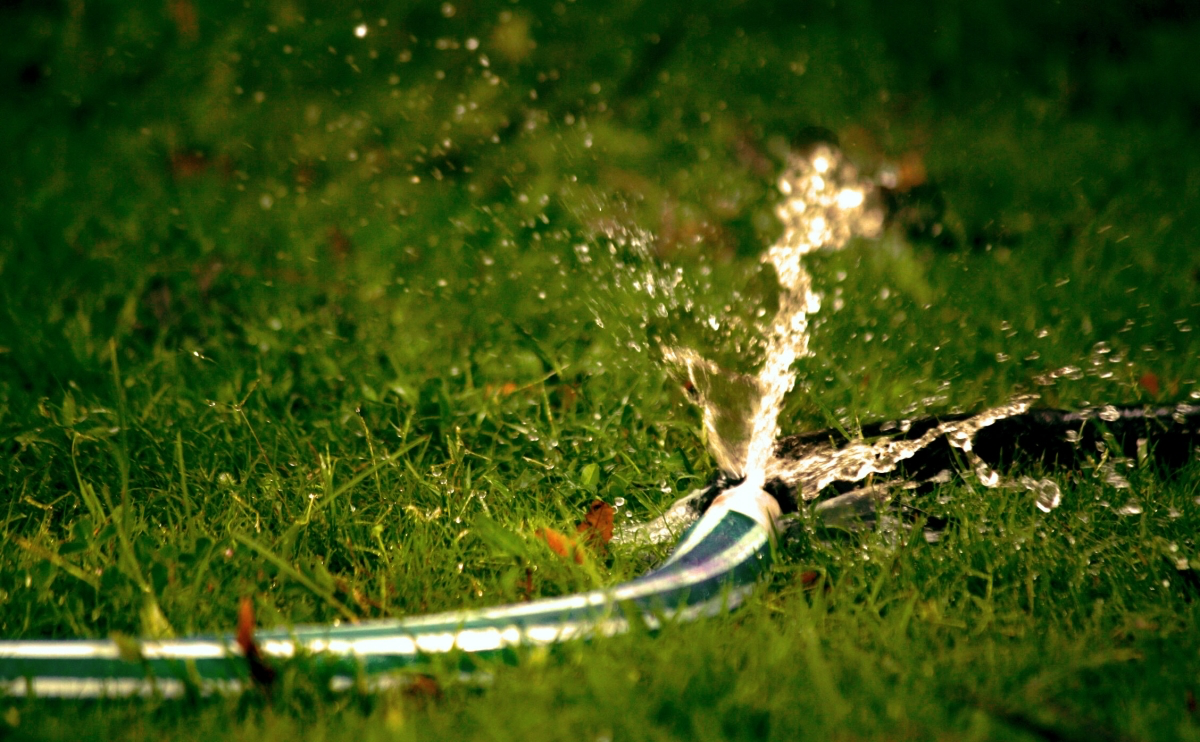
Temporary Hose Repair: Yes, this can work for a low-pressure garden or vacuum hose. But you have to do it right. Clean and dry the area completely. Start wrapping the tape two inches before the hole and go two inches past it, overlapping the tape by at least 50% with each turn. Pro tip: For a longer-lasting fix, put a zip tie or cable tie tightly on each end of the tape wrap. This keeps the edges from peeling up.
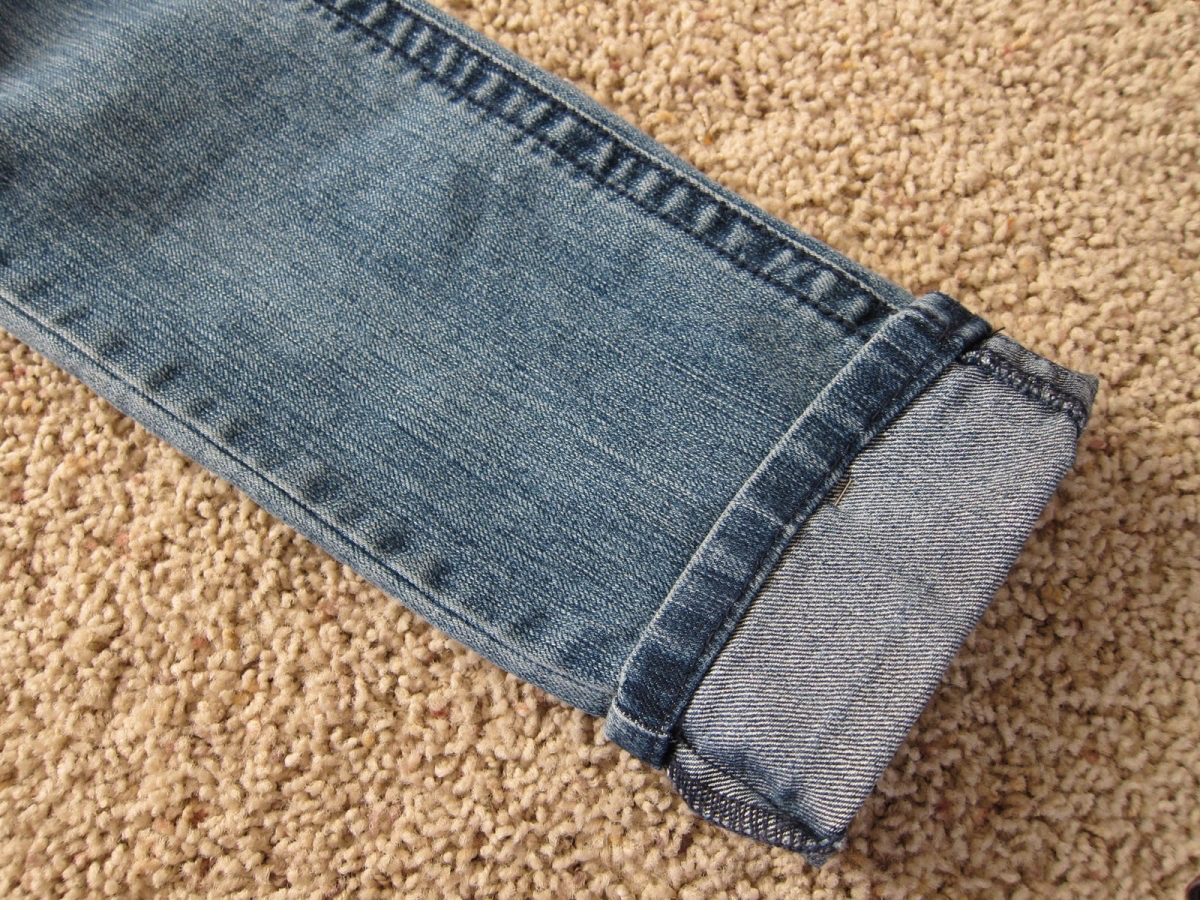
Emergency Pant Hem: In a pinch, sure. Fold the cuff under and use small strips of tape on the inside. Just be warned, the adhesive will probably leave residue on the fabric, and if you iron over it or throw it in the dryer, the heat can bake that gunk in permanently.
Protecting Floors from Furniture: Please, do not do this. This is terrible advice. The pressure and movement will smear that black adhesive all over your hardwood or carpet, creating a permanent, ugly stain. The correct solution is to use self-adhesive felt pads. They cost a few dollars, are made for this exact purpose, and won’t ruin your floors.
When You Should Absolutely NOT Use Duct Tape
A true pro knows a tool’s limits. Knowing when to put the roll down is the most important skill of all. Misusing it can lead to property damage, fire, or worse.
- Never on Electrical Wiring. This is my number one rule. Duct tape is NOT a proper electrical insulator, and the cloth inside can even conduct electricity if it gets damp. The adhesive is also flammable. Always use certified vinyl electrical tape.
- Never for High-Heat Applications. Don’t use it on your car’s engine, exhaust pipes, or space heaters. The adhesive will melt, release fumes, and could catch fire.
- Never for Permanent Structural Support. It’s tape, not a bolt. It’s for temporary, non-load-bearing situations only.
- Never for Long-Term Outdoor Repairs. Unless you buy a special tape rated for outdoor/UV use, the sun will destroy it, leaving you with a problem that’s worse than what you started with.

My Final Advice: A Pro’s Tape Toolkit
Think of duct tape as a valuable tool, not a magic wand. For about $35-$40, you can build a small toolkit that will solve 90% of your problems the right way. Here’s what I recommend you keep on hand:
- One roll of quality Contractor Grade Tape (~$12): For all your heavy-duty, general-purpose fixes.
- One roll of 2-inch Gaffer’s Tape (~$20): For anything involving delicate surfaces or clean removal.
- One roll of UL-listed HVAC Foil Tape (~$15): The only thing you should use to seal ductwork.
By understanding the material and choosing the right tape for the job, you’ll move beyond simple hacks and start solving problems like a professional. And that’s a skill worth having.
Inspiration:
Ever spent an hour scrubbing sticky, gummy residue off a surface after removing a piece of tape?
That mess is the calling card of general-purpose duct tape. Its natural rubber adhesive is designed for grip, not for clean removal, and it breaks down over time, especially with heat or UV exposure. For temporary jobs where the surface matters—like taping down cables at an event or hanging a sign on a painted wall—professionals use gaffer tape. Brands like Pro Tapes Pro-Gaff use a high-quality synthetic adhesive that holds firm but releases cleanly, leaving no trace behind. It’s the secret to a fast, damage-free wrap-up.
Ironically, most common duct tape is not approved for use on air ducts.
It fails under the temperature changes and humidity typical in HVAC systems. For sealing ducts, pros use aluminum foil tape (like 3M 3311), which has a specialized acrylic adhesive that withstands extreme heat and cold without degrading. It creates a permanent, airtight seal that improves energy efficiency and is often required by building codes. It’s a perfect example of a specialized tool for a specific job.


