Is Going Solar Worth It? An Installer’s No-BS Guide
I’ve spent more than fifteen years on rooftops, feeling the summer sun bake into shingles and the winter chill on aluminum rails. In that time, I’ve installed hundreds of solar energy systems on everything from tiny off-grid cabins to sprawling suburban homes. And you know what? People always ask me the same thing: Are solar panels really worth it?
In this article
- The Basics: How Sunlight Becomes Your Power
- Sizing Your System: The #1 Mistake to Avoid
- Grid-Tied, Hybrid, or Off-Grid: What’s Your Flavor?
- The Gear: It’s More Than Just Panels
- What to Expect During Installation
- The Financial Side: Costs, Credits, and Payback
- Long-Term Care and What to Watch For
- So, Should You Do It?
Honestly, the answer isn’t a simple yes or no. It’s not about hype or just saving the planet, though that’s a nice bonus. The real answer depends on your home, your goals, and getting a handle on how these systems truly work. So many articles just give you a generic pros-and-cons list. This isn’t one of them. I want to give you the kind of knowledge I share with my own apprentices—the stuff you need to ask smart questions and see right through a glossy sales brochure.
The Basics: How Sunlight Becomes Your Power
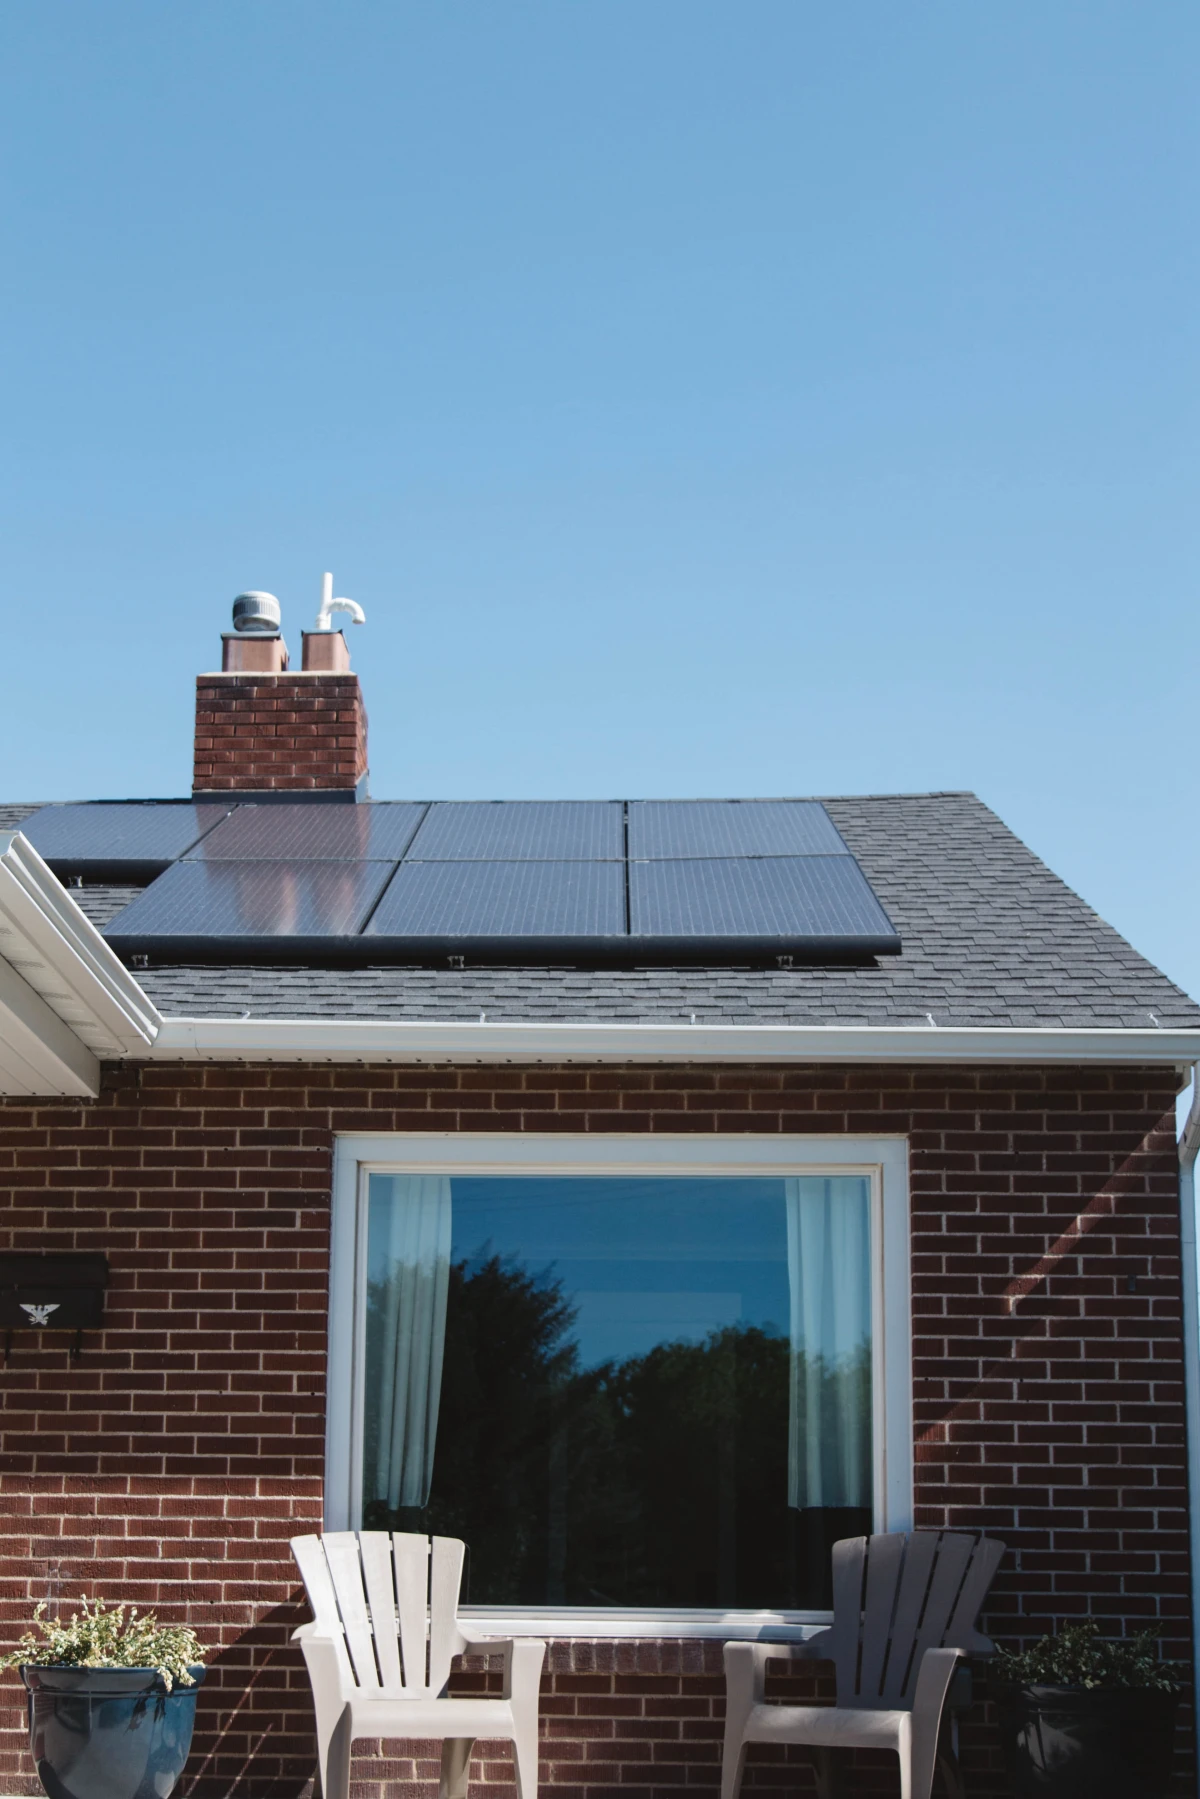
Before we even touch on money or equipment, you need to get the core idea. It’s actually pretty cool. Solar panels are built from photovoltaic (PV) cells, which are like little sandwiches made mostly of silicon. When sunlight hits the top layer of this sandwich, its energy literally knocks electrons loose. These free electrons are then wrangled into a path, creating a flow of direct current (DC) electricity.
It’s a physical process with no moving parts, which is why panels can last for decades.
But here’s the catch: your home doesn’t run on DC power. Your fridge, your TV, your coffee maker—they all use alternating current (AC). This is where the most important piece of gear comes in: the inverter. The inverter is the brain of your entire solar setup. It grabs that raw DC electricity from the panels and converts it into clean, stable AC power your home can actually use. A quality inverter is just as crucial as the panels themselves. I’ve seen cheap ones fail in five years, while a good one will hum along for ten to fifteen years, easy.
From the inverter, the power flows to your home’s main electrical panel and zips off to your lights and appliances, just like power from the grid. If your panels are making more juice than you’re using… well, that extra power has to go somewhere. In most setups, it flows back out through your meter and onto the utility grid. We’ll get back to this idea, called net metering, because it’s a huge part of the financial puzzle.

Sizing Your System: The #1 Mistake to Avoid
The biggest error I see homeowners make is fixating on the number of panels. They’ll say, “I want twenty panels.” That’s like telling a car dealer you want a 15-gallon gas tank without knowing how far you need to drive. A pro always starts with one thing: your actual electricity usage. The goal is to design a system that matches your yearly power consumption.
Here’s your first homework assignment. Go grab your last few utility bills and look for a number measured in kilowatt-hours (kWh). This tells us exactly how much electricity you use. If you can get 12 months of bills, even better—that gives us the full picture, from your low-use spring months to when the AC is blasting in August. Let’s say your home used 12,000 kWh last year. That’s our target. We’ll design a system that aims to produce around 12,000 kWh annually.
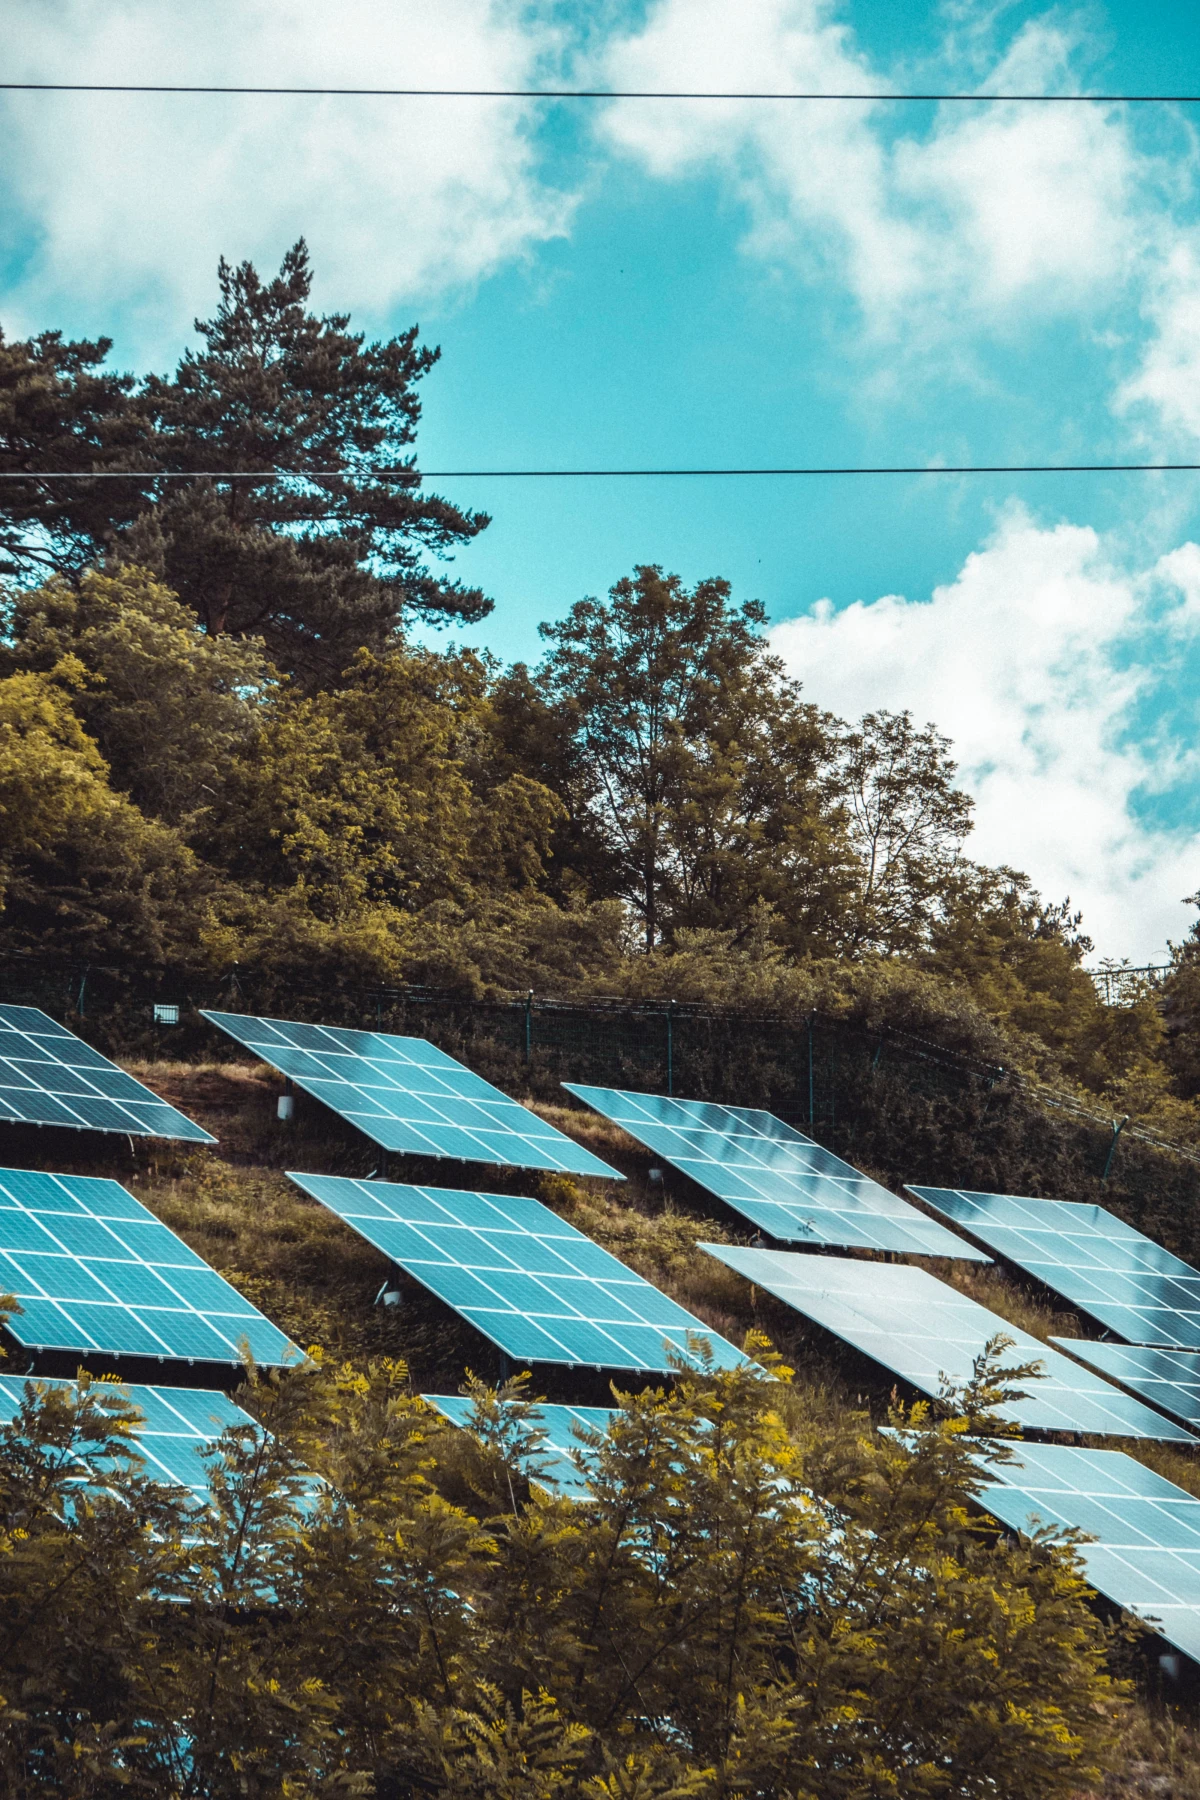
Next, we have to figure out how much usable sun your roof gets. We call this “peak sun hours,” and it’s a standard way to measure the intensity of sunlight in a location. A roof in sunny Arizona might get 6 or 7 peak sun hours a day, while a roof in the Pacific Northwest might only get 3 or 4. This is why the same set of panels produces way more power in the Southwest.
Oh yeah, and a quick fun fact: Most people think hotter is better for solar. Actually, panels are most efficient on cool, sunny days! Extreme heat can slightly reduce their output. We always factor in these real-world losses—from heat, wire resistance, and inverter inefficiency—which usually add up to about 15% off the panel’s sticker rating. It’s all about setting realistic expectations.
Grid-Tied, Hybrid, or Off-Grid: What’s Your Flavor?
Not all solar systems are created equal. This choice has the biggest impact on your cost and what your system can do for you. There are three main paths you can take.
1. Grid-Tied Systems
This is the most common and most affordable way to go solar. Your system is tied directly to the utility grid, and it’s a two-way street.
- How it works: During the day, you use the power from your panels. If you make more than you need, it’s sent to the grid, and your utility usually credits you for it (net metering). At night or on cloudy days, you just pull power from the grid like normal.
- The Big Downside: When the grid goes down, your system has to shut down, too. It’s a mandatory safety feature to protect utility workers from being electrocuted by your panels feeding power into a line they think is dead. So, no grid power means no solar power for you, either.
- Best for: People focused on lowering their electric bill who have a reliable grid and aren’t concerned about power outages.
2. Hybrid Systems (Grid-Tied with a Battery)
A hybrid setup is the best of both worlds, giving you savings and security. It’s a grid-tied system with a big battery added to the mix.
- How it works: Your panels power your home and charge your battery. Once the battery is full, any extra power goes to the grid for credit. When a power outage hits, an automatic switch disconnects you from the grid, and your home starts pulling power from the battery to run your essential circuits.
- The Cost Factor: Batteries add a significant cost to the project, easily $10,000 to $15,000 or more. You also have to decide what you want to back up—just the essentials like the fridge and lights, or the whole house? The more you want to power, the bigger and pricier the battery bank.
- Best for: Anyone who wants to lower their bill but also values energy independence and wants to keep the lights on during an outage.
3. Off-Grid Systems
Living completely off-grid is a serious commitment, usually for remote properties where connecting to the utility is crazy expensive or impossible. You become your own power company.

- How it works: You need a much larger solar array and a massive battery bank to store enough power to get through several cloudy days in a row. Almost all off-grid systems also have a backup generator for winter or long spells of bad weather.
- The Lifestyle: You have to be incredibly mindful of your energy use, especially in winter. It’s a lifestyle adjustment, not just a home upgrade.
- Best for: Remote homes, cabins, or anyone fully committed to total energy independence.
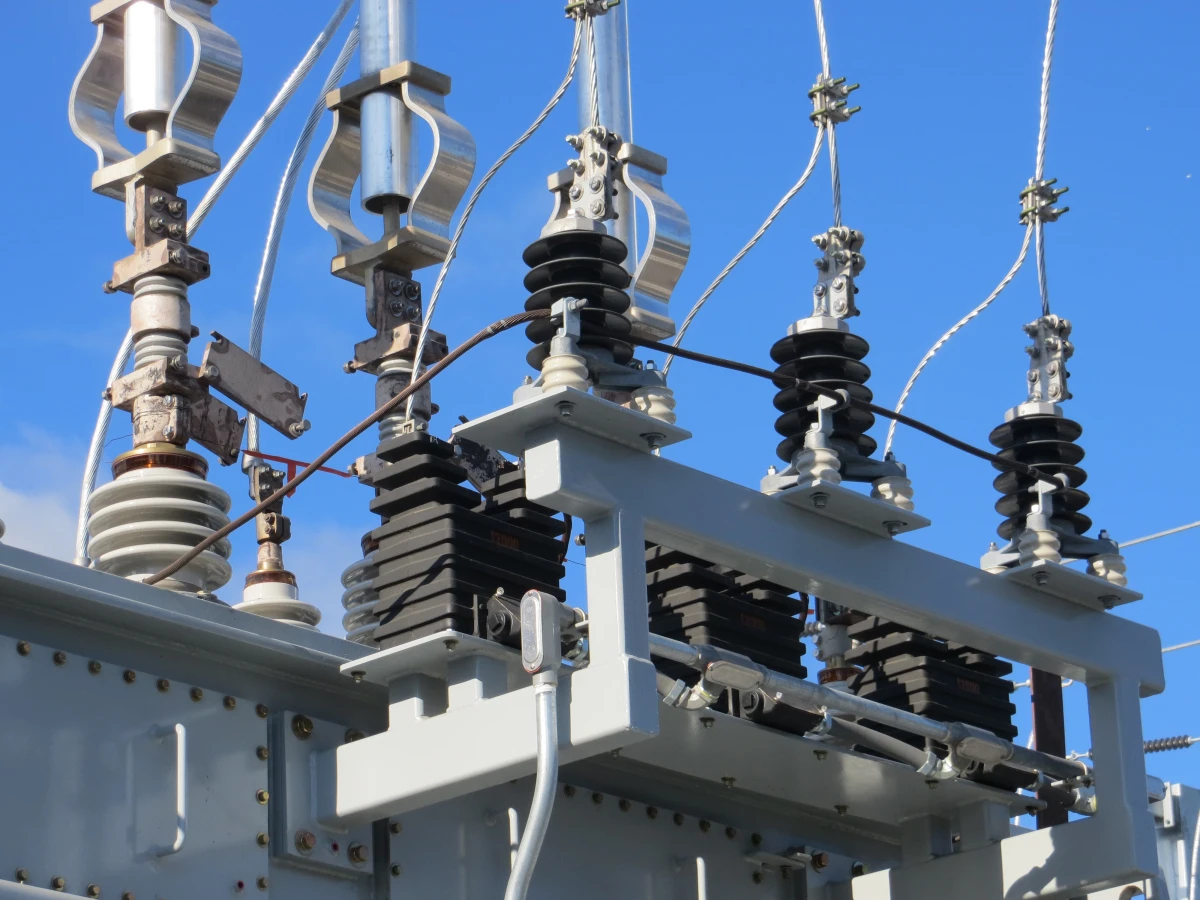
The Gear: It’s More Than Just Panels
A solar system is only as strong as its weakest link. Focusing on quality across the board is absolutely critical.
- Solar Panels: Today, most high-quality panels are monocrystalline, which you can spot by their uniform black color. They’re made from a single silicon crystal, making them very efficient. When looking at a quote, don’t just focus on the wattage. Ask about the temperature coefficient (a lower number is better, meaning it performs better in heat) and the warranties. A good panel will have a 25-year power production warranty and at least a 10-15 year product warranty. From my experience, you can’t go wrong looking at panels from brands like Q Cells, REC, or Canadian Solar. Seeing names like these on a quote is usually a good sign.
- Inverters: This is a huge choice. A string inverter is one big box on the wall where all the panels send their power. It’s reliable and cost-effective, but if one panel is shaded, it can drag down the performance of the whole string. They’re best for simple, unshaded roofs. Microinverters, on the other hand, are small inverters placed under each individual panel. This means every panel operates independently, which is a huge advantage for complex roofs or those with partial shading from trees. They cost more upfront but often squeeze more power out of the system over its lifetime. A brand like Enphase is a leader in this space.
- Racking & Mounting: This is the skeleton that holds everything to your roof, and it’s no place to skimp. The frame needs to handle hurricane-force winds and heavy snow for 30 years. But the most critical part is how it attaches to your roof. Each connection point must be perfectly flashed and sealed to prevent leaks. A good installer works like a roofer, respecting the integrity of your home above all else.
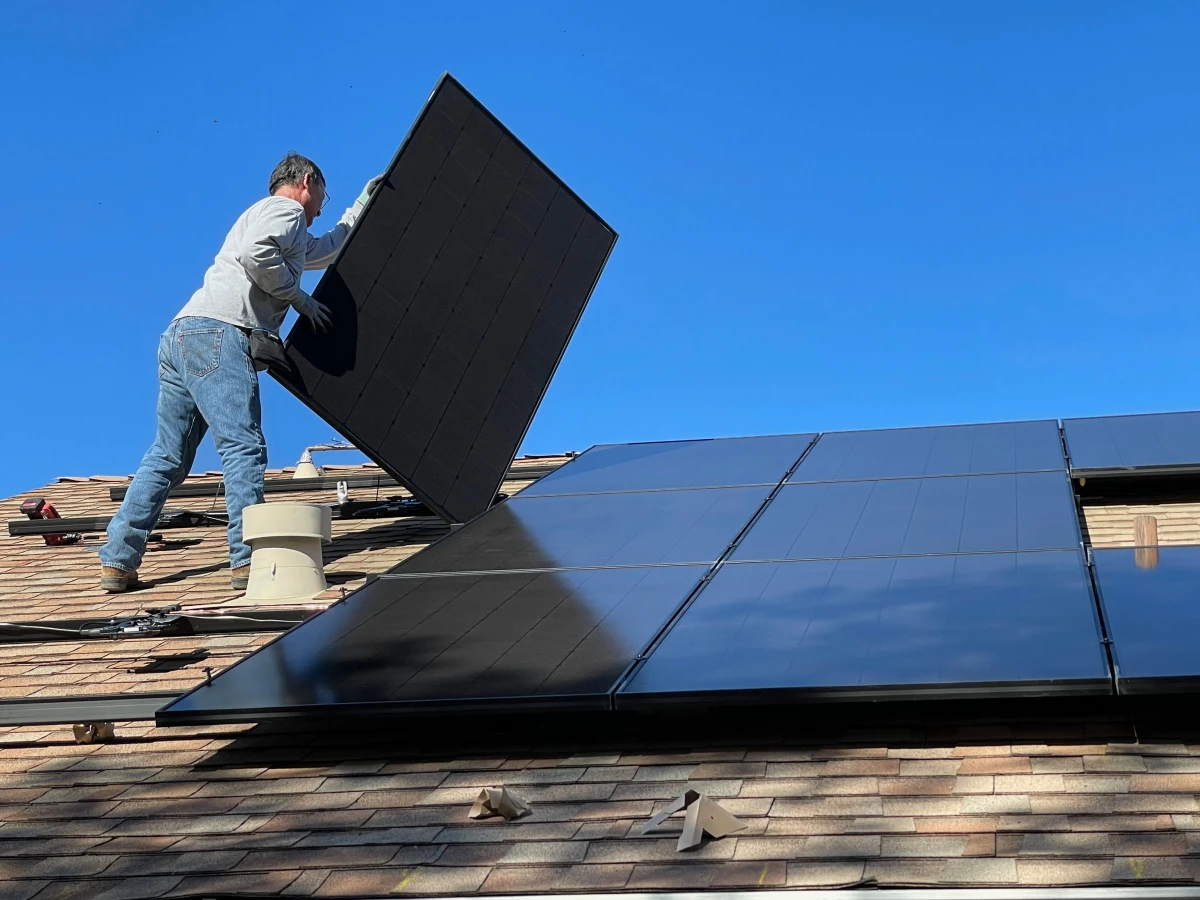
What to Expect During Installation
So what does the process actually look like from start to finish? It’s not just a one-day job.
- Contract & Site Survey (1-2 weeks): After you sign, a team will come out to take detailed measurements of your roof and inspect your electrical panel and attic.
- Design & Permitting (2-8 weeks): This is often the longest part. Engineers design a system specifically for your home, and then those plans are submitted to your local city or county for a permit. This can be quick or, depending on the municipality, it can drag on for a couple of months.
- Installation (1-3 days): Once the permit is approved, the fun begins! A crew will spend a few days on-site. They’ll install the racking, mount the panels, and run the wiring to the inverter and your electrical panel. For most standard jobs, we’re on and off your roof in a day or two.
- Inspection & Commissioning (1-3 weeks): After the install, the local inspector needs to come out and sign off on the work. Once that’s done, we get final permission from the utility company to turn your system on. The moment you flip that switch is always a good day.
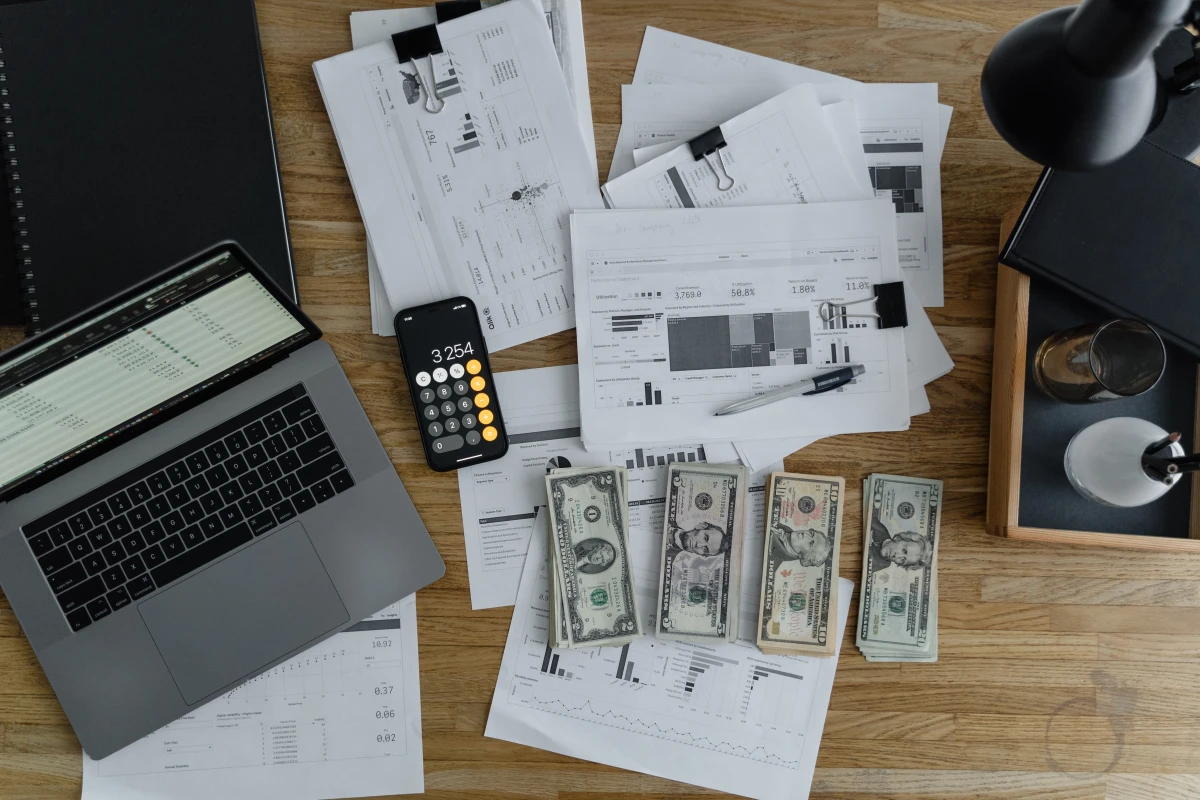
The Financial Side: Costs, Credits, and Payback
Alright, let’s talk money. A solar system is a major home improvement project, and anyone who tells you otherwise is selling something.
So, what’s a real-world price tag? Look, every job is different, but for a typical 8kW system designed to cover most of a family’s electricity needs, you should expect to see quotes in the $20,000 to $30,000 range before any incentives. As I mentioned, if you want to add a battery for backup power, that will likely add another $10,000 to $15,000 to the total. It’s a big number, but that’s the honest truth.
How to Pay for It
- Cash/Loan: Paying cash or getting a home equity loan gives you full ownership. You get all the tax credits and incentives directly, which leads to the fastest payback period and highest long-term savings.
- Solar Lease: With a lease, a company installs their system on your roof, and you pay them a fixed monthly fee for the power. It means little to no upfront cost, but you don’t own the system, and the company gets the tax credits. Your savings are usually more modest.
- PPA (Power Purchase Agreement): This is similar to a lease, but instead of a flat fee, you agree to buy the power your system produces at a set price per kWh. This price is usually lower than what the utility charges. Again, zero-down, but the company owns the system and reaps the big incentives.
Tax Credits & Net Metering
The biggest financial boost for most owners is the Federal Residential Clean Energy Credit, which allows you to claim a percentage (currently 30%) of your total system cost back on your federal income taxes. A quick but important heads-up: this is a credit, not a rebate. You need to have enough tax liability to actually use it. I always tell folks to chat with a tax professional to make sure it works for their situation.
Then there’s net metering. This is where you get retail-rate credit for the extra power you send to the grid. It’s the key to making a grid-tied system pay for itself. Imagine your typical $250 monthly power bill being replaced by a bill for just the $15 grid connection fee. On a good month, you might even have a negative bill—a credit that rolls over! Be aware, though, that some states are changing these policies, so understanding your local utility’s rules is crucial.
Long-Term Care and What to Watch For
Solar panels are incredibly low-maintenance, but not no-maintenance. I recommend giving them a rinse with a garden hose once a year to clear off any dust or pollen, especially after a dry spell. If you have a lot of bird traffic, you might need to use a soft brush.
The most important thing is to monitor your system’s performance. Most modern systems come with a smartphone app that shows you exactly what you’re producing. Check it weekly. You’re just looking for consistent performance that makes sense with the weather. A sudden, unexplained drop in production is your signal that something might be wrong—a loose wire or a failing component—and it’s time to call your installer.
So, Should You Do It?
After all that, we’re back to the big question. A solar panel system is a fantastic investment if you plan to stay in your home for at least 8-10 years, live in an area with decent sun, and face high electricity costs. It’s an even better choice if you want peace of mind with backup power.
It might not be the right move if your roof is heavily shaded all day, or if you plan to move in the next couple of years (you might not be there long enough to break even). And it’s definitely not a good choice if a salesperson gives you a high-pressure pitch.
By the way, here are some red flags to watch for in a sales pitch:
- Anyone promising “free solar.” It’s never free; it’s just financed differently.
- Extreme pressure to sign a contract on the spot. A good deal will still be there tomorrow.
- Vagueness about the specific brands of panels and inverters they’re using. You should know exactly what you’re buying.
My best advice? Get educated. Get at least three quotes from reputable, certified installers. Look for companies with staff who hold leading industry certifications. Ask them the tough questions. If they can’t explain why they chose specific gear for your home, they’re not the right partner for the job. This is a powerful, long-term upgrade to your home. It’s worth the effort to get it right.


