Your Home Workout Isn’t Working? Here’s Why (And How to Fix It)
So, you’ve embraced the home workout life. I get it. It’s convenient, you don’t have to deal with crowded gyms, and honestly, it can be incredibly effective. I’ve seen people build serious strength and totally transform their health right from their living rooms. But I’ve also seen the other side—folks who end up with nagging injuries from simple, totally avoidable mistakes.
In this article
- 1. The Intensity Trap: Chasing Soreness Instead of Progress
- 2. The Progress Killer: Doing the Same Thing Over and Over
- 3. The “More is More” Myth: Forgetting That Rest is Where the Magic Happens
- 4. The Unskippable Foundation: Form Before Everything
- 5. Putting It All Together: A Simple Plan That Works
- When a Little Help Goes a Long Way
- Inspirational Gallery with Photos
The biggest risk when you’re training at home isn’t the lack of fancy machines. It’s the lack of a second set of experienced eyes. Without someone to check your form or tell you when you’re pushing too hard, it’s ridiculously easy to fall into bad habits. These habits don’t just stall your progress; they can lead to chronic pain and injuries that sideline you for months.
This isn’t to scare you out of your routine! It’s just to show you that a little bit of know-how goes a long, long way. We’re going to dive into the core principles that separate a good workout from a great one. My goal is to help you become your own best coach, so every single squat and push-up you do is actually building you up, not breaking you down.

1. The Intensity Trap: Chasing Soreness Instead of Progress
Let’s be real. A lot of us have this thought: “If I’m not walking funny tomorrow, did the workout even count?” This is probably the most damaging myth in fitness. It makes people chase that next-day ache, often leading to burnout and injury instead of real results.
That crazy muscle soreness you feel a day or two after a workout has a name—Delayed Onset Muscle Soreness (DOMS). It’s from tiny micro-tears in your muscles, which is a normal part of getting stronger. A little bit of DOMS is fine, especially if you’re trying something new. But being so sore you can barely get off the couch isn’t a badge of honor. It’s a sign you did too much, too fast.
Good to know: There’s a huge difference between the good ache of DOMS and the bad pain of an injury. It’s a skill you need to learn.
- Good Soreness (DOMS) usually feels like a dull, generalized ache right in the belly of the muscle you worked. Think tender thighs after squat day. It often feels a little better if you get up and move around gently.
- Bad Pain (Injury) is typically sharp, stabbing, or even shoots down a limb. It’s often located near a joint (like your knee, shoulder, or lower back) and gets much worse when you try to move. If it doesn’t improve after 3-4 days, that’s a major red flag.
A Smarter Way: Use RPE
Instead of guessing, the pros use something called the Rate of Perceived Exertion (RPE) scale. It’s just a simple 1-to-10 scale of how hard you feel like you’re working. A 1 is chilling on the sofa, and a 10 is an all-out, maximum effort you couldn’t hold for more than a few seconds. For most of your workouts, you want to live in the 7-8 range. That’s the sweet spot where you’re challenged, but you could probably squeeze out another rep or two if your life depended on it.
For example, an RPE 8 squat will have you breathing heavily and maybe questioning your life choices for a second. An RPE 8 plank will make your entire core shake and feel like a rock. The feeling is different for each exercise, but the effort level is the same.
2. The Progress Killer: Doing the Same Thing Over and Over
This is easily the most important rule in strength training, yet it’s the one most people at home miss. Your body is incredibly smart. It adapts to whatever you throw at it. If you do the same 3 sets of 10 push-ups every week, your body will get good at that… and then stop changing. If you want to keep seeing results, you have to keep making things just a little bit harder.
This is called progressive overload. And no, it doesn’t just mean lifting heavier weights. There are tons of ways to do it at home:

- Do More Reps: Did 8 squats last week? Shoot for 10 this week.
- Add a Set: Did 3 sets of lunges? Try for 4 next time.
- Rest Less: Cut your rest time between sets from 90 seconds to 75.
- Slow It Down: This is a big one. Making your muscles work for longer under tension is a game-changer.
- Go Deeper: Improving your range of motion, like squatting lower, is a form of overload.
- Try a Harder Version: Graduated from knee push-ups? It’s time to try them on your toes!
How to Actually Track This Stuff
So how do you remember what you did last week? Simple. Grab a cheap notebook for a couple of bucks and a pen. This is your new best friend. Your goal is to “beat the book” every week. It can look this simple:
Week 1: Bodyweight Squats – 3 sets of 8 reps. Rest 90 sec.
Week 2: Bodyweight Squats – 3 sets of 10 reps. Rest 90 sec.
Week 3: Bodyweight Squats – 3 sets of 12 reps. Rest 90 sec.
Week 4: Back to 3 sets of 8, but this time, slow it down. Take 3 full seconds to lower down, pause for 1 second at the bottom, and come up in 1 second. Your muscles won’t know what hit them.
That’s it. That’s progressive overload in action.
3. The “More is More” Myth: Forgetting That Rest is Where the Magic Happens
We’re wired to think that working out seven days a week is the fast track to success. It’s not. In fact, it’s the fast track to burnout. You don’t get stronger during your workout; you get stronger when you’re recovering from it.
Think of it this way: your workout is the stimulus that tells your body it needs to get stronger. Your food and rest are the raw materials and time it uses to actually rebuild. If you’re constantly breaking your muscles down without giving them a chance to repair, you’re just spinning your wheels.
A good rule of thumb? After a tough workout, try to get a palm-sized portion of protein (like some chicken, tofu, eggs, or a scoop of protein powder in a shake) within an hour or two. It’s not a magic window, but it’s a solid habit to get into to give your body the building blocks it needs.
And rest days don’t have to mean being a couch potato. A 30-minute walk, some light stretching, or using a foam roller are all forms of “active recovery.” They get blood flowing and can actually help you feel less sore. You can find a decent high-density foam roller online or at stores like Target for about $20-$30, and it’s a fantastic investment.
4. The Unskippable Foundation: Form Before Everything
If you build a house on a shaky foundation, it’s going to have problems. Your body is no different. Nailing your form on the basics is the single best thing you can do for your long-term fitness. Rushing to do more reps with sloppy form is how people get hurt.
Your Quick Win for Today: Grab your phone and film yourself doing 5 push-ups from the side. Don’t judge, just watch it back. Do your hips sag towards the floor? Do your shoulders feel pinchy? Awesome. Now you know what your first mission is. Awareness is step one!
Mastering the Moves That Matter
Forget the fancy stuff you see on social media. Master these, and you’ll build a solid base for everything else.
The Bodyweight Squat
This is the king of lower body exercises. You do it every time you sit down and stand up.
• The How-To: Stand with feet shoulder-width apart. Start by pushing your hips back like you’re aiming for a chair. Keep your chest up and core tight. Go as low as you can without your lower back rounding, then drive back up.
• Common Mistake: Knees caving inward. This puts a ton of stress on your knee joints.
• The Fix: Try placing a light resistance band (you can get a pack for $15 online) just above your knees. As you squat, actively focus on pushing your knees out against the band. It’s a great cue to wake up your glutes.
• Common Mistake: Lower back rounding at the bottom (aka “butt wink”).
• The Fix: Hold a light weight—a heavy book, a jug of laundry detergent—against your chest. This is called a goblet squat, and the counterbalance often cleans up your form instantly.
The Push-Up
The ultimate upper-body and core exercise.
• The How-To: Hands just wider than your shoulders. Body in a dead-straight line from head to heels (squeeze your butt!). Lower yourself down, keeping your elbows tucked at about a 45-degree angle, not flared out to the sides. Press back up powerfully.
• Common Mistake: Hips sagging. This means your core isn’t engaged, and it puts stress on your lower back.
• The Fix: If you can’t hold the line, there’s no shame in modifying. Elevate your hands on a sturdy coffee table, a bench, or even the stairs. The higher your hands, the easier it is. Master the form there before moving to the floor.
The Plank
A plank isn’t about just holding a position; it’s about creating tension.
• The How-To: Elbows directly under your shoulders, body in a straight line. Now, get active: squeeze your glutes, brace your core like someone’s about to poke you in the stomach, and try to pull your elbows and toes toward each other without actually moving them.
• Common Mistake: Hips sagging or piking up. Both take the tension off your abs.
• The Fix: Quality over quantity, always. A perfect, rock-solid 20-second plank is a hundred times better than a sloppy 2-minute one. If your back starts to arch, your set is over. Rest and go again.
5. Putting It All Together: A Simple Plan That Works
Okay, so you have the principles. But what does a week actually look like? You don’t need to work out every day. For most people starting out, a simple 3-day-a-week full-body routine is perfect. It gives you plenty of work and plenty of recovery time.
Here’s a sample schedule:
- Monday: Workout A
- Tuesday: Active Recovery (e.g., 30-minute walk)
- Wednesday: Workout B
- Thursday: Active Recovery (e.g., stretching, foam rolling)
- Friday: Workout A (try to beat your numbers from Monday!)
- Saturday & Sunday: Rest or light activity you enjoy
For your workouts, just pick one exercise for each major movement pattern: a squat, a push, a pull (like inverted rows if you have a sturdy table), and a hinge (like a glute bridge). Aim for 3-4 sets in the 8-15 rep range.
When a Little Help Goes a Long Way
Training at home is empowering, but sometimes you need a little guidance. Be honest with yourself. If you’re dealing with a pre-existing injury, please talk to a doctor or physical therapist first. Don’t rely on generic online advice.
And if you’re brand new or have been stuck for months, consider investing in a few sessions with a qualified personal trainer. Yes, it costs money—expect to pay anywhere from $50 to over $100 per session depending on where you live. But think of it this way: a few hundred dollars for 3-4 sessions to learn perfect form and get a custom plan can save you years of frustration and protect you from injuries that could cost way more in the long run. It’s an investment in doing things right from the start.
Patience is your superpower here. Consistency will always, always beat short-term intensity. Build your foundation, listen to your body, and enjoy the process. You’ve got this.
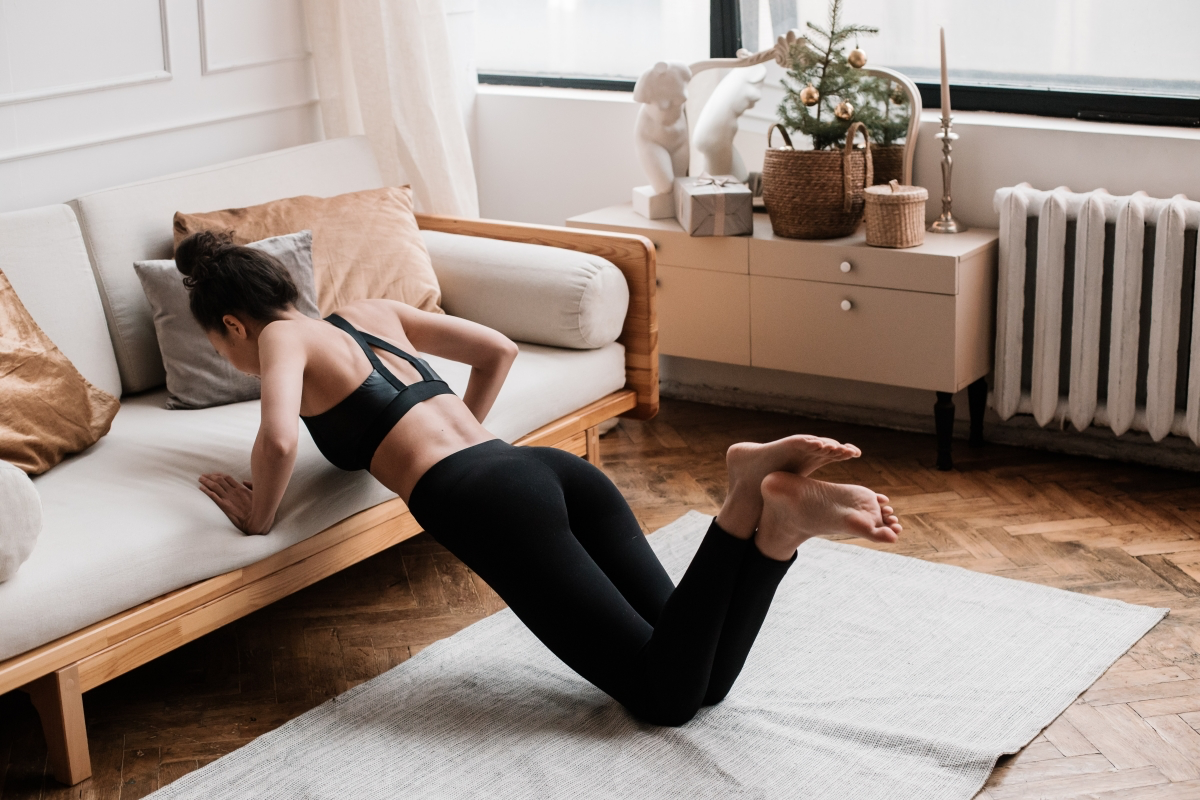
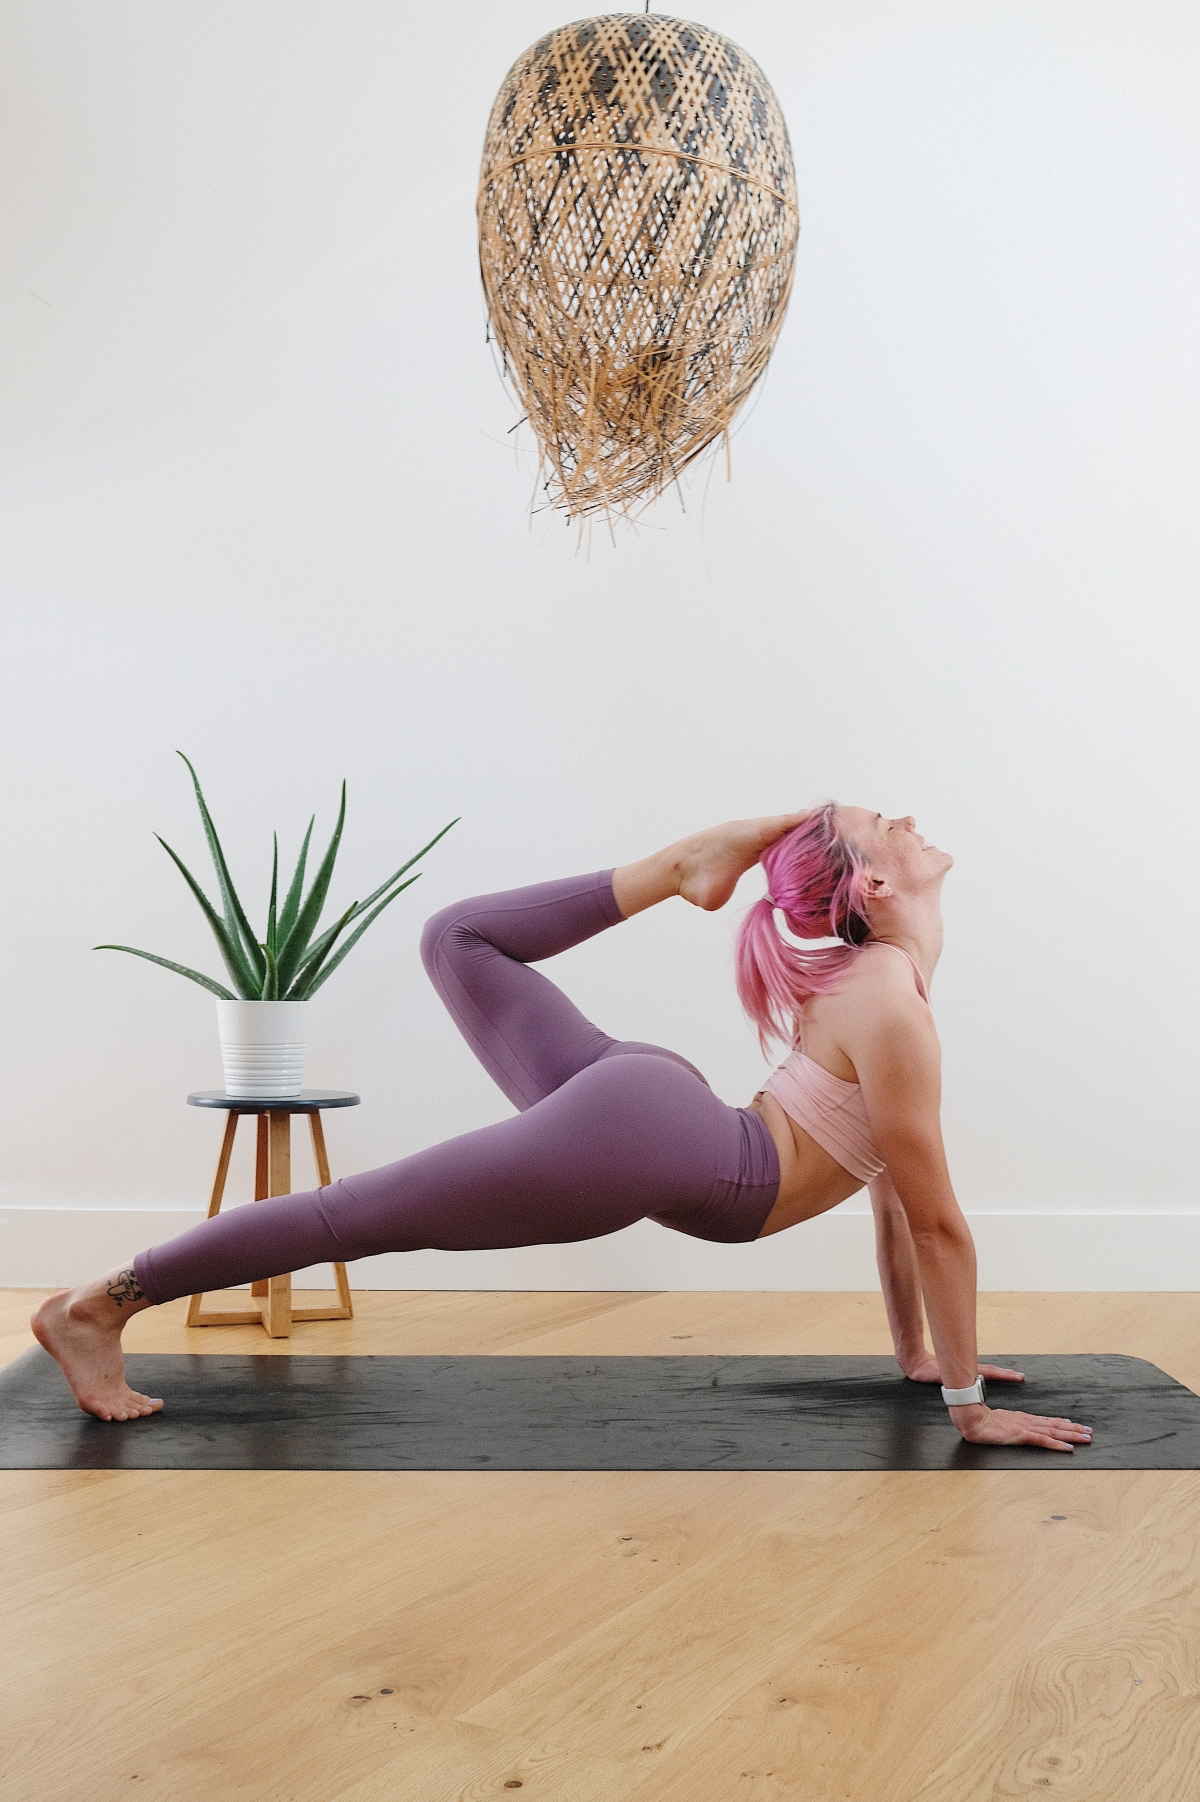
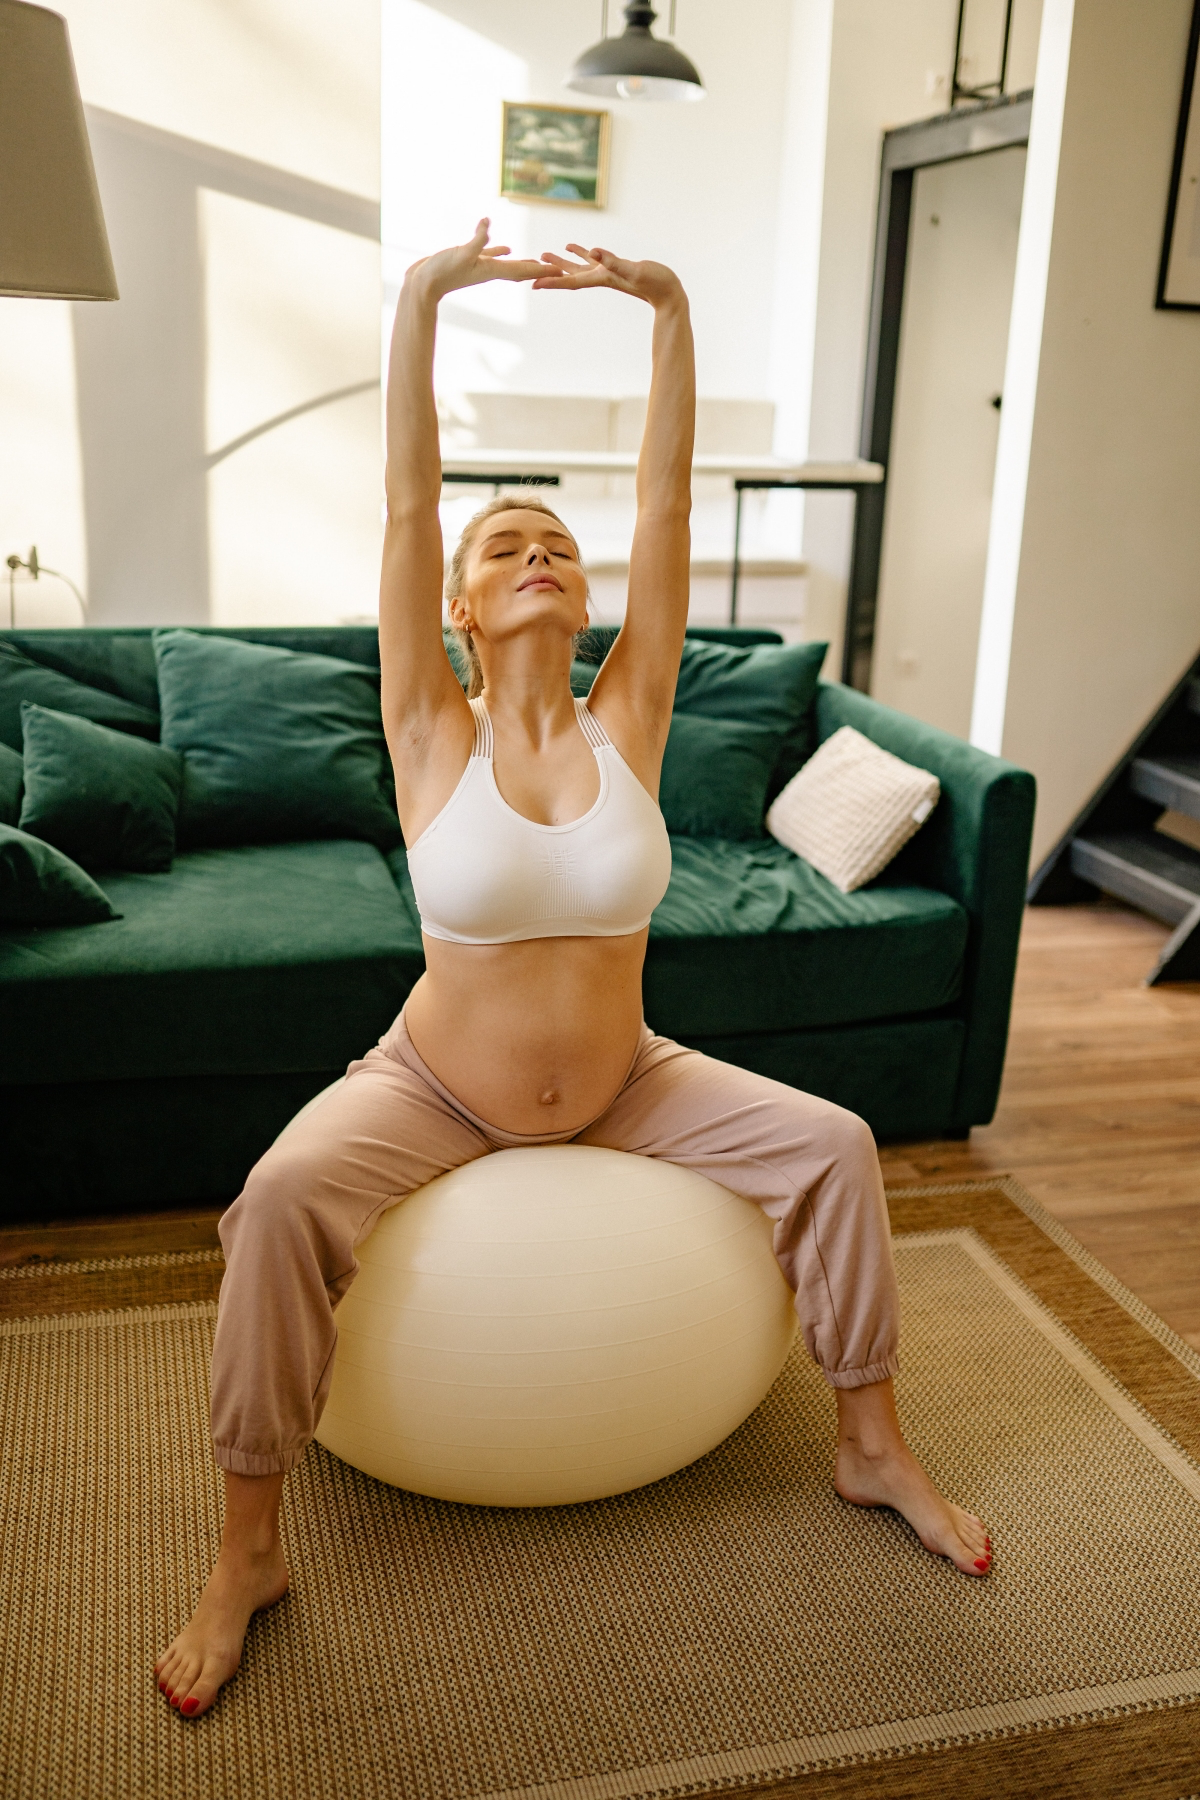
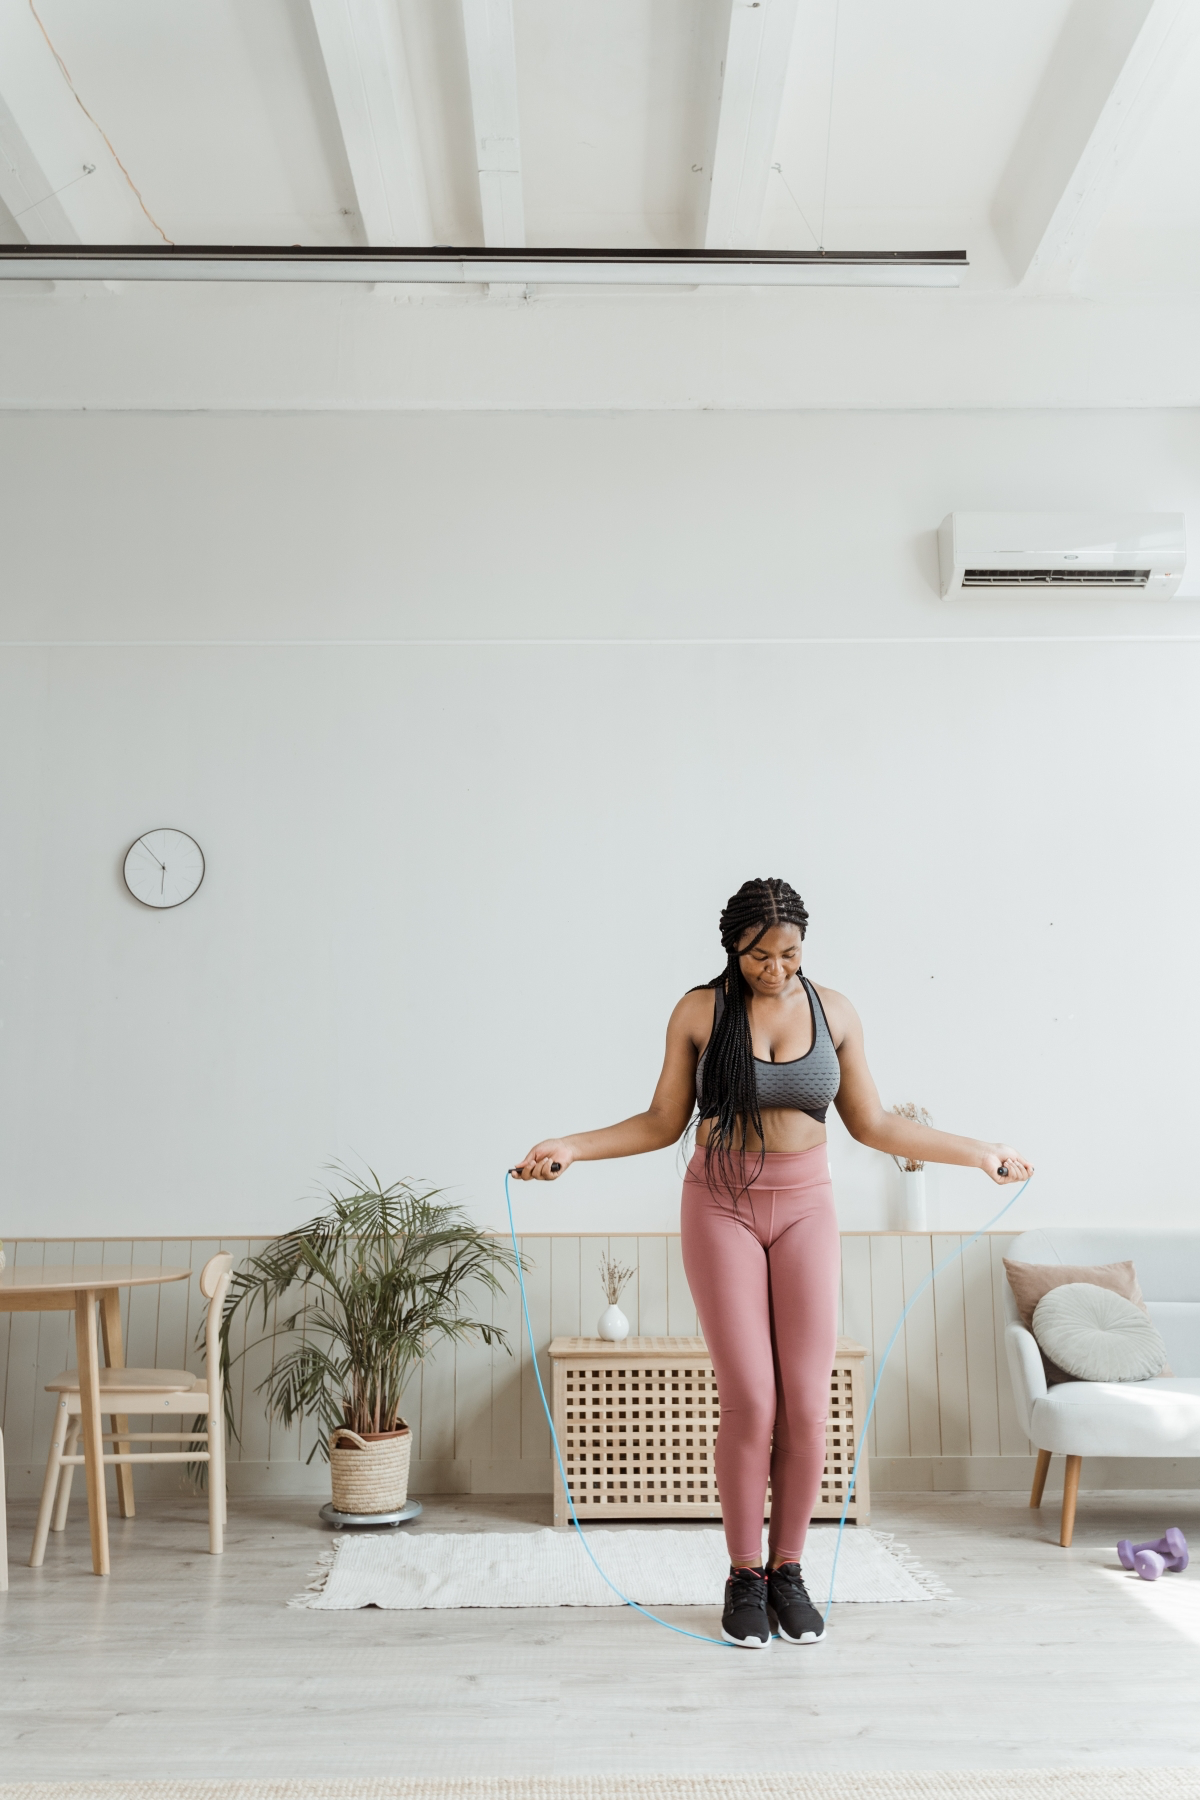
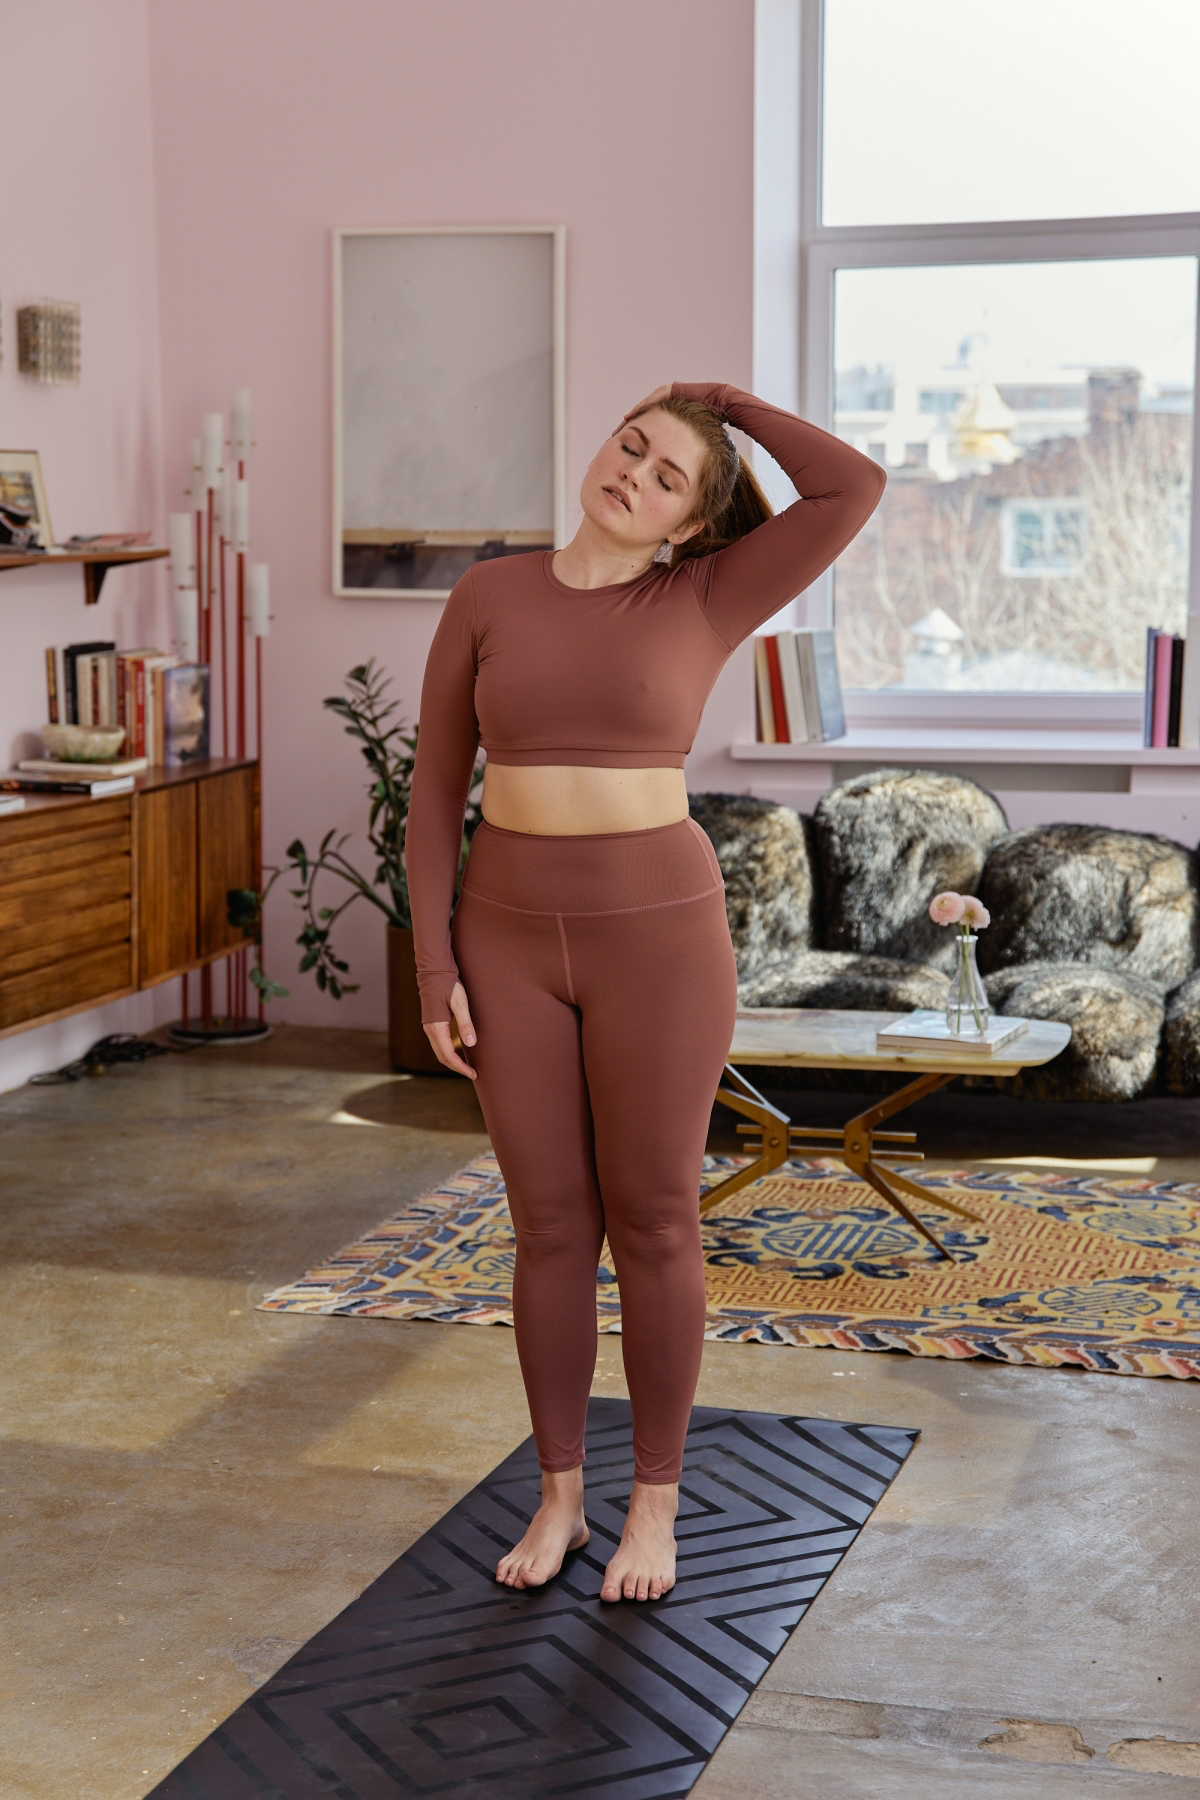
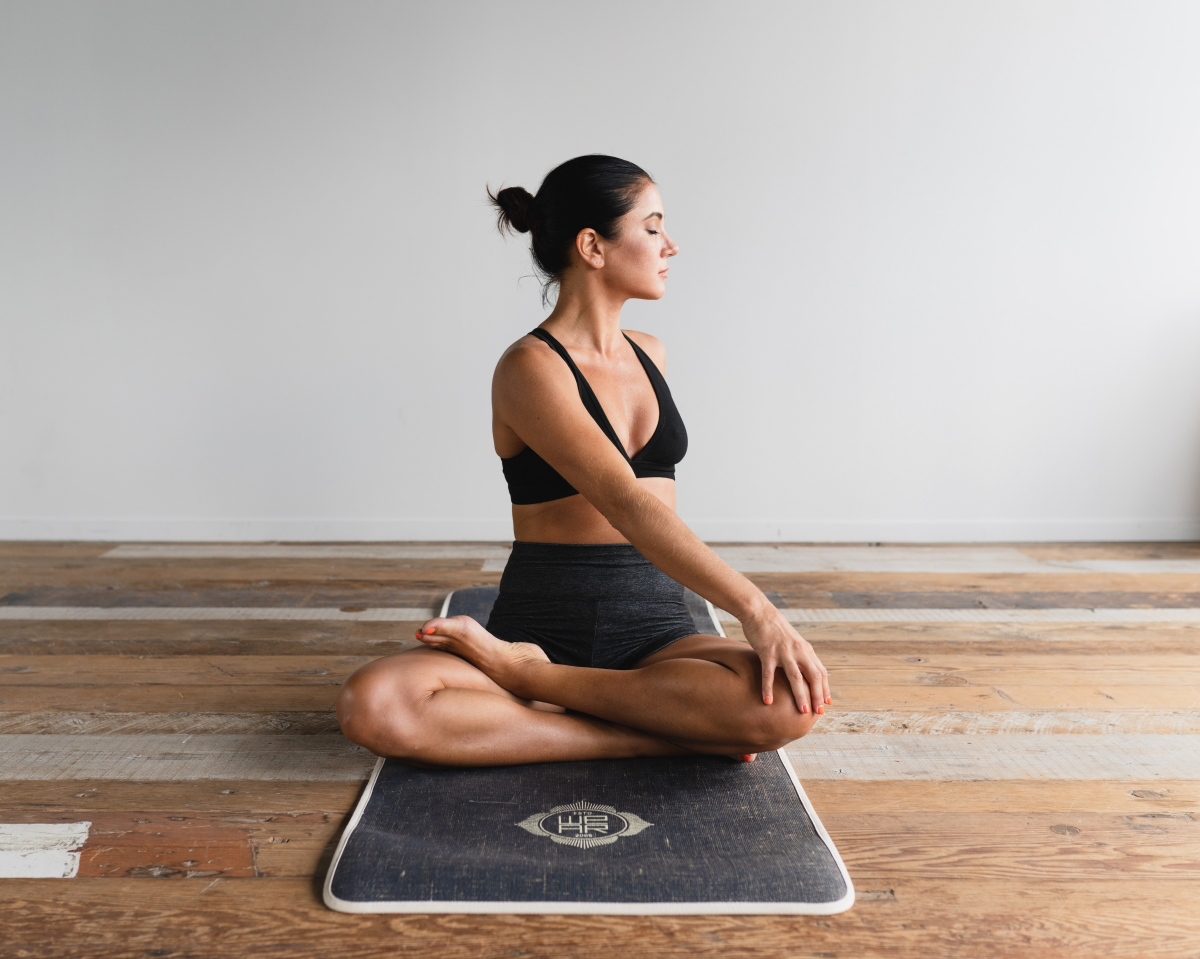
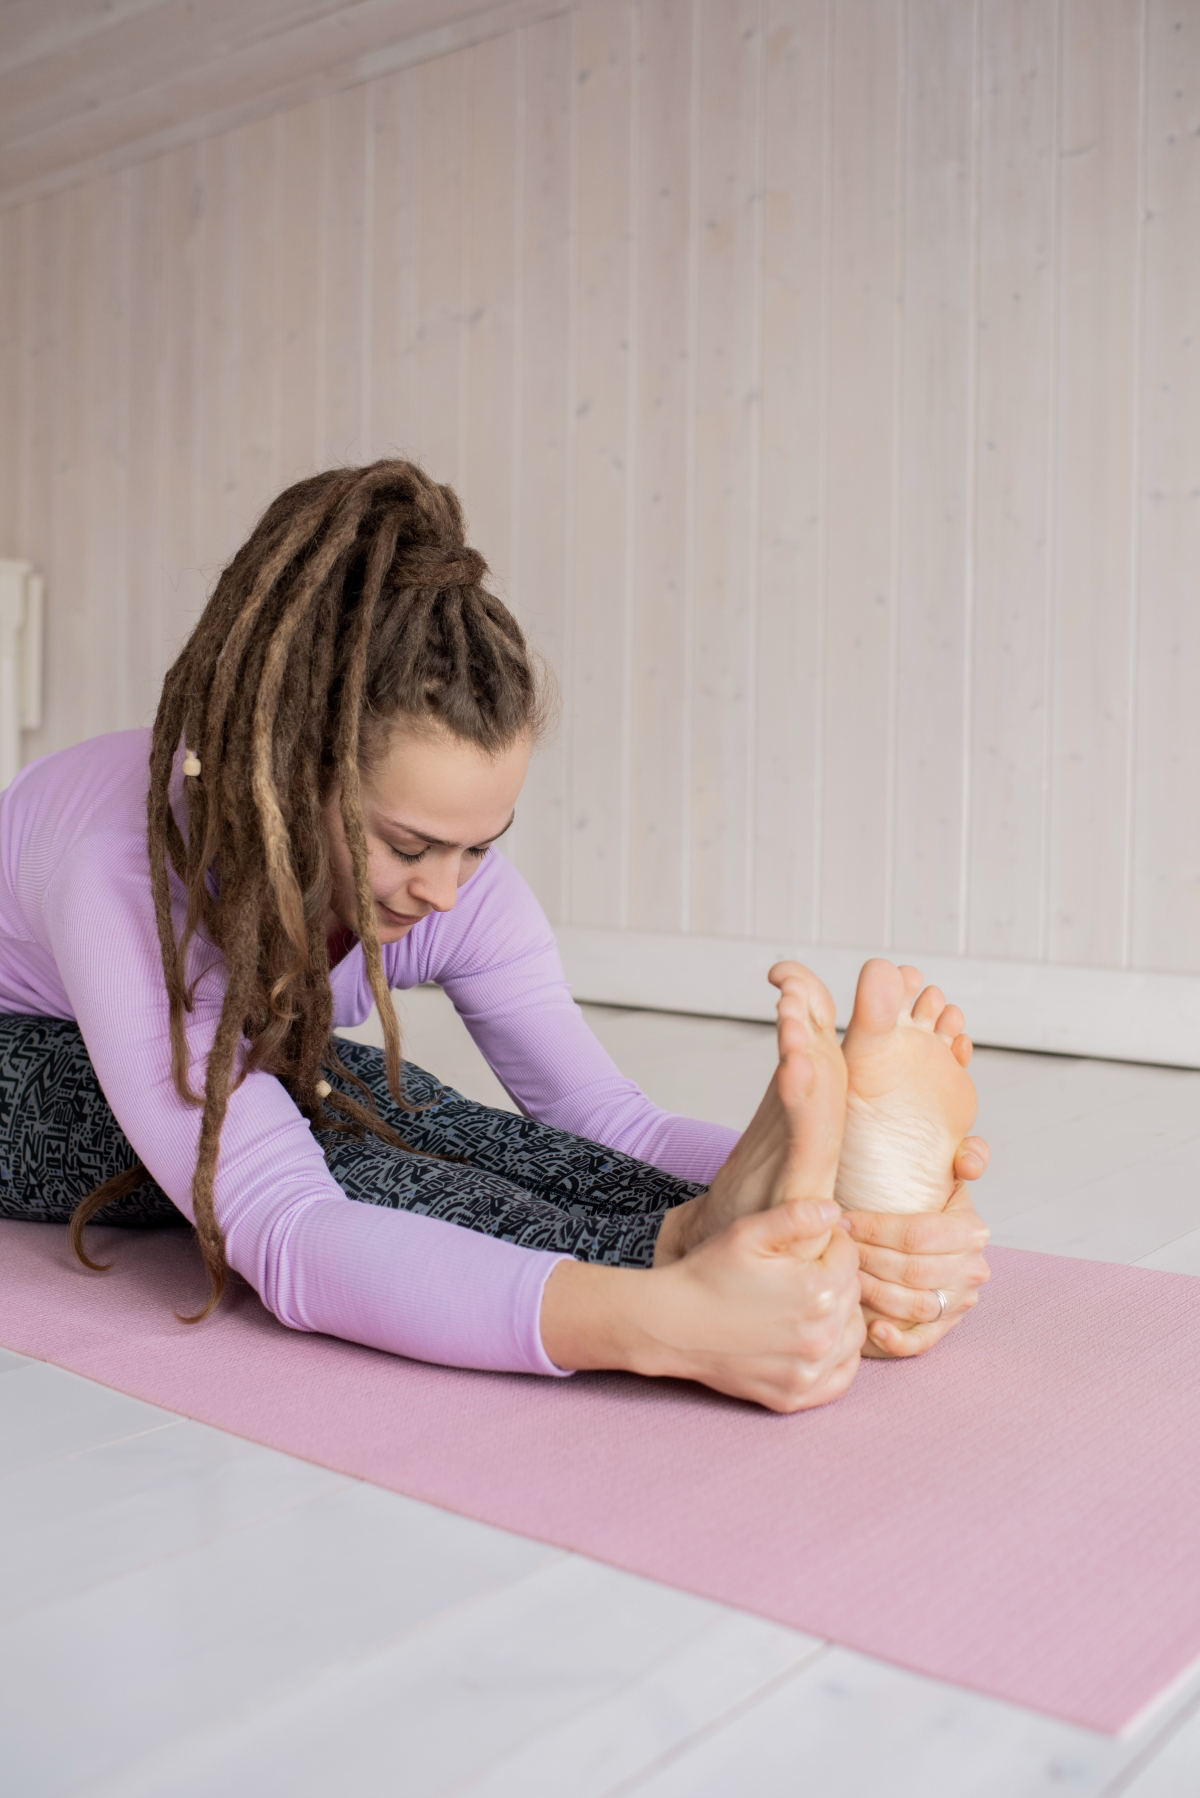
Inspirational Gallery with Photos
The single most overlooked tool in a home workout: Your water bottle. We’re not just talking about quenching thirst. Even mild dehydration can significantly reduce your strength and endurance, making your form sloppier and increasing the risk of cramps or injury. Keep it within arm’s reach and sip between sets, not just when you feel parched.
A 2020 study in the ‘Psychology of Sport and Exercise’ found that listening to high-tempo music (120-140 BPM) can reduce perceived effort and increase workout enjoyment.
This means your playlist is more than just background noise—it’s a performance tool. Curating a high-energy list of tracks can literally make those last few reps feel more manageable, helping you push through barriers without it feeling like a chore.
Feel like you’re stuck and no longer seeing progress?
You’ve likely hit a plateau, which happens when your body adapts to your routine. The solution is ‘progressive overload.’ Instead of doing the same 12 squats every time, try 14. Or use the same weight but slow the movement down. Tracking your reps and weight with an app like Hevy or a simple notebook makes it easy to see where you can add a small, consistent challenge each week.
Your workout space, even if it’s just a 6×6 foot corner, sets the tone. Unrolling a quality mat you love—perhaps a grippy one from Lululemon or a thickly cushioned one from Manduka—and keeping your weights and bands organized in a simple basket transforms a patch of floor into your personal studio. This small ritual signals to your brain that it’s time to focus.
Latex Bands: The classic, colorful bands from brands like Theraband are fantastic for high-rep toning and physical therapy-style movements. They’re lightweight and offer a great range of motion, but can roll up or snap under heavy tension.
Fabric Bands: These thicker, woven loops are your best friend for lower-body work. Their non-slip inner lining keeps them in place during squats and glute bridges, and they offer much stronger resistance. For leg day, fabric is king.
- Deeper, more effective stretches.
- Reduced next-day stiffness and soreness.
- A calmer transition from a state of high stress to rest.
The secret? A non-negotiable 5-minute cool-down. Unlike your dynamic warm-up, this is the time for static holds. Gently stretch the muscles you just worked, holding each position for 20-30 seconds without bouncing.
You don’t need a full rack of weights to get stronger. A few well-chosen basics can unlock hundreds of exercises and grow with you:
- A good mat: Protects your joints and your floor.
- A set of resistance bands: The most versatile, space-saving tool you can own.
- Adjustable Dumbbells: A single pair, like the popular Bowflex SelectTech 552, can replace up to 15 sets of weights.
Worried your form is off without a coach? Technology can be your virtual spotter. Some fitness apps, like Peloton Guide or Onyx, use your phone’s camera to provide real-time feedback on your movement. It can analyze your squat depth or check for a rounded back, giving you instant cues to correct your form on the fly.


