Choosing a Wood Floor Color Without Losing Your Mind
I’ve spent a good chunk of my life on my hands and knees with wood floors. I’ve seen all the trends—from those super glossy, orange-tinted floors from a few decades back to the cool grays that were all the rage a few years ago. But one thing is always the same: the look of pure panic on a homeowner’s face when they’re staring at a wall of tiny color swatches.
In this article
Honestly, trying to pick a color that will define your home for the next couple of decades from a two-inch square of wood is a terrible way to start. It’s a nearly impossible task.
Choosing a wood floor color isn’t like picking out a new paint for the living room. You can’t just slap a new coat on next year if you get tired of it. This decision is literally baked into the foundation and feel of your home, and it’s a big investment in time, money, and a whole lot of sawdust. My goal here is to walk you through what I’ve learned from thousands of hours of sanding and staining so you can make a choice you’ll still love years from now.
First, Let’s Talk About the Wood Itself
Before we even get to that can of stain, we have to talk about the wood. This is hands-down the most important factor, and it’s where most of the mistakes happen. The species and natural color of your wood is the canvas. You just can’t force it to be something it’s not.
The Great Oak Debate: Red vs. White
In North America, most homes are rocking oak floors. But here’s the secret: not all oak is created equal. The difference between Red Oak and White Oak is a huge deal when it comes to color.
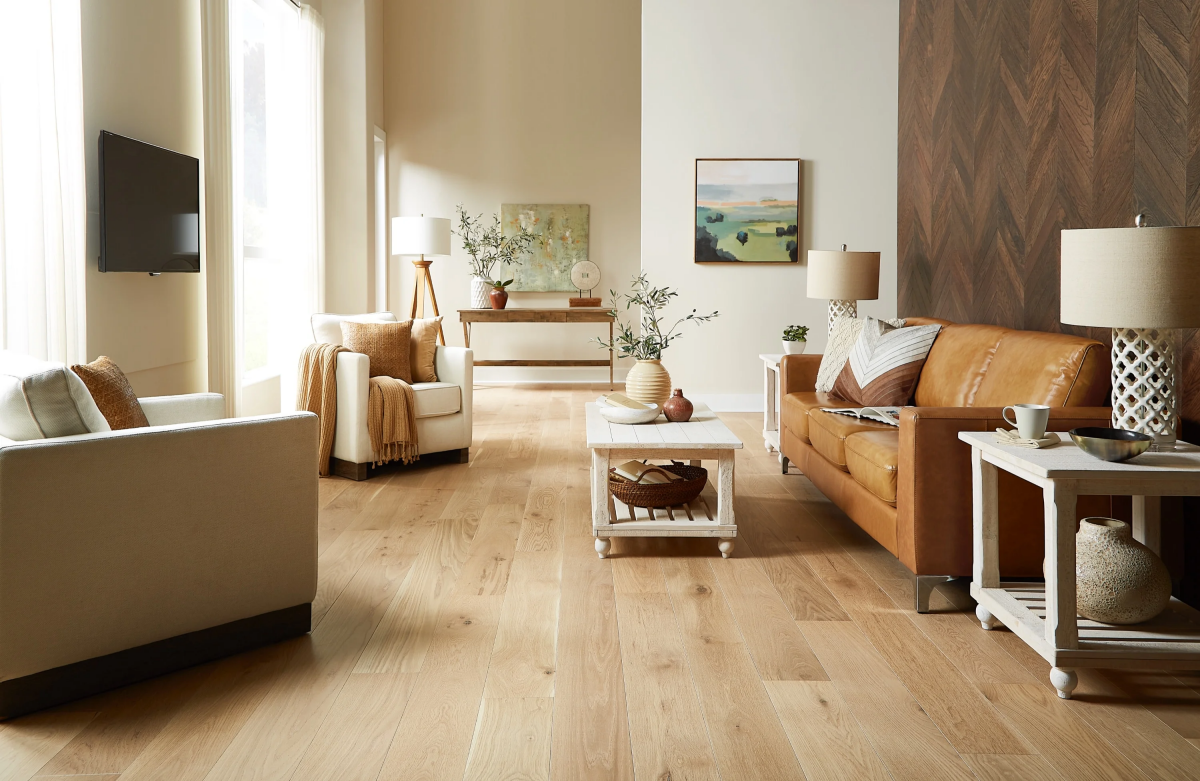
- Red Oak: This is the classic hardwood in a lot of homes. Its defining feature is a strong pink or reddish undertone. I can’t tell you how many times people have shown me a photo of a cool, modern beige floor and asked me to make their Red Oak look like that. It’s a tough ask. No matter how much gray or neutral brown stain you lay down, that pinkish warmth is going to peek through, often creating a muddy, weirdly purplish mess. If you have Red Oak, the best thing you can do is work with its warmth. Stains with rich brown, amber, or even deep reddish tones look fantastic.
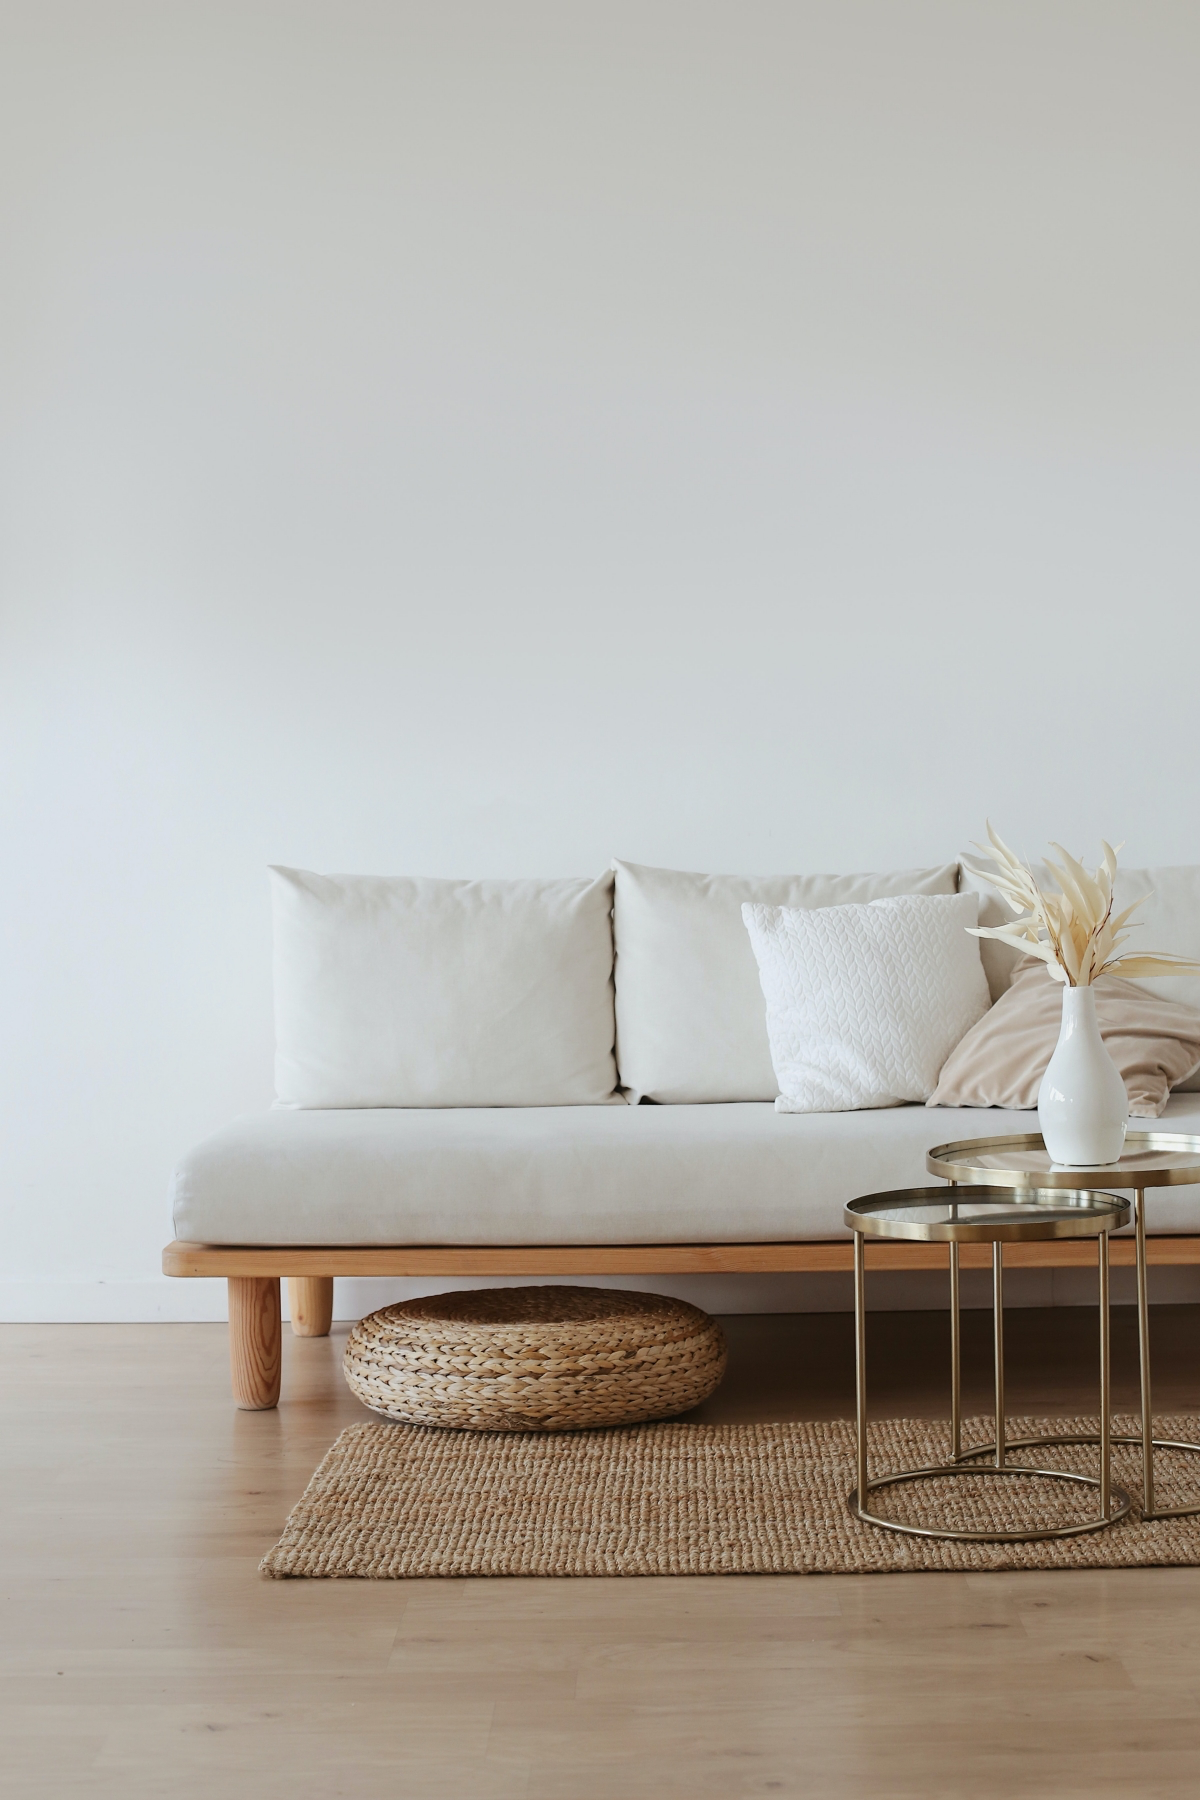
- White Oak: This is the go-to for most of the modern and contemporary looks you see today. It’s a much calmer, more neutral wood with undertones of brown, yellow, and sometimes even a hint of gray or green. It’s a way more versatile canvas for staining. You can take White Oak super dark, leave it light and natural, or nail those trendy cool-toned beiges and grays. It takes stain much more evenly, which is why the pros specify it so often.
Good to know: Not sure what you have? Here’s a quick trick. Find an unfinished spot, maybe inside a closet, and wipe it with a damp rag. If you see strong red and pink hues pop out, you’ve got Red Oak. If it looks more like a tan or medium brown, you’re likely looking at White Oak.
I once had a client who was dead-set on a dark gray stain for their floors, not realizing they had Red Oak. We made sample after sample, and I kept pointing out how the pink undertone was fighting us. They insisted on the darkest gray mix we could make. Well, after the first coat of finish went on and the light hit it, the whole floor looked purple. We had to sand the entire thing back down to bare wood and start over with a warm, dark brown. It was a costly lesson that added about $2,000 and two extra days to the project.
What About Other Woods?
Of course, it’s not all about oak. Other woods have their own personalities.
- Maple or Birch: These woods are incredibly hard with a tight, subtle grain. That sounds nice, but it means they’re notorious for not taking stain well. You often end up with a blotchy, uneven look. For a DIY project, I almost always recommend keeping maple natural. A clear, water-based finish will keep its beautiful light, creamy color without the yellowing you get from old-school oil finishes. If you must stain it, it’s a job for a pro using a pre-stain conditioner or a gel stain.
- Hickory or Pecan: Hickory is all about drama. It’s known for its wild color variations, with streaks of light tan right next to dark brown on the same board. Staining it can be a gamble because the light and dark parts absorb the stain differently, which just exaggerates the contrast. My advice? Let Hickory be Hickory and just use a clear finish to celebrate its natural character.
- Cherry or Walnut: These are gorgeous, premium woods that do something cool: they change color over time as they’re exposed to light. Cherry starts out as a light pinkish-brown and deepens into a rich, reddish-brown. Walnut actually starts deep and gets a little lighter. So when you pick a stain, you have to think about what it will look like in five years, not just today.
The Big Factors: How Light and Sheen Change Everything
A floor color doesn’t just exist on its own—it changes with the light and finish in your home. I’ve seen it a hundred times: a client loves a sample in their sunny kitchen, then absolutely hates how it looks in the darker hallway.
The type of light you have is critical. North-facing rooms get cool, bluish light all day, which can make a gray floor feel downright sterile. You’ll want warmer tones to balance it out. South-facing rooms, on the other hand, get intense, warm light that can make a Red Oak floor look almost orange. Here, cooler tones can work wonders.
And don’t forget your lightbulbs! Your floors will look completely different at night. A warm white bulb (around 2700K) casts a yellow glow, while a daylight bulb (4000K-5000K) gives off a stark, bluish light. Make sure you look at your samples under the lights you actually use in the evening.
Let’s Talk About Sheen
The final clear coat of polyurethane protects your floor, but its sheen level dramatically changes the color. There’s no right answer, only what’s right for your home.
A Matte finish has almost no reflection, giving you a very soft, raw, and natural look. It’s fantastic at hiding small scratches and imperfections. The downside? It can make dark colors feel a little flat and can suck the light out of a room.
Then you have Satin finish, which is the industry standard for a reason. It has a low-key luster that gives the color some depth without being shiny. It’s pretty forgiving with dirt and scratches and is what I recommend for about 90% of my jobs. It’s the perfect middle ground.
Finally, Semi-Gloss and Gloss finishes reflect a ton of light. This can make your floor color feel vibrant and bright. But, and this is a big but, a high-gloss finish highlights everything. Every speck of dust, every dog hair, and every tiny scratch will be on full display. I only use this in formal settings after a serious chat with the client about the intense upkeep.
How to Actually Choose Your Color (The Right Way)
Okay, so how do you move past the tiny sample chip? You have to make a bigger, better sample.
Here’s the pro method: get a few large pieces of the exact same wood as your floor. If you’re refinishing, ask your contractor for a few spare boards or buy some from a lumber yard. Sand them down using the exact same grit sequence your pro plans to use. Then, apply the stain options you’re considering. Once they’re dry, put on a coat of the clear finish in the sheen you want (this is a crucial step!).
Now you have real samples. Move them around the house. Look at them in the morning, in the afternoon, and at night with the lights on. Oh, and a final tip: hold your sample up against your kitchen cabinets, your wall trim, and any large furniture. They all have to get along!
The Nitty-Gritty: Time and Money
Let’s be real, a big part of this decision is the budget and the disruption to your life. Refinishing hardwood floors typically costs somewhere between $4 and $7 per square foot, depending on your location and the complexity of the job. Installing new White Oak can also be 15-20% more expensive than Red Oak, so factor that in if you’re starting from scratch.
As for time, be prepared for your home to be a work zone. For an average-sized area (around 1,000 sq ft), the sanding and finishing process will take about 3 to 5 days. And here’s the kicker: you can’t walk on it or move furniture back for another 24 to 72 hours after the final coat, depending on the type of finish used. Plan accordingly!
The Pro-Only Tricks That Shape the Color
The final color isn’t just in the can of stain; it’s in the technique. For example, how the floor is sanded makes a huge difference. If we stop sanding at a lower grit (like 60 or 80), the wood is rougher and drinks up more stain, resulting in a much darker color. If we sand to a very fine grit (like 120), the wood is smoother and accepts less stain, giving you a lighter shade.
And for those who want a really deep, uniform color, especially on tricky woods like maple, we use a technique called water-popping. After the final sanding, we lightly mist the floor with water. This opens up the wood grain, allowing it to absorb the stain much more deeply and evenly. It’s a game-changer for getting a rich, saturated look with a brand like Duraseal or Bona, but it’s definitely a pro-level move that requires a delicate touch to avoid issues.
At the end of the day, picking a floor color is a big deal, but it doesn’t have to be a nightmare. By understanding your wood, testing samples the right way, and thinking about light and lifestyle, you can find a color that doesn’t just look good on a sample board, but looks perfect in your home.
Inspiration:
Satin Finish: The industry standard and a homeowner favorite for a reason. It offers a subtle sheen that reflects some light without being glossy. This makes it fantastic at hiding minor dust, footprints, and small imperfections, making it a practical choice for busy households.
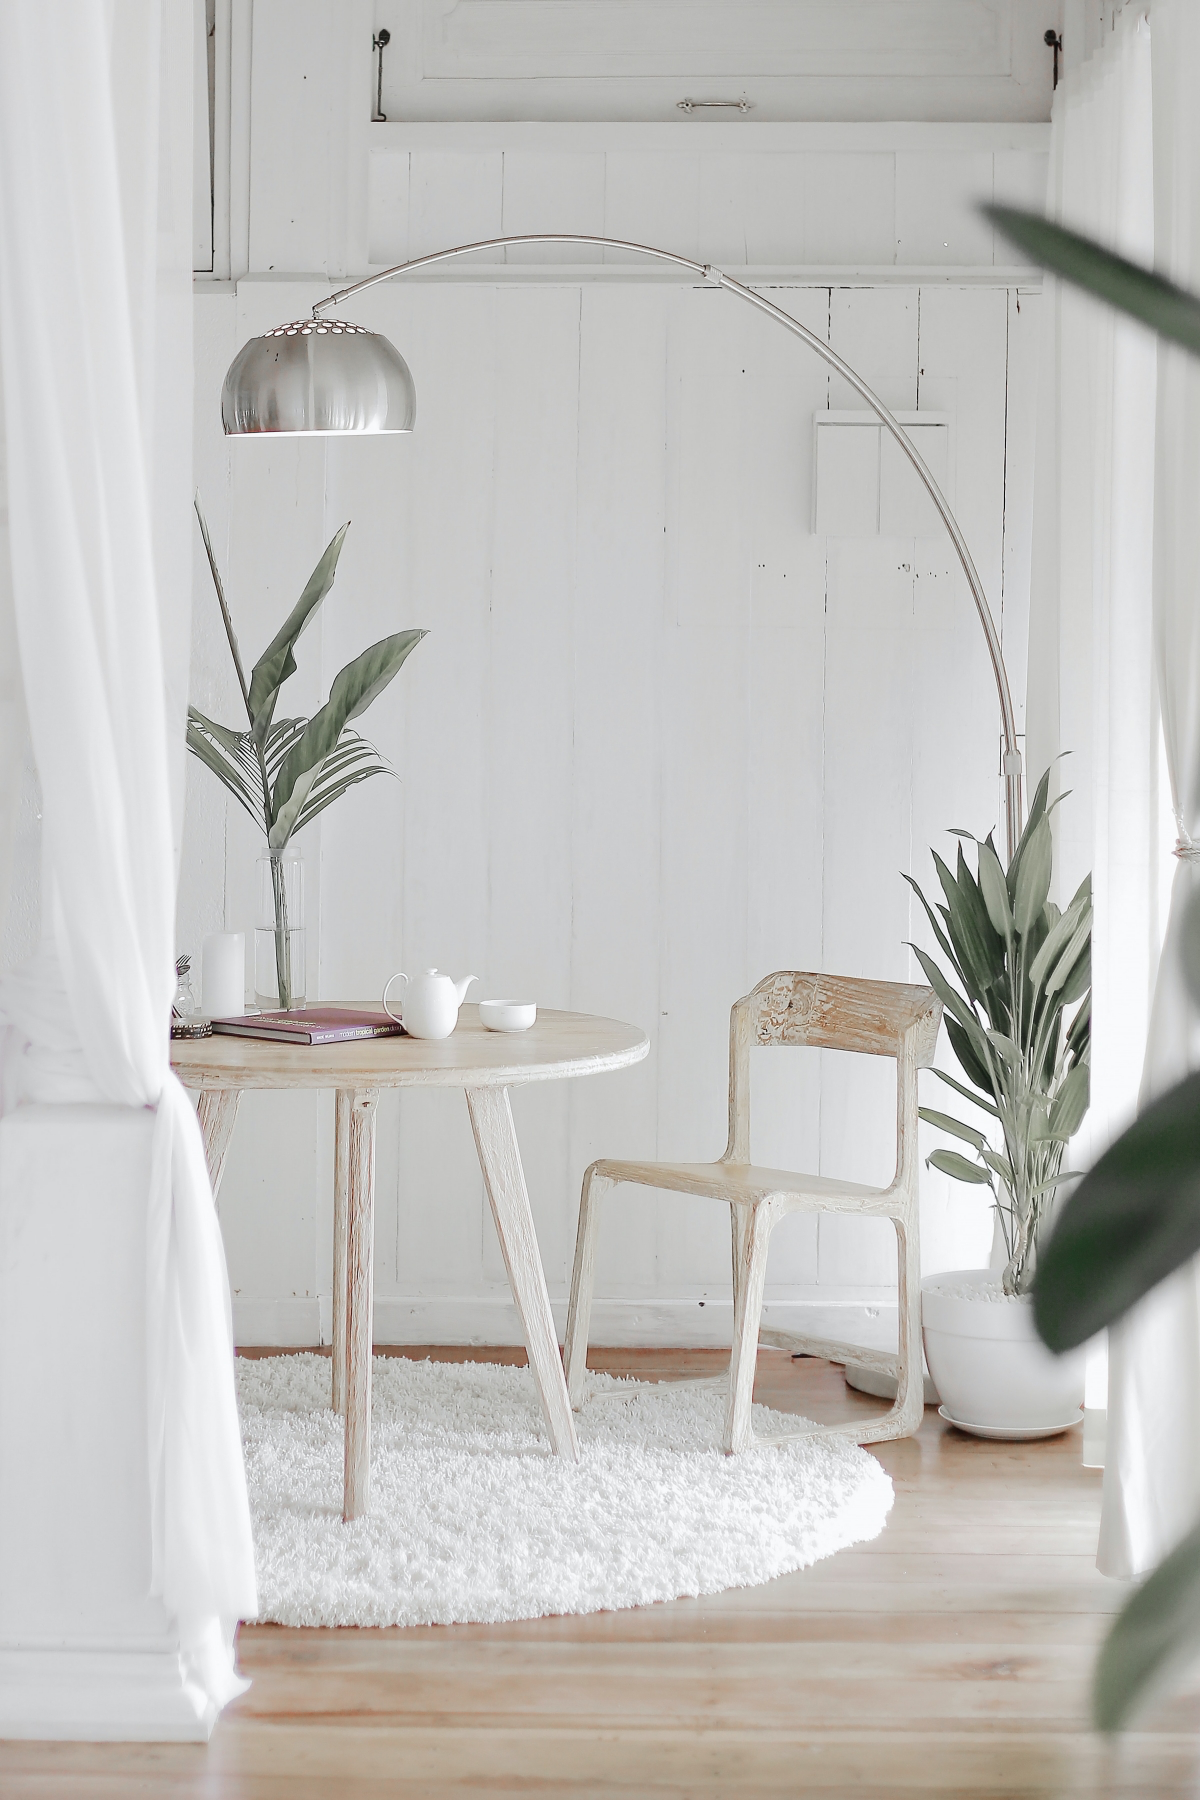
Matte Finish: For a more organic, contemporary feel, a matte finish is unbeatable. It has very little to no sheen, giving the wood a raw, natural appearance that beautifully showcases its grain and texture. While it’s very modern, be aware that it can show oily smudges more readily than a satin finish.
Ultimately, satin is the versatile, forgiving workhorse, while matte delivers a bold, design-forward statement.
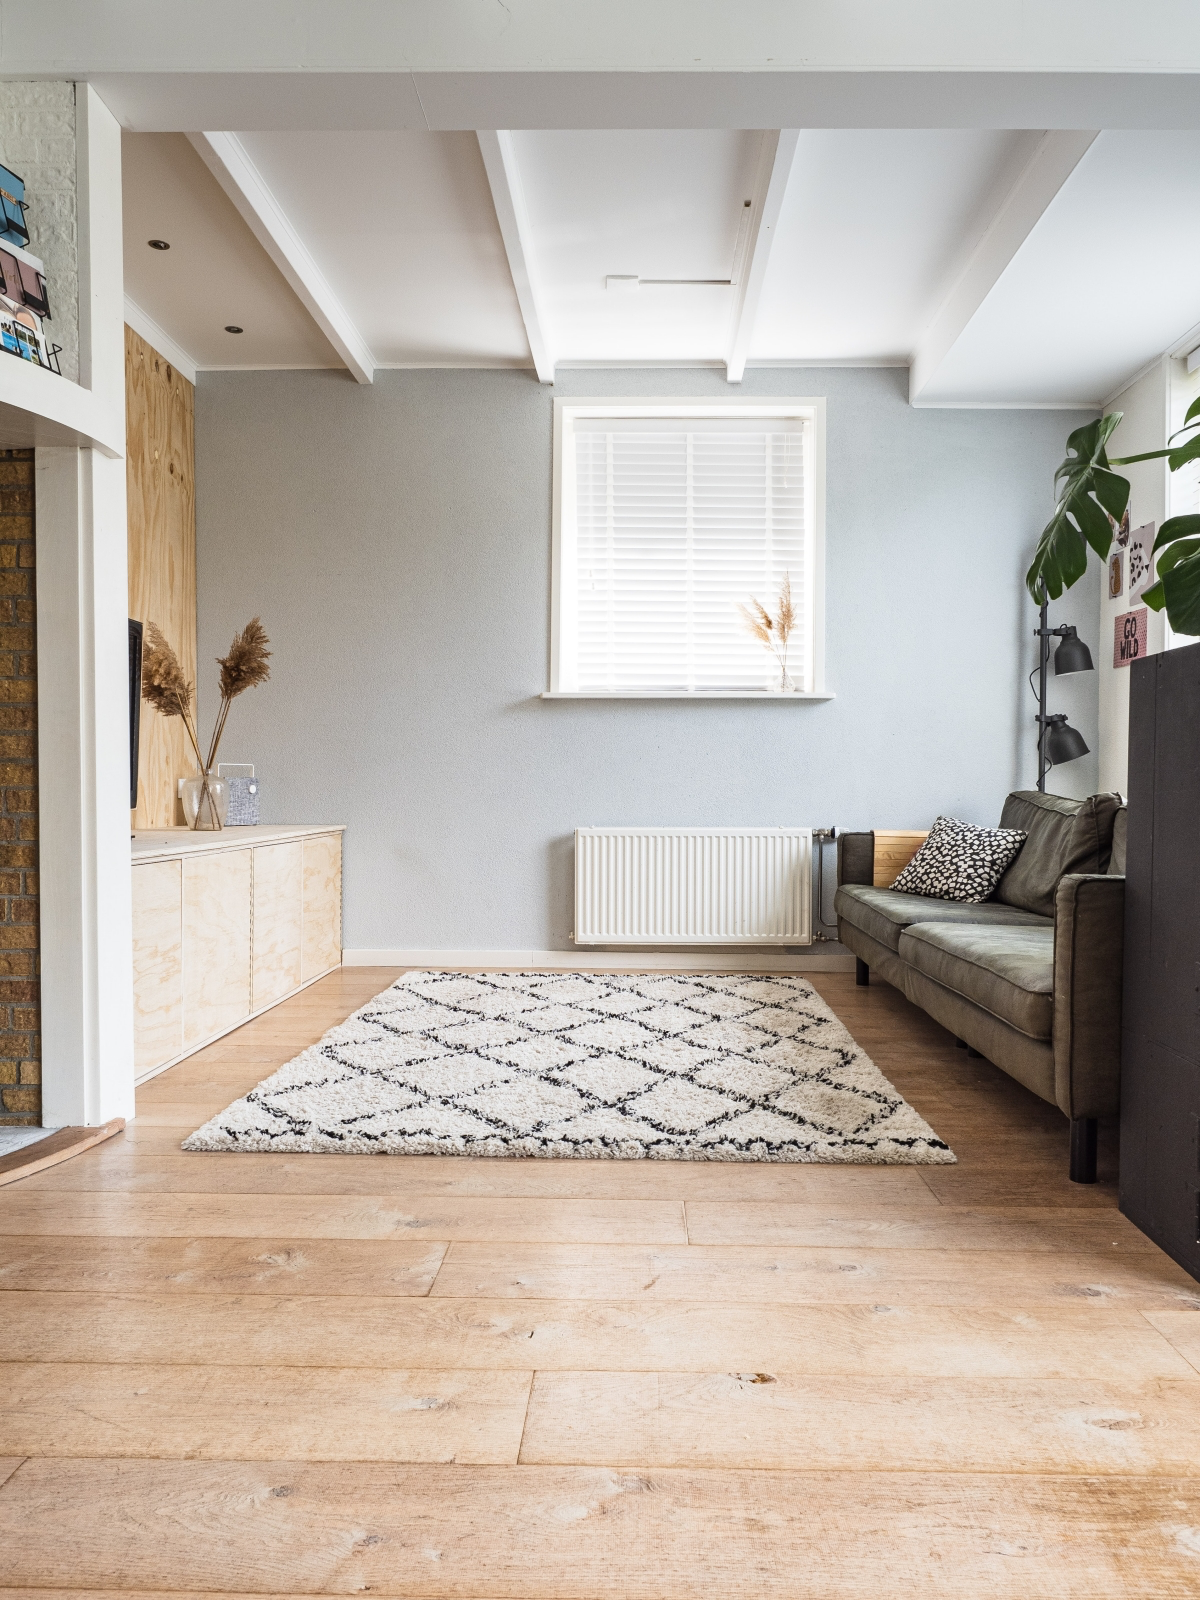
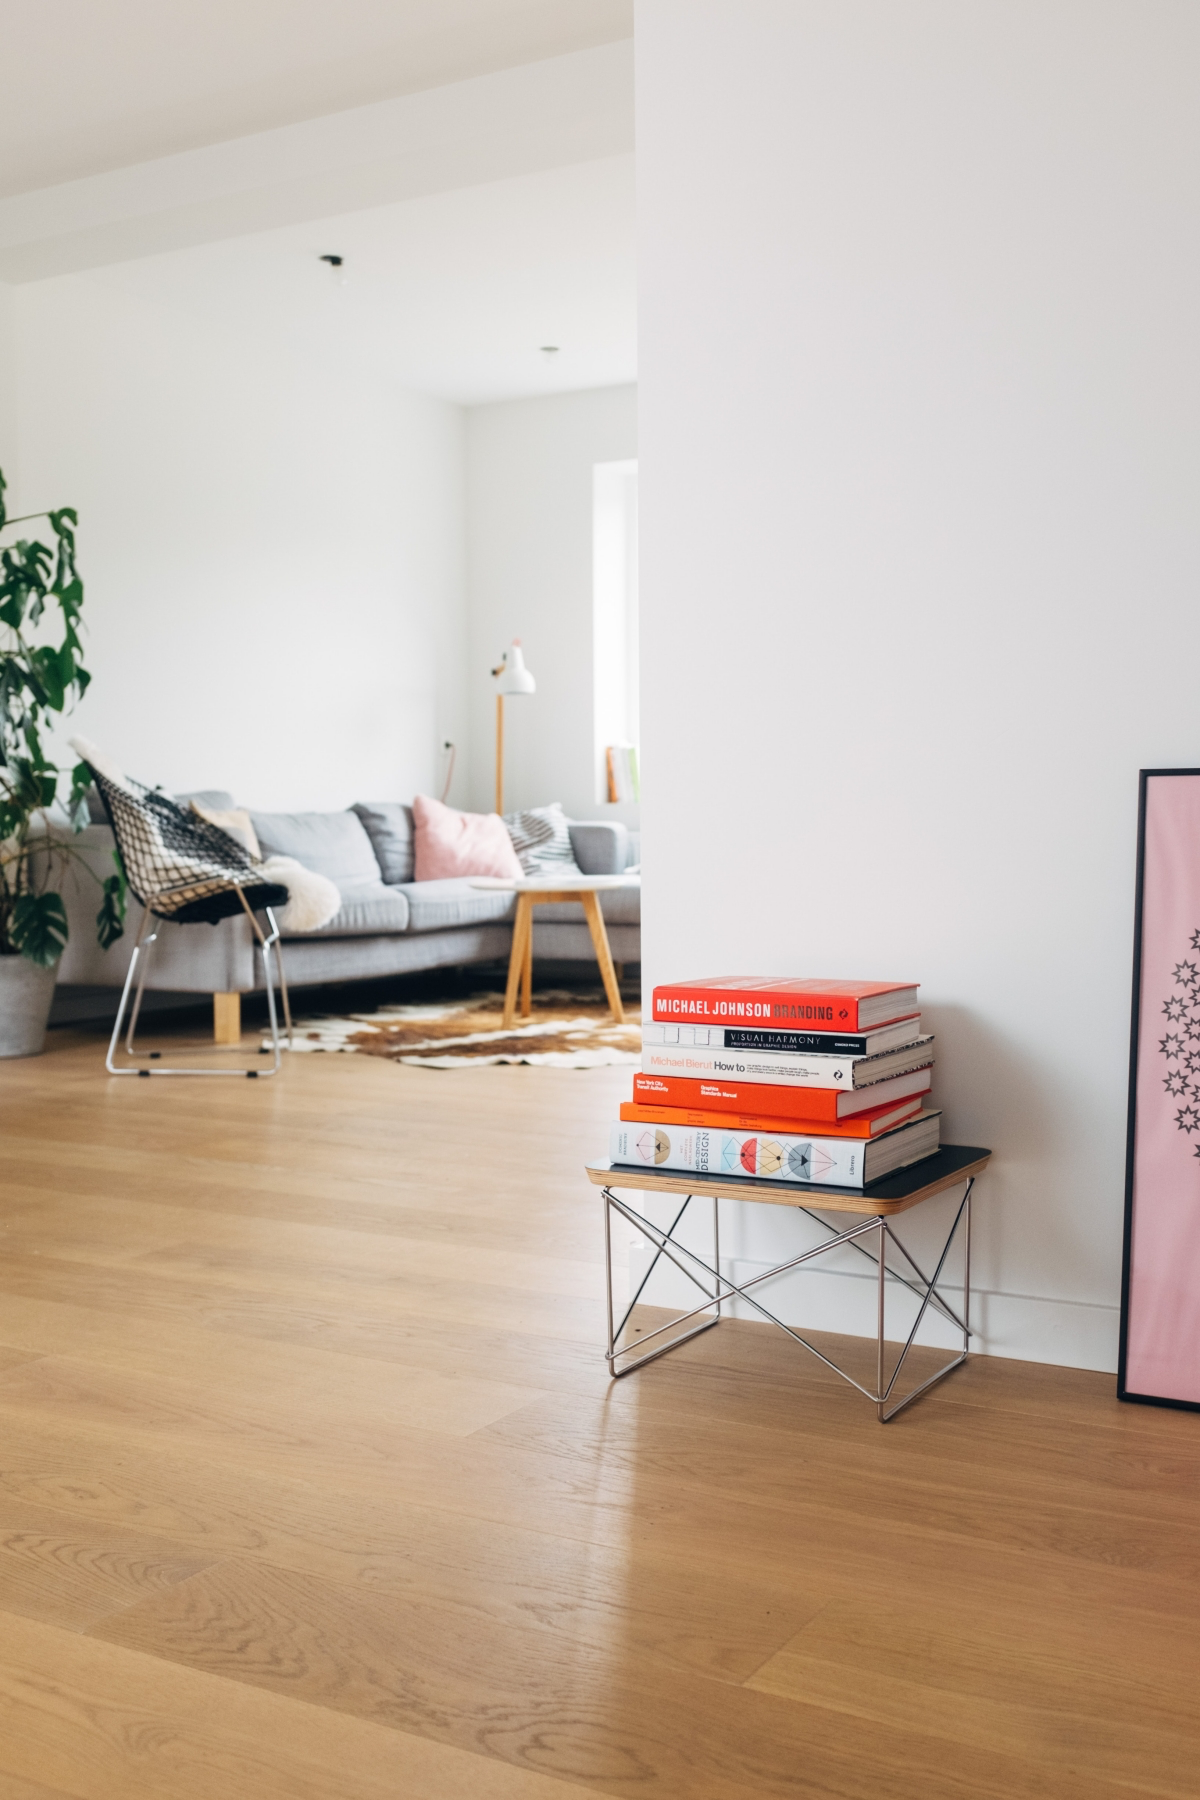
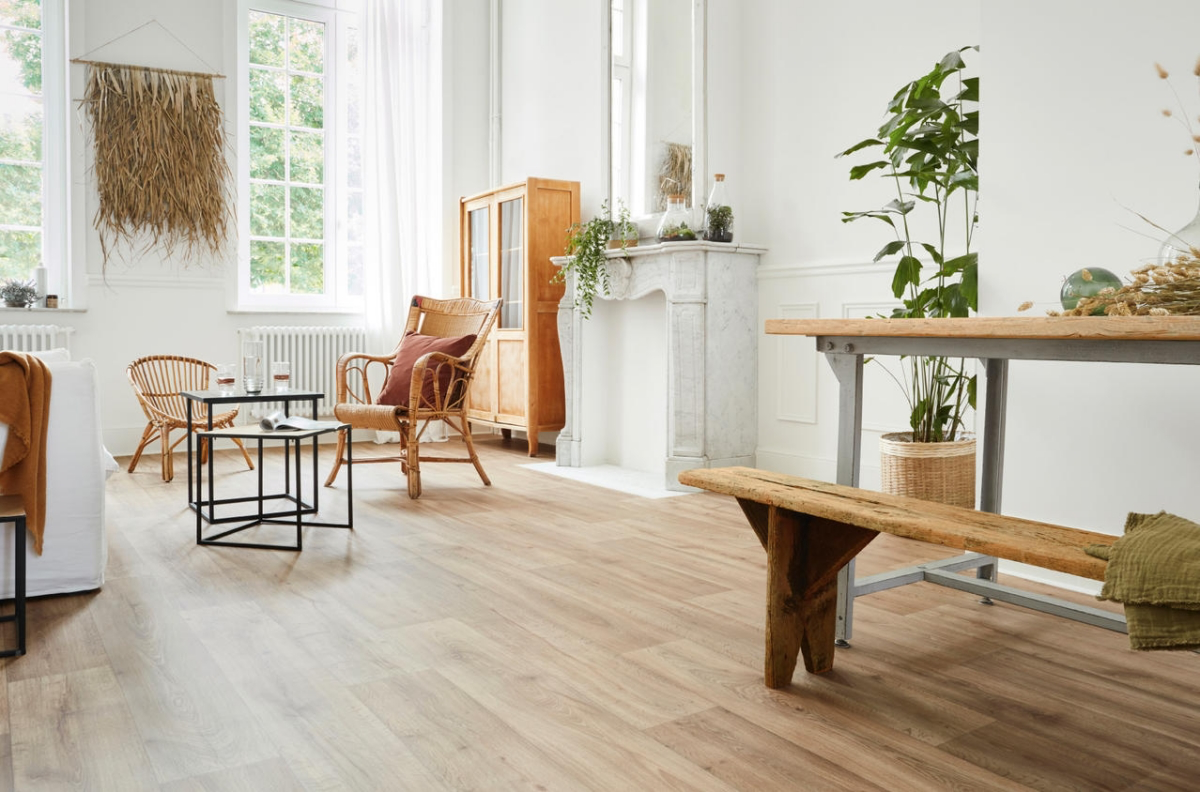
More than 60% of homeowners now prefer wood finishes that are described as “natural” or “light,” moving away from the very dark or red-toned floors of the past decade.
This major trend is all about embracing the wood’s inherent character. Instead of covering up White Oak or Maple with a heavy stain, consider an “invisible” finish. Look for high-tech, water-based polyurethane products like Bona Traffic HD Raw. They are formulated to provide robust protection without the ambering or yellowing effect of traditional oil-based finishes, leaving your floor looking like freshly sanded, pure wood.
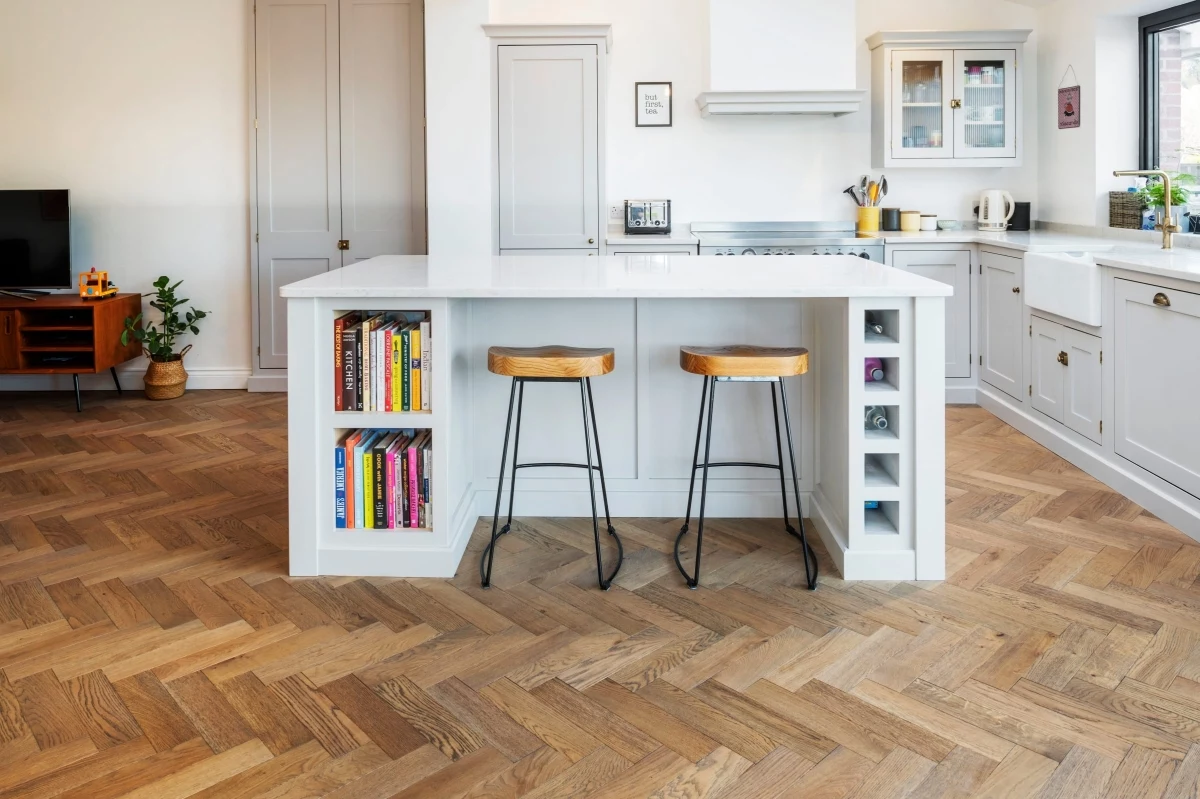
A common design pitfall: Trying to perfectly match your wood floor color to your wood kitchen cabinets or existing furniture. This rarely works, often creating a monotonous, dated look that blurs the lines between elements. Instead, aim for harmony through contrast. If you have warm cherry cabinets, a lighter, more neutral floor will make them pop. If you have light maple furniture, a medium-brown floor will provide a rich, grounding foundation. A little bit of contrast makes both the floor and the other wood elements in the room look their best.
How do I coordinate my floor and wall colors without making the room feel small?
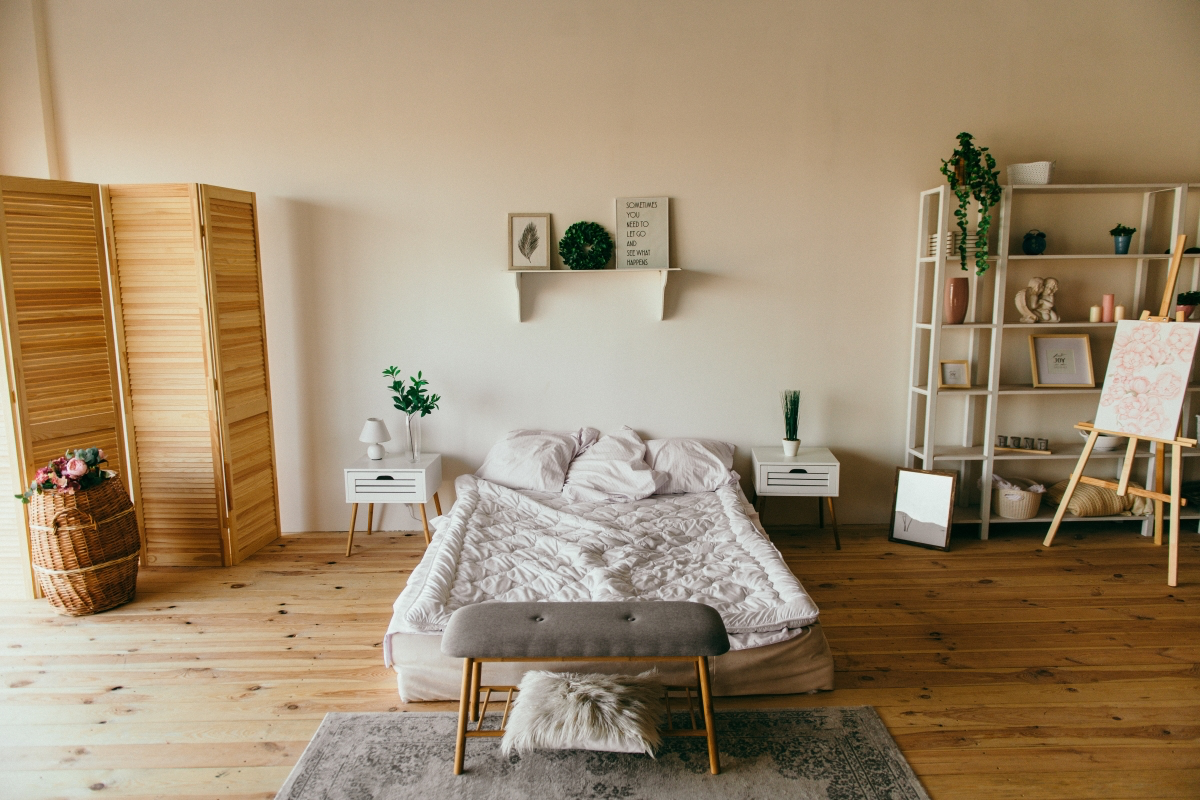
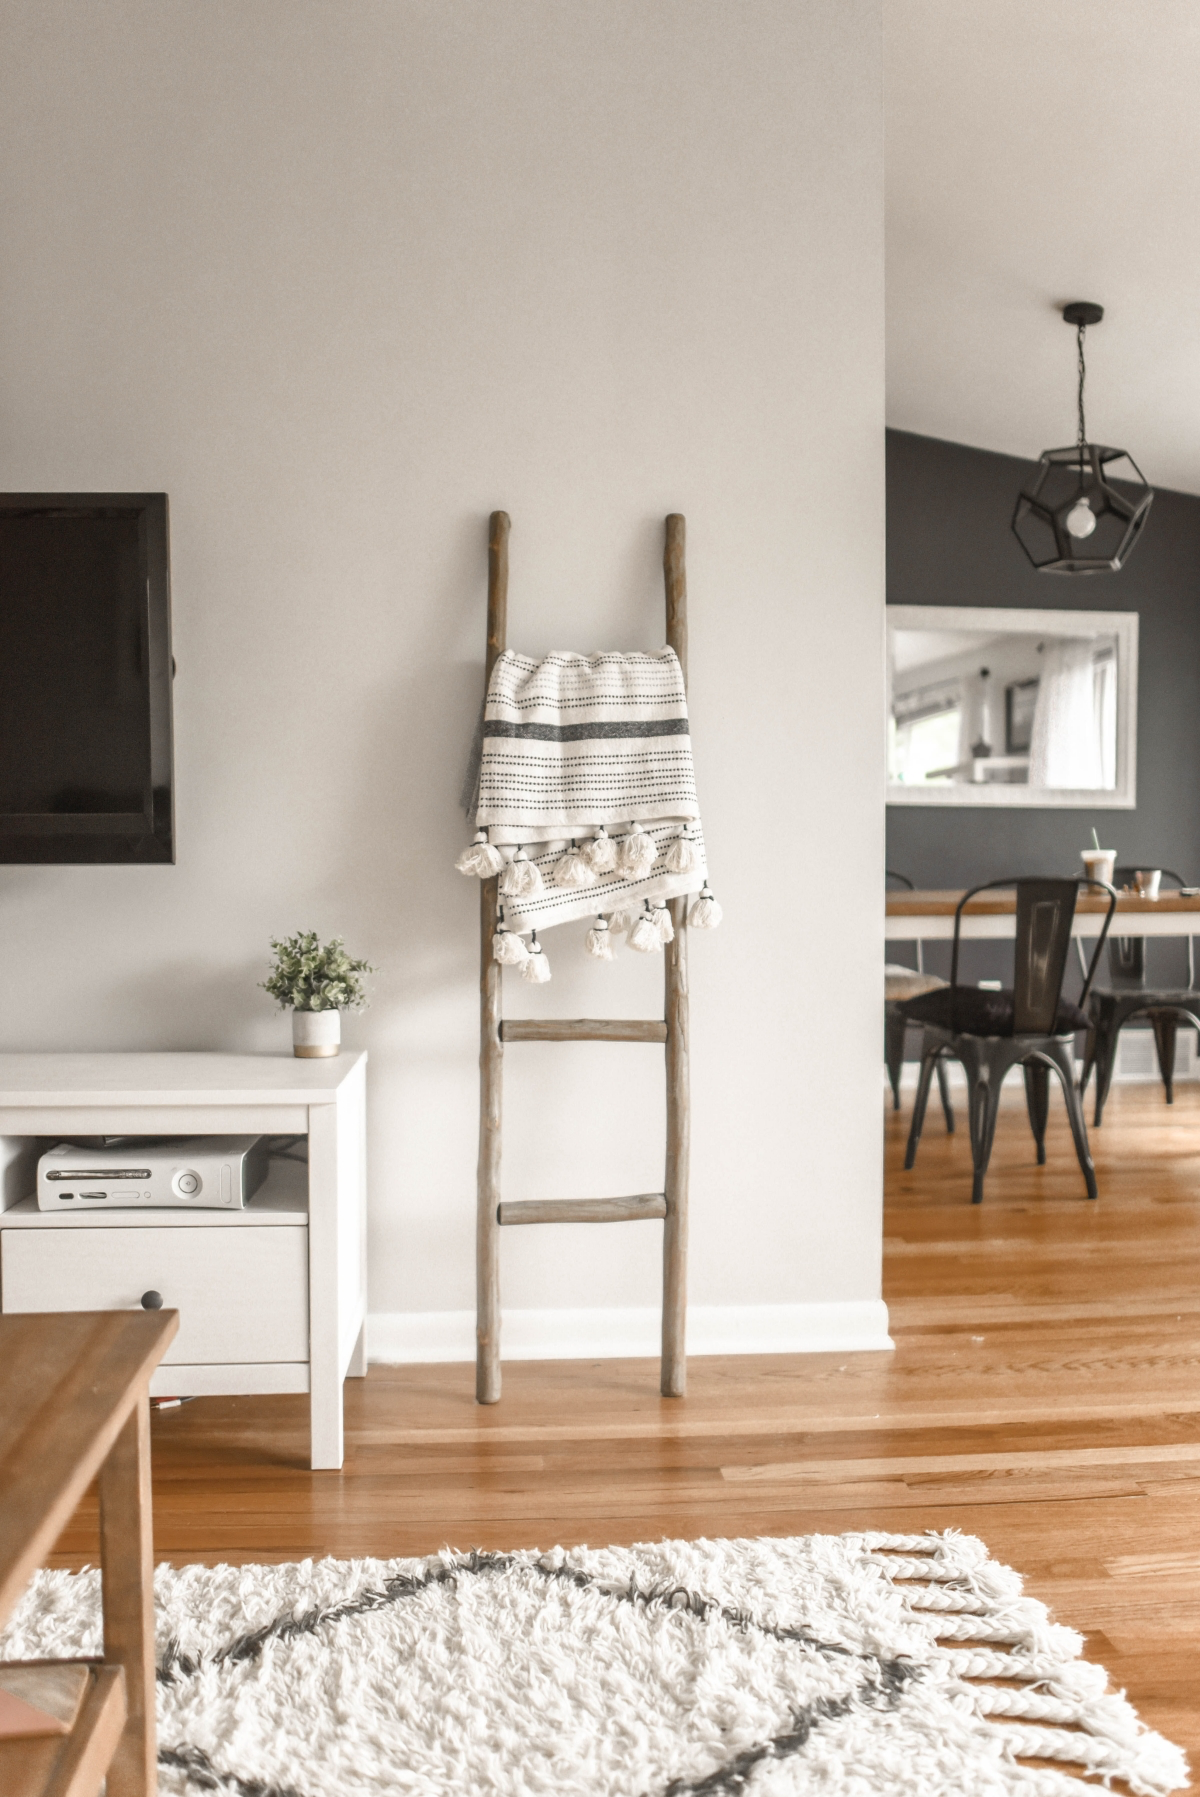
Think of it as creating a visual foundation. A classic, foolproof method is to create clear contrast. Darker floors, like a rich walnut or a deep Jacobean stain, paired with light, airy wall colors (think soft whites, greiges, or pale blues) will ground the space while making the walls recede, which enhances the feeling of spaciousness. This combination works in almost any style, from traditional to modern, and prevents the room from feeling flat or muddy.
Don’t just think about the stain color, but the staining *method*. Many high-end professionals now favor hardwax oils over traditional stains. A product like Rubio Monocoat 2C Oil, for example, molecularly bonds with the wood fibers in a single coat rather than just sitting on top. This creates an exceptionally durable, matte finish that’s easy to spot-repair—a huge advantage over polyurethane. It’s a fantastic way to get rich, even color while letting the natural texture of the wood remain the star of the show.


