Your Garden’s Waking Up: The Smart Way to Prep for an Amazing Season
You know that feeling, right? When the air just… shifts. You can smell the thawed earth on the wind long before you can feel any real warmth from the sun. For me, that scent is the starting gun for the most important work of the whole year. This isn’t just about tidying up a messy yard. It’s about setting the stage for everything that’s going to grow, bloom, and feed you for the next eight months.
In this article
A lot of guides just throw a quick checklist at you, treating it like a chore to be rushed. But I’ve learned—the hard way, sometimes—that a more thoughtful approach now prevents a ton of headaches later. We’re talking fewer pests, stronger plants, and a much bigger payoff. So let’s walk through it like the pros do, covering everything from that first cautious step outside to the final touches before you plant a single seed.

First Things First: Just Walk and Look
Before you even think about grabbing a rake, you need to just walk through your garden. And please, do this on a day when the ground isn’t a soupy mess. Walking on saturated soil is the absolute fastest way to ruin its structure. You’re basically squeezing all the air out, creating compacted, rock-hard spots where nothing wants to grow. It can take years to fix that kind of damage. So be patient.
On this first walk, I just bring a little notebook. I’m not cleaning; I’m observing and making a game plan. What am I looking for?
- Winter’s Toll: Are there broken branches on trees from snow or ice? Check your fences and paths, too. Sometimes the ground freezing and thawing can push posts and pavers right out of place.
- Debris Drift: I note where leaves and junk have piled up. These spots will need a gentle hand, since they can easily smother new plants trying to poke through.
- Perennial Check-In: Where are my perennials? It’s good to get a mental map of where things are supposed to come up so you don’t accidentally dig them up or rake them into oblivion.
- Early Weeds: See what’s already sprouting. Spotting those first little weeds, like chickweed, tells you where to focus your weeding efforts first.
- Soil Report: Are there puddles of standing water? Does the soil look bare and crusty? These clues will guide how you improve your soil later on.
This little tour might take you 30 minutes, or a couple of hours if you have a bigger space. But honestly, the notes you take will turn an overwhelming job into a simple list of tasks. It’s exactly how a professional landscaper would start the season at a new client’s property.

The Great Cleanup: A Methodical Approach
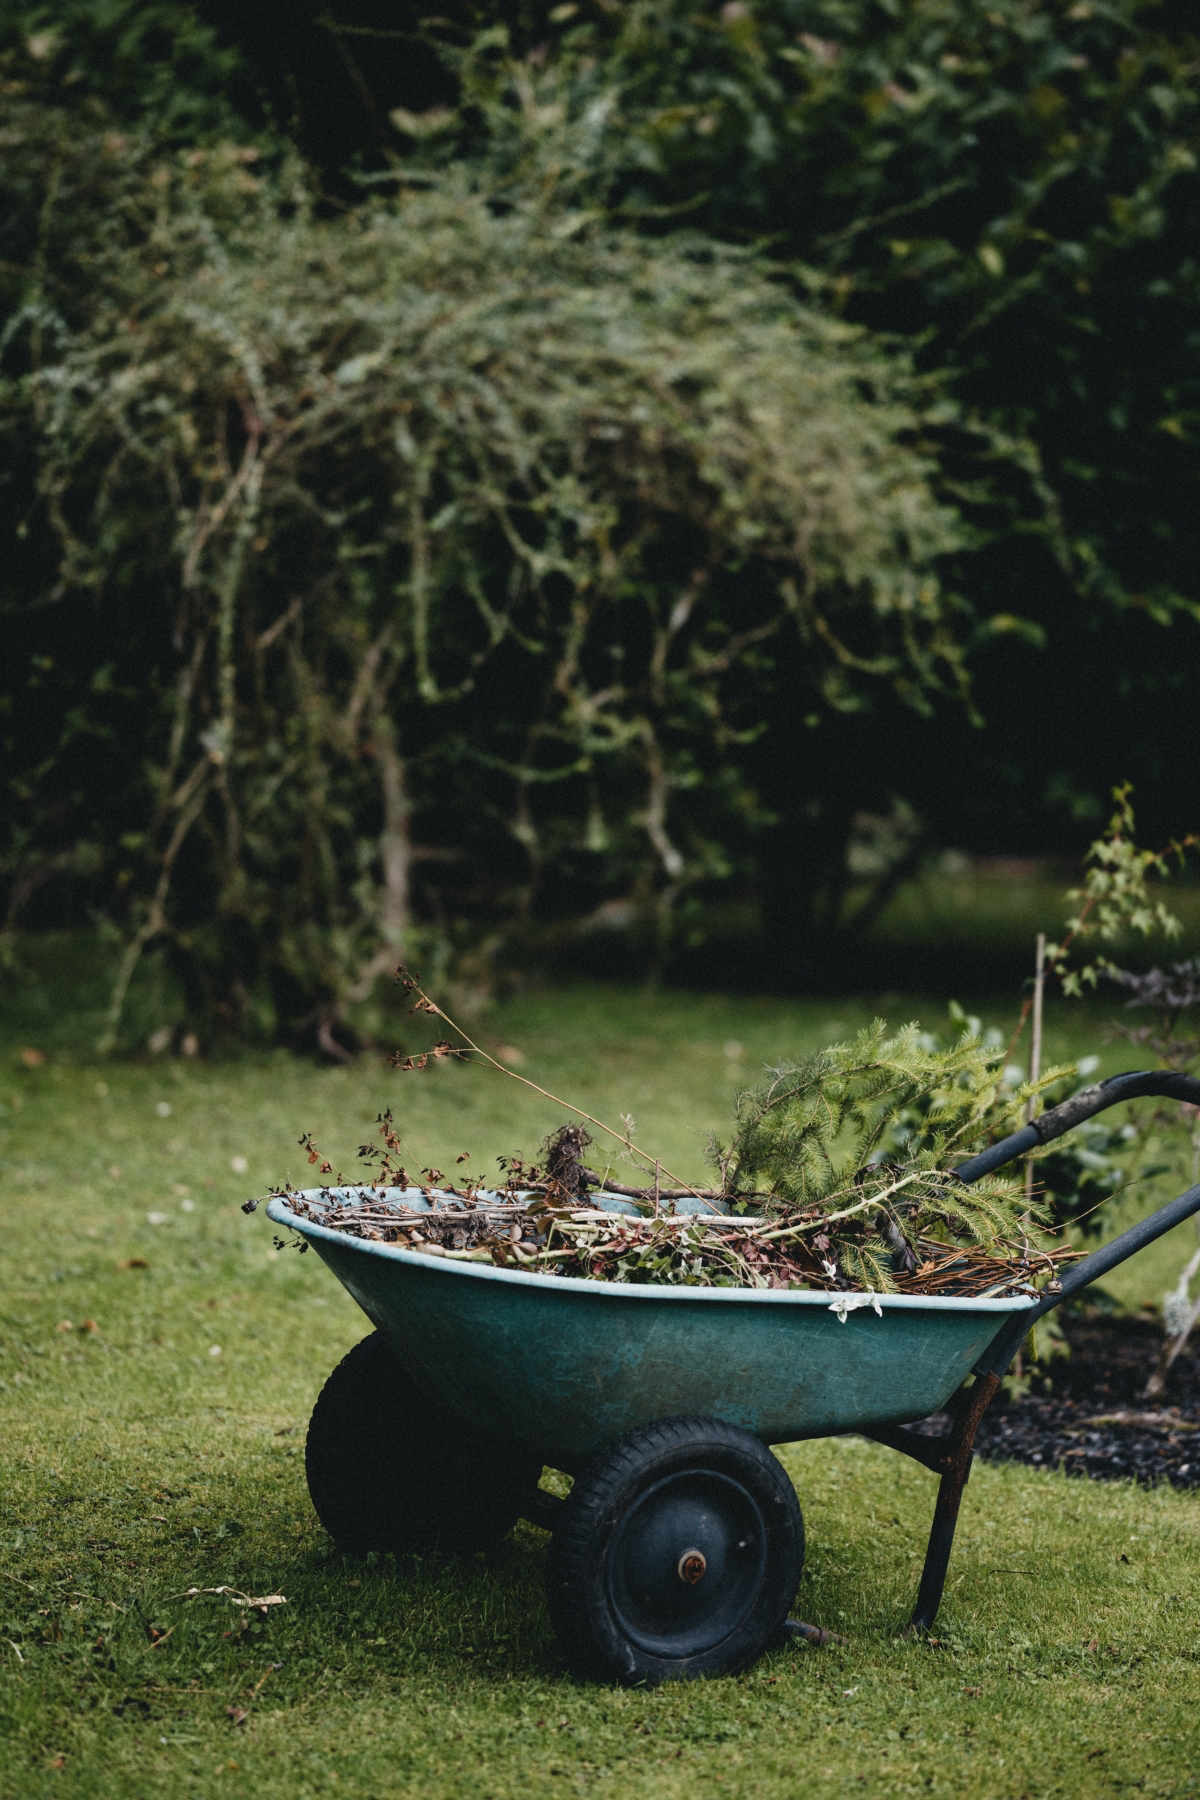
Once the ground is workable, it’s time to clean up. But this is more than just mindless raking. It’s a selective process.
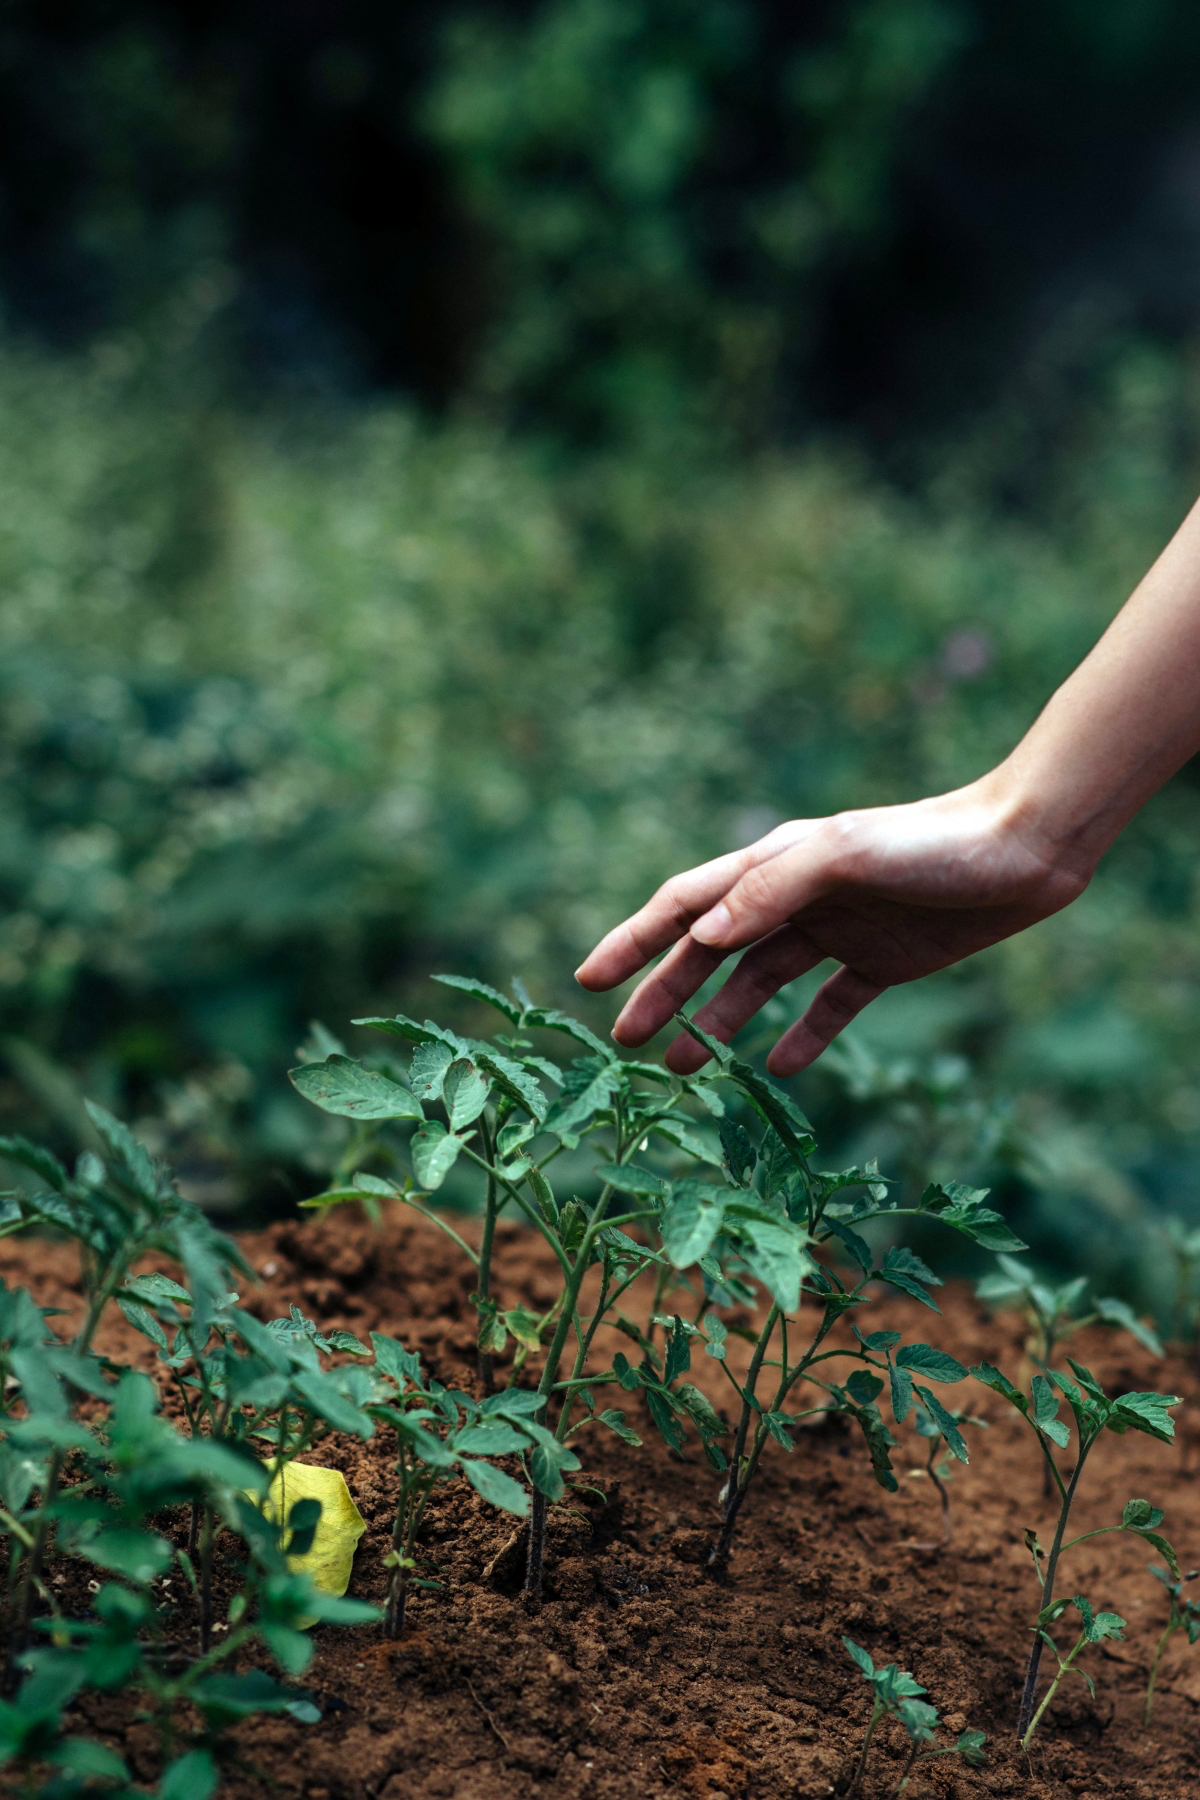
A thick mat of wet leaves can block sun and air, and even harbor disease. But a quick heads-up: not all leaf litter is bad. Oak leaves, for instance, break down slowly and make a fantastic acidic mulch for plants like rhododendrons. Maple leaves, on the other hand, can plaster themselves into an impenetrable mat. My professional trick is to use a flexible leaf rake, not one of those stiff metal ones. The flexible tines are way less likely to tear up the ground or damage the tops of dormant plants. In beds where I know delicate bulbs are emerging, I often just use my hands. It’s slower, but it prevents that sickening crunch of a broken tulip shoot.
Oh, and any leaves that look diseased—especially from fruit trees or roses—need to be bagged and thrown out. Don’t add them to your home compost pile. Most backyard piles just don’t get hot enough (we’re talking 140-160°F) to kill off nasty pathogens like apple scab or black spot.
When to Cut Back Old Growth
So, what about all those dead-looking stems from last year’s perennials? Here’s my rule: if the stems are hollow and still standing, I leave them alone for a bit longer. Many native bees lay their eggs in those hollow stems. If you chop everything down on the first warm day, you’re destroying a free pollinator hotel. I usually wait until we’ve had about a week of daytime highs consistently hitting 50°F (10°C). That seems to give the insects a fair chance to wake up and move out.
When you do cut, use sharp bypass pruners to snip the old stems down to the new little rosette of growth at the base. For big clumps of ornamental grass, I tie them up with twine first, then use shears or even a powered hedge trimmer to cut them back to about 4-6 inches from the ground. It makes cleanup a breeze.
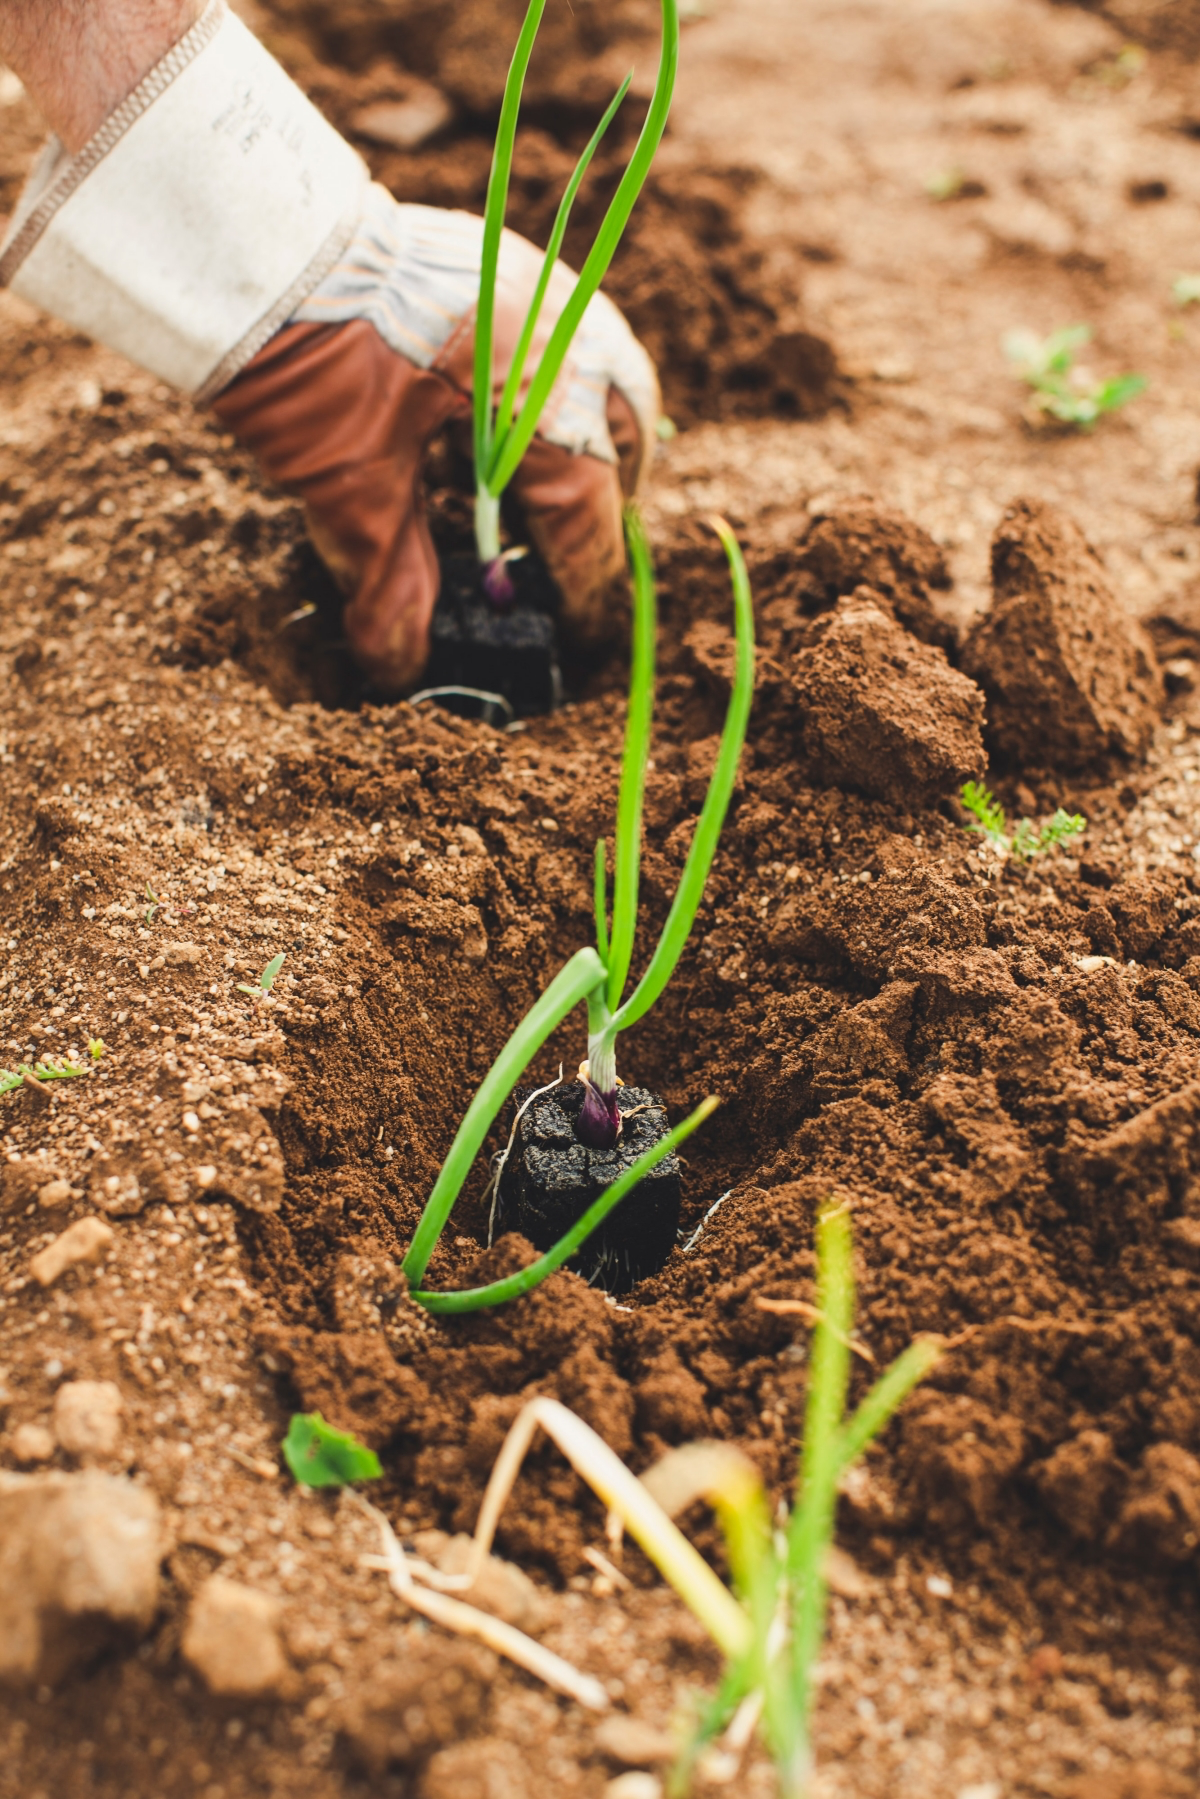
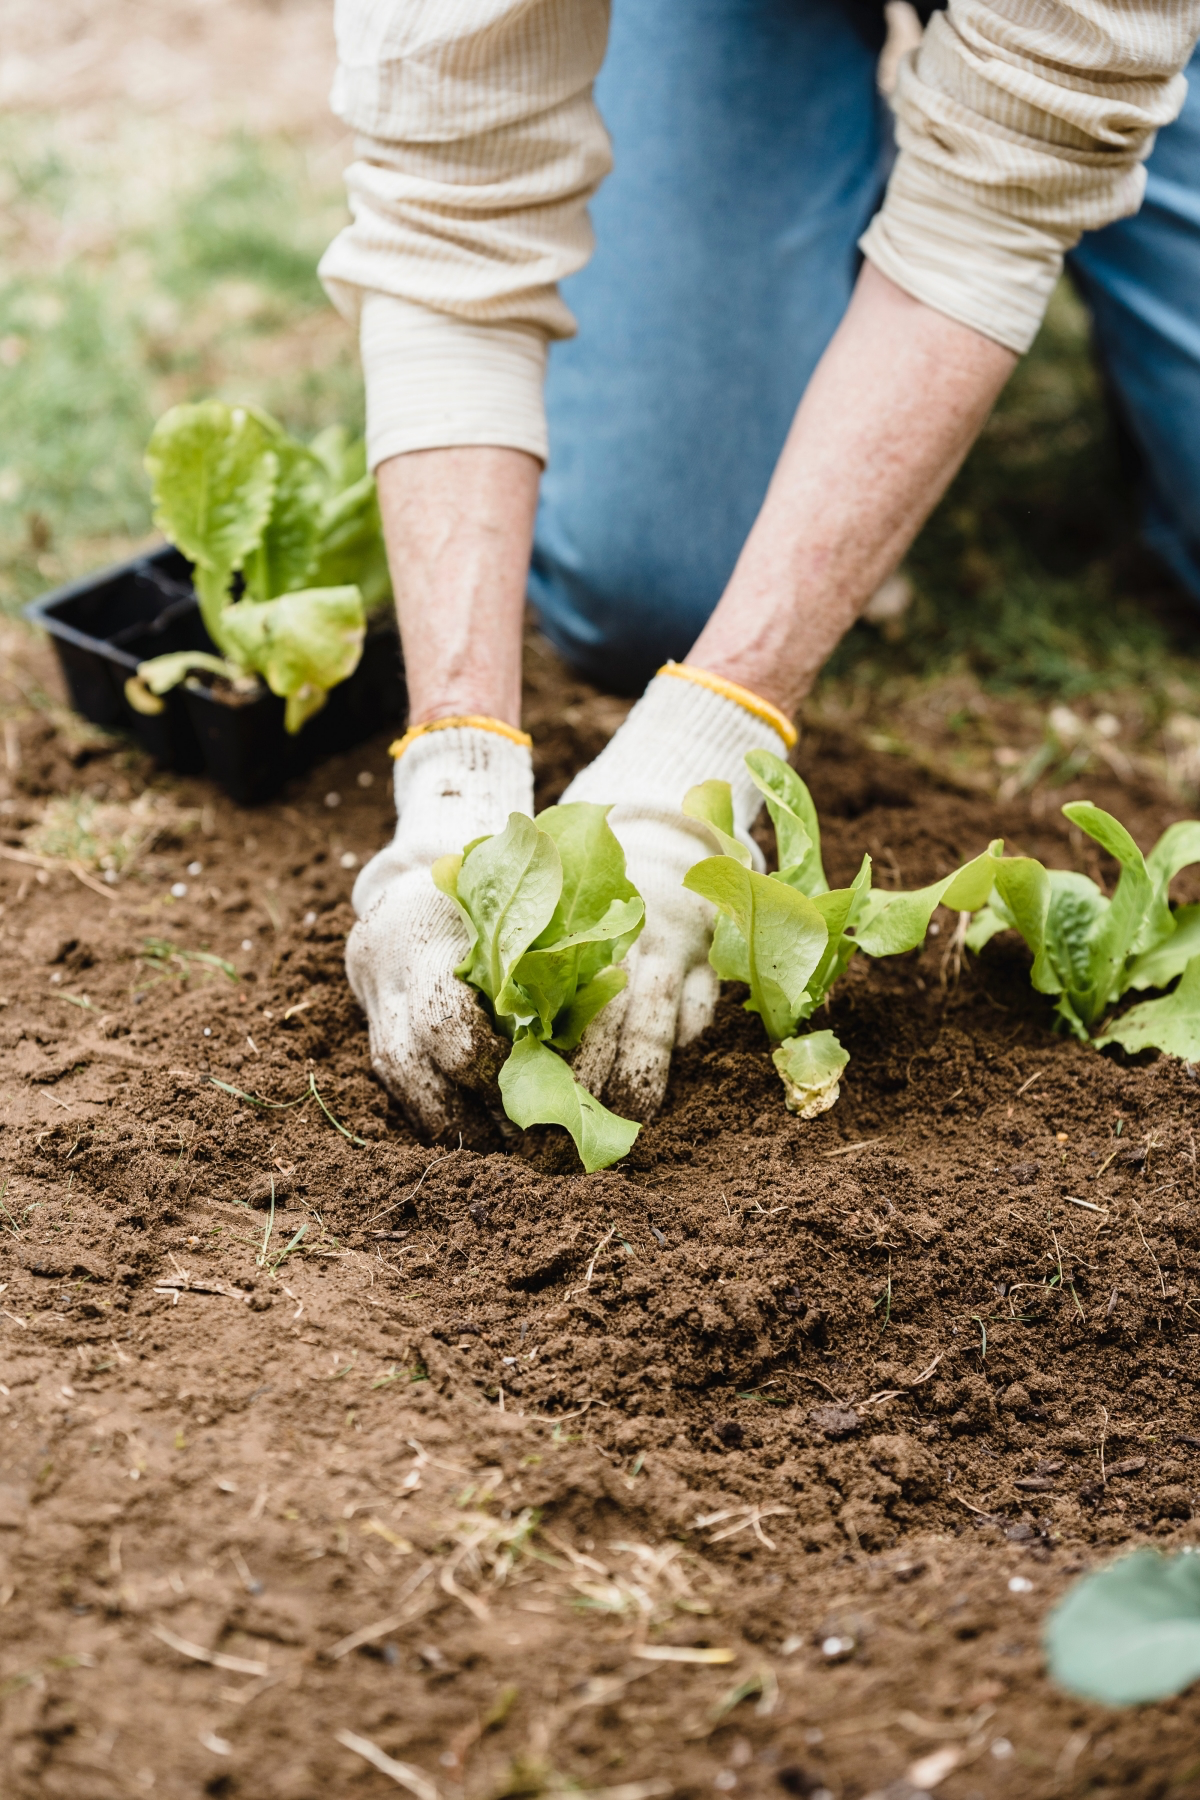
Quick tip: Always wear gloves. I can’t tell you how many times I’ve been sliced by a sharp blade of grass or a hidden thorn. A good pair of leather or sturdy synthetic gloves is non-negotiable.
Heads Up: Avoid These Top 3 Spring Prep Mistakes
From my experience, most garden problems this time of year come down to a few common errors. If you can avoid these, you’re already way ahead of the game.
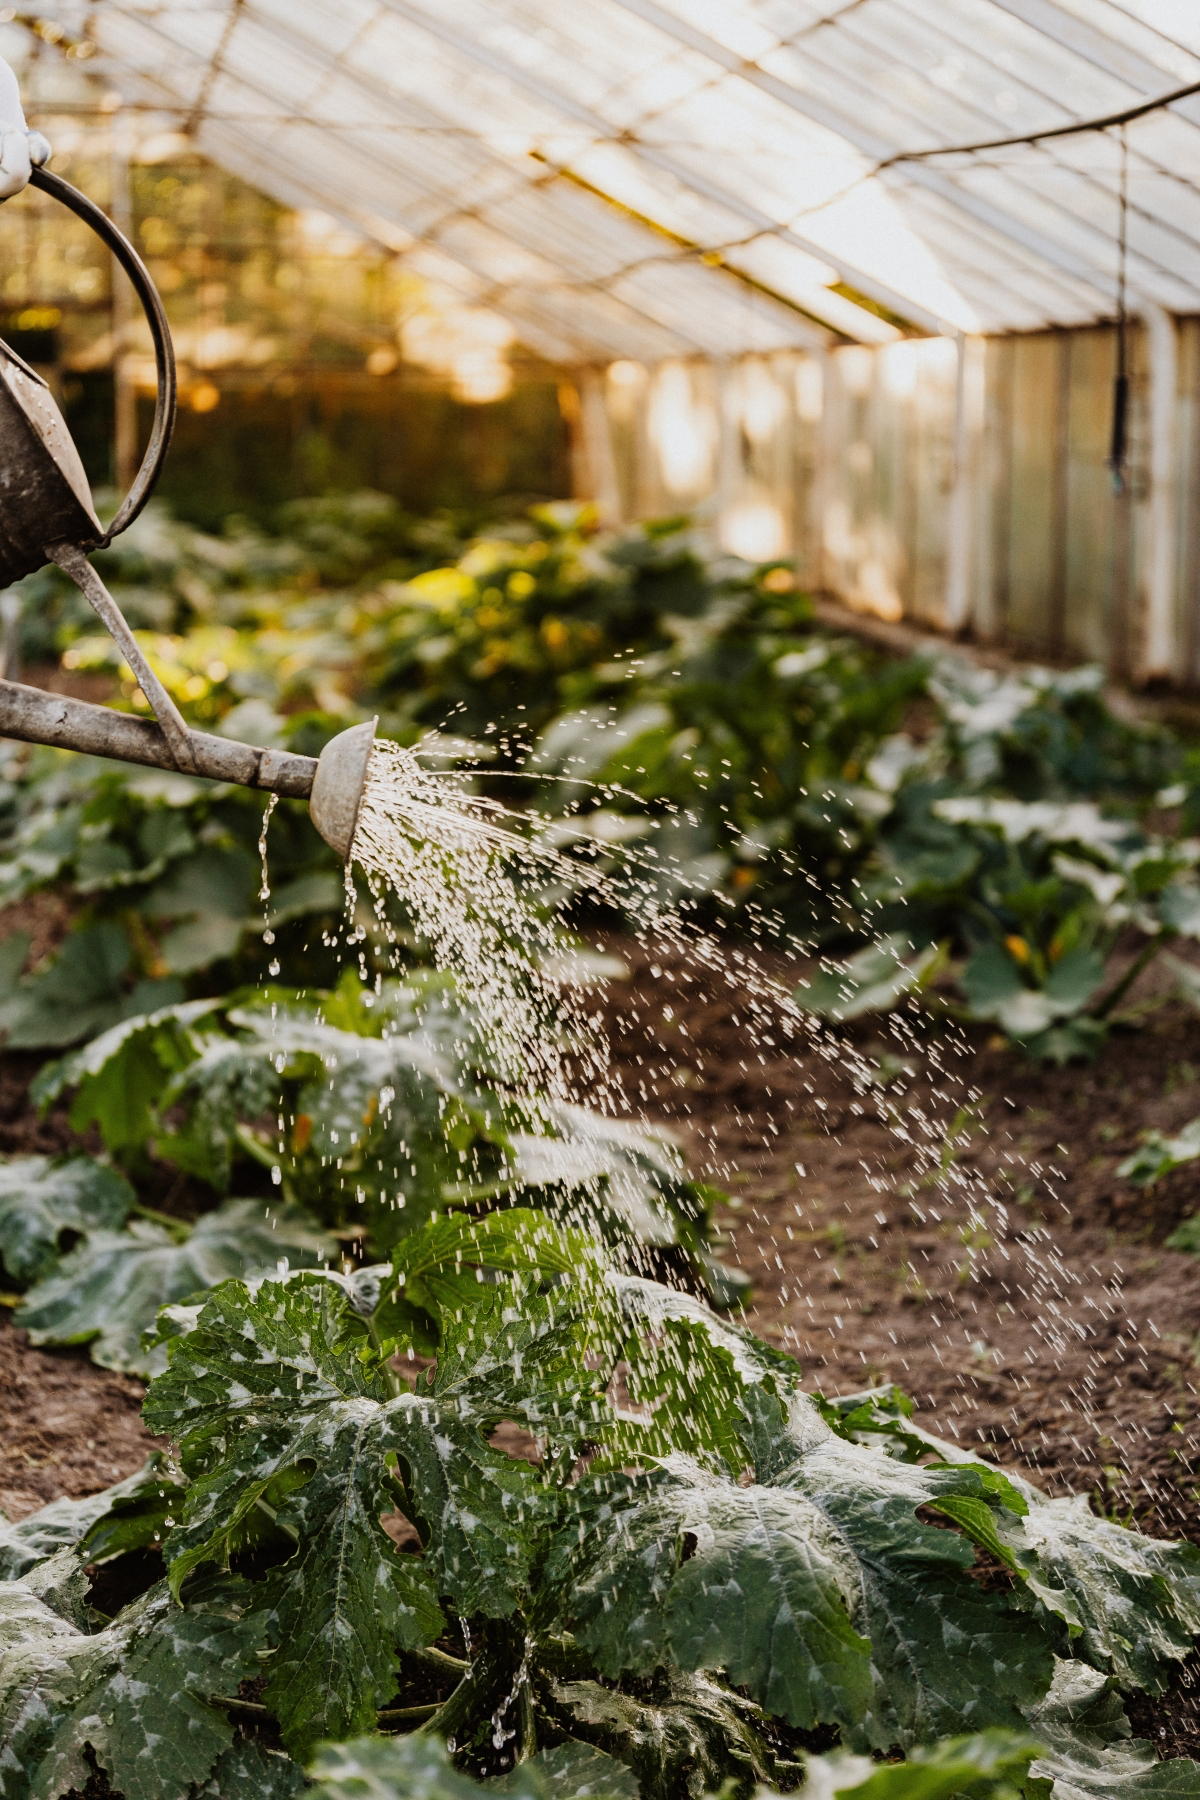
- Working on Wet Soil. I know I already said it, but it’s the cardinal sin of spring gardening. You squeeze the life out of your soil, causing compaction that chokes plant roots. Wait until the soil crumbles instead of clumping in your hand.
- Pruning Spring Flowers Too Early. This one is a heartbreaker. If you prune shrubs like lilacs, forsythia, or bigleaf hydrangeas before they bloom, you’re cutting off all of this year’s flowers. They bloom on last year’s growth, so always wait to prune them until right after their flower show is over.
- Spreading Disease with Dirty Tools. It’s so easy to do. You prune a diseased branch on one rose bush and then move to a healthy one, accidentally carrying the disease with you. A quick wipe of your pruner blades with rubbing alcohol between plants can save you a whole season of trouble.
The Real Foundation: Getting Your Soil Right
If you do only one thing on this list, make it this. Healthy soil equals healthy plants. It’s that simple. You’re not just feeding your plants; you’re feeding the complex web of life in the soil that, in turn, takes care of your plants.
First, get a feel for what you’re working with. Just grab a handful of moist (not wet!) soil and give it a squeeze. If it feels gritty, you’ve got sandy soil. If it’s silky smooth like flour, that’s silt. And if it’s sticky and you can roll it into a thin ribbon, you’re dealing with clay. Most of us have a mix of all three, which is called loam—the good stuff.
The solution for soil that’s too sandy (drains too fast) or too clay-heavy (drains too slow) is the exact same: add organic matter. Think of compost as the great corrector. In clay, it pries the particles apart to create space for air and water. In sand, it acts like a sponge to hold onto moisture and nutrients. It’s magic.
I recommend spreading a 1 to 3-inch layer of good-quality compost over your beds. To save money on a big project, look into buying compost by the cubic yard from a local landscape supplier. It’s often cheaper and better quality than the small plastic bags from big-box stores. And of course, the best option is the free one: use your own homemade compost if you have it! Gently work it into the top few inches of soil with a garden fork. There’s no need for heavy-duty tilling, which we now know can destroy the soil’s delicate structure.
Should You Get a Soil Test?
For a serious gardener, a soil test every few years is a fantastic investment. You can grab a simple DIY kit at a garden center for maybe $15, but to be frank, they’re not super accurate. For the real story, send a sample to your local university cooperative extension. It’ll cost you between $20 and $50, but you’ll get back a detailed report on your soil’s pH and nutrient levels, with specific recommendations on how to fix any issues. It takes all the guesswork out of the equation.
Getting Structural: Pruning for Health and Shape
Early spring, before the leaves pop, is the ideal time for structural pruning. You can see the plant’s “bones” clearly. Proper pruning is part art, part science.
First, make sure you have the right tools. A good pair of bypass pruners, some long-handled loppers for thicker branches, and a small pruning saw will handle almost anything. And please, make sure they are clean and SHARP. A dull blade crushes stems, inviting disease. How do you sharpen them? It’s easy! All you need is a small diamond file, which you can find for about $10 online or at a hardware store. A few swipes along the blade’s edge is all it takes.
When it comes to quality, you get what you pay for. A basic pair of Fiskars pruners will get the job done if you keep them sharp. But if you’re planning on doing a lot of pruning for years to come, investing in a pair of Felco pruners is something you’ll never regret. They’re built to last a lifetime.

Always start by pruning out anything Dead, Damaged, or Diseased. Next, look for branches that are rubbing against each other or crossing paths—remove one of them. When you make a cut, don’t cut flush with the trunk. Look for the slightly swollen ring of bark where the branch meets the main stem (the branch collar) and cut just outside of it. This helps the plant heal the wound quickly.
A final, critical warning: for any pruning that requires a ladder or is anywhere near power lines, please hire a certified arborist. It’s just not worth the risk.
Getting Ready for the Season: Final Touches
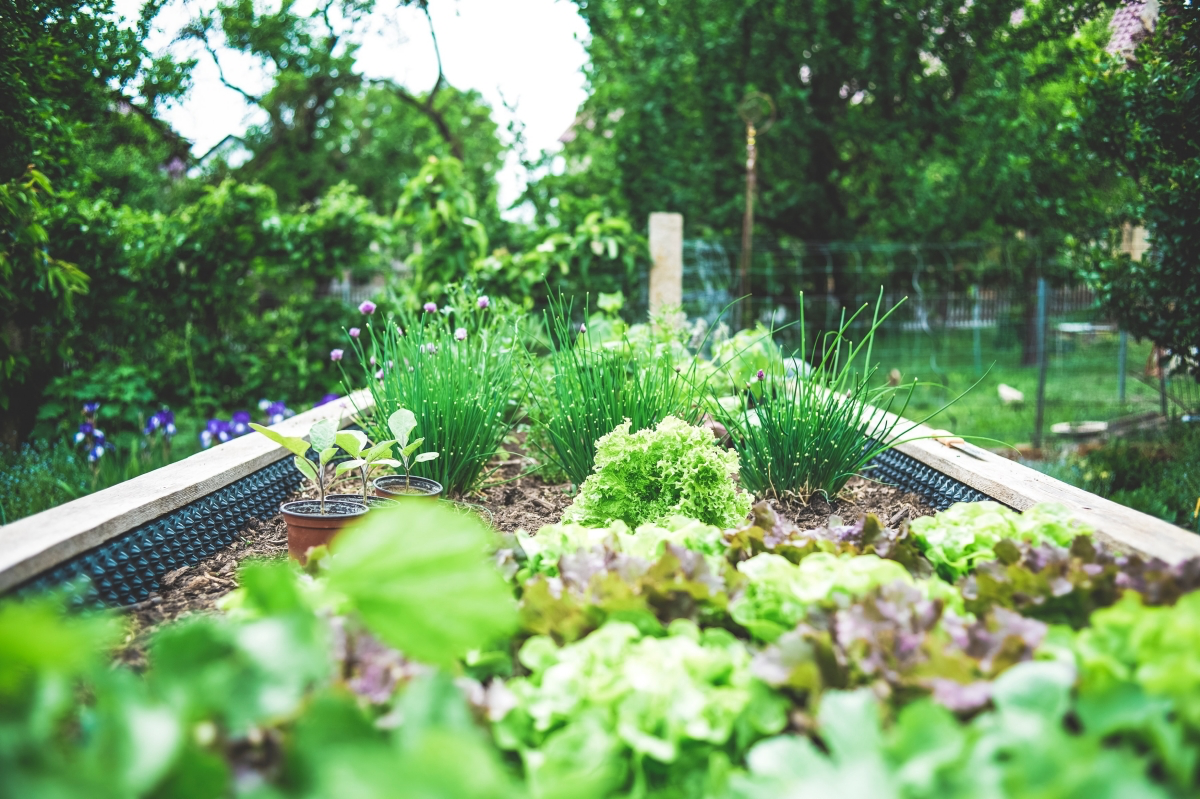
With the heavy lifting done, a few last tasks will set you up for success. Early spring is the perfect time to divide perennials that bloom in the summer or fall, like Hostas and Daylilies. If a clump looks overcrowded or has a dead spot in the middle, just lift the whole thing with a garden fork and slice it into smaller pieces with a spade. It’s a fantastic way to get free plants!
This is also a great time to apply dormant oil spray to fruit trees and roses. It’s a safe, non-toxic way to smother overwintering pest eggs. The key is timing: apply it when the plant is still dormant but the temperature will stay above freezing for 24 hours. A calm, dry day is best.
Your Spring Prep Toolkit & Shopping List
Feeling ready to go? Here’s a quick rundown of what you might need. No need to buy everything at once, but this is a good checklist to have in mind.
Essential Tools:
- Flexible Leaf Rake
- Bypass Pruners (like Fiskars or Felco)
- Loppers
- Small Pruning Saw
- Garden Fork
- Durable Gardening Gloves
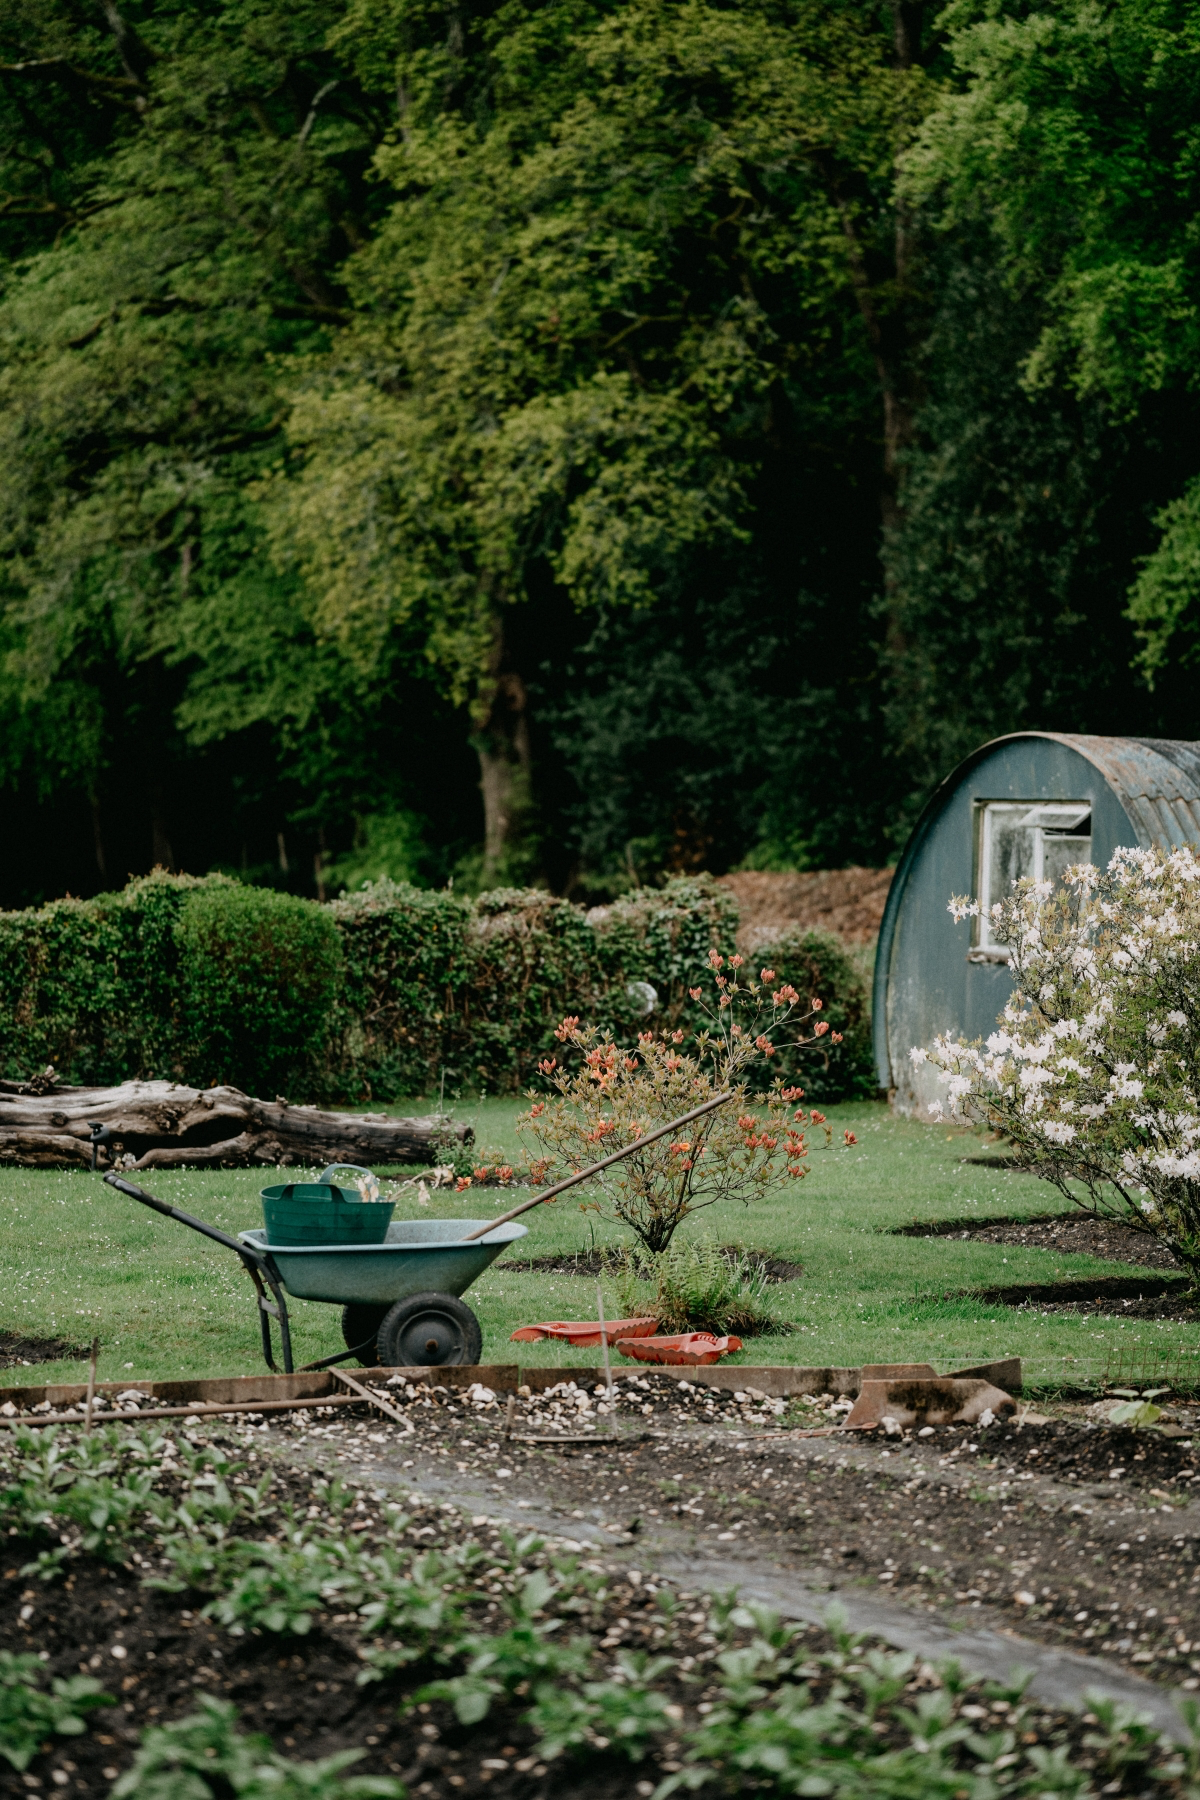
- Wheelbarrow
- Tool Sharpening File (a simple diamond file works wonders)
Garden Supplies:
- High-Quality Compost (bagged or bulk)
- Dormant Oil Spray
- Rubbing Alcohol (for cleaning tools)
- Twine (for tying up grasses)
Quick Win for a Busy Day: Don’t have time for everything? Just take 15 minutes to go sharpen your pruners and shovel. A sharp tool makes every job easier and is better for your plants. It’s a small task that pays off all season long.