Beat the Winter Blues: Why Your Hands Might Be the Key to a Clearer Mind
You know that feeling, right? The light changes, the air gets a little sharp, and suddenly all you want to do is curl up and hibernate. For years, I watched this shift happen from my workshop window. There’s this natural, powerful urge to slow down, to turn inward. A lot of people try to fight it, seeing it as some kind of failure or a loss of creative energy. But I’ve learned to see it differently.
In this article
Winter isn’t a time of lack. It’s a time for a different kind of work. It’s an opportunity for the deep, quiet focus that the buzz and chaos of summer just doesn’t allow for. After spending a long time working with my hands—from furniture and ceramics to teaching—I’ve seen the same pattern over and over. Energetic people get quiet and frustrated when the days shorten. They feel stuck. And my advice is always the same: don’t fight the season. Work with it. The projects that follow are my go-to methods for channeling that winter quiet into something real and satisfying.
First, Let’s Understand the “Winter Brain”
It’s not just in your head. Our bodies are hardwired to respond to the environment. Less sunlight can genuinely mess with our internal rhythms, and that’s a simple biological fact, not a personal failing. When we feel that slowdown, our first instinct is usually to force productivity with more coffee and longer to-do lists. Honestly, that just leads to burnout.
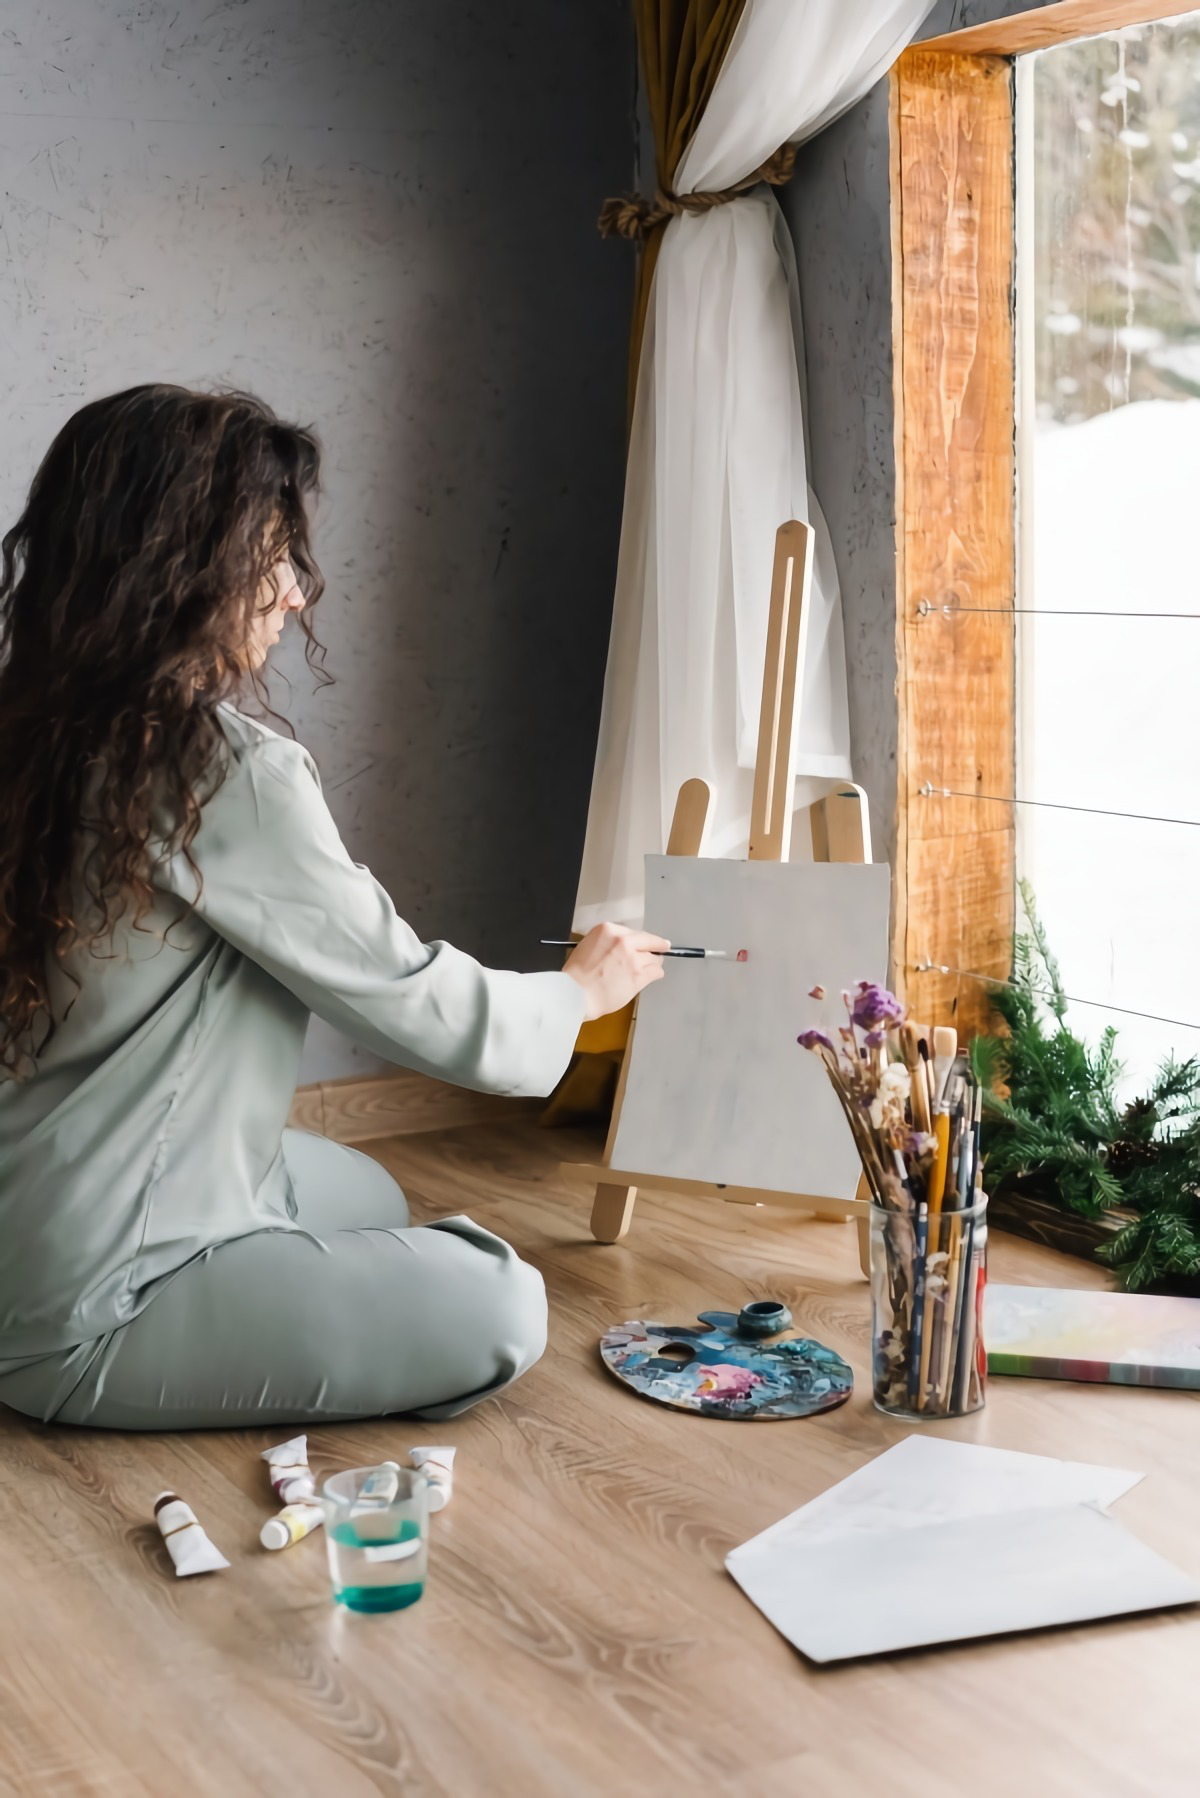
The real secret is to change the type of task you’re doing. Instead of pushing for the high-energy output of July, why not choose activities that match the season’s slower tempo? Creative work that involves your hands has this incredible way of quieting the anxious, chattering parts of your brain. When you’re focused on a physical task, like shaping clay or fitting a puzzle piece, you enter a state of active mindfulness. You’re not thinking about your worries; you’re thinking about the pressure of your thumb or the curve of a painted line. It grounds you in the present. You’re not just making a pot; you’re giving your mind a dedicated, quiet space to reset.
Structured Painting: Finding Freedom in a Framework
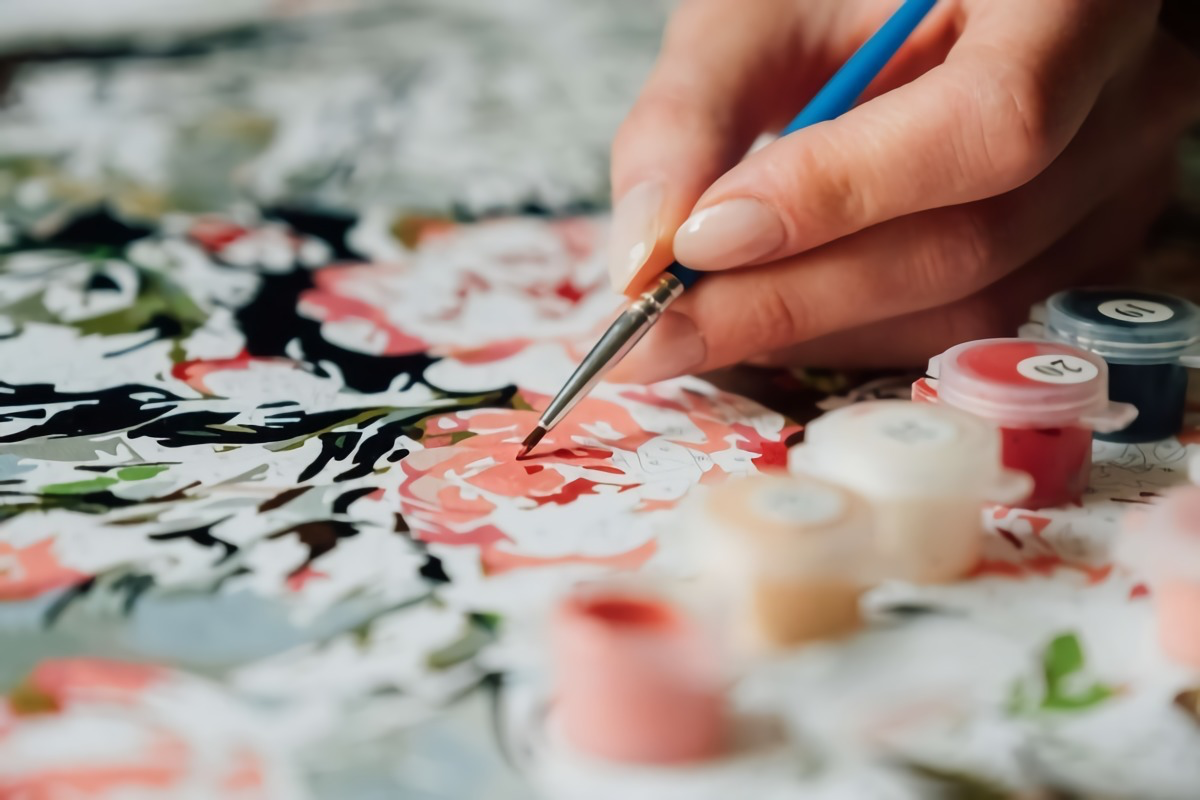
I get it, a blank canvas can be terrifying. All that possibility can be paralyzing. This is exactly why something like a paint-by-numbers kit can be a game-changer. I know some artsy folks might look down on them, but I see them as an apprenticeship in a box. They take the pressure of composition and color theory off your shoulders, freeing you up to focus on the simple, physical act of painting.
I once mentored a young graphic designer who was completely burned out. He was terrified of traditional art but felt his digital work was soulless. I handed him a complex landscape paint-by-numbers kit. He was skeptical, to say the least. A week later, he came back practically glowing. He said that for the first time in ages, he wasn’t thinking about clients or deadlines—just keeping his hand steady to fill in one tiny numbered section. He learned about brush control and how little patches of color create light from a distance. That kit was the bridge he needed to finally buy his own paints.
How to Get a Pro-Level Result from a Simple Kit
A kit is just a starting point. With a few tweaks, you can make the final piece look surprisingly professional.
- Upgrade Your Brushes. The brushes that come in most kits are, to be frank, pretty terrible. A decent beginner’s set of synthetic acrylic brushes will run you about $10-$20 at a place like Michael’s or online, and it’s a total game-changer. You’ll want a small round one for details and a small flat one for bigger areas. The difference in control is night and day.
- A Quick Tip on Paint Flow. Sometimes the little paint pots are thick and sticky. Mix a single drop of acrylic “flow improver” (about $8 a bottle, which lasts forever) or even a tiny drop of water into the paint on a palette. You’re aiming for the consistency of melted ice cream, not watery milk. This makes the paint glide on smoothly for cleaner lines.
- Blend Your Edges. To avoid that stiff, color-block look, you can soften the lines between numbers. While the paint is still wet, use a clean, slightly damp brush to gently smudge the edge where two colors meet. This works wonders for skies, water, and anything that needs a more natural feel.
- Common Pitfall: I once ruined a whole new set of brushes by letting paint dry in them. Pro-tip: Keep a jar of water handy and swish your brushes clean immediately after using a color. Don’t let them sit for even ten minutes!
Your Beginner’s Shopping List
Getting started is pretty affordable. Expect to spend between $15 and $30 on a good quality kit. Add another $10-$20 for those upgraded brushes, and you’re all set for a project that could take you anywhere from 5 to 15 hours, depending on the complexity. It’s the perfect, low-pressure way to re-engage your creative side.
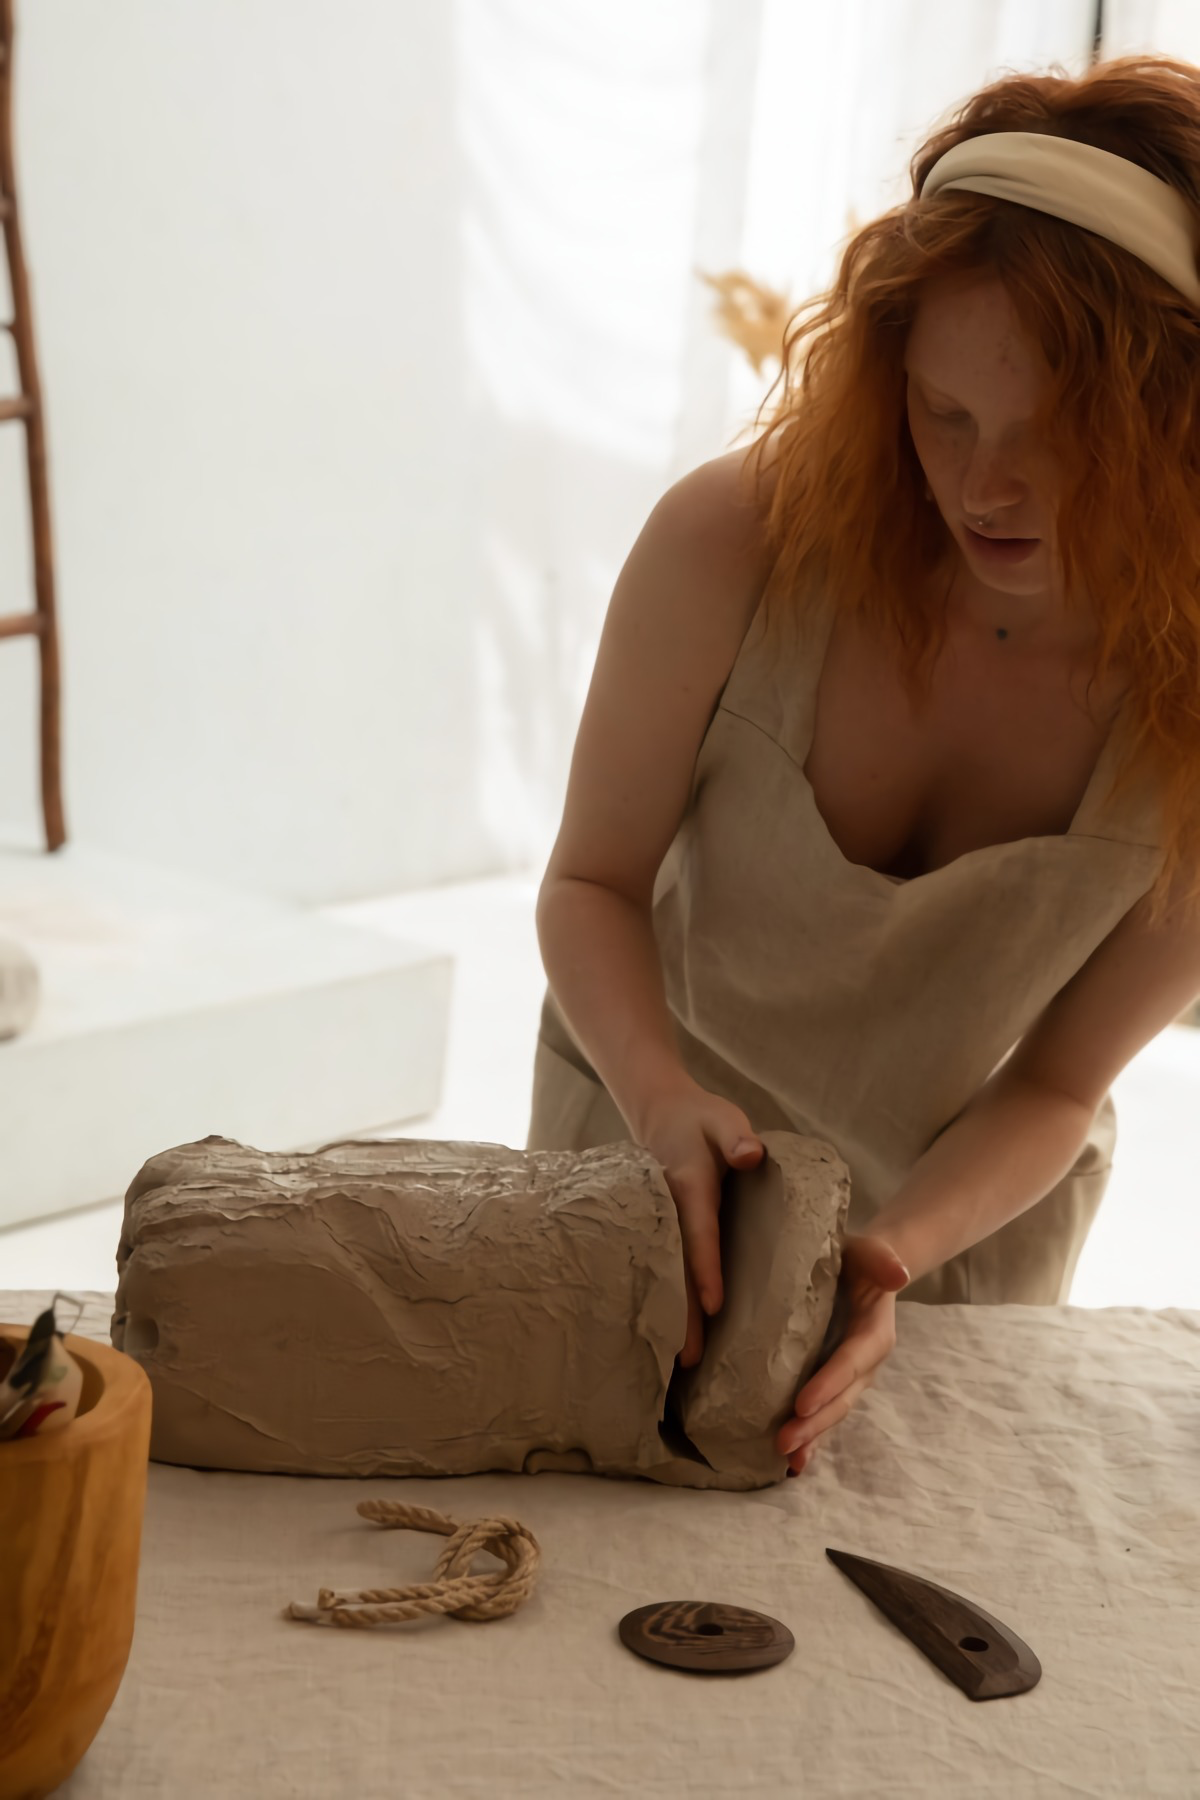
Working with Clay: That Primal, Earthy Connection
There’s something ancient about working with clay. It’s messy, it demands patience, and it’s one of the most grounding creative pursuits out there. For anyone just starting, there are two main paths: the easy-start route with polymer clay, or the more traditional path with natural ceramic clay.
Getting Started: Polymer Clay
Polymer clay is a fantastic entry point because it’s a modern plastic-based clay you can cure right in your home oven. It’s perfect for making small things like jewelry, ornaments, or little dishes. You can get started for under $30 with a few blocks of clay (brands like Sculpey or Fimo are great), a little roller, and some basic tools. You bake it at a low temperature, usually around 275°F, for about 15-30 minutes. Heads up! Always work in a well-ventilated area and never bake it hotter than the package says, as it can release funky fumes. Use a dedicated baking tray you don’t use for food.
The Next Step: Natural Ceramic Clay
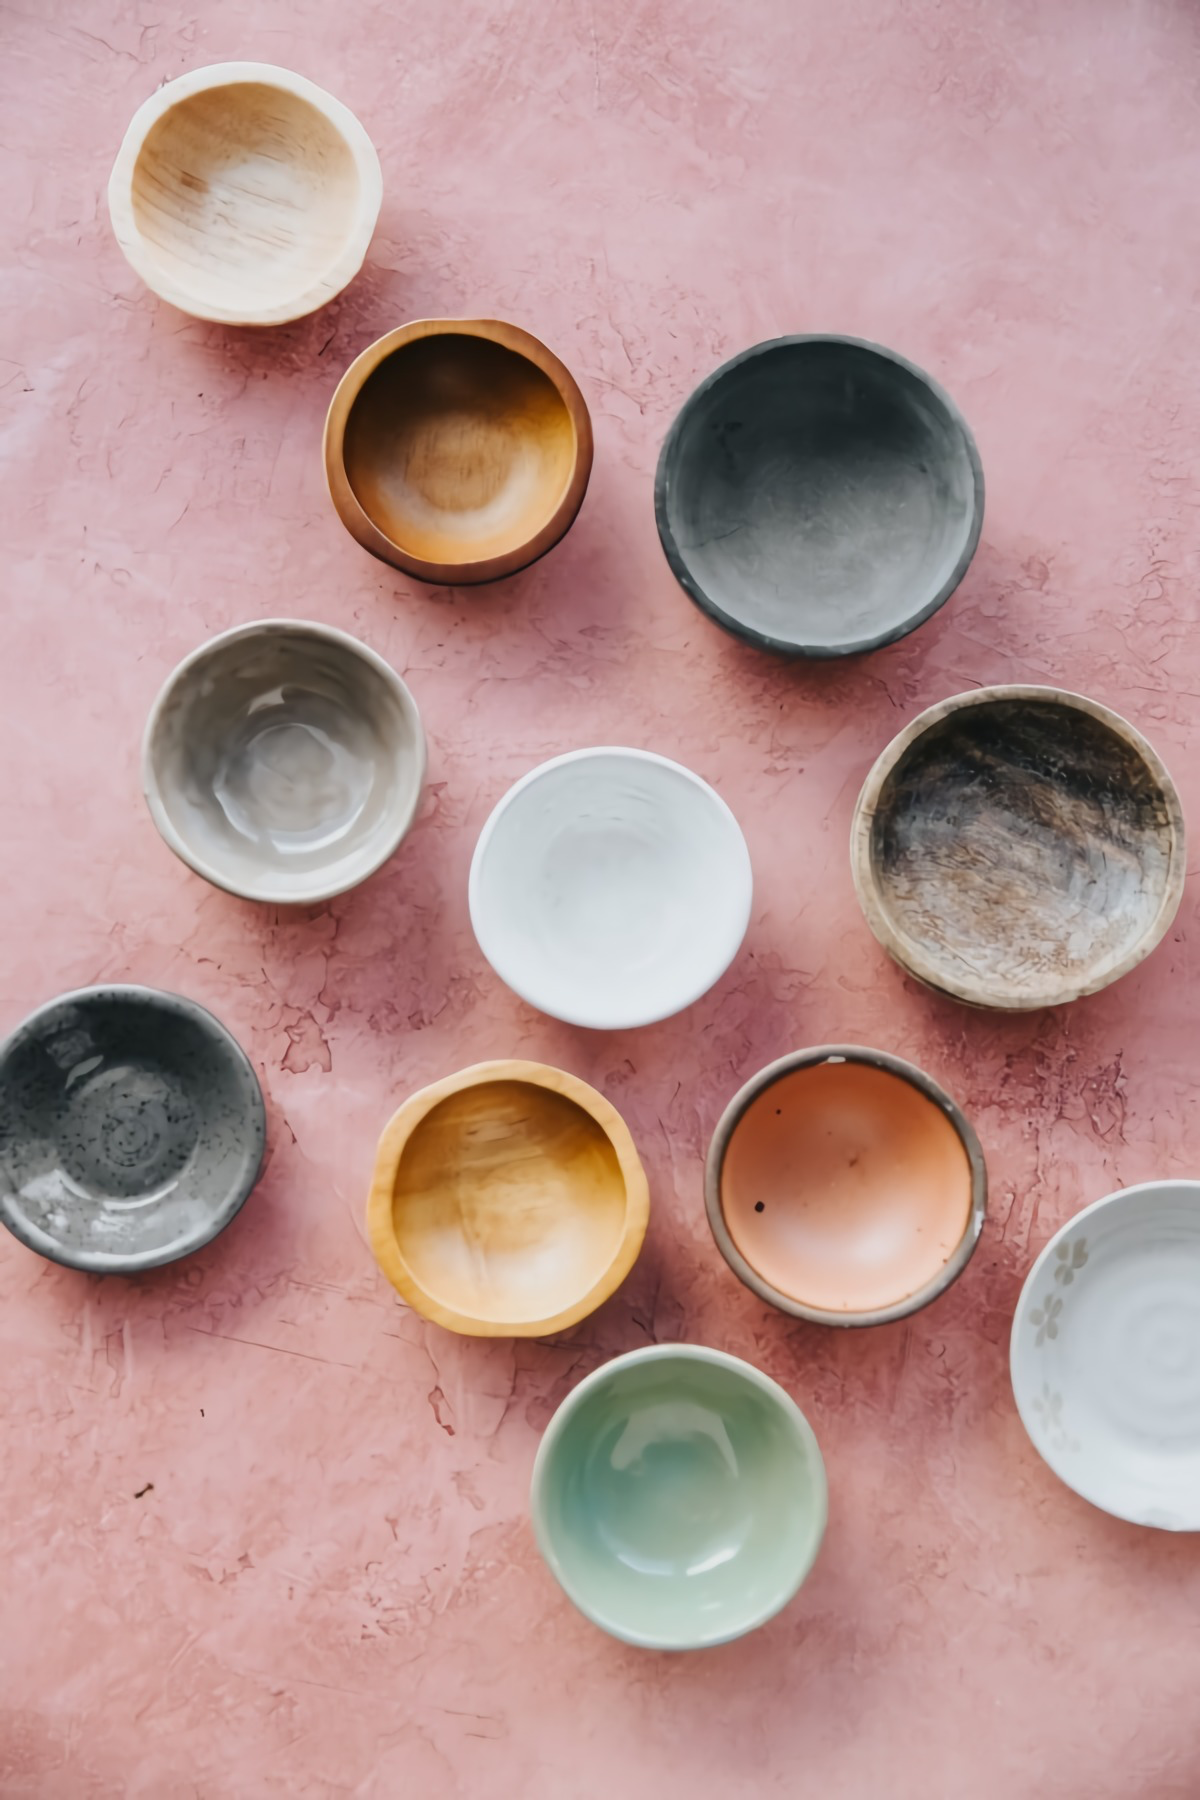
Ready for a deeper dive? Natural clay is a whole different beast, but it’s how you make durable, functional stuff like mugs and bowls. A big 25-pound bag will only set you back about $20 to $40 at an art supply store. The catch? You can’t just bake it in your oven. It needs a special high-temperature oven called a kiln. But before you even worry about that, you need to master the basics of hand-building.
- Pinch Pots: Everyone starts here. You roll a ball of clay, push your thumb in the middle, and slowly pinch and rotate to form a bowl. Your first few will be wobbly and weird. Embrace it! I still have my first lopsided one.
- Coil and Slab Building: For taller or more geometric shapes, you’ll use coils (long snakes of clay) or slabs (flat rolled-out pieces). The key here is a technique called “scoring and slipping”—you have to scratch up the surfaces you want to join and paint on a little clay-and-water slurry to glue them together. It’s crucial for making sure your piece doesn’t fall apart.
That Kiln Problem (and a Simple Solution)
So, you don’t have a 2000-degree oven in your garage. Don’t worry, almost nobody does! Just Google “pottery studio near me” or “community art center firing service.” Most local studios offer firing services to the public. You just bring them your finished, dry pieces. Expect to pay anywhere from $5 to $20 per piece, depending on the size. It’s a great way to access a professional process without the massive investment.
Oh, and a serious safety note: Clay dust contains silica, which is no joke for your lungs over time. Always, always clean up with a wet sponge and water, never by sweeping. It keeps the dust from going airborne.
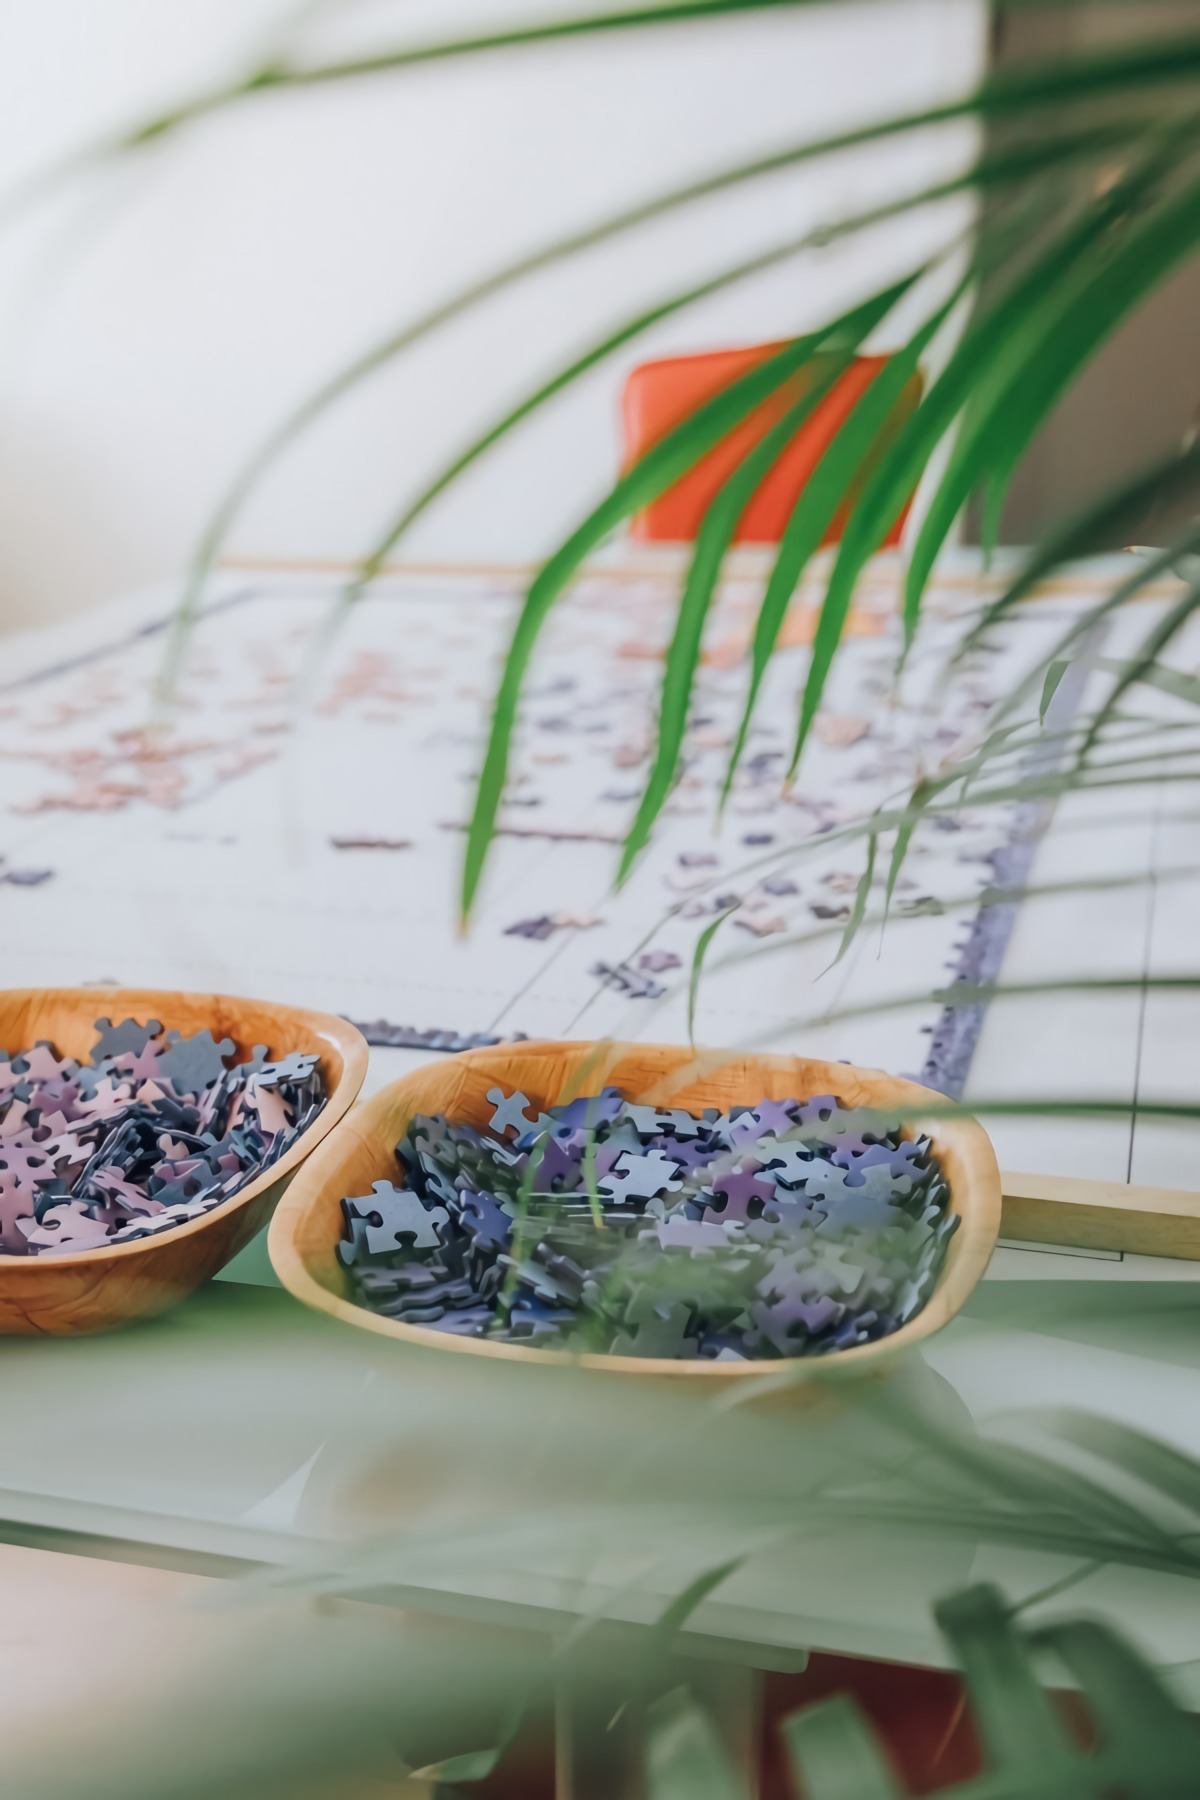
The Logic of Puzzles: Sharpening the Mind
Some people see creativity and logic as total opposites. I see them as two sides of the same coin. The ability to see patterns and think spatially is critical for any craftsperson. A good jigsaw puzzle isn’t just a way to kill time; it’s a low-stakes project in strategic thinking.
A Craftsman’s Approach to Puzzles
Don’t just dump the box and start grabbing pieces. Turn it into a practice. First, do the sort. Pull out all the edge pieces and build the frame. Then, sort the rest of the pieces by dominant color or texture into small bowls or trays. You’ll have a pile for the blue sky, a pile for the red barn, and so on. This turns a chaotic mess into a manageable series of smaller problems to solve.
By the way, if you want a really quality experience, look for brands like Ravensburger or Cobble Hill. The pieces are thick, and they have this satisfying ‘click’ when they lock together. It just feels better and makes the process less frustrating.
The Goal Isn’t Perfection, It’s Process
So whether you pick up a paintbrush, get your hands dirty with clay, or just settle in with a good puzzle, the goal is the same. It’s not about creating a masterpiece on your first try. It’s about slowing down, honoring the quiet energy of the season, and giving your mind a break while your hands have something meaningful to do. It’s about the process. The focus you find there will warm you up better than any cup of coffee.
Inspirational Gallery with Photos
Feeling intimidated by pottery? Here’s a quick breakdown of where to start.
Air-Dry Clay: The beginner’s best friend. It’s affordable, requires no oven, and hardens on its own in a day or two. Brands like DAS are perfect for creating small, decorative objects like trinket dishes or ornaments. The focus is on the tactile sensation, not technical perfection.
Polymer Clay: For more durable, vibrant projects. It stays soft and malleable until you bake it in a standard home oven. Try Sculpey Premo for jewelry or small figurines, as it holds fine details and comes in a rainbow of colors. For a purely therapeutic, no-bake experience, start with air-dry clay.
Assemble a ‘Winter Wellness Box’ so creativity is always within reach. No searching, no excuses. The goal is to make starting as easy as possible. Consider including:
- A small set of gouache paints—they’re more opaque and forgiving than watercolor.
- A pad of thick, mixed-media paper (an A5 size is unintimidating).
- A few high-quality graphite pencils (a soft 4B, a medium HB, and a hard 2H).
- One simple, beautiful object from nature: a smooth stone, a pinecone, or a dried leaf to draw or simply hold.
The goal is the process, not the product. It’s easy to get discouraged when your ceramic pot looks lopsided or your painting doesn’t match the vision in your head. Reframe the objective. You aren’t trying to become a master artist overnight; you’re carving out a moment of peace for your mind. The finished object is just a souvenir from your mental holiday.
How can a broken bowl mend a winter-weary mind?
Look to Kintsugi, the Japanese art of repairing broken pottery with lacquer dusted with powdered gold. Instead of hiding the cracks, Kintsugi highlights them, celebrating the object’s history and resilience. It’s a potent metaphor for the winter months: a time not for pretending we are ‘fine,’ but for acknowledging our own breaks and tenderly mending ourselves, creating something more unique and beautiful in the process.
Don’t underestimate the psychological power of color. While the world outside is grey, you can infuse your winter projects with warmth and light. Try a palette of burnt sienna, deep ochre, and muted olive green in your work. These earthy, grounding tones are inherently comforting. For a touch of light, a creamy white or a pale, icy blue from Winsor & Newton’s Cotman watercolour range can mimic the crisp beauty of a winter morning.
- It connects you to a timeless, rustic tradition.
- The repetitive, careful motion is incredibly meditative.
- It requires minimal, inexpensive tools to start.
The secret? A simple bar of soap. Before you invest in basswood and specialized knives, try whittling a bar of classic Ivory soap. It’s soft, forgiving, and lets you practice the motions and shapes, offering a gentle and satisfying entry into the world of carving.
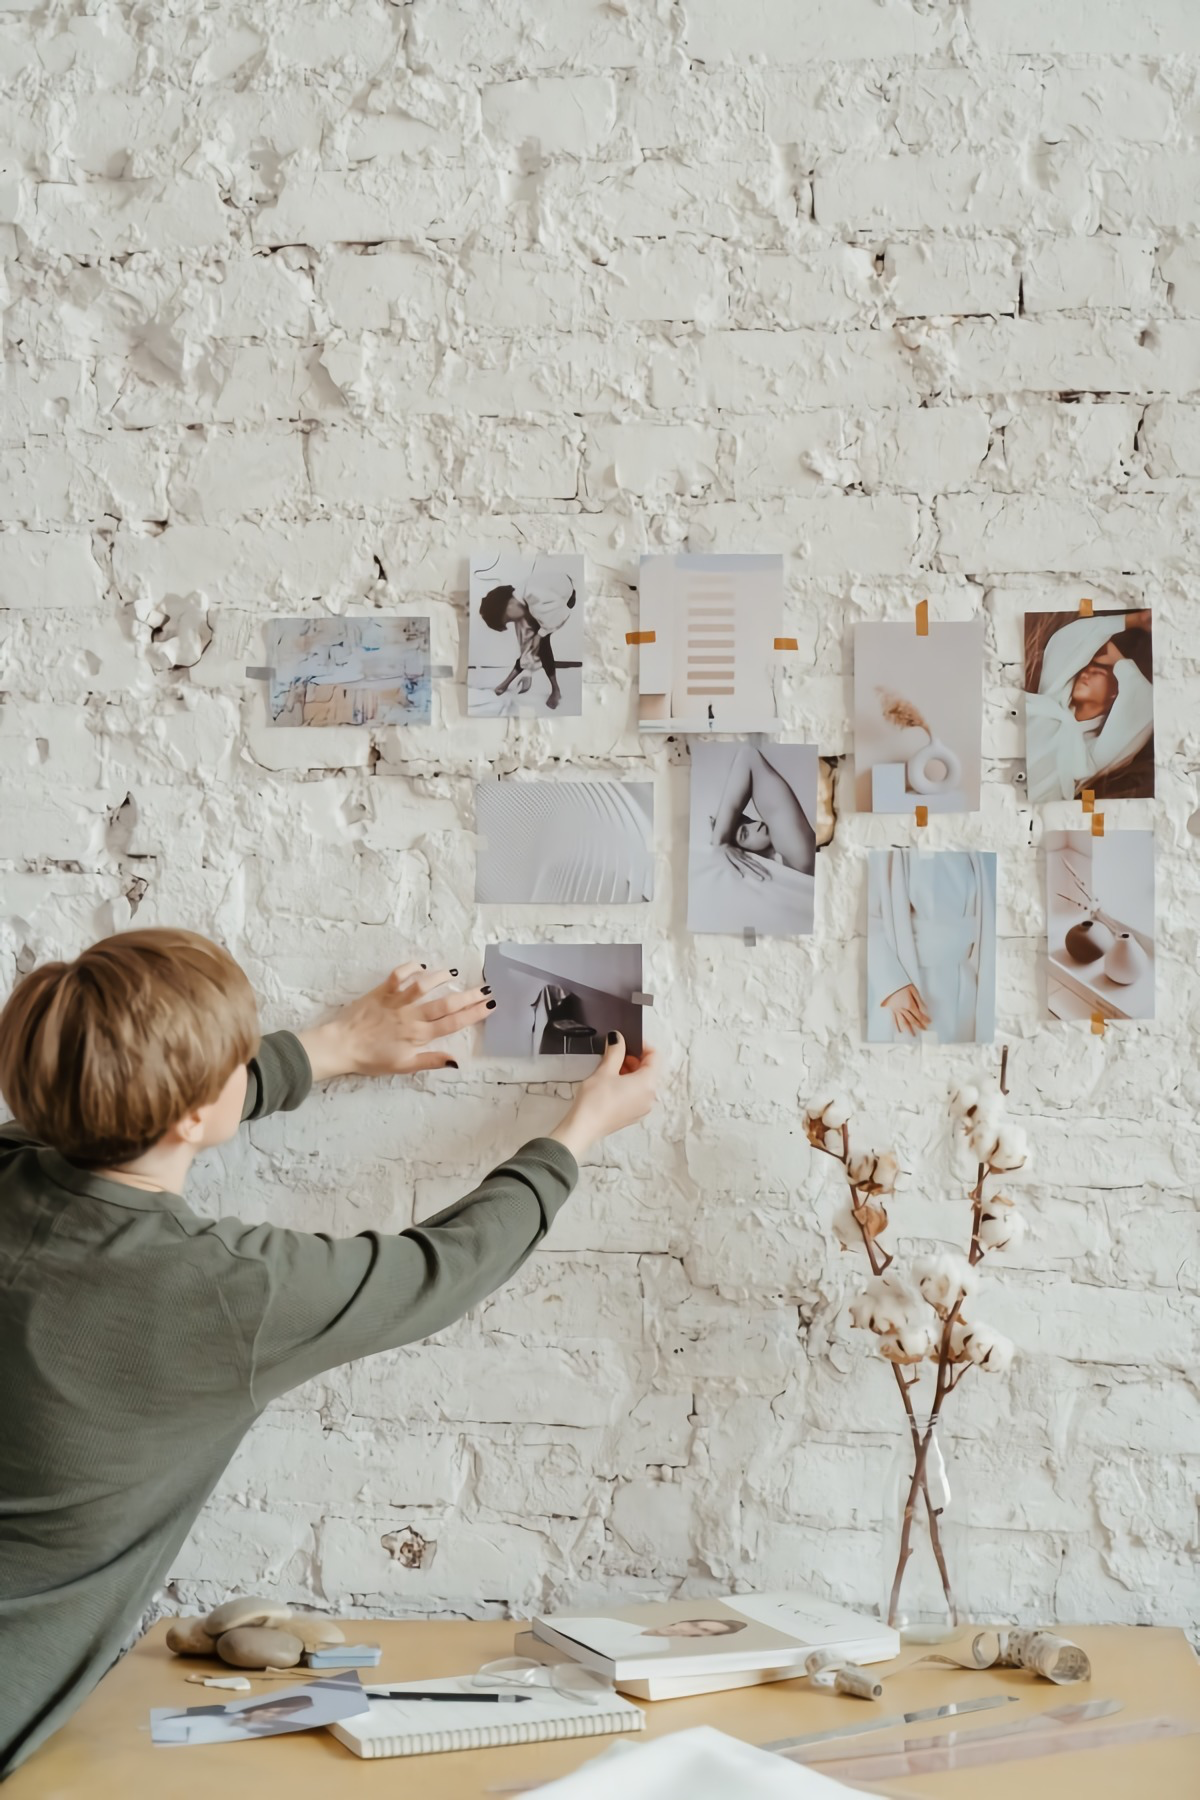
You don’t need a dedicated studio; a small ‘maker’s nook’ will do. The key is to make it an inviting sanctuary that signals to your brain it’s time to relax and create. Try these simple touches:
- Invest in a good task lamp with warm-toned light (around 2700K) to combat evening gloom.
- Keep a special mug for tea or coffee that you only use in your creative corner.
- Use a small Bluetooth speaker, like a JBL Go, to play an instrumental or ambient playlist.
- Store your supplies in a beautiful woven basket or wooden box, making them part of the decor.
According to a major study, engaging in a creative activity just once a day can lead to a more positive state of mind.
This doesn’t mean you need to complete a masterpiece daily. The effect comes from the engagement itself. Spending just fifteen minutes sketching, kneading clay, or arranging flowers can be enough to break the cycle of rumination and boost your mood, providing a small but significant anchor in your day.
To be creative means to be in love with life. You can be creative only if you love life enough that you want to enhance its beauty. – Osho


