Your Room Feels ‘Off’? Here’s How to Fix It in a Week
You know that feeling? You walk into a room in your own house and something just feels… off. It’s not a total disaster, but it doesn’t feel like you anymore. You want a big change, that fresh-start energy, but without the nightmare of a full-on renovation. If that’s you, you’re in the right place.
In this article
Forget vague advice like “just buy new pillows.” We’re going to walk through a real, methodical plan to completely change the vibe of a room in seven days. This isn’t about magic; it’s about making smart, strategic choices that have a massive impact. It’s the kind of stuff the pros know, broken down into a simple, actionable process.
First, Stop and Look: Figure Out Your Space and Light
Hold on! Before you rush to Wayfair or HomeGoods, take a breath. The biggest mistake people make is buying new stuff first. The pros start by figuring out the room they already have, especially its most powerful feature: natural light. How the sun moves through your space dictates the mood, how colors look, and where things should go.
Get a Feel for the Layout
Let’s think about the room’s bones before we dress it up. This is all about flow and function.
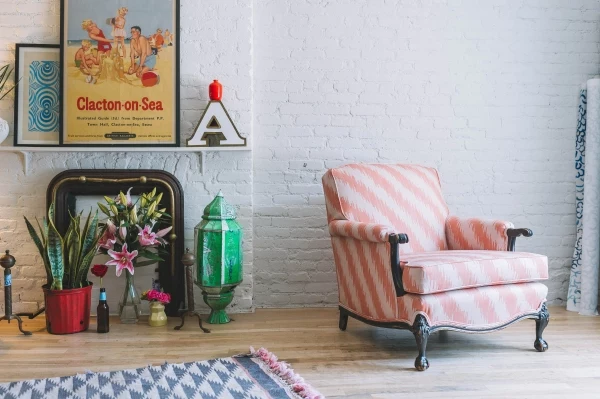
First, find the focal point. This is the first place your eyes land when you walk in. It might be a big window, a fireplace, or maybe a cool built-in. If you don’t have an obvious one, you’ll have to create it. Often, your biggest piece of furniture, like the sofa, takes on this role. Everything else in the room should be arranged to celebrate that focal point, not compete with it.
Next, think about how you walk through the room. You need clear pathways—at least 30 to 36 inches wide—from doorways to seating and beyond. I once visited a client whose gorgeous living room felt weirdly tense. Why? The path to the kitchen cut right between the sofa and the TV. We just spun the sofa around to create a walkway behind it, and the whole room instantly felt more relaxed and welcoming. It’s amazing what a difference that makes.
Finally, arrange furniture for people. A classic mistake is to shove every piece of furniture flat against the walls. It creates a weird, empty no-man’s-land in the center. Pull your sofa and chairs away from the walls to create a cozy conversation zone. The sweet spot for a coffee table is about 14 to 18 inches from the sofa—close enough to be useful, but far enough for your legs. Ideally, all your main seating should be within an 8-foot circle so people can talk without yelling.
Quick Win: If you only have 20 minutes, do this one thing. Pull your main seating arrangement (sofa and chairs) just 4 to 6 inches away from the walls. You’ll be shocked at how much better it feels.
Let’s Talk About Light Bulbs (Seriously)
Light is a tool, and using the wrong kind can make an amazing room feel like a hospital cafeteria. Here’s what you actually need to know when you’re at the hardware store.
Color Temperature (Kelvins): This is what makes a room feel warm and cozy or cool and stark. For living rooms and bedrooms, stick to bulbs in the 2700K to 3000K range. This gives off that warm, inviting glow we all love. Anything over 4000K starts to look very blue and is better for garages or workshops, not for relaxing.
Color Rendering Index (CRI): Okay, this is the secret weapon. CRI is a score from 0 to 100 that measures how accurately a light source shows the true colors of things. The sun is a perfect 100. NEVER buy a bulb with a CRI below 90. A low CRI is why your beautiful new paint color looks perfect at the store but like sad, muddy garbage on your walls at home. The store has high-CRI lights! A cheap bulb can make your skin look sickly and your expensive navy sofa look black. Check the “Lighting Facts” box on the packaging—a high CRI makes everything in your room look better.
The Fun Part: Layering Like a Pro
Once you’ve got the layout and lighting sorted, it’s time to add the layers that bring a room to life. A well-designed space has depth—a mix of textures, lighting, and personal items that make it feel interesting and complete.
Layer 1: Textiles for Comfort and Color
Textiles are the fastest way to inject new personality into a space. They add softness, absorb sound, and bring in color and pattern.
The Rug is Your Anchor: A rug’s job is to define your main seating area. The number one mistake? Buying a rug that’s too small. You want at least the front two legs of your sofa and any chairs to be sitting on the rug. This pulls the whole arrangement together. A tiny rug floating in the middle of the floor just looks cheap. As for material, wool is a fantastic, long-lasting investment that feels great and cleans up well. But if the budget is tight, a good wool-blend or even a modern synthetic can be a great choice. You can find a decent 8×10 synthetic rug for $300-$500 online, while a quality wool one might start closer to $800.
Drapery Makes a Difference: The secret to curtains that look expensive and elegant is all in where you hang the rod. Always mount it high and wide. I’m talking 4-6 inches above the window frame and 6-12 inches wider on each side. This tricks the eye into thinking the window is bigger and lets in the most light possible. As for length, the curtains should just “kiss” the floor or puddle by an inch or two. Curtains that are too short look like high-water pants—just awkward.
Pillows & Throws: This is where you can really play. The key is to mix up textures. Don’t just get five matching cotton pillows. Try combining a chunky wool knit, a smooth velvet, and maybe a rustic linen. For a standard sofa, a simple formula is two 22-inch pillows in the corners, two 20-inch ones in a different fabric, and a single rectangular lumbar pillow in the center.

Layer 2: Lighting to Set the Mood
We covered the bulbs, now let’s talk about the fixtures. A great room has three types of lighting working together.
- Ambient Light: This is your room’s general, overhead lighting. Put it on a dimmer switch. This is not optional, it’s a must-do. It’s the single most effective, low-cost upgrade you can make.
- Task Light: This is focused light for doing stuff—a reading lamp by your favorite chair or a desk lamp. It’s practical and helps prevent eye strain.
- Accent Light: This is the jewelry. It’s a little spotlight you use to highlight something cool, like a piece of art or a big plant. An easy trick? Get a small uplight from Home Depot for about $20, hide it on the floor behind a big fiddle-leaf fig, and aim it up. At night, it creates stunning shadows and a super dramatic, high-end vibe.
Layer 3: The Personal Stuff
This is what makes the room yours. It’s your art, your books, your photos, your story.
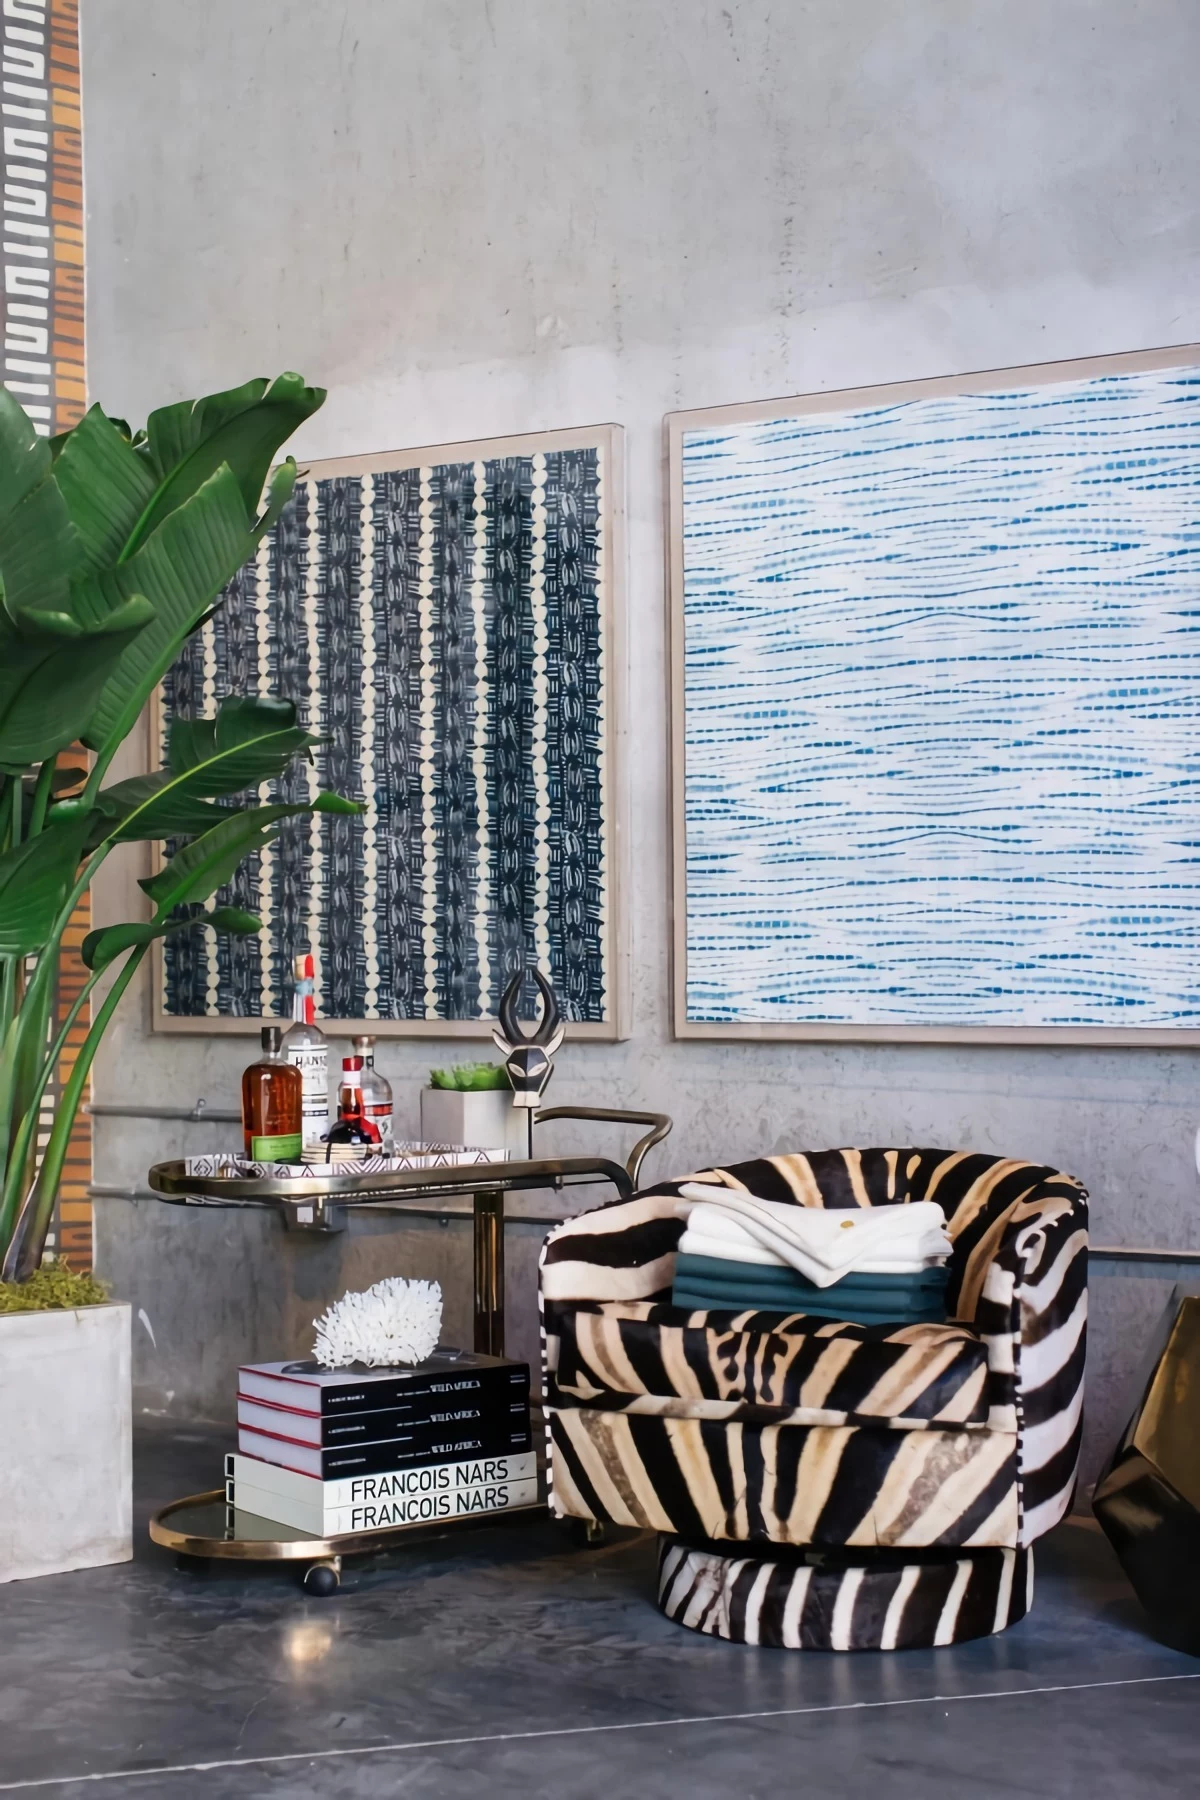
Hang Art at the Right Height: Please, stop hanging art so high it’s almost touching the ceiling! The rule is simple: the center of the artwork (or the center of a gallery wall grouping) should be at average eye level, which is about 57 to 60 inches from the floor. This is the standard museums use, and it connects the art to the people in the room. A great tip for gallery walls: trace your frames on paper, cut them out, and tape the paper templates to the wall. You can rearrange them a dozen times without making a single nail hole.
Use Mirrors to Your Advantage: A big mirror works like a second window, bouncing light around and making a space feel bigger. The trick is to be mindful of what it’s reflecting. Place it opposite a window or where it will reflect a favorite piece of art, not a cluttered corner or the TV.

Thinking About Your Climate
By the way, good design should always consider where you live. In warm, humid places, people naturally lean towards materials that feel cool and airy. Think breezy linen curtains, sisal rugs, and lighter woods. The whole goal is to feel fresh and open.
But in colder climates, the focus shifts to creating a cozy, warm retreat. This is where you see more rich velvets, thick wool rugs, and sometimes even lined drapery for extra insulation. Choosing materials that make sense for your local weather will make your home feel so much more comfortable.
Before You Start: A Realistic Shopping List
Okay, let’s talk money and gear. A project like this doesn’t have to break the bank, but it helps to have a rough idea of costs. Here’s what you might need:
- High-CRI LED Bulbs: Plan for $5-$10 per bulb. You’ll probably need 4-8 for a room. (Total: $20-$80)
- Pillow Covers & Inserts: A great way to save money! Covers can range from $15-$50 each. (Total for 3-5 pillows: $75-$250)
- A Throw Blanket: A nice one will be between $50 and $150.
- Curtain Rod & Curtains: You can get a decent rod for $40-$80. A pair of good-looking curtains can be anywhere from $60-$200.
- Dimmer Switch: The switch itself is only about $25. But if you’re hiring an electrician (which you should for hardwired stuff), budget around $150-$250 for the installation. It’s a small price for a huge upgrade and peace of mind.
- Optional Big Ticket Item – A Rug: This is the biggest variable. An 8×10 synthetic rug could be $300-$500, while a quality wool rug could be $800-$2000+.
So, you could do a light version of this for around $200, or go all-in with a new rug for closer to $1,000-$1,500. It’s totally scalable!
The 7-Day Action Plan
Here’s how you break it all down into manageable chunks.
Day 1: Plan & Purge (3-4 hours)
Take every single decorative item out of the room. Yes, everything. Art, lamps, pillows, books, tchotchkes. Put it all in another room. Now, with a clean slate, look at your main furniture and sketch out a new layout based on your focal point and traffic flow. This is also when you should order anything you need online.
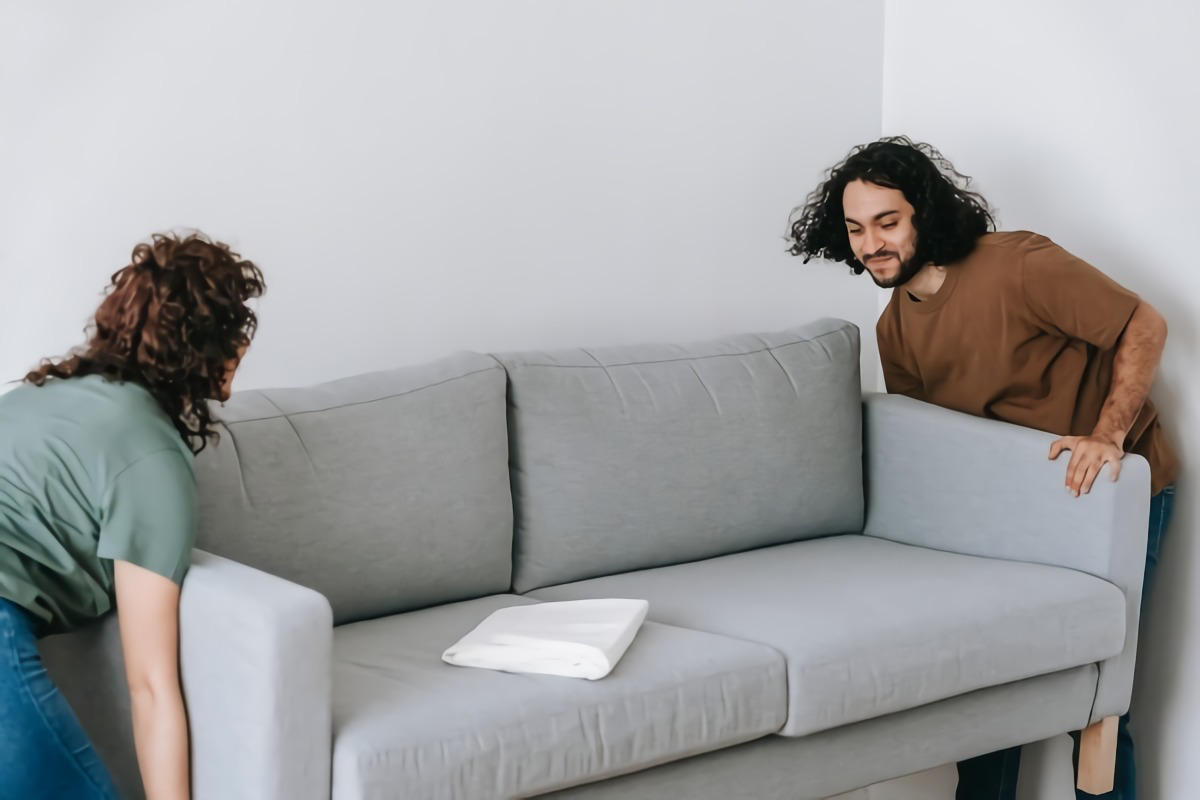
Day 2: The Big Shuffle (2-3 hours)
Grab a friend or partner and move the heavy furniture into its new position. This is the most physical day, so take it slow. Live with the new layout for a few hours. Does it work? Make any little tweaks you need to.
Day 3: Lighting Overhaul (2 hours)
Time for the technical stuff. Swap out all the old light bulbs for your new high-CRI, warm-white ones. If you’re installing a hardwired dimmer or changing a ceiling fixture, today’s the day to have the electrician come over.
Day 4: Soften Up with Textiles (2-3 hours)
Lay down your new rug first, and arrange the furniture on it. Then, hang your curtains using the ‘high and wide’ method. Finally, add your pillows and throws. Steam your curtains if they’re wrinkly! The room will feel transformed already.
Day 5: Get the Walls Right (3-4 hours)
Today, you hang your art and mirrors. Use a tape measure and a level, and stick to that 57-inch-from-the-floor rule for the center of your art. Don’t stress about making a nail hole—they’re easy to patch. Getting the height right is more important.
Day 6: Style It Out (2-3 hours)
This is the really fun part. Start bringing your favorite objects back into the room. But be selective! ‘Shop’ from other rooms in your house before you buy anything new. Style your shelves in little groups of three or five, mixing up the height and texture. Add some plants for a pop of life.
Day 7: The Final Edit (1 hour)
Live with your newly styled room for a day. Then, do one last sweep. It’s easy to go overboard on Day 6. A pro secret is to then remove about 10% of the decor you just put out. This gives the remaining pieces space to shine. Now, step back and enjoy it!
Ready for More? A Few Next-Level Ideas
If you’ve got the bug, here are a couple of other things you can do without calling a contractor.
High-Quality Peel-and-Stick Wallpaper: This isn’t your grandma’s contact paper. Modern brands like Chasing Paper or Wallshoppe make gorgeous, durable products that can create a stunning accent wall. It’s perfect for renters. Expect to pay around $40-$60 per roll for the good stuff, and be sure to apply it carefully on a clean, smooth wall.
Upgrade Your Hardware: Swapping out cabinet pulls, doorknobs, or even light switch plates is a tiny detail with a surprisingly huge impact. It just makes everything feel more custom and cohesive. Pro tip: take an old knob with you to the hardware store to make sure you get the right size.
A Quick Word on Safety
Okay, I have to say this. Your safety is more important than any design rule.
Please, do not do your own hardwired electrical work unless you are a licensed electrician. Hiring a pro for an hour is cheap insurance against the very real risks of fire or shock.
And when you hang that heavy mirror or big piece of art, use the right wall anchors for your wall type! A simple nail won’t cut it. The anchor’s packaging will tell you how much weight it can hold. Trust me, you don’t want to see what happens when a giant mirror falls off the wall.
A room refresh that truly works is all about making smart, informed choices. It’s a process of layering, editing, and paying attention to what matters. By following these steps, you’re not just redecorating; you’re learning to think like a designer and create a space that’s beautiful, functional, and feels completely like home.
Inspirational Gallery with Photos
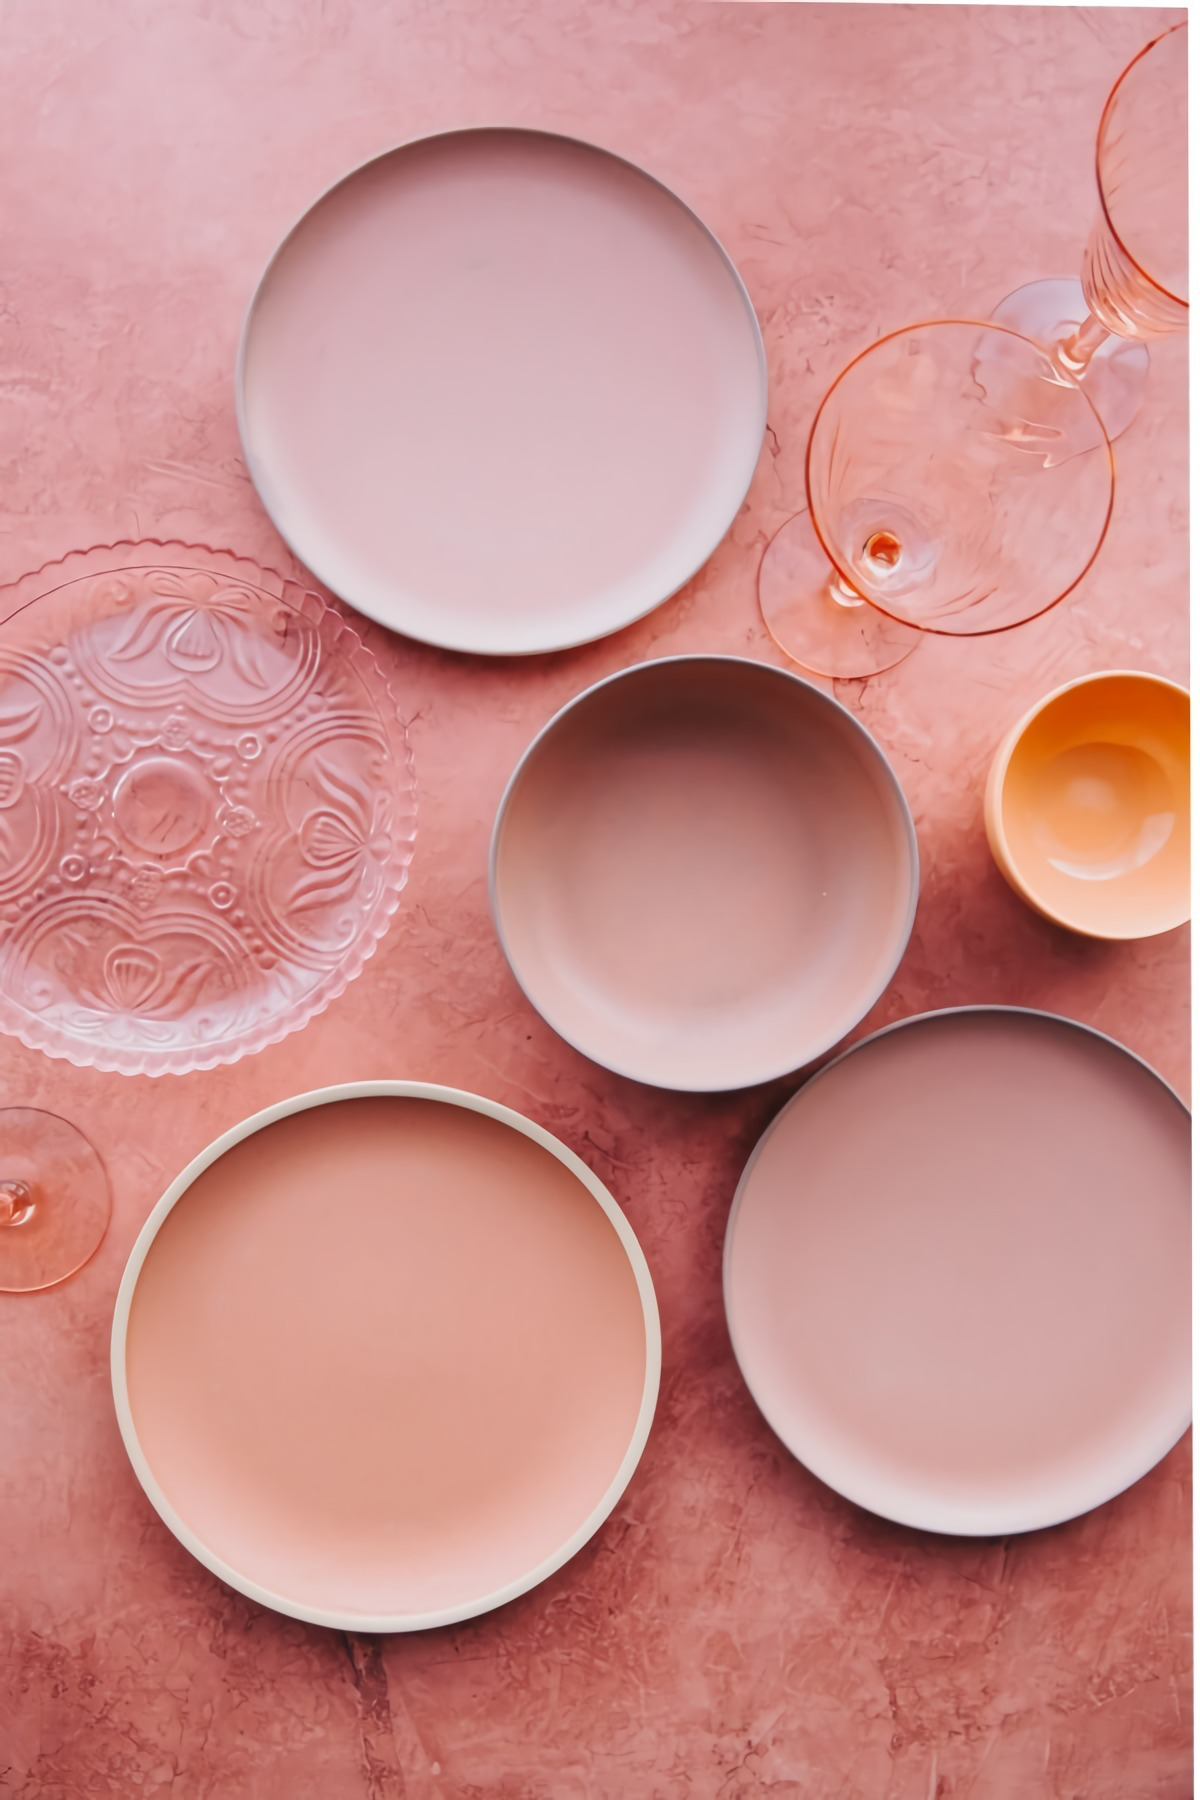
Benjamin Moore’s Revere Pewter: A complex greige that can read warm or cool, it’s a designer favorite for its versatility. Perfect for living rooms with shifting natural light.
Farrow & Ball’s Skimming Stone: A warmer, stony off-white with light grey undertones. It creates a soft, calming atmosphere, especially in bedrooms or spaces with less direct sun.
Always test a sample on your wall, as light dramatically changes how these colors feel in your space.
The quickest way to change a room’s mood is through textiles. A new rug doesn’t just add color; it redefines the very ground you walk on.
Layering your lighting is the secret to a high-end, cozy feel. Instead of relying on one harsh overhead light, aim for a trio of sources:
- Ambient: Your main light, like a ceiling fixture or recessed lighting, but on a dimmer switch.
- Task: Focused light for activities, such as a floor lamp by a reading chair or under-cabinet lighting in a workspace.
- Accent: Gentle, decorative light to create mood. Think of a small lamp on a bookshelf or one used to highlight a piece of art.
Wondering why your carefully chosen decor still feels a bit sterile?
You might be forgetting the power of scent. Scent is directly tied to memory and emotion, and it can instantly make a space feel more personal and inviting. Move beyond air fresheners. A quality reed diffuser with an essential oil blend (like sandalwood or bergamot) provides a constant, subtle fragrance. For a quick boost, light a soy wax candle from a brand like Le Labo or Boy Smells before guests arrive.
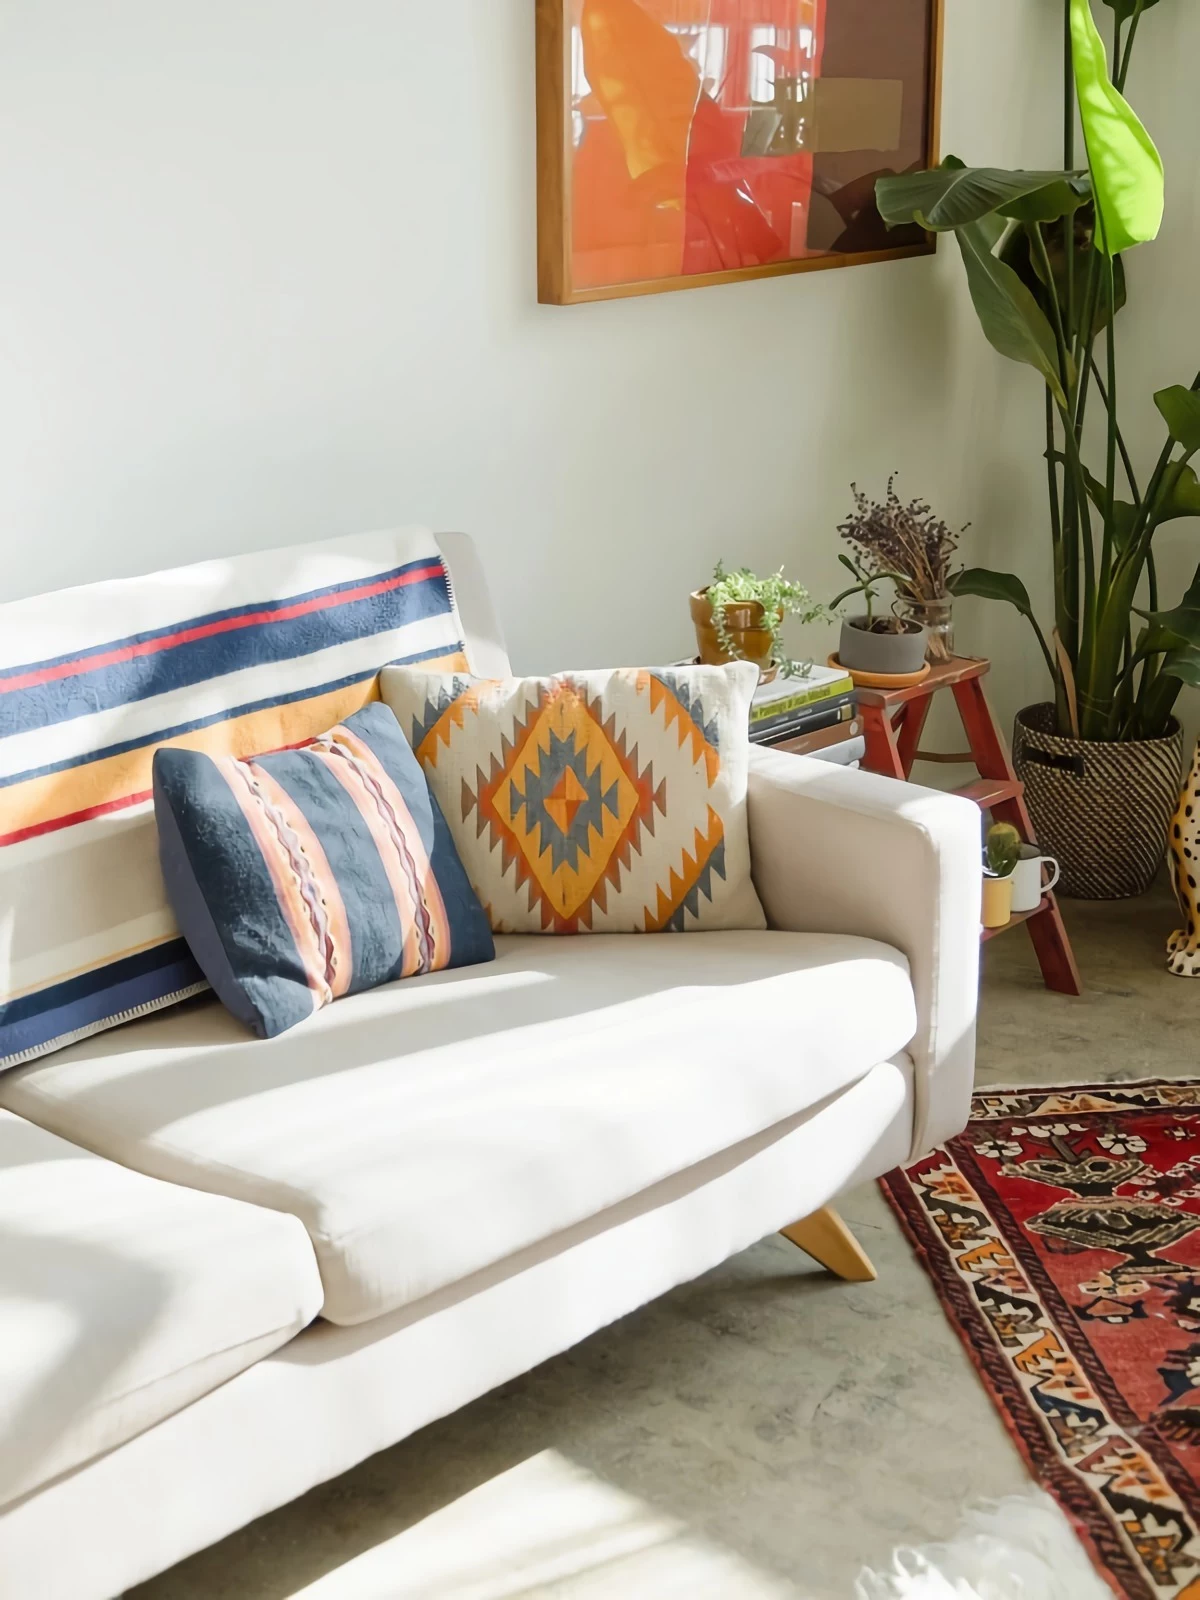
A common mistake: Pushing all furniture flat against the walls. This creates a formal, uninviting ‘waiting room’ effect. Pulling your sofa and chairs even just a few inches off the wall makes the entire room breathe and feel more intentional and conversational.
- Adds an instant layer of lived-in sophistication.
- Breaks up the monotony of flat surfaces.
- Offers a tactile experience that makes a room feel cozier.
The secret? The ‘Rule of Three’ for styling. Group objects in odd numbers—typically threes—on your coffee table or shelves. Combine varying heights and textures: a stack of art books, a sculptural ceramic vase, and a small brass object create a perfect, balanced vignette.
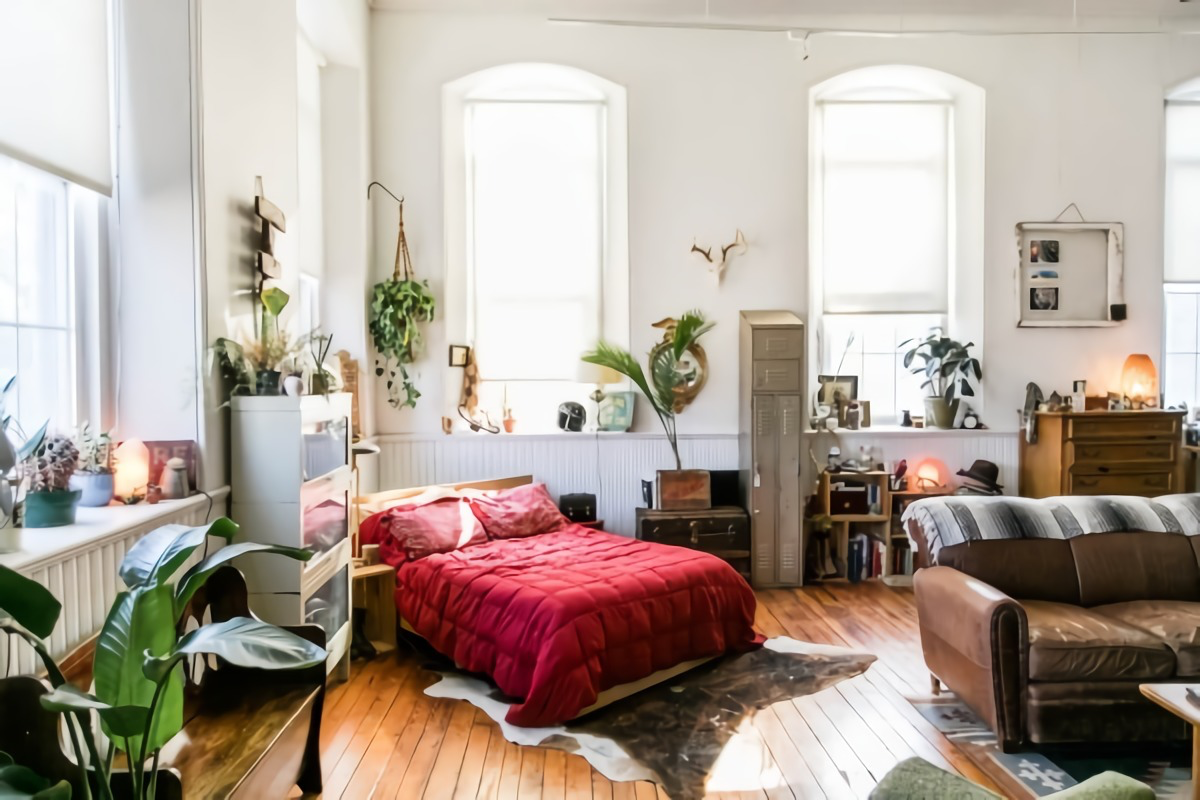
According to a study by NASA, common houseplants can remove up to 87 percent of air toxins in 24 hours.
Beyond their beauty, plants are functional. A snake plant or ZZ plant will thrive even with forgetful watering and in low-light corners, adding a touch of green life. For a sunnier spot, a pothos is forgiving and its trailing vines add lovely vertical interest. It’s the cheapest, healthiest way to bring energy into a stale room.
Before you even think about buying new furniture, look at what you already have. That generic IKEA Kallax shelf or plain wooden dresser can be completely transformed in under an hour. Swapping out the standard knobs for something with more personality—think brass pulls from Schoolhouse or colorful ceramic knobs from Anthropologie—is a high-impact, low-cost upgrade that makes a mass-produced piece feel custom and unique.
Are your pictures and art failing to make an impact?
You’re probably hanging them too high. It’s the most common decorating mistake. Your art should relate to the human scale of the room, not the height of the ceiling. The rule of thumb used by galleries is to hang a piece so its center is at average eye level, which is 57 to 60 inches from the floor. When hanging art above a sofa, leave just 5-8 inches of space between the top of the sofa and the bottom of the frame.
Curtains can make or break a room’s sense of scale. To create an illusion of height and space, hang your curtain rod 4-6 inches above the window frame and extend it 3-6 inches on either side. Let the drapes just ‘kiss’ the floor rather than pooling or hanging too short. This simple trick draws the eye upward and makes the window—and the entire room—feel larger and more grand.


