5 Kitchen Staples You Should Stop Buying and Start Making Today
I spent a good chunk of my early career in the whirlwind of professional kitchens. It was tough work, for sure, but it drilled one lesson into me that has stuck ever since: the absolute best food starts with the best ingredients. And I don’t just mean splurging on fancy produce. I’m talking about taking charge of the very building blocks of your meals.
In this article
Honestly, so many of the things we grab in jars, boxes, and cartons are surprisingly simple to make at home. When you make them yourself, you get total control over the flavor, the quality of the ingredients, and—let’s be real—the cost. It’s a game-changer.
I get it, though. The first thought is often, “Who has the time for that?” Life is busy. But I want to pull back the curtain on a few key items that will genuinely elevate your cooking. We’re not just going to follow recipes; we’re going to understand the ‘why’ behind them. These are the techniques that make all the difference, the stuff that separates a good meal from a truly memorable one.
We’ll cover a few things where homemade just blows store-bought out of the water every single time. We’ll start with the heart and soul of any great kitchen—a proper stock. Then we’ll whip up dressings that make salads exciting again, create liquid gold (aka ghee), master perfect guacamole, and dive into the simple magic of quick pickles. This isn’t about becoming a world-class chef overnight. It’s about taking back your pantry and building skills that will pay you back for years to come.
1. The Foundation of Flavor: Real Stock and Broth
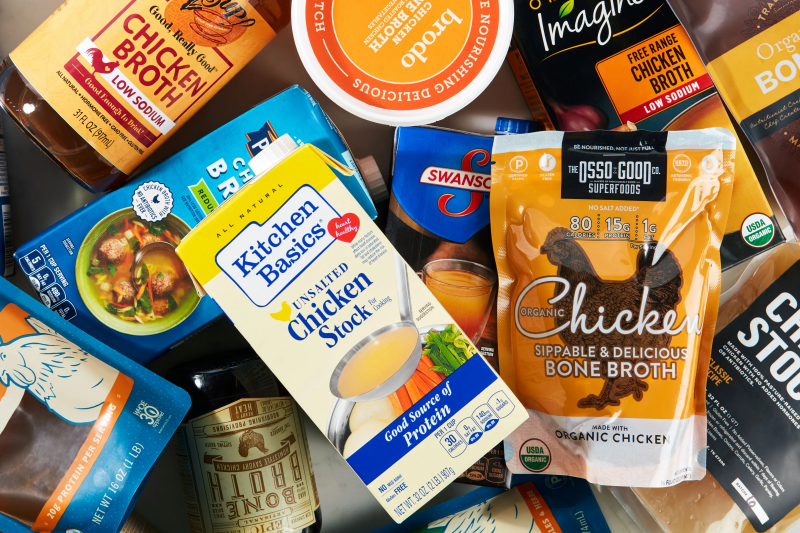
So many of us rely on boxed broth. It’s convenient, no doubt. But it can’t hold a candle to the deep flavor and rich body of a stock simmered in your own kitchen. The difference is truly night and day. In every professional kitchen, a massive pot of stock is a permanent resident on a back burner, the secret base for countless amazing dishes.
Why It’s Worth It
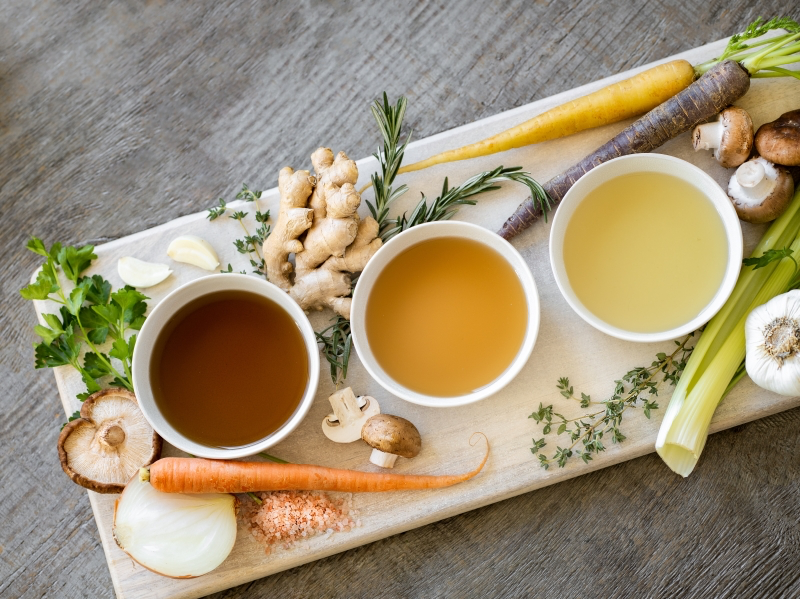
First, a quick clarification: stock is generally made from bones, while broth is made from meat. The real magic of a great stock comes from collagen. When you simmer bones low and slow for hours, the collagen breaks down into gelatin. That’s what gives homemade stock that luxurious, silky mouthfeel. A tell-tale sign of a job well done? Your cooled stock will set up into a firm gel. That’s the good stuff you just can’t get from a box.
And then there’s the flavor. By roasting beef or chicken bones before simmering, you kickstart a chemical reaction that creates deep, complex, savory notes. You just can’t fake that taste.
Pro Techniques for Your Home Kitchen
Making stock is more about patience than skill. Here’s a rundown of what you’ll need. You can get bones from your local butcher—they’re often super cheap, sometimes just a few bucks for a 5-pound bag, or even free if you ask nicely. Compare that to a quart of decent boxed broth, which can run you $4 to $6.
What You’ll Need:
- About 4-5 pounds of bones (chicken carcasses, beef marrow bones)
- Around 6 quarts of cold water
- The classic aromatic base: a
Inspiration:
- A heavy-bottomed stockpot, like a Le Creuset Dutch oven, is invaluable for simmering stocks and ghee without scorching.
- For silky-smooth dressings and nut butters, a high-powered blender is a must; the Vitamix 5200 remains a kitchen workhorse for a reason.
- Finally, invest in quality glass jars with airtight seals, such as those from Le Parfait or Weck, to keep your creations fresh.
According to the FDA, food waste is estimated at between 30-40 percent of the food supply in the United States.
This staggering statistic is where your stockpot becomes a hero. Those onion skins, carrot peels, celery ends, and leftover chicken bones aren’t trash; they are flavor waiting to be unlocked. Simmering them for a few hours transforms what would be food waste into a rich, nutritious broth that costs pennies to make and elevates every recipe it touches.
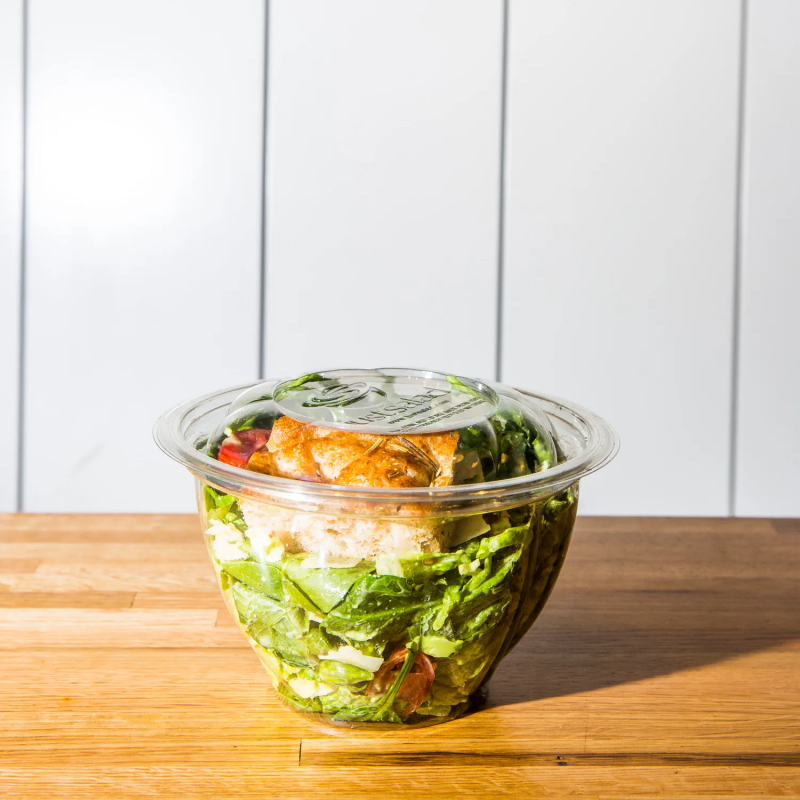
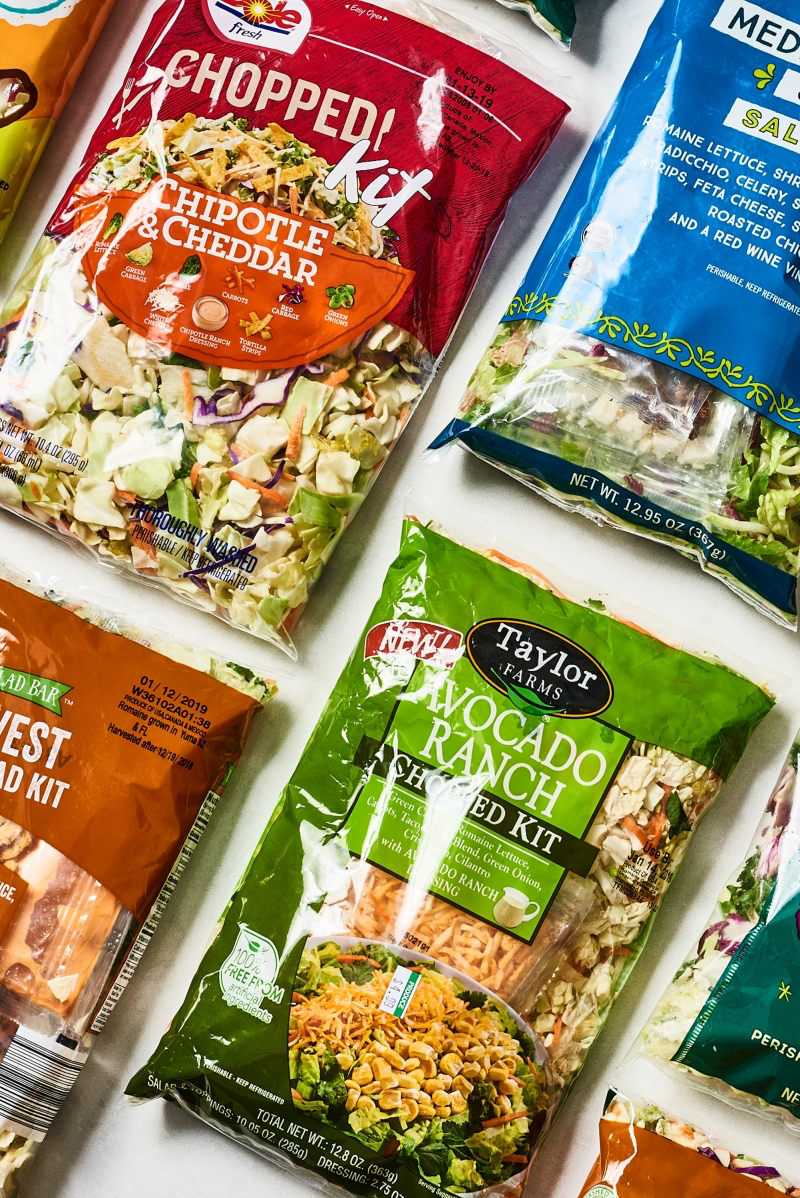
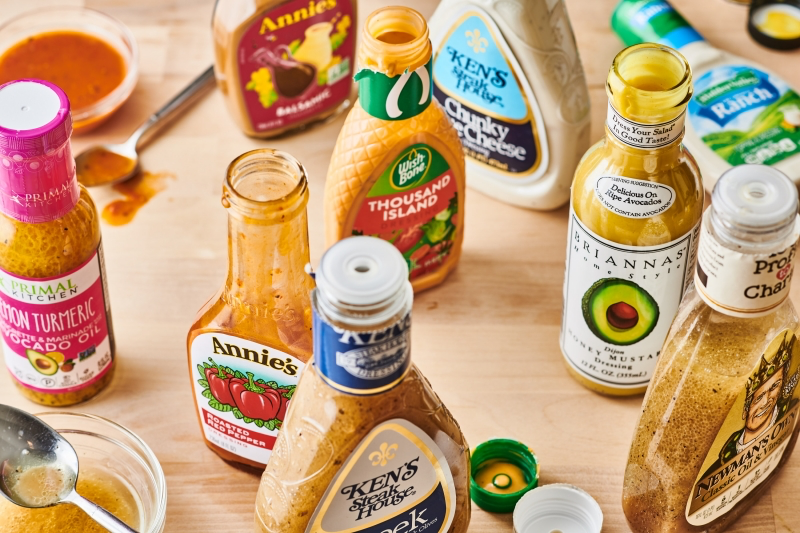
You’ve made a beautiful batch of lemon-herb vinaigrette, but how do you keep it fresh?
Proper storage is key. Always use a scrupulously clean, airtight container—glass is best as it won’t retain odors. A simple vinaigrette (oil, vinegar, salt) can last for a few weeks in the fridge. However, once you add fresh ingredients like garlic, shallots, or herbs, the shelf life drops to about one week. Give it a good shake before each use and trust your senses; if it smells off, it’s time for a new batch.

Table Salt: Its fine grains and anti-caking agents can make liquids cloudy and impart a slight chemical taste. Best avoided for these recipes.
Kosher Salt: Its coarse texture, like that found in Diamond Crystal boxes, dissolves cleanly, making it perfect for brines and general cooking.
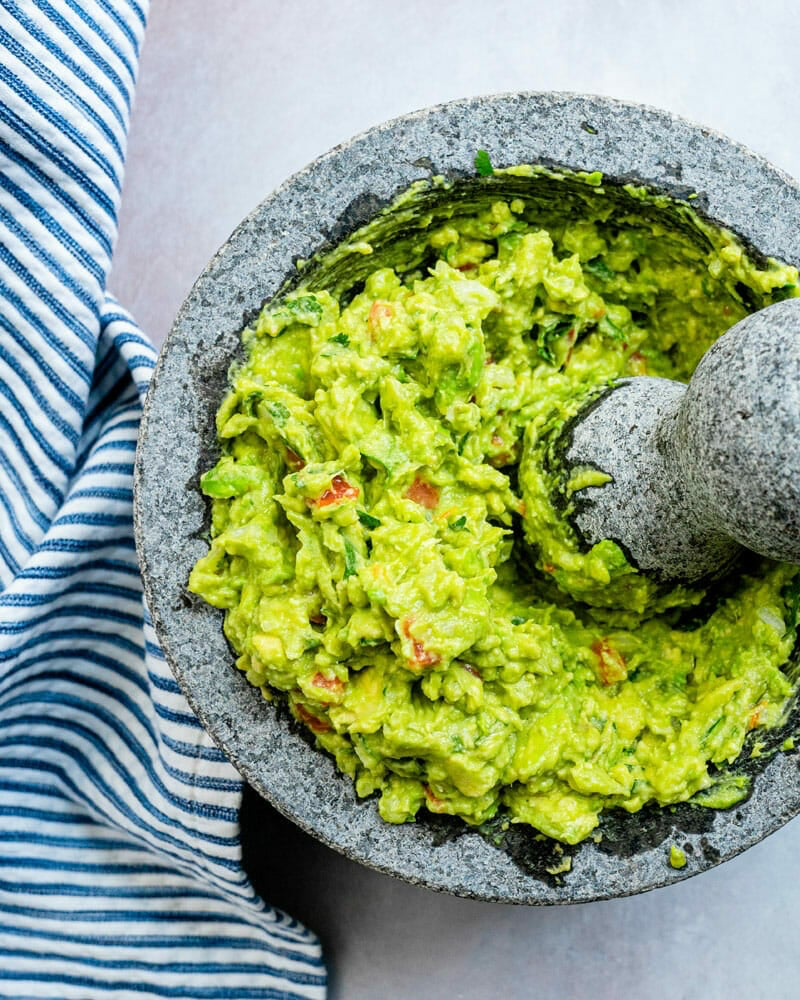
Finishing Salt: Flaky sea salt, like Maldon, adds a delightful crunch and pure saline pop. Use it to top your finished guacamole or salads just before serving.
Once you’ve mastered dressings, your next simple upgrade is infused oils. Gently warm a cup of quality olive oil with a few sprigs of rosemary, a couple of smashed garlic cloves, or a handful of dried chilies. Let it steep off the heat for an hour, then strain into a clean bottle. It’s an effortless way to add a layer of bespoke flavor to everything from roasted vegetables to pasta.
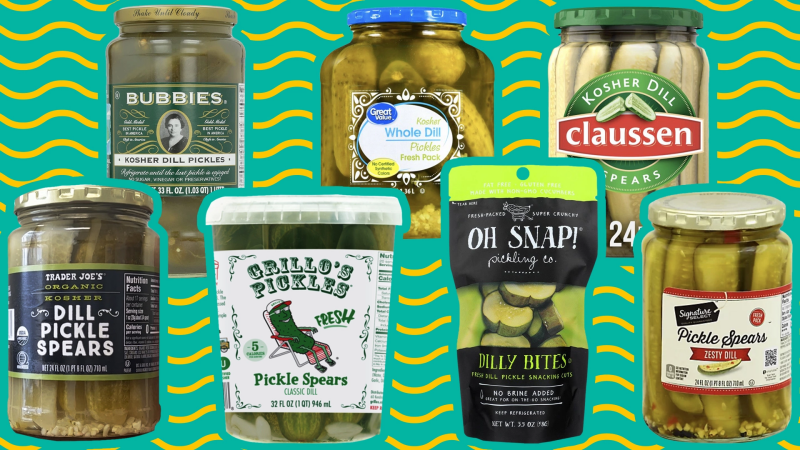
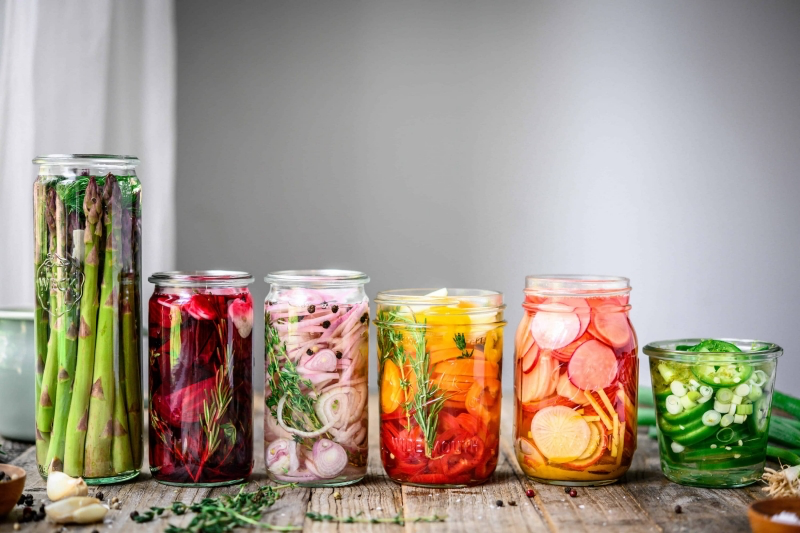
- Creates complex, tangy flavors that quick pickles can’t replicate.
- Promotes gut-healthy probiotics through a natural process.
- Preserves vegetables for months without canning.
The secret? Lacto-fermentation. Unlike quick-pickling with vinegar, this ancient technique uses only salt and water to let beneficial bacteria work their magic. It’s incredibly simple, and tools like Masontops fermentation lids make it practically foolproof.
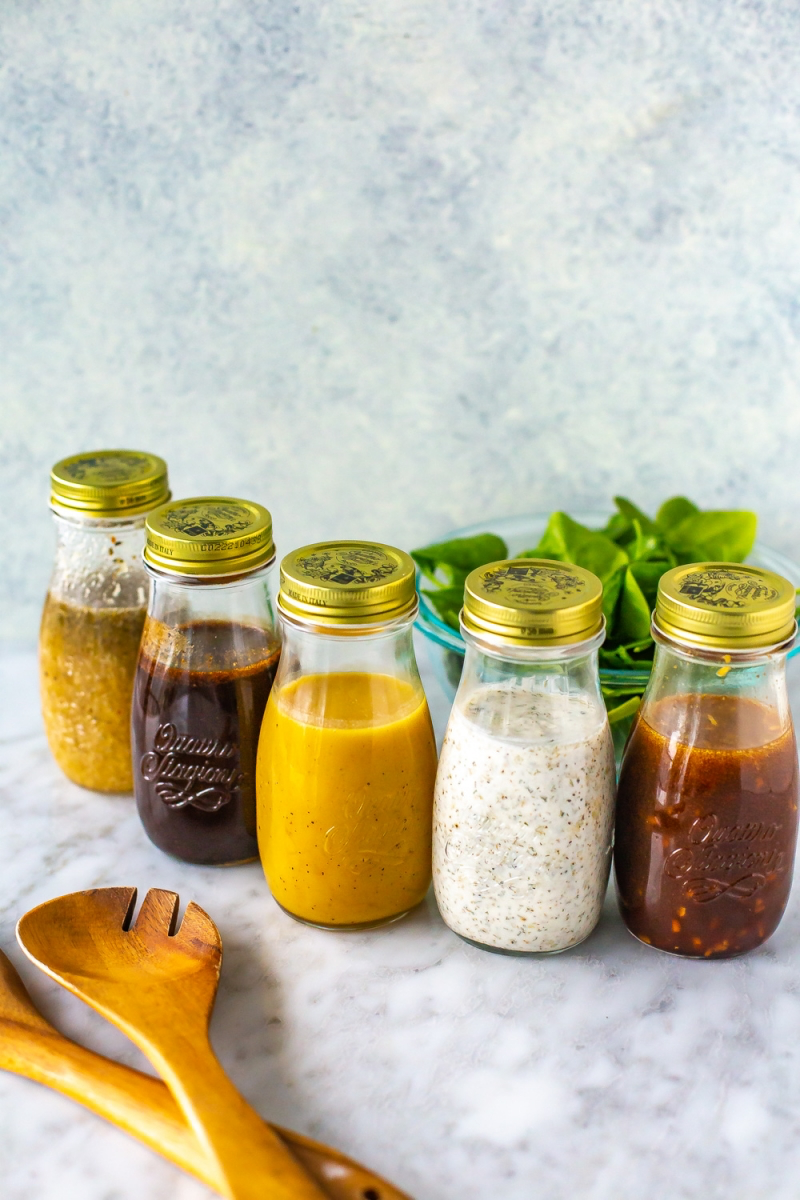
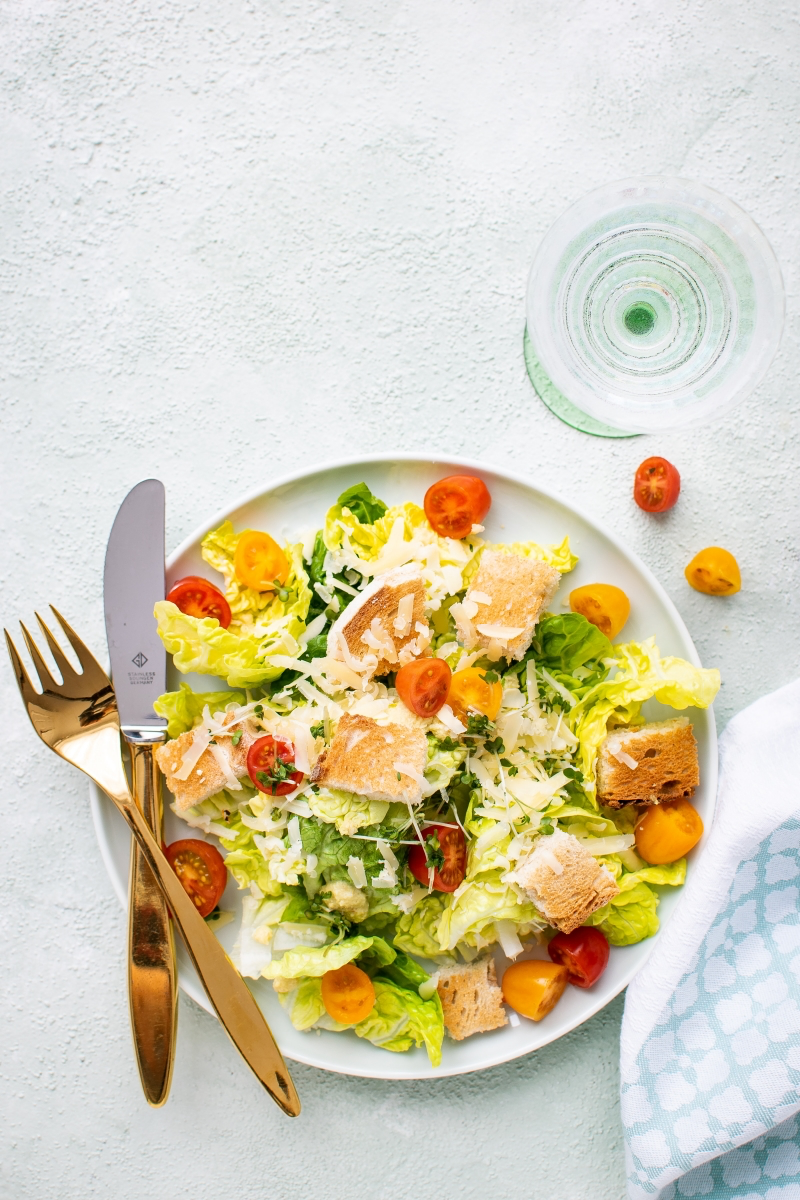
One of the most common missteps in homemade dressings is using the wrong oil, resulting in a flavor that’s either overpowering or disappointingly flat. The key is to match the oil to your ingredients.
- For bold Mediterranean dressings: Use a robust, peppery Extra Virgin Olive Oil.
- For creamy, delicate dressings (like ranch or caesar): Opt for a neutral oil like avocado or grapeseed oil.
- For Asian-inspired vinaigrettes: A blend of neutral oil and a splash of toasted sesame oil is essential.
The real savings are in the details: A jar of pre-minced garlic can cost twice as much per ounce as a fresh head of garlic, and often contains preservatives that dull its flavor. Similarly, a bag of dried beans costs a fraction of its canned counterpart. Taking a few minutes to prep these basics yourself not only improves taste but also significantly cuts down your grocery bill over time.
The next frontier in taking back your pantry is homemade nut butter. It sounds complex, but it’s astonishingly simple: toast your favorite nuts (almonds, cashews) and blitz them in a good food processor, like a Cuisinart. The nuts will go from chopped to a thick paste, and then suddenly release their oils and become smooth and creamy. Add a pinch of salt and a touch of maple syrup if you like. You’ll never go back to the store-bought versions with their added sugars and hydrogenated oils.
Beyond flavor and cost, making your own staples re-enchants the kitchen. It’s the earthy smell of simmering vegetable scraps, the satisfying glug of oil and vinegar emulsifying in a jar, the vibrant, impossible green of freshly blended pesto. It transforms cooking from a chore into a deeply sensory, creative act.
- Gremolata (Italy): A simple, zesty condiment of finely chopped parsley, lemon zest, and garlic. Perfect for sprinkling over roasted meats or stews.
- Chermoula (North Africa): A punchy marinade and sauce made from herbs, garlic, oil, lemon, and spices like cumin and coriander. Amazing with fish and vegetables.
- Raita (India): A cooling yogurt-based sauce, easily customized with grated cucumber, mint, or toasted cumin seeds. The perfect counterpoint to spicy dishes.


