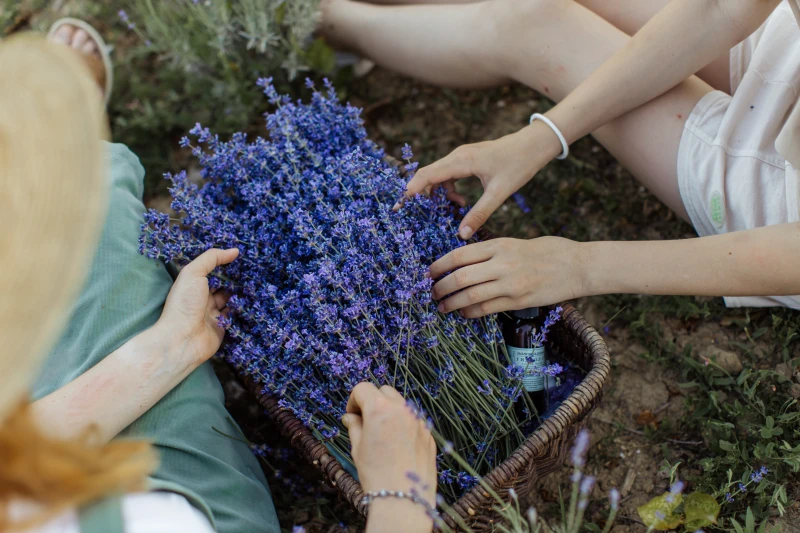
Don’t Let Winter Kill Your Lavender: A Real-Talk Guide to Keeping It Alive
I’ve spent years and years with my hands in the dirt, growing lavender in just about every situation you can think of—from big, sprawling fields to those little pots on a city balcony. I’ve seen what makes it flourish and, well, what leads to a sad, crispy plant come springtime. And honestly, the number one question people ask me is, “How do I stop my lavender from dying in the cold?”
In this article
It’s a great question. But the answer might surprise you. It has less to do with the cold itself and almost everything to do with water.
See, lavender originally comes from sunny, rocky hills where water drains away instantly. It absolutely HATES having wet feet, especially when it’s dormant in the winter. Most lavender that doesn’t make it through the winter wasn’t frozen to death; it was drowned by a nasty combo of wet soil and cold that causes root rot. The trick isn’t to keep it warm like a person, but to keep it dry and sheltered from the worst of the wind. Your success really boils down to three things: the type of lavender you have, your local climate, and whether it’s planted in a pot or in the ground.
So let’s walk through how to properly tuck your lavender in for the winter so it comes back strong and fragrant next year.
What’s Actually Trying to Kill Your Lavender?
Before we even grab a tool, let’s get into the “why.” Understanding what you’re up against is what separates the gardeners who get lucky from the ones who get results every year.
Enemy
1: The Dreaded Root Rot
This is the main villain in our story. Lavender roots need to breathe. When the soil gets soaked from winter rain or melting snow, it suffocates them. And in that soggy, low-oxygen mess, fungus and rot-causing bacteria have a party. As the wet ground freezes, tiny ice crystals form and literally shred the plant’s delicate roots. A rotted crown—the woody base where stems meet roots—is game over. Everything we do from here on out is designed to stop this from happening.
Enemy
2: Winter Windburn (or Desiccation)
Ever seen a plant that’s dead on one side and fine on the other? That’s probably desiccation, which is just a fancy word for drying out. On a windy or even sunny winter day, the plant’s evergreen leaves are still losing moisture. Normally, it would just pull more water up from the ground. But if the ground is frozen solid? The roots can’t drink. The leaves keep losing moisture until they turn brown and die. Our goal is to block the wind without accidentally trapping that deadly moisture.
Enemy #3: The Freeze-Thaw Rollercoaster
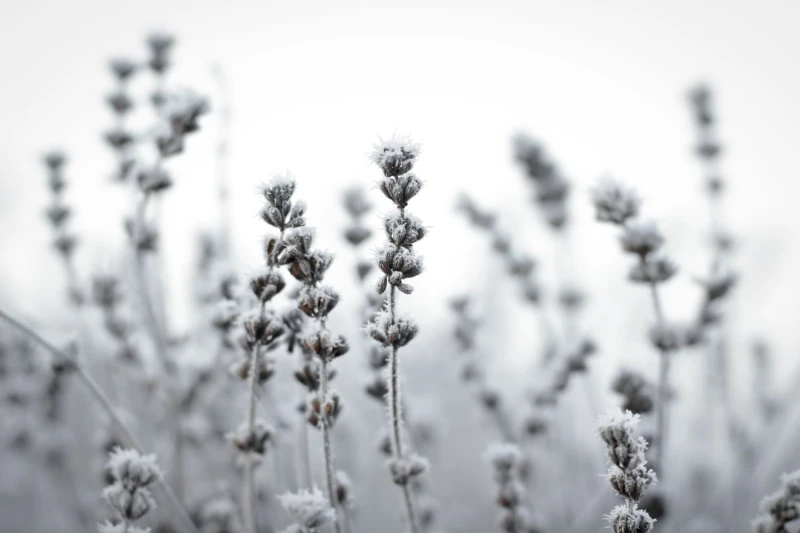
In a lot of places, winter weather is all over the place. A deep freeze followed by a sunny thaw can cause the ground to expand and contract over and over. This process, called “heaving,” can literally shove a young lavender plant’s root ball right out of the soil, exposing it to the cold. Proper mulching isn’t about warmth; it’s about insulating the soil to keep its temperature stable and prevent this heaving.
First, Know Your Lavender (and Your Zone)
I can’t say this enough: not all lavender is the same. Trying to keep a delicate Spanish lavender alive through a northern winter is a recipe for heartbreak. Your first step is figuring out what kind of lavender you’re growing and your USDA Plant Hardiness Zone. You can find your zone with a quick online search—it’s the most important piece of info you can have.
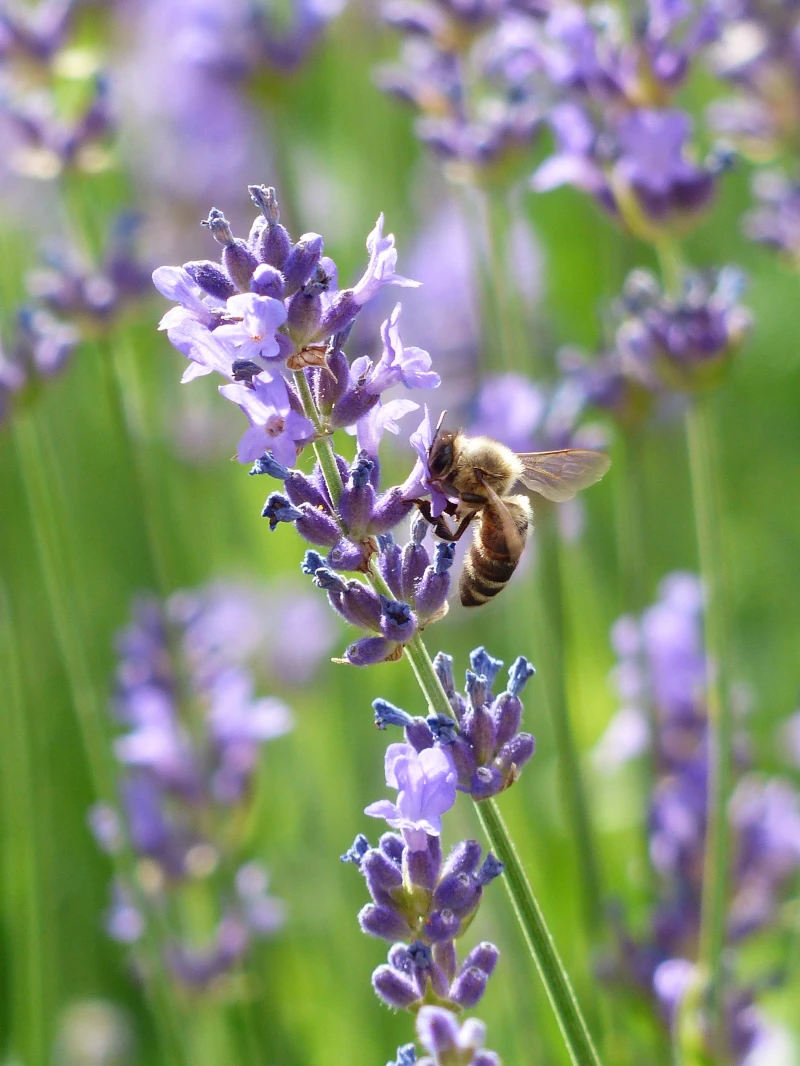
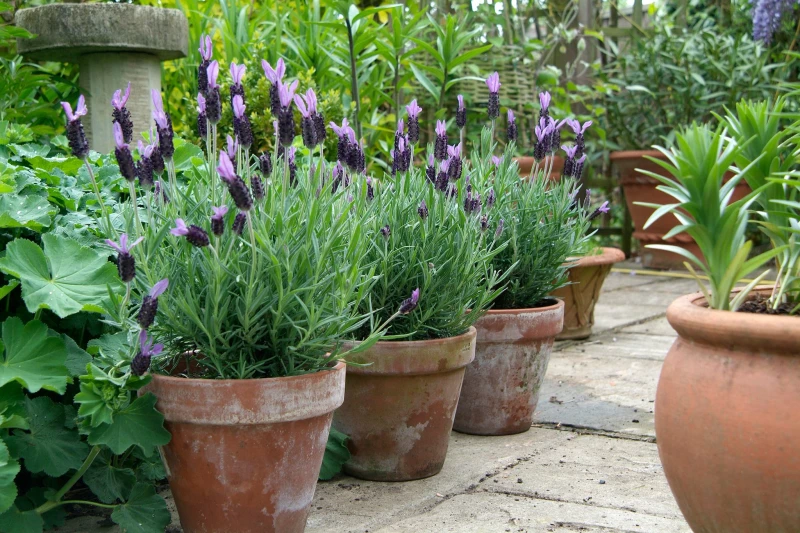
- English Lavender (Lavandula angustifolia): This is the tough guy of the lavender world. Varieties like ‘Munstead’ and ‘Hidcote’ are your best bet for cold climates, as they’re generally happy down to Zone 5. They have that classic look with narrow leaves and tight flower spikes. Their compact shape also helps them handle snow without breaking.
- Lavandins (Lavandula x intermedia): These are the big, showy hybrids like ‘Grosso’ and ‘Provence’, often grown for their long stems and potent fragrance. They’re a bit less tough, usually only reliable to Zone 6. I’ve seen them survive a sheltered Zone 5 winter, but they need extra protection. Because they’re so big, heavy snow can split them apart.
- Spanish Lavender (Lavandula stoechas): You’ll recognize this one by the little “bunny ears” on top of its pineapple-shaped flowers. It’s a stunner, but it’s a true southerner at heart. It’s only reliably hardy in Zone 8 or warmer. In colder zones, you absolutely have to treat it as an annual or bring it inside for the winter. No amount of mulch will save it from a true deep freeze.
Putting Your In-Ground Lavender to Bed
For lavender planted out in the garden, our game plan is all about a good haircut, great drainage, and the right kind of protection. Oh, and this work starts long before the first snowflake flies.
Quick Shopping List: Before you start, here’s what you might need. Don’t worry, this is a pretty low-budget project.
- Sharp bypass pruners
- Pea gravel or light-colored stone
- Burlap and stakes (only if you’re in a very windy spot)
Step 1: The All-Important Autumn Haircut
Pruning is non-negotiable for winter survival, but timing is everything. You want to do this in late summer or early fall, right after the last big show of flowers. The key is to get it done at least six to eight weeks before your area’s first hard frost. A heads-up: a “hard frost” is when temperatures dip to 28°F (-2°C) or lower for several hours, which is cold enough to kill plant tissues.
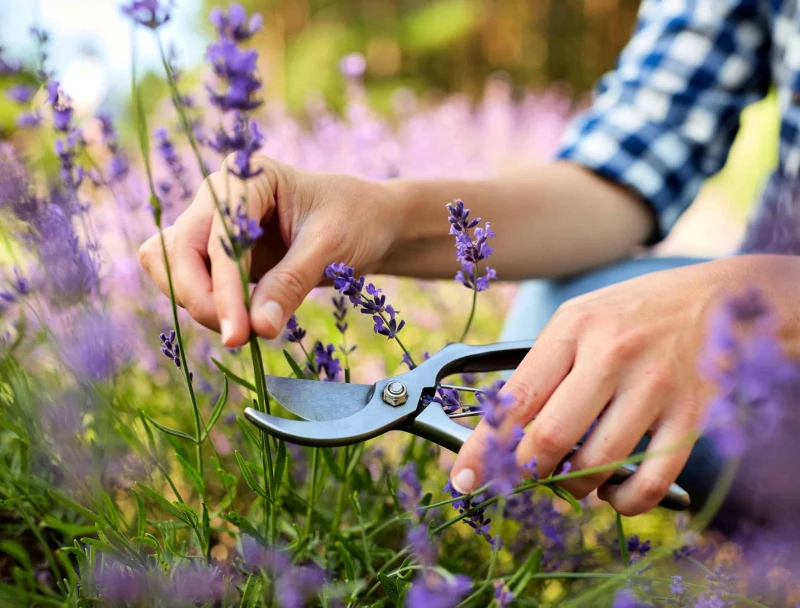
Pruning this early gives the cuts time to heal. If you prune too late, you risk encouraging a flush of tender new growth that will get zapped by the first freeze, which seriously stresses the plant.
The golden rule of pruning lavender is simple: never, ever cut into the old, brown, woody base. That wood is done growing. If you cut it back to the wood, the plant is probably a goner. Instead, grab the soft, greenish stems and trim off about one-third of the current year’s growth, shaping the plant into a neat, rounded mound. This tidy shape is great for preventing wind damage and keeps heavy snow from collecting in the middle and splitting the plant. The whole job should only take 10-15 minutes for a medium-sized plant. It’s actually pretty relaxing.
Step 2: Let’s Talk About Drainage
Ideally, you planted your lavender in a spot with great drainage. But if you didn’t, you can still make some improvements. After a heavy rain, go check on it. If you see a puddle sitting around the base of your plant for more than an hour, you’ve got a problem. You can gently scrape away the top layer of soil and amend it with coarse sand or small gravel to help shed water away from that sensitive crown.
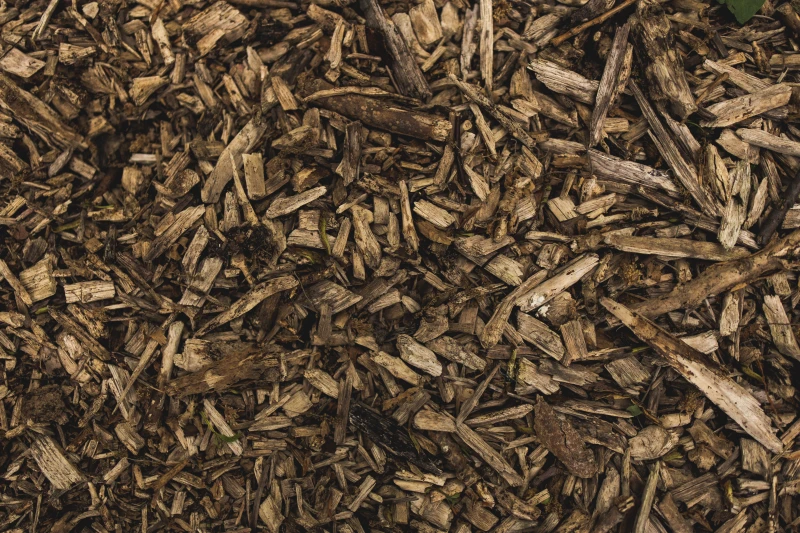
Step 3: The Right Way to Mulch (and the Wrong Way)
This is where so many well-intentioned gardeners go wrong. The goal of winter mulch for lavender is NOT warmth; it’s to keep the crown dry and the soil temperature stable.
DO NOT use typical wood mulch, compost, or shredded leaves. These materials act like a sponge, trapping moisture right against the base of the plant—it’s a one-way ticket to rot city. I’ve seen it wipe out entire gardens.
Instead, you want a mulch that water runs right through. The pro’s choice is a 1- to 2-inch layer of pea gravel or crushed stone. It keeps the crown perfectly dry and even reflects sunlight to prevent the ground from warming up too quickly during a thaw. A bag of pea gravel will only run you about $5-$8 at a hardware store. If you want an organic option, a loose layer of straw is okay, but make sure to pull it back from the base, leaving a 3-inch bare circle right around the stem.
Caring for Potted Lavender in Winter
A plant in a pot is way more exposed than one in the ground. The roots can freeze solid from all sides. As a rule of thumb, a pot reduces a plant’s hardiness by about two full zones. So that tough Zone 5 English lavender effectively becomes a Zone 7 plant in a pot. For most of us, leaving it on the patio is a death sentence.
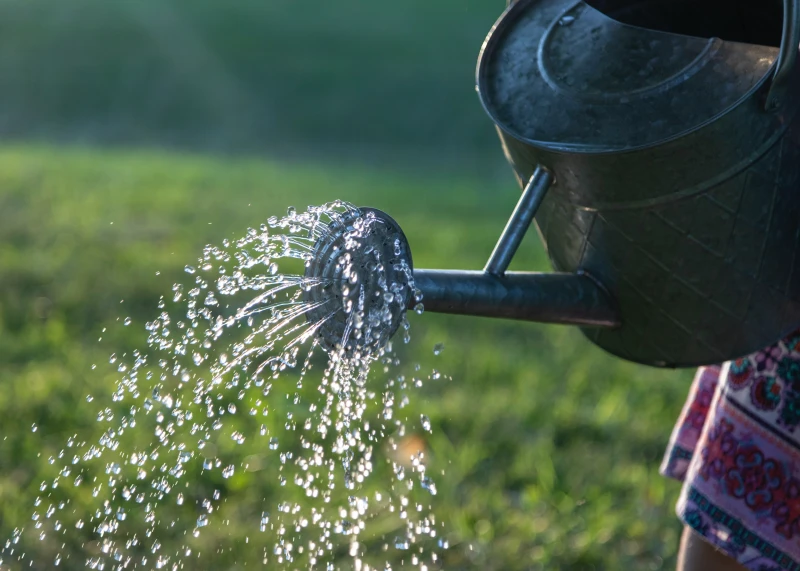
The best method is to move it into an unheated garage or shed before the first hard frost. It doesn’t need light while it’s dormant. The key is to water it, but barely. Check on it about once a month. Here’s a good tactile tip: stick your finger two inches deep into the soil. If it’s totally bone dry, give it a small drink—maybe a cup of water for a 5-gallon pot. If you feel any moisture at all, leave it alone. And whatever you do, don’t bring it inside your heated house. The warm, dry air will stress it out, make it a magnet for spider mites, and prevent it from getting the cold rest it needs to bloom next year.
Help! I Think I Already Messed Up…
Okay, let’s be real. Sometimes you find this information AFTER you’ve already done something… or done nothing at all. Don’t panic. We’ve all been there.
- “I missed the fall prune! It’s already winter!”
Do not prune it now! Pruning late will do more harm than good. Just leave it be. Focus on what you can control: make sure the crown is dry. If you have the wrong mulch, fix that. Otherwise, cross your fingers and plan on doing a cleanup prune in the spring. - “I used wood mulch all around my lavender!”
Go outside right now and fix it! This is the most important 30-second job you can do. Gently pull all that soggy mulch away from the base of the plant. Create a bare-dirt circle at least 3-4 inches wide around the main stem. If you can, replace it with a thin layer of gravel. You may have just saved your plant.
Waking Up Your Lavender in the Spring
Be patient. Lavender is fashionably late to the spring party and is often one of the last plants to show new growth. If your other perennials are greening up while your lavender still looks grey, don’t give up hope.
Once you’re sure the danger of a hard frost has passed, you can do the “scratch test.” Use your thumbnail to gently scrape a tiny bit of bark on a woody stem near the base. If you see green, it’s alive! If it’s brown and brittle, that stem is dead.
Wait until you see tiny new green leaves budding out from the base. Once you can clearly see where the new life is, you can take your pruners and snip off any dead, brown tips down to the highest point of new growth. It’s the reward for all your careful winter prep—a healthy plant ready for another amazing season.