My No-Nonsense Guide to Winterizing Roses (So They Actually Survive)
I’ll be honest, the first time I lost a beautiful rose to a sudden deep freeze, it stung. I’d been working in gardens for years, both big public ones and small backyard plots, and I thought I knew what I was doing. That loss taught me a lesson I’ve carried ever since: protecting your roses for winter isn’t just about survival. It’s about setting them up for an amazing comeback in the spring.
In this article
A lot of guides out there give you the basic steps, but they often skip the why. And here’s the secret: the goal isn’t really to keep your roses warm. The real mission is to keep them consistently cold and shielded from winter’s nasty tricks. Once you get that, everything else just clicks into place.
So, let’s walk through the exact methods I use, breaking down not just what to do, but why it works. This is how the pros make sure their roses return stronger and more beautiful every year.

What We’re Really Fighting Against in Winter
Before you even think about grabbing your gloves, let’s get clear on the enemy. It’s not just the cold itself. Roses are surprisingly tough. The real dangers are a bit more devious.
1. The Freeze-Thaw Rollercoaster: This is the number one killer, hands down. A sunny winter day can warm the ground just enough to thaw it, only for it to refreeze solid at night. This expansion and contraction can literally shove the rose right out of the ground, a process called “heaving.” It leaves the most delicate part of the plant exposed to freezing air, which is almost always a death sentence. A good layer of mulch isn’t a blanket to keep the ground warm; it’s insulation to keep it frozen once it freezes.
2. Winter Windburn (Desiccation): Think of this as the plant dying of thirst in the middle of winter. On a bright, windy day, the canes lose moisture to the dry air. But since the ground is a block of ice, the roots can’t pull up any water to replace it. A good winter pruning and covering is all about shielding those canes from the harsh, drying wind.

3. Crown Damage: The single most important part of your rose is the crown. That’s the woody knot at the base where all the canes shoot out from. For many modern roses, this also includes the bud union—that lumpy spot where the fancy rose variety was grafted onto tougher roots. If that crown dies, the whole plant is a goner. Pretty much everything we’re about to do is aimed at protecting this vital spot.
Timing is Everything: Your Fall Rose To-Do List
Getting this right is all about timing. If you act too early, you can cause more harm than good. Your entire schedule should revolve around one thing: your area’s average first hard frost date. A quick search for a frost date calculator online will give you what you need. Got that date? Okay, let’s work backward.
-
8 Weeks Before Frost: Cut Off the Food. I see this mistake all the time. People give their roses one last meal, thinking it’ll strengthen them. It does the exact opposite. Fertilizer, especially the nitrogen-heavy kind, screams “GROW!” to a plant. New, tender leaves and stems that pop up in the fall have no chance to toughen up. That first hard frost will turn them into black mush, wasting the plant’s energy and leaving it open to disease. Just stop feeding them as summer winds down.
-
6 Weeks Before Frost: Stop Deadheading. This one feels wrong, I know. You’ve been snipping off spent blooms all summer to get more flowers. But now, you need to send a different signal. Letting the old flowers fade and form seed pods (called rose hips) tells the plant, “Okay, show’s over. Time to shut down production and get ready for a long nap.” It’s a natural and powerful way to kickstart the dormancy process.
-
After a Few Light Frosts: Start the Big Cleanup. We’ll get into the details below, but once a few light frosts have knocked the leaves off, it’s time to get cleaning. Don’t wait until the ground is frozen solid.
-
After a Hard Freeze (around 28°F / -2°C): Time for the Main Event. A solid, killing frost is your green light. It ensures the rose is fully dormant and won’t try to grow when you start pruning. Now, we can start covering it up.

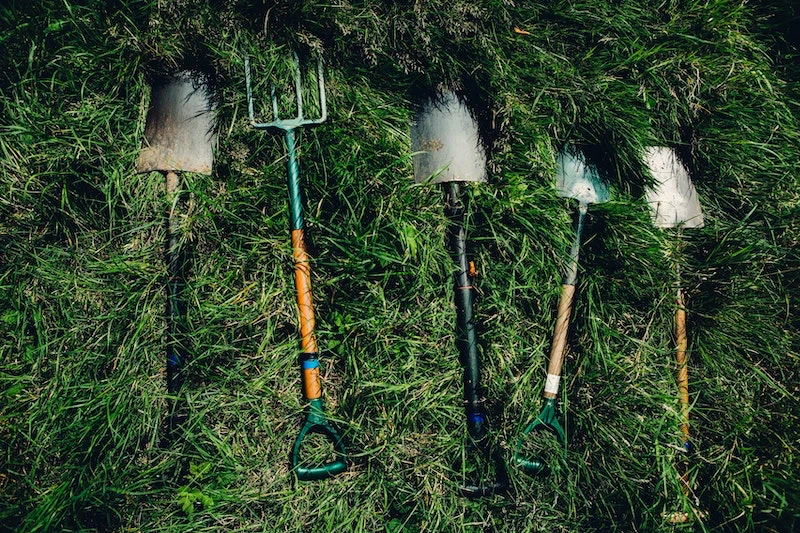
My Go-To Gear for the Job
You don’t need a whole shed full of tools, but having the right ones makes all the difference. Cheap tools can damage your plants and, honestly, just make the job a pain.
The Shopping List:
-
Bypass Pruners: Please, do not use the anvil type that crushes stems. Bypass pruners cut cleanly like scissors, which helps the plant heal fast. You can get a decent pair for $15-$25 at any garden center. If you want to invest in a pair that’ll last a lifetime, look at pro-grade brands, which run closer to $50-$70. And make sure they’re SHARP. Between plants, I give my blades a quick wipe with a rag soaked in rubbing alcohol to stop the spread of disease. It’s a simple step that saves a lot of headaches later.
-
Gauntlet Gloves: These are the long, forearm-protecting gloves, usually made of leather. Your regular gardening gloves won’t cut it. A deep scratch from a rose thorn can lead to some surprisingly nasty infections. Seriously, don’t cheap out here—expect to spend $20 to $40 for a good pair. Your hands will thank you.
-
Materials for Protection: You’ll need some bagged compost or topsoil. Plan on about one standard 1-cubic-foot bag (around $6) for every two or three roses. For mulch, shredded leaves, straw, or pine needles are perfect. And for wrapping, grab a roll of burlap and some twine. A 3-by-24-foot roll of burlap usually costs about $15 at a hardware or garden store.
The Step-by-Step Winterizing Process
Okay, with our schedule and tools ready, let’s get to work. An average rose bush should take about 30-45 minutes to winterize properly, so plan your afternoon accordingly.
Step 1: The Obsessive Cleanup (After Light Frosts)
Quick tip: If you only have 15 minutes to spare for your roses this fall, do this. Fungal spores that cause black spot and other diseases love to spend the winter on fallen leaves. If you leave them there, you’re basically rolling out the welcome mat for an outbreak next spring. Get every single leaf. Put them in the trash, not your compost pile. Most home compost piles don’t get hot enough to kill the spores, so it’s not worth the risk.
Step 2: The Final Deep Drink (Before the Ground Freezes)
Before the ground freezes solid, give your roses one last, very deep watering. How much is deep? I usually give each bush a 5-minute soak with the hose on a slow trickle or dump a full 5-gallon bucket of water at its base. A well-hydrated plant handles dormancy much better. This is its last drink until spring!

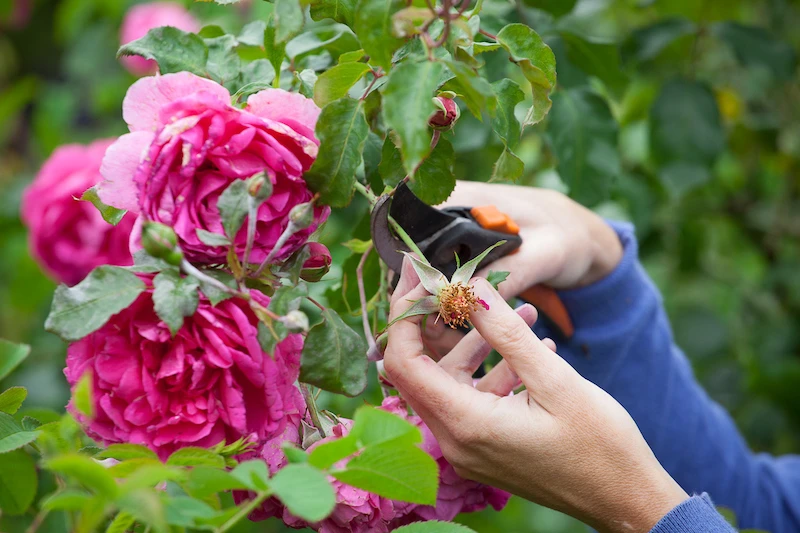
Step 3: The Winter Haircut (After a Hard Freeze)
This isn’t about making the rose look pretty. This prune is purely practical. The goal is to shrink the plant so winter winds don’t whip it around and heavy snow doesn’t break its canes.
– First, trim out any cane that is dead (it’ll be brown and brittle), damaged, or looks diseased.
– For most bush-type roses in cold areas, I trim the healthy canes down to about 24 inches. It just needs to be short enough to be protected from wind and easy to cover.
– Good to know: Make all your cuts at a 45-degree angle, about a quarter-inch above an outward-facing bud. What’s that? It’s a tiny bump on the cane that’s pointing away from the center of the plant. The angle helps water run off, and cutting to an outward bud encourages growth away from the tangled center next spring.
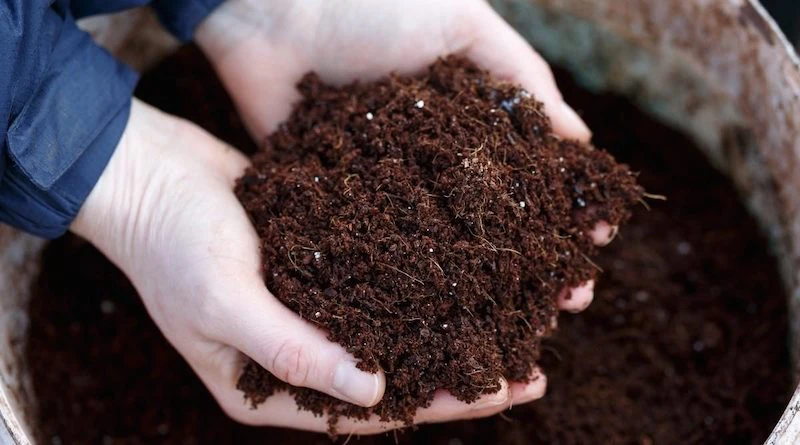
Step 4: The Mound (This is THE Critical Step)
This is the life-support system for your rose. Bring in fresh compost or loose topsoil (don’t just scrape it from the surrounding garden, as that exposes roots). Mound it up and over the center of the plant, covering the base of the canes. You’re aiming for a pile that’s about 10-12 inches high and just as wide. This insulates that precious crown from the freeze-thaw cycle.
Step 5: The Final Mulch Blanket
On top of your soil mound, add a thick, airy layer of mulch. About 8-12 inches of shredded leaves or straw is perfect. By the way, a lesser-known trick for shredding leaves is to just run them over with a lawnmower a few times. It works like a charm. This final layer adds more insulation and helps keep that protective soil mound in place all winter.
How to Adjust for Where You Live
One size does not fit all. The method you use should depend entirely on how cold your winters get. Here’s a simple breakdown, no charts needed.

For Mild Climates (Zones 8-10):
Honestly, you have it easy. A hard freeze is rare. Your main job is just a meticulous cleanup of fallen leaves to keep diseases at bay. After that, a simple 2-3 inch layer of compost or mulch around the base is plenty to keep the soil healthy. You can skip the heavy pruning and mounding.
For Moderate Climates (Zones 6-7):
This is the sweet spot where the full method I described above is perfect. You’re guaranteed a hard freeze, and the freeze-thaw cycle is a real threat. Pruning, mounding with soil, and finishing with a loose mulch is the gold standard here. Oh yeah, and what about those super-popular hardy shrub roses, like the Knock Out family? They are tough! In these zones, they often only need a good cleanup and maybe a small mound of mulch at the base. They were bred to be low-maintenance, after all.
For Cold Climates (Zones 3-5):
Here, you need to go into full protection mode. Mounding alone isn’t enough. After you’ve mounded the rose, create a cage of chicken wire around the pruned canes. Fill this cage loosely with an insulating material like straw or shredded oak leaves (air pockets are key!). Then, you can wrap the whole cage in burlap to keep the filling dry and protected from wind. It’s a bit of work, but it’s necessary to protect the canes from extreme cold.
What About Climbers and Tree Roses?
These unique rose types need a little extra attention.
Climbing Roses: Those long, elegant canes are totally exposed to drying winds. In colder zones, you have to protect them. The best way is to carefully detach the main canes from their trellis, lay them gently on the ground (you might need to peg them down), and then cover them with a long mound of soil and leaves, just like you would a regular bush. It’s a project, but it’s how you save those canes for next year’s spectacular show.
Tree Roses: A tree rose has its most vulnerable part—the graft—way up in the air. To protect it, you can build a wire cage around the entire top, wrap the trunk in burlap, and then gently fill the cage with straw. Wrap the outside of the cage in another layer of burlap to keep it all together. To be frank, this can be tricky, and if you have a prized tree rose, this might be a time to call in a local landscaping pro.
Final Words of Warning & Common Mistakes
Let’s talk about what not to do. A few common missteps can undo all your hard work.
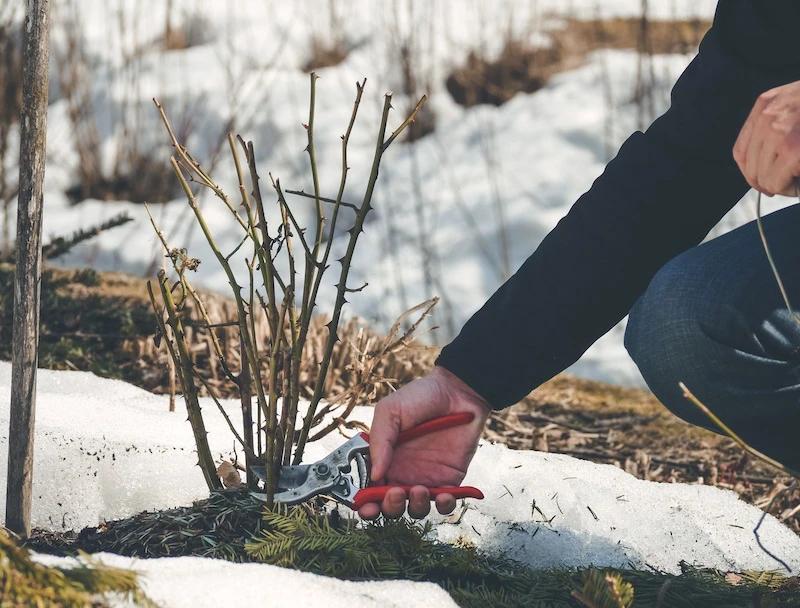
A personal story: Early on, I thought those styrofoam rose cones you see at big-box stores were a great shortcut. I was wrong. I put one over a cherished rose, and after a sunny week in January, I peeked inside. It was warm and steamy, like a mini-greenhouse. The cone had tricked the rose into waking up. The next deep freeze turned the new, tender growth into brown slime. It was a fatal mistake. They trap moisture and heat, promoting rot and lulling the plant out of dormancy. Stick with breathable materials like burlap.
And remember to take care of yourself. Wear your gauntlet gloves. Lift heavy bags of soil with your legs, not your back. And when it’s time to uncover in the spring, be patient. Don’t rip the covers off on the first warm day. Remove the protection gradually over a week or two to let the plant gently wake up and reacclimate.
The effort you put in on a chilly fall day is a direct investment in the explosion of color you’ll get in June. And by getting why you’re doing each step, you’re not just gardening anymore—you’re giving your plants exactly what they need to thrive.
Inspiration:

What’s the best material for mounding and protecting the rose crown?
While it seems intuitive to pile up rich compost or garden soil, these materials can be a double-edged sword. They hold moisture, which can freeze into a solid, suffocating block around the canes, promoting rot. A far better choice is a loose, airy mulch like shredded leaves, pine straw, or even wood chips. These materials insulate the ground to keep it frozen—the real goal—while allowing crucial air circulation and preventing moisture from sitting against the delicate bark. Think of it as a breathable down jacket, not a wet wool blanket.


