Think Like a Mouse: The No-Nonsense Guide to Getting Them Out for Good
I’ll never forget a job I had at this beautiful old stone farmhouse. You know the type—thick walls, tons of character, and a history you could just feel. But the homeowners were at their breaking point. They’d tried it all, from the baits you get at the grocery store to those buzzy electronic gadgets. And yet, every single night, they’d hear that quiet, maddening scratching from inside the walls.
In this article
After years in this business, I can tell you one thing for sure: getting rid of mice isn’t about some magic spray or secret weapon. It’s about getting inside their heads. You have to think like a mouse to figure out how they’re living, what they’re eating, and—most importantly—how they’re getting into your house in the first place. This guide is built on that simple idea. We’re going to cover the professional methods that don’t just fix the problem now, but actually keep it from coming back.
First, Know Your Enemy: The House Mouse
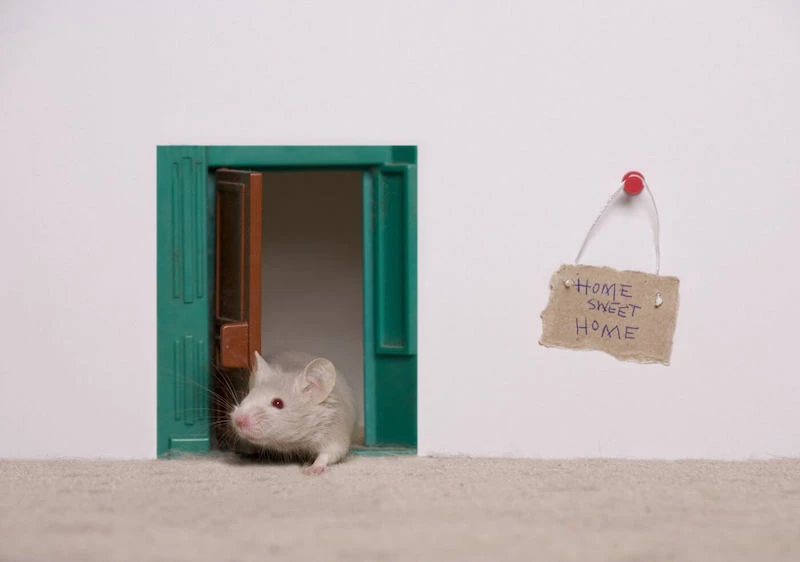
Before you can solve the problem, you really have to understand it. The common house mouse is a pretty impressive little creature. An adult is only about three inches long without its tail, but man, can it cause some chaos. Knowing a few key facts isn’t just trivia; it’s the foundation for every single thing we’re about to do.
A single female can have a litter of 5 or 6 babies in just three weeks, and those babies are ready to have their own families in about six weeks. You can see how a couple of uninvited guests can turn into a full-blown infestation, and fast. They’re driven by the same things we are: food, water, and shelter. And your home is basically a five-star resort offering all three.
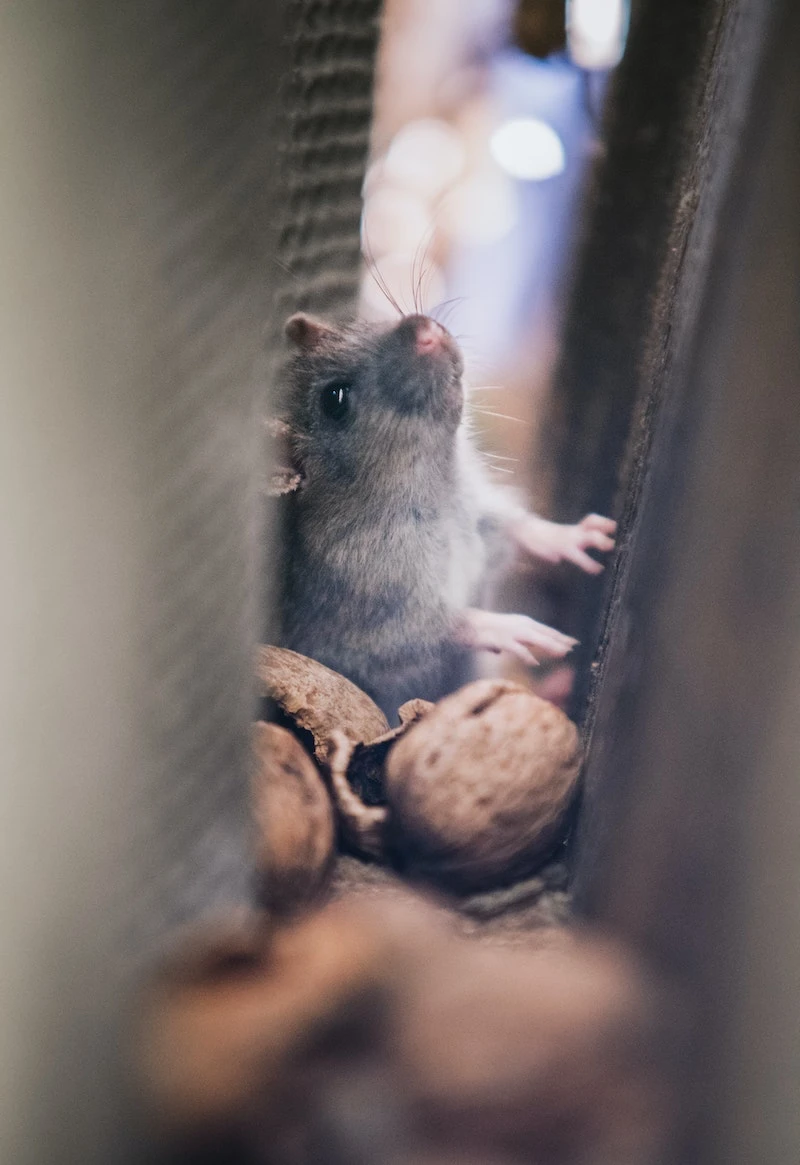
Here’s the part that trips most people up: an adult mouse can squeeze through a hole the size of a dime. Seriously. If its skull fits, the rest of the body will follow. They’re also fantastic climbers that can scale textured vertical surfaces without breaking a sweat. Forgetting this is why so many DIY efforts fail—people plug the big, obvious holes but completely miss the tiny gaps the mice are actually using.
Putting on Your Detective Hat: The Pro-Level Inspection
You can’t win this fight without good intel. The most critical step, before you even think about setting a trap, is a thorough inspection. It’s time to look at your home through the eyes of a mouse. You’ll need a good, bright LED flashlight and maybe one of those little inspection mirrors to see into tight spaces. And please, wear gloves. We’ll get to why in a bit.
The Inside Job
Start inside, focusing on the quiet, undisturbed places near food sources. Mice are creatures of habit and they don’t like to be out in the open. Check these spots methodically:
- The Kitchen: This is ground zero. Pull out the bottom drawers in your cabinets and shine your light all the way to the back. Look behind and under the fridge, stove, and dishwasher. You’re looking for droppings, which are small, dark, and look like grains of rice.
- The Pantry: Check your shelves for chewed-up packages. They’ll go right through cardboard boxes and plastic bags for a snack.
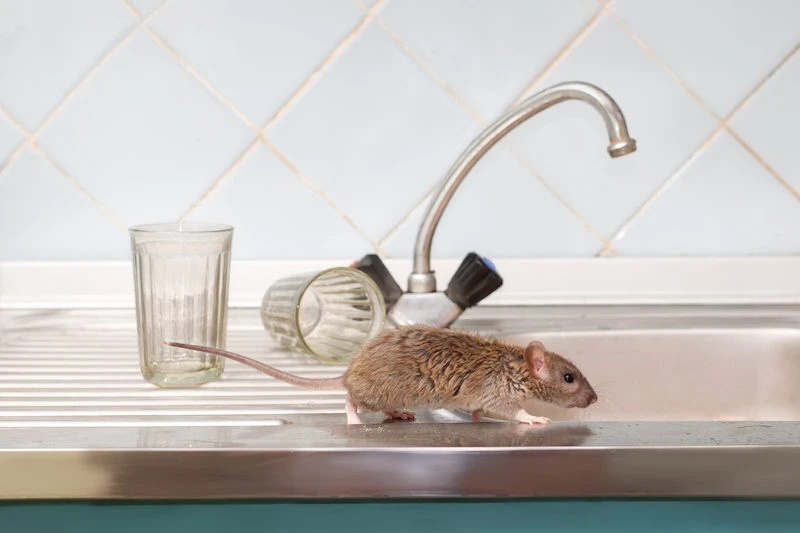
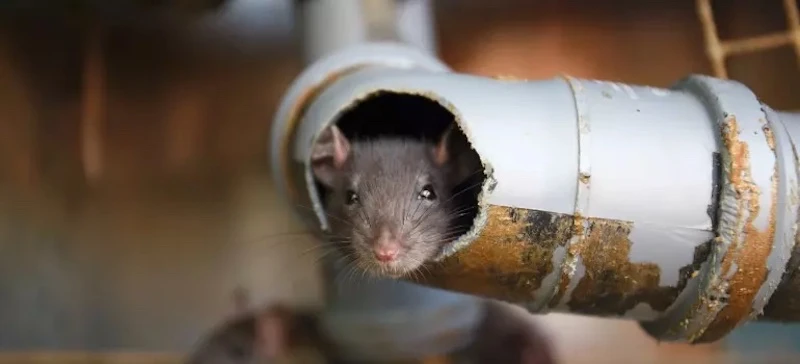
- Under Sinks: See those gaps around the water pipes? That’s a superhighway for mice moving through walls and crawlspaces.
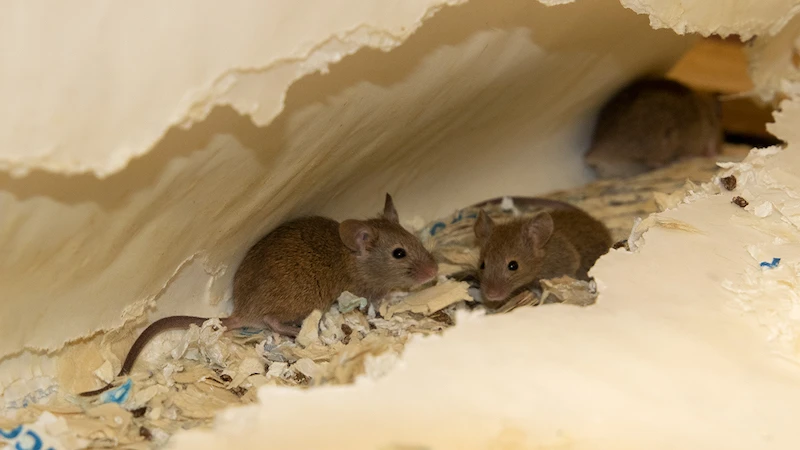
- The Attic & Basement: Look for tunnels in the insulation—mice love to shred it for warm, cozy nests. In the basement, pay close attention to the sill plate (the wooden beam sitting on top of the foundation) for gaps and droppings.
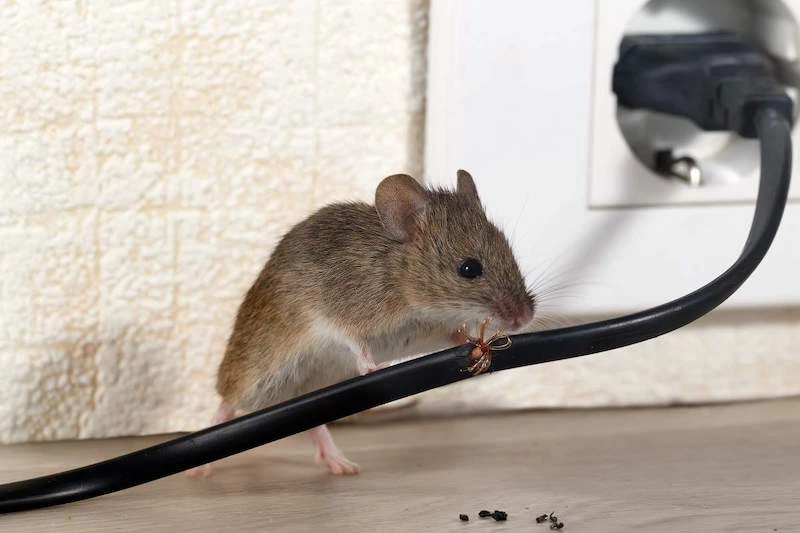
As you’re looking, you’re hunting for four main clues: droppings (dark and soft means recent activity; gray and crumbly is old), gnaw marks, nests, and faint, dirty smudges along the baseboards. Those smudges are grease marks from their fur and are a dead giveaway of a mouse highway.
The Outside Investigation
Okay, this is the step everyone wants to skip, but it’s the absolute key to a long-term fix. You have to find out how they’re getting in. Set aside a solid hour and walk the entire perimeter of your home. Get on your hands and knees if you have to.
- Utilities: Check where gas pipes, A/C lines, and cable lines enter the house. Even a tiny gap is an open door.
- Foundation: Any crack wider than a pencil is a potential entry point.
- Weep Holes: If you have a brick house, those small gaps left for ventilation are perfectly mouse-sized.
- Siding: Look at the very bottom edge of your siding, especially where it meets the foundation and at the corners.
- Garage Door: Check the rubber seal at the bottom. Is it worn out? Does it sit flush with the concrete? This is probably the #1 most overlooked entry point I see.
The Three Pillars of Getting Rid of Mice for Good
A real pest management strategy stands on three legs: sanitation, exclusion, and population reduction. You have to do all three. Just setting traps without sealing their entryways is like trying to bail out a sinking boat without plugging the hole. It’s a losing battle.
Pillar 1: Sanitation (Cut Off the Buffet)
Mice won’t stick around if there’s nothing to eat. This isn’t a judgment on your housekeeping; it’s about making your home totally unappealing to them.
- Lock Up the Food: Move pantry staples like cereal, pasta, flour, and especially pet food into airtight containers. And I mean genuinely airtight, like thick plastic or glass. A mouse will laugh at a Ziploc bag.
- Clean with a Mission: Don’t leave dishes in the sink, and wipe down counters and sweep floors every night to eliminate crumbs. The area around your pet’s food bowl is a major hotspot.
- Rethink Pet Food: Don’t leave a full bowl of pet food out all day and night. Feed your pets at set times, then clean and put away the bowl. Store that big bag of kibble in a metal can or a heavy-duty plastic bin with a locking lid.
- Declutter: Those piles of old newspapers or boxes in the corner of the garage? That’s prime real estate for a mouse nest. Clearing out clutter literally removes their potential homes.
Oh yeah, and a quick word on health. It’s not just about the ‘ick’ factor. Mouse droppings and urine can carry some nasty stuff, like Salmonella and Hantavirus. This is why you should always wear gloves when cleaning up and why getting them out is so important for your family’s health.
Pillar 2: Exclusion (Fortify Your Home)
This is where you get a permanent solution. Once you’ve found all those potential entry points from your inspection, you have to seal them up the right way.
First, what not to use: expandable spray foam. I know it’s tempting, but mice will chew right through that stuff in a single night. It’s a waste of time and money.
Instead, you want a two-part system. Stuff the hole with something they can’t chew, then seal it. Your best bet is stuffing gaps with coarse steel wool or, even better, copper mesh (it doesn’t rust). For bigger holes, you can cut a piece of hardware cloth (a metal screen with ¼-inch mesh) to fit. You can find all this stuff at a hardware store like Home Depot for about $15-$20.
After you’ve packed the hole with the mesh, seal over it with a high-quality exterior-grade caulk or a special pest-blocking sealant. Now you have a permanent, chew-proof fix.

Pillar 3: Population Reduction (The Trapping Game)
While you’re sealing up the house, you still have to deal with the mice already inside. For a normal home situation, trapping is way better than poison. It’s safer for pets and kids, and you get confirmation that the mouse has been removed. No mysteries about where a bad smell is coming from weeks later.
So, what trap should you use? Let’s break it down.
- The Classic Snap Trap: Honestly, these are still the gold standard for a reason. I’m talking about the classic wooden ones, like the Victor brand. A pack will only run you about $5-$10. They’re cheap, effective, and when set correctly, they’re surprisingly humane. The key is a strong spring and a sensitive trigger.
- Electronic Traps: These are little plastic boxes the mouse enters. They deliver a quick, high-voltage shock. They work really well and are a great choice if you’re squeamish about seeing the aftermath. The downside? They’re more expensive (around $20-$40 each) and run on batteries you have to check.
- Live Traps: Many people feel better about these, but you have to be realistic. You MUST check them daily, or the mouse will die from stress. And then what? Releasing it outside often means it will die from exposure or just find its way back in. Plus, many local laws don’t allow you to relocate wildlife.
- A Note on Glue Traps: Just don’t. I strongly advise against them, as do most professional organizations. They are incredibly inhumane—the animal can suffer for days. They also catch anything that wanders by, including beneficial insects or even small birds. There are much better, more effective options.
Pro-Level Trapping Tips
Placement is everything. Remember how mice hug walls? Place your traps perpendicular to the wall, with the bait-and-trigger end facing the baseboard. This intercepts them on their natural highway. And don’t just set one trap; in a hot spot, place two or three a few inches apart.
For bait, peanut butter is the old standby. But if you have picky mice, try a small piece of chocolate, bacon grease, or even a bit of cotton tied to the trigger—they’ll see it as nesting material. A great pro tip is to pre-bait the traps. This means putting the bait out on unset traps for a day or two. The mice get used to safely taking the food, and then when you finally set the trap, you’ll get them.
Heads up! If you have pets or small children, place traps inside cabinets, behind appliances, or use a bait station—a plastic box that lets a mouse in but keeps little hands and paws out.

The Aftermath: Cleanup and Disposal
Okay, so you caught one. Now what? First, always put on disposable gloves. Never handle a trap or a dead mouse with your bare hands. For disposal, place the mouse and the trap into a small plastic bag, seal it, and then place that bag into a second one. Tie it up and throw it in your outdoor trash bin.
To clean the area where you found droppings or a nest, spray it with a disinfectant or a bleach-and-water solution (1 part bleach to 10 parts water). Let it soak for 5 minutes before wiping it up with paper towels. This neutralizes any potential viruses.
When Is It Time to Call a Professional?
You can solve most minor mouse issues yourself with this plan. But sometimes, you need to call in reinforcements. It’s probably time to call a pro if:
- You’re seeing mice during the daytime. That’s often a sign of a very large infestation.
- You’ve followed all these steps for 2-3 weeks and are still seeing fresh signs of activity.
- The problem is widespread—you’re hearing noises in multiple, separate areas of the house.
- To be frank, you’re just overwhelmed and want the problem gone, fast.
Hiring a pro might cost between $200 and $500 for an initial visit and follow-up, but for a major issue, it can be money well spent for peace of mind.

Inspiration:


The Pro’s Sealing Toolkit: Not all gap fillers are mouse-proof. Amateurs often use expanding foam or wood putty, which mice can chew through in minutes. For a permanent fix, professionals rely on materials that mice simply can’t defeat.
- Steel Wool Alternative: Instead of standard steel wool which rusts and stains, use copper mesh. It’s rust-proof, pliable enough to stuff into tiny crevices around pipes, and tough for mice to gnaw.
- Specialized Fill Fabric: For larger gaps, products like Xcluder® Fill Fabric, which is a blend of stainless steel and poly fibers, create an impenetrable barrier that won’t degrade over time.
- Durable Sealants: Finish the job by sealing the edges with a high-quality, pest-resistant silicone sealant to block any remaining drafts or entry points.
A single house mouse leaves behind 40 to 100 droppings per day.
While droppings are the most obvious sign, don’t overlook their runways. Mice are creatures of habit and stick to the same routes. Look for faint, greasy smudges along baseboards or walls, especially behind furniture or appliances. This greasy track is left by their fur and is a dead giveaway of a high-traffic mouse highway in your home.


