Forget Takeout: How to Make Coconut Shrimp Soup That’s Actually Amazing
I’ve spent a lot of time in professional kitchens, and if there’s one thing I’ve learned, it’s that incredible food is all about building flavor in layers. It’s not just about tossing ingredients into a pot and hoping for the best. It’s about knowing what each component does and why it’s there. Coconut shrimp soup is a perfect example of this.
In this article
When it’s bad, it’s just a sad, thin broth with sad, rubbery shrimp. But when it’s done right? Oh man. It’s a rich, creamy, and complex meal that hits all the notes—sweet, sour, salty, and a little bit spicy. It’s the kind of soup that makes you close your eyes for a second when you take the first spoonful.
So many online recipes just give you a list of ingredients and steps but skip the most important part: the ‘why.’ Why do you need full-fat coconut milk? Why toast the spices first? Why is the lime juice added at the very end? I’m going to walk you through it all, just like I would with a new cook in my kitchen. We’ll get into the details so you can make a genuinely fantastic soup every single time.
Heads up: This whole process, including making a quick flavor-bomb shrimp stock, will take about 45 minutes. This recipe makes enough for about 4 hungry people.
First Things First: Understanding Your Soup Base
Before we even start chopping, let’s talk about what we’re actually making. At its heart, a great coconut soup is a balanced, stable emulsion. Getting this part right is the difference between something that tastes homemade and something that tastes like it came from a high-end restaurant.
The Magic of Coconut Milk
Coconut milk is basically just coconut fat (oil) and water, held together in a creamy suspension. That fat is everything—it’s what gives the soup its luxurious, creamy body. This is why you absolutely have to use full-fat, canned coconut milk. Seriously, don’t even think about using the ‘light’ stuff or the kind in a carton you’d put in your coffee. They have too much water and not enough fat, which will leave you with a watery soup that’s likely to curdle.
When you open a good can of coconut milk (usually around $2-$4 at the grocery store), you’ll see a thick, solid layer of cream on top. That’s the good stuff! Don’t mix it in. We’ll use that rich cream to fry our aromatics later.
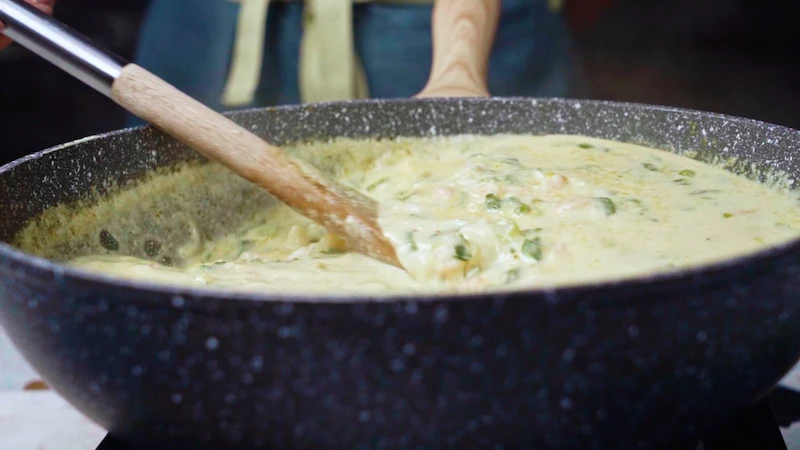
Here’s the number one rule I drill into every new cook: Never, ever boil your coconut milk. A hard, rolling boil will break that beautiful emulsion, causing the fat to separate out. You’ll end up with a greasy, grainy texture that’s pretty much impossible to fix. We’re aiming for a gentle, lazy simmer—just a few small bubbles breaking the surface. That’s the sweet spot.
Layering Flavors Like a Pro
This soup gets its incredible taste from a classic balance of four key flavor profiles. You need all of them working together.
- Salty: This is for depth. We’ll use regular salt, but the real secret weapon for that savory, umami kick is fish sauce.
- Sweet: Coconut milk has a natural sweetness, but a tiny pinch of sugar helps to round out the sharp edges of the other flavors.
- Sour: This is crucial for cutting through the richness of the coconut fat. It adds a brightness that makes the whole dish pop. Fresh lime juice is your best friend here.
- Spicy & Aromatic: This is where the magic happens, coming from your curry paste, ginger, garlic, and lemongrass.
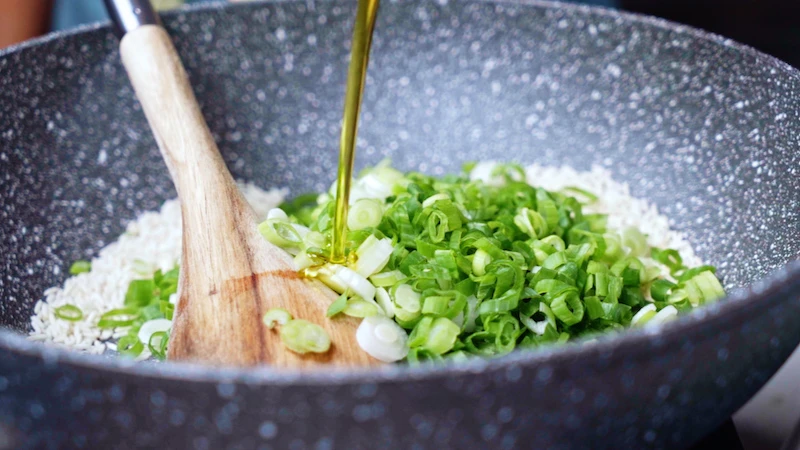
We build these flavors in stages. A key technique is “blooming” the spices—gently frying the curry paste in oil to unlock all its fat-soluble flavor compounds. You can’t get the same result by just stirring it into the liquid. You’ll know it’s working when your kitchen smells absolutely amazing. That’s the smell of flavor being born.
Your Shopping List: Choosing the Right Stuff
The final soup is only as good as the ingredients you start with. Making smart choices at the store is half the battle won.
Let’s Talk Shrimp
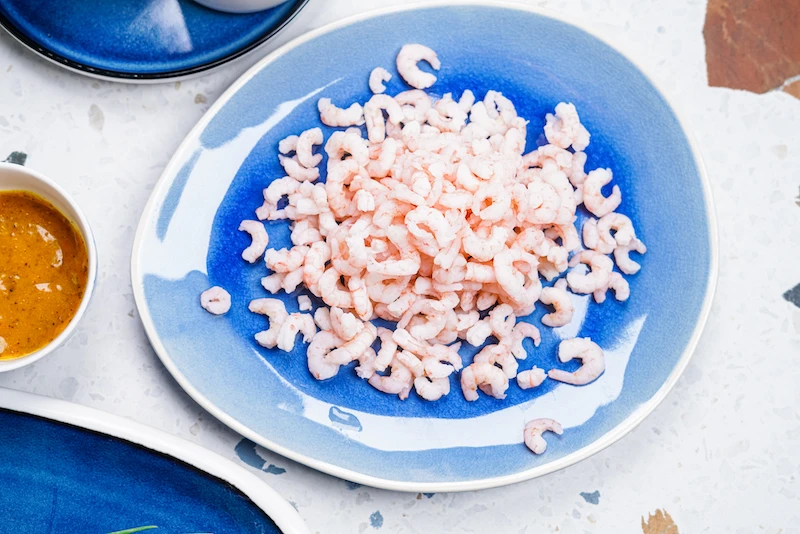
This is the star of the show, so let’s get it right. From my experience, wild-caught shrimp has a firmer, cleaner flavor. But let’s be real, it can also be expensive. A good-quality farmed shrimp is a perfectly fine and more budget-friendly option, just check its origin.
Look for a size labeled 21/25 or 26/30, which tells you how many shrimp you get per pound. This size is perfect—a nice two-bite shrimp that won’t get lost in the soup.
And here’s a tip that surprises people: high-quality frozen shrimp is often better than the “fresh” stuff at the seafood counter. Unless you live right on the coast, that fresh shrimp was probably frozen and thawed for display anyway. Individually Quick Frozen (IQF) shrimp are frozen right on the boat, locking in freshness. Just thaw them at home right before you cook.
Pro-Tip: If you can, buy shell-on shrimp. It takes a few extra minutes to peel them, but you can use those shells to make a quick shrimp stock that adds an insane amount of flavor. It’s a little extra step that makes a world of difference.
Coconut Milk and Curry Paste
As I said, full-fat canned coconut milk is non-negotiable. Thai brands are usually a safe bet. For the curry paste, you’ve got options. A good quality store-bought paste is a huge time-saver. You can find excellent ones like Mae Ploy or Maesri in the international aisle of most supermarkets, but you’ll get them cheaper and find more variety at an Asian grocery store.
A quick rundown on the common types:
- Red Curry Paste: This is the go-to for this soup. It has a great balance of heat and fragrant spices. A brand like Mae Ploy is pretty potent, so 2 tablespoons will give you a solid medium-hot soup. If you’re nervous about heat, start with 1.5 tablespoons. You can always add more later!
- Green Curry Paste: Typically the spiciest of the bunch, with a vibrant, fresh chili and herb flavor.
- Yellow Curry Paste: This one is milder and a bit sweeter, with more turmeric and warm spices. It’s a great option if you’re not a fan of intense heat.
Fresh Aromatics are Key
Please, use fresh ginger and garlic! The dried powder versions just don’t have the same bright, zesty flavor. When buying lemongrass, look for firm stalks. You’ll just need to peel off the dry outer layers.
What does “bruising” the lemongrass even mean? It’s simple. Just trim the end, and then smack the stalk a few times with the back of a heavy knife, like you’re lightly crushing a clove of garlic. This breaks up the fibers and helps release all that amazing citrusy, floral aroma into your soup.
Good to know: If your store doesn’t have lemongrass, it’s a tough flavor to replicate perfectly. But in a pinch, you can use a few strips of zest from a lime to get some of that bright, citrusy note.
The Method: Let’s Get Cooking
Before you start, do what the pros call mise en place—get all your ingredients prepped and measured out first. Trust me, it makes the whole cooking process way less stressful.
You’ll Need:
- A large, heavy-bottomed pot or a Dutch oven
- A cutting board and a sharp knife
- Measuring cups and spoons
- A fine-mesh strainer
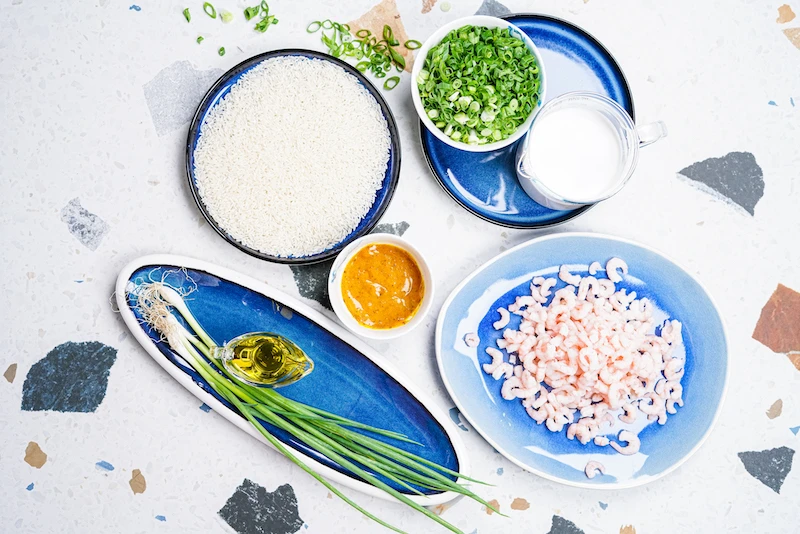
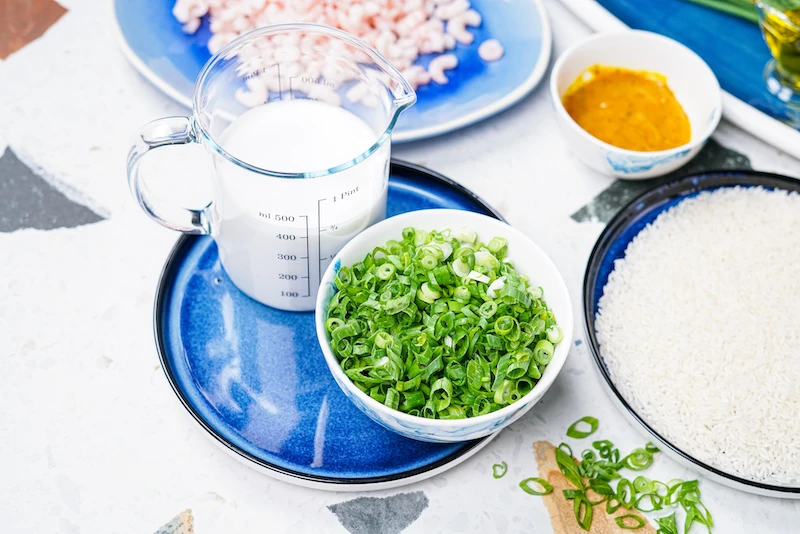
Ingredients:
- 1 lb large shrimp (21/25 count), preferably raw and shell-on
- 2 tbsp neutral oil (like canola or grapeseed)
- 1 medium yellow onion, finely chopped
- 4 cloves garlic, minced
- 1 tbsp fresh ginger, grated
- 1 stalk lemongrass, tough outer layers removed, bottom 4 inches bruised and minced
- 2-3 tbsp Thai red curry paste (adjust to your spice preference)
- 1 (13.5 oz) can full-fat coconut milk, unshaken
- 4 cups shrimp stock or low-sodium chicken broth
- 1 tbsp fish sauce
- 1 tsp brown sugar or palm sugar (optional, but recommended)
- 1 red bell pepper, thinly sliced
- Juice of 1-2 fresh limes
- For serving: Fresh cilantro, sliced red chili, cooked Jasmine rice
Step 1: The Pro Move – Quick Shrimp Stock
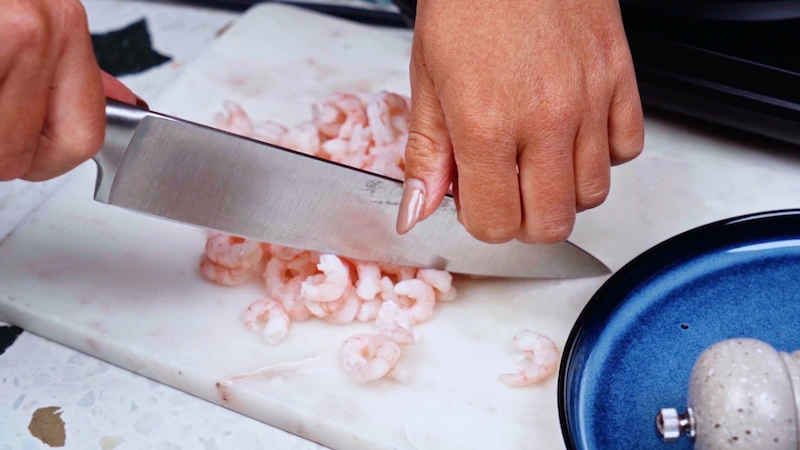
Peel and devein your shrimp. Toss the clean shrimp in a bowl, cover it, and pop it in the fridge. Do not throw those shells away! Heat 1 tablespoon of oil in your pot over medium-high heat. Add the shells and cook, stirring, for 3-4 minutes until they turn bright pink and smell amazing. Pour in 4 cups of chicken broth (or water), bring it to a simmer, then lower the heat and let it bubble gently for 20 minutes. Strain the stock through a fine-mesh strainer into a bowl and discard the shells. Boom. You now have a liquid gold shrimp stock.
Step 2: Build Your Flavor Base
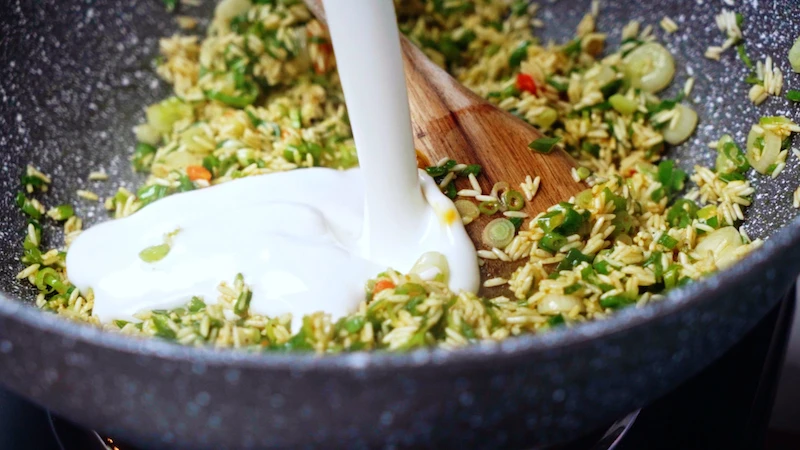
Wipe your pot clean. Heat the other tablespoon of oil over medium heat. Now, open that unshaken can of coconut milk and scoop out the thick cream from the top (about half a cup). Add it to the pot and let it heat up until it starts to bubble. Add the chopped onion and cook for 3-4 minutes until it’s soft. Toss in the garlic, ginger, and lemongrass and cook for another minute until you can really smell them. Don’t let the garlic burn!
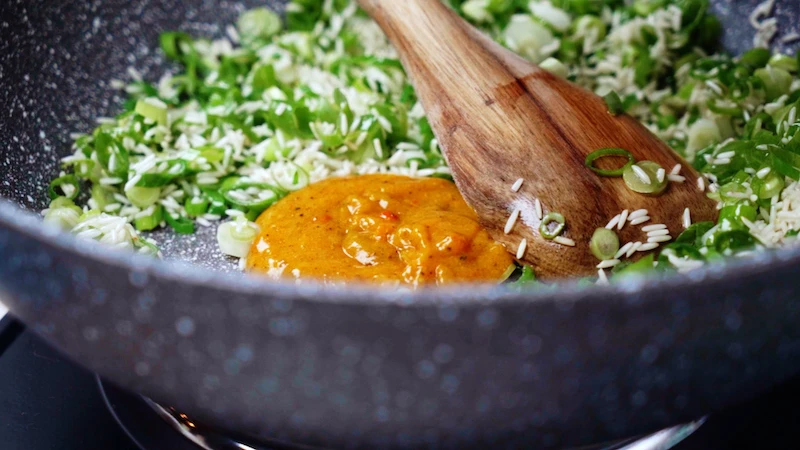
Now add the red curry paste. Stir it constantly for about 2 minutes. It’ll get a little darker and incredibly fragrant. You are now blooming the spices, and your kitchen should smell epic.
Step 3: Create the Broth
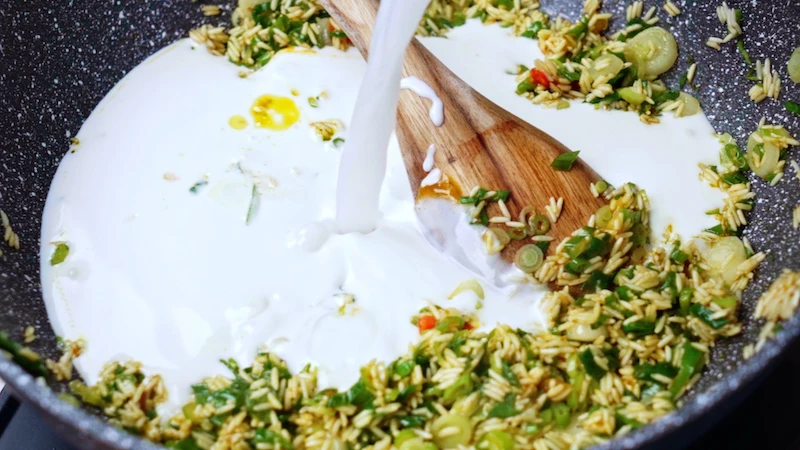
Pour the rest of the coconut milk and your homemade shrimp stock into the pot. Stir it all together, then add the fish sauce and the optional sugar. Bring the soup to a GENTLE simmer. Again, no boiling! Once it’s simmering, turn the heat down to low.
Step 4: Cook the Veggies and Shrimp
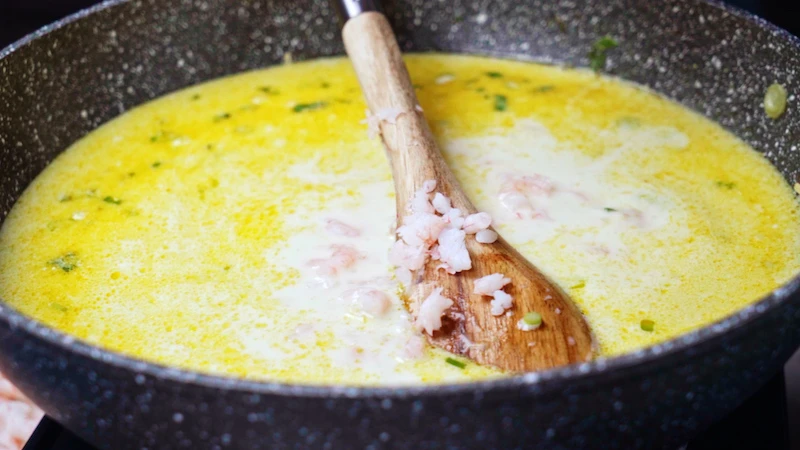
Add the sliced red bell pepper and let it simmer for about 5 minutes to soften up a bit. Now, it’s time for the shrimp. They cook super fast—we’re talking 2-3 minutes, tops. Watch them like a hawk. As soon as they turn pink and opaque and curl into a loose “C” shape, they are done. A shrimp curled into a tight “O” is an Overcooked shrimp. It’s a lesson you only have to learn once!
By the way: If you accidentally bought pre-cooked shrimp, don’t worry! Just add them at the very end with the heat turned off. Let them sit in the hot broth for a minute to warm through. Don’t simmer them at all.
Step 5: The Final Balance
Turn the heat off completely. Squeeze in the juice of one lime. Stir and taste. This is where you become the chef. Does it taste a little flat? It probably needs another splash of fish sauce for saltiness or more lime juice for brightness. Is it a little too sharp? That optional pinch of sugar will work wonders. Trust your taste buds and adjust until it tastes vibrant and delicious.
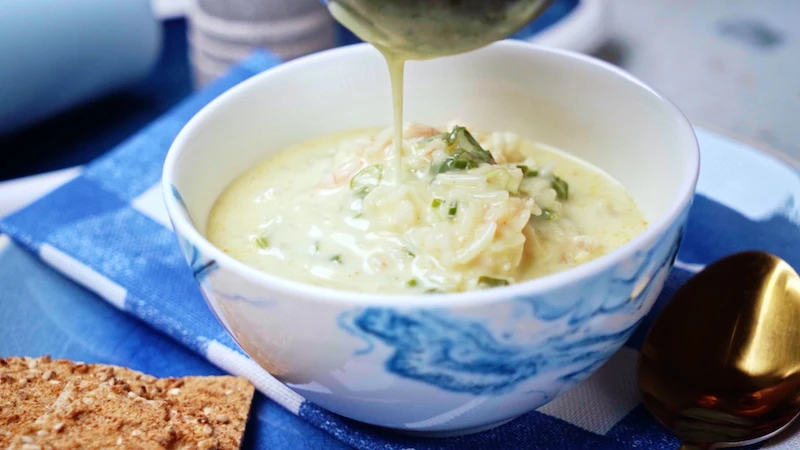
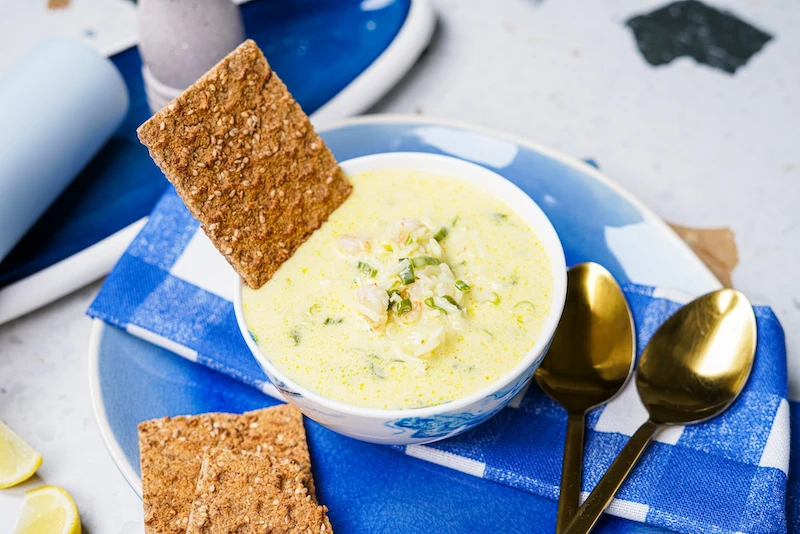
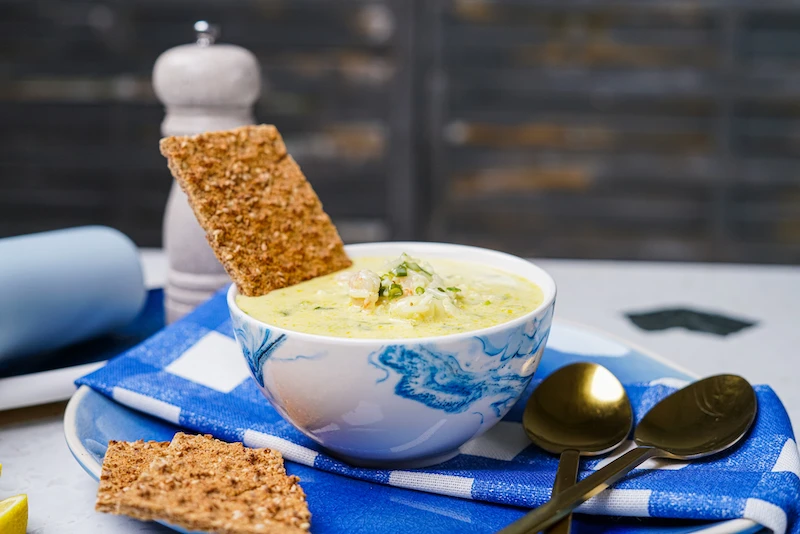
Serve hot in bowls, ladled over some fluffy rice, and go crazy with the fresh cilantro and sliced chili on top.
Oops! Common Problems and How to Fix Them
Even pros mess up sometimes. Here’s a quick guide to fixing common issues.
- My soup is grainy or separated! This happens if you boiled the coconut milk. To be frank, it’s hard to fix perfectly, but you can sometimes save it by using an immersion blender to force the fat and water back together. Best to just remember the low-and-slow simmer rule for next time.
- My shrimp are rubbery! They got overcooked. There’s no going back, sadly. Just remember the “C” for cooked, “O” for overcooked rule, and pull them off the heat sooner next time. They’ll continue to cook a bit in the hot broth.
- The flavor is kind of… bland. It’s out of balance. 99% of the time, bland soup just needs more salt (a splash of fish sauce) or more acid (a squeeze of lime juice). These are the two ingredients that make all the other flavors sing.
- Help, it’s way too spicy! Don’t panic! The best way to tame the heat is to dilute it. Stir in another big splash of coconut milk or some more chicken stock. A little more lime juice or sugar can also help create balance and distract from the heat.
Make It Ahead & Make It Your Own
This recipe is a great starting point. For a more classic Thai Tom Kha flavor, toss in a few slices of fresh galangal (if you can find it) and a few bruised kaffir lime leaves with the aromatics. Just be sure to pull them out before serving.
Planning a dinner party? You can absolutely prep this ahead. Here’s how: Complete Steps 1, 2, and 3 to make the broth. Let it cool and store it in the fridge for up to two days. When your guests are arriving, just gently reheat the broth, then proceed with Step 4 and 5 to cook the peppers and shrimp right before serving. This way, the shrimp are perfectly cooked and everything tastes fresh.
To make a fantastic vegan version, use a hearty vegetable broth instead of shrimp stock (simmering it with some dried shiitake mushrooms adds amazing umami!). Swap the fish sauce for soy sauce or a vegan fish sauce. For protein, use extra-firm tofu that you’ve pressed, cubed, and pan-fried until crispy before adding it to the soup at the very end.
This soup is best eaten right away. If you have leftovers, reheat them gently on the stove. Never microwave them, or you’ll be left with tough, rubbery shrimp. Honestly, this whole method is more of a technique than a rigid recipe. Once you master it, you’ll be able to feel your way to a perfect bowl of soup every single time.
Inspiration:
What’s the best way to serve this soup?
While this soup is a complete meal in itself, serving it with a side of fluffy jasmine or basmati rice is classic for a reason. The rice acts as a perfect sponge for the rich, creamy broth, ensuring not a single drop of flavor is wasted. For a lighter, grain-free option, serve it alongside steamed bok choy or with a handful of rice vermicelli noodles added directly to the bowls just before ladling in the hot soup.
More than 90% of the shrimp consumed in the U.S. is imported, and a significant portion is frozen.
Don’t shy away from the freezer aisle! High-quality frozen shrimp are often a better choice than the
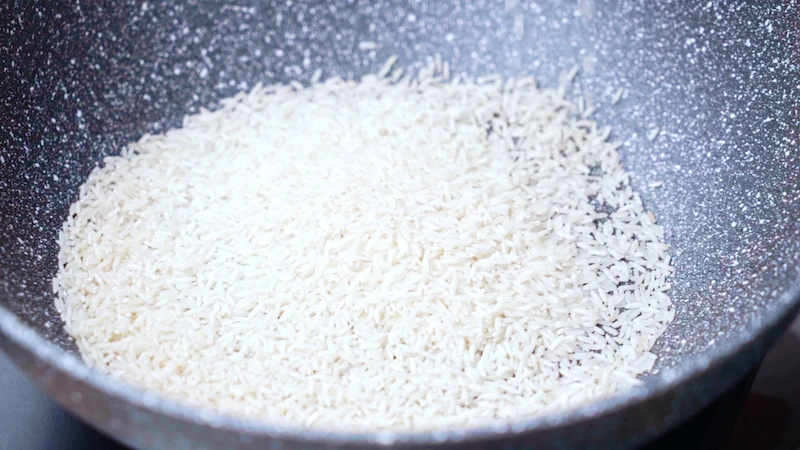
The secret to a deeper flavor base: Toasting your aromatics.
The method: Before adding any liquid, briefly sauté your garlic, ginger (or galangal), and chili in a little coconut oil until they release their fragrance. This simple, 30-second step awakens their essential oils, moving them from raw and harsh to mellow and complex. It’s a professional technique that builds a foundational layer of flavor that simmering alone can’t achieve.


