Your Shower’s Dirty Secrets: How the Pros *Actually* Get Them Clean
I’ve spent a lot of time in the home restoration business, and if there’s one thing I’ve learned, it’s that a shower can tell a story. I’ve seen some that are decades old but look like they were installed yesterday, and I’ve seen brand-new, fancy showers totally wrecked in just a couple of years. What’s the secret? It almost always boils down to two things: a little bit of regular upkeep and, more importantly, knowing what you’re cleaning.
In this article
Seriously, using the wrong stuff can cause permanent damage. But the right approach? That can keep your shower looking fantastic for a lifetime. Forget those “one-size-fits-all” magic sprays. Let’s dig into the real methods the pros use. This isn’t just about making things sparkle; it’s about doing it right.
First, What Are You Actually Cleaning?
Before you even think about grabbing a scrub brush, you gotta know your enemy. Different kinds of shower grime are like different stains on a shirt—they need different treatments. Using the wrong one is a waste of time at best and a disaster at worst.
The Deal with Soap Scum
You know that chalky, white film that coats everything? That’s not just dried soap. It’s actually a chemical reaction. Most bar soaps have waxy stuff in them that mixes with the minerals in your water (like calcium and magnesium). This creates a sticky, gross residue that water alone can’t touch. To beat it, you need a cleaner that can break down either the waxy soap part or the hard mineral part.
Hard Water Stains & Limescale
If you see crusty white deposits building up around your faucet or shower head, that’s limescale. It’s basically calcium carbonate, the same stuff that makes cave formations. These are mineral deposits, and they are alkaline. That’s why vinegar is such a popular DIY cleaner—its acid dissolves them. But, and this is a HUGE but, acid is a major no-go for certain shower materials, which we’ll get to in a minute.
Mold vs. Mildew: Know the Difference
People throw these terms around, but they’re not the same. Mildew is a surface fungus, usually looking powdery and gray or white. You can typically scrub it right off. Mold, however, is the real villain. It grows roots that dig into porous things like your grout and silicone caulk. Ever scrubbed those black spots on your caulk, only to see them come back a week later? Yep, the roots are still alive in there. Mold often requires a more aggressive plan, and sometimes, the only real fix is to completely replace the affected caulk or grout.
Biofilm: The Slimy Starter Kit
Oh yeah, there’s also biofilm. This is the first thing to show up to the party. It’s a slimy, nearly invisible layer of bacteria that makes your shower floor feel slippery even when it looks clean. Soap scum and mineral stains then build up right on top of it. A quick regular cleaning routine messes up this slimy foundation before it can cause bigger problems.
My Go-To Toolkit and Safety Rules
Having the right tools isn’t just about making the job easier; it’s about getting better results and not wrecking your shower. And honestly, safety is the first thing I cover with my team on any job.
Essential Cleaning Gear (The Shopping List)
- Safety First (Non-Negotiable!): Please, wear safety glasses. A stray splash of cleaner can cause serious eye damage. Also, get some good nitrile gloves, not the flimsy latex kind. You can get a box for about $15 that will last you ages. If you’re tackling serious mold, an N95 respirator is a must.
- A Good Squeegee: This is your best friend for shower maintenance. Don’t grab the $3 one from the dollar store; its hard plastic blade will just skip and leave streaks. Spend the $15-$20 on a pro-grade one from a place like Home Depot. Its soft, replaceable rubber blade clears water in one clean pass. It’s worth every penny, trust me.
- A Brush Set: You need more than one. Get a large, soft-bristle brush for big surfaces, a stiff-bristle grout brush (they’re usually long and skinny), and a small detail brush—an old toothbrush works great—for around fixtures. A whole set can be found for under $15.
- Microfiber Cloths: These are a game-changer. Get a multipack for about $10. You’ll want a general-purpose one for wiping, a high-pile one for drying, and a flat-weave one for polishing glass and chrome.
- Plastic Scraper: A plastic putty knife or a pack of plastic razor blades is perfect for carefully scraping off thick gunk without scratching anything. Never, ever use metal on glass or fiberglass.
Safety First: The Rules I Live By
I can’t stress this enough. People get hurt with common household products all the time.
1. Get Some Air: Always turn on the bathroom exhaust fan. If you don’t have one, open a window and stick a small fan in the doorway pointing out. Fumes can build up fast in a small bathroom.
2. The Never-Mix Rule: This is the big one. NEVER mix a bleach-based product with an ammonia-based product. This creates a toxic gas that can seriously harm you. Same goes for mixing bleach and acidic cleaners (like toilet bowl cleaner or even vinegar). Just… don’t. Read the labels. A client of mine once mixed two products without thinking and ended up in the hospital. It’s no joke.
3. Top to Bottom: Always clean from the top of the shower down. Gravity is your friend! Cleaner and grime will run down onto dirty areas, so you’re not cleaning the same spot twice.
4. Test First, Clean Later: Before you go wild with a new cleaner, test it in a small, hidden spot. Let it sit, rinse it off, and check for any discoloration or damage. What works on your buddy’s tile might destroy yours.
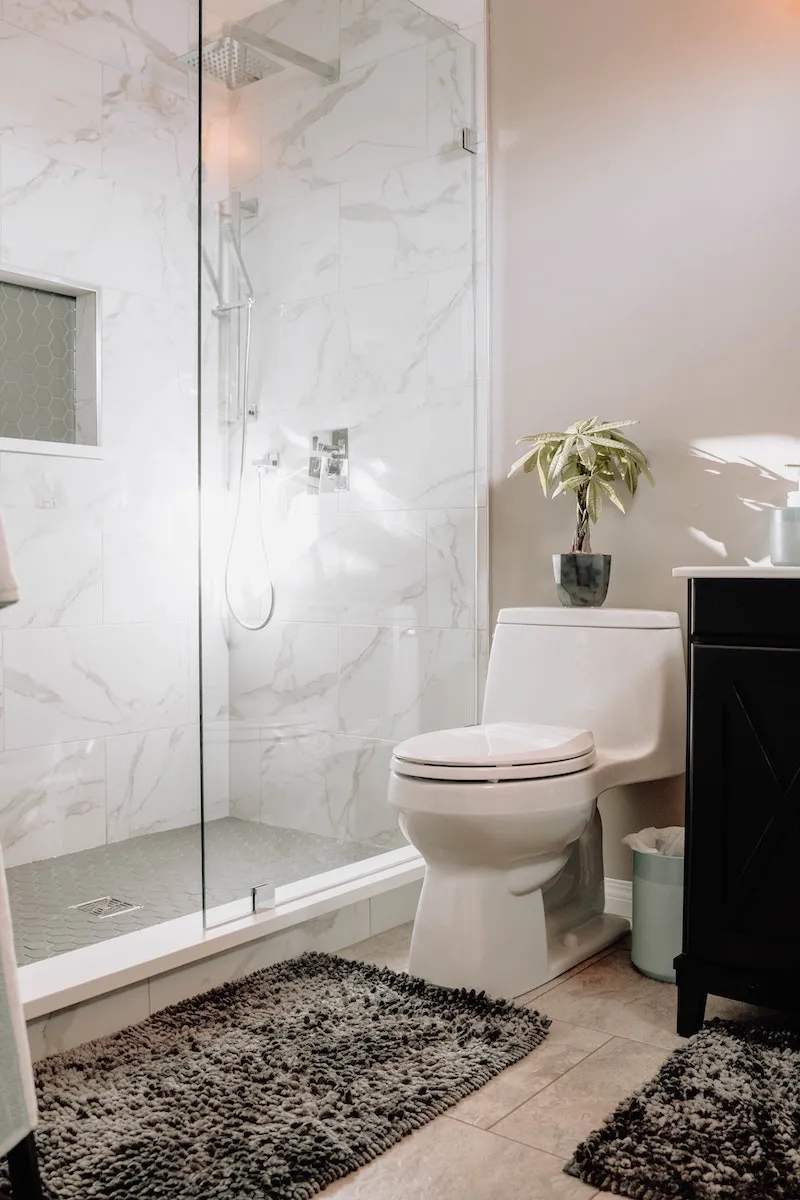
How to Clean Your Shower Based on Material
Alright, let’s get to the good stuff. Here’s how you handle the most common shower materials I run into.
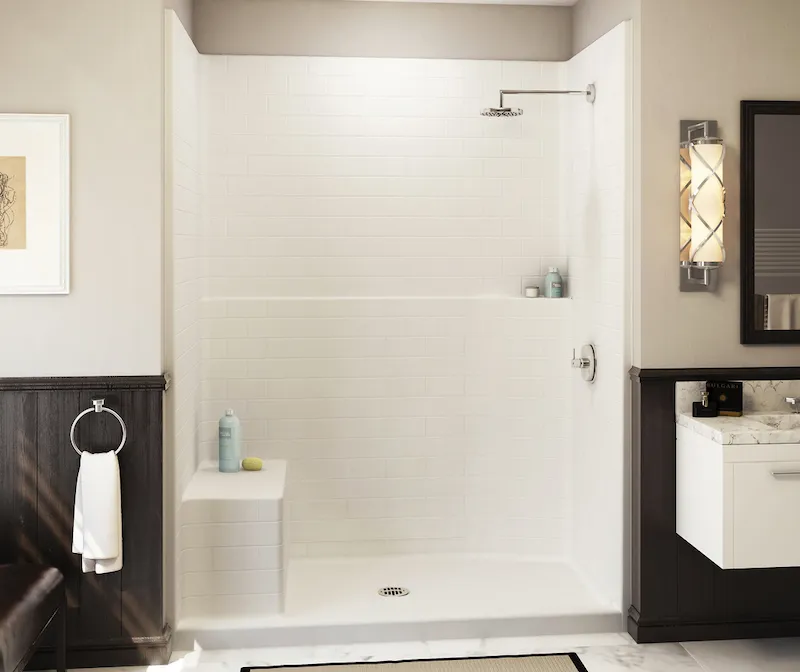
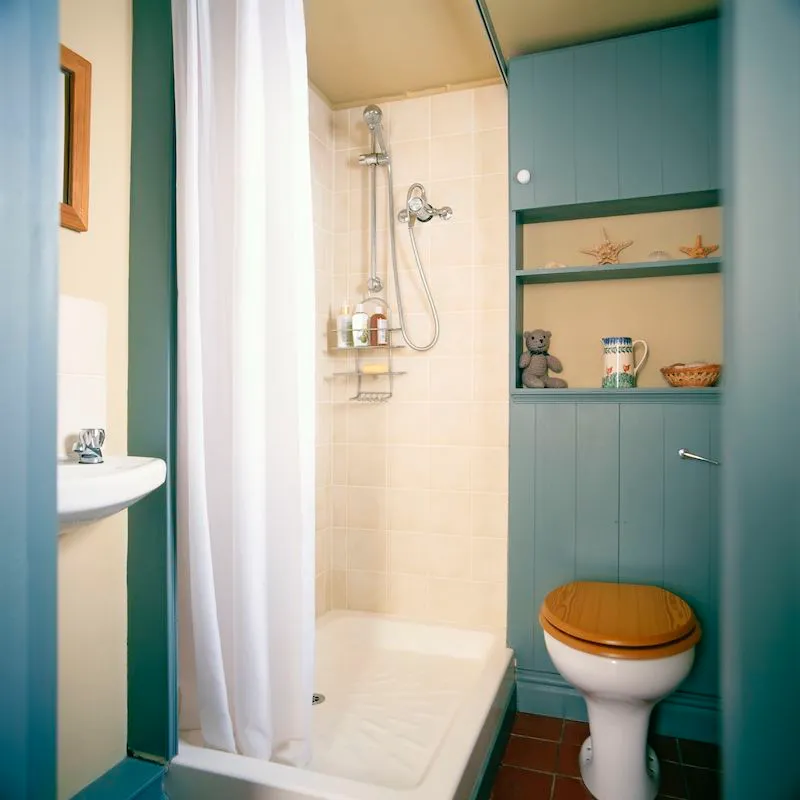
For Fiberglass and Acrylic Showers
These are super common because they’re affordable and have no grout. But that shiny surface (called a gelcoat on fiberglass) is pretty soft and scratches easily.
The Biggest Mistake I See: People grab abrasive stuff like Comet or those green scrubby pads. This creates thousands of tiny scratches that dull the finish and, ironically, trap even more dirt, making the shower harder to keep clean over time.
What to Use:
- DIY Fix: A spray bottle filled with equal parts white vinegar and blue Dawn dish soap is fantastic. The soap helps the vinegar cling to the walls and breaks down the waxy soap scum, while the vinegar handles the mineral deposits.
- Store-Bought: Look for non-abrasive sprays specifically for fiberglass and acrylic. Products like ‘Scrub Free’ or ‘Kaboom’ work well. You can find them for about $5-$10 a bottle.
The Method:
- Get everything out of the shower. Give it a quick rinse with hot water to warm it up.
- Spray your cleaner everywhere, starting from the top. Let it sit for at least 15-20 minutes. Don’t skip this! The cleaner needs time to work its magic.
- For the floor, which is usually the grimiest, you can sprinkle some baking soda over the wet cleaner to make a gentle, fizzy scrubbing paste.
- Scrub the whole thing with a soft-bristle brush and rinse it all down.
- Finally, squeegee the walls and dry everything with a microfiber cloth. A dry shower is a happy shower.
Pro Tip: If your fiberglass is already looking a bit dull, you can often bring back the shine. After a deep clean, use a light-duty automotive polishing compound (like Meguiar’s Ultimate Compound, about $15 a bottle) to polish the surface, just like a car. Then, apply a coat of marine or RV wax to protect it. It’s an extra step, but the difference is incredible.
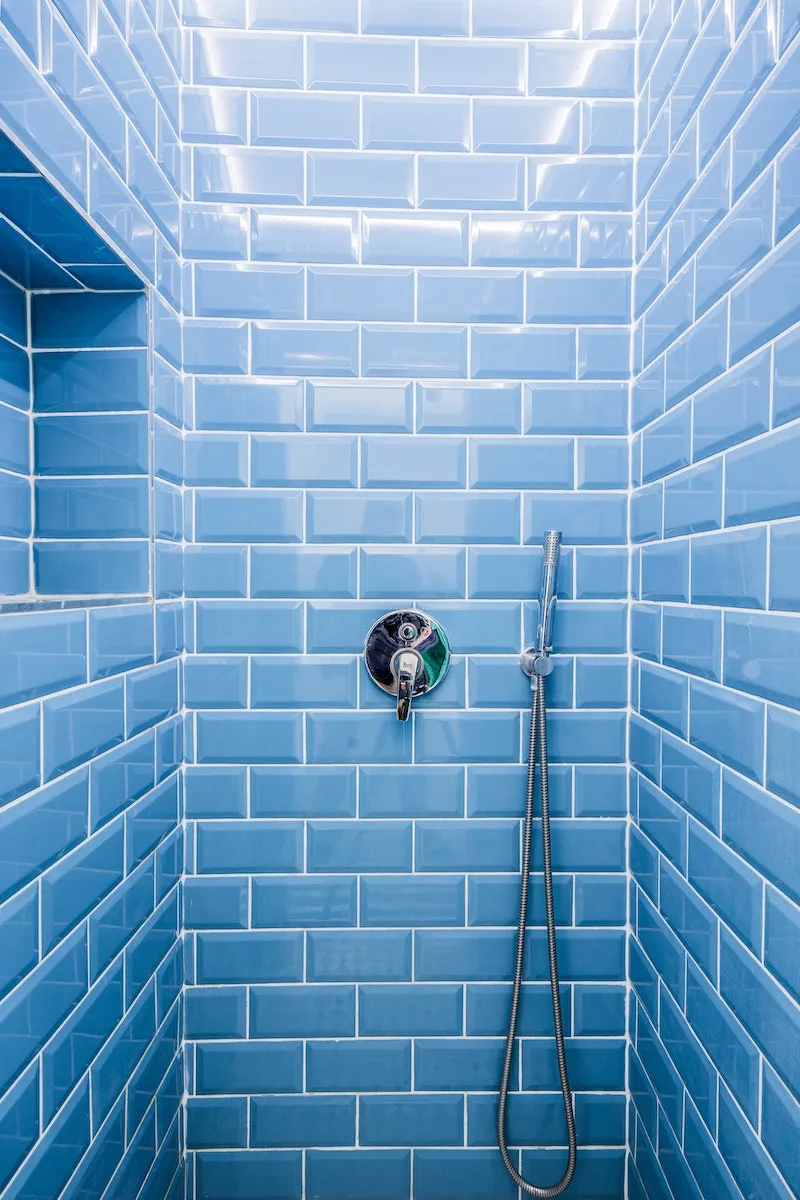
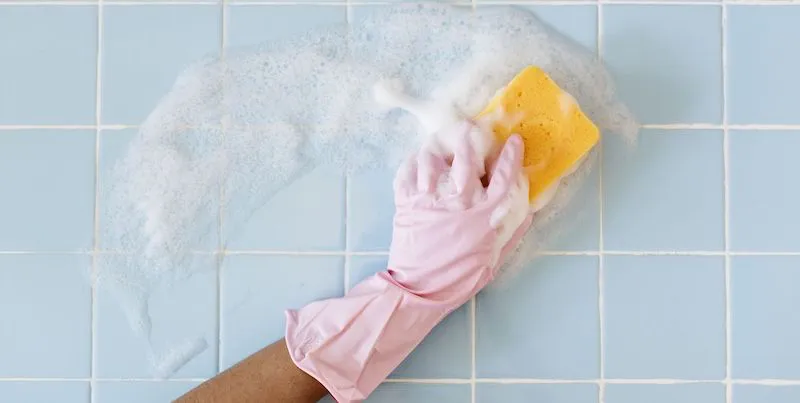
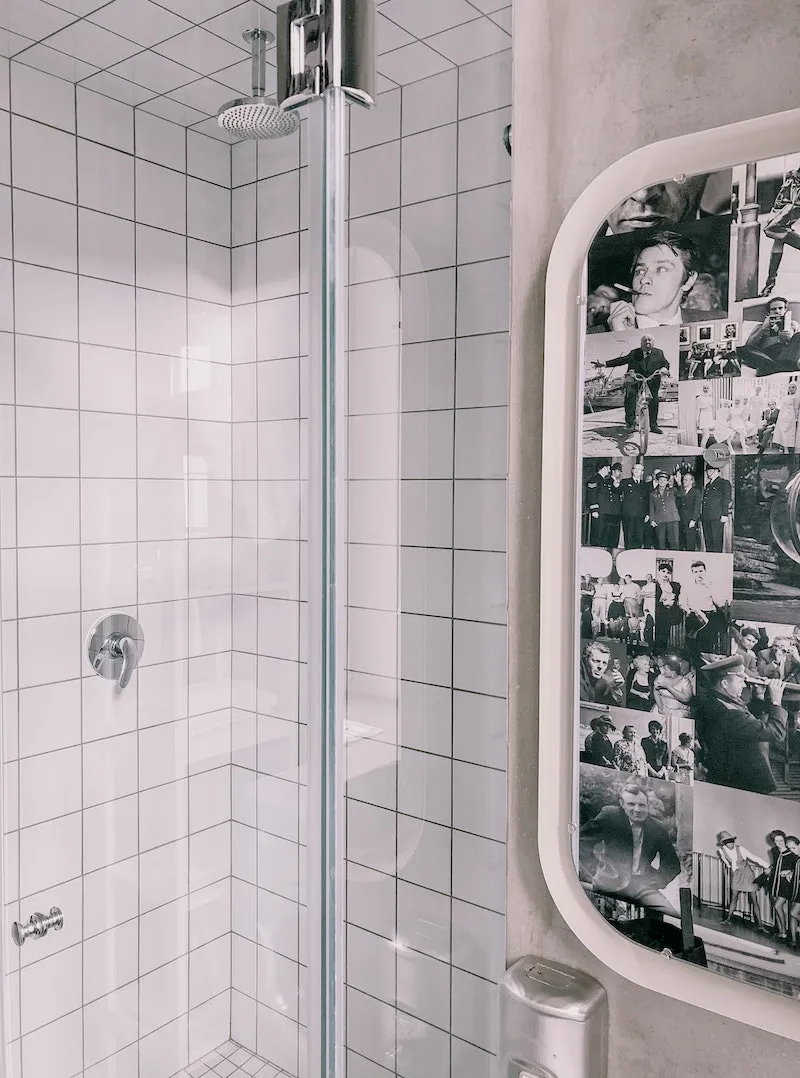
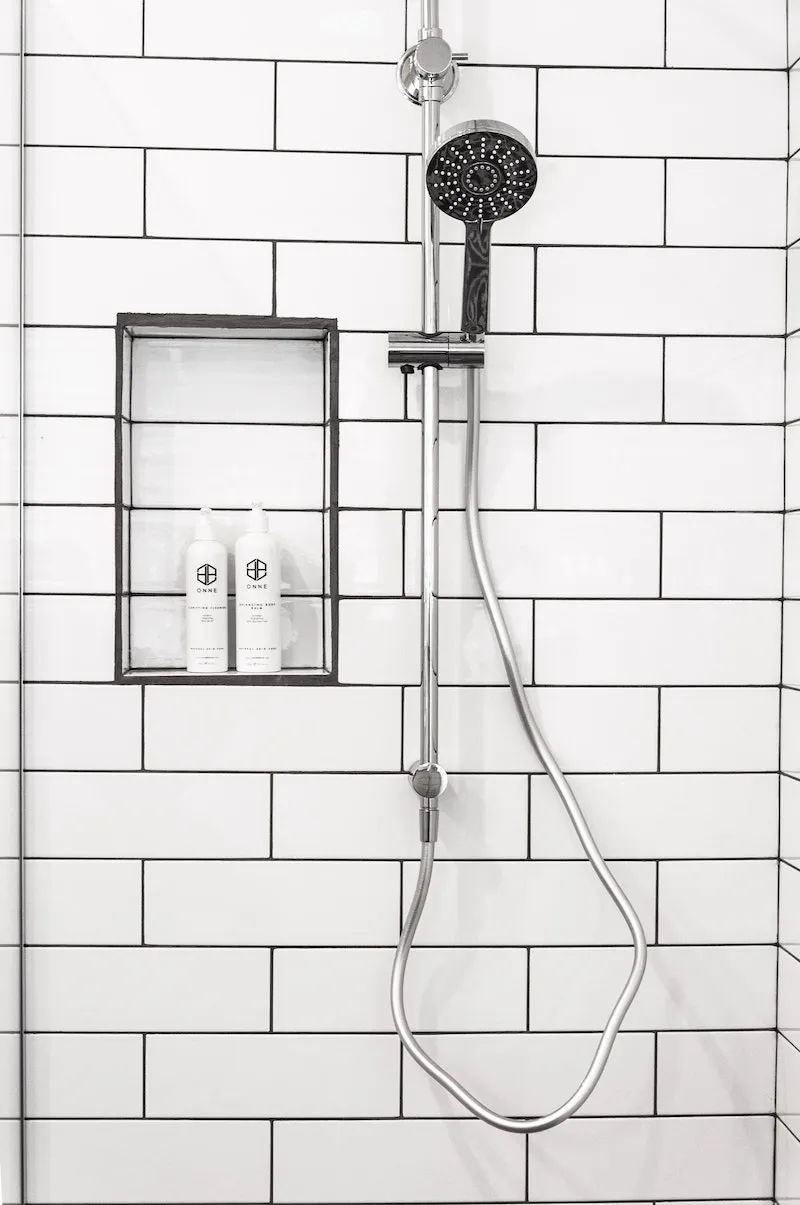
For Ceramic and Porcelain Tile Showers
The tile itself is tough as nails, especially porcelain. The real troublemaker here is the grout. Standard grout is porous, like a sponge, soaking up water, soap, and oils—making it a five-star resort for mold.
What to Use:
- For the Tile: Your vinegar-and-soap mix is a great starting point. Most tile can handle it just fine.
- For the Grout: This is where you get serious. I recommend starting with a high-alkaline grout cleaner (like Zep Grout Cleaner & Brightener, around $10). It’s amazing at breaking down gunk and mold.
The Method:
- Spray the tile and grout, let it sit for 15 minutes, then scrub the grout lines with your grout brush. Use a bigger, softer brush for the tile faces.
- Rinse it all down. If the grout is still stained, it’s time for the heavy hitter. Apply an alkaline grout cleaner directly to the grout lines, let it sit for 5-10 minutes, scrub again, and rinse completely. You should see the grime just lift away.
- If you still have stubborn hard water stains, you can use an acid-based grout cleaner, but be careful! Test it first and rinse it off very quickly (within a minute or two), as acid can eat away at the grout itself.

The Most Important Thing You Can Do: After you’ve deep cleaned and the grout is BONE dry (wait a full 24 hours), you have to seal it. A bottle of quality penetrating sealer costs about $20-$30 and will cover a typical shower. It’s a tedious DIY job, but it soaks into the grout and makes it water-resistant. This is the secret to preventing future mold and stains. You’ll know it’s time to reseal (usually once a year) when water darkens the grout instead of beading up on it.
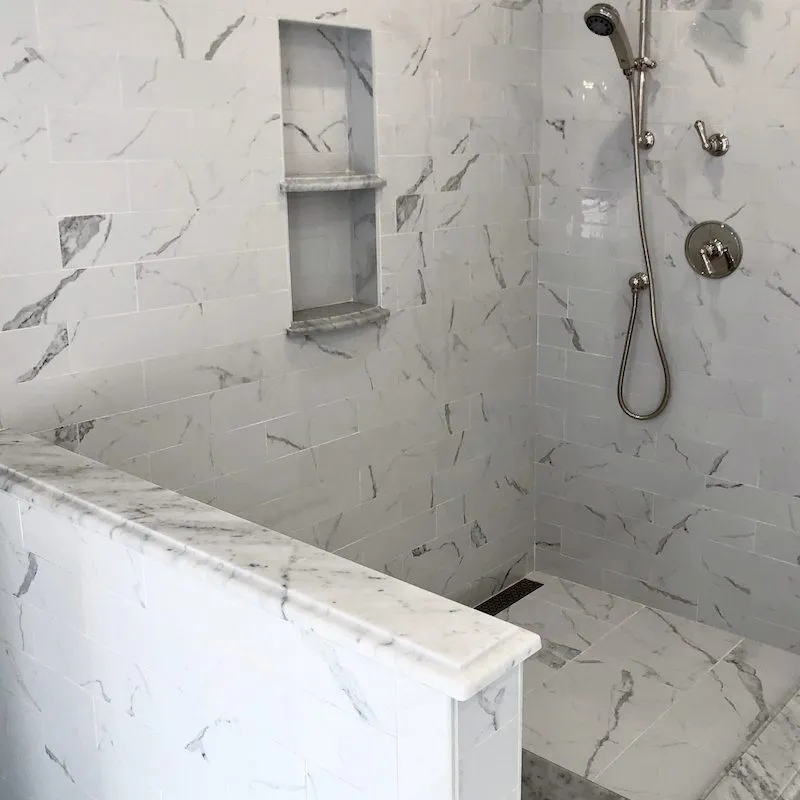
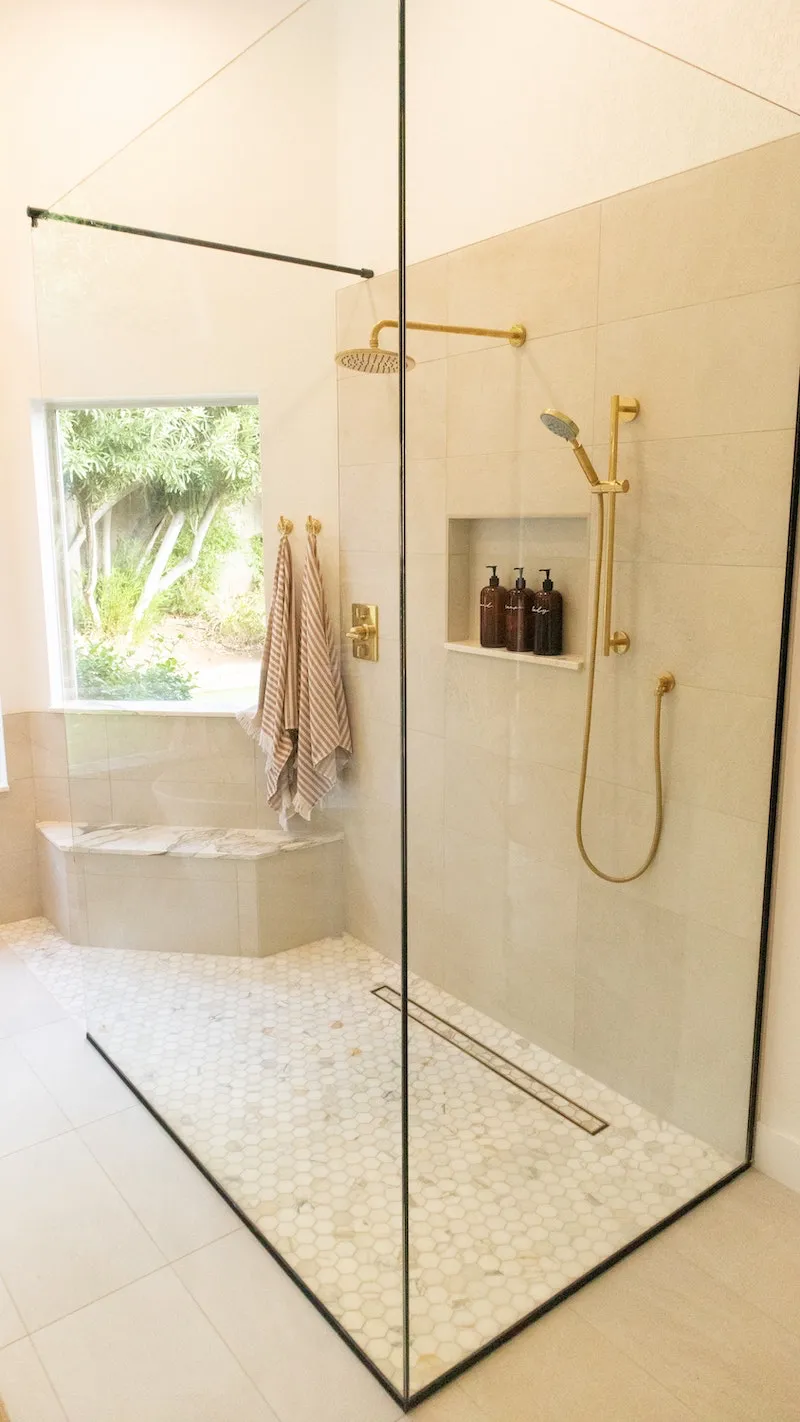
For Natural Stone Showers (Marble, Travertine, etc.)
Natural stone is gorgeous, but it’s the diva of the shower world. It’s porous and can be extremely sensitive to chemicals.
The Golden Rule:NO VINEGAR. NO ACID. EVER. I’m not kidding. This includes lemon juice and any commercial cleaner with acid. Acid reacts with stones like marble and travertine and creates a chemical burn called an etch—a dull, rough spot that can’t be cleaned off. I once saw a brand-new marble shower completely ruined by a homeowner using a simple vinegar spray. The repair involved professionally re-polishing the entire shower for over $1,000. It’s a costly mistake.
What to Use:
- You MUST use a cleaner specifically labeled “pH-neutral” and “safe for natural stone.” There are no good DIY options here. Brands like Granite Gold or StoneTech are great. A bottle might cost $10-$15, which is a tiny price to pay to protect your investment.
The Method:
- Rinse the shower, then apply your pH-neutral cleaner with a very soft brush or microfiber cloth. Never use anything abrasive.
- Gently scrub, then rinse thoroughly to remove all residue.
- Squeegee the walls and glass, then—and this is crucial—dry every single surface with a microfiber cloth. Standing water can soak in and leave mineral spots.
Heads up! Just like grout, all-natural stone in a shower must be sealed, sometimes once or twice a year. This is not optional. It’s your main defense against stains and water damage.
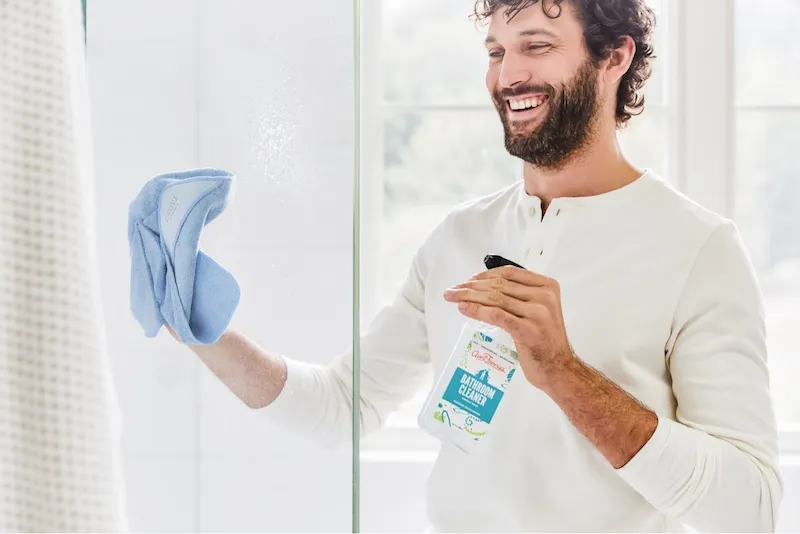
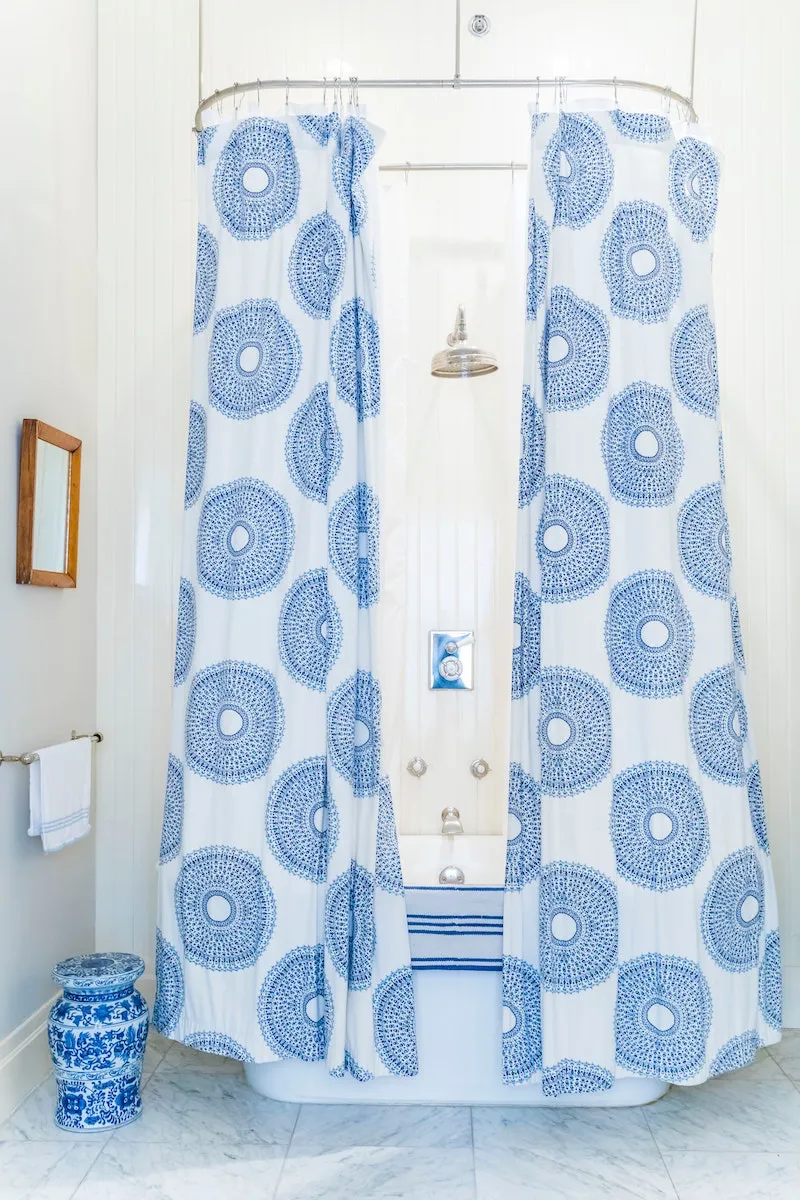
For Glass Doors and Enclosures
Glass shows every single water spot. Over time, those spots can actually etch the glass, leaving a permanent cloudy haze.
Prevention is everything: Squeegee the glass after every single shower. It takes 30 seconds and is the best thing you can do.
To Deep Clean:
- Spray the glass with a 50/50 mix of white vinegar and water. Let it sit for at least 15 minutes.
- Wipe it down with a soft cloth, rinse, and then squeegee dry.
- Buff out any last streaks with a dry, flat-weave microfiber cloth.
Last-Resort Trick: For severely built-up mineral deposits, you can very carefully try #0000 steel wool (the absolute finest grade). Use it with a cleaner as a lubricant and test it in a hidden corner first! This will ruin any coated glass or acrylic doors, so use this tip with extreme caution.
The Finishing Touches
A pro job means getting the details right.
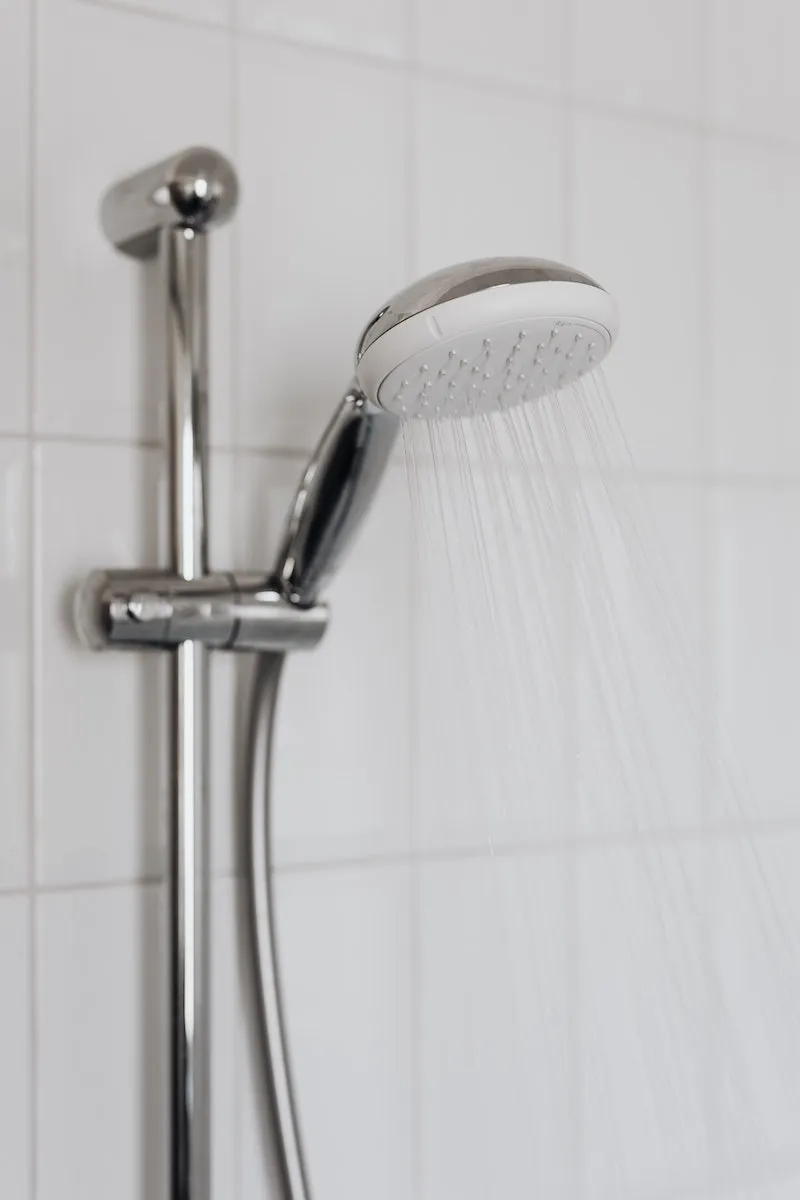
Shower Heads: Clogged nozzles? Fill a plastic bag with white vinegar, tie it around the shower head so it’s submerged, and let it soak for a few hours. Then, take it off and scrub the nozzles with a small brush. Easy.
Drains: A simple hair catcher over the drain is the best preventative tool. If you have a clog, skip the harsh liquid drain openers. Instead, buy a plastic drain snake—it’s a long, barbed strip of plastic that costs a few bucks at any hardware store and works wonders for pulling out hair.
Silicone Caulk: If your caulk has black spots, that’s mold inside it. The only real fix is to cut out the old caulk, clean the area with a mold-killing cleaner, let it dry completely, and apply a fresh bead of 100% Silicone caulk specifically for kitchens and baths. Don’t use ‘paintable’ acrylic caulk; it will just crack and grow mold all over again.
The Simple Routine to Keep It Clean
You don’t need to do a massive deep clean every week. It’s all about smart maintenance.
- After Every Shower (1 min): Squeegee the walls and glass.
- Weekly (5 mins): Give the whole shower a quick spray with a daily maintenance spray or a light vinegar/water mix to keep things from building up.
- Monthly (30-45 mins): Do the proper deep clean for your specific shower materials.
- Annually (1-2 hours): Check your grout or stone sealer. If it needs it, clean and reseal. Check your caulk and replace it if it’s looking rough.
By understanding what you’re working with, you’re not just cleaning—you’re doing essential maintenance that protects your home’s value. It takes a little effort, but the payoff is a shower that looks amazing for years to come.

Inspiration:
The number one enemy of a clean shower isn’t soap scum; it’s procrastination.
This is why the single most effective tool in a pro’s arsenal isn’t a chemical—it’s a simple squeegee. Taking 30 seconds to wipe down glass doors and tile walls after every shower prevents the vast majority of soap scum and hard water buildup from ever taking hold. It starves mold and mildew of the moisture they need to grow. It’s the ultimate form of cleaning: the one you never have to do.
Forget the flimsy sponge. A professional-level clean requires an arsenal of specialized tools designed to tackle grime without causing damage. The right gear does half the work for you.
- A dedicated Grout Brush: Its stiff, narrow bristles get deep into grout lines where mold and grime love to hide, something a regular scrub brush simply glides over.
- Detail Brushes: An old electric toothbrush head (used manually) is perfect for scrubbing around faucet bases, drains, and tight corners where scum builds up.
- Non-Scratch Scouring Pads: For tough soap scum on glass or tile, a pad like the Scotch-Brite Dobie provides abrasive power without leaving permanent scratches on delicate surfaces.


