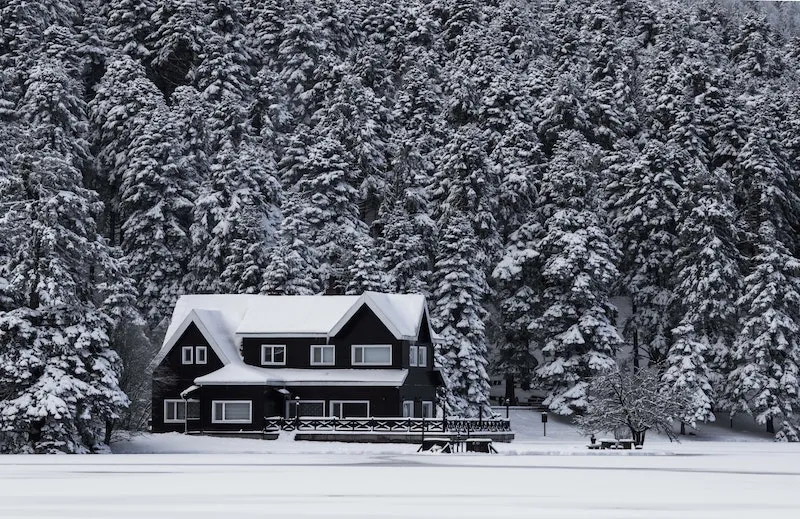
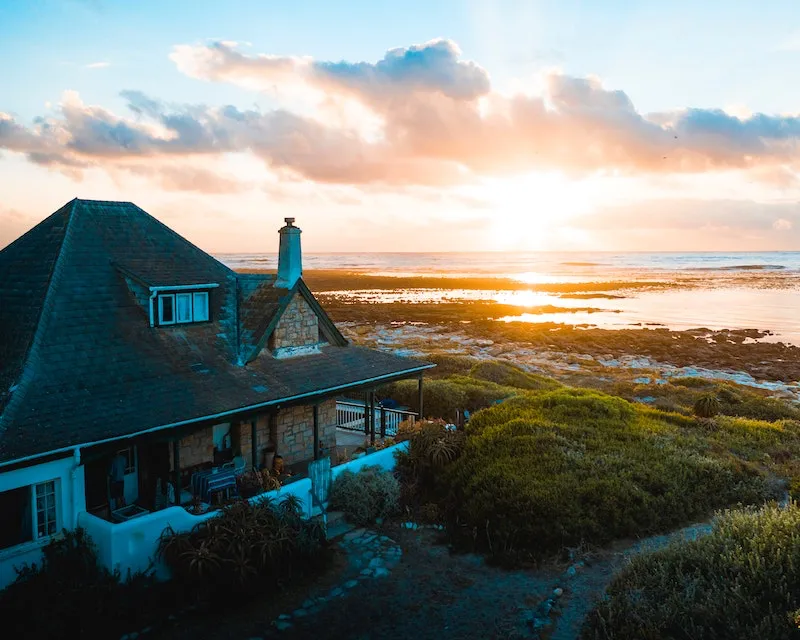
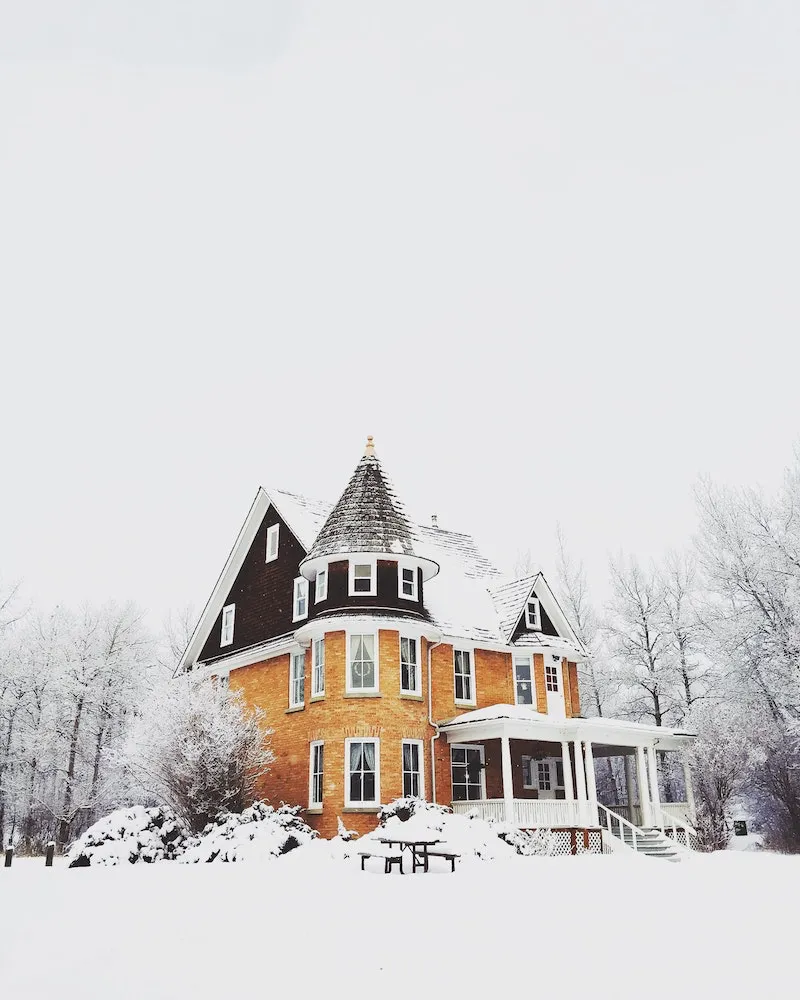
Don’t Let a Frozen Pipe Wreck Your Summer: The Real-Deal Guide to Closing Your Cottage
I’ve been in the property game for a long time, and trust me, I’ve seen it all. But the one call that always sticks with me came on a beautiful spring day. A family had just made the long drive to their lake house, excited to kick off the season. Instead, they walked in to find their living room ceiling… on the floor.
In this article
It turned out a single copper pipe, no bigger than a thumb, had frozen and burst during a winter cold snap. The slow, steady leak that followed caused tens of thousands of dollars in damage, wiping out their floors, their furniture, and their entire summer vibe. The worst part? It was all completely preventable with just a few hours of work the previous fall.
So, let’s talk about winterizing. This isn’t just a boring checklist; it’s a systematic plan to protect your investment and make sure that when you come back, you’re turning a key, not calling a contractor like me in a panic. It’s about knowing how cold weather attacks a house and working methodically to stop it in its tracks.
First, Let’s Get Real: What You’ll Need and How Long It Takes
Before you even think about starting, let’s get you prepped. Nothing’s worse than having to run to the store mid-project. Here’s a typical shopping list:
- An Air Compressor: You don’t need a giant one. A small pancake compressor is perfect. The key is to make sure it has a regulator so you can set the pressure low (we’ll get to that).
- A Blowout Plug: This is the magic little doohickey that lets you connect the air compressor to your plumbing. You can find one at any RV or hardware store for about $10. It’s officially called a “winterizing adapter” or “blowout plug.”
- Garden Hoses: At least one, but having a second one is always handy.
- Non-Toxic RV/Marine Antifreeze: This is the pink stuff, NOT the green stuff you put in your car. It’s usually about $5-$7 a gallon, and you’ll probably need 2-3 gallons for a standard cottage.
- Basic Tools: A caulk gun, a tube of exterior-grade silicone caulk, and some steel wool.
As for time, be realistic. For a small, simple cabin, you can probably knock this out in 3-4 hours. For a larger home with more complex plumbing? Block off a full weekend to do it right and without rushing.
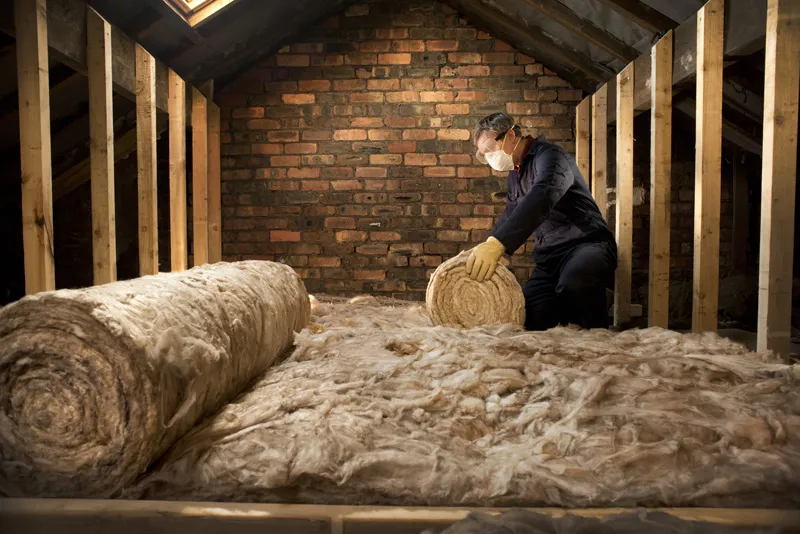
The Pre-Closing Walk-Around: Your First Line of Defense
Don’t save everything for the last weekend. A few weeks before you close up for good, do a full walk-around. Start outside, then move inside. This gives you time to fix any little things you find.
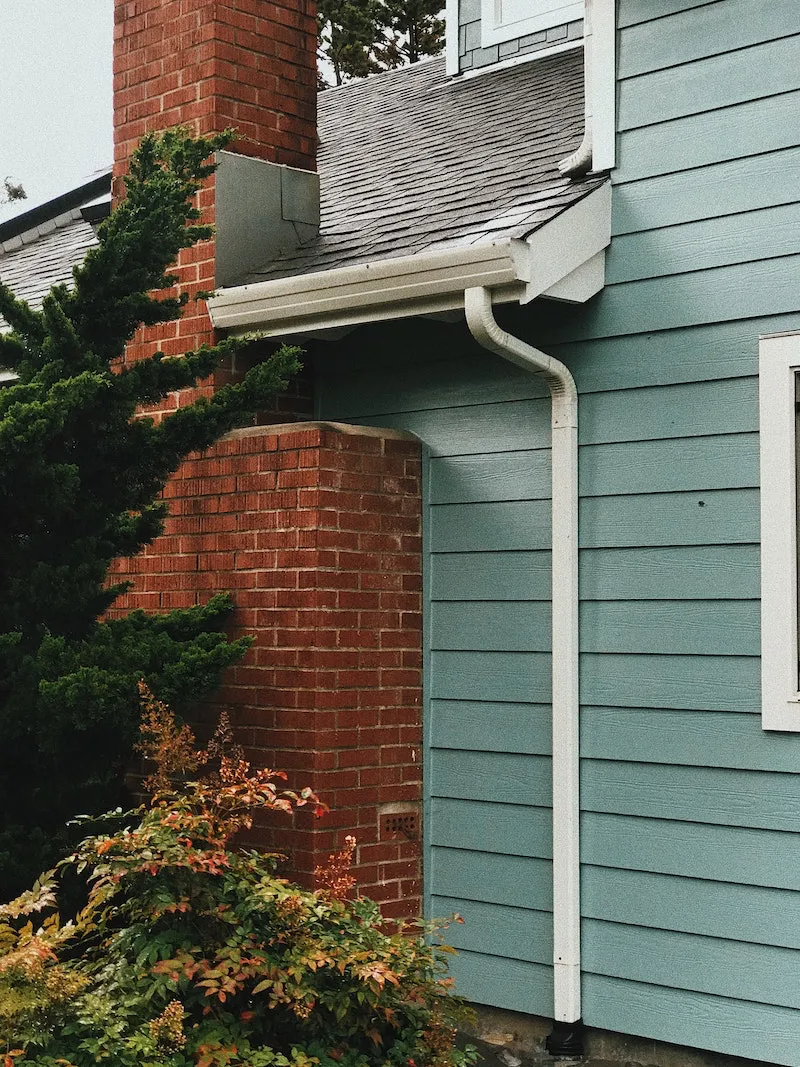
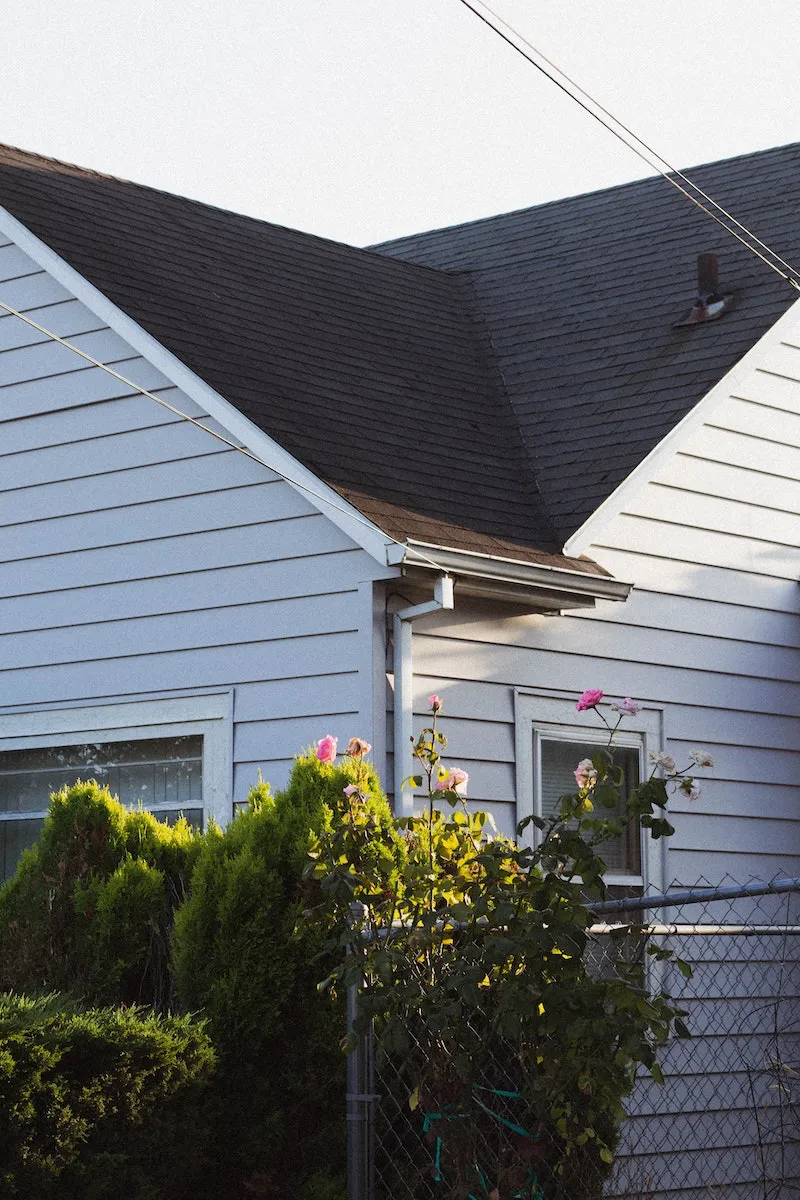
Start with the exterior. You can check your roof from the ground with a pair of binoculars. Look for any shingles that are curled up or missing. Winter winds love to peel those off. Pay extra attention to the flashing around the chimney and vents—that’s where leaks love to start.
Next, your gutters. If they’re clogged with leaves, you’re setting yourself up for ice dams. When melted snow refreezes in a gutter, it can back up under your shingles and drip right into your attic. Clean them out after the last leaves fall, then run a hose through them to make sure the downspouts are clear and directing water far away from your foundation.

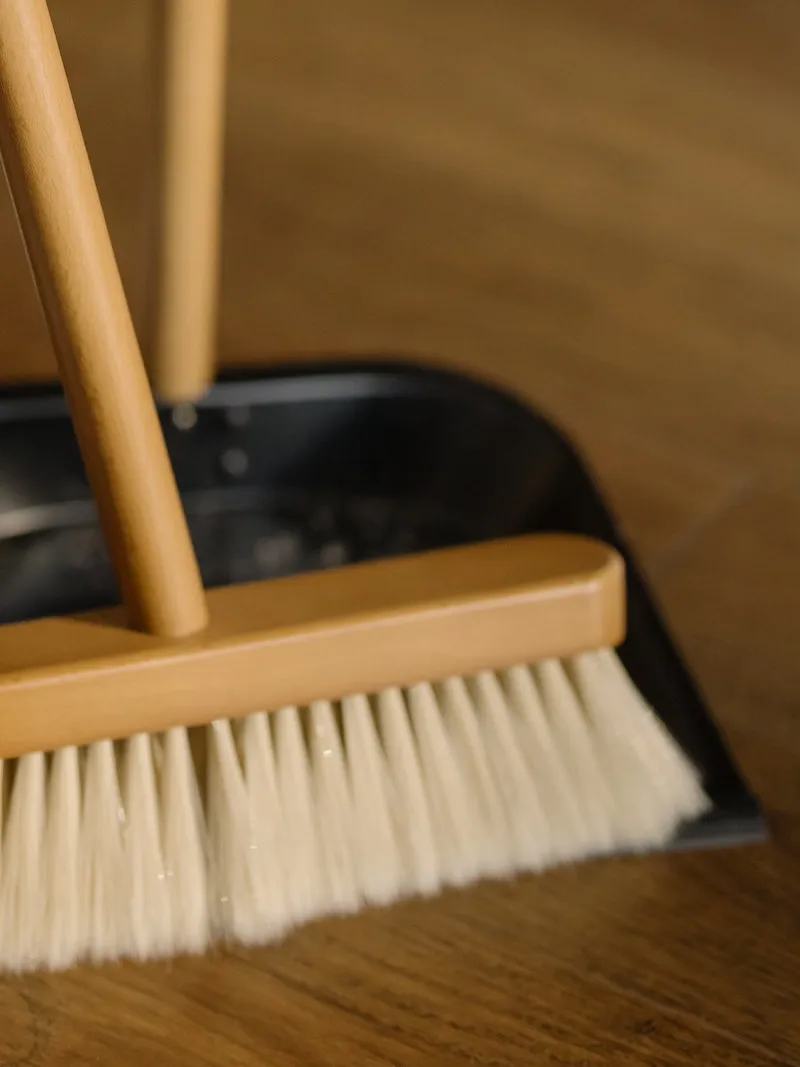
Finally, walk the perimeter and hunt for gaps. A mouse can get through a hole the size of a dime, so be ruthless. I use expanding foam for bigger gaps and shove steel wool into smaller holes around pipes. Rodents absolutely hate chewing through steel wool. Oh yeah, and check the caulking around your windows. If it’s cracked, scrape it out and lay a fresh bead. It’s a cheap fix that makes a huge difference.
I once had a client who skipped this step. A woodpecker had gone to town on their cedar siding. Over the winter, squirrels moved in, tore up insulation for nests, and chewed on electrical wires. A ten-minute walk-around would have saved them a five-thousand-dollar repair bill. Seriously.
The Plumbing Shutdown: This Is The Big One
Okay, deep breath. This is the most critical part of the whole process. If you’re not 100% confident, this is the one job to hire a pro for. The peace of mind alone is worth the $250 – $600 they might charge, depending on your home’s size.
If you’re doing it yourself, be meticulous. I still use a checklist every single time.
Your 5-Minute Task For Today: Seriously, do this now. Go find your main water shut-off valve. It’s usually in a basement or utility closet. Once you find it, label it with a bright, obvious tag. You’ll thank yourself later.
Step 1: Shut It All Down
Turn that main valve off completely. If you’re on a well, shut off the valve and then flip the circuit breaker for the well pump to OFF.
Step 2: Let Gravity Do the Work
First, the water heater. Turn off its power (breaker for electric, “OFF” on the gas dial). Attach a hose to the drain at the bottom and run it to a floor drain or outside. Open the drain valve, and then go upstairs and open a hot water faucet. This lets air in and helps it drain completely. Next, go through the house and open EVERY single faucet—hot and cold. Don’t forget the laundry sink, outdoor spigots, and shower wands. Let it all drain out.
Step 3: The Pro Move – Blowing Out the Lines
Gravity is great, but it won’t get the water hiding in low spots. This is where the air compressor comes in. Set the pressure regulator to a low 40 PSI. Any higher and you risk damaging your pipes.
Connect your compressor to the system using that blowout plug (you can often attach it where the washing machine hoses connect). Go to the faucet furthest from where you’re connected and close all the others. Turn on the air. You’ll hear a lot of gurgling and sputtering. When it’s just hissing air, close that faucet and move to the next closest one. Repeat for every single fixture, hot and cold. And don’t forget the line to your refrigerator’s ice maker and water dispenser!
Step 4: Antifreeze for the Drains
Every drain has a U-shaped P-trap that holds water to block sewer gas. You need to protect it. Pour about a cup of that pink, non-toxic RV antifreeze down every sink and shower drain. For toilets, flush them, sponge out the leftover water from the tank and bowl, and then pour in about two cups of antifreeze. This protects the porcelain from cracking.
Heads Up: Avoid These Common (and Costly) Mistakes!
- Forgetting the exterior stuff. That outdoor shower or the forgotten garden hose still attached to the spigot are classic freeze points. Disconnect and drain everything.
- Using the wrong antifreeze. I can’t say this enough: NEVER use automotive (ethylene glycol) antifreeze. It is highly toxic and illegal to dump into a septic or sewer system. Use the pink propylene glycol stuff only.
- Not getting ALL the water out. Before adding antifreeze to the toilet, use a sponge to get every last bit of water out of the tank and the bowl. Diluting the antifreeze too much makes it useless.
- Forgetting the dishwasher! This is a big one. After blowing out the lines, pour a quart of pink antifreeze into the bottom of the dishwasher and run a ‘rinse only’ cycle for just 30 seconds. This circulates it through the pump and drain hose, which are super vulnerable.
The Final Lockdown: Appliances, Pests, and Security
With the water handled, the rest is pretty straightforward. I always recommend leaving the heat on, set low to around 55°F (13°C). It’s a great backup safety net and helps protect your wood furniture and floors from extreme temperature swings. If you do this, make sure your furnace was serviced and the fuel tank is full.
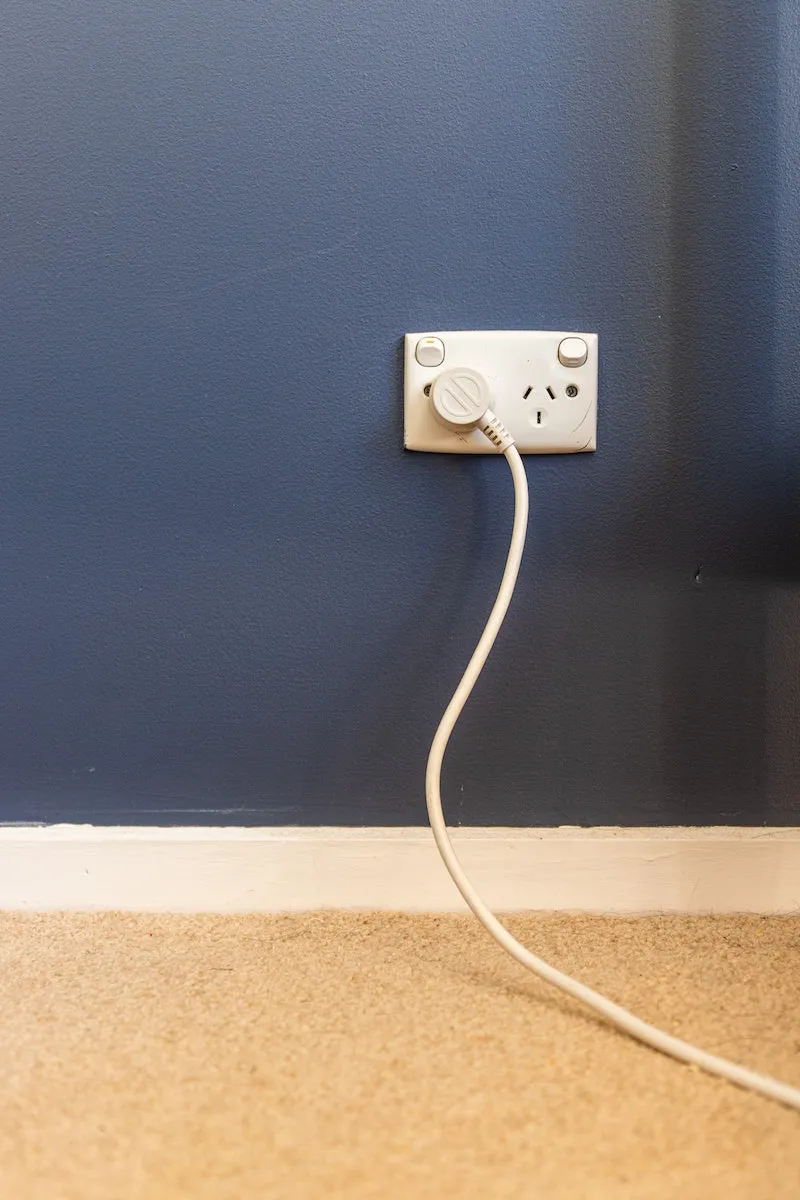
Next, unplug everything that isn’t essential—TVs, coffee makers, lamps. This saves a little money and protects them from winter power surges. Empty the fridge and freezer completely, wipe them down, and prop the doors open with a towel or block. A box of baking soda in each helps with odors. Trust me, you do not want to see (or smell) a fridge that was left closed all winter.
Finally, make the house uninviting for pests. Take out ALL food—even canned goods can freeze and burst. Do a deep clean to get rid of any crumbs. Set some simple snap traps along walls. And don’t forget to close the chimney flue damper.
And there you have it. By being methodical and understanding why you’re doing each step, you can close up your home with total confidence. You’ll spend the winter worry-free, knowing that when you return, your place will be exactly as you left it—ready for another great season.
Inspiration:
Can smart home gadgets replace a full winterization?
Not entirely, but they are your best line of defense for the unexpected. Think of them as your eyes and ears when you’re miles away. A smart thermostat, like a Google Nest or Ecobee, can alert you if the internal temperature drops dangerously low, giving you a chance to have someone check on the property. Even better, Wi-Fi enabled water leak detectors from brands like Moen or Phyn can send an instant alert to your phone if they sense moisture, potentially turning a catastrophic flood into a minor cleanup.
Most standard home insurance policies contain a ‘vacancy clause,’ which can deny coverage for damages like burst pipes if the home is left unoccupied for more than 30 or 60 consecutive days.
This is the fine print that can cost you everything. Simply locking the door and leaving isn’t enough. Insurers expect you to take ‘reasonable steps’ to protect the property, which is exactly what winterizing is. Documenting your process with photos or a checklist can be invaluable if you ever need to make a claim, proving you acted responsibly to prevent damage.
Before you drain the lines, think about the silent invaders. An empty cottage is a five-star hotel for pests seeking warmth. Your final sweep should include:
- Plugging any small holes around pipes or in the foundation with steel wool—mice hate chewing through it.
- Ensuring all exterior vents (dryer, attic) are securely screened.
- Removing ALL food sources, including unopened pantry items like crackers and pasta. Store them in rodent-proof containers or take them with you.
- Giving the place a thorough cleaning to remove crumbs that could attract unwanted guests.
The Pink Stuff: You’ll see this labeled as RV/Marine Antifreeze, often from brands like Camco or Star Brite. It’s made from non-toxic propylene glycol. It’s designed specifically to be safe for potable water systems, so if any residue remains, it won’t harm you.
The Green/Yellow Stuff: This is automotive antifreeze, made from highly toxic ethylene glycol. NEVER, ever introduce this into your home’s plumbing. It’s a serious health hazard and incredibly difficult to flush out completely.
This is one area where there are no substitutes; always choose the pink, non-toxic option.
The final walk-through is a ritual. With the water off and the lines clear, take a quiet moment. Unplug every appliance, from the toaster to the TV, to protect them from power surges. Prop open the fridge and freezer doors to prevent mildew. Check that every window is locked tight. It’s the final act of closing a chapter, leaving your summer haven safe and sound, ready for your return.


