An Honest Guide to At-Home Teeth Whitening (From Someone Who’s Seen It All)
Over the years working in the dental field, I’ve seen just about everything when it comes to teeth whitening. People walk in clutching a blog printout or a social media screenshot, totally sold on some new “natural” hack to get a dazzling smile. And honestly, I get it. But I’ve also had to help folks who tried a DIY method that backfired, leaving them with painfully sensitive teeth and angry, irritated gums. My goal has always been simple: help you get a healthy smile you absolutely love, and that starts with knowing what’s safe versus what can cause real, permanent damage.
In this article
A bright smile is fantastic, but it’s really a reflection of your overall health. The rush to get whiter teeth can sometimes lead people down a risky path. So, before you grab a lemon or a bottle of peroxide, let’s chat about how your teeth actually work. We need to cover what a stain really is, what your enamel does, and why protecting it is your number one job. This isn’t to scare you; it’s to arm you with the same knowledge I give my own patients so you can make smart choices for life.

What’s Really Going On With Your Tooth Color?
Your tooth color isn’t just one thing. It’s a team effort between two key layers: the enamel and the dentin. Get to know them, and you’ll understand how whitening actually works.
Enamel: Your Tooth’s Bodyguard
Enamel is the super-strong outer shell of your teeth. Fun fact: it’s the hardest substance in your entire body, even tougher than bone. Think of it as a semi-translucent protective layer. Its natural color can be anything from a bluish-white to a light gray or even pale yellow. Since it’s not fully opaque, the color of the layer underneath—the dentin—shines through and plays a big role in the final look.
Enamel is also porous, which is both good and bad. It has microscopic pits and grooves that can grab onto stain particles from things like coffee and red wine. These are called surface stains, and they’re the easiest to deal with. The bad news? If you damage your enamel, it’s gone for good. Your body can’t regrow it. That’s exactly why any whitening trick that’s too abrasive or acidic is a huge red flag.

Dentin: The Color From Within
Underneath that tough enamel shield is the dentin. It’s a softer, more porous layer that makes up most of the tooth. Dentin is naturally a pale yellow color. As we get older, our enamel can get a bit thinner, which lets more of that yellow dentin show through. It’s a totally normal part of life, and it’s important to know that no surface whitener in the world can change the color of your dentin.
The Two Types of Stains: Surface vs. Deep
To pick the right whitening approach, you’ve got to know what kind of stain you’re dealing with. I see people get this mixed up all the time.
- Extrinsic Stains: Think “external.” These are the stains on the surface of your enamel. They come from pigmented molecules in things we love, like coffee, tea, red wine, and tobacco. These molecules cling to the surface of your teeth. Most at-home whitening methods are designed to tackle these guys. By the way, the absolute best way to remove these is with a professional cleaning at a dental office.
- Intrinsic Stains: Think “internal.” These stains are actually inside the tooth, down in the dentin. They can be caused by trauma (like a tooth that bled internally), certain medications taken during childhood, or even too much fluoride. Surface treatments won’t touch these. Trying to scrub them off will only thin out your enamel, making the dentin underneath even more visible. These require professional, in-office treatments.
How DIY Whitening Actually Works (The Good and The Bad)
At-home remedies generally try to whiten your teeth in one of two ways: by scrubbing the stains off or by chemically bleaching them. Let’s break them down.
1. Abrasion (Scrubbing): This is all about physically polishing surface stains off the enamel. Things like baking soda, salt, and activated charcoal fall into this category. The trick is to use something mildly abrasive that won’t scratch up your enamel. If an abrasive is too harsh, it creates tiny scratches that, ironically, make your teeth more likely to pick up new stains. For context, dental professionals use a scale called Relative Dentin Abrasivity (RDA). Plain water is a 4, while a typical whitening toothpaste might be around 100-150. You want to stay on the low end.
2. Oxidation (Bleaching): This method uses a chemical, usually hydrogen peroxide or carbamide peroxide, to break down the bonds of stain molecules. It’s a chemical reaction that can lighten the tooth’s color. This is the science behind professional whitening gels and most over-the-counter strips. The risk here is all about concentration and exposure time. Too much, for too long, can lead to chemical burns on your gums and serious tooth sensitivity.
Let’s Get Real: A Pro’s Take on Popular DIY Recipes
Okay, let’s dive into the common home remedies you see all over the internet. I’ll give you the straight scoop on what they do and the real risks involved.
Baking Soda
This is the classic DIY whitener. It’s often billed as a gentle, natural option.
- How it Works: It’s a mild abrasive. With an RDA value of just 7, it’s actually less abrasive than pretty much any commercial toothpaste. It can help gently buff away some surface stains.
- The Right Way to Use It: If you must, be gentle. Mix a tiny, pea-sized amount with a few drops of water to make a slurry paste. Use a soft-bristled brush and super gentle, circular motions for about a minute, max. Then rinse well.
- How Often?: I wouldn’t do this daily. Using it once or twice a week is plenty.
- The Verdict: Baking soda will not bleach your teeth or change their core color. It only removes some surface stains, similar to a whitening toothpaste. It’s a relatively safe option if you’re careful, but the results are minimal.

Activated Charcoal
Charcoal toothpaste and powders have exploded in popularity. The marketing is slick, but the dental science is… well, not great.
- How it Works: Its main action is abrasion. The theory is that it also “adsorbs” stains, but there’s little proof of that. Primarily, you’re just scrubbing your teeth with it.
- The Big Risk: I strongly advise against this one. The problem is that the abrasiveness of charcoal products isn’t standardized. Some have been shown to be incredibly harsh, and there are no long-term studies to prove they’re safe. For this reason, you won’t find any charcoal whiteners with the American Dental Association (ADA) Seal of Acceptance.
- A Cautionary Tale: I once had a young patient who used a trendy charcoal powder for a month. He came to me complaining about sensitivity. Under magnification, I could see tiny hairline scratches all over his enamel. We got him on a desensitizing routine, but I had to explain that the damage was permanent. He’d essentially sanded his teeth, making them more prone to staining down the road.
Hydrogen Peroxide (The Brown Bottle)
This is the active ingredient in professional whiteners, so it seems like a no-brainer, right? Hold on. Concentration is everything.
- The Difference: The brown bottle in your medicine cabinet is a 3% solution. Professional gels can be up to 40%. The whitening strips you buy at the store are much lower, around 6-10%, and they’re in a special gel designed to stick to teeth and stay off your gums.
- SAFETY FIRST: Using liquid peroxide from the bottle is a recipe for chemical burns on your gums and lips. I’ve seen it, and it’s painful. Instead of messing with that, just buy an ADA-accepted product that uses peroxide safely. The chemists have already figured out the right formula for you. Trust me, it’s worth the $40 to not scorch your gums.
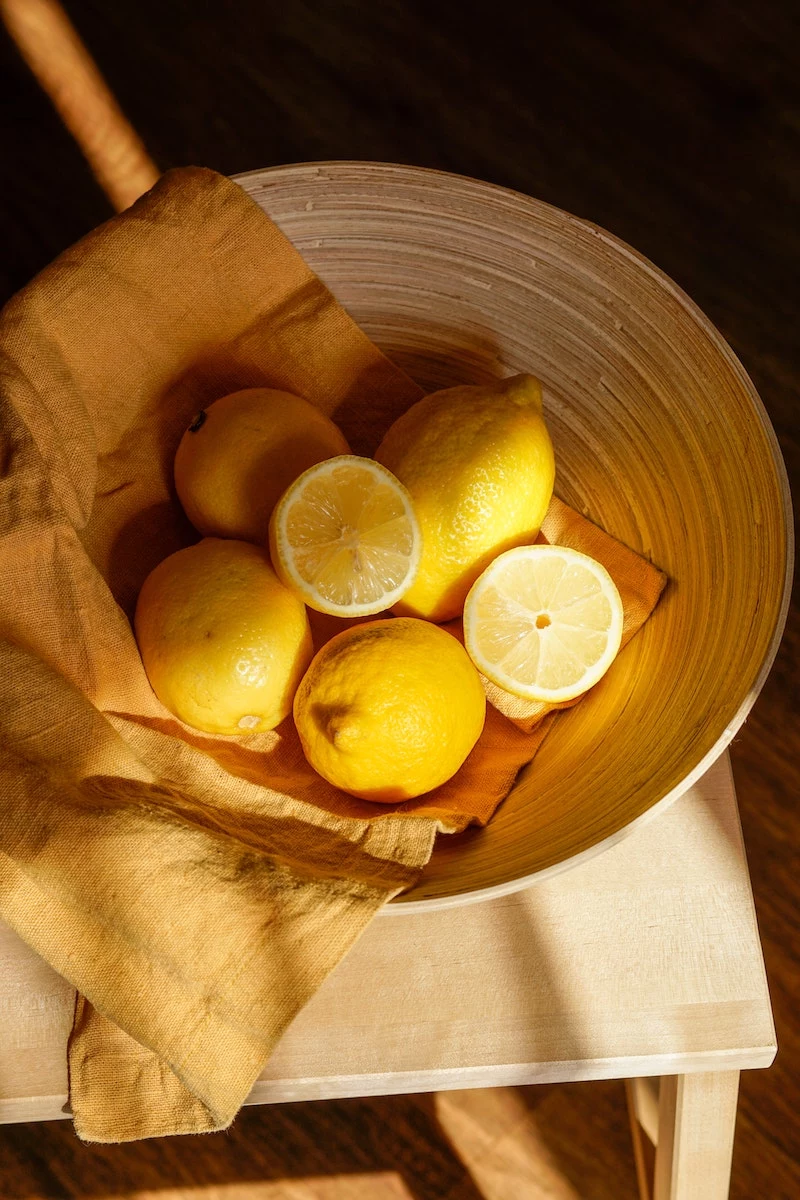
Acidic ‘Whiteners’ (Lemon Juice, Vinegar, Strawberries)
This is, without a doubt, the most dangerous advice I see online. Please, I’m begging you, do not do this.
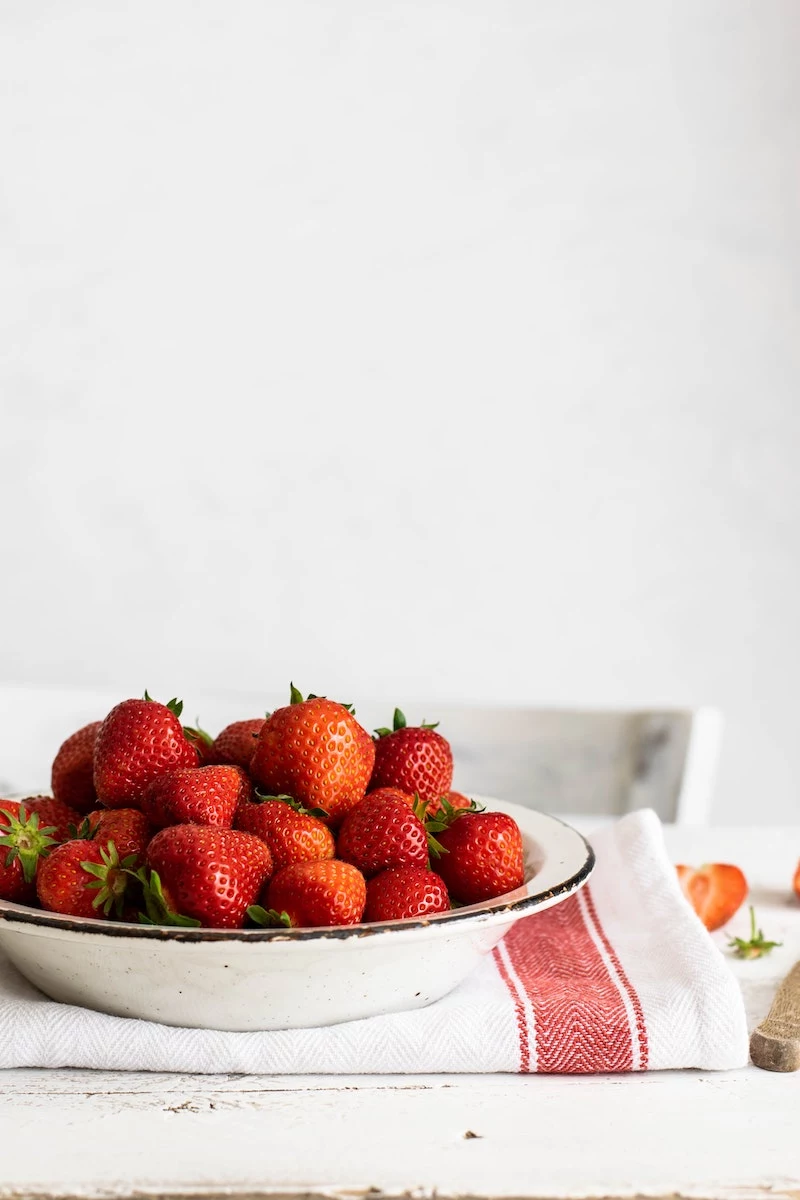
- How it ‘Works’: It’s not whitening; it’s acid erosion. Lemon juice has a pH of around 2-3. Your mouth’s healthy pH is closer to 7. When you put strong acid on your teeth, it literally starts to dissolve the mineral structure of your enamel.
- The Illusion of Whiteness: Initially, the acid-etched surface scatters light differently, which can look a bit ‘whiter’. But what you’ve actually done is permanently damage your tooth’s protective layer. This weakened surface is now a magnet for stains and decay.
- My Professional Plea: Never, ever apply raw acid to your teeth. The damage is irreversible. It’s heartbreaking to tell a patient that the “whiteness” they got from lemon juice was actually the first stage of enamel decay.
The Smarter, Safer Way to a Brighter Smile
True, lasting results come from good habits and safe choices, not risky shortcuts.
Step 1: Get the Basics Right
Before you even think about whitening, you need a solid foundation. This is non-negotiable.
- Professional Cleanings: Visit your hygienist regularly. A pro cleaning is the safest way to remove surface stains and hardened tartar. You’d be surprised how much brighter your teeth look afterward. If you don’t have dental insurance, expect a cleaning to cost somewhere between $100 and $200.
- Good Brushing Habits: Use a soft-bristled brush (hard bristles wear away enamel!) for two minutes, twice a day.
- Fluoride Toothpaste: Use a toothpaste with the ADA Seal of Acceptance. Fluoride is key for strengthening enamel.
- Daily Flossing: Stains love to hide between teeth. Flossing keeps those areas clean and bright.
Step 2: Make Smart Swaps and Habits
What you eat and drink matters. Prevention is your best friend.
- Limit the Culprits: Be mindful of coffee, black tea, red wine, and dark sodas.
- Use a Straw: When you drink staining beverages, a straw helps bypass your front teeth.
- Quick Win: Want to do one thing for your smile today? After your next coffee or glass of wine, swish with plain water for 30 seconds. Done. You’re actively preventing new stains from setting in. Just be sure to wait about 30 minutes before brushing, as your enamel is a bit soft right after being exposed to something acidic.

Step 3: Your Smart Shopping List for Whitening
If your oral health is solid and you want an extra boost, a commercial product is a much safer bet. Always look for the ADA Seal of Acceptance—it means the product is proven to be safe and effective. You can find the list of approved products by searching for the ‘ADA Seal of Acceptance’ database online.
- Whitening Toothpaste: This is a great starting point. A tube will run you about $5-$10. It contains mild abrasives that help polish away new surface stains. Think of it as maintenance—it’ll help, but it won’t dramatically change your tooth shade.
- Whitening Strips: Here’s where you’ll see more noticeable results. A box of ADA-approved strips, like the well-known Crest 3D Whitestrips, usually costs between $40 and $60 at places like Target or on Amazon. You’ll typically see the best results after completing the full treatment, which is often about two weeks.
- Pro-Tip for Sensitive Teeth: A lesser-known trick that makes a huge difference is to start using a desensitizing toothpaste (like Sensodyne) for a week or two before you even open the whitening strips box. It can really help reduce sensitivity during the treatment.
When You Absolutely Need to See a Pro
At-home methods have their limits. Knowing when you need professional help is a sign of being smart about your health.
Definitely talk to a dentist before starting any whitening if you have:
- Tooth Sensitivity or Gum Issues: Whitening can make these problems worse. You need to treat the root cause first.
- Crowns, Fillings, or Veneers: Heads up! Dental work will not change color. If you whiten the natural teeth around them, you’ll end up with a very noticeable color mismatch.
- Intrinsic Stains: If your stains are grayish or blotchy from an old injury or medication, over-the-counter products won’t work. You’ll need to discuss professional options.
- Movie-Star White Goals: If you’re aiming for a super-dramatic transformation, you’ll likely only achieve that safely and effectively under professional supervision.
Your smile is with you for life. Protecting that irreplaceable enamel is the best investment you can make. Be skeptical of online quick fixes and trust in methods that are proven to be safe. A truly beautiful smile is, first and foremost, a healthy one.


