How to Take a Phone Self-Portrait That Doesn’t Look Awkward
Let’s be real for a second. We’ve all been there. You feel good, you catch a glimpse in the mirror and think, “Hey, not bad today!” So you pull out your phone, snap a picture, and… ugh. Who is that person? The photo just feels off. Your nose looks a little bigger, your face seems weirdly shaped, and it just doesn’t capture how you actually look. It’s incredibly frustrating.
In this article
But I’m here to tell you the problem isn’t you. It’s your technique. Taking a good self-portrait is a genuine skill, blending a little bit of science with a little bit of art. It’s not about vanity; it’s about learning to use the powerful camera you already have in your pocket to create an image you feel great about.
This isn’t about slapping on a trendy filter. This is about understanding the fundamentals that pro photographers use every single day. We’re going to cover light, angles, and a few secret-weapon phone settings that make all the difference.
Your 60-Second Challenge: See the Difference Now
Don’t believe me? Try this. Right now. Take a normal selfie holding your phone at arm’s length. Now, prop your phone up against a coffee mug on a table or a windowsill, set the 3-second timer, and step back a few extra feet. Look at the difference between those two photos. The second one is already 100% better, isn’t it? That’s the power of what we’re about to learn.
First, Let’s Fix the Biggest Selfie Problem
So, why did that little experiment work so well? It all comes down to fixing the biggest enemy of the self-portrait: lens distortion.
You see, the front-facing camera on your phone uses a wide-angle lens. It’s designed to cram as much as possible into the frame—great for group shots, terrible for faces. A wide-angle lens distorts whatever is closest to it, making it look disproportionately large. When you hold your phone at arm’s length, the closest thing to the camera is usually your nose. The result? Your nose gets exaggerated while your ears and the back of your head seem to shrink. It’s a subtle ‘fish-eye’ effect that most people find really unflattering.
The solution is simple: get more distance between you and the camera. Arm’s length is not enough.
- Prop your phone up. Use a stack of books, a shelf, or invest in a small, flexible phone tripod. You can find a great little tripod for $15 to $25 on Amazon or at big box stores. It’s a game-changer.
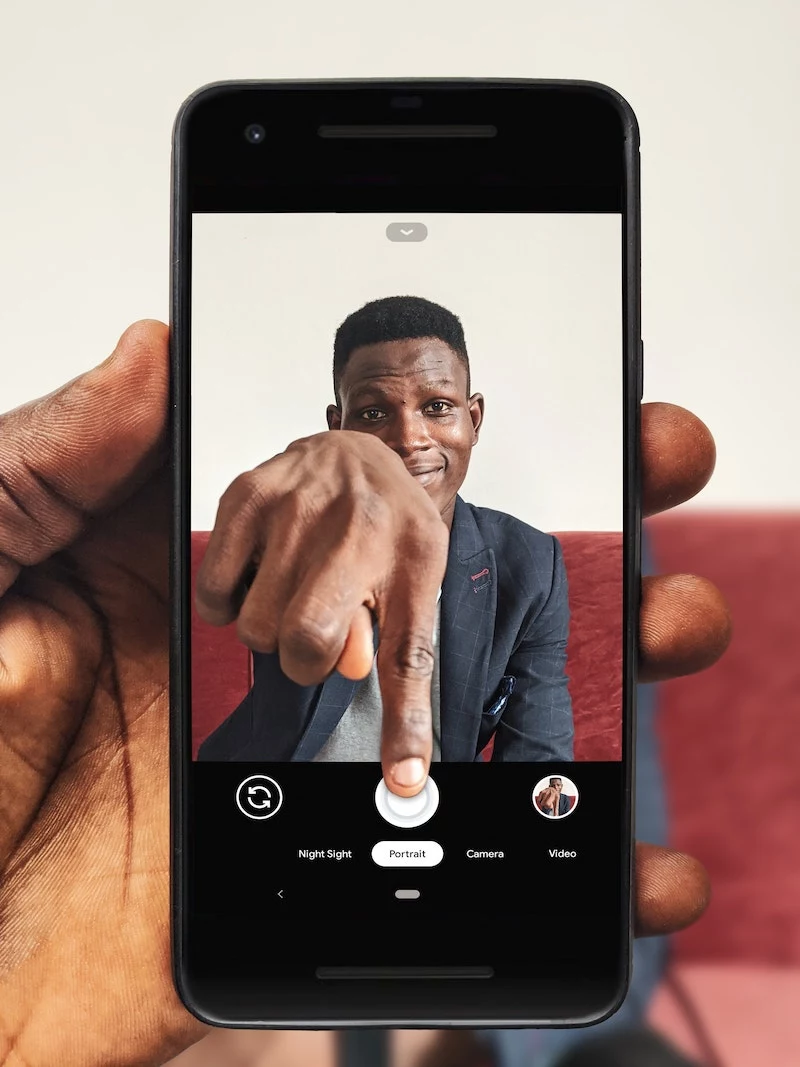
- Use the rear camera. If you can manage it, the main camera on the back of your phone is almost always higher quality and less wide than the selfie cam. Heads up! If your phone has multiple lenses on the back, use the standard ‘1x’ lens or the telephoto/zoom lens (‘2x’ or ‘3x’). Avoid the ‘0.5x’ or ‘ultrawide’ lens at all costs—it’s even worse for facial distortion!
- Get a remote. A tiny Bluetooth remote shutter costs around $10 and is honestly one of the best photo accessories you can buy. It lets you set up your phone, walk into the perfect spot, and snap photos without running back and forth to reset the timer.
Light Is Everything: Learn to Find the Good Stuff
Your phone’s camera has a teeny-tiny sensor inside. Think of it as a tiny eyeball. And just like an eyeball, it needs light to see clearly. In low light, your phone’s software tries to artificially brighten the picture, which creates that grainy, blurry, low-quality look we all hate. So your job is to find good light.
The best light is almost always soft light. Imagine the difference between direct sunlight at noon (hard light) and the light on a slightly overcast day (soft light). Hard light creates sharp, dark shadows that highlight every single line and bump. Soft light is diffused and wraps around your face, smoothing everything out and creating gentle, flattering shadows. You want soft light.
How to find it for free:
- Face a window. This is the ultimate indoor portrait hack. Stand a few feet from a large window and face it. The window acts like a giant, professional softbox, bathing your face in beautiful, soft light. Just make sure the lights inside the room are off.
- Find open shade. On a sunny day, don’t stand in the direct sun. Step into the shade of a building or a big tree. The key is to be in the shade but still facing the bright, open sky. The sky will light you up perfectly.
- A cheap pro trick: Grab a white piece of foam board from a craft store—it’ll cost you maybe $3. Hold it just out of the frame below your chin. It will bounce light back up into your face, filling in shadows and making your eyes sparkle. It’s a dirt-cheap version of a tool pros use.
Help! My Glasses Have a Ton of Glare!
Oh yeah, the glasses struggle is real. Glare can ruin an otherwise perfect shot. The trick is all about angles. The glare you see is just a reflection of the light source. To get rid of it, you need to change the angle of your head or the angle of the light.
If you’re facing a window and see glare, try tilting your head down slightly, chin to chest. Often, this is enough to angle the reflection away from the camera lens. You can also try raising your glasses a little higher on the bridge of your nose or moving farther away from the window. It takes a bit of trial and error, but you can definitely find a sweet spot where your eyes are clear and bright.
Posing and Composition (Without Feeling Like a Robot)
Okay, you’ve got good light and you’re not too close to the camera. Now, what do you do with yourself? Feeling awkward is normal. The key is to create angles and give your body a natural posture.
Here are a few things to try, and a few to avoid:
- DO angle your body. Never face the camera straight-on like it’s a passport photo. It looks stiff and confrontational. Instead, turn your shoulders about 45 degrees away from the camera, then turn your head back to look at the lens. This simple twist is instantly more dynamic and flattering.
- DON’T let your hands hang. This is the number one reason people feel awkward. Give your hands a job! Let them interact with something. You could hold a coffee mug, lightly touch your hair, rest your chin in your hand, or adjust your jacket collar. It makes the pose feel much more natural and candid.
And here’s the number one pro tip for defining your jawline… it feels super weird, but trust me, it works. It’s called the “turtle head” trick. You basically push your forehead towards the camera an inch or two, and then tilt your chin down slightly. From a side view, you’d look ridiculous. But from the camera’s point of view, it separates your head from your neck and completely eliminates the dreaded double-chin effect. Every pro does this.
Also, check what’s behind you! A messy pile of laundry or a tree that looks like it’s growing out of your head can kill a great portrait. A simple, uncluttered background is always best.
Your Phone’s Secret Weapon Settings
Your phone has some amazing tools built right in. Here are two you need to master.
First is the Exposure/Focus Lock. Open your camera app and tap on your face to focus. But instead of just tapping, tap and HOLD for a second. A little box will appear, and on an iPhone, it will say “AE/AF LOCK.” This locks the focus and the brightness settings. Now, you’ll see a little sun icon. You can slide your finger up or down on the screen to manually make the photo brighter or darker before you even take it. This gives you incredible control.
Second, a quick but important warning. Whatever you do, NEVER pinch-to-zoom for a portrait. That’s not a real zoom; it’s called digital zoom. All it does is crop the photo and destroy the image quality, leaving you with a grainy mess. If you want to be closer, physically move the phone closer. Simple as that.
A Final Word on Editing
Almost every professional photo you see has been edited. Editing isn’t about faking it; it’s about correcting for the camera’s limitations and giving your photo a final polish. The free versions of apps like Adobe Lightroom Mobile or Google Snapseed are fantastic for this.
Focus on subtle tweaks to things like brightness, contrast, and maybe lifting the shadows a bit to brighten your face. The goal is to make the photo look true to life… maybe just a slightly better version of it. Go easy on skin-smoothing and heavy filters. Honestly, a portrait that feels authentic is always more powerful than one that looks obviously fake.
And Please, Be Safe
This has to be said. No photo is worth your life. We’ve all seen the horror stories of people taking selfies in dangerous places. Be aware of your surroundings. A cool picture is never more important than your physical safety.
Also, think about your digital privacy. Most phones embed GPS location data into every photo. Go into your camera settings and turn off location tagging. And always, always glance at your background before posting online. Is your street address visible on a piece of mail? Is your license plate showing? Be mindful of what you’re sharing.
Learning this skill takes a little practice, but it’s a journey from taking a random “selfie” to creating a thoughtful “self-portrait.” Remember the big three: get some distance from the lens, find soft light, and create angles with your pose. Once you get the hang of it, you’ll have the power to create images that truly represent you, with confidence.
Inspirational Gallery
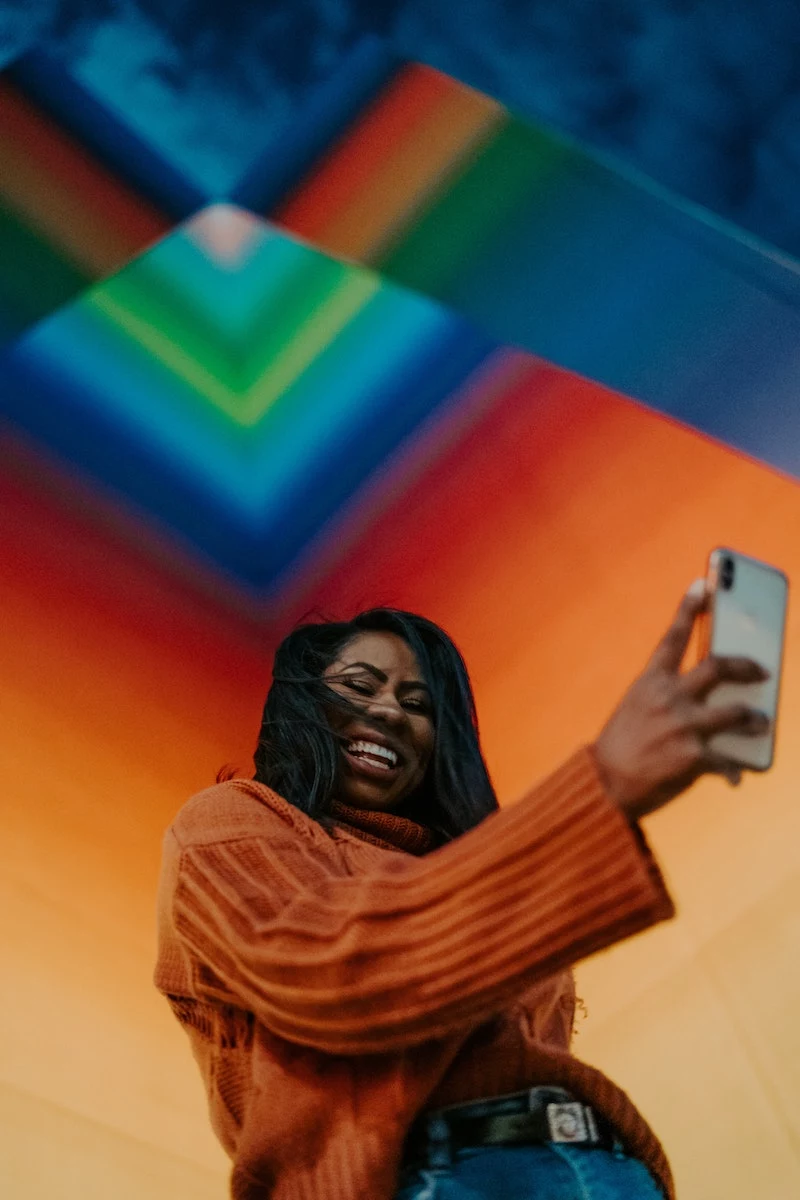
The ‘mere-exposure effect’ is a psychological phenomenon by which people tend to develop a preference for things merely because they are familiar with them. This is why you prefer your mirror image—it’s the one you see every day. A photo shows you as others see you, which can feel jarringly unfamiliar.
Your phone’s Portrait Mode is more powerful than you think. Don’t just settle for the default blur. After taking a shot on an iPhone or a Samsung Galaxy, go into the edit menu. You can usually find a slider (often labeled with an ‘f’ for f-stop) that allows you to increase or decrease the background blur intensity. A subtle blur often looks more professional and less artificial than the maximum setting.
Think beyond your face: A compelling self-portrait tells a story, and your background is a key character. Before you shoot, scan the entire frame. Is there a distracting pile of laundry? A cluttered desk? Reposition yourself to use a plain wall, a leafy plant, or an interesting texture as your backdrop. The environment sets the mood.
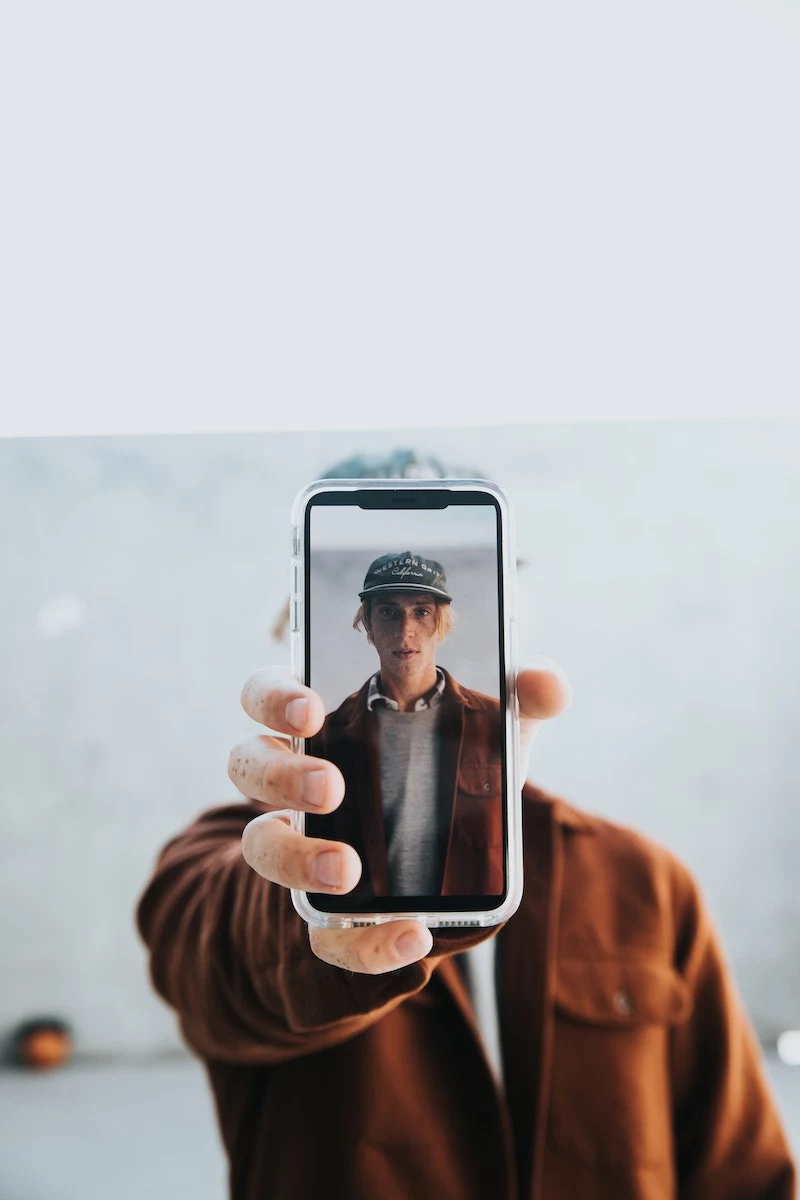
Should you use the back camera for a self-portrait?
Absolutely, if quality is your top priority. The main camera on the back of your phone has a much larger, more advanced sensor and a superior lens, resulting in sharper, more detailed images with better color. The challenge is framing. The solution: Prop your phone up, use the 3 or 10-second timer, and take a few test shots to get your position right. For Apple Watch users, the Camera Remote app provides a live preview, making it the ultimate tool for high-quality self-portraits.
The secret to professional-looking photos often comes down to composition. Activate the grid on your phone’s camera (usually in Settings > Camera > Grid). Now, apply the Rule of Thirds:
- Instead of placing your face dead center, position one of your eyes on one of the top two intersecting points of the grid.
- This simple shift creates a more dynamic and visually engaging image, guiding the viewer’s eye naturally through the photo.
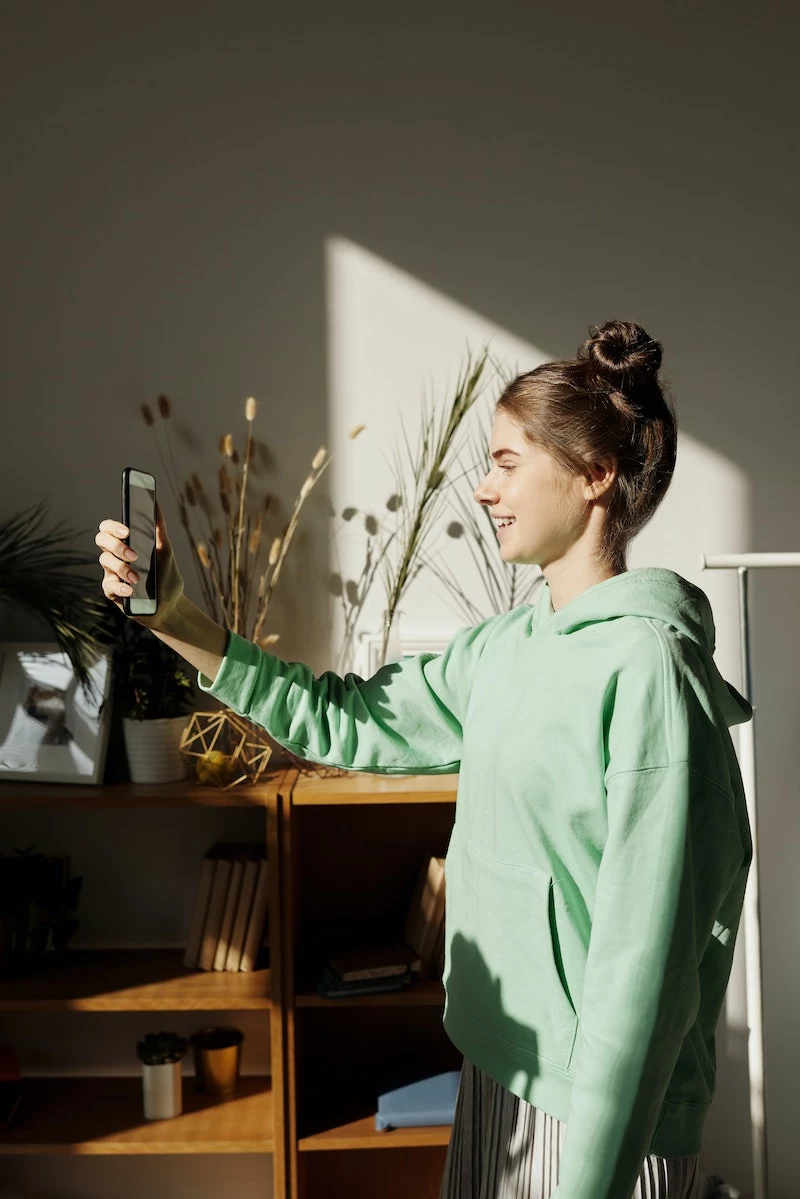
Natural Light: Soft, diffused, and incredibly flattering. It wraps around your features gently. Best found by facing a large window on an overcast day.
Portable LED Light: Gives you full control in any environment, even at night. A small panel light like a Lume Cube allows you to adjust brightness and color temperature for creative effects.
For a natural look, window light is unbeatable. For creative control and shooting in the dark, a portable LED is a worthy investment.
- Get that sought-after ‘golden hour’ glow, even indoors.
- Soften harsh shadows under your eyes and nose.
- Create a bright, professional look without expensive gear.
The trick? Bounce your light. Instead of facing a bright lamp directly, turn your back to it and let the light hit a white wall in front of you. The wall acts as a massive, soft diffuser, scattering the light evenly for a remarkably flattering effect. A large piece of white cardboard works too!
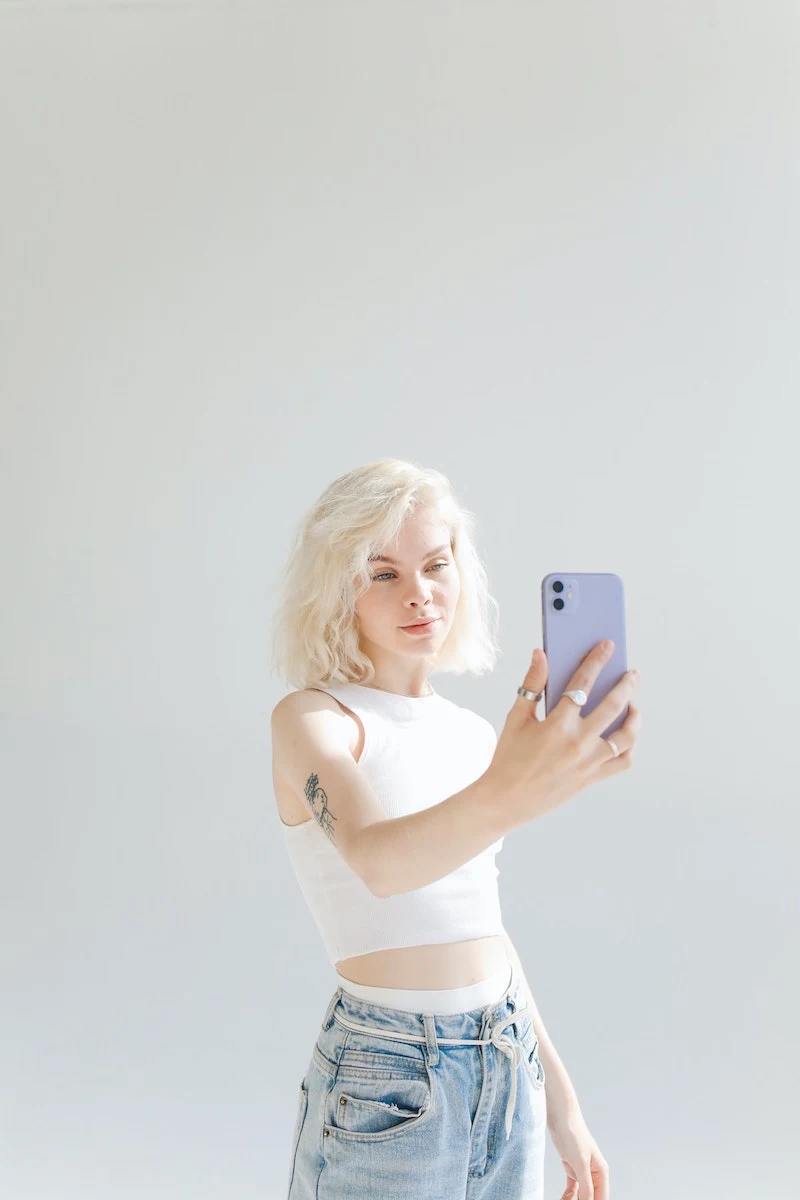
A study from Johns Hopkins University confirmed that the distortion from close-range selfies can make a nose appear up to 30% larger than it actually is.
This isn’t just a feeling; it’s optical science. The experiment in the article—propping your phone up and stepping back—is the single most effective way to counteract this effect and capture your facial features in their natural proportions.
A tiny accessory can make a world of difference. Consider adding one of these to your kit:
- A Bluetooth Remote: A small, single-button remote (often under $10) lets you trigger the shutter without touching the phone, eliminating camera shake and the need for a timer.
- A Mini Tripod: A flexible tripod like the Joby GorillaPod can wrap around railings, branches, or stand on uneven surfaces, giving you limitless options for angles and placement.
Embrace negative space. Not every inch of your photo needs to be filled. In a self-portrait, leaving empty space around you can create a sense of calm, scale, or focus. Try framing yourself on one side of the photo, letting a beautiful sky, a minimalist wall, or a simple landscape occupy the other two-thirds of the image. It adds sophistication and draws more attention to you as the subject.


