The Gross-But-Satisfying Guide to Cleaning the Spots Everyone Forgets
I’ve been in the cleaning game for a long, long time. And over the years, I’ve learned one simple truth: anyone can make a countertop shine. The real magic, the kind of clean that makes a home feel healthier and just better, happens in the places most of us never think to look.
In this article
And let’s be honest, these aren’t just dusty corners we’re talking about. These forgotten spots can mess with your home’s air quality, gunk up your appliances, and even impact your health. A quick surface wipe-down is great for guests, but a deep, intentional clean is what protects your home and the people in it. This isn’t about chasing perfection; it’s about smart maintenance. So, let’s dive into the areas where a little extra effort gives you the biggest bang for your buck.
First Up: Those Grimy High-Touch Points
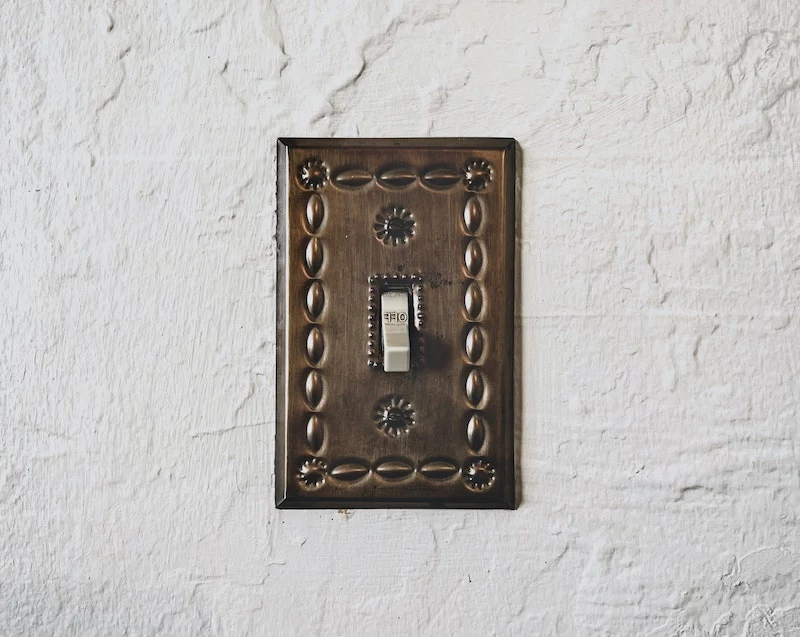
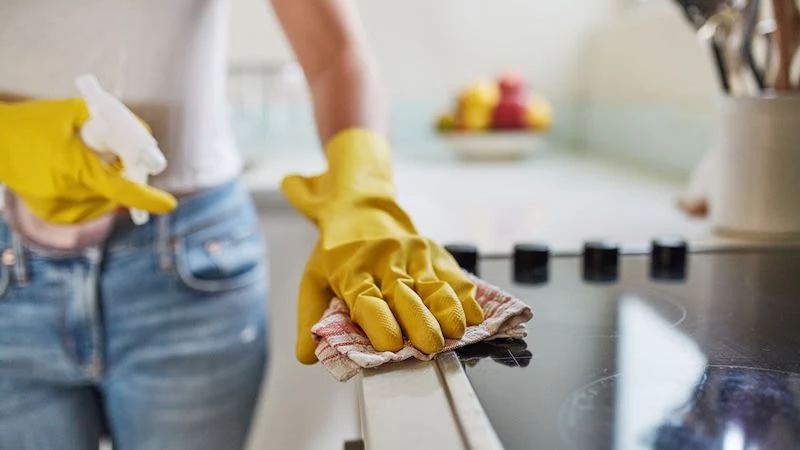
I’m talking about light switches, doorknobs, and cabinet pulls. We touch these things dozens of times a day, often without even thinking about it. They’re the first thing your hands meet when you enter a room, and they collect an incredible amount of grime—a lovely mix of skin oils, hand lotion, dust, and all sorts of germs.
That sticky layer you can feel on a really dirty switch plate? That’s what the pros call a biofilm. Basically, our skin oils create a tacky base that germs and dirt just love to cling to. Simply wiping it with a dry cloth just doesn’t cut it.
Your Simple Toolkit for the Job
Good news! You don’t need a bunch of fancy equipment. Here’s your shopping list:
- A pack of good microfiber cloths: These are non-negotiable. They grab and hold onto dirt instead of just pushing it around. A solid 10-pack will run you about $10-$15 online or at any big-box store.
- 70% Isopropyl Alcohol: This is your cheap and effective disinfectant. A bottle costs maybe $3 at any pharmacy or grocery store.
- An old toothbrush: Perfect for getting into crevices. And hey, it’s free!
The Pro-Level Cleaning Method
Doing this right is a simple two-step dance: first you clean, then you disinfect. Skipping one makes the other one way less effective.
Heads up! SAFETY FIRST. Before you even think about cleaning a light switch, please, please go turn off the power at the circuit breaker. Your breaker box is usually a gray metal panel in your basement, garage, or a utility closet. The switches inside should be labeled by room. If you’re not sure you got the right one, plug a lamp into a nearby outlet. If it doesn’t turn on, you’re good to go. I once saw a new guy get a nasty jolt from a faulty switch, and it’s a mistake you only let happen once. Never, ever spray liquid directly onto a switch for the same reason.
Step 1: Get Rid of the Gunk
Your goal here is to remove the physical grime. Honestly, my favorite solution is just a drop of original blue Dawn dish soap in a small bowl of warm water. It cuts through that oily buildup perfectly. Lightly dampen a microfiber cloth in the solution and wring it out until it’s almost dry—you want it damp, not dripping.
Wipe the switch plate and the switch itself firmly. For that stubborn gunk caked around the edges of the switch, grab your old toothbrush, dip it in the soapy water, and give it a gentle scrub.
Step 2: Disinfect the Right Way
Now that the surface is physically clean, you can kill the germs. This is the part almost everyone messes up. For a disinfectant to work, it needs to sit on the surface for a certain amount of time, called “contact time.” You can find this on the product label, but it’s usually a few minutes.
Slightly dampen a new clean cloth with your 70% isopropyl alcohol and wipe the surface down. Make sure it’s visibly wet, and then just let it air dry completely. Wiping it dry yourself basically undoes all your hard work! Once it’s dry, you can flip the circuit breaker back on.
Quick Tip for Yellowed Plastic: Got those old, yellowed plastic switch plates? Mix up a paste of baking soda and water. Scrub it onto the plate with your toothbrush, let it sit for about 10 minutes, and then rinse it off. It can work wonders and save you from having to buy new ones.
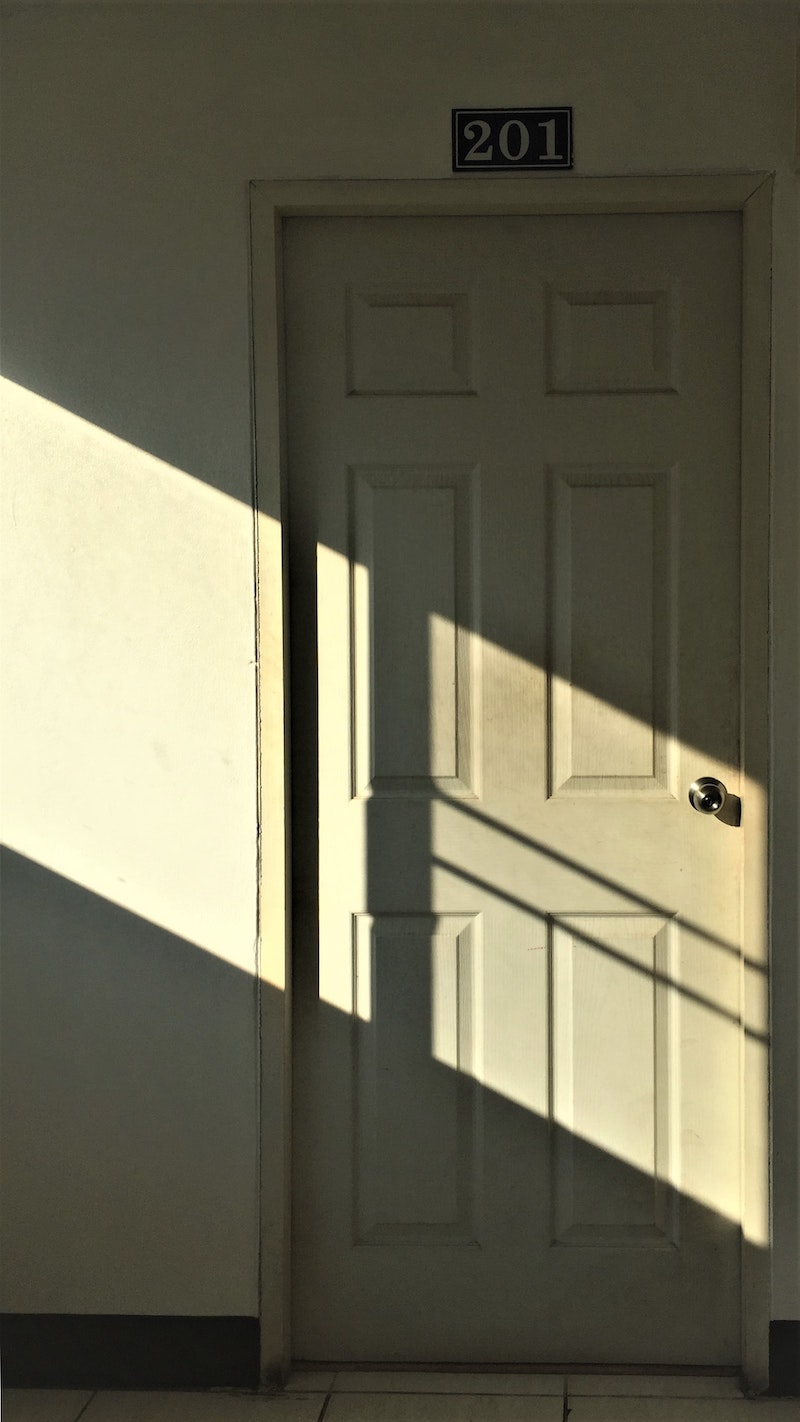
Don’t Forget to Look Up: Doors & Door Frames
We walk through doorways every single day but almost never look at the door frame itself. The tops of those frames are magnets for dust, cobwebs, and whatever else is floating around in the air. The door itself, especially if it has recessed panels, has dozens of little ledges that are just collecting filth.
Think about how you can see dust motes dancing in a sunbeam—that movement is happening all the time in your house, and dust settles on any horizontal surface it can find.
Cleaning them is actually pretty quick. Start with a vacuum cleaner’s brush attachment and go over the top and sides of the door frame. Then, use the same damp microfiber cloth method we used for the light switches to wipe down the door and frame. Pay extra attention to the area around the doorknob. You’ll be shocked at what comes off.

By the way, if you have fancy, unlacquered brass hardware, skip the harsh chemicals. Just use gentle soap and water to clean it; otherwise, you risk stripping that beautiful, natural finish.
Your Challenge, Should You Choose to Accept It…
Feeling motivated? Here’s a quick win. Go find the light switch you touch most often—probably the one by your front door or heading into the kitchen. Take five minutes and give it a proper clean using the steps above. I promise you’ll be both disgusted by the ‘before’ and deeply satisfied by the ‘after’. It’s a small task that makes a surprisingly big difference.
Inspirational Gallery


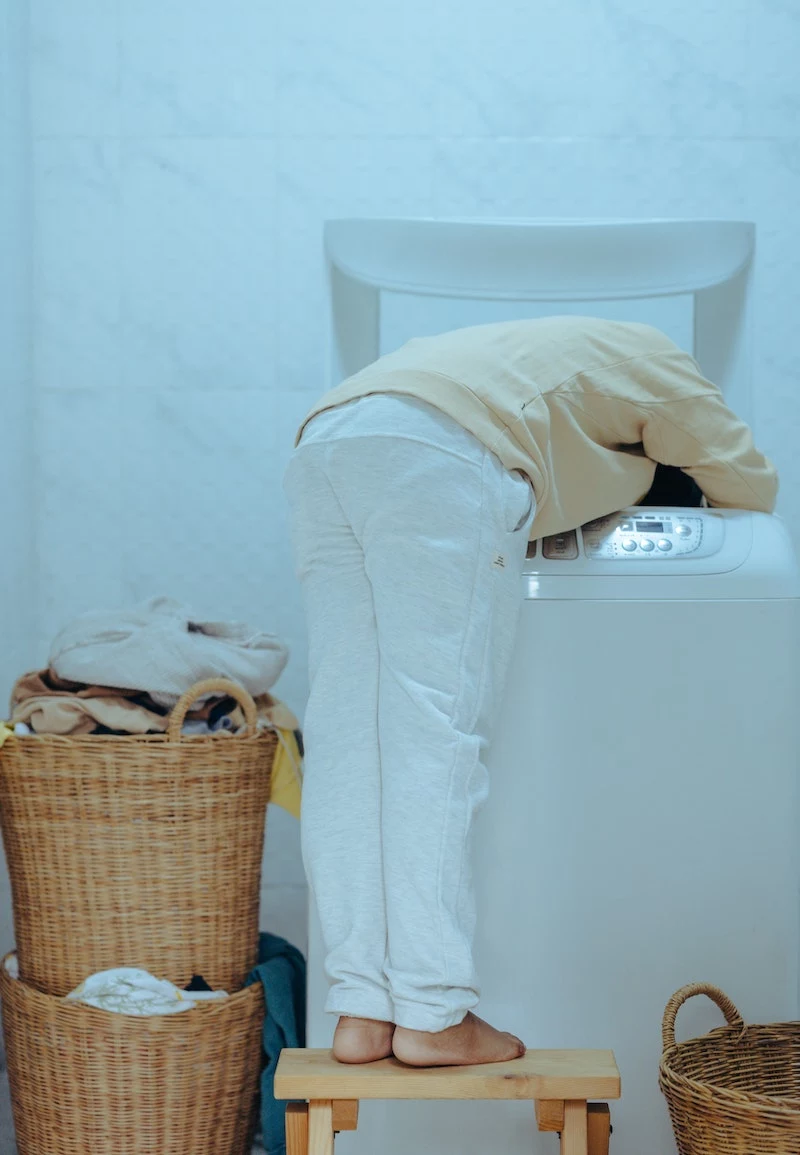
That musty smell from your “clean” laundry isn’t in your head. It’s likely hiding in the rubber gasket of your front-loading washing machine—a prime spot for mold and soap scum buildup. Taming it is easier than you think.
- Gently pull back the gray rubber seal and wipe the entire cavity with a cloth dampened in a 50/50 white vinegar and water solution.
- For stubborn black spots (hello, mildew!), scrub gently with an old toothbrush dipped in the solution.
- Wipe everything completely dry with a clean microfiber cloth.
- Pro tip: After you’re done, always leave the washer door slightly ajar to allow air circulation and prevent future growth.
The average six-room home in the U.S. collects 40 pounds of dust each year.
A significant portion of that dust settles in high, out-of-sight places, and your ceiling fan blades are a major culprit. When you turn on a dirty fan, it launches dust, pollen, and dander into the air, creating what experts call an ‘allergen cannon.’ The ultimate hack? Slide an old pillowcase over a blade and pull it back slowly. The case traps all the gunk inside, preventing a dust shower on your floors and furniture.
Wondering why your sparkling clean dishes still have a faint, funky smell?
The problem is almost certainly your dishwasher’s filter. Located at the bottom of the tub, this little piece traps food debris to prevent clogs. Twist to unlock it, pull it out, and give it a good scrub under hot water with an old brush and some dish soap. While you’re at it, use a toothpick to clear any food bits from the holes in the spinning spray arms. It’s a two-minute job that makes a world of difference.
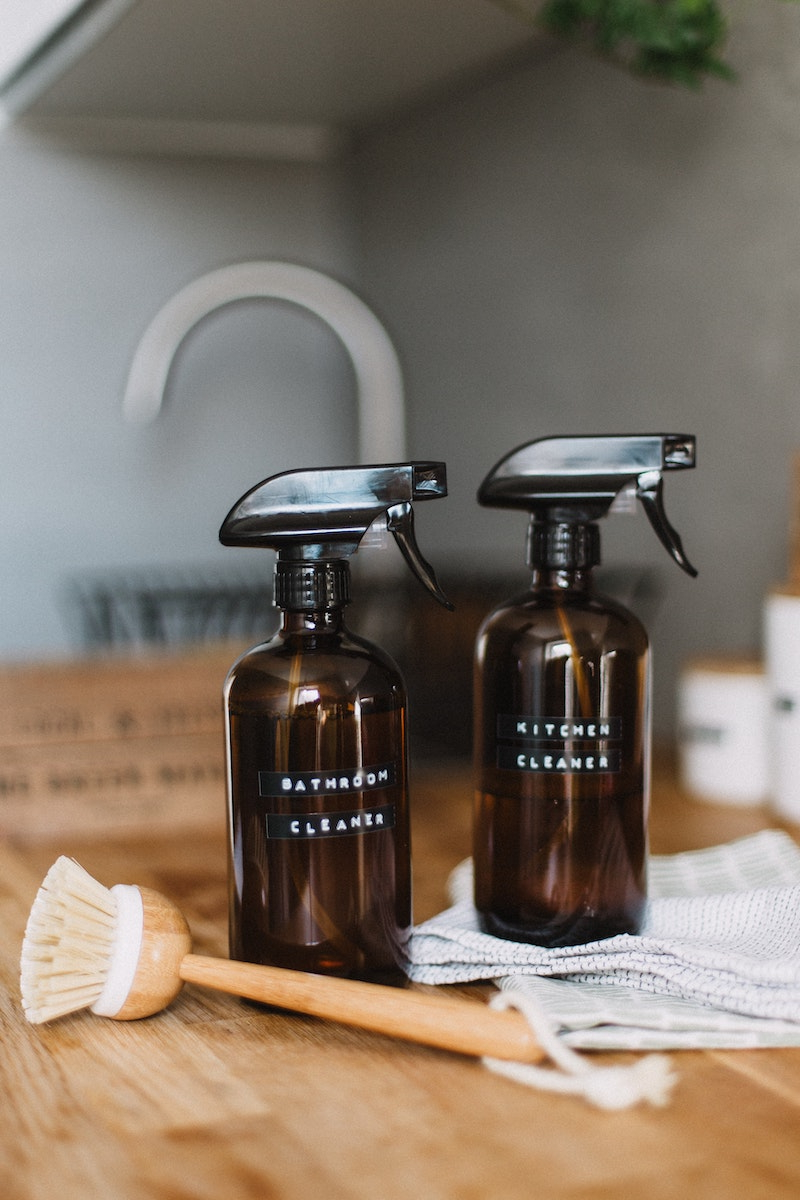
For the greasy, sticky dust on top of your kitchen cabinets, you have two champions:
The Heavy-Hitter: A spray bottle of a dedicated degreaser like Krud Kutter. Mist it over the surface, let it sit for a minute to dissolve the grime, and then wipe clean with a paper towel. It’s incredibly effective for years of buildup.
The Everyday Hero: A generous squirt of Dawn Powerwash in a bowl of hot water. The powerful surfactants are brilliant at cutting through grease without the harsh fumes. Just dip a cloth, wipe, and rinse with a clean, damp cloth. Perfect for more regular maintenance.
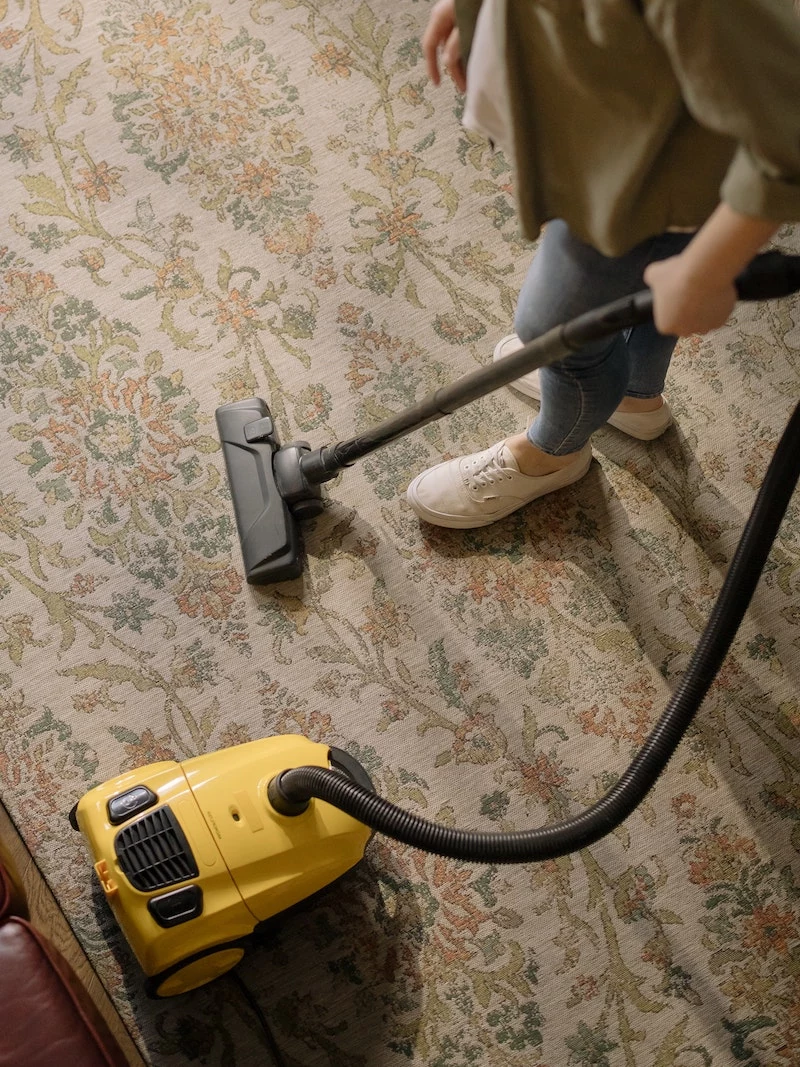
The single most neglected cleaning tool is often the one you use the most: your vacuum. A clogged filter not only kills suction power, but it also blasts fine dust particles right back into the air you just tried to clean. Most modern vacuums from brands like Shark or Dyson have washable filters. Pop it out, rinse it under cool water until it runs clear, and let it air dry completely for at least 24 hours before putting it back. You’ll feel the power difference immediately.


