The Blender Mistakes Almost Everyone Makes (And How to Fix Them)
I’ve spent more years than I can count in professional kitchens, from chaotic breakfast joints to fancy catering gigs. And in all that time, I’ve seen equipment get used, and, let’s be honest, abused in some truly unbelievable ways. The humble blender, bless its heart, often takes the worst of it.
In this article
- The Blender’s Secret: It’s All About the Vortex
- The #1 Rule: Layering Ingredients Like a Pro
- The “Never Ever” List: Foods That Wreck Your Blender (or Your Recipe)
- Playing with Fire: How to Safely Blend Hot Liquids
- Common Blender Fails & Quick Fixes
- Is a Pricier Blender Really Worth It?
- The Easiest Cleanup Trick Ever
- Inspirational Gallery
I’ll never forget watching a new cook try to make a sun-dried tomato purée with barely any oil. The friction from those dry, leathery skins got so hot that the plastic jar actually started to smell like it was melting. The motor was screaming this high-pitched whine… we had to kill the power before it completely seized. That machine was never the same again.
That day taught me something crucial. A blender isn’t a magic box that just obliterates anything you toss inside. It’s a tool that relies on physics to work its magic. Understanding that is the key to getting silky-smooth results instead of a gluey, separated mess—or worse, a dangerous kitchen accident.
The Blender’s Secret: It’s All About the Vortex
Before we even get to what you should and shouldn’t blend, you need to get what’s happening inside that jar. When you hit the ‘on’ switch, the blades don’t just randomly chop things. They create a powerful liquid tornado, a vortex, that systematically pulls ingredients from the top right down into the cutting zone. This constant circulation is what makes everything smooth and uniform.
If that vortex can’t form, you’re not blending. You’re just splashing.
To get that perfect vortex, you need the right balance of solids and liquids. Too little liquid, and the blades just spin in an air pocket at the bottom—a problem the pros call cavitation. The motor will race, but the food above it won’t budge. Too much liquid, and everything just sloshes around, never getting pulled into the blades. A good rule of thumb is to have enough liquid to just cover the blades and come about halfway up your solid ingredients. That gives the vortex enough substance to get going.

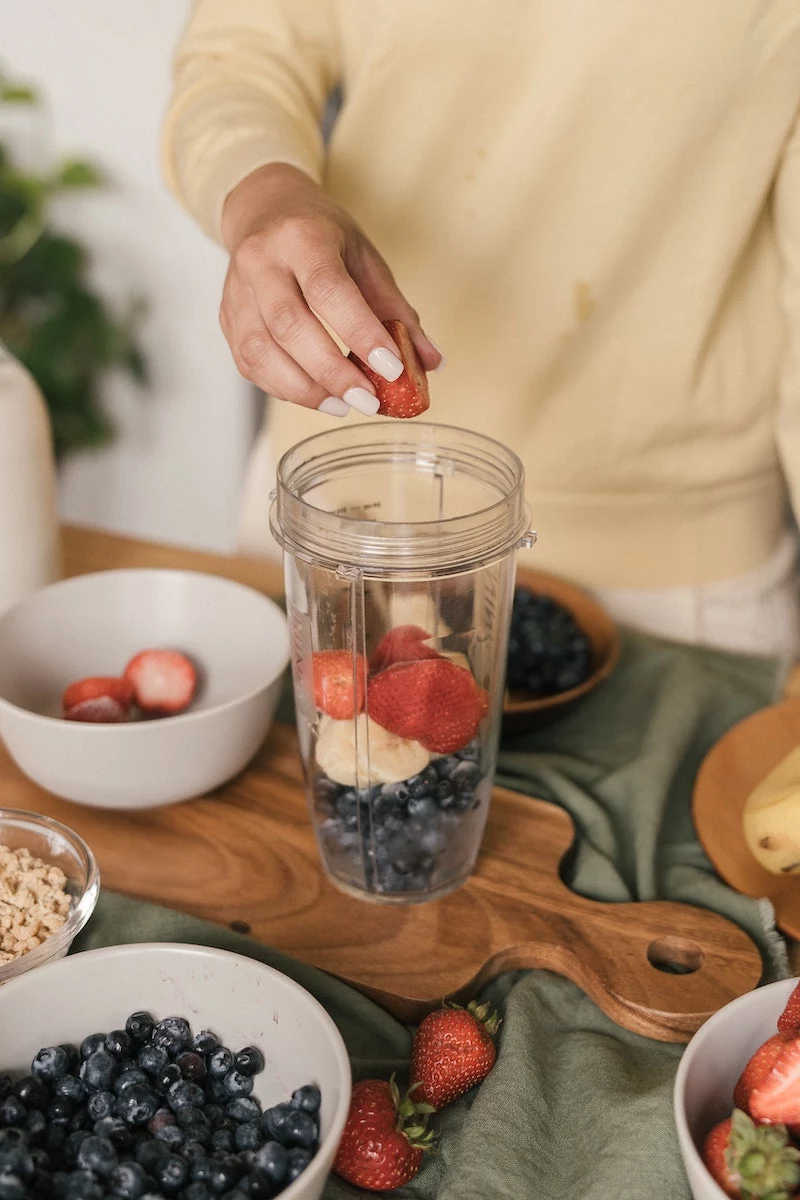
The #1 Rule: Layering Ingredients Like a Pro
Okay, here’s a game-changer that most people miss. The order you add ingredients to the blender matters. A lot. Do it right, and even a less-expensive blender can perform way better. Do it wrong, and you get chunky smoothies and a motor that sounds like it’s crying for help.
Always follow this order:
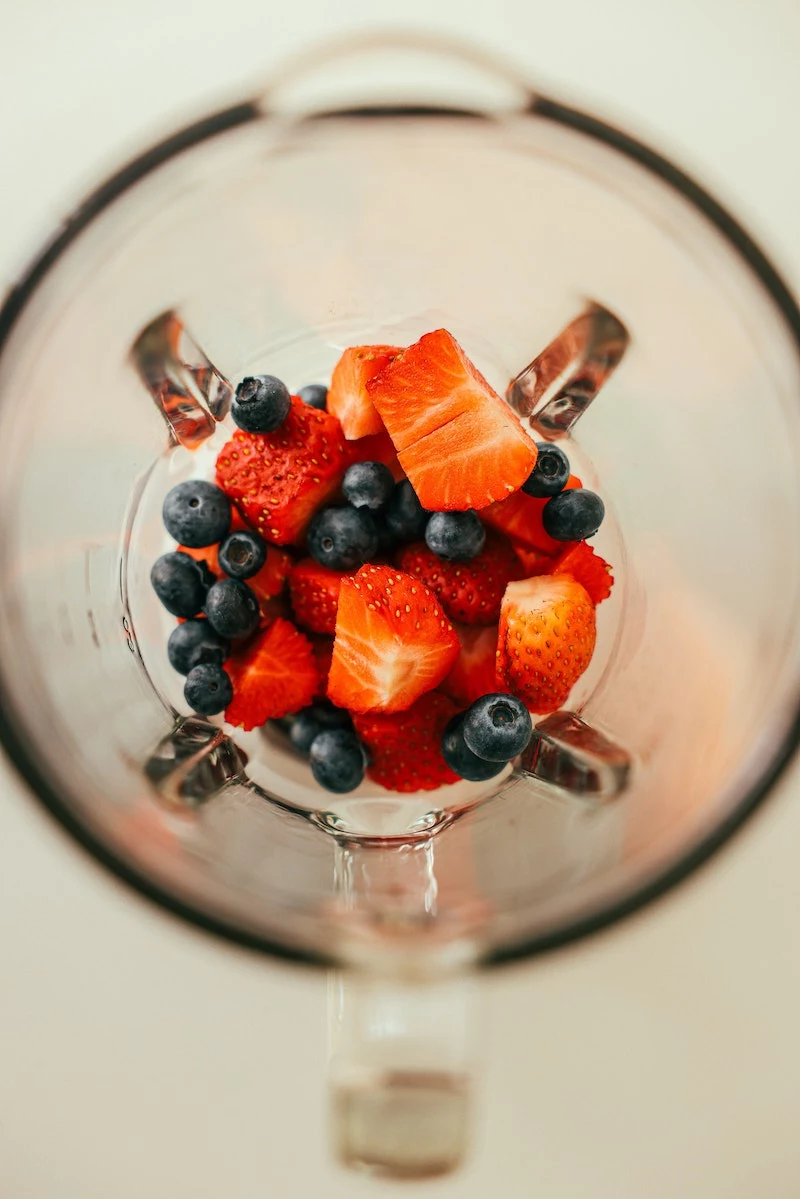
- First, Liquids: Pour in your water, milk, juice, or yogurt first. This gives the blades something to grab onto immediately and helps create that all-important vortex from the get-go.
- Next, Powders and Greens: Add things like protein powder, cocoa, and leafy greens like spinach or kale. The liquid below will quickly pull them down and incorporate them without them getting stuck to the sides.
- Then, Soft Stuff: Now come the softer solids like fresh fruit, nut butters, and steamed veggies.
- Last, Hard & Frozen Items: The heaviest ingredients, like frozen fruit, ice cubes, and hard nuts, go in on top. Their weight helps push everything else down into the blades.
Honestly, just following this simple layering trick will solve about 50% of common blending problems.
The “Never Ever” List: Foods That Wreck Your Blender (or Your Recipe)
While technique can help you blend a lot of tricky things, some foods are just a hard no. Trust me on this.
Extremely Starchy Foods: Think potatoes or other starchy root vegetables that you’ve cooked. When you blend them at high speed, you overwork the starches, turning them into a thick, gluey, wallpaper-paste-like substance. It’s a texture nightmare. If you want creamy potato soup, use an immersion blender on low or just mash them.
Super-Hard Items: Unless you have a high-powered, professional-style blender, don’t even think about it. Things like coffee beans, whole hard spices (like cloves or nutmeg), or big chunks of raw carrot can dull or even chip the blades on a standard machine. Even worse, they can scratch the inside of the plastic jar, making it cloudy and harder to clean over time.
Bone-in Meats: This should be obvious, but you’d be surprised. Bones will destroy your blender. Period.

Sticky, Dry Stuff: This goes back to my sun-dried tomato story. Trying to blend something like dates or other dried fruit without enough liquid is a recipe for disaster. You’ll create a sticky ball that the blades can’t process, which can lead to the motor overheating.
Playing with Fire: How to Safely Blend Hot Liquids
This is probably the most dangerous mistake you can make. I once saw a prep cook fill a blender to the brim with boiling hot potato soup, seal the lid tight, and hit ‘high.’ The result was a loud pop as the lid shot into the air, followed by a volcanic eruption of scalding soup all over the ceiling, the walls, and his arms. It was a painful, messy lesson in basic physics.
Hot liquids release steam. In a sealed container, that steam builds pressure FAST. The spinning blades make it happen even faster. The weakest point is the lid, and it will blow.

But we blend hot soups all the time in pro kitchens. Here’s the safe way to do it:
- Cool it Down a Bit: Never, ever blend boiling liquid. Let it sit off the heat for 5-10 minutes. It’ll still be plenty hot, but not aggressively producing steam.
- Don’t Overfill: This is non-negotiable. Fill the blender jar NO MORE than one-third to one-half full. This leaves room for expansion. Yes, you’ll have to work in batches, which might add 5-10 minutes to your prep time, but it’s the only safe way.
- Vent the Lid: Your blender lid probably has a little removable plastic cap in the center. Take it out. This lets steam escape.
- Cover It Up: Loosely cover the hole with a folded kitchen towel. Don’t press down. Just hold it firmly to prevent splashing while allowing steam to vent.
- Start Low, Go Slow: Begin on the lowest speed to get things moving gradually. Once the vortex forms, you can slowly ramp up the speed.

Common Blender Fails & Quick Fixes
Things still go wrong sometimes. Here’s how to troubleshoot the most common issues.
The Problem: The motor is running, but nothing is moving.
You’ve got cavitation—that dreaded air pocket around the blades. Stop the blender. If you have a tamper (that black plastic stick that comes with some blenders), use it to push the ingredients down. If not, give the jar a little shake or use a spatula to stir things around. If it’s still stuck, you probably just need another splash of liquid.
The Problem: My smoothie or soup is gritty and stringy.
This happens a lot with fibrous ingredients like kale, celery, or ginger. The fix usually comes down to two things: layering (did you put your liquids in first?) and time. For something like a kale smoothie, blend the kale and the liquid together first for a good 30-45 seconds until it’s totally smooth before you add anything else. Give the blender the time it needs to do its job.

Is a Pricier Blender Really Worth It?
So, what’s the real difference between a standard home blender you can pick up for $60 at a big-box store and one of those high-powered machines that can cost $400 or more? It really comes down to the motor and what you plan to do.
Your standard blender is great for everyday tasks like fruit smoothies, simple sauces, and milkshakes. But if you try to make your own silky-smooth peanut butter, it’s going to struggle and likely overheat. Want to grind your own oat flour from whole oats? Probably not going to happen. The motor just isn’t built for that kind of sustained, heavy-duty work.
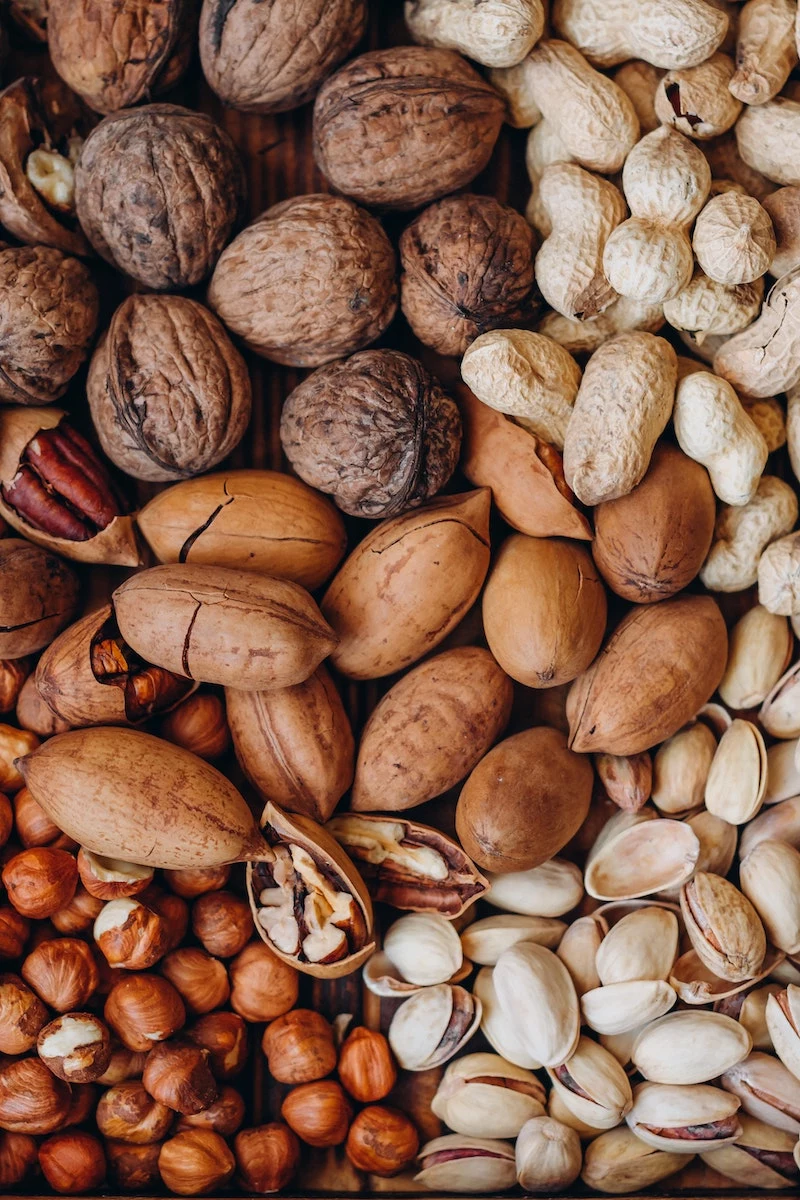
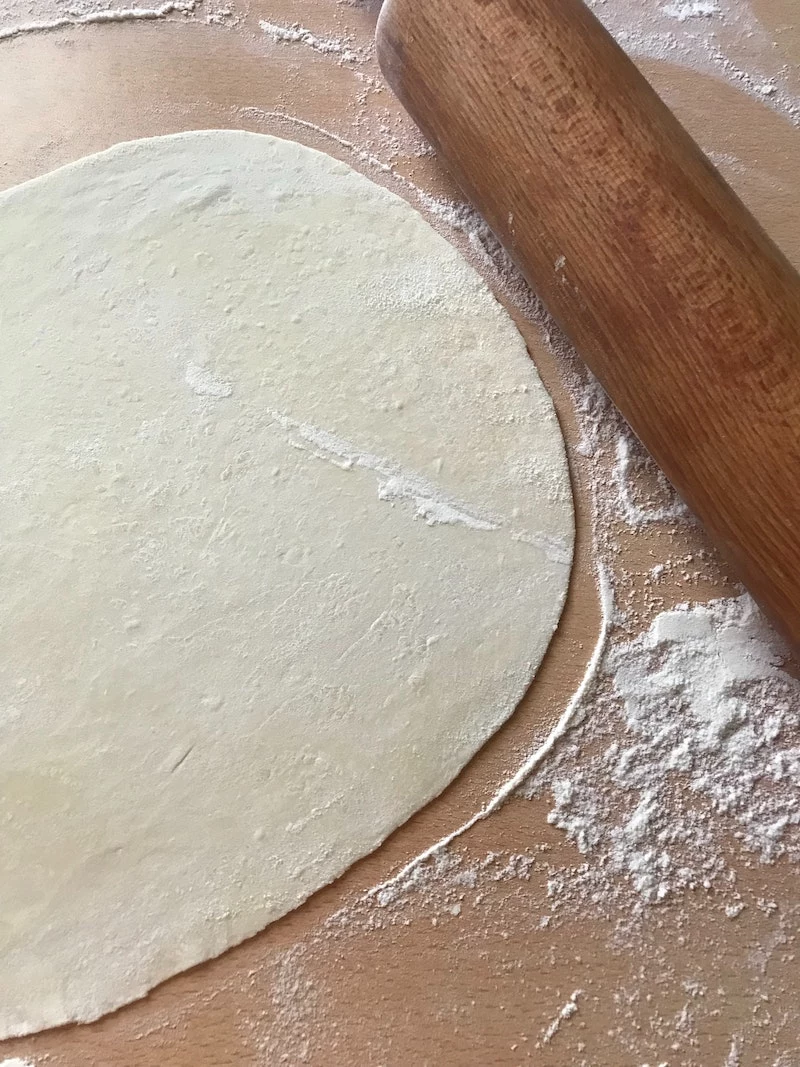
A professional-grade machine, on the other hand, is designed for exactly that. Its powerful motor can pulverize nuts into butter, grind grains into flour, and create incredibly smooth green smoothies without leaving behind a single stringy bit of kale. If you’re a serious home cook who blends tough ingredients daily, the investment can absolutely be worth it for the performance and durability.
The Easiest Cleanup Trick Ever
Finally, a little gift. The best way to clean your blender takes about 30 seconds. As soon as you’re done blending, rinse out the jar, fill it halfway with warm water, add a single drop of dish soap, put the lid on, and blend on high for 20-30 seconds. Pour it out, give it a quick rinse, and you’re done. No scrubbing needed.
By the way, if you’ve abused your blender a bit and it’s starting to hold onto a funky smell (looking at you, garlic and onions), just fill it with equal parts water and white vinegar, add a few slices of lemon, and let it sit for an hour before doing the soap-and-water blend trick. It’ll be good as new.
Inspirational Gallery

Glass Jar: The classic choice. It’s non-porous, so it won’t absorb odors or stains from ingredients like turmeric or beets. It’s also heavy, which adds stability, but can be cumbersome and is more prone to shattering from thermal shock or drops.
Tritan™ Plastic Jar: The modern pro standard. Found on high-end blenders like Blendtec or Vitamix, this BPA-free copolyester is virtually unbreakable, lightweight, and can handle high-speed friction heat. While highly stain-resistant, it can sometimes be scratched by very hard ingredients over time.
For sheer power and safety, Tritan™ often wins, but for purity and a classic feel, glass remains a solid contender.
A standard kitchen blender can operate at 85-95 decibels, a noise level comparable to a passing subway train or a gas-powered lawnmower.
This intense noise is a common complaint, but you can dampen it. Placing a folded dish towel or a silicone baking mat under the blender base helps absorb vibrations that travel through your countertop, significantly reducing the racket. Also, ensure the blender is on a stable, level surface and not wobbling, as imbalance increases noise.

Cleaning your blender doesn’t have to be a chore involving a sponge and sharp blades. The moment you’re done blending, rinse the jar, then fill it halfway with warm water and a single drop of dish soap. Put it back on the base, blend on high for 30-60 seconds, and watch it clean itself. Rinse again, and you’re done.
Think your blender is just for smoothies? A high-performance model can replace several other kitchen gadgets. Unleash its full potential by trying to:
- Create silky-smooth nut butters from roasted almonds or peanuts, no additives required.
- Grind whole grains like wheat berries or oats into fresh flour for baking.
- Make steaming hot soup right in the jar. The blade friction of a Vitamix can bring cold ingredients to serving temperature in about six minutes.
- Whip up instant homemade ice cream using frozen fruit as a base.


