The Only Caramel Shortbread Bar Recipe You’ll Ever Need
I’ve spent a lot of time in professional kitchens, and if there’s one thing I’ve learned, it’s that the difference between ‘good’ and ‘unforgettable’ is almost never some wild, secret ingredient. It’s all about technique. It’s about understanding why you’re doing what you’re doing. People are always asking for ways to recreate famous candy bars at home, but my goal is a little different. Why copy when you can create something infinitely better?
In this article
That’s exactly what we’re going to do today with these layered caramel shortbread bars. We’re building this masterpiece from the bottom up: a perfectly crisp and buttery shortbread, a gooey and rich caramel center, and a glossy chocolate top that has that satisfying snap when you bite into it. I’m not just handing you a recipe; I’m walking you through the pro-level thinking behind each step. This is the stuff that helps you sidestep those common baking fails and feel like a total rockstar in your own kitchen.
Heads up: This is a fantastic weekend project. Because of all the chilling and setting time, it’s best spread over a couple of days. But don’t let that scare you! The actual hands-on time is probably only about 90 minutes total. Patience is your best friend here.
The Foundation: A Flawless Shortbread Base
The shortbread is the literal foundation of this bar, and it has to be perfect. It needs to be buttery, crisp, and strong enough to support the goodness on top. So many recipes out there result in a base that’s either tough as a board or so crumbly it falls apart. The secret is in how you handle the ingredients, especially the fat.
We’re aiming for a ‘short’ texture, which is a classic baking term for tender and crumbly. To get there, we have to stop gluten in its tracks. By coating the flour with cold fat before any liquid gets involved, we create a barrier that keeps the dough tender. It’s a simple bit of food science that makes all the difference.
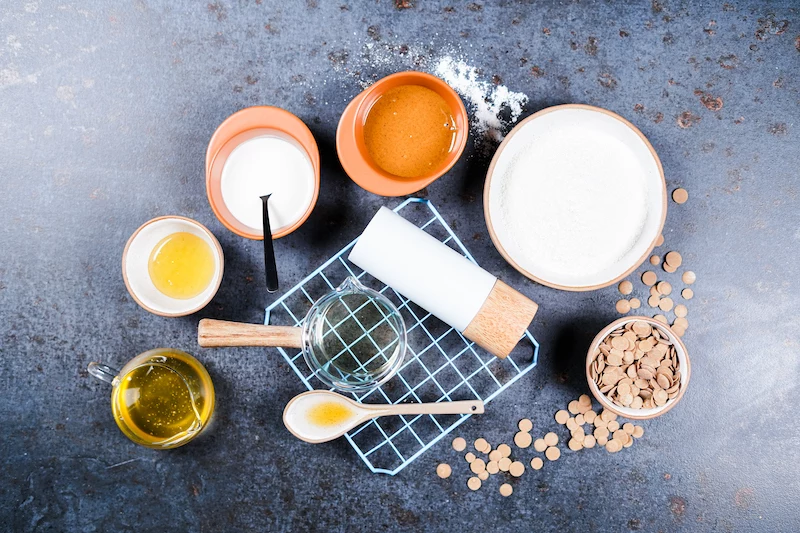
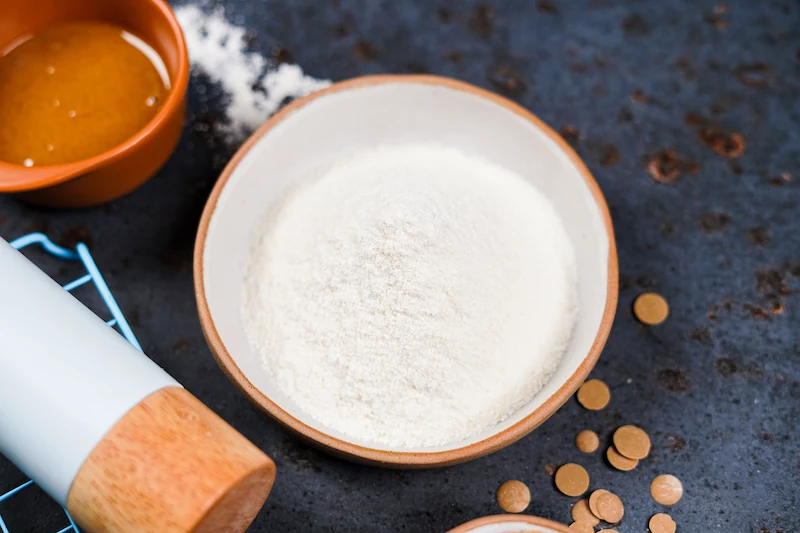
Choosing Your Ingredients
The quality of your shortbread comes down to three simple things:
- Flour: Good old all-purpose flour is your best bet. It has just the right amount of protein to give the base structure without making it tough. While you can experiment with almond or coconut flour, they completely change the game and often lead to a fragile or dry result. For that classic, reliable texture, stick with all-purpose.
- Fat: Unsalted butter, no question. The flavor is irreplaceable. The temperature here is CRITICAL. The butter must be cold, straight from the fridge, and cut into little cubes. Cold butter creates tiny pockets of fat in the dough. In the oven, these pockets melt and release steam, which helps create that light, crumbly texture. Using something like melted coconut oil will give you a crisp base, but it’ll be a harder, glass-like crisp, not the tender melt-in-your-mouth feel of butter.
- Sugar: I use a duo of granulated sugar for clean sweetness and powdered sugar for texture. That little bit of cornstarch in powdered sugar is a secret weapon for creating an incredibly tender bite. Using only granulated sugar is fine, but the texture will be a bit coarser.
The Shortbread Method
A food processor makes this super quick, but you can absolutely get the same results by hand.
You’ll Need:
- An 8×8 inch (20×20 cm) baking pan
- Parchment paper (this is non-negotiable for easy removal!)
- 1 cup (125g) all-purpose flour
- 1/4 cup (30g) powdered sugar
- 2 tablespoons (25g) granulated sugar
- 1/4 teaspoon fine sea salt
- 1/2 cup (113g) cold unsalted butter, cubed
Quick tip: If you only have salted butter, go for it! Just reduce the added salt in the recipe to a small pinch.
- Prep the Pan: Line your baking pan with parchment, leaving some overhang on two sides to act as little handles. Trust me, you’ll thank yourself later.
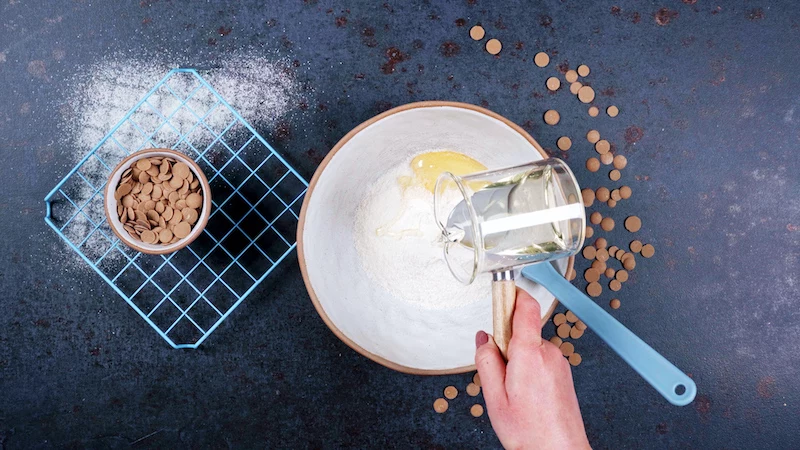
- Mix the Dry Stuff: In a food processor, pulse the flour, both sugars, and salt together. By hand? Just whisk them in a large bowl.
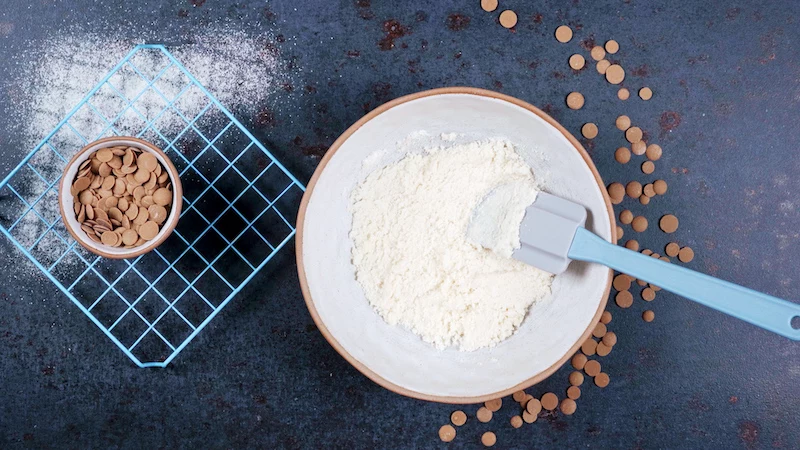
- Cut in the Butter: Add the cold butter cubes and pulse 8-10 times until the mixture looks like coarse crumbs with some pea-sized butter bits still visible. This is the most important step. Do not overmix! If you’re working by hand, use a pastry blender or your fingertips. Rub the butter into the flour between your thumb and fingertips, moving quickly so the heat from your hands doesn’t melt the butter. Stop when you hit that sandy, pebbly texture.
- Press and Dock: Tip the mixture into your pan and press it down firmly and evenly with the bottom of a glass or measuring cup. Then, prick the dough all over with a fork. This is called ‘docking,’ and it lets steam escape so the base doesn’t puff up.
- Chill Out: Pop the pan in the fridge for at least 30 minutes. Don’t skip this! Chilling the dough solidifies the butter, ensuring that perfect short texture.
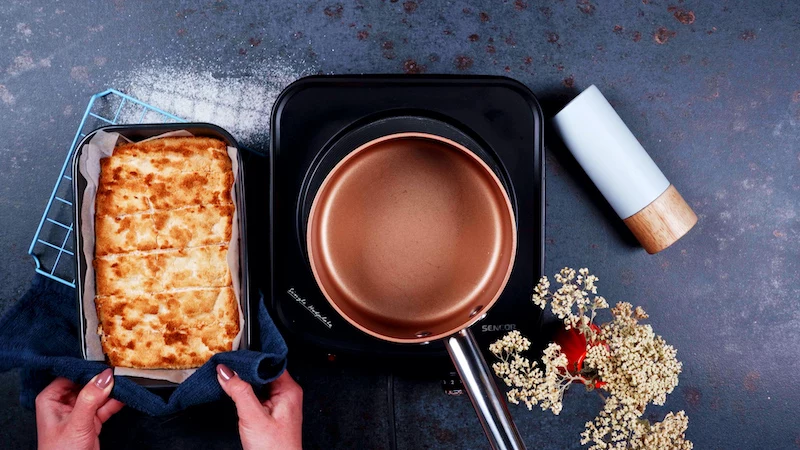
- Bake It: Bake in a preheated 350°F (175°C) oven for 20-25 minutes. You’re looking for light golden brown edges. Let it cool completely in the pan before you even think about the next layer.
The Main Event: Conquering Caramel
Okay, let’s be real. Caramel can be scary. I’ve seen grown adults stare into a pot of melting sugar with sheer terror in their eyes. But here’s the deal: if you’re careful and prepared, it’s totally manageable.
A quick but serious safety warning: Melted sugar is hotter than boiling water (we’re talking over 300°F / 150°C) and can cause very serious burns. Keep a bowl of ice water right next to your stove. If any sugar splashes on your skin, plunge it into the ice water immediately. And please, keep kids and pets out of the kitchen for this part.
Now, you’ve got two paths to choose from here. There’s a simple, no-fail ‘caramel’ that’s perfect for beginners, and then there’s the traditional cooked caramel for those who want that authentic, deep flavor.
- The Simple Method is fast, forgiving, and uses nut butter for a chewy texture. It’s delicious and gets the job done beautifully in minutes.
- The Pro Method requires a digital thermometer and more attention, but the payoff is huge. You get a complex, rich flavor and a truly professional chewy texture that’s just sublime.
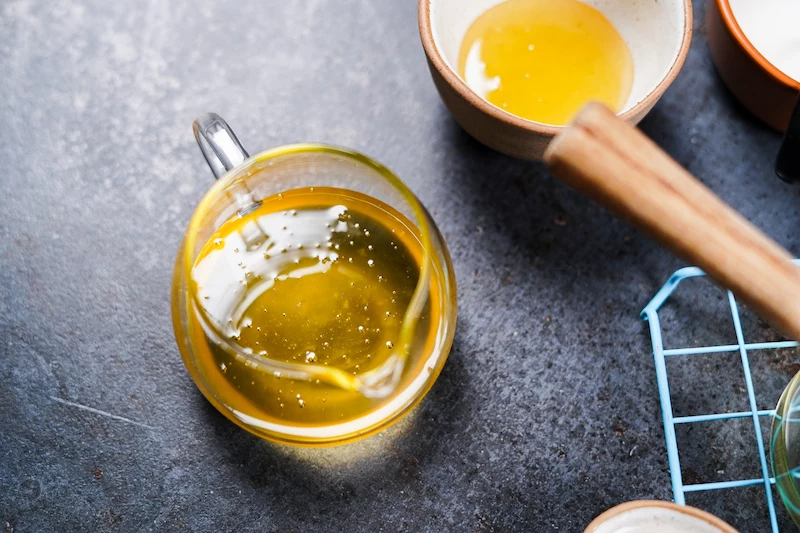
Option 1: The Simple & Speedy ‘Caramel’
This is a great place to start. It’s more of a delicious, chewy binding layer than a true caramel, but it’s absolutely wonderful.
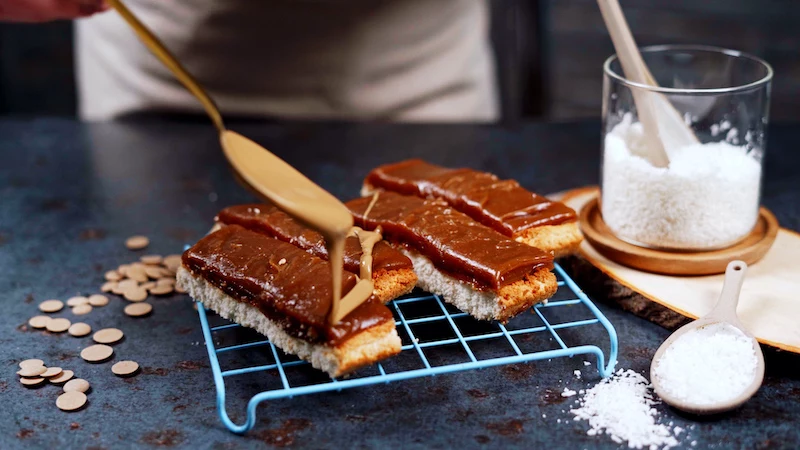
In a small pot, just melt 1/2 cup of smooth peanut or almond butter, 1/2 cup of honey or maple syrup, and 1/4 cup of coconut oil or butter over low heat. Stir until it’s smooth and just starts to bubble at the edges, then take it off the heat. Stir in 1 teaspoon of vanilla extract and 1/4 teaspoon of sea salt. Pour it over your cooled shortbread, spread it out, and pop it in the fridge for at least an hour to firm up. Done!
Option 2: The Professional Cooked Caramel
Ready to level up? This is the real deal. You absolutely need a digital thermometer for this—they cost about $15-$20 online or at any kitchen store, and it’s the only way to guarantee success.
Have everything ready to go before you start:
- 1 cup (200g) granulated sugar
- 1/4 cup (60ml) water
- 1/4 cup (60ml) light corn syrup
- 1/2 cup (120ml) heavy cream, room temperature
- 4 tbsp (57g) unsalted butter, room temperature
- 1 tsp vanilla extract & 1/2 tsp flaky sea salt
- In a heavy-bottomed saucepan, combine the sugar, water, and corn syrup. Stir just until the sugar is wet, then turn the heat to medium-high.
- Once it starts boiling, stop stirring. Swirl the pan occasionally, and use a wet pastry brush to wash down any sugar crystals on the sides of the pan.
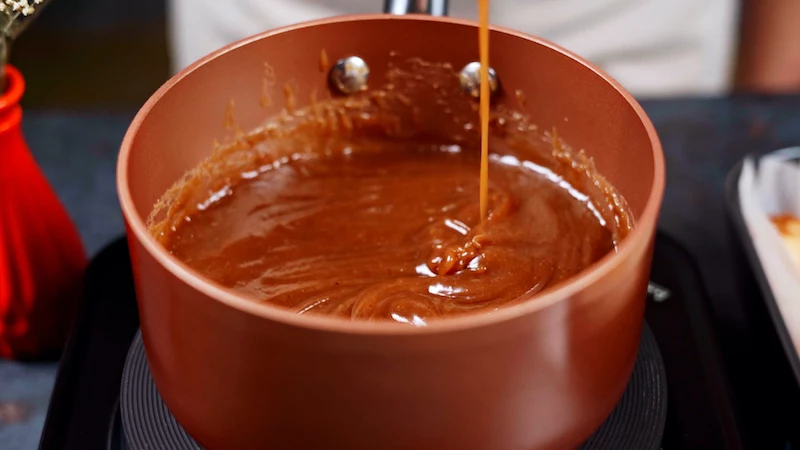
- Clip on your thermometer (don’t let it touch the bottom) and watch it climb. You’re looking for the color of a shiny copper penny. Cook until it reaches exactly 248°F (120°C).
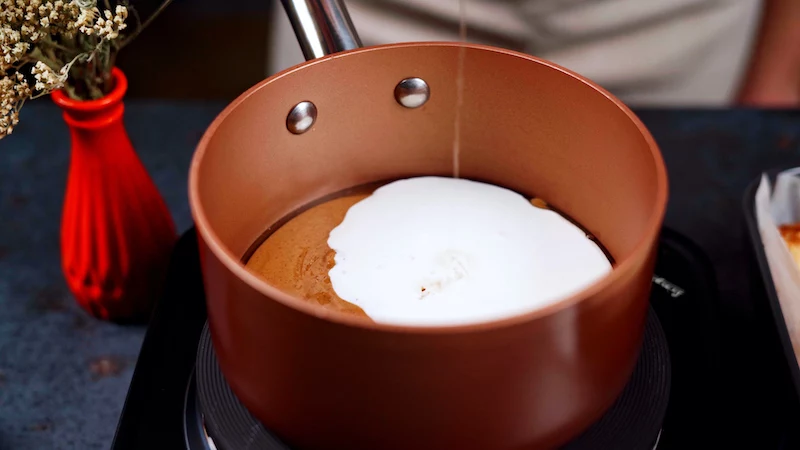
- Take the pan off the heat immediately and very carefully pour in the room-temperature cream. It will bubble up like a volcano—this is normal! Whisk like crazy until it calms down, then whisk in the butter, vanilla, and salt.
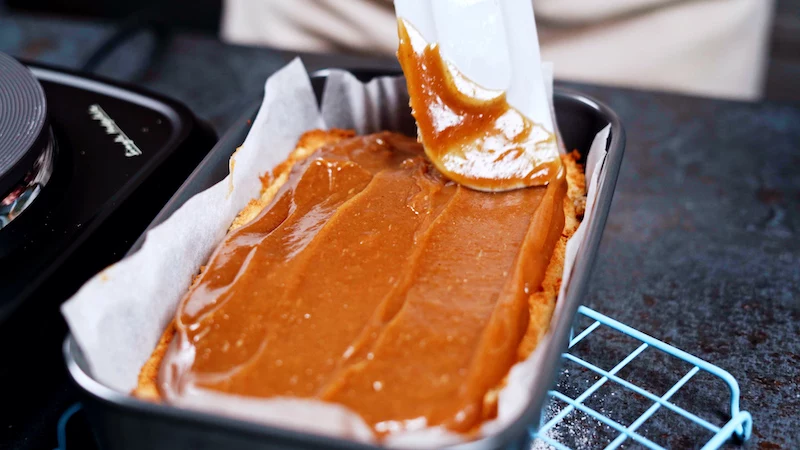
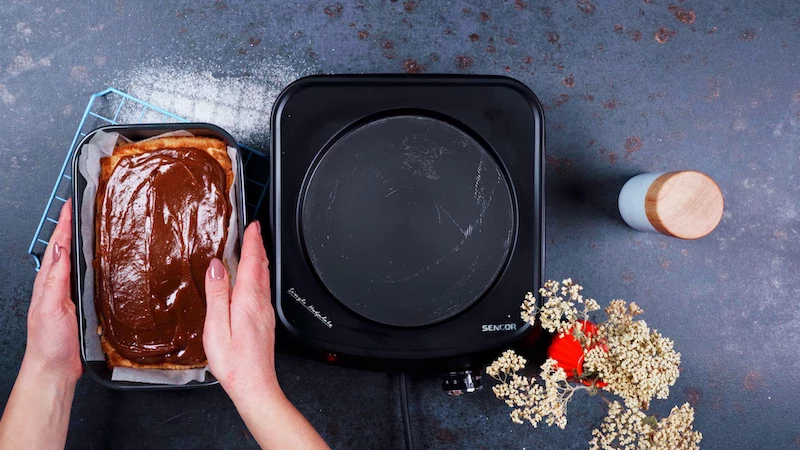
- Pour this glorious, molten caramel over your shortbread. Let it cool for at least 4 hours at room temp or 2 hours in the fridge until completely firm. I once rushed this step and ended up with a swirly mess. Learn from my mistakes!
The Grand Finale: A Perfect Chocolate Top
The final touch! For that professional, snappy finish, we need to talk about tempering chocolate. Tempering is just a heating and cooling process that aligns the crystals in the cocoa butter, giving you a glossy, stable finish that won’t melt all over your fingers.
Good to know: You need to use real chocolate for this, not chocolate chips, which often contain other fats. Look for bars where ‘cocoa butter’ is a key ingredient. You can find excellent options like Valrhona or Callebaut online, but honestly, a high-quality Ghirardelli or Lindt dark chocolate bar (around 60-70%) from the grocery store baking aisle works perfectly.
The easiest way to temper at home is the ‘seeding’ method. Melt about 7.5 ounces (210g) of finely chopped dark chocolate in a bowl over simmering water until it hits 115-120°F (46-49°C). Take it off the heat and stir in the remaining 2.5 ounces (70g) of chopped chocolate. Keep stirring until the ‘seed’ chocolate melts and the whole mixture cools down to 88-90°F (31-32°C). As soon as it hits that temperature, it’s in temper! Pour it over your firm caramel layer and spread it quickly.
The Easy Alternative: Don’t want to bother with tempering? No problem. Melt 10 ounces of chocolate and stir in 1 tablespoon of a neutral oil like coconut or vegetable oil. It won’t have the same ‘snap,’ but it will set up nicely in the fridge and taste great.
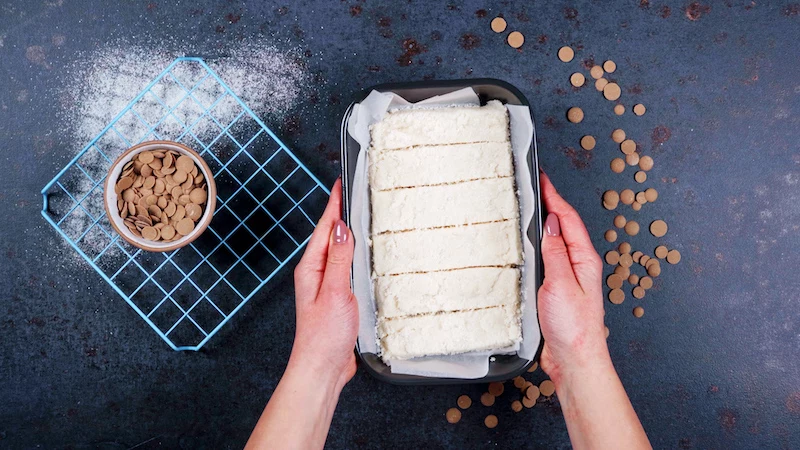
Assembly, Cutting & Storage
You’ve done all the hard work; now let’s make it look pretty. The secret to clean, sharp layers is a hot, clean knife. Without it, your layers will smudge together. With it, you get those super sharp, distinct lines you see in a fancy pastry shop.
Chill the whole slab for 30 minutes. Fill a tall glass with hot water. Dip a long, sharp knife in the water, wipe it completely dry, and make one clean, firm cut. Don’t drag the knife. Wipe the blade clean, and repeat for every single cut. Yes, it’s a little tedious, but the results are 100% worth it.
Store these beauties in an airtight container in the fridge for up to two weeks. You can also wrap them individually and freeze them for up to three months!
What Went Wrong? (A Quick Troubleshooting Guide)
Even the pros mess up. Here’s how to figure out what happened:
- My shortbread is tough! You likely overmixed the dough after adding the butter, which developed too much gluten. Next time, stop mixing as soon as the crumbs form.
- My caramel is grainy! A stray sugar crystal probably fell into the pot. Make sure to wash down the sides of the pan with a wet pastry brush while the sugar cooks.
- My caramel is a rock-hard brick! Oh, I’ve been there. You cooked it to too high a temperature. That’s why a thermometer is so crucial for the cooked caramel method.
- My chocolate top is dull and streaky. It fell out of temper. This is called ‘fat bloom.’ It’s still perfectly edible! To avoid this, make sure you hit your target temperatures exactly or just use the easy oil method.
Feeling Overwhelmed? Start Here.
If this all feels like a bit much, here’s a quick win. Just make the shortbread base! Follow the steps, bake it, let it cool, and dust it with powdered sugar. You’ll have an incredible, world-class butter cookie that’s a perfect treat all on its own. It’s a great way to build your confidence.
Your Shopping List
Here’s everything you’ll need, all in one place:
- All-purpose flour
- Powdered sugar
- Granulated sugar
- Fine sea salt & flaky sea salt
- Unsalted butter
- Light corn syrup
- Heavy cream
- Vanilla extract
- High-quality dark chocolate (60-70% cacao bar)
- For the simple caramel option: Smooth peanut/almond butter, honey/maple syrup, and coconut oil.
Honestly, making something like this from scratch is a craft. It’s about patience and details. Your first try might not be flawless—my first cooked caramel became a permanent resident of the saucepan I made it in. But every attempt is a lesson. So put on some music, enjoy the process, and get ready to make something way, way better than anything you can buy in a wrapper.
Inspirational Gallery
My caramel turned grainy and sugary. What went wrong?
This is the most common caramel catastrophe, and it’s all about sugar crystallization. When a single stray sugar crystal falls back into your cooking syrup, it can trigger a chain reaction, ruining the smooth texture. To prevent this, add a teaspoon of corn syrup or glucose to your sugar mixture. These ‘interfering agents’ physically block the sugar molecules from organizing into large crystals. For extra insurance, keep a small cup of water and a pastry brush nearby to gently wash down any crystals that form on the sides of the pan as it cooks.
A 2021 study on food textures found that a combination of a crisp base and a soft filling is one of the most hedonically pleasing sensory experiences for the human palate.
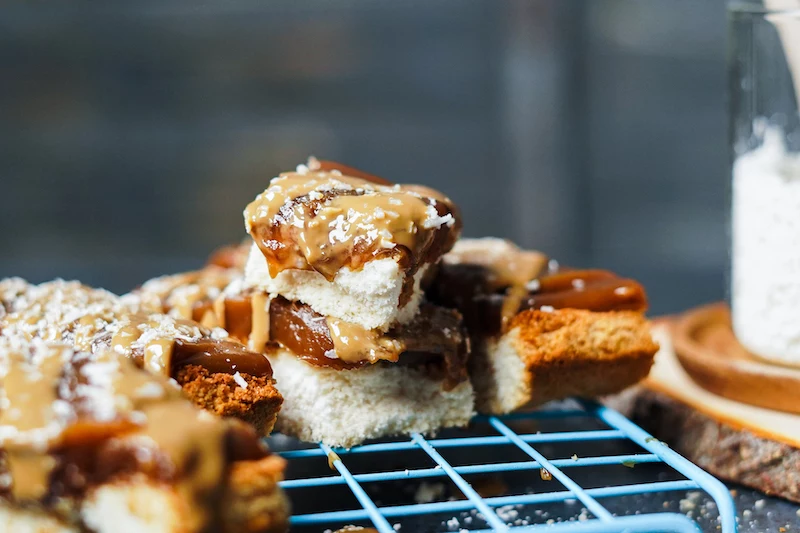
This is the science behind why these bars are so irresistible. The distinct ‘snap’ of the chocolate followed by the yielding caramel and the final, crumbly crunch of the shortbread creates a textural journey. Don’t rush the chilling times for each layer; they are essential for creating that perfect separation and maximizing the sensory pleasure of each bite.

The chocolate layer is more than just a topping; it’s the final flavor note. Your choice here dramatically changes the bar’s personality.
- For Intense Contrast: A dark chocolate with 65-72% cacao, like a Guittard or Valrhona, will cut through the sweetness of the caramel with its bitter notes, creating a sophisticated, adult-focused treat.
- For Creamy Nostalgia: A high-quality milk chocolate (around 35-40% cacao) will lean into the classic candy bar experience, offering a rounder, sweeter, and meltier finish.
- For a Modern Twist: Try a caramelized white chocolate, like Valrhona’s Dulcey. It has nutty, toasty notes that beautifully complement the caramel and butter flavors.
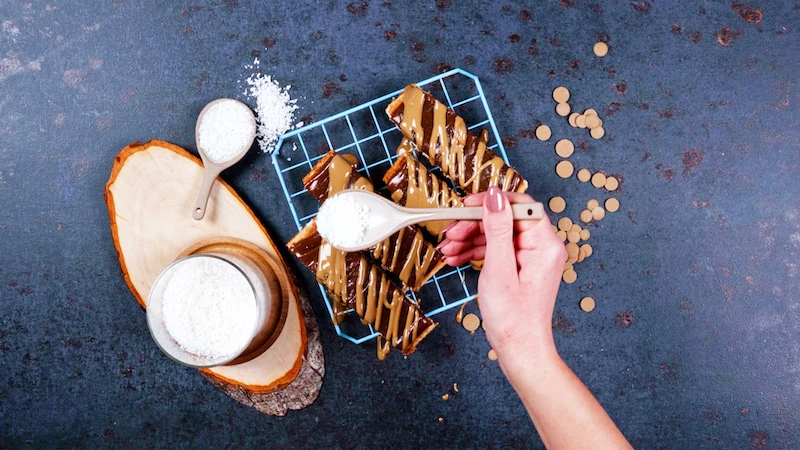
Sea Salt: A sprinkle of flaky Maldon salt on the still-wet chocolate not only looks beautiful but also makes the caramel taste even richer.
Espresso Powder: A teaspoon dissolved into the hot caramel mixture adds a deep, roasted complexity that transforms the bars into a perfect companion for a cup of coffee.


