Skip the Renovation: A Pro’s Secrets to Loving Your Home Again
I’ve been in the home design world for a long time, and I can’t tell you how many people I’ve met who feel completely stuck. They desperately want a fresh look for their home but get paralyzed by the sheer thought of a renovation. The cost, the mess, the decisions… it’s overwhelming. I get it. The truth is, you don’t need a sledgehammer and a giant dumpster in your driveway to totally transform your space.
In this article
Honestly, the most dramatic changes I’ve ever seen came from a series of smart, strategic tweaks. It’s all about understanding how a room feels, which comes down to the basics: light, color, layout, and flow. This isn’t just a list of tips; this is the playbook I use to give a home a new soul without tearing down a single wall.
First Things First: Reclaim Your Space (For Free!)
Before you even think about buying a single new pillow, you have to edit what you already own. Amateurs call it decluttering, but we in the business call it ‘editing’. The goal isn’t just to toss stuff, but to be intentional about what gets to stay. Every single object in a room has visual weight, and too many little things create a sense of chaos that makes a space feel small and stressful.
So, forget the simple ‘keep or toss’ method. Let’s do this like a pro. Set aside a weekend and get four boxes or just designate four corners of your room:
- Keep Here: Things you use, you love, and that genuinely belong in this specific room.
- Relocate: Stuff you love, but that has migrated to the wrong spot. Think office supplies in the living room or kids’ toys in your bedroom.
- Donate/Sell: Be ruthless. If it’s in good shape but you haven’t used it or loved it in the last year, let it go.
- Discard: The broken, the expired, the truly useless.
Quick tip for the sentimental stuff: If you’re agonizing over an item, don’t force a decision. Grab a separate box, label it ‘Decide Later,’ and write a date on it six months from now. If you haven’t needed or even thought about what’s inside by that date, you can donate the whole box guilt-free.
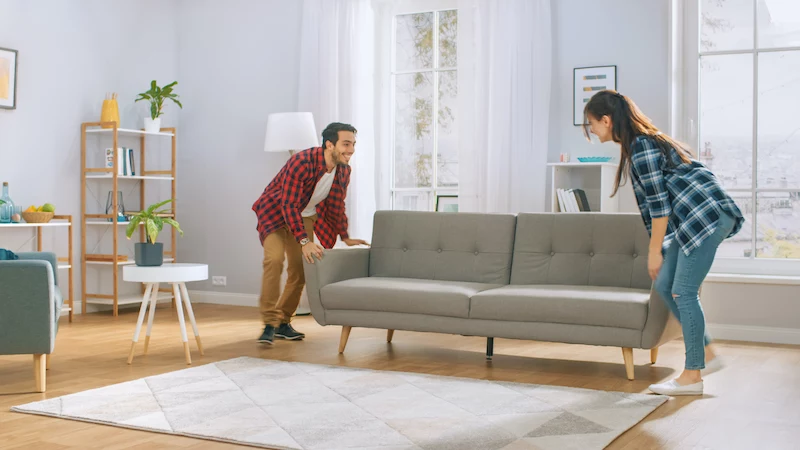
Rethinking Your Layout for Better Flow
Once you’ve cleared the clutter, it’s time to play with your furniture. The biggest mistake people make is pushing everything up against the walls. It creates this weird, empty void in the middle of the room. Try pulling your sofa just six inches off the wall—it’s amazing how much more intentional that one move can feel.
The pros have some guidelines that just… work. For a main walkway, like from a doorway to the sofa, you need about 36 inches of clear space so you’re not constantly turning sideways. For smaller paths, like getting to a bookshelf, 24 to 30 inches is enough. And for your seating area? The gap between your sofa and coffee table should be a sweet spot of 14 to 18 inches. It’s close enough to reach your drink, but far enough for your legs.
Oh yeah, and anchor your main seating area with a rug. It pulls everything together. The rule of thumb is that at least the front two legs of your sofa and chairs should be on the rug. It goes from “sad, floating furniture” to “cohesive, inviting conversation zone” instantly. And if you have a tricky L-shaped room? Use a rug and furniture placement to create two distinct zones, like a TV area in one part and a cozy reading nook in the other.

The Magic of Paint: More Than Just Color
Paint is, without a doubt, the biggest bang for your buck. A good gallon of paint from a quality brand like Benjamin Moore or Sherwin-Williams will run you between $50 and $80, and it can completely change the mood of a room. But a pro-level job is about more than just the hue.
Light, Sheen, and That Pro Finish
Ever heard of LRV? It stands for Light Reflectance Value, and it’s a number from 0 to 100 that tells you how much light a color will bounce around. You can usually find the LRV on the back of the paint chip or on the company’s website. If you want a small, dark room to feel bigger and brighter, look for a color with an LRV of 60 or higher. To make a big, cavernous room feel cozier, go for a color with an LRV below 50.
The finish, or sheen, is just as important. Here’s a quick rundown:
- Matte or Flat: This finish has zero shine, which is fantastic for hiding imperfections on older walls. It looks velvety and rich. The downside? It’s not very durable and scuffs easily, so it’s best for low-traffic spots like a master bedroom or formal dining room.
- Eggshell or Satin: This is the go-to for most of the house. It has a soft, low-key glow and is way easier to clean than matte. It’s perfect for living rooms, hallways, and kids’ rooms. Satin is just a touch shinier than eggshell.
- Semi-Gloss: Noticeably shiny and tough as nails. This is your best bet for trim, doors, and moisture-prone areas like bathrooms and kitchens. Heads up: the shine will highlight every single bump and flaw, so your wall prep has to be perfect.
The Tools and Tricks for a Flawless Job
The secret to a paint job that doesn’t look DIY is 90% prep. Don’t rush this part!
Your shopping list for one room might look like this:
- Quality 2.5-inch angled brush ($15)
- Roller frame and covers ($20)
- Good painter’s tape (like FrogTape, around $10)
- A small tub of spackle for holes ($7)
- Fine-grit sandpaper ($5)
- Paint tray and liners ($8)
Clean your walls with a mild detergent, patch any holes, and tape off your trim. The most important step? “Cutting in.” That’s where you use your angled brush to paint a clean, 2-inch border along the ceiling, corners, and trim before you start rolling. Then, when you roll, use a big ‘W’ pattern to apply the paint evenly. And here’s a time-saving hack: if you’re painting over two days, don’t wash your brush and roller. Just wrap them tightly in a plastic grocery bag and stick them in the fridge. They’ll be ready to go the next day!
Let There Be (Good) Light
Bad lighting can make even the most beautifully decorated room feel like a cave. The key is to think in layers: ambient, task, and accent.

- Ambient Light: This is your room’s main light source, like a ceiling fixture or recessed lights. Most homes stop here, and that’s the problem.
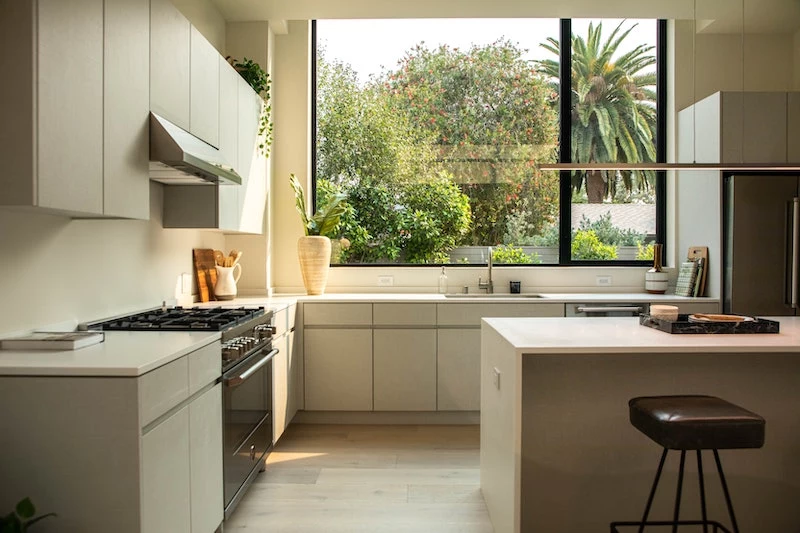
- Task Light: This is focused light for doing stuff—a reading lamp by your favorite chair, or under-cabinet lights in the kitchen. You can get awesome plug-in LED strip lights online for under $30 to add this to your kitchen.
- Accent Light: This is the fun stuff! It’s directional light that highlights something cool, like a piece of art or a beautiful plant.
Also, pay attention to the color of your light, measured in Kelvins (K). A ‘Warm White’ bulb (2700K-3000K) gives off that cozy, yellowish glow perfect for bedrooms and living rooms. A ‘Cool White’ bulb (3500K-4100K) is whiter and more energizing, making it great for kitchens and bathrooms. Smart bulbs are a fantastic way to play with this—you can change the color and brightness from your phone!
Good to know: If you need to swap a hardwired fixture, please be safe. If you aren’t 100% confident about turning off the breaker and doing the wiring, call an electrician. It might cost between $100 and $250 for a simple swap, and the peace of mind is priceless.
The Details That Make the Difference
Okay, now for the little things that have a surprisingly huge impact. Upgrading hardware and textiles is where a room really starts to feel polished and personal.
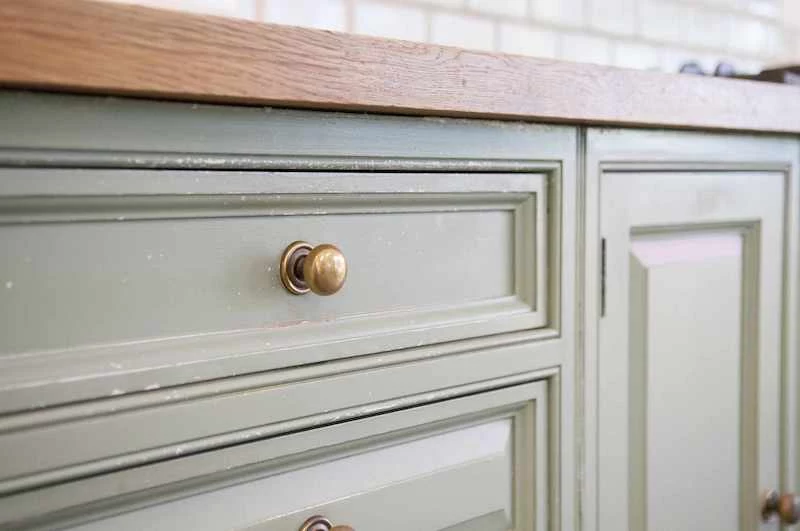
Hardware is the Jewelry of a Room
Swapping out dated cabinet pulls and knobs is a game-changer. You can find basic, decent-looking knobs at Home Depot for $3-$5 each, or splurge on high-end brass pulls from places like Rejuvenation or Schoolhouse for $15-$30 a pop. The key is to get the style right—sleek bar pulls for a modern look, classic round knobs for a traditional or farmhouse vibe.
CRITICAL TIP: Before you buy anything, measure the distance between the center of the screw holes on your current pulls. This is the “center-to-center” measurement. Buying new pulls with the same measurement will save you from the nightmare of drilling new holes and patching old ones.
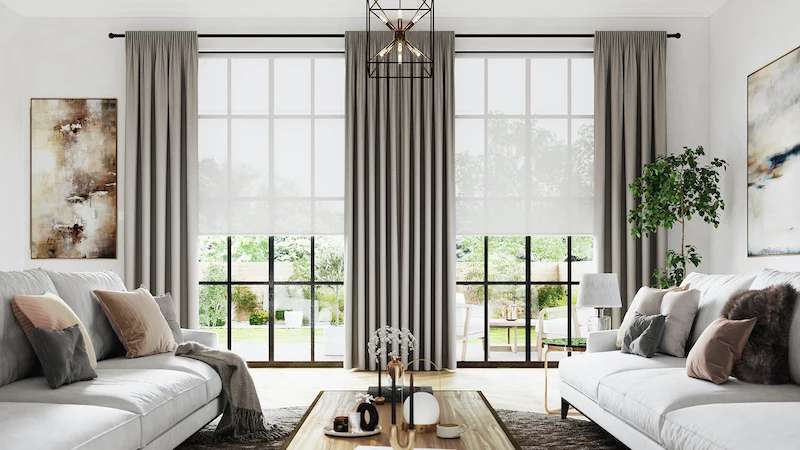
Transform with Textiles
Rugs, curtains, and pillows are the fastest way to inject new color and texture. But please, hang your curtains the right way! Mount the rod 4-6 inches above the window frame and extend it 6-12 inches past the frame on each side. This makes the window look massive and lets in way more light. And for length, curtains should either just ‘kiss’ the floor or puddle by an inch for a more luxe look.
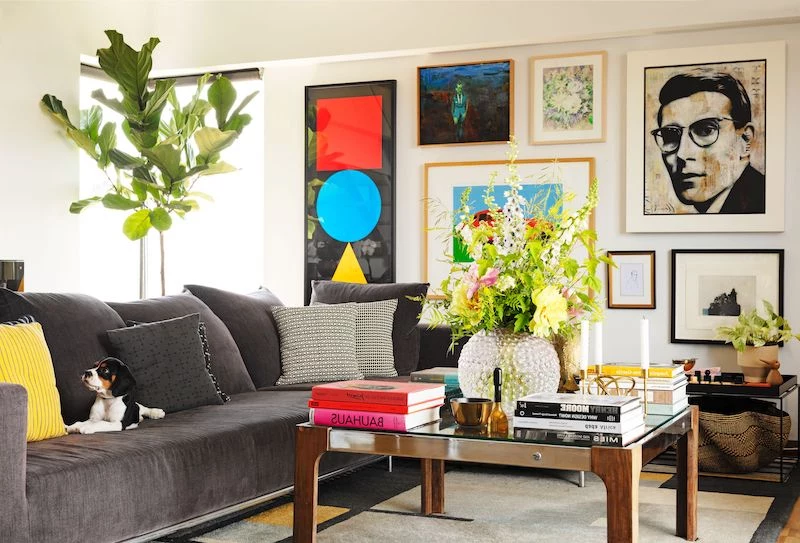
What to Do With Your Walls
Bare walls are a cry for help! Art is what makes a house a home, but there’s a right way to hang it. The center of your artwork (or the center of a gallery wall grouping) should be about 57-60 inches from the floor. That’s average eye level, and it just looks right.
Want to plan a gallery wall without turning your wall into Swiss cheese? Trace your frames on kraft paper, cut out the templates, and tape them to the wall with painter’s tape. You can move them around until the layout feels perfect.
Mirrors are another secret weapon. Hang one across from a window to double your natural light. A big floor mirror leaning against the wall at the end of a hallway can also create a stunning illusion of depth. Just make sure it’s reflecting something nice, not a pile of laundry!
Feeling Overwhelmed? Start with These 1-Hour Wins.
If all of this sounds like a lot, don’t sweat it. Start small. Here are a few things you can do in an hour or less to get that instant gratification and build momentum:
- Swap out your existing throw pillows for new ones with a fresh color or bold pattern.
- Buy a new, live plant and put it in a stylish pot. Greenery literally brings life into a space.
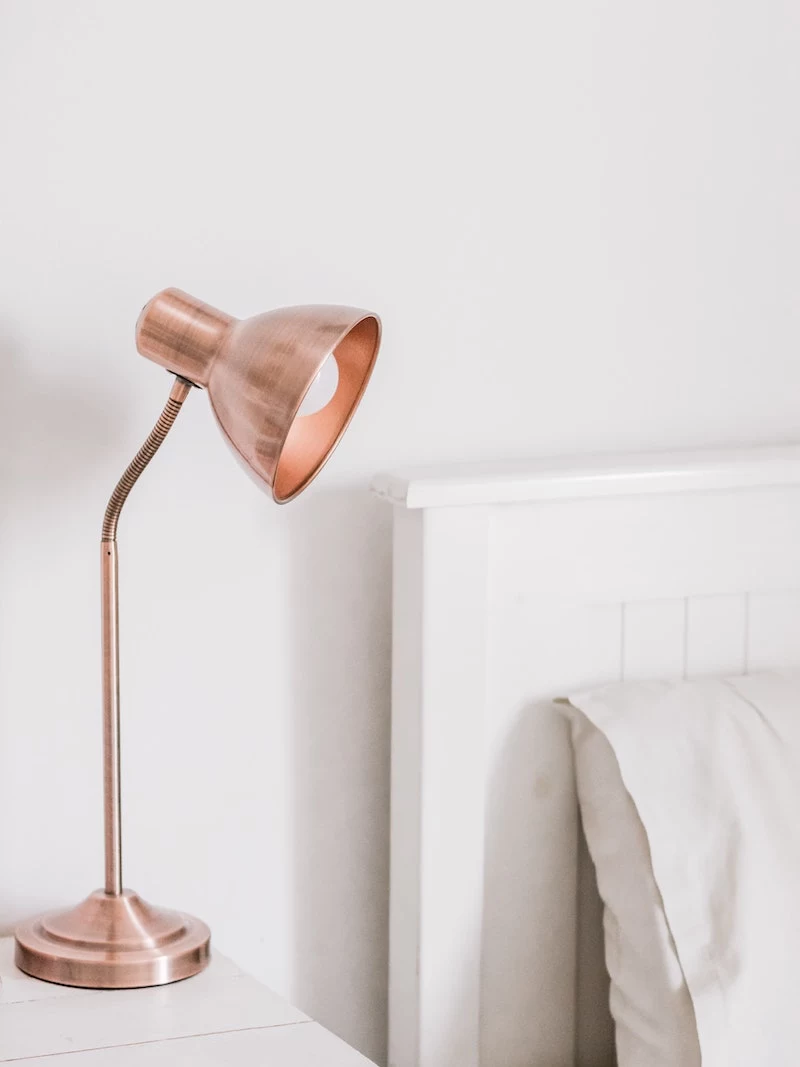
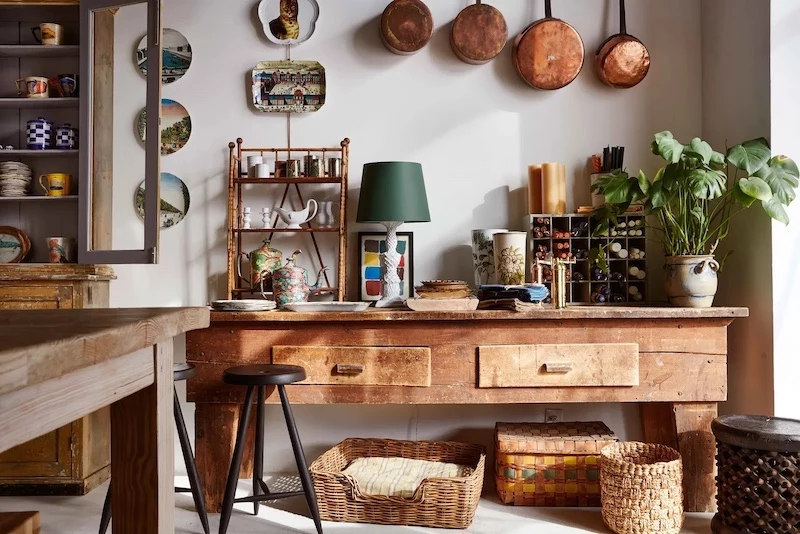
- Change the lampshade on a prominent lamp. It’s amazing what a new shape or color can do.
- Clear off just one surface completely—like your coffee table or kitchen counter—and style it with just three intentional items: a tray, a small plant, and a candle.
See? Revitalizing your home isn’t about one giant, expensive project. It’s about a collection of thoughtful choices that work together. Start with editing your stuff, then layer in color, light, and texture. Take your time, trust the process, and you’ll create a space that doesn’t just look better—it will finally feel like you.
Inspirational Gallery
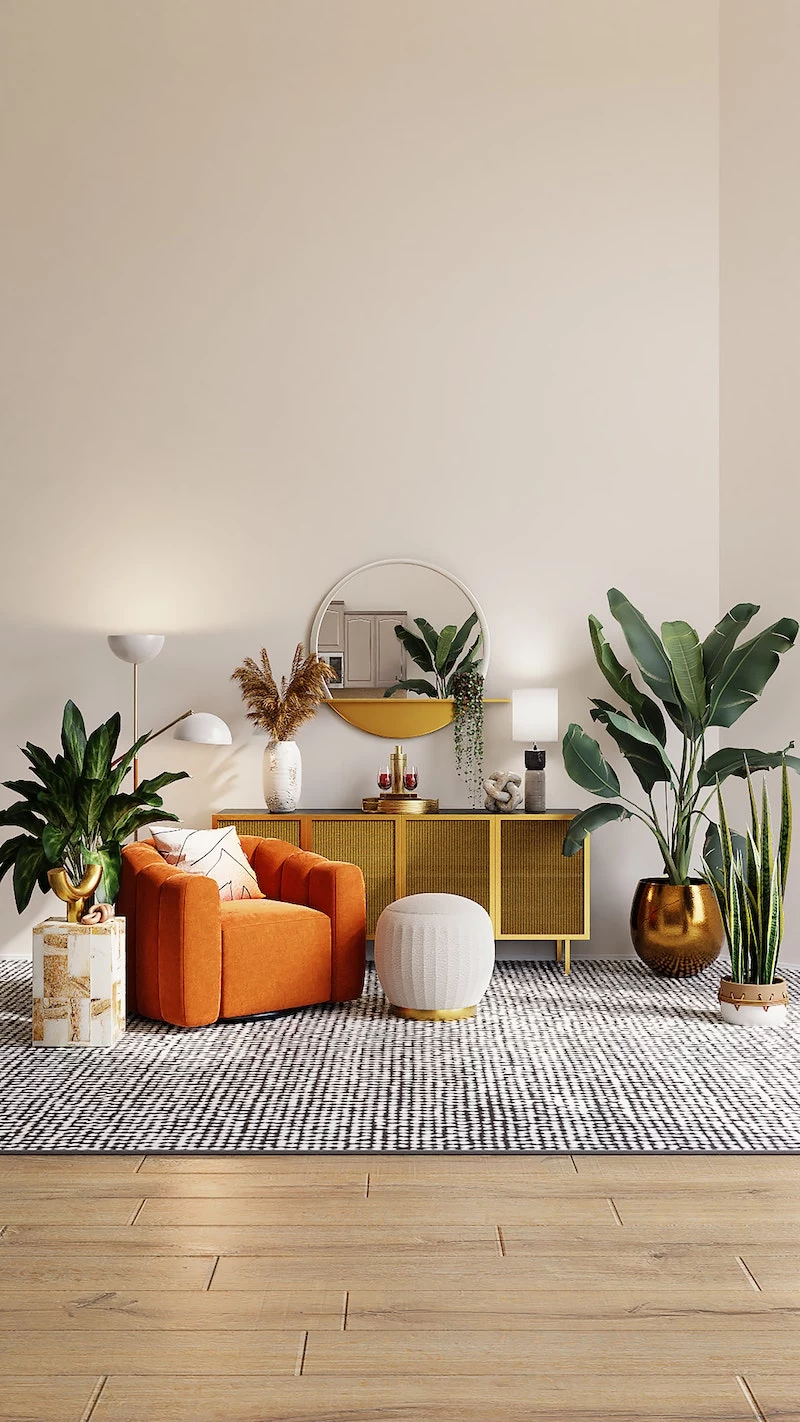
Beyond decluttering, what’s the one change that has the biggest impact with the least effort?
Think about your lighting. Professional designers never rely on a single overhead fixture. Instead, they create layers. Try adding a single, statement floor lamp—like the iconic Arco lamp or a more accessible tripod model from a brand like West Elm—to a forgotten corner. Point it towards a piece of art or a textured wall. This one addition creates a new focal point, adds a warm and inviting glow, and gives the entire room more depth and sophistication after dark. It’s a designer trick that works every time.


