Your Kitchen Scraps Can Feed Your Plants (If You Do It Right)
I’ve been working with plants for a long, long time, both in huge commercial greenhouses and helping regular folks with their living room jungles. And if there’s one thing I’ve learned for sure, it’s this: more houseplants are killed by too much kindness than by simple neglect. It’s true! We love our plants, so we drown them with water and stuff them with food they don’t need. Our best intentions often end up causing the most problems.
In this article
- What Your Plants Are Actually Hungry For
- An Honest Take on Homemade Fertilizers
- Kitchen Scraps You Can Actually Use
- What About Other Kitchen Scraps?
- STOP! Never Use These on Your Plants
- How and When to Feed Your Plants
- Fixing Common Feeding Mistakes
- Let’s Talk Money: Is This Even Worth It?
- Knowing When to Just Buy the Bottle
- Final Thoughts
- Inspirational Gallery
Think about it. A potted plant is living in its own little isolated world. It can’t just stretch its roots deeper to find more water or nutrients like a plant in your garden can. It’s completely at our mercy, relying on whatever we put in that pot. The initial soil has a finite amount of food, and once that’s gone, it’s up to us to restock the pantry. That’s where fertilizing comes in.
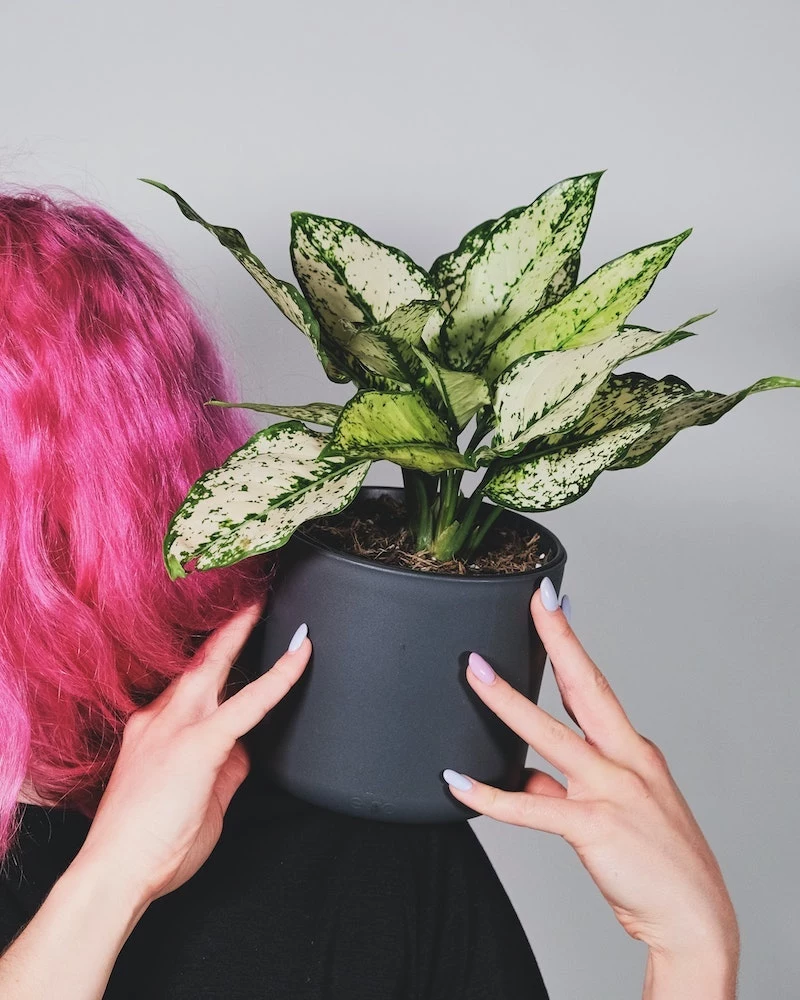
A lot of people grab the pre-made stuff from the store, and honestly, that’s perfectly fine. Those products are balanced and predictable. But there’s a real desire to be more resourceful, to use what we already have and cut down on waste. That’s an awesome goal. The thing is, making your own plant food isn’t as simple as tossing last night’s dinner scraps into your fiddle leaf fig. You’ve got to understand a little bit about what plants are actually hungry for.
This guide is basically years of my own trial and error, distilled into something practical. We’ll go over what your plants need in simple terms, look at common stuff from your kitchen, and figure out how to use it correctly—and what common mistakes to avoid. My goal is to help you feed your plants safely so you can build up that rich, healthy soil that leads to strong, gorgeous growth.
What Your Plants Are Actually Hungry For
Before we start raiding the fridge, we need a quick chat about plant nutrition. It’s a lot like our own diet. We need big things like proteins and carbs, but also smaller things like vitamins and minerals. Plants are the same. On a fertilizer bag, you’ll see three numbers, like 10-10-10. This is the plant world’s version of the nutrition label.
The Big Three: N-P-K
These are the macronutrients, the ones plants need the most. Knowing what they do is like being a plant detective.
- Nitrogen (N): This is all about the green. Nitrogen is the key ingredient for chlorophyll, which lets plants make food from sunlight. Lots of nitrogen means lush, vibrant leaves. A shortage? You’ll see yellowing leaves, usually starting with the older ones at the bottom of the plant.
- Phosphorus (P): Think roots, flowers, and fruits. Phosphorus helps a plant build a strong foundation underground and gives it the energy to produce blooms. If you’ve got a flowering plant that just refuses to perform, a lack of phosphorus might be the reason. It can sometimes even make the leaves look a bit purplish.
- Potassium (K): I call this one the great regulator. It’s the plant’s operational manager, moving water and nutrients around, toughening it up against diseases, and keeping it sturdy. It’s the key to all-around vigor. A plant that’s low on potassium might look floppy or have yellowing right along the leaf edges.
The Other Stuff: Secondary & Micronutrients
Beyond the big three, plants need a bunch of other elements in smaller doses. Things like calcium for strong cell walls (like bones for the plant) and magnesium, which is a core part of that chlorophyll molecule we talked about. Then there are tiny amounts of things like iron and zinc. A lack of iron, for example, can cause new leaves to come out yellow with bright green veins—a classic sign of chlorosis.
Oh Yeah, And Don’t Forget About pH
Here’s a crucial point: you can offer your plant a five-star meal, but if the soil’s pH is off, the plant can’t even eat it. The pH scale just tells you how acidic or alkaline the soil is. Most houseplants are happiest in soil that’s slightly acidic to neutral, somewhere between 6.0 and 7.0. If the soil gets too far out of that range, some nutrients get chemically ‘locked up,’ and the roots can’t absorb them. Good to know: If your plant looks sick but you’re feeding it, the pH might be the real problem. You can grab a cheap soil pH test kit online or at a garden center for under $15 to see what’s going on.
An Honest Take on Homemade Fertilizers
To be frank, in my professional life, I use carefully formulated commercial fertilizers. Why? It’s all about consistency and control. When I use a product with a guaranteed analysis, I know exactly what the plants are getting, every single time. That predictability is non-negotiable when you’re managing a ton of them.
Homemade stuff is a different beast. Its nutrient content is all over the place. One banana peel isn’t the same as the next. That’s why I prefer to call most homemade options ‘soil amendments’ or ‘conditioners’ instead of ‘fertilizers.’ They are fantastic for improving the soil’s texture, feeding the good microbes, and providing a gentle, slow release of some nutrients. Think of them as a healthy, supplemental snack, not the entire diet.
I learned this lesson the hard way. A client was so proud of their all-natural routine, which involved just dumping kitchen scraps directly on top of their houseplants. Their prize fiddle leaf fig was on death’s door. When I took a look, the pot was a horror show. The un-composted food had created a massive fungus gnat infestation, the soil was a compacted, stinking mess, and the roots were rotting away. They were trying to be kind, but they were creating a toxic swamp. We had to do a full emergency repot to save it. That taught me that ‘natural’ has to be paired with ‘knowledgeable’.
Kitchen Scraps You Can Actually Use
Alright, let’s get practical. Here are some common household items and how to turn them into something your plants will love. For each one, I’ll break down what it offers, how to use it like a pro, and what to watch out for.
1. Eggshells for a Calcium Boost
What they add: Eggshells are almost pure calcium carbonate. They offer very little nitrogen, phosphorus, or potassium. Their main job is to provide calcium and slowly make the soil less acidic.
Best for: Plants prone to blossom-end rot (a common issue with potted tomatoes and peppers), which is a sign of calcium deficiency. A little bit can be good for plants that like neutral soil.
Heads up: Do NOT use these on acid-loving plants like ferns, calatheas, or African violets—you’ll make them very unhappy.
Pro Tip: Just crushing them by hand is mostly useless; the pieces are too big and will take forever to break down. You need to turn them into a super-fine powder. First, rinse the shells well (the membrane can rot and stink), let them dry completely, then blitz them in an old coffee grinder or use a mortar and pestle until they have the consistency of flour. You can then mix about a teaspoon of this powder per 6-inch pot into your soil mix or just scratch it into the top layer once or twice a year.

2. Used Coffee Grounds for a Little Nitrogen
What they add: Used grounds have a bit of nitrogen and trace minerals. But their real value is as a soil conditioner—they improve the texture and add organic matter. By the way, used grounds are only slightly acidic, which is perfect for most houseplants. Fresh, unbrewed grounds are much more acidic and shouldn’t be used directly.
Best for: Any plant that appreciates organic matter and a gentle nitrogen nudge, especially leafy green ones.
Heads up: The biggest mistake is piling wet grounds on top of the soil. It creates a dense, moldy crust that water can’t get through. Instead, spread the grounds on a tray to dry out completely first. Then, sprinkle a very thin layer and scratch it into the top inch of soil. Even better? Add them to your compost pile first.
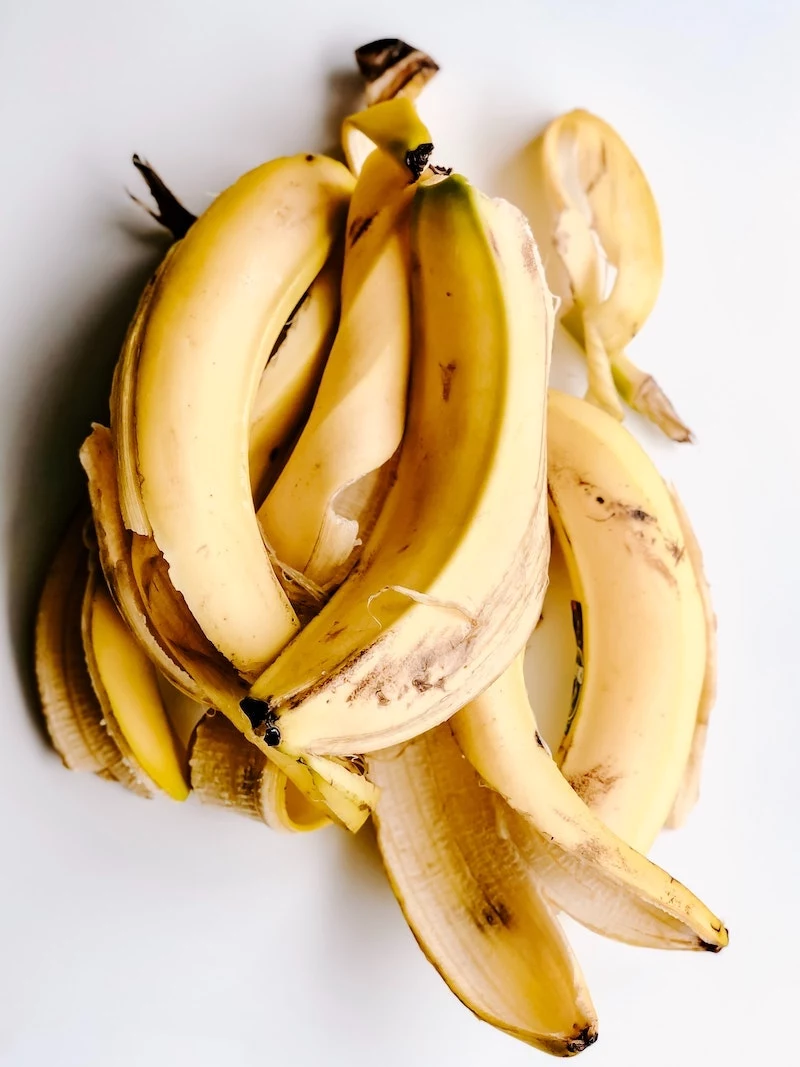
3. Banana Peels for a Potassium Punch
What they add: Banana peels are famous for their potassium content, which is fantastic for overall plant health and encouraging flowers. They also have some calcium and magnesium.
Best for: Great for flowering plants like hibiscus or hoyas, or really any plant that could use a little boost in vigor.
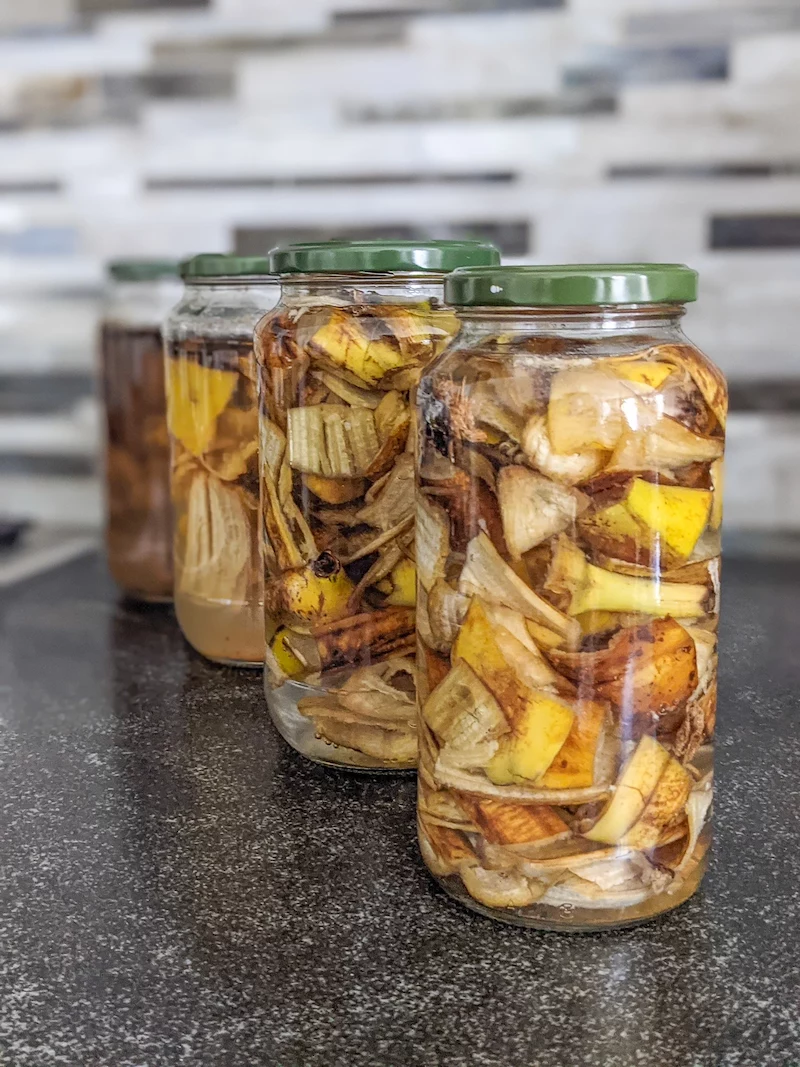
Heads up: The popular ‘banana tea’ can attract fruit flies and fungus gnats because of the sugars, and it can start to smell funky if you let it sit too long.
Pro Tip: To make the tea, chop one peel, toss it in a 32oz (1 liter) jar, and fill it with water. Let it steep for 2-3 days. The water will get a bit cloudy. After steeping, strain out the peels and dilute the liquid with an equal amount of fresh water before you use it. For a more stable, less stinky option, dehydrate the peels until they’re black and crispy (a low oven or dehydrator works), then grind them into a powder to mix into your soil.
4. Epsom Salt: A Specific Tool, NOT a General Fertilizer
What it provides: This is a big one. Epsom salt is magnesium sulfate. It contains magnesium and sulfur, period. It is NOT a balanced fertilizer.
Best for: Use it ONLY when you suspect a magnesium deficiency. The classic sign is when older leaves turn yellow but the veins stay green, looking like a little road map. Peppers and roses are known to be heavy magnesium feeders, but most houseplants rarely need it.
Heads up: Overdoing it can cause a toxic salt buildup in the soil and actually block the plant from absorbing other nutrients like calcium. This is a specific medicine for a specific illness, not a daily vitamin. A safe dilution is one teaspoon per gallon of water, used no more than once a month during the growing season.
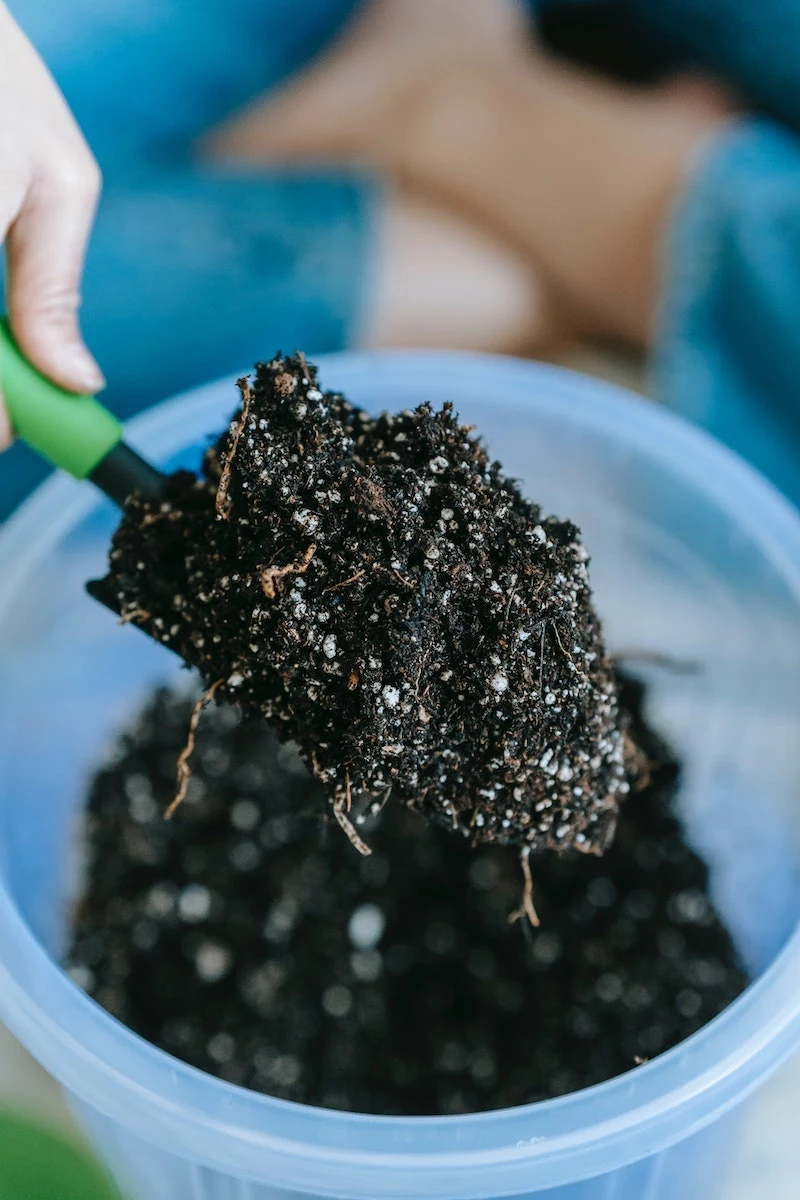
5. Worm Castings: The Undisputed Champion
If you’re going to use just one organic amendment, make it this one. Seriously. You can buy a bag to start with from any garden center for about $15-$20, and if you get into it, you can even start a small worm bin to make your own.
What they add: Everything! They offer a balanced, slow-release smorgasbord of nutrients and are packed with beneficial microbes that improve soil health and help plants fight off disease. They also improve soil structure and water retention. It’s almost impossible to overdo it.
Best for: Literally any plant. It’s gentle, effective, and improves the soil itself.
Pro Tip: The easiest way to use them is to ‘top dress.’ Just sprinkle a quarter-inch layer on top of the soil every couple of months. When you water, all that goodness gets carried down to the roots. You can also make ‘worm tea’ by steeping a cup of castings in a gallon of water overnight for a fantastic liquid feed.
What About Other Kitchen Scraps?
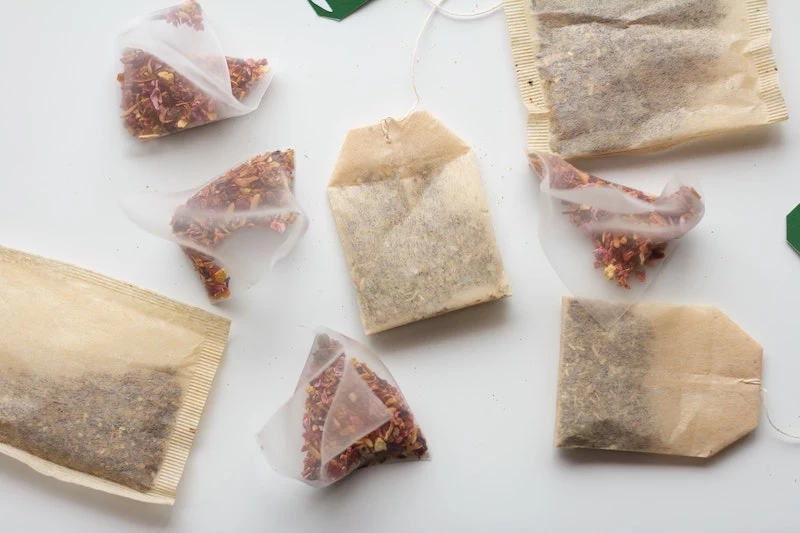
You might be wondering about other things. Used tea from tea bags is great—it offers similar benefits to coffee grounds. Water from boiling pasta or potatoes has some starches and minerals, which can be a mild boost. Just make sure the water is unsalted and has cooled down completely. Use it in moderation, as starchy water can sometimes encourage mold if the soil stays too damp.
STOP! Never Use These on Your Plants
While it’s fun to be resourceful, some things will do way more harm than good. Please, for the love of your plants, never add these to your pots:
- Meat, Dairy, or Oily Foods: These will rot, create an absolutely foul smell, and attract a horrifying array of pests and vermin. They also create greasy soil that repels water. Just… don’t.
- Heavily Salted or Sugary Items: Salty foods will dehydrate your plant and burn its roots. Excess sugar will feed bad bacteria and fungi, leading to rot and pests.
How and When to Feed Your Plants
Timing is everything. Plants are actively growing in the spring and summer, so that’s when they’re hungry. From about March to September is feeding season. In the fall and winter, most plants take a nap and don’t need the extra food. Fertilizing a dormant plant is a classic mistake that leads to root burn.
A non-negotiable rule: Always water your plant with plain water first. Get the soil evenly moist, then apply your liquid feed. Feeding a plant with dry soil is like chugging a sports drink on an empty stomach—it’s too intense and can scorch the delicate roots.
Remember the mantra: “weakly, weekly.” For liquid feeds during the growing season, it’s much better to use a very diluted solution more often than a strong dose once in a while.
Fixing Common Feeding Mistakes
- Problem: Tiny black flies (Fungus Gnats) are everywhere!
Cause: You’ve got damp topsoil and decaying organic matter, their favorite nursery. This is often from using wet amendments like coffee grounds or banana tea too liberally.
Solution: Let the top couple of inches of soil dry out completely between waterings. Yellow sticky traps will catch the adults. - Problem: A white crust on the soil or pot.
Cause: That’s salt buildup, a clear sign of over-fertilizing.
Solution: It’s time to flush the soil. Here’s how:- Take the plant to a sink or tub.
- Slowly pour a large amount of lukewarm water through the pot, letting it drain freely. Use about four times the pot’s volume in water.
- Let it drain completely. Do this once or twice a year to prevent buildup.
Let’s Talk Money: Is This Even Worth It?
One of the big draws of homemade plant food is saving money, right? A good-quality liquid fertilizer might cost you $12, but that bottle will likely last you a year or more for an average plant collection. Using kitchen scraps is technically ‘free,’ since you were going to throw them out anyway. If you want to get serious with the best stuff—worm castings—a starter worm bin might set you back $25 to $50, but it will produce endless free, high-quality soil conditioner after that. So yes, you can definitely save money, especially if you’re willing to put in a little time.
Knowing When to Just Buy the Bottle
There’s absolutely no shame in using a store-bought fertilizer. Sometimes, it’s just the right tool for the job. I always keep a balanced liquid fertilizer on hand for a few situations:
- For ‘Heavy Feeders’: Some plants are just plain hungry. Think monsteras, hibiscus, or potted citrus trees. They need a consistent, powerful diet that homemade options might not provide.
- For ‘Light Feeders’: On the other hand, plants like snake plants, ZZ plants, and most succulents barely need any fertilizer at all. A heavily diluted commercial feed once or twice in the summer is plenty.
- For Emergencies: If a plant is showing severe signs of a deficiency, a targeted commercial fertilizer can act fast and save it.
- For Simplicity: If you’re busy or new to this, a reliable all-purpose liquid fertilizer is a great, stress-free choice. Just promise me you’ll dilute it to half or even a quarter of the recommended strength. Gentler is always better.
Your Quick Win for Today
Finished a banana with your breakfast? Don’t toss the peel! Make the banana tea right now. Chop the peel, pop it in a jar with water, and set it on your counter. It’s the fastest, easiest way to give your flowering plants a little thank you. Takes two minutes of prep!
Final Thoughts
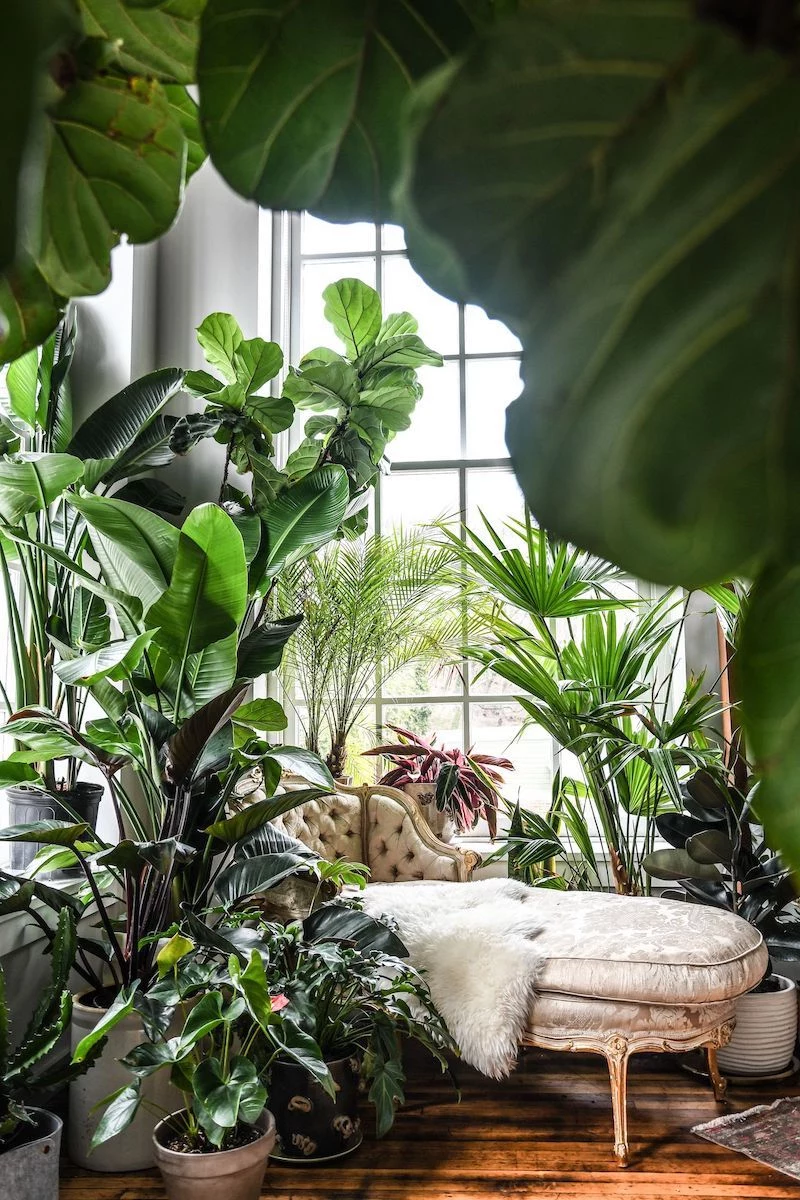
Learning to care for your plants is a journey. Using homemade amendments is a wonderful way to connect with that process and be more sustainable. The real key is to be observant. Pay attention to how your plants react. A new leaf or a sudden droop is your plant talking to you.
Start small. Try one of these methods on a single plant and see what happens. Focus on building amazing soil with things like worm castings, and use the other amendments as occasional treats. And remember, light and water are still the two most important things. Get those right, and feeding just becomes the cherry on top for a thriving indoor garden.

Inspirational Gallery
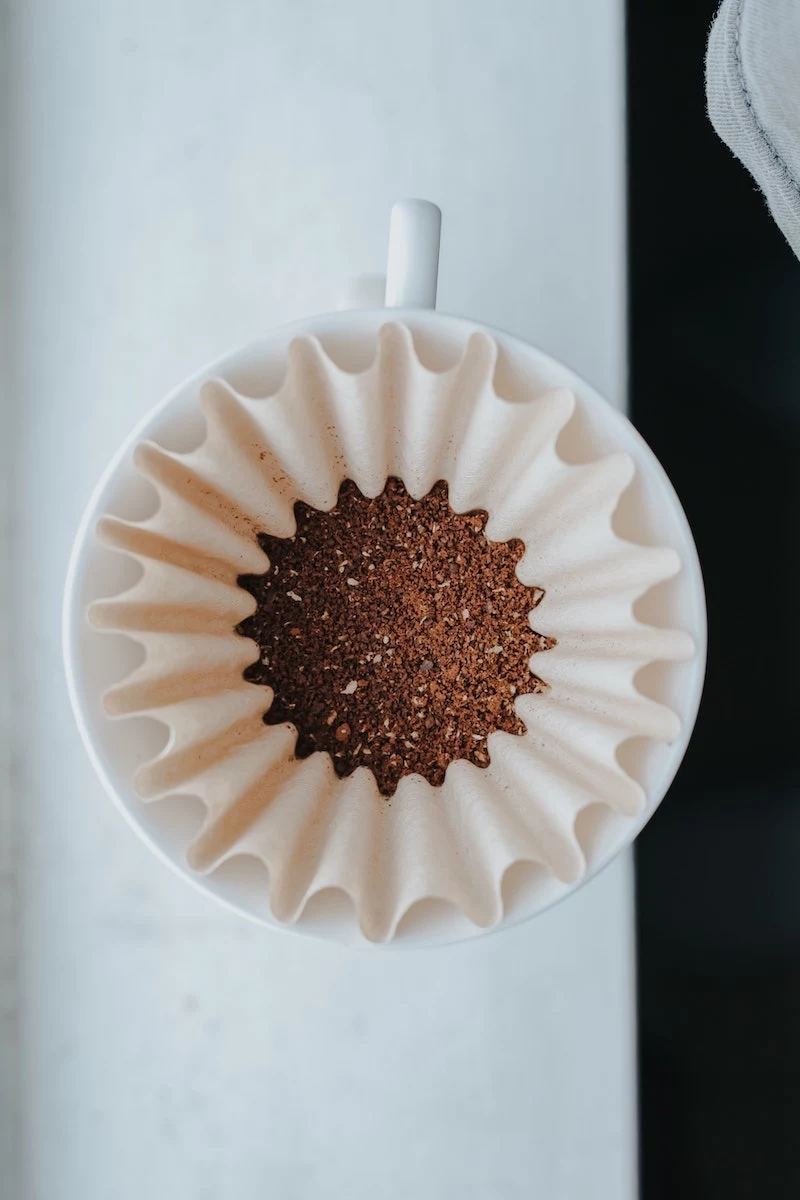
Coffee Grounds: A great source of nitrogen, perfect for foliage-heavy plants. Best used sparingly and for plants that prefer slightly acidic soil, like ferns or prayer plants.
Banana Peel Tea: Rich in potassium, which is fantastic for encouraging flowers and fruit. Less acidic and gentler for a wider range of plants.
For a balanced diet, try alternating between them every few weeks during the growing season.
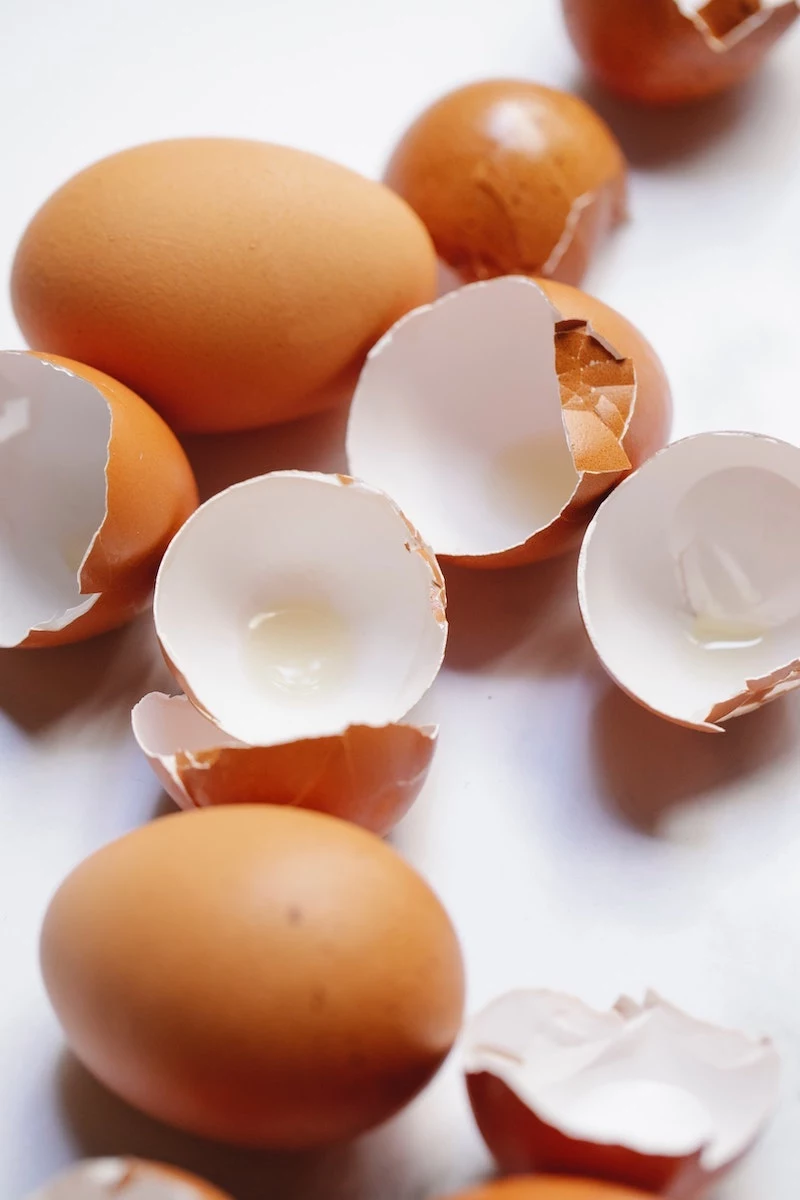
Did you know? Eggshells are composed of about 95% calcium carbonate, a crucial mineral for building strong cell walls in plants. This helps them resist pests and diseases.
To make the calcium available, the shells must be finely crushed. A coffee grinder or a mortar and pestle transforms them into a powder that breaks down much more easily in the soil or when steeped in water.
- Deters soft-bodied pests like slugs and snails (when sprinkled on top of soil).
- Provides a slow, steady release of calcium for strong plant structure.
- Helps to aerate dense potting soil, improving root health.
The secret? Well-rinsed and finely crushed eggshells. Avoid using shells from hard-boiled eggs if the water was salted.
The allure of “natural” doesn’t mean you can’t overdo it. Think of your homemade fertilizer as a potent concentrate.
A key rule: Always dilute, dilute, dilute! A good starting point is to mix one part of your liquid fertilizer (like banana peel or coffee water) with at least four parts plain water. It’s always safer to give a weak dose more frequently than one strong dose that could burn your plant’s delicate roots.
Can I just bury my kitchen scraps directly in my plant’s pot?
It’s tempting, but it’s best to avoid this. Whole food scraps, like a banana peel or vegetable ends, decompose very slowly in a pot. In the process, they can attract fungus gnats, mold, and other unwanted pests. Instead of helping, this can create a smelly, unhealthy environment for your plant’s roots. Stick to ‘teas’ or finely ground, dried materials for the best and safest results.
While many kitchen leftovers can be beneficial, some are definite no-gos for your indoor jungle. A quick guide:
- YES, PLEASE: Coffee grounds (used), loose-leaf tea, eggshells (crushed), banana peels, water from boiling vegetables (unsalted!).
- NO, THANK YOU: Anything oily, greasy, or salty. All meat and dairy products. Citrus peels in large amounts (too acidic). Onions and garlic (can harm beneficial soil microbes).
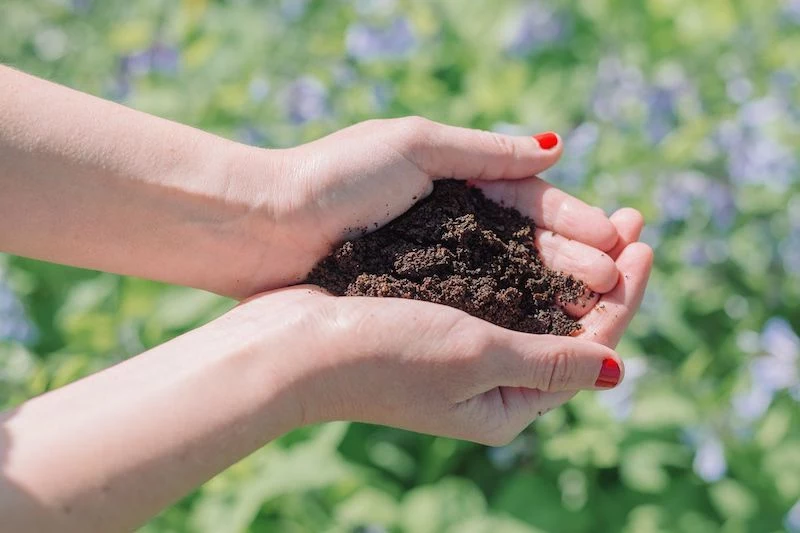
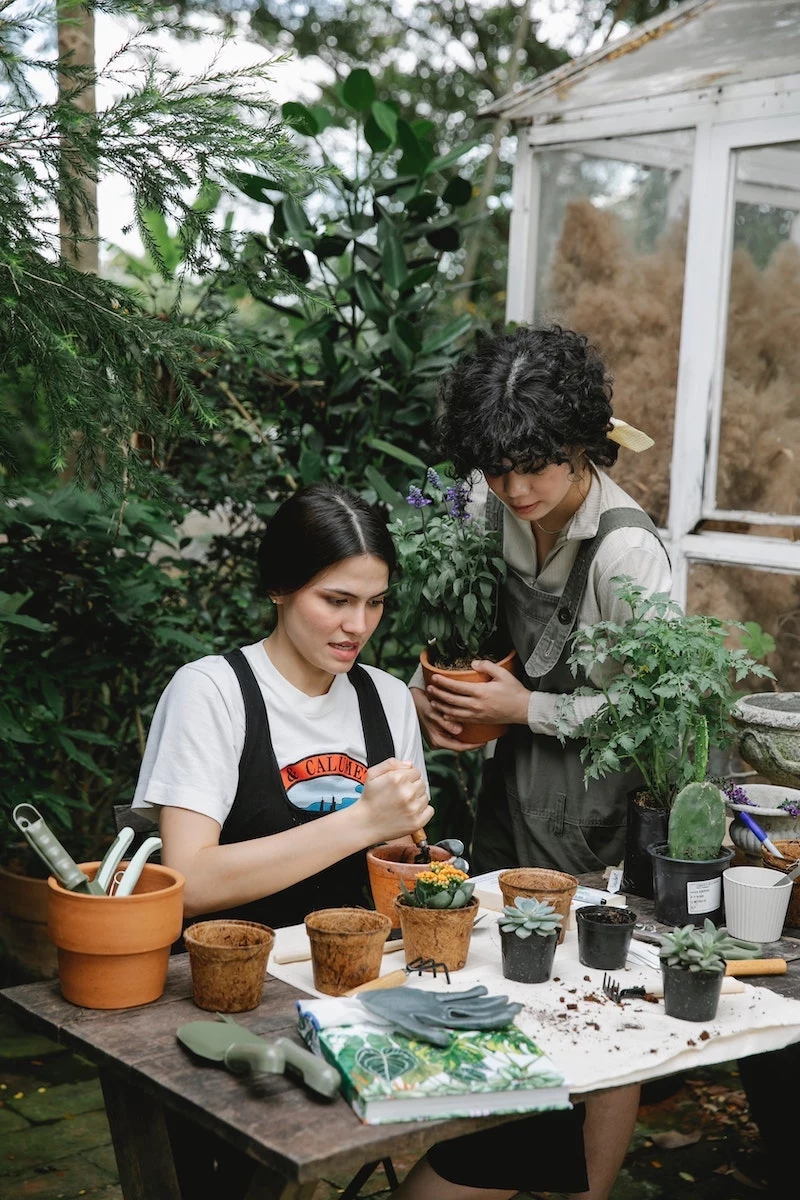
That satisfying feeling of turning waste into food for your plants is a huge part of the appeal. It’s a small but powerful way to participate in a natural cycle. You’re not just feeding your plant; you’re enriching its soil, building a healthier ecosystem in the pot, and reducing your contribution to landfill. The vibrant new leaf that unfurls is a direct result of that mindful connection.
According to the EPA, food is the single largest category of material placed in municipal landfills in the United States.
Ready to level up your DIY fertilizer game? Consider creating a small-scale worm farm, also known as vermicomposting. A compact bin from a brand like ‘VermiHut’ can fit on a balcony or in a utility closet, quietly turning a wide array of kitchen scraps into ‘worm castings’—a nutrient-rich, perfectly balanced amendment that gardeners call ‘black gold’. It’s one of nature’s most effective fertilizers.
If you’re making ‘plant teas’ by steeping scraps in water, be sure to use the mixture within a day or two. Left to sit, these nutrient-rich liquids can begin to ferment and grow harmful bacteria, creating foul odors and potentially harming your plants. Treat it like fresh food: make what you need, use it promptly, and enjoy the healthy results.


