The Foolproof Guide to Making Incredible Honeycomb Candy at Home
I’ve spent a long, long time in professional kitchens, and let me tell you, I’ve seen everything when it comes to sugar. I’ve watched a nervous apprentice nail a perfect, airy batch of honeycomb on their first shot. And yes, I’ve seen seasoned pros get distracted for a split second and turn a gorgeous amber syrup into a smoking, bitter disaster.
In this article
Hot sugar is no joke; it doesn’t forgive mistakes. But honestly? It’s also pure magic. With just a few simple ingredients, a little bit of science, and a healthy dose of respect, you can create something truly special.
So, this isn’t just another recipe. It’s the method—the real deal process learned and refined in busy kitchens. We’re going to get into the nitty-gritty of what’s actually happening in your pot, covering those tiny details that make the difference between a sticky failure and a shatteringly crisp success. Whether you call it honeycomb, cinder toffee, hokey pokey, or seafoam, the science is the same. Let’s get it right.
First Things First: What Are You Getting Into?
Before we dive in, let’s set some realistic expectations. You’re looking at about 20 minutes of active cooking and prep, plus at least an hour of hands-off cooling time. This recipe yields roughly a pound of candy, and the best part? All the ingredients should only cost you between $5 and $7.
The Science Behind the Magic
To really master honeycomb, you need to understand the ‘why’ behind the ‘how.’ When you know what’s supposed to be happening, you can troubleshoot any issues that pop up along the way. It’s about controlling a reaction, not just following a list.
More Than Just Sweetness
When you cook that sugary syrup, two amazing things are happening. The first is caramelization. This is the breakdown of sugar molecules under heat, which creates those deep, nutty flavors and that beautiful amber color. But since we’re using honey, we also kick off the Maillard reaction. The amino acids in the honey react with the sugars to create even more complex, roasty, toasty flavors. This tag team is what gives honeycomb its signature taste.
Temperature is Everything
Sugar syrup is a bit of a chameleon as it heats up. For honeycomb, we need to get it to the ‘hard crack’ stage, which is right around 295°F to 305°F (that’s 146°C to 152°C). At this point, nearly all the water has evaporated, and the sugar concentration is sky-high. If you don’t hit this temp, your candy will have too much water left in it, making it soft, tacky, and a magnet for moisture from the air. A reliable digital thermometer is non-negotiable here.
The Big Fizz: Baking Soda’s Role
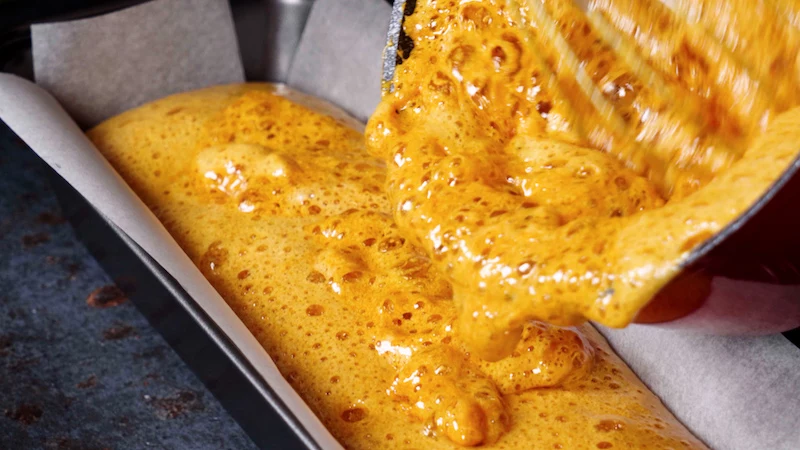
The real showstopper is when you add the baking soda. Baking soda is a base, and when it hits that hot, slightly acidic syrup (thanks, honey and caramel!), it decomposes and unleashes a burst of carbon dioxide gas. These CO₂ bubbles are what get trapped in the thick syrup, creating that incredible, airy texture we’re after. The timing here is absolutely critical—you add it off the heat to get a fast but controlled foam-up.
Your Toolkit: Gear Up for Success
In the pros call it ‘mise en place’—getting everything in its place before you start. With hot sugar, this isn’t just a suggestion; it’s a rule. Sugar waits for no one.
- A Heavy-Bottomed Saucepan: This is your most important tool. A flimsy pot has hot spots that will burn your sugar. A heavy base means even heat. And go bigger than you think you need! The mixture will foam up to at least triple its original volume.
- An Instant-Read Digital Thermometer: Clip-on candy thermometers are okay, but a good instant-read is faster and more accurate. You don’t need to break the bank; a well-reviewed $15-$25 one from Amazon will work just fine. I’ve had good luck with brands like Lavatools, but whatever you get, test it in boiling water first to make sure it’s accurate (it should read 212°F / 100°C at sea level).
- Heat-Proof Spatula & Metal Whisk: A silicone spatula is great for the initial stirring, but you’ll want a sturdy metal whisk for the final, brief mix.
- A Prepared Pan: A standard 9×9 inch metal baking pan works perfectly. Get it lined with parchment paper, leaving some overhang to act as handles. Do this before you even think about turning on the stove.
The Ingredient Lineup
- Granulated Sugar (200g / 1 cup): The backbone of our candy.
- Honey (85g / 1/4 cup): This adds flavor, a little moisture, and the acid for our baking soda reaction. Mild clover honey is classic, but a darker buckwheat honey can give a really cool, robust flavor.
- Corn Syrup or Golden Syrup (60g / 3 tbsp): This is the secret pro ingredient. It’s an ‘invert sugar’ that stops large sugar crystals from forming, keeping your candy smooth instead of grainy. Corn syrup is easy to find in the US and gives a clean flavor. Golden syrup, a UK favorite, lends a richer, more buttery note. You can usually find it in the international aisle of larger supermarkets or online.
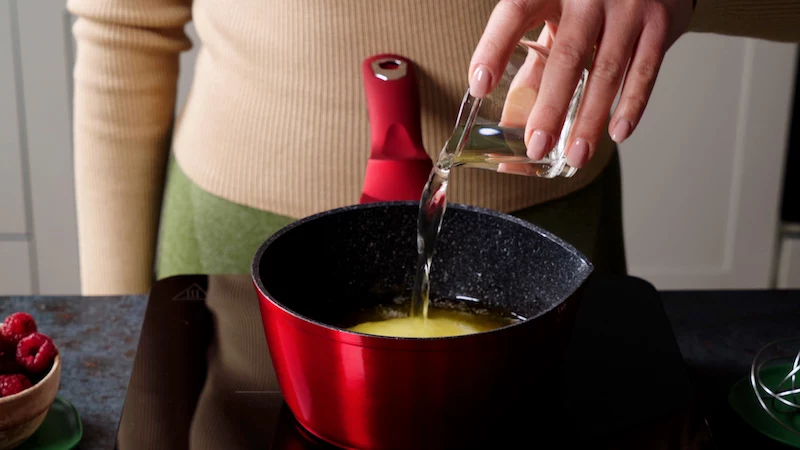
- Water (60ml / 1/4 cup): Just here to help dissolve the sugar at the start.
- Baking Soda (10g / 2 tsp): Make sure it’s fresh! Old baking soda loses its fizzing power. A quick tip: Before you start, put a little bit in a bowl and add a splash of vinegar. If it fizzes up like a volcano, you’re good to go. Sift it to get rid of any lumps.
The Step-by-Step Method
Read this all the way through before you start. Clear your counter, and please, keep kids and pets out of the kitchen for this one. Focus is key.
Step 1: Get Your Station Ready
Line that pan. Sift your baking soda into a small bowl and put it right next to the stove, along with your whisk. This simple setup will make the whole process feel way less frantic.
Step 2: Dissolve the Sugars
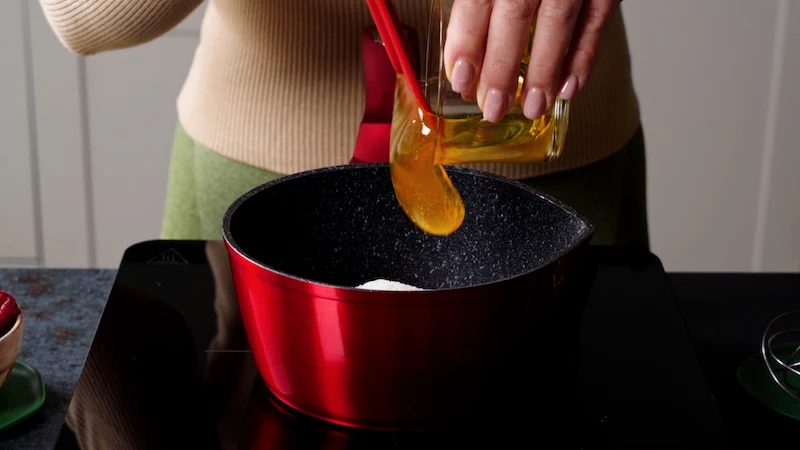
In your heavy-bottomed pot, combine the sugar, honey, corn syrup (or golden syrup), and water. Turn the heat to medium and stir gently until the sugar is totally dissolved. No more gritty feeling! Once it’s dissolved, stop stirring. Seriously. Any more agitation just invites unwanted sugar crystals to the party.
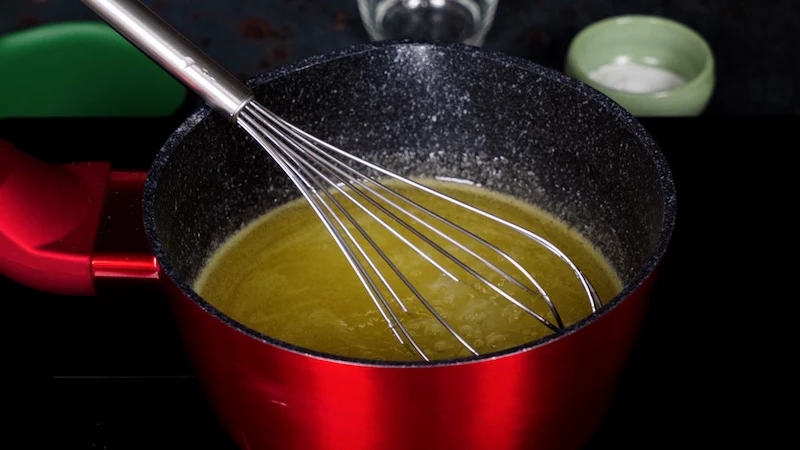
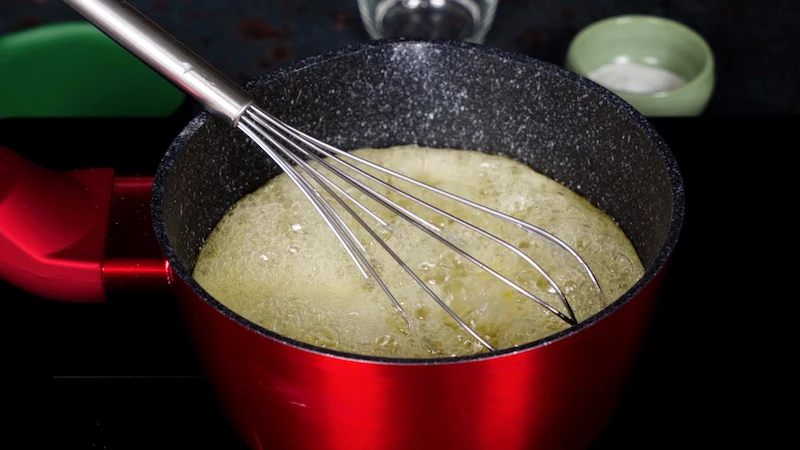
Step 3: Cook to Hard Crack
Let the mixture come to a boil. Watch the bubbles—they’ll start out big and slow, then get smaller and more frantic as the water boils away. The color will slowly deepen from pale straw to a rich amber. This usually takes 8 to 12 minutes. You’re aiming for 300°F (149°C). The color you’re looking for is like a shiny new copper penny or a good glass of apple cider. If it starts looking like iced tea, you’re getting dangerously close to burnt!
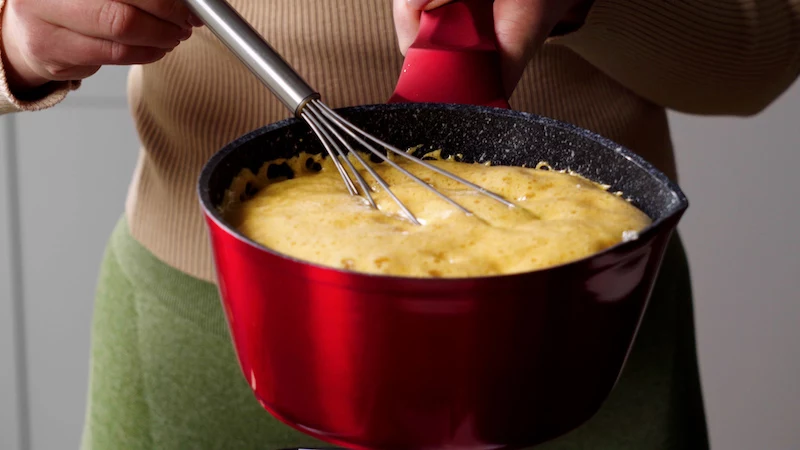
Step 4: The 5-Second Reaction
The second your thermometer hits 300°F, kill the heat and move the pot off the burner. Let the bubbling subside for just a moment (about 10 seconds). Now, dump in all the sifted baking soda at once. Grab your metal whisk and mix like crazy for NO MORE than 5 seconds. You’ll see it foam up and turn opaque. Don’t be tempted to keep whisking! You’ll just beat all the air out. I’ll never forget the time I over-whisked a batch for a dinner party. It collapsed into a dense, sad little puck. We ate it anyway, but I learned my 5-second lesson!
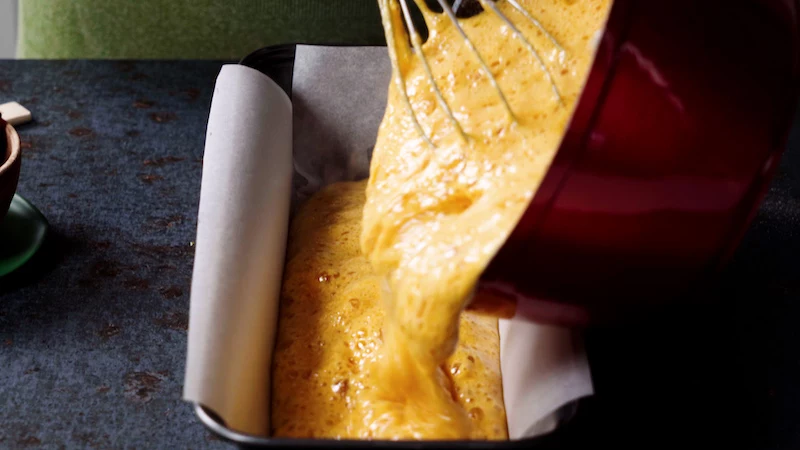
Step 5: The Pour
Immediately pour the foaming candy into your prepared pan. Don’t scrape the pot—the stuff left behind is often a different temperature. Most importantly, do not spread it with a spatula. Let it settle on its own to protect those delicate air bubbles.
Pro-Tip for Cleanup: As soon as the candy is poured, carefully fill the hot pot with water and put it back on the stove. Let it simmer, and the hardened sugar will dissolve effortlessly while your candy cools. It basically cleans itself!
Step 6: The Cool Down
Let the pan cool completely on a wire rack at room temperature. This will take at least an hour, maybe two. Resist the urge to pop it in the fridge; the sudden temperature change and moisture will make it sticky.
Troubleshooting: When Things Go Wrong
Don’t worry, it happens. Learning from sticky situations is part of the fun.
- It’s Chewy and Sticky: You pulled it off the heat too soon. It didn’t reach the 300°F hard crack stage. Next time, trust your thermometer and watch for that deep copper color.
- It Puffed Up, Then Collapsed: Ah, the classic over-mixing problem. Remember, 5 seconds of whisking, max! You just want to incorporate the soda, not whip it.
- It’s Grainy: You probably stirred it after it started boiling, or a sugar crystal fell in from the side of the pot. To prevent this, you can use a wet pastry brush to wipe down the inside of the pot as the syrup cooks.
- It Tastes Burnt: You cooked it too long. The line between perfect and burnt is incredibly fine—we’re talking seconds. Once the temp passes 290°F, don’t take your eyes off it.
By the way, a quick word on humidity: it’s not your friend. Trying to make honeycomb on a very humid or rainy day can be a losing battle. The sugar syrup can absorb moisture from the air as it cooks, preventing it from reaching the proper hard crack stage. For best results, save this project for a dry day.
Breaking, Storing, and Using Your Masterpiece
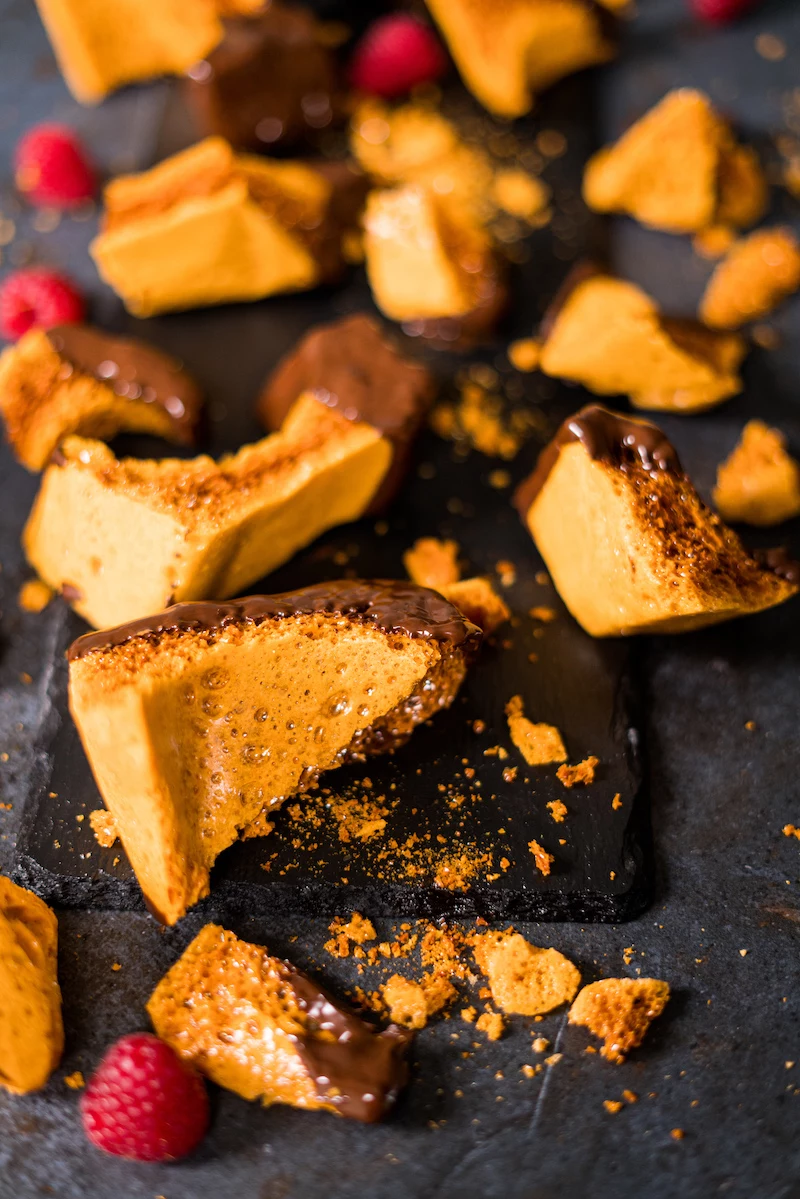
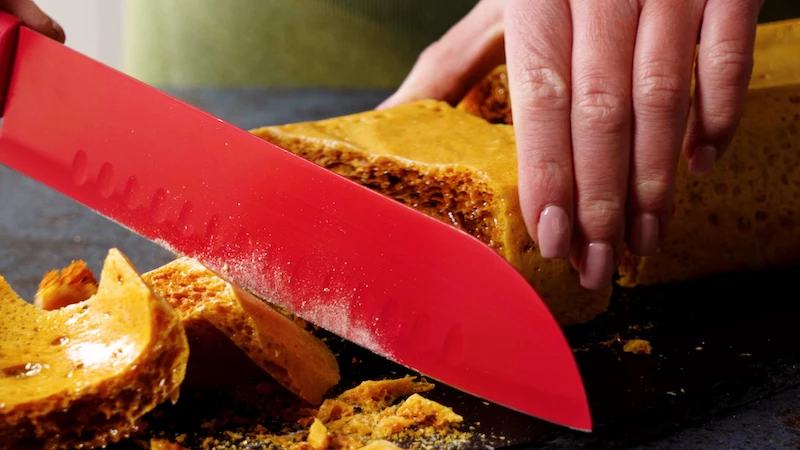
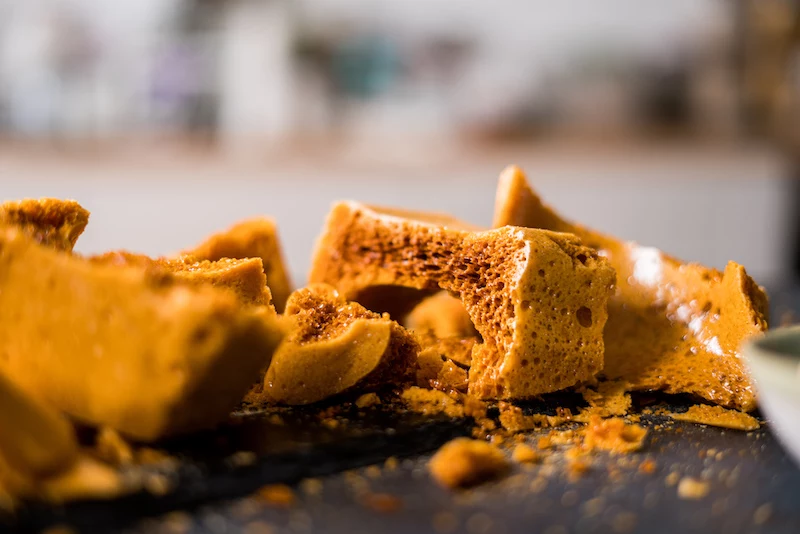
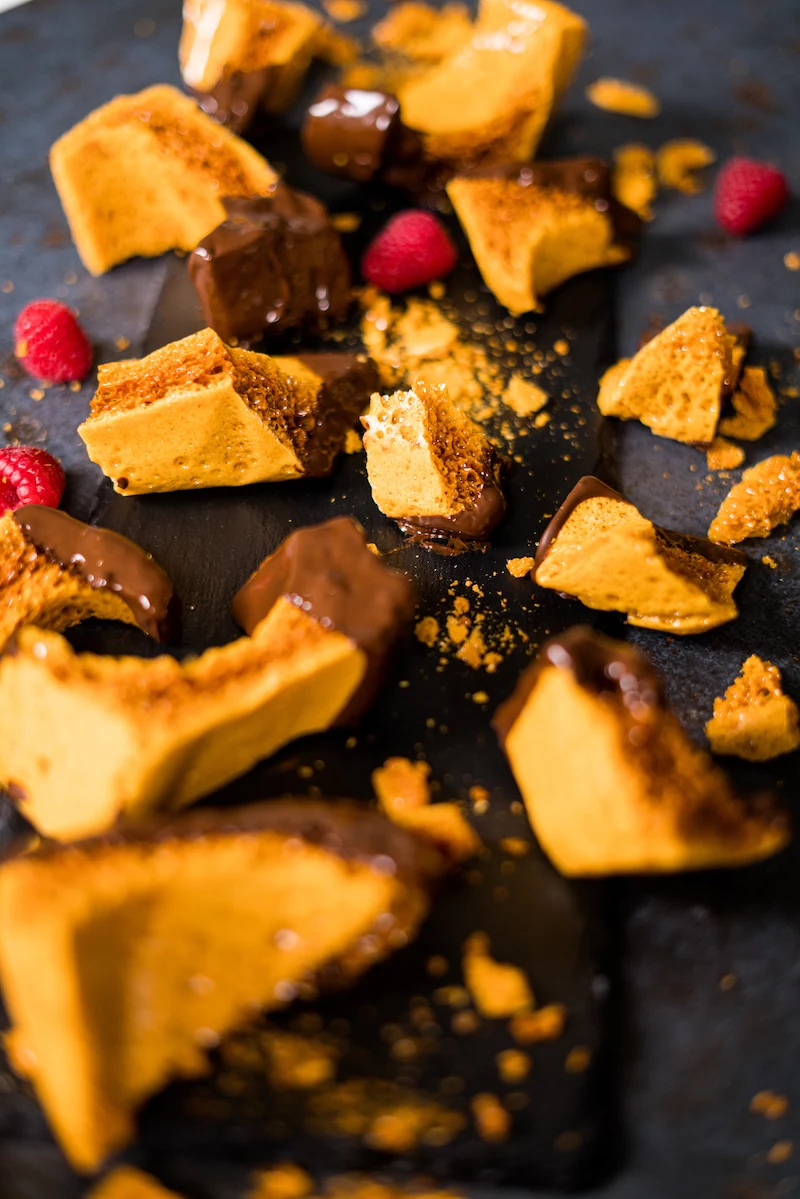
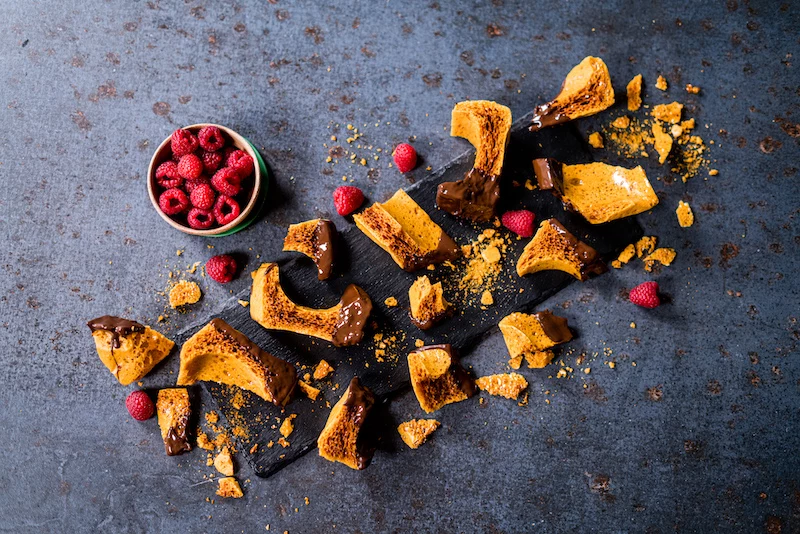
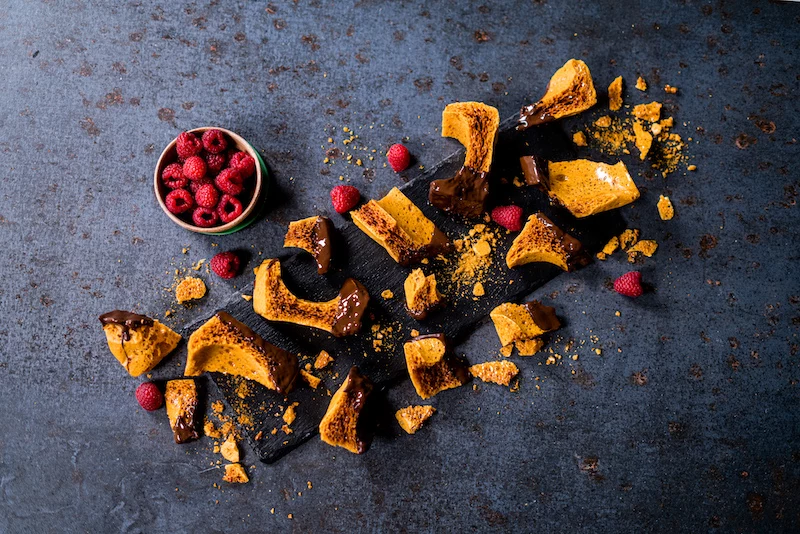
Once it’s cool and hard, lift the slab out using your parchment paper handles. The best way to break it is to place it on a cutting board and give it a few sharp taps with the back of a heavy spoon. It’ll shatter into beautiful, rustic shards.
To store it, humidity is the enemy. You need a truly airtight container. A glass jar with a tight seal is perfect. Keep it at room temperature, and if you live somewhere humid, toss in a food-safe silica gel packet. Stored right, it should stay crisp for a week or two.
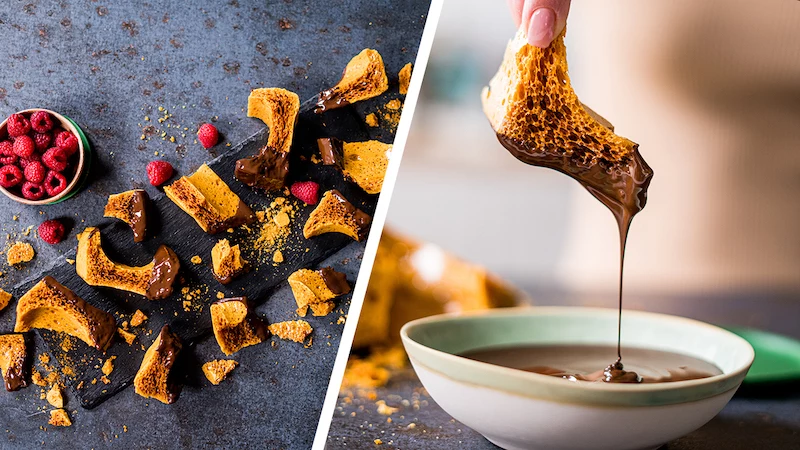
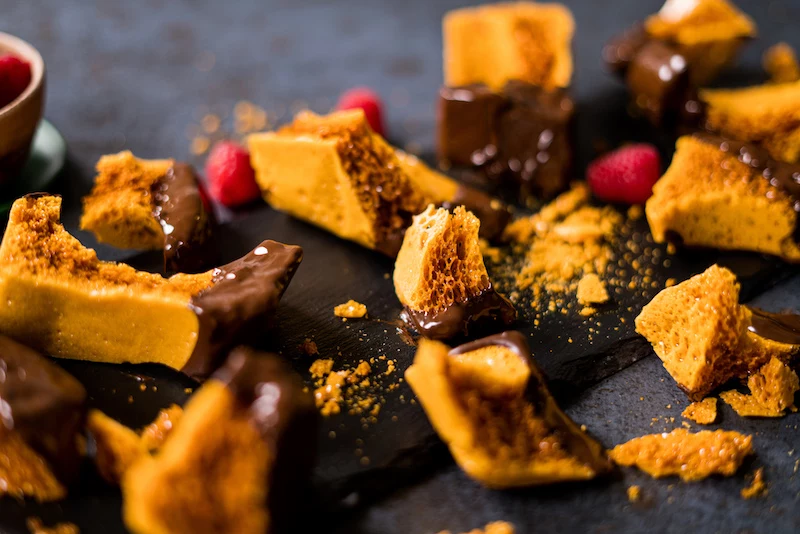
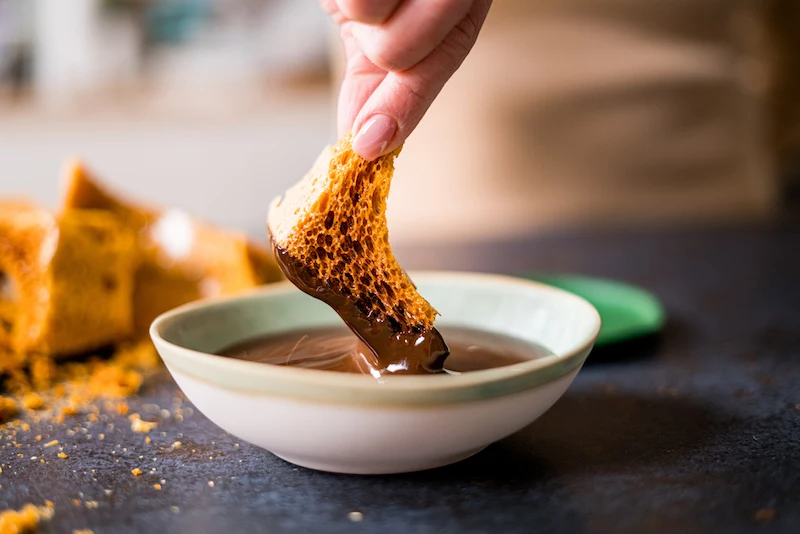
And don’t just eat it plain (though that’s amazing). Try dipping pieces in tempered dark chocolate, or crush it up and fold it into vanilla ice cream. A big, dramatic shard also looks fantastic as a garnish on a cake or mousse.
A Quick Word of Warning
I have to say this: be extremely careful. Hot sugar at 300°F is far more dangerous than boiling water because it’s thick and sticks to skin. Wear long sleeves, and keep a big bowl of ice water nearby just in case. If you get any on you, plunge the area into the ice water immediately.
And please, don’t try to double the recipe, at least not your first few times. A larger volume of sugar heats unevenly, and you’ll likely run out of time to get it poured before it starts to set in the pot. Stick to a single batch for a much higher chance of success. You’ve got this!
Inspirational Gallery

More than 90% of honeycomb candy failures are due to two factors: incorrect temperature or rushing the final step.
Sugar work is a science of patience. Once you’ve added the baking soda, the mixture will foam up dramatically. The biggest temptation is to stir it vigorously. Don’t! Over-mixing will deflate all the precious air bubbles you just created, resulting in a dense, hard candy instead of a light, airy honeycomb. Gently but quickly fold the soda in just until it’s combined, then pour immediately.
My honeycomb turned out sticky and chewy instead of crisp. What went wrong?
This is almost always a temperature issue. Your syrup likely didn’t reach the ‘hard crack’ stage (300-310°F or 149-154°C). At this temperature, almost all the water has evaporated. If you stop cooking too soon, the residual moisture will leave the candy soft and tacky. Another culprit could be humidity; sugar is hygroscopic, meaning it absorbs moisture from the air. Try making honeycomb on a dry, clear day for the best, most shatteringly crisp results.
Digital Instant-Read Thermometer: Fast, precise, and versatile. A model like the ThermoWorks Thermapen gives you a reading in seconds, minimizing the time your hand is over a hot pot. Its accuracy is unmatched, which is critical for hitting that perfect hard-crack stage.
Classic Candy Thermometer: Affordable and reliable. A traditional glass thermometer, like one from Taylor Precision, clips to the side of your pot for continuous monitoring. It’s slower to register changes, so you need to watch it closely as the temperature climbs.
For beginners, the instant-read offers more control and reduces the margin for error.
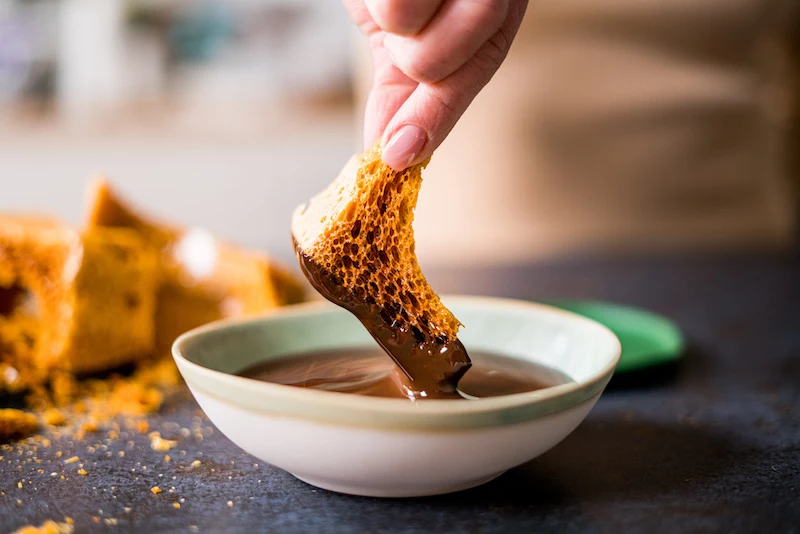
Once you’ve mastered the basic honeycomb, the real fun begins. Think beyond just eating the shards. For a show-stopping dessert, roughly crush the candy and fold it into a no-churn vanilla ice cream base just before freezing. Or, for a decadent treat, dip large pieces in high-quality melted dark chocolate (a 70% cacao from a brand like Valrhona or Guittard works beautifully) and sprinkle with flaky Maldon sea salt while the chocolate is still wet. It’s the perfect balance of bitter, sweet, and salty.
- A deep, nutty flavor with a hint of spice.
- A salty counterpoint to the intense sweetness.
- A beautiful, speckled appearance in the final candy.
The secret? Browning your butter. Before adding the sugar and honey, gently melt your butter over medium heat and continue cooking until it foams and you see browned milk solids at the bottom. The aroma will be intensely nutty. Proceed with the recipe from there for a honeycomb with incredible depth and complexity.
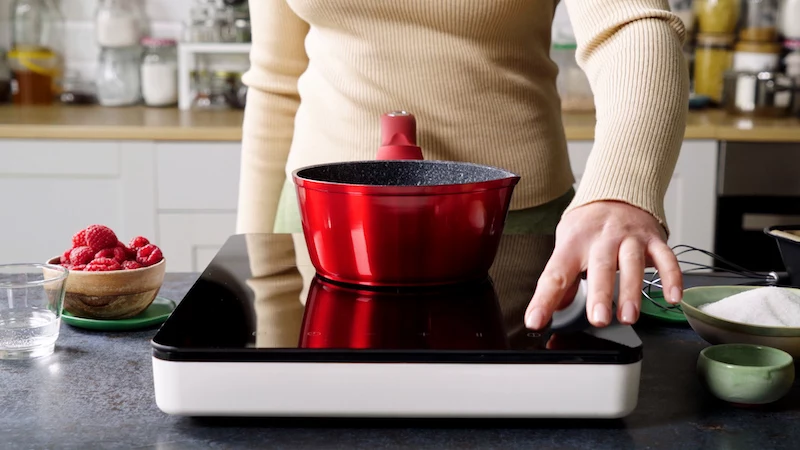
The right tool for the job: While the ingredients are simple, your choice of saucepan is crucial. A heavy-bottomed, light-colored saucepan (like those from Cuisinart’s Multiclad Pro line or a classic All-Clad) is non-negotiable. The heavy base distributes heat evenly, preventing hot spots that can scorch the sugar and turn your candy bitter. The light interior lets you accurately judge the amber color, which is your most important visual cue.
Think beyond honey. While classic, other liquid sugars create fascinating variations:
- Golden Syrup: Using Lyle’s Golden Syrup produces a lighter, more buttery-tasting candy with a beautiful pale gold color, very popular in the UK.
- Maple Syrup: A high-quality, dark maple syrup will give the honeycomb a distinct, smoky, and woodsy flavor profile that’s perfect for autumn.
- Corn Syrup: While lacking in flavor, using light corn syrup helps prevent crystallization, making it a very stable and reliable option for first-timers.
The dramatic foaming of honeycomb is a simple acid-base reaction. The heat of the sugar syrup causes the sodium bicarbonate (a base) to decompose, releasing carbon dioxide gas. These gas bubbles get trapped in the thick, viscous syrup as it rapidly cools and hardens, creating the iconic airy, sponge-like structure. It’s chemistry you can eat!
Don’t throw away that pan with the hardened caramel! Simply fill the pot with water, place it back on the stove, and bring it to a boil. The hot water will dissolve every last bit of the hardened sugar, making cleanup surprisingly effortless. No scrubbing required.


