Forget Everything You Know About Stuffed Potato Bites
I’ve spent a lot of time in professional kitchens, and if there’s one thing I’ve learned, it’s that the fanciest dish on the menu is almost never the one people talk about the next day. It’s always something familiar, something comforting, but made with a level of care that blows them away. And that’s exactly what these stuffed potato bites are.
In this article
- First, Let’s Get Organized: What You’ll Need
- The Potato is Everything: Start Here
- Building the Dough (Don’t Overthink It)
- Let’s Talk Fillings
- Shaping and Sealing for Success
- Cooking Time: A Quick Breakdown of Your Options
- Pro Tips for Troubleshooting & Make-Ahead
- A Quick Word on Safety
- Inspirational Gallery
Call them fritters, call them croquettes, call them whatever you want. I just call them delicious. They are the first thing to vanish from a platter at any party, every single time. We’re talking about a perfectly golden, crispy shell that gives way to a cloud-like potato interior, all wrapped around a pocket of savory, melted filling. It’s a masterclass in texture.
But let’s be honest, there’s a fine line between perfect and a greasy, leaky mess. The difference is all in the technique. This isn’t just a recipe; it’s the full-proof method the pros use. We’ll cover everything from picking the right potato to shaping and frying them so they never fall apart.
First, Let’s Get Organized: What You’ll Need
Getting your station set up before you start is a classic pro-kitchen habit that saves a ton of stress. This whole project should take about 2.5 hours from start to finish, not counting the time you let the potatoes cool down.
Key Equipment:
- Kitchen Scale: Honestly, this is the secret to consistency. If you don’t have one, you can find a decent one online for about $15-$20, and it’ll change your baking forever. (I’ll include cup measurements, but they can be less precise).
- Potato Ricer or Food Mill: This is the best way to get lump-free potatoes. No ricer? No problem. Push the cooked potato through a fine-mesh sieve with a spatula. It’s a bit more work, but it gets the job done. In a real pinch, a regular masher works, but you have to be METICULOUS to get all the lumps out.
- Deep, Heavy-Bottomed Pot: For frying.
- Digital Thermometer: Essential for frying. Don’t guess the oil temp!
- Round Cookie Cutter: A 2.5 or 3-inch cutter is perfect. A drinking glass with a thin rim works too.
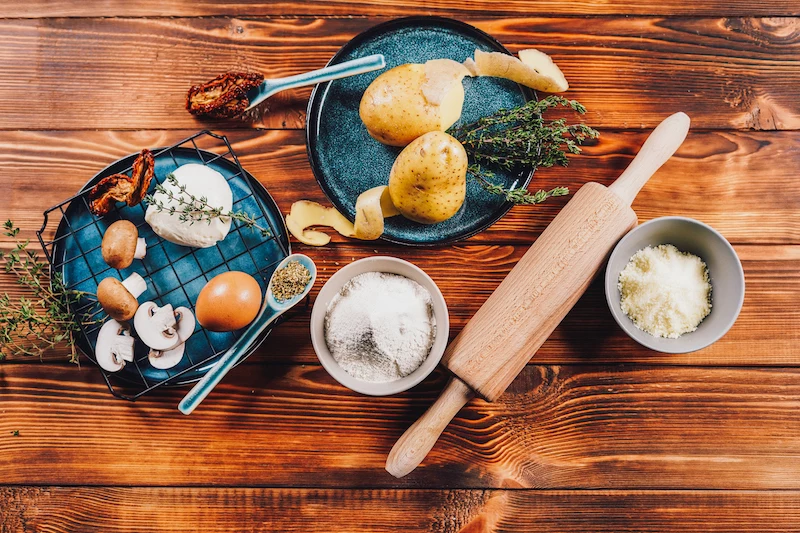
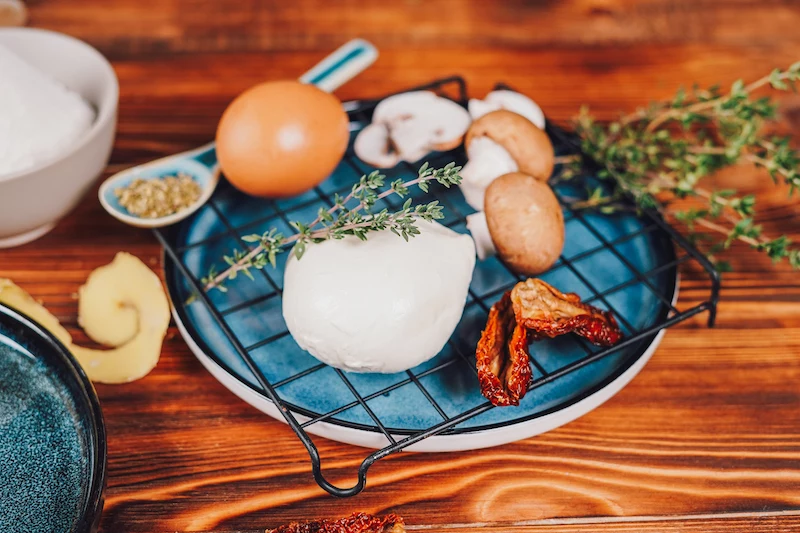
Core Ingredients:
- Potatoes: About 1.1 lbs (500g) of starchy potatoes.
- Flour: Around 1 cup (120g) of rice flour or all-purpose flour.
- Binder: 1 large egg.
- Cheese: About a 1/2 cup (50g) of finely grated hard cheese like Parmesan.
- Seasoning: Salt, pepper, and your favorite dried herbs.
By the way, this recipe makes about 20 to 24 finished potato bites, which is a solid amount for a party appetizer or a fun family dinner side.
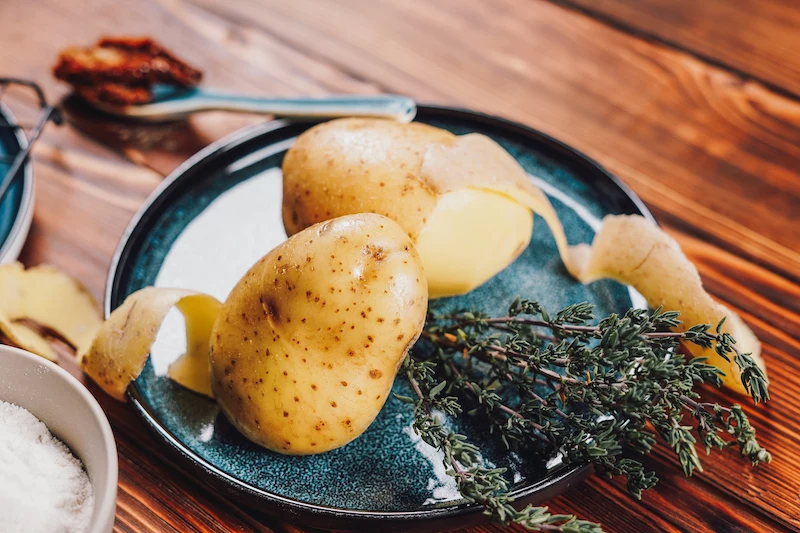
The Potato is Everything: Start Here
The absolute number one mistake people make is using the wrong type of potato. It sounds small, but it determines the entire texture of your final product.
Here’s the deal: potatoes are generally either starchy or waxy. For this, you need STARCHY. Think Russets or Idaho potatoes—the kind you’d use for a classic baked potato. A 5lb bag of Russets is usually under $5 at most grocery stores. When cooked, they get dry, fluffy, and fall apart easily. This is perfect because it allows the potato to absorb the other ingredients without turning into a gummy, waterlogged mess.
Waxy potatoes, like red potatoes or new potatoes, hold their shape. That’s great for potato salad, but terrible for this. They have too much moisture and will give you a dense, heavy dough that’s a nightmare to work with.
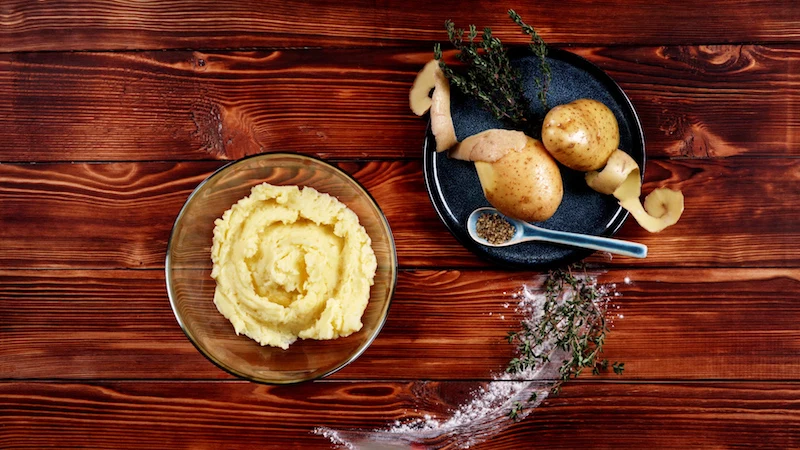
The Best Way to Cook Your Spuds
Most recipes say to boil them, but that’s just inviting water—our enemy—to the party. The pro move? Bake them. Just prick the potatoes all over with a fork, and bake them on a rack at 400°F (200°C) for about an hour, or until they’re completely tender. This actually dehydrates them a bit, making the potato flesh extra fluffy and flavorful.
If you absolutely must boil them, leave the skins on to act as a little waterproof jacket. As soon as they’re tender, drain them immediately and let them sit in the hot, empty pot for a minute to steam dry. Then, while they’re still hot, peel them and push them through your ricer or sieve. You want a super-fine, lump-free mash. This step is non-negotiable for that creamy interior.
Building the Dough (Don’t Overthink It)
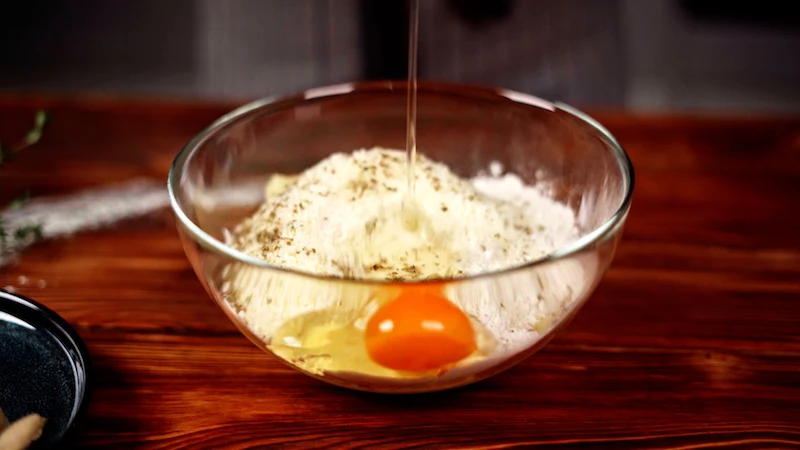
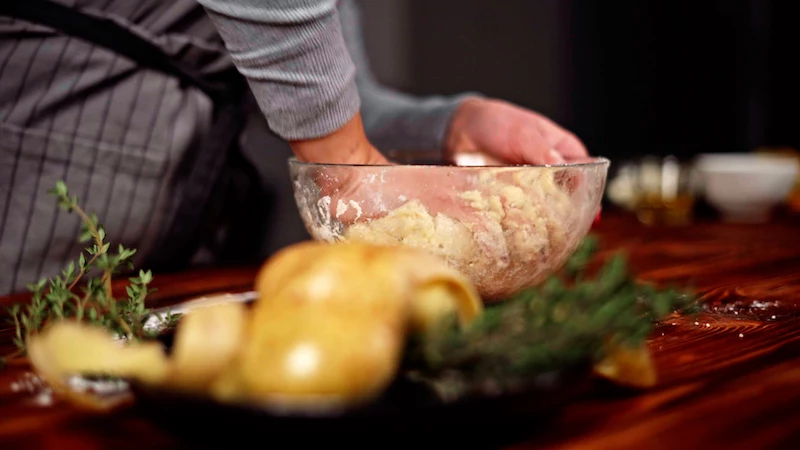
Once your riced potato has cooled down a bit (so you don’t scramble the egg!), it’s time to build the dough. It’s way simpler than it sounds.
Just combine your 500g of potato, 120g of flour, one beaten egg, 50g of grated cheese, and seasonings in a bowl. Rice flour is a fantastic choice here because it keeps things light and fries up incredibly crispy. All-purpose flour works too, but it has gluten, so be careful not to overmix, or you’ll get a chewy texture instead of a tender one.
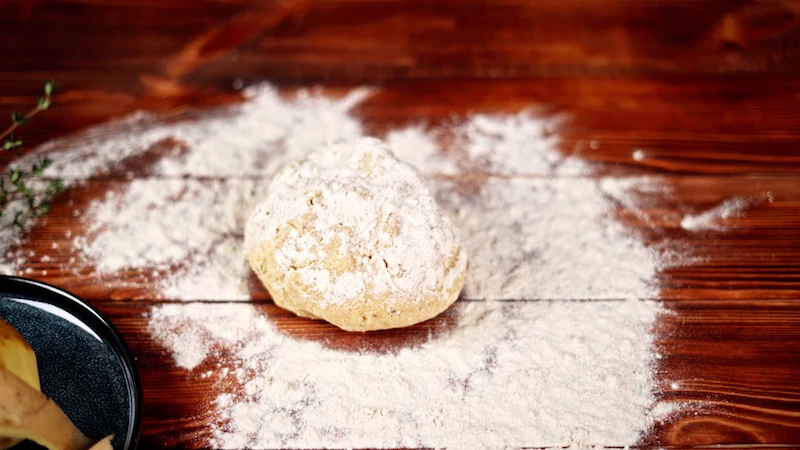
Use your hands and gently mix until a cohesive dough forms. It should be soft, maybe a little tacky, but not sticky or wet. If it feels too wet, add a little more flour, just a tablespoon at a time. Then, let the dough rest for about 15 minutes. This lets the flour hydrate and makes the dough much easier to handle.
Let’s Talk Fillings
The filling is your time to shine, but there are two golden rules. One: the filling can’t be wet. Two: all ingredients must be pre-cooked and cooled. A wet or hot filling will create steam inside the pocket, causing it to burst in the fryer. It’s a catastrophic failure you only have to experience once to learn from.
Here are a few combinations that are always a hit:
- The Crowd-Pleaser: Crispy, crumbled bacon, sharp cheddar, and fresh chives. It’s impossible to dislike this one.
- Mediterranean Vibe: Sautéed spinach (squeezed BONE DRY), crumbly feta cheese, and finely chopped sun-dried tomatoes.
- A Little Kick: Cooked and crumbled chorizo, Monterey Jack cheese, and a few finely diced pickled jalapeños for a pop of acidity.
Shaping and Sealing for Success
This is the part that can feel intimidating, but it’s easy if you work methodically. Just follow these steps.
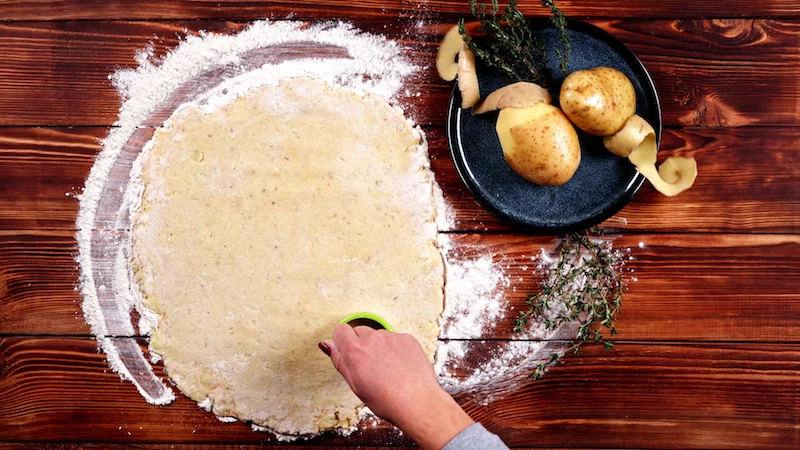
- On a lightly floured surface, roll your dough out to about 1/4-inch thick.
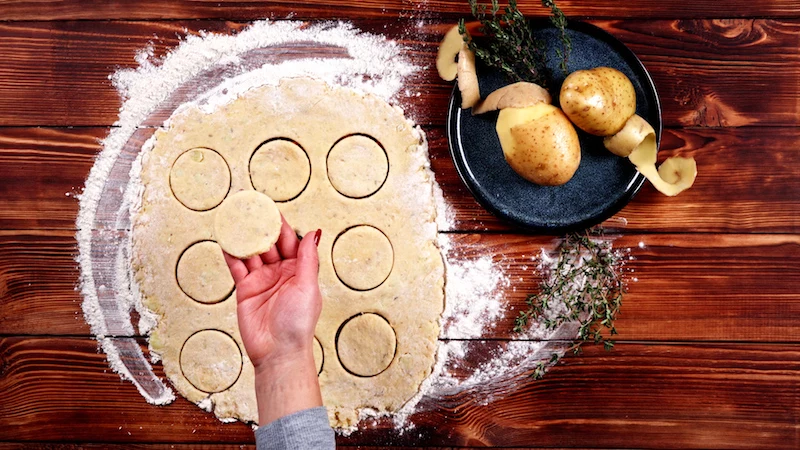
- Use your round cutter to punch out circles of dough.
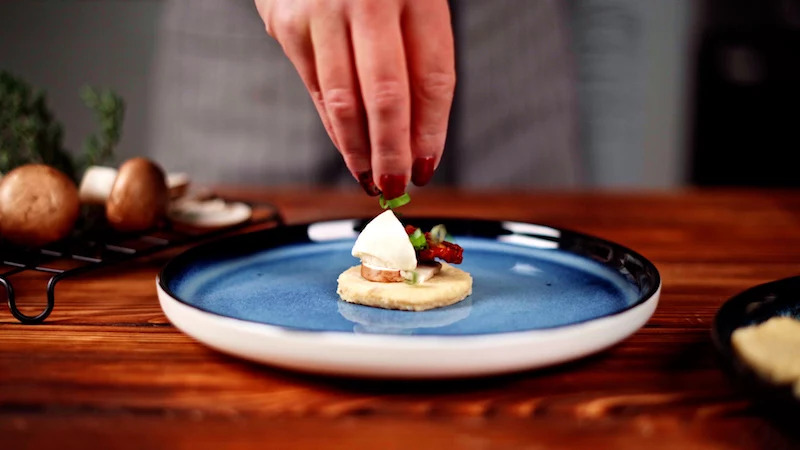
- Place about one teaspoon of your cooled filling in the center of a circle. Seriously, don’t overfill it! This is the main reason they leak.
- Brush a tiny bit of water around the edge of the circle—this is your glue.
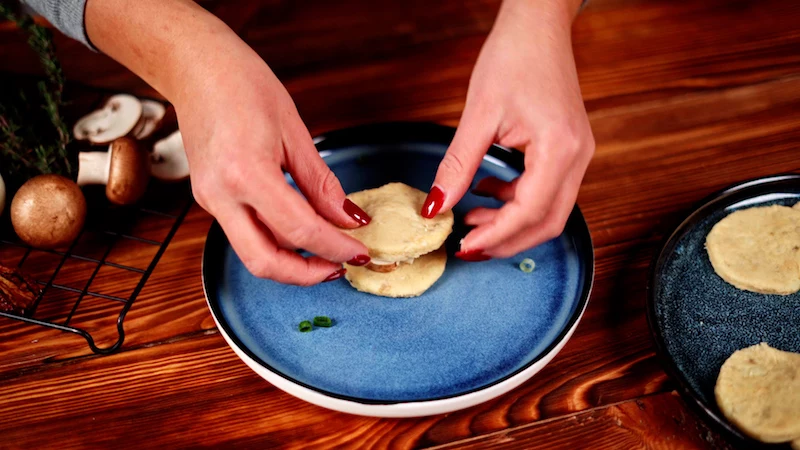
- Place another dough circle on top and press the edges together firmly to create a strong seal. I like to pinch and crimp the edge for extra insurance.
Cooking Time: A Quick Breakdown of Your Options
How you cook them totally changes the final result. While deep-frying is the gold standard for that signature crunch, you’ve got other options too.
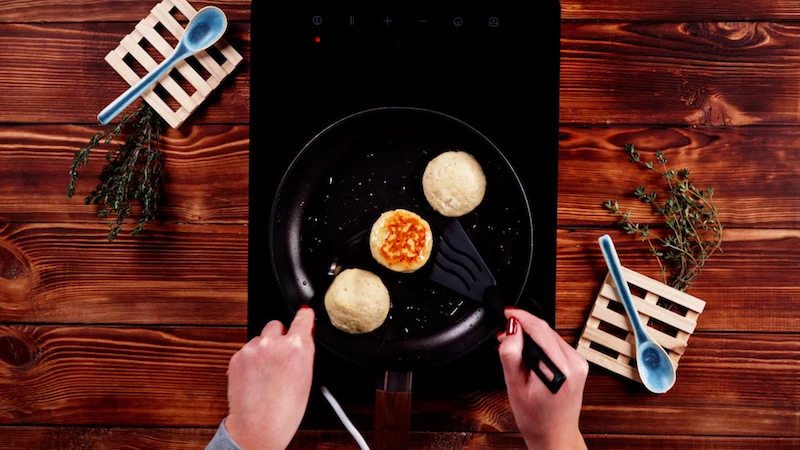
- Deep Frying (The Best Result): For that authentic, shatteringly crisp crust, this is the way. You’ll need a neutral oil like canola or vegetable oil heated to between 350-375°F (175-190°C). Use that thermometer! Too cool, and they get greasy; too hot, and they burn before the inside is warm. Fry in small batches for 2-4 minutes per side until deep golden brown. Then, drain them on a wire rack, never paper towels (which trap steam and make them soggy). Season with salt the second they come out of the oil.
- Baking (The Easier Way): They won’t be as crispy, but they’ll still be delicious. Brush the outsides with a little oil, place them on a parchment-lined sheet, and bake at 425°F (220°C) for 15-20 minutes, flipping halfway.
- Air Frying (The Healthier Go-To): A great middle-ground! You get a decent crisp with way less oil. Brush them with oil and cook at 380°F (195°C) for 10-12 minutes, shaking the basket halfway through.
Pro Tips for Troubleshooting & Make-Ahead
In a pro setting, we have to make things ahead of time. You can too! Assemble the bites completely, place them on a lined baking sheet, and either refrigerate for up to 24 hours or freeze solid. Once frozen, toss them in a freezer bag. They’ll last for a couple of months and you can fry them straight from frozen—just add a few extra minutes to the cooking time.
And what if things go wrong? It happens. Here’s how to fix it.
- Problem: The dough is a sticky nightmare.
Cause: Your potatoes were probably too wet. This is why baking them is so much better!
Solution: Chill the dough for 30 minutes to help it firm up. Add a touch more flour if you must, but be stingy with it. - Problem: My bites are bursting in the fryer!
Cause: You either overfilled them, the filling was wet, or you didn’t get a good seal.
Solution: Use less filling next time and make sure you pinch those edges tight. I once saw an apprentice skip this step on a batch for a 200-person event. Filling started leaking into the fryer, tainting the oil for everything else. We had to scramble to save the order. It’s a mistake you only make once! - Problem: They came out super greasy.
Cause: Your oil wasn’t hot enough. Simple as that.
Solution: Use a thermometer and fry in small batches so the oil temp doesn’t drop. Let it come back up to temperature between batches.
A Quick Word on Safety
Okay, real talk for a second. Hot oil is no joke. Never fill your pot more than halfway, and never, ever walk away from it. Keep a lid nearby; if it ever catches fire, slide the lid on to cut off the oxygen and turn off the heat. DO NOT use water. Let the oil cool completely before dealing with it. You can strain and reuse it a couple of times. When it’s done, pour it into a sealed container and check your local city’s waste disposal website for proper drop-off locations. Never pour it down the drain!
And that’s it. Once you nail this technique, you’ll have an incredible, versatile appetizer in your back pocket that you can customize for any occasion. Enjoy!
Inspirational Gallery
The Potato Matters: The article mentions starchy potatoes, but let’s be clear—this is non-negotiable for achieving that sublime, fluffy texture.
Russet or Idaho Potatoes: Their high-starch, low-moisture content breaks down into a light, floury mash, perfect for absorbing the other ingredients and creating that cloud-like interior. They fry up golden and crisp.
Waxy Potatoes (like Red Bliss or New Potatoes): These hold their shape due to a lower starch content. While great for potato salad, they’ll result in a dense, almost gummy filling for your bites. For this recipe, leave the waxy varieties on the shelf.
Nearly 70% of the dining experience is influenced by visual presentation.
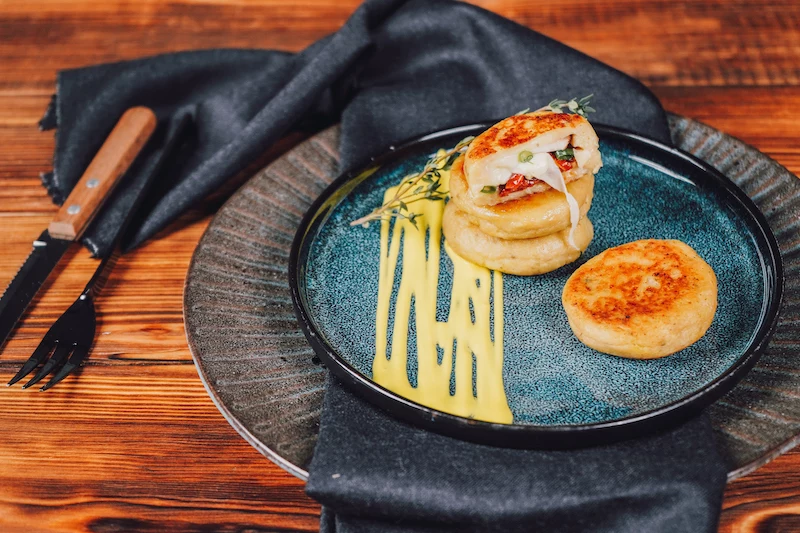
Once your bites are perfectly fried, don’t let them down with clumsy plating. Arrange them on a rustic wooden board or a simple slate platter. Offer a couple of contrasting dipping sauces in small bowls—think a creamy, rich garlic aioli next to a vibrant, spicy romesco sauce. A final sprinkle of finely chopped fresh chives adds a touch of color and freshness that elevates the entire dish from a simple snack to a sophisticated appetizer.
What about fillings beyond the classic cheese?
Think of the potato as a perfect canvas. The beauty of this recipe is its versatility. Once you’ve mastered the technique, the possibilities are endless. For a Spanish twist, try a filling of finely diced chorizo and Manchego cheese. For something more sophisticated, sautéed wild mushrooms with a hint of truffle oil and Gruyère is a guaranteed crowd-pleaser. Even simple leftover braised beef or pulled pork, finely shredded, can be transformed into an incredible, savory surprise inside the crispy shell.
- Create an unbelievably crisp, shatter-proof crust.
- Ensure the bites stay hot and crunchy for longer.
The secret? The double-fry method. It’s a pro technique that’s worth the extra step. First, fry the bites at a lower temperature (around 325°F/160°C) for 3-4 minutes until pale gold. This cooks the inside. Let them cool completely. Just before serving, plunge them back into hotter oil (375°F/190°C) for 1-2 minutes to achieve that perfect, deep golden-brown and ultra-crispy finish.
Don’t crowd the pan! This is the number one mistake that leads to greasy, sad potato bites. Frying too many at once causes the oil temperature to drop dramatically. Instead of crisping up, the coating absorbs oil, resulting in a soggy exterior. Fry in small batches, ensuring there’s plenty of space around each one, and let the oil come back up to temperature between batches. Patience is the key ingredient for a perfect crunch.


