I think we’ve all been there. You see a recipe online promising a perfect, single-serving cake in under two minutes. You get excited, you mix it up, and… you end up with a dense, rubbery hockey puck at the bottom of your mug. The disappointment is real.
After years of working with pastry, let me tell you, the problem isn’t the idea of a mug cake. The problem is that most recipes skip the ‘why’ behind the ‘how.’ A great mug cake isn’t just a random mix of ingredients; it’s baking science, squeezed into a super-fast timeframe. And once you understand the rules, you can make something genuinely delicious every single time.
So, forget the sad results. We’re going to break it all down, just like I would with a new baker in my kitchen. No more hoping for the best—you’re about to be in complete control.
Getting Started: Your Mug Cake Pantry
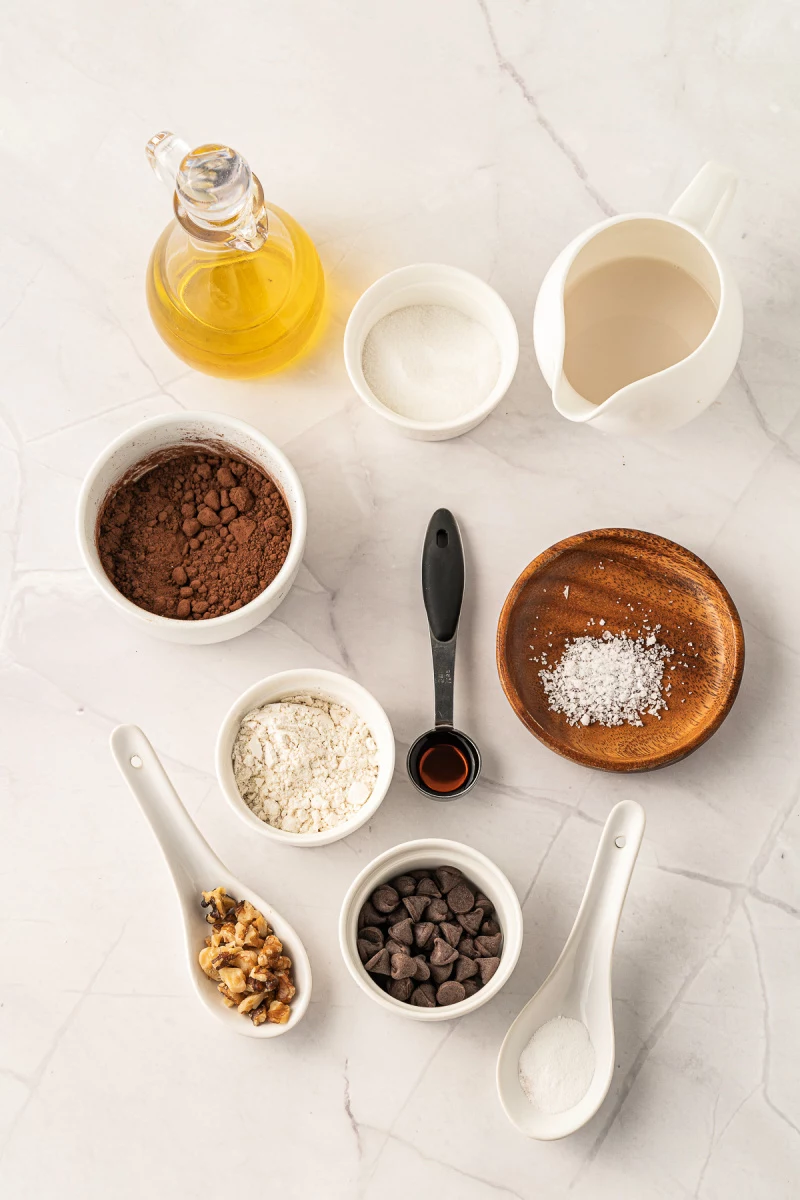
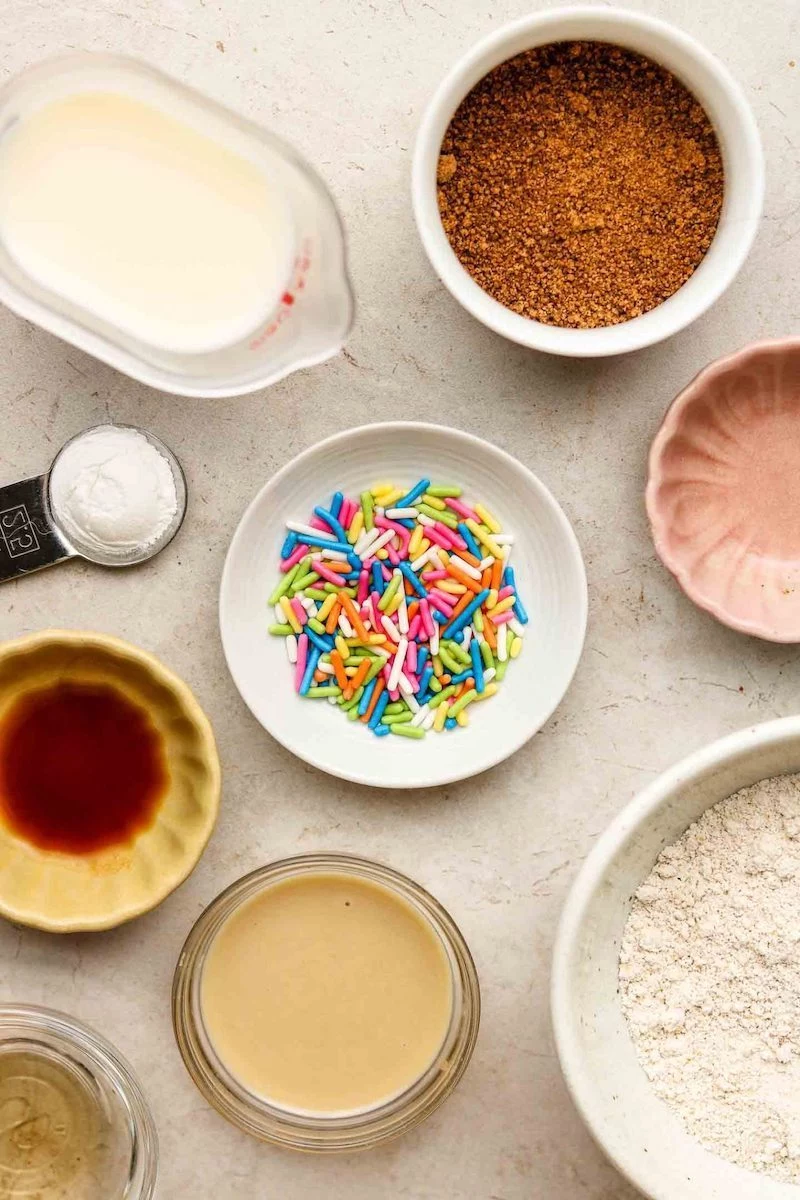
First things first, let’s talk about what you need on hand. The great thing about mug cakes is that they’re incredibly cheap to make. A single homemade cake might cost you around $0.50 in ingredients, while a store-bought cupcake can easily be $3 or more. To be ready for any craving, here’s a basic shopping list:
All-Purpose Flour: The workhorse. A standard bag is about $3-$4.
Unsweetened Cocoa Powder: For all your chocolate needs. A container runs about $4-$5.
Baking Powder: This is essential for lift. A small can is usually under $2.
Vanilla Extract: The key to great flavor. A small bottle can cost anywhere from $5 to $15, but it lasts a long time.
With just these basics, plus sugar, salt, milk, and oil you likely already have, you’re set.
The Real Secret: You’re Steaming, Not Baking
This is the most important concept to get your head around. A conventional oven cooks with dry heat, moving from the outside in, which creates that golden-brown crust we all love. That’s the Maillard reaction in action.
A microwave, on the other hand, zaps the water molecules in your batter, making them vibrate like crazy. This creates friction and heat, essentially steaming the cake from the inside out. That’s why mug cakes are soft, sponge-like, and have no crust. It’s also why they can go from perfect to overcooked in ten seconds flat. You’re not baking; you’re managing a rapid, high-moisture steam session.
Breaking Down the Building Blocks
Every ingredient has a job. If you mess with one, you have to adjust the others. Let’s look at the key players.
Flour: The Foundation
The flour you choose basically determines the final texture. Here’s the rundown:
All-Purpose (AP) Flour: This is your go-to for a classic cake texture. Its gluten provides structure and a pleasant chew. It’s the most forgiving and a great starting point for beginners.
Almond Flour: This isn’t really a flour but finely ground nuts. It has zero gluten and is high in fat, creating a wonderfully moist, dense, and rich cake. It’s fantastic for gluten-free and keto baking, but you can’t just swap it 1:1 for AP flour. It needs a little extra help from eggs and leavening to get some lift.
Oat Flour: A gentle, gluten-free option made from ground oats. It gives a soft, slightly dense result. Sometimes it can get a little gummy, so it shines in recipes with strong flavors like chocolate or banana to complement its texture.
Coconut Flour: Heads up! This is the expert-level flour. Honestly, I’d avoid it unless you’re following a recipe designed specifically for it. It’s a super-absorbent sponge that will soak up all your liquid and leave you with a dry, crumbly mess. Trust me on this one—the first time I tried a 1:1 swap, I created a puck so dense it could have broken a window. Learn from my mistakes!
Leavening: The Magic Lift
Because this process is so fast, you need a fast-acting leavener. Baking powder is perfect. The moment it gets wet, it starts producing bubbles that give your cake its rise. You only need a tiny bit—usually 1/4 teaspoon. Any more and you’ll get a bitter, chemical taste and a cake that collapses sadly in on itself.
Fat & Liquid: For Tenderness and Moisture
Fat makes a cake tender, while liquid provides the moisture that the microwave turns into steam.
Oil: A neutral oil (like canola or avocado) is pure fat and stays liquid when it cools, which guarantees a moist and even crumb. It’s my top choice for consistency.
Melted Butter: Butter brings amazing flavor, no doubt. But since it’s only about 80% fat, it can make the cake a little less tender than oil once it cools down.
Milk, Yogurt, or Applesauce: These are your moisture providers. Regular milk, plant-based milk, yogurt, and unsweetened applesauce all work great. Yogurt and applesauce are fantastic because they add both moisture and structure, which is a huge plus for vegan recipes.
Techniques the Pros Use for Perfect Results
In a professional kitchen, consistency is everything. These simple habits will make sure your mug cakes turn out great every single time.
Get Everything Ready First (Mise en Place)
This is a core principle in cooking: have all your ingredients measured and ready to go before you start mixing. A mug cake batter comes together in less than a minute. You don’t have time to be digging around for the baking powder. It might feel like extra work, but it’s the secret to a stress-free process.
Quick Tip: For the ultimate time-saver, make your own mug cake ‘dry mix’ packets! In small zip-top bags, combine the flour, sugar, baking powder, salt, and cocoa powder (if using). Make a bunch at once. When you want a cake, just dump a packet into a mug, add the wet ingredients, and you’re good to go.
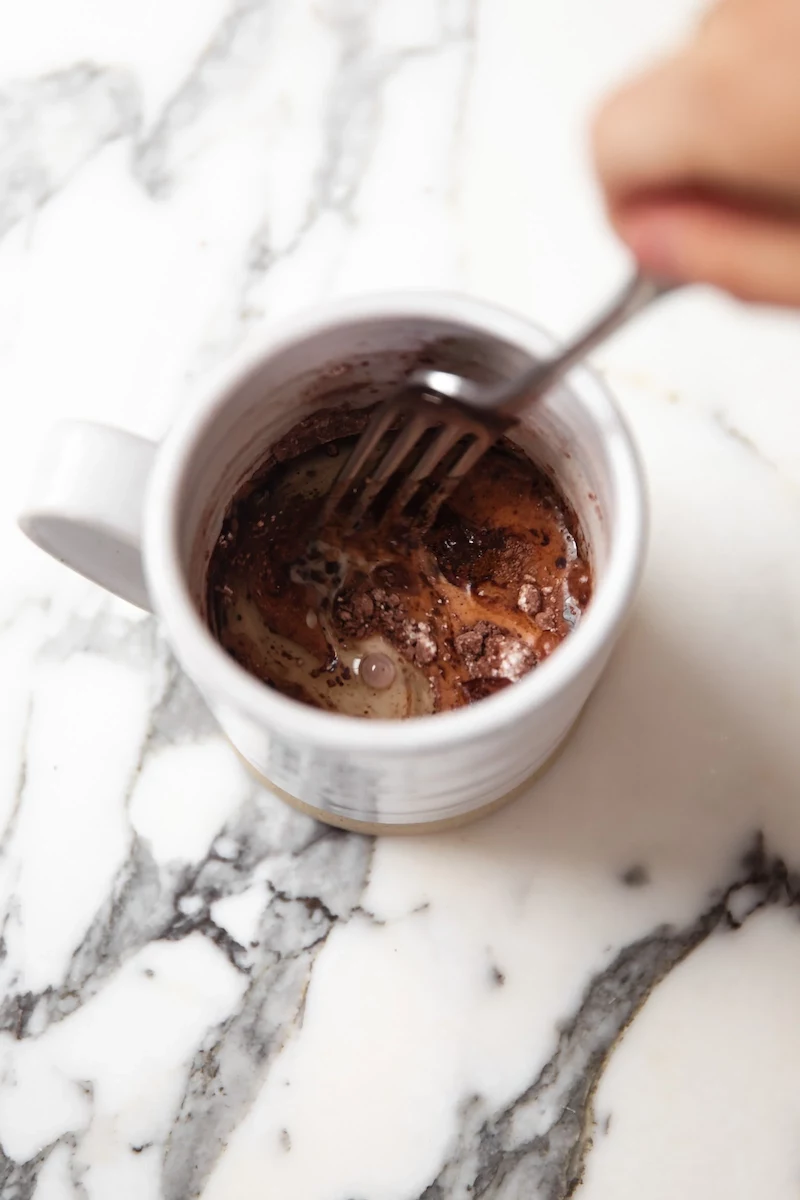
The Golden Rule: DO NOT Overmix
This is the
1 mistake that leads to rubbery cakes. Here’s how to do it right:
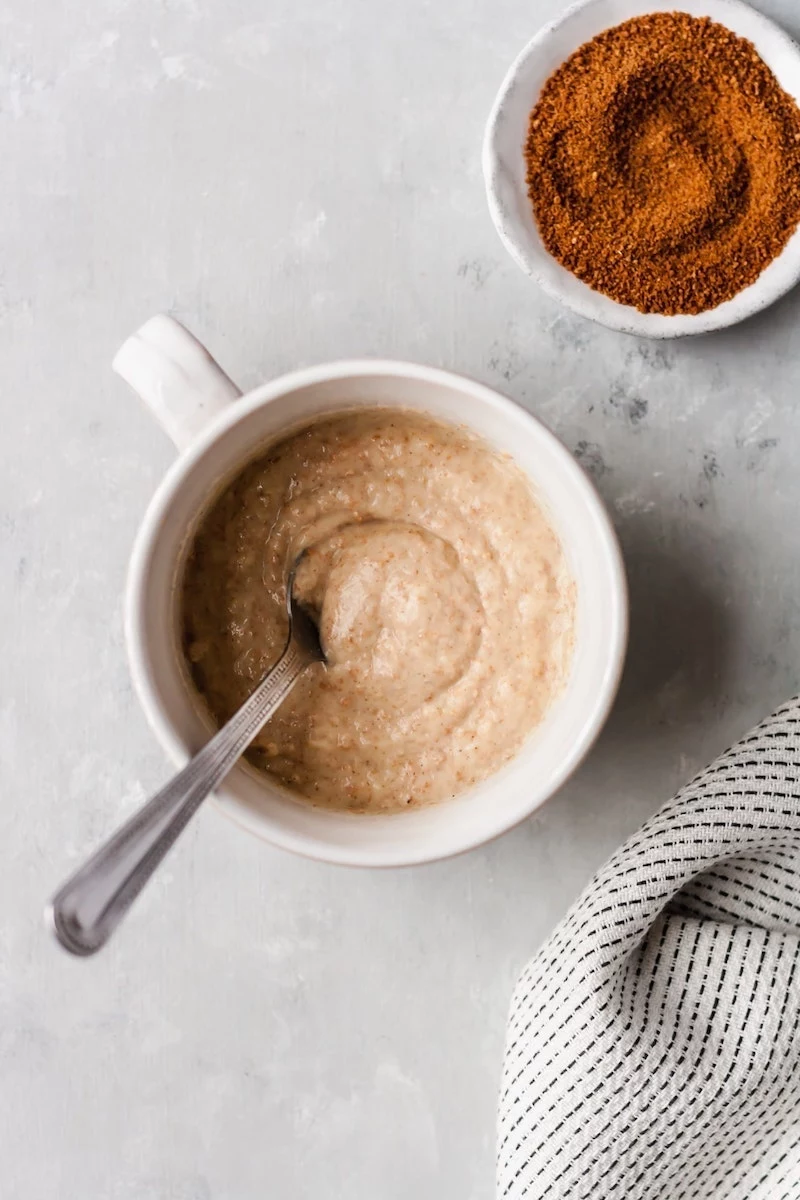
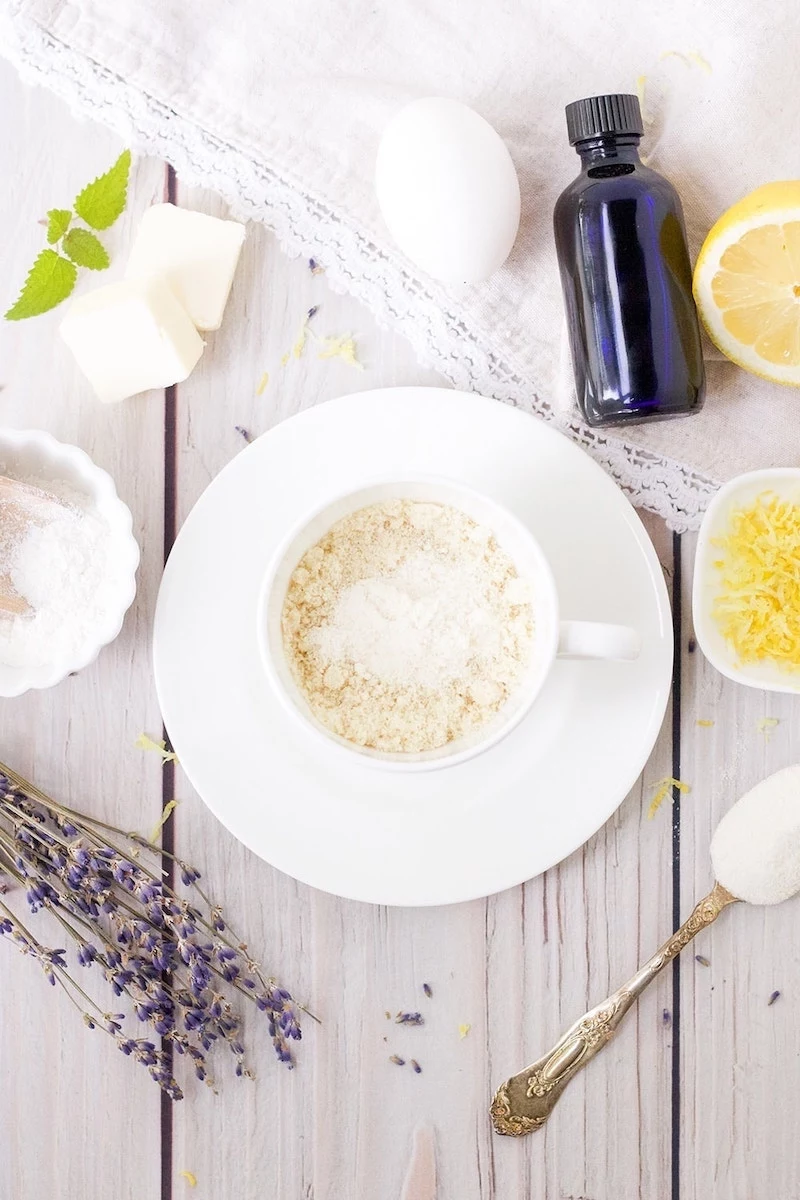
Combine Dry Ingredients First. In your mug, whisk the flour, sugar, salt, and baking powder together with a fork for about 20 seconds. Don’t skip this! It ensures the baking powder is evenly distributed for a perfect rise.
Add the Wet Ingredients. Pour in your milk, oil, and vanilla.
Mix GENTLY. Stir with the fork until you just can’t see any more dry flour. The batter should look like a thick pancake batter, and it’s totally okay if it’s a little lumpy. If you keep stirring to get it perfectly smooth, you’re developing too much gluten, and you’ve just guaranteed yourself a tough cake. Seriously, stop stirring!
The Mug Matters
Your choice of mug can make or break your cake. An ideal mug is:
Microwave-Safe: A non-negotiable. Check for the symbol on the bottom. And never, ever use a mug with metallic paint or trim.
The Right Size: A standard 12 to 16-ounce mug is perfect. The batter should only fill it about halfway to give the cake room to rise without spilling over.
The Right Shape: Straight sides are best. They allow the microwaves to cook the batter evenly. Tapered or funky shapes can lead to weirdly cooked spots. Classic ceramic is the best material.
Cooking Your Cake: Microwave vs. Oven
Microwave wattages are all over the place, from 700 to 1200 watts, so you can’t just trust a recipe’s cook time. You have to learn to cook by sight and feel.
In the Microwave: The Pulse Technique
Don’t just hit 90 seconds and walk away. A quick reference to get you started: if you have a 700W microwave, start with 60 seconds. For a 1200W model, start with 35 seconds. From there, use the pulse method:
Cook on high for that initial time (e.g., 45 seconds).
Open the door and check. Is the top still shiny and wet?
Cook for another 15 seconds. Check again.
If it’s still not done, continue in 10-second bursts until it’s ready.
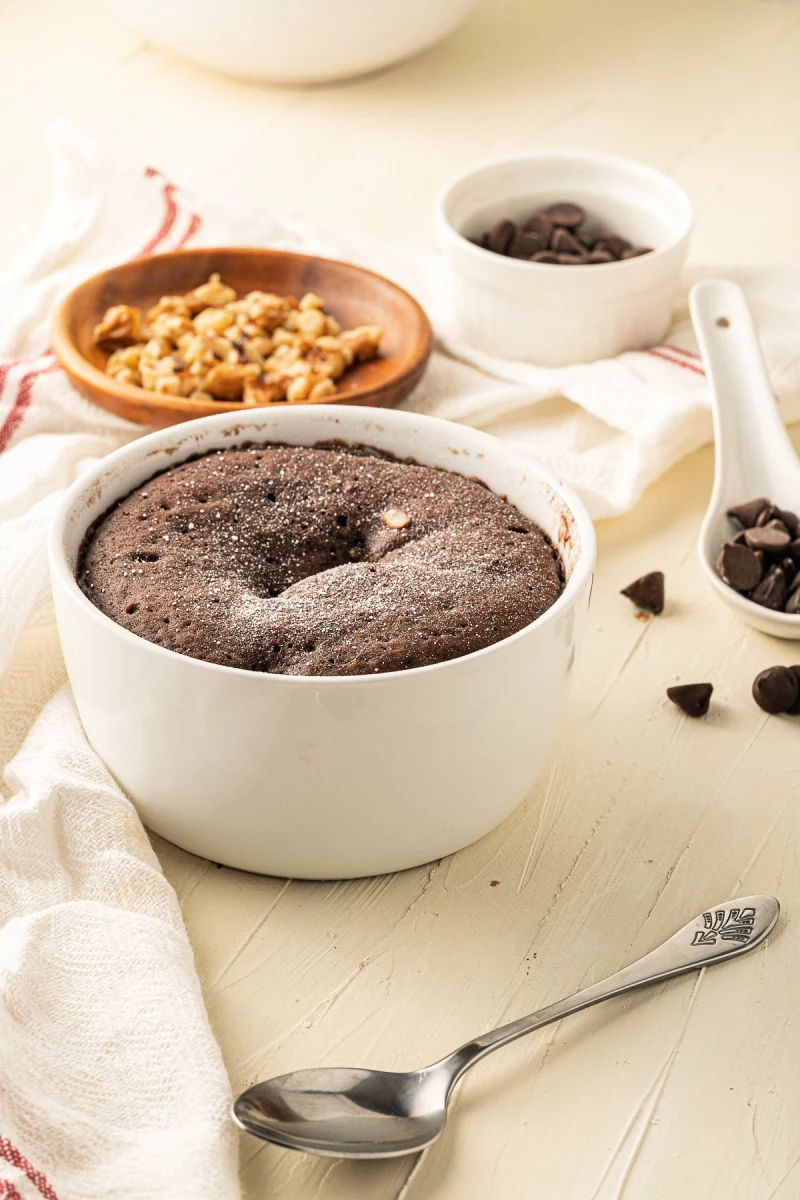
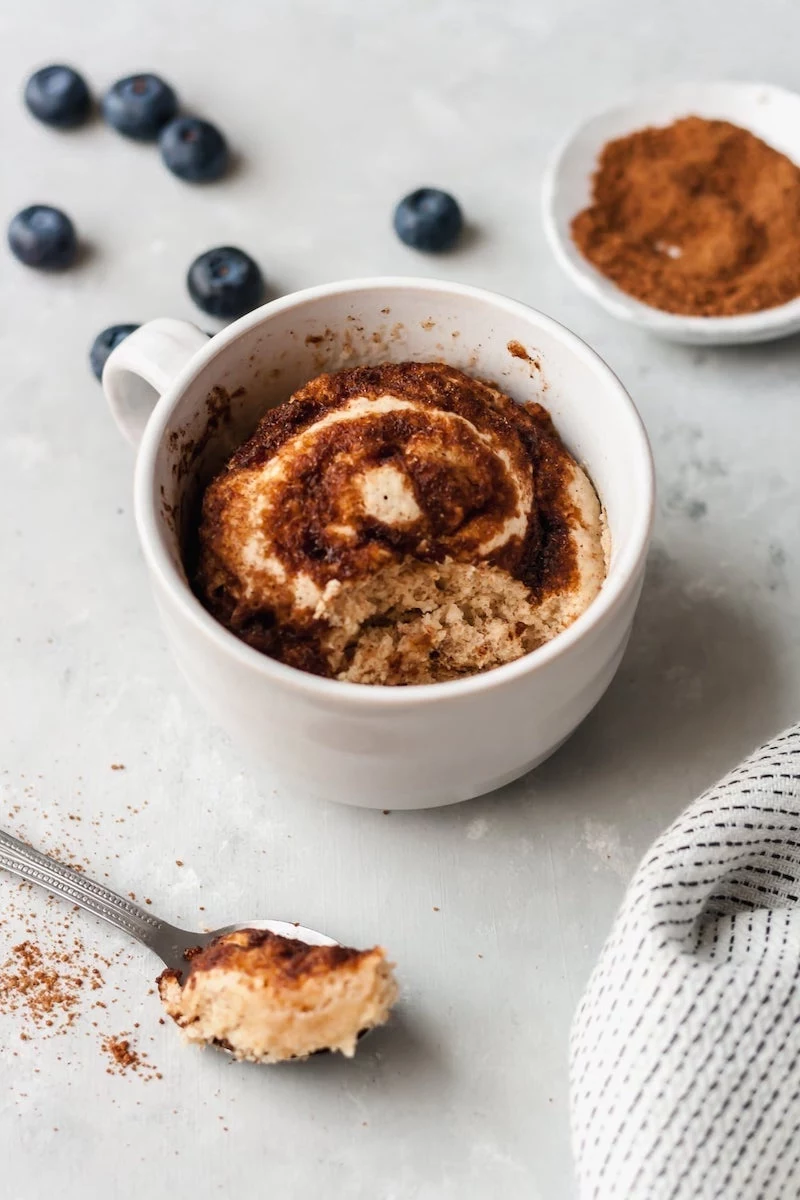
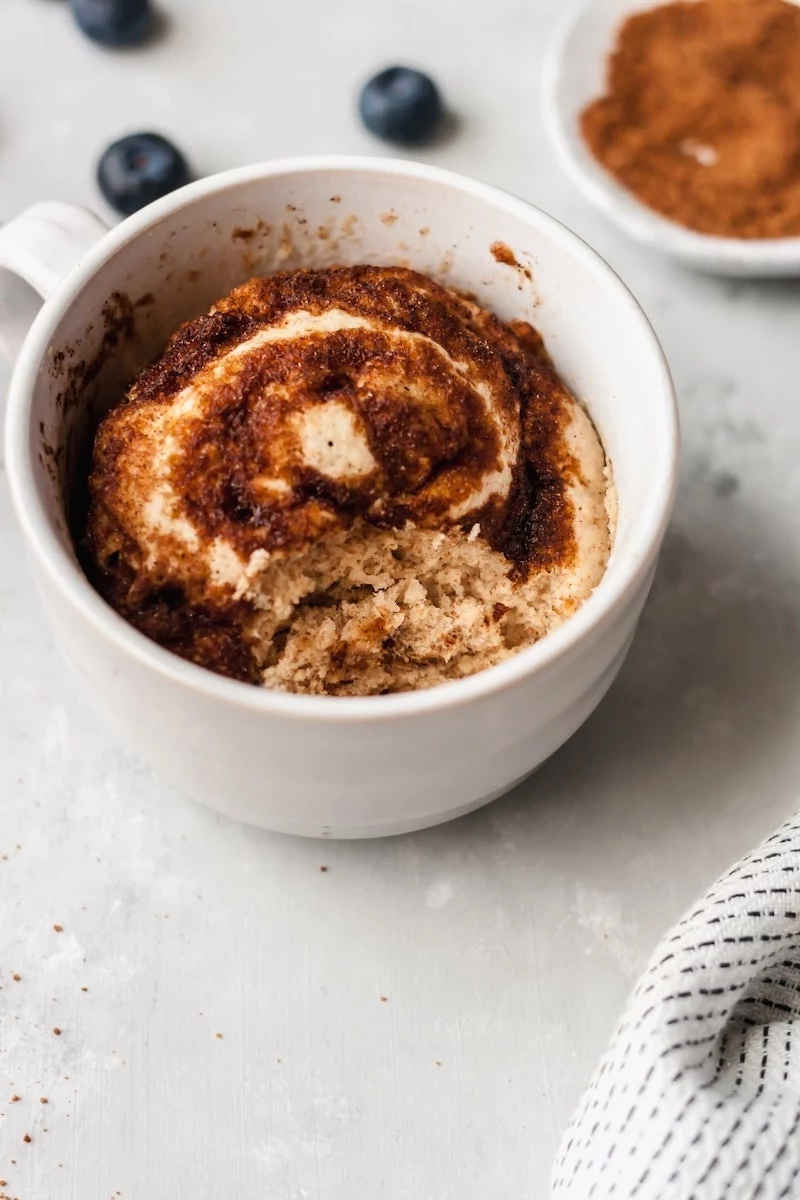
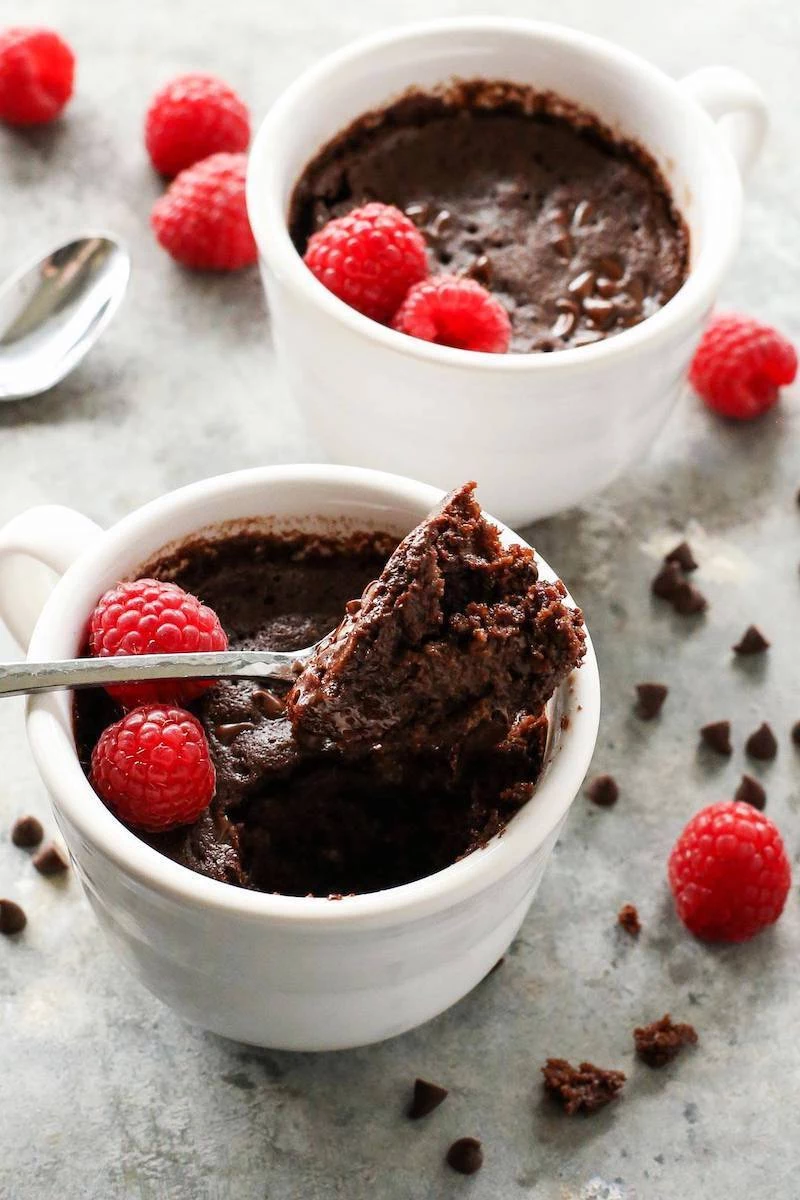
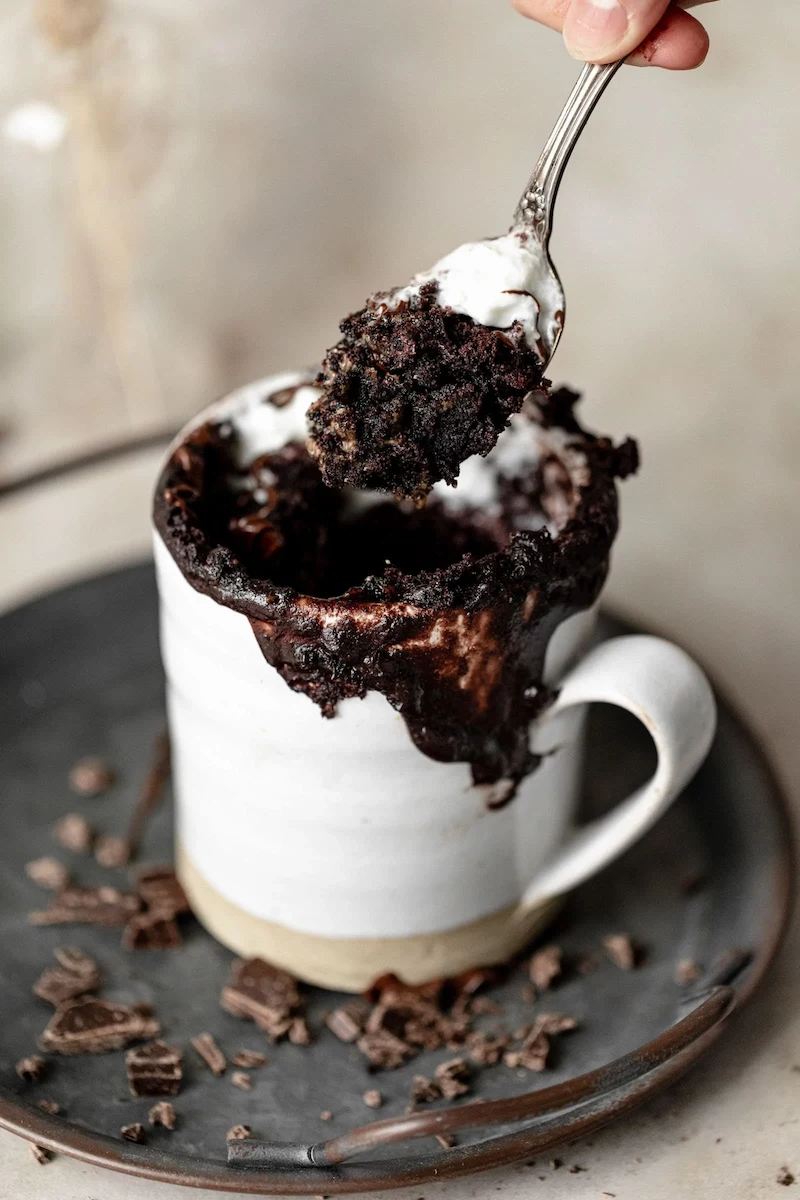
A finished cake will have risen, the top will look dry, and the edges will be pulling away from the mug. It’s always better to slightly undercook it, as it will keep cooking from residual heat for a minute after you take it out.
No Microwave? Use Your Oven!
Oh yeah, you can totally bake these in a conventional oven. Just grab an oven-safe ramekin. Preheat your oven to 350°F (175°C) and bake for about 12-15 minutes, or until a toothpick inserted into the center comes out clean. The texture will be a little different—more like a traditional cupcake—but still delicious!
The Foundational Recipes
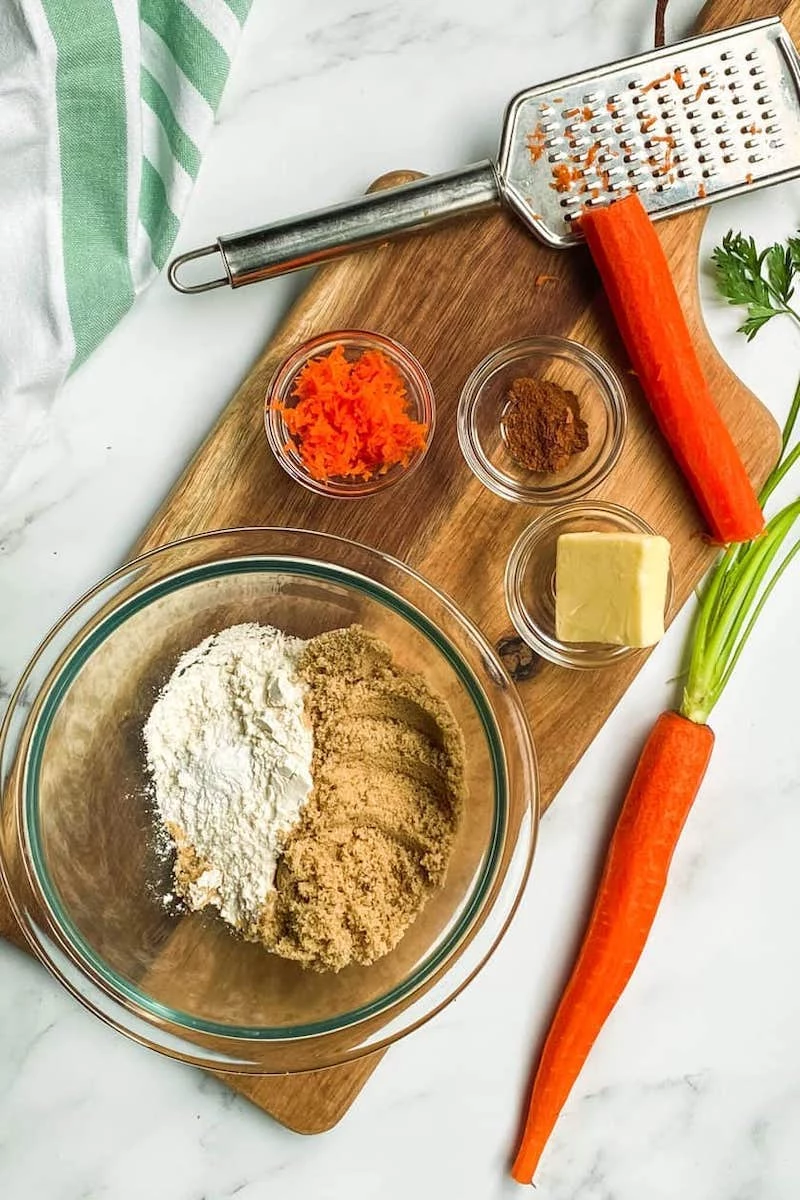
Here are three solid, tested base recipes. Master these, and you can create endless variations of your own.
Master Recipe 1: The Classic Vanilla or Chocolate
This is your reliable, all-purpose starting point. It’s the most forgiving recipe and perfect for beginners.
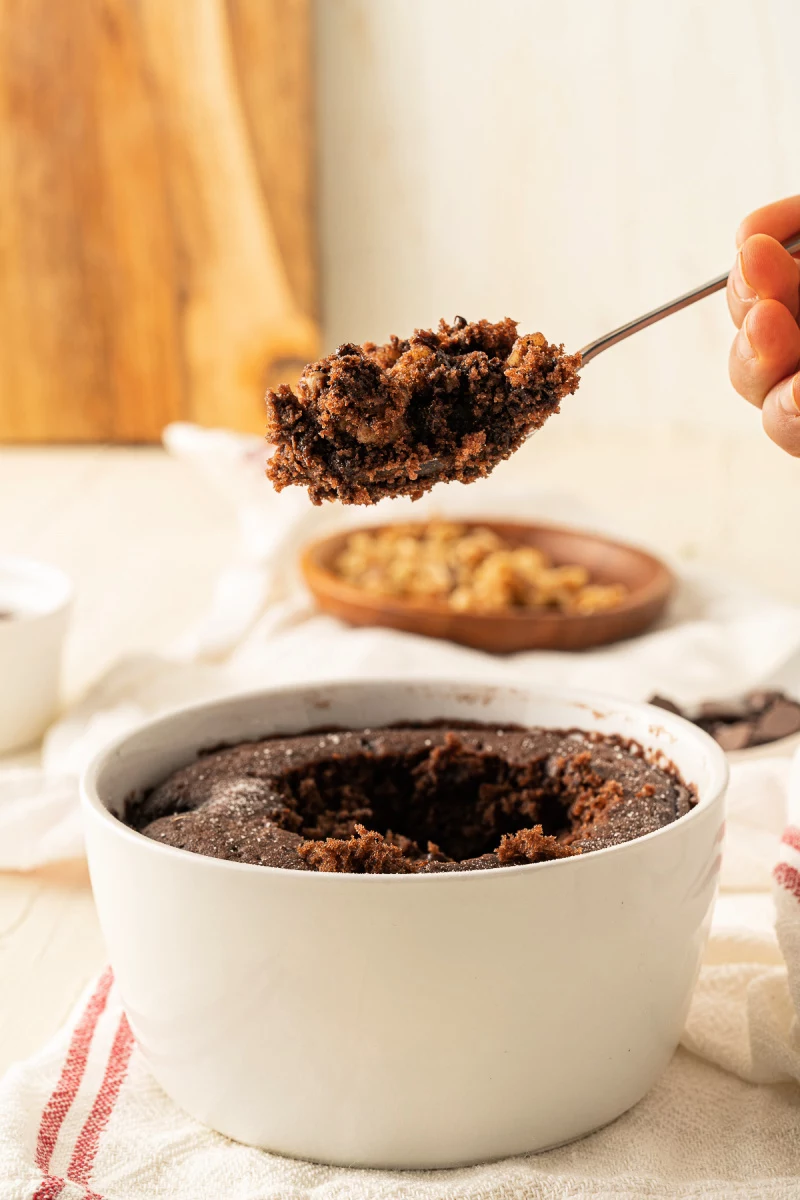
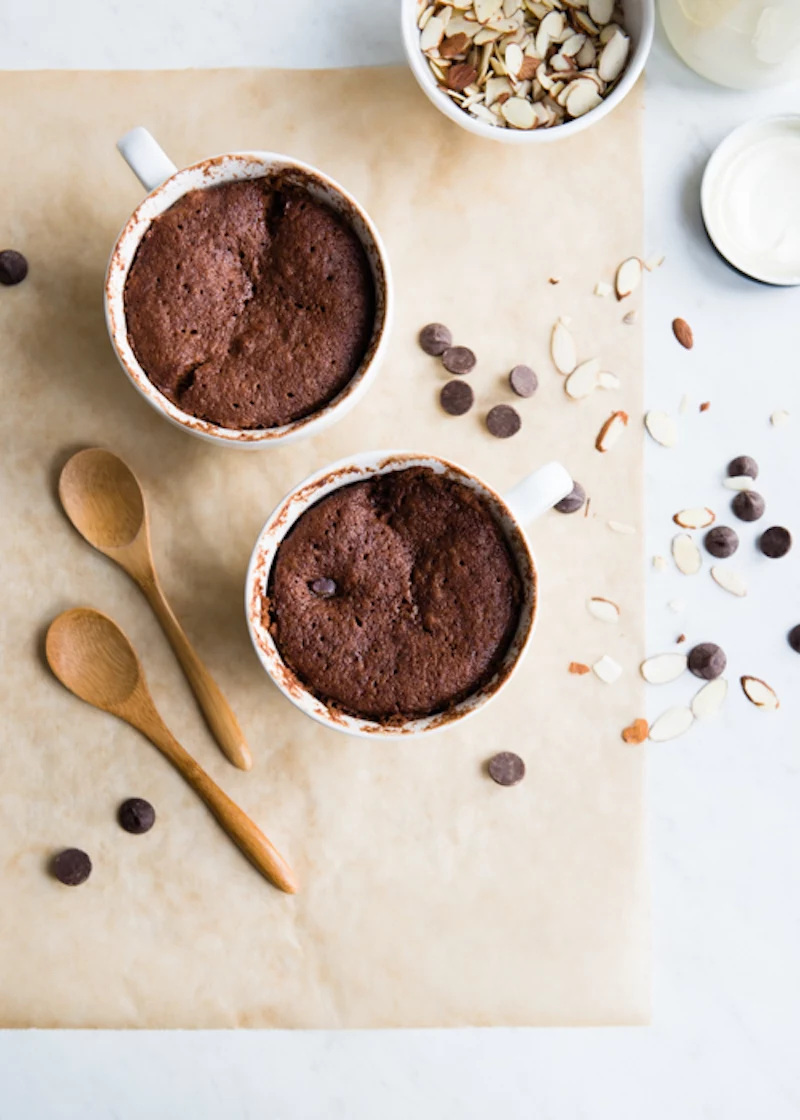
For a Chocolate Version: Swap 1 tbsp of the flour for 1 tbsp of unsweetened cocoa powder. You might want to add an extra teaspoon of milk, as cocoa can be a bit drying.
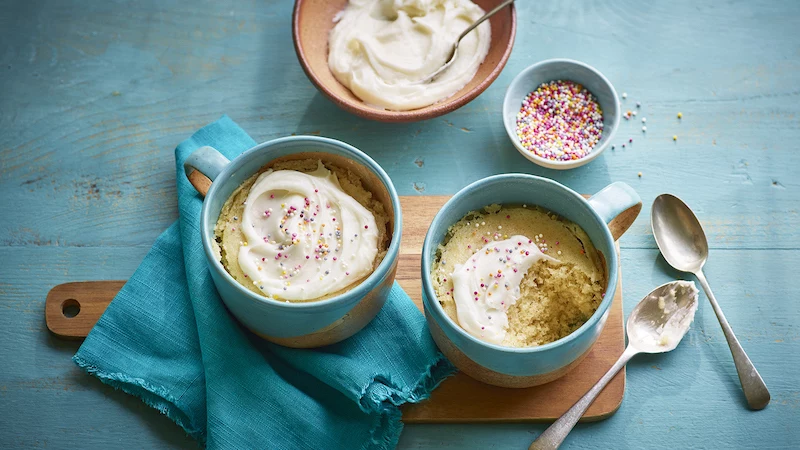
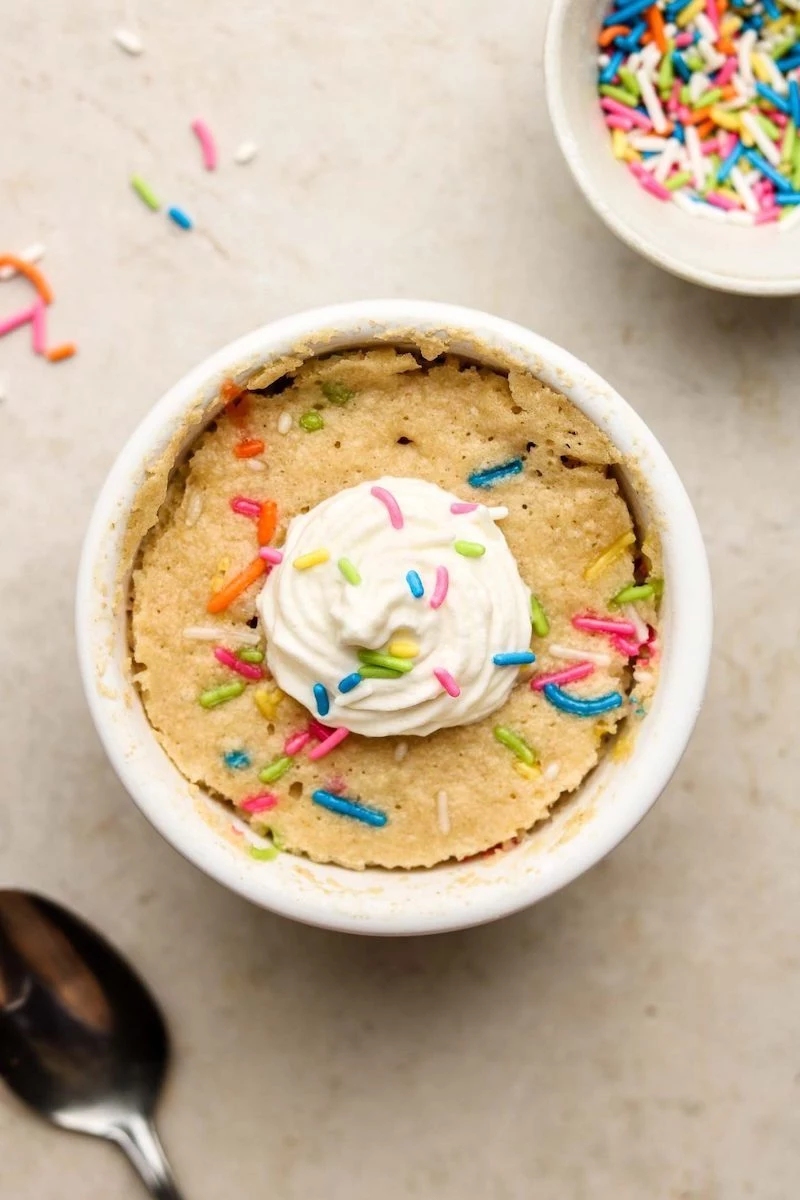
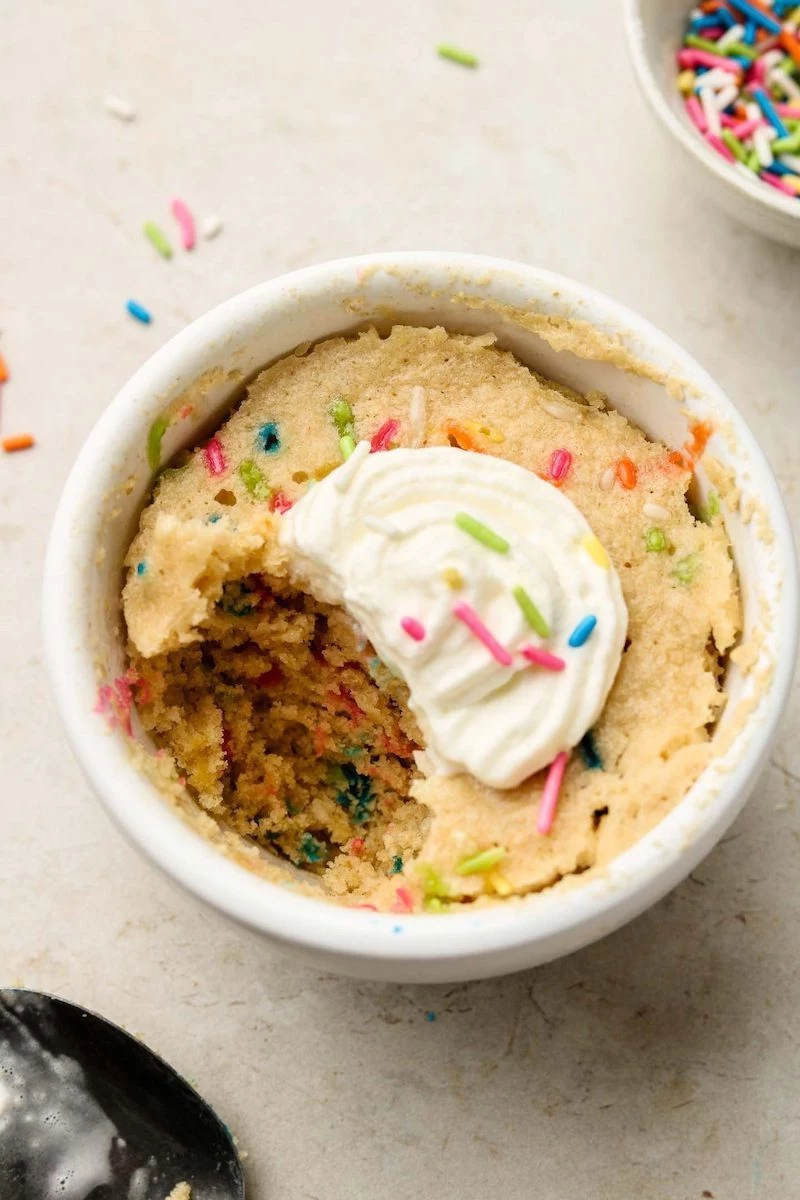
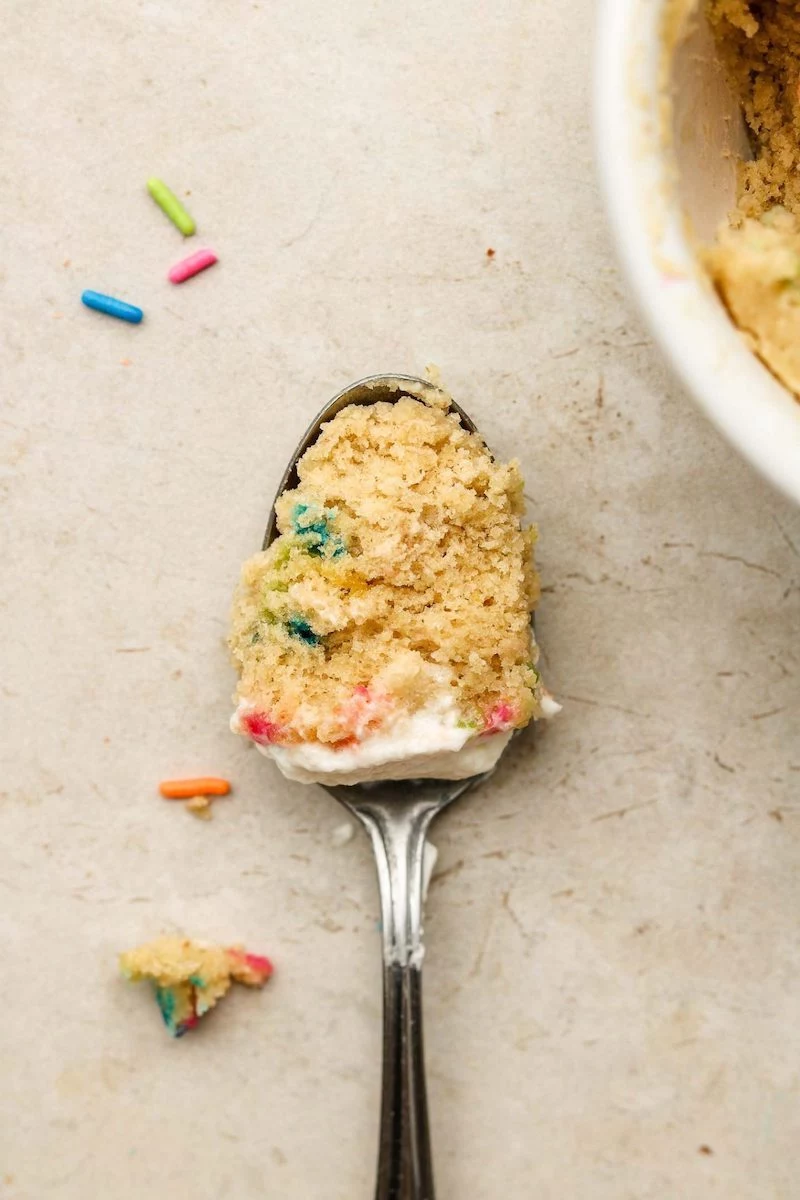
For a Funfetti Cake: Gently fold in 1 tbsp of rainbow sprinkles right at the end.
Master Recipe 2: The Gluten-Free & Keto Cake
This almond flour version is dense, rich, and incredibly moist. It’s more of a fudgy, rich dessert than a light, airy cake.
Ingredients: 3 tbsp almond flour, 1 tbsp erythritol or monk fruit sweetener, 1/4 tsp baking powder, 1/8 tsp salt, 1 large egg, 1 tbsp melted coconut oil or butter.
Heads up! Since there’s no gluten, you can whisk this one well to make sure the egg is fully incorporated. It’s best eaten warm, as almond flour cakes can get firm once they’re completely cool.
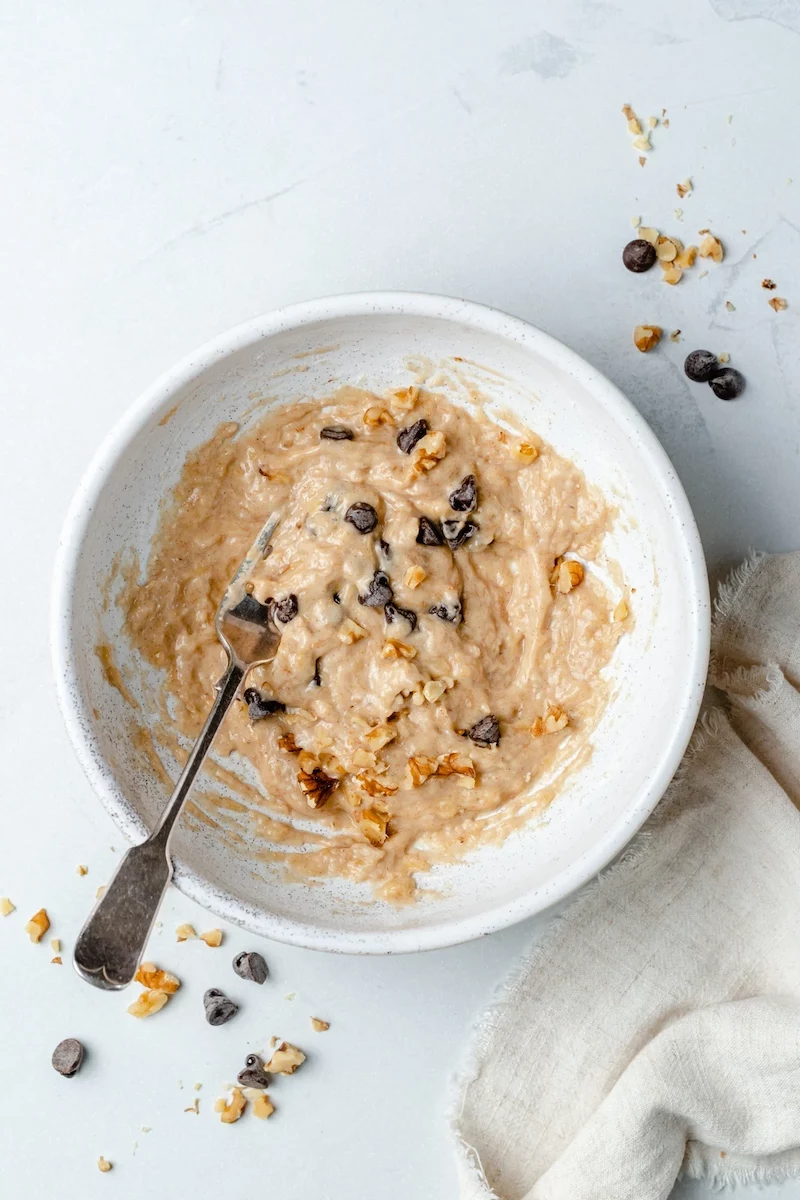
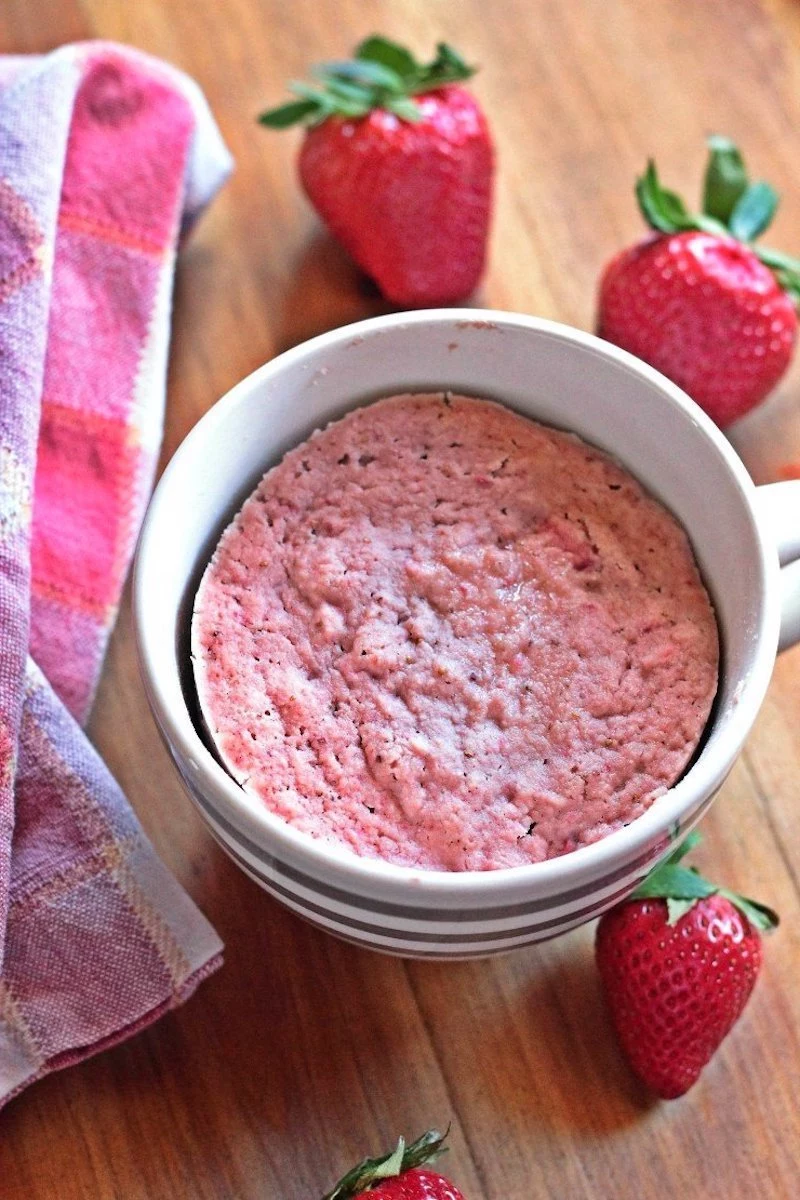
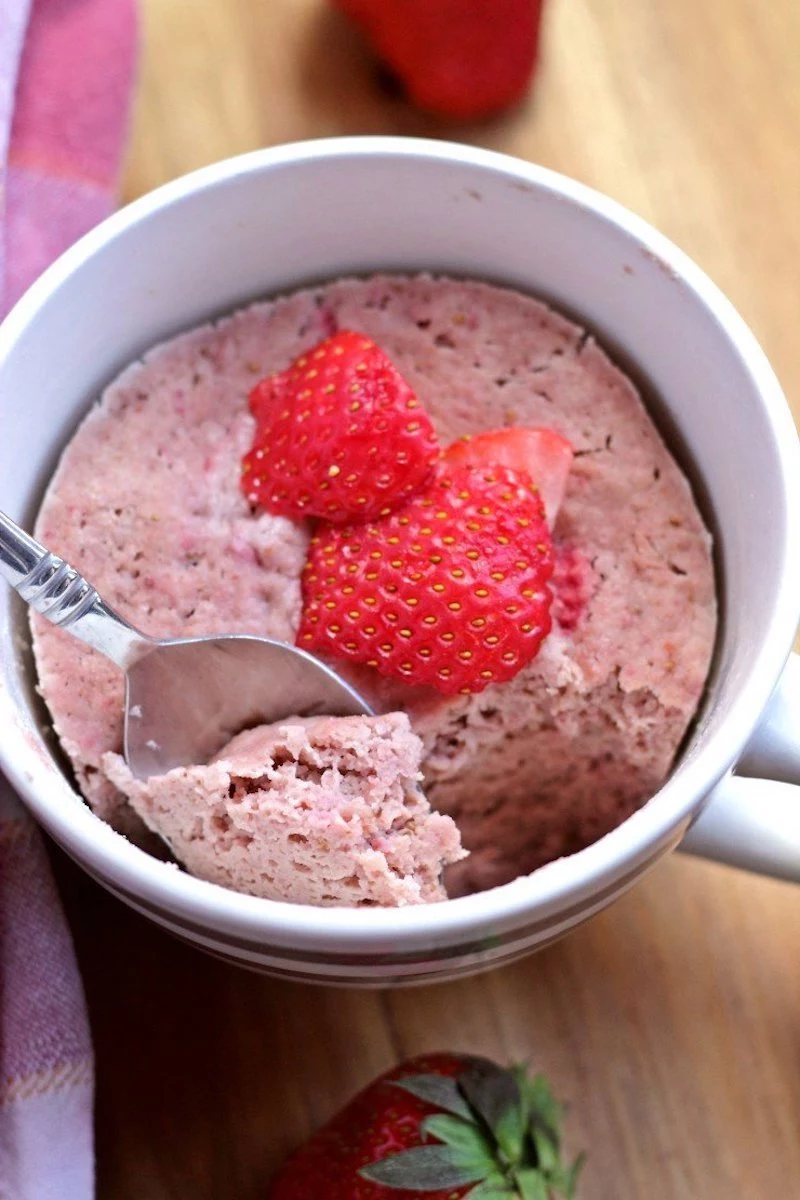
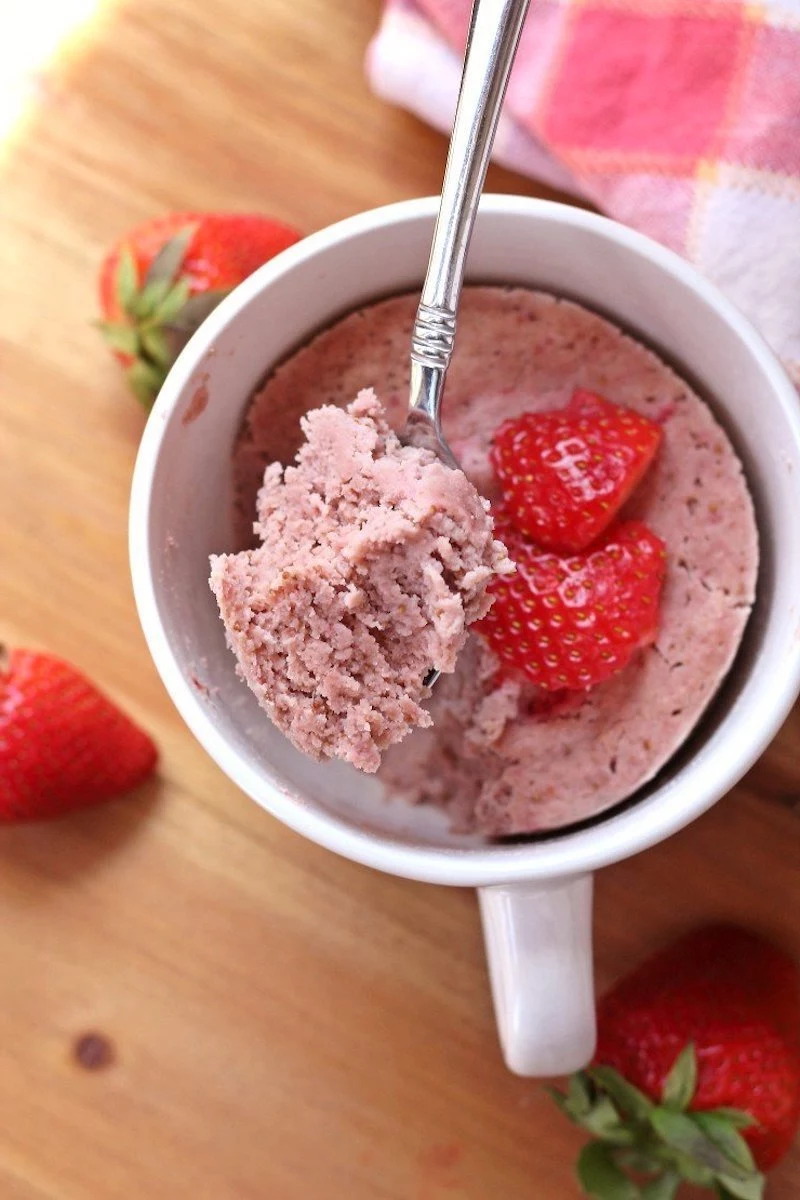
Master Recipe 3: The Vegan (Egg-Free & Dairy-Free) Cake
Here, we use applesauce as a binder. The result is a super soft and moist cake.
Good to know: Without eggs, this cake will be a bit denser and fudgier than the classic version. That’s totally normal, and the applesauce keeps it wonderfully moist.
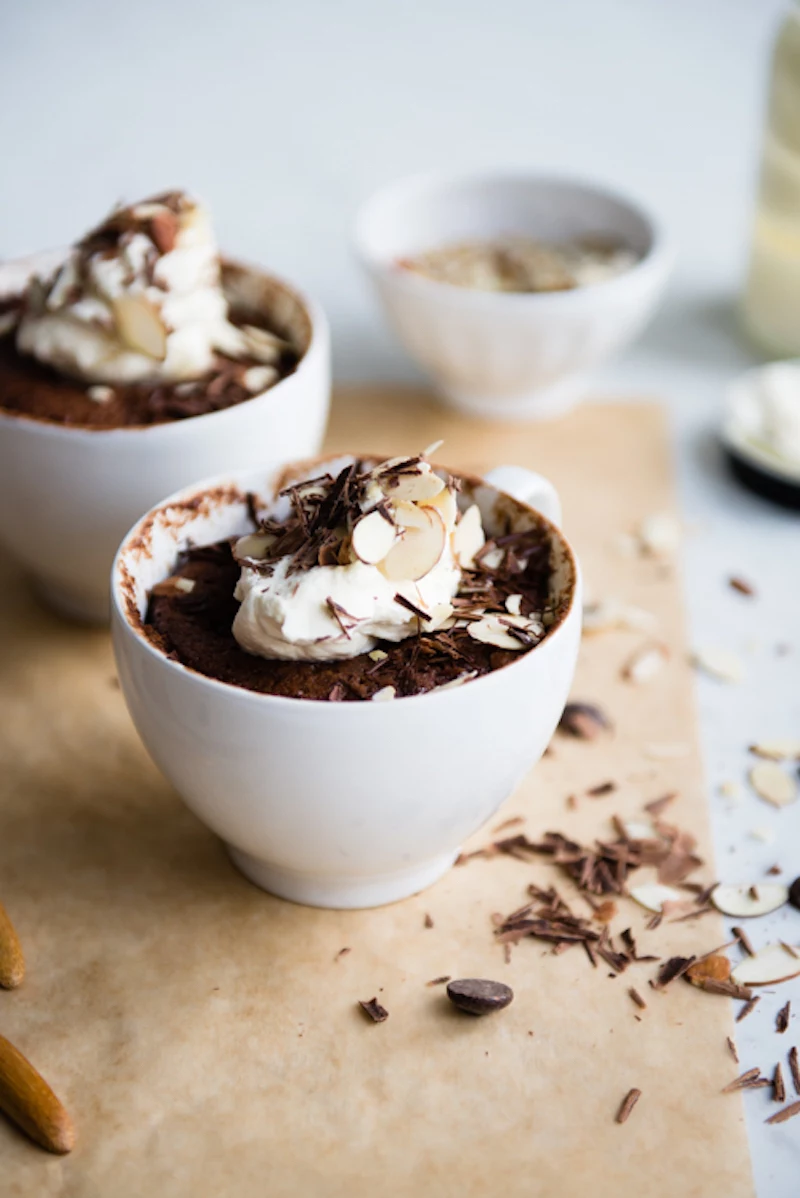
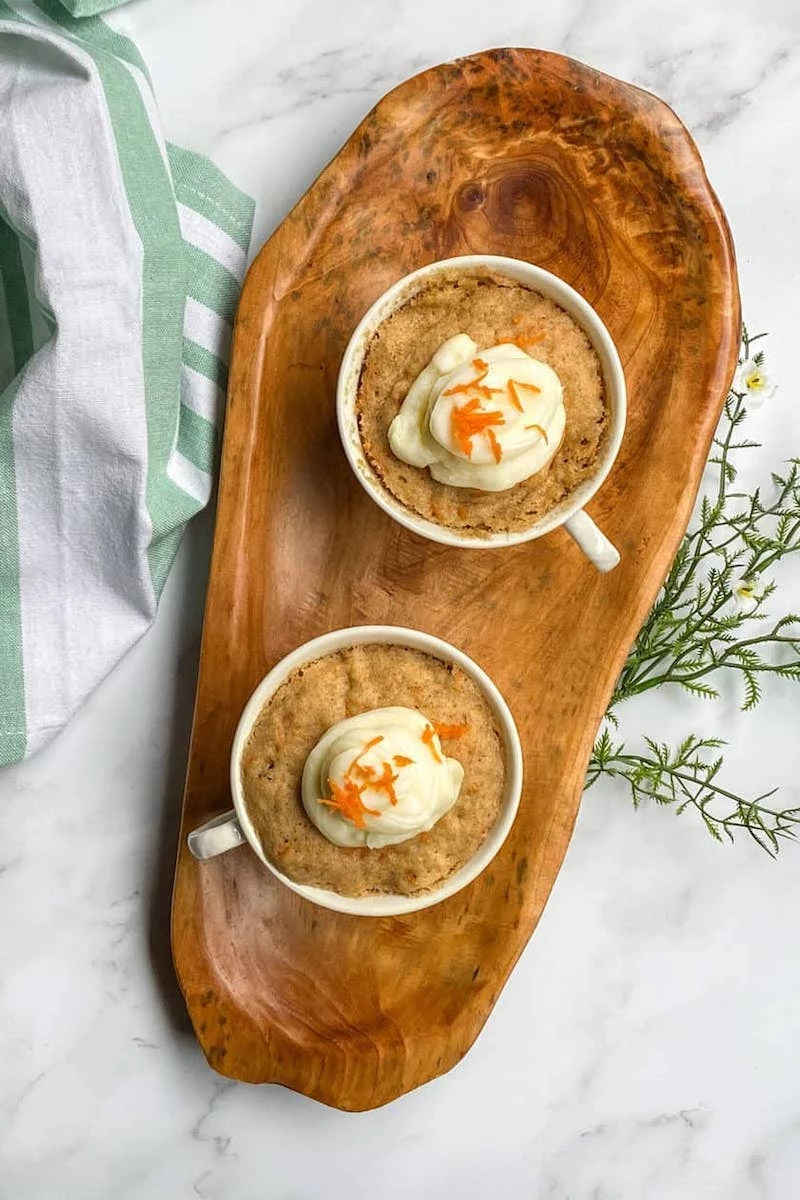
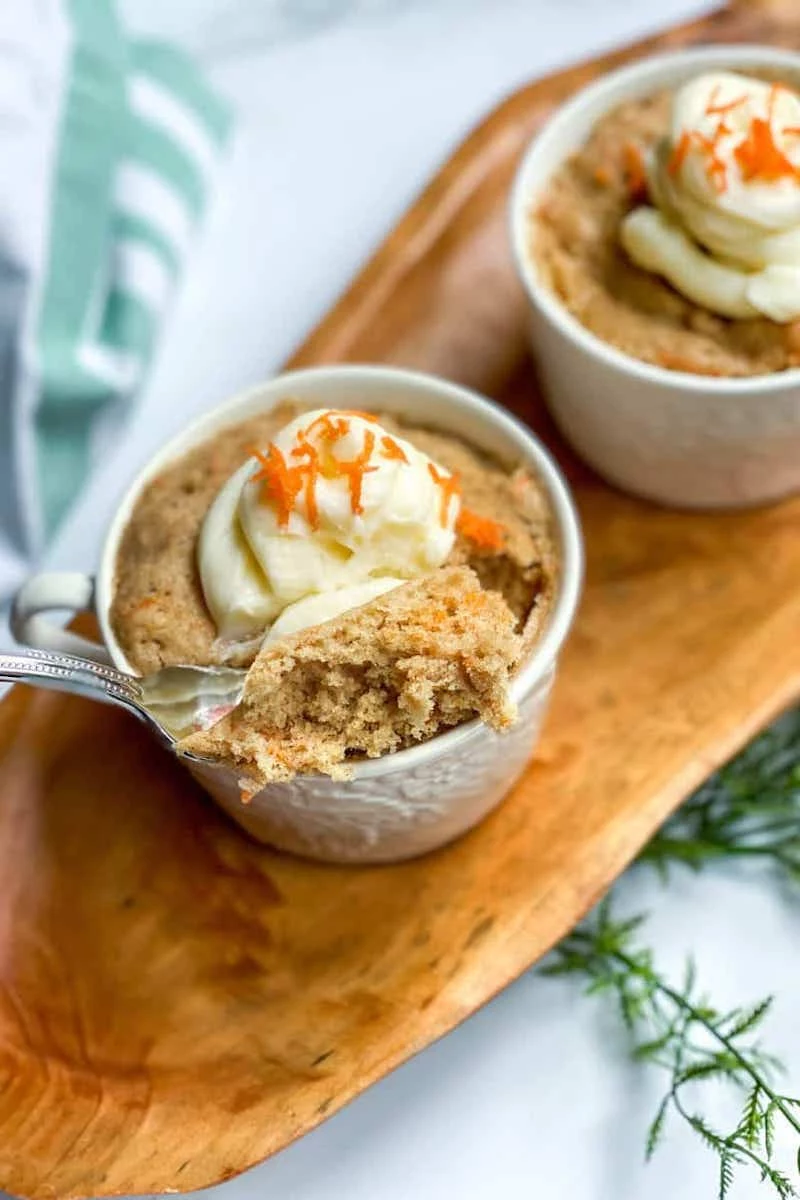
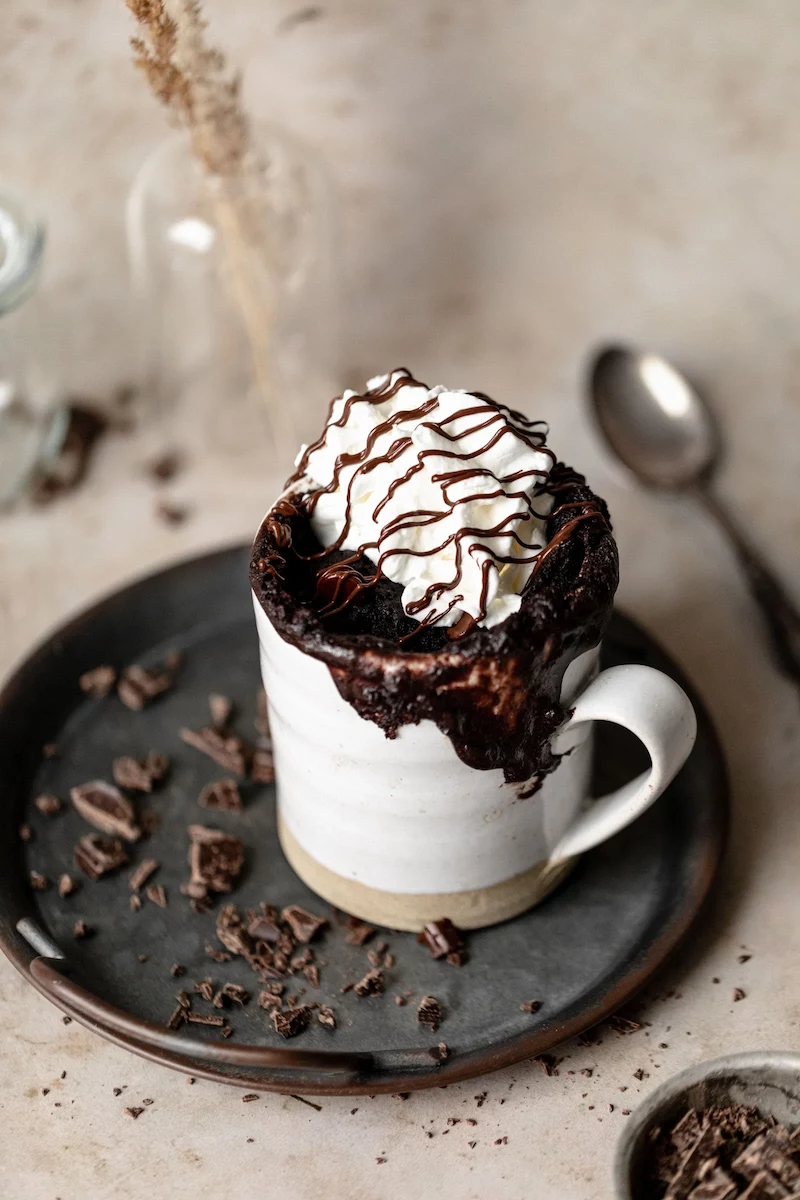
Level Up: Toppings and Finishes
Okay, your cake is done. Now for the fun part! Don’t just eat it plain. A simple topping makes all the difference.
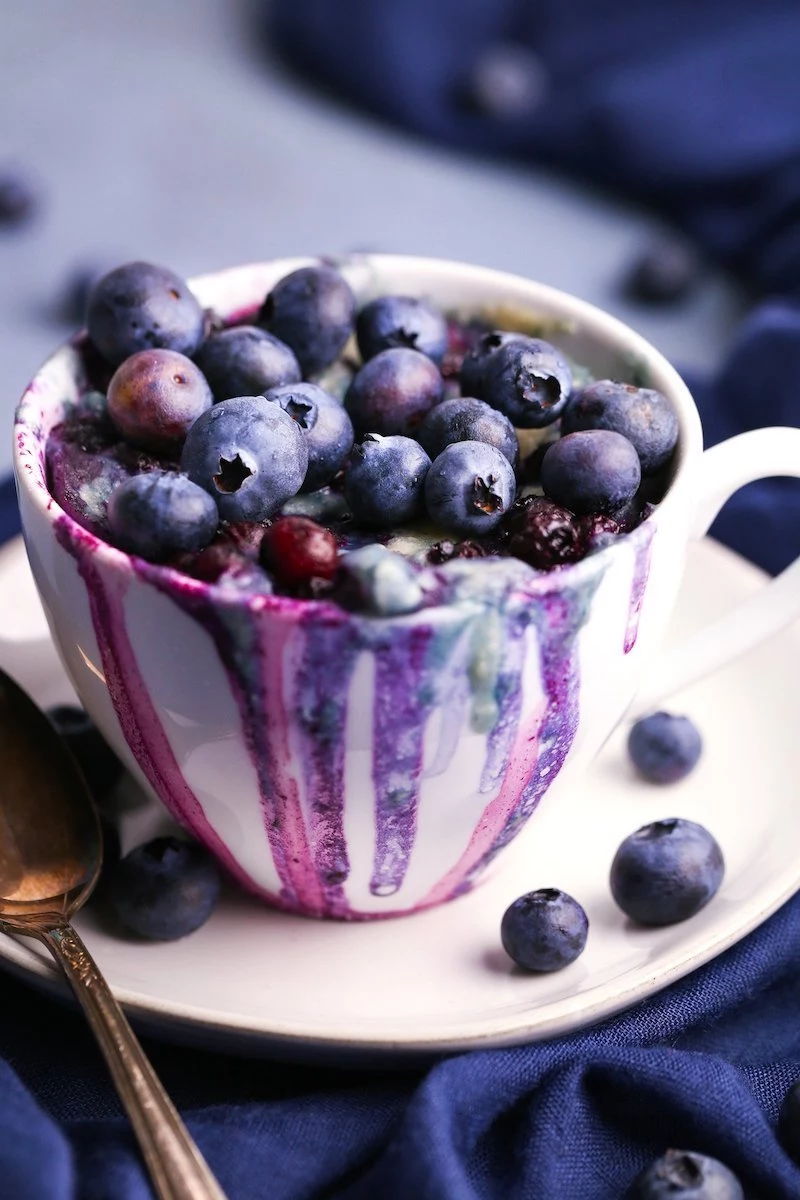
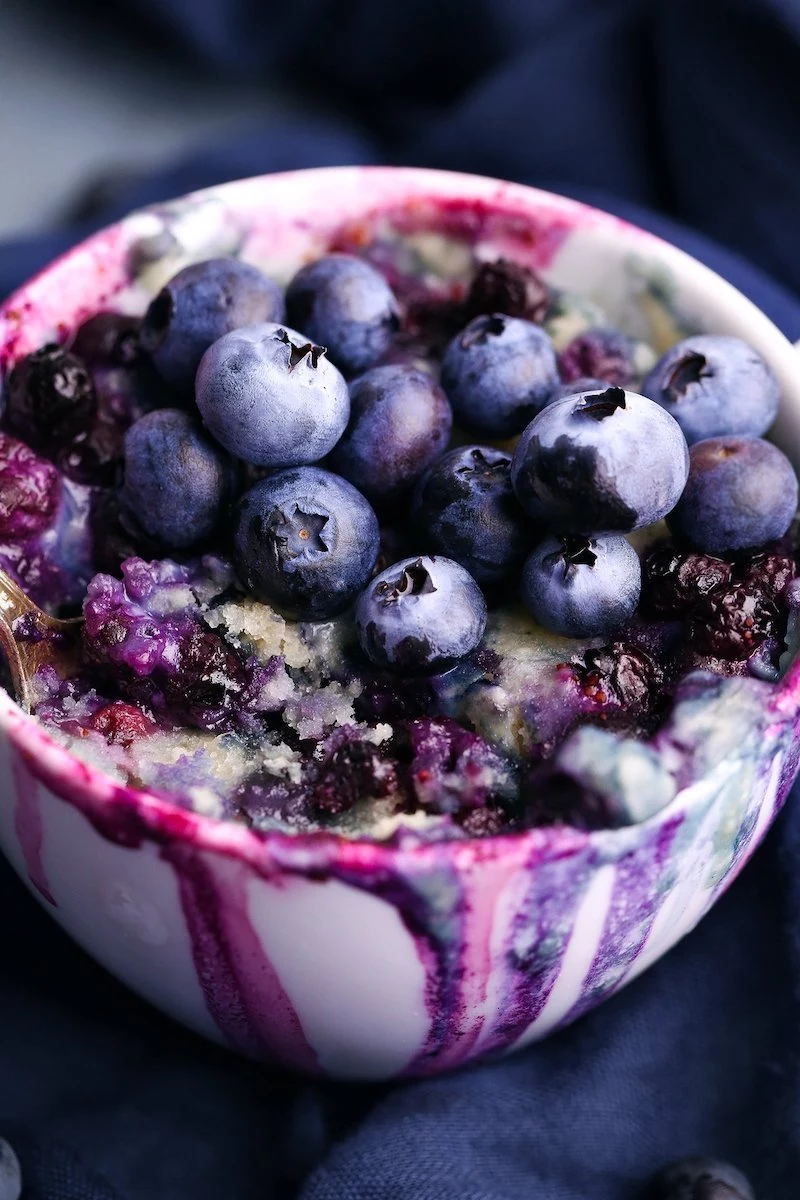
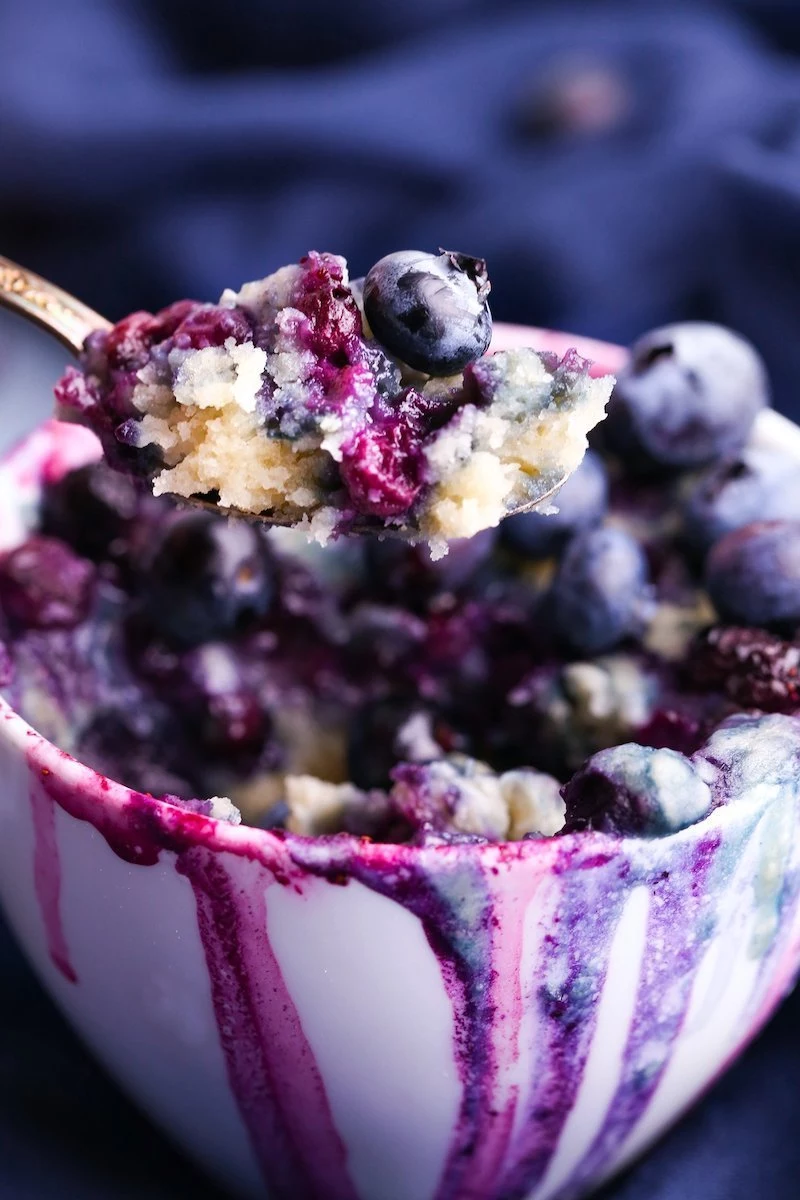
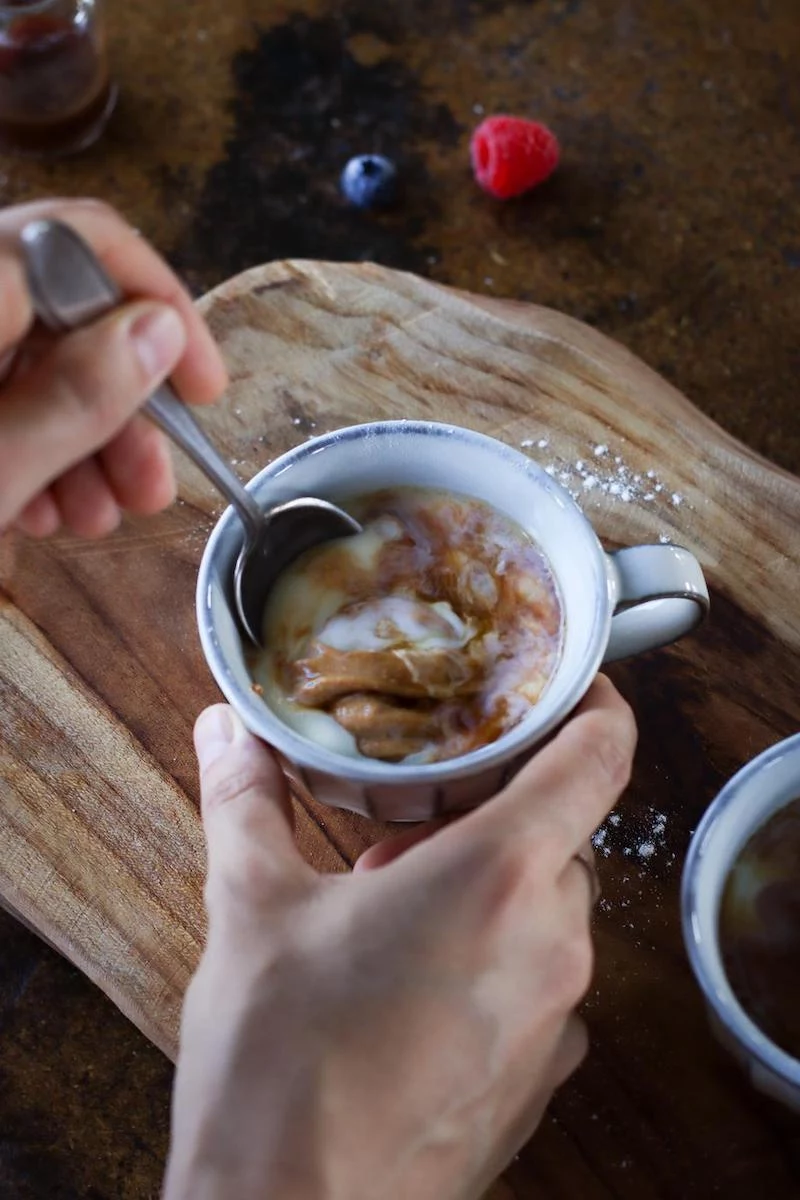
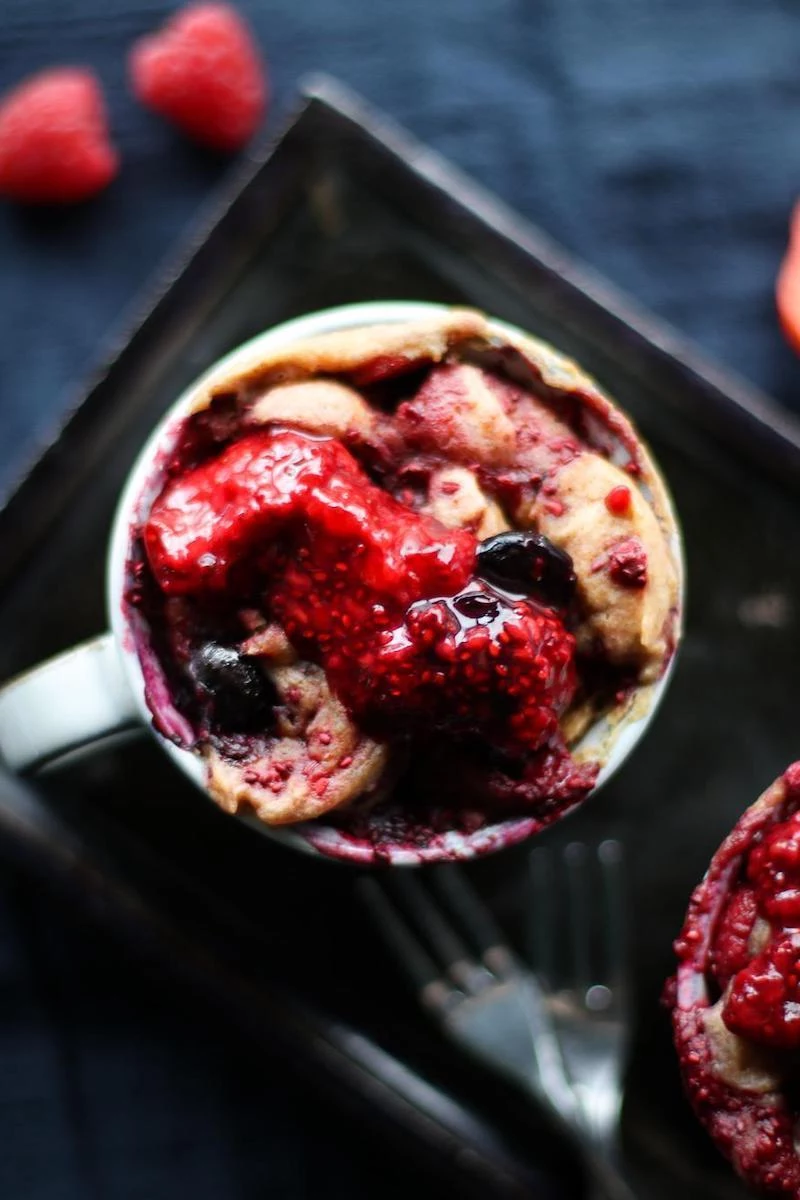
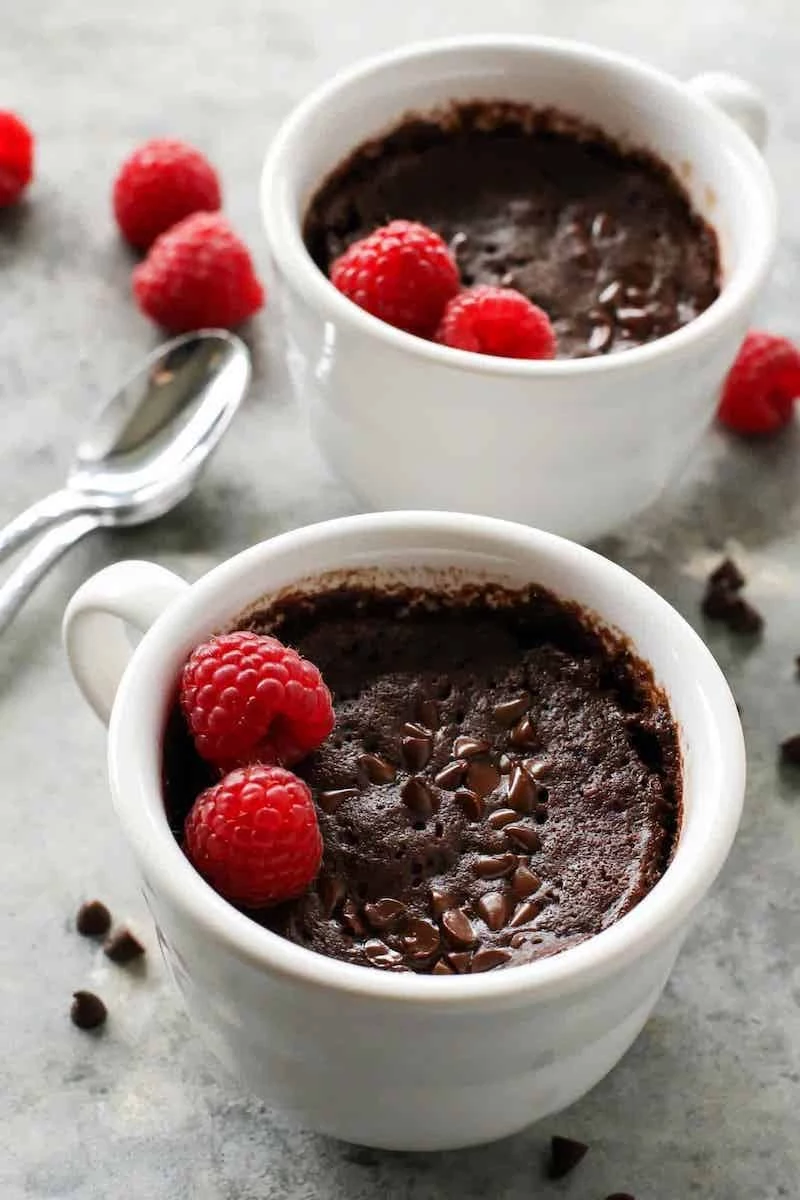
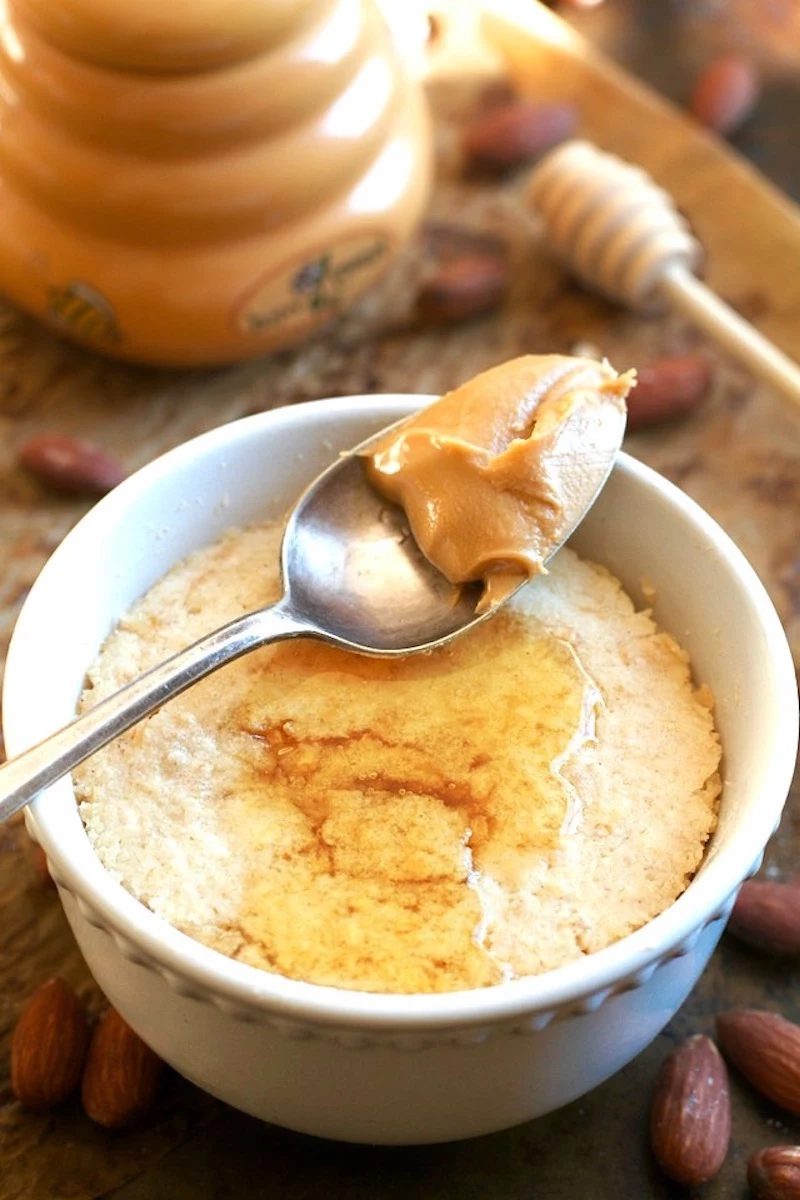
A dollop of Greek yogurt or a spoonful of raspberry jam.
A scoop of vanilla ice cream that gets all melty.
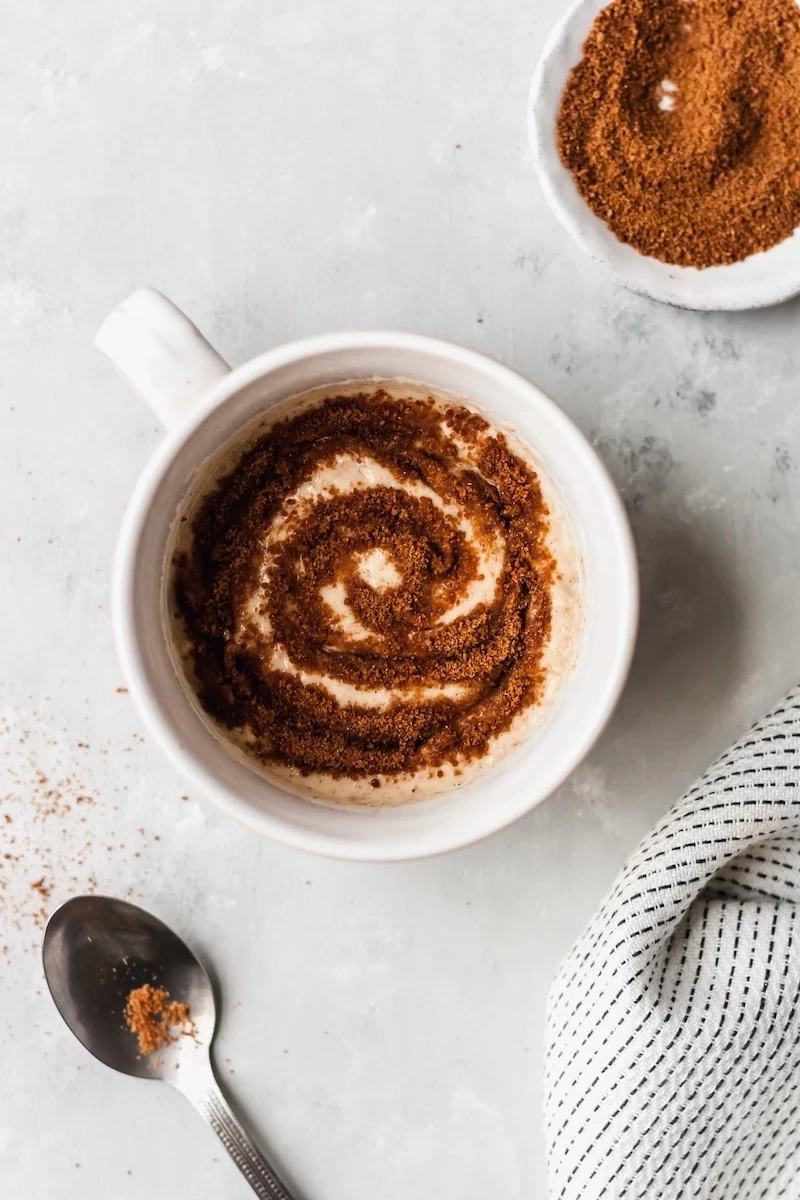
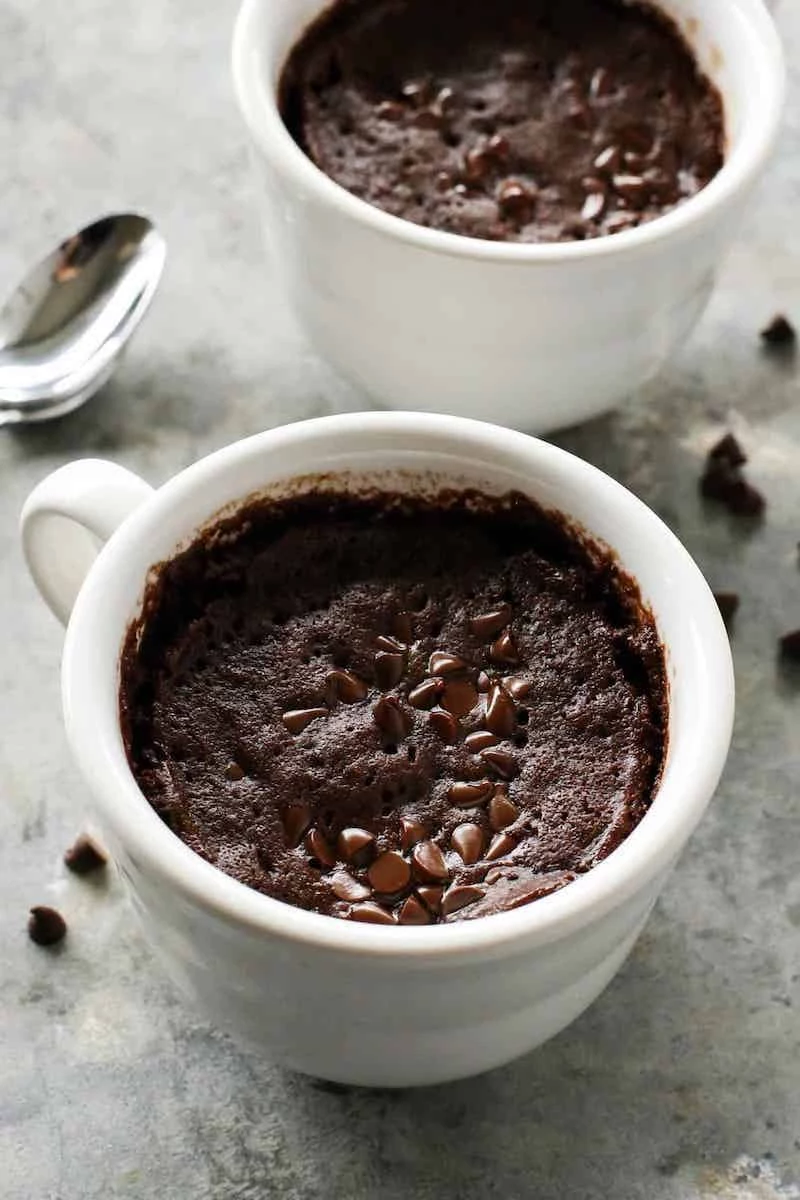
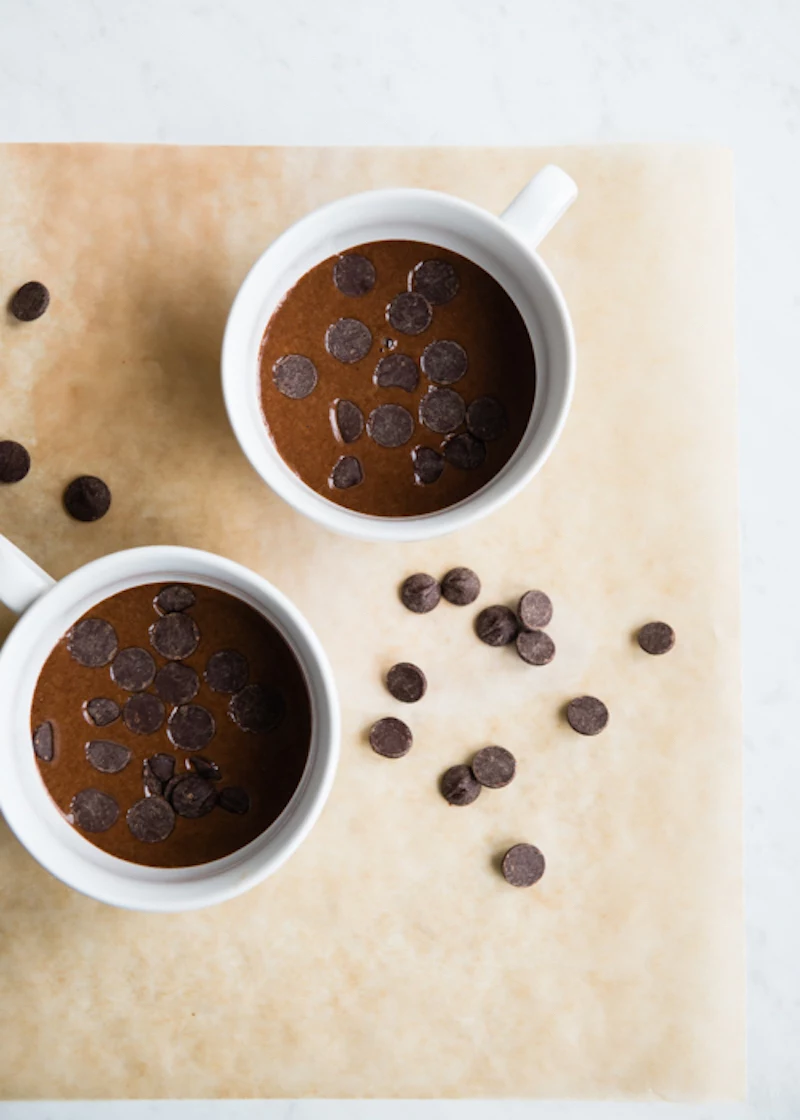
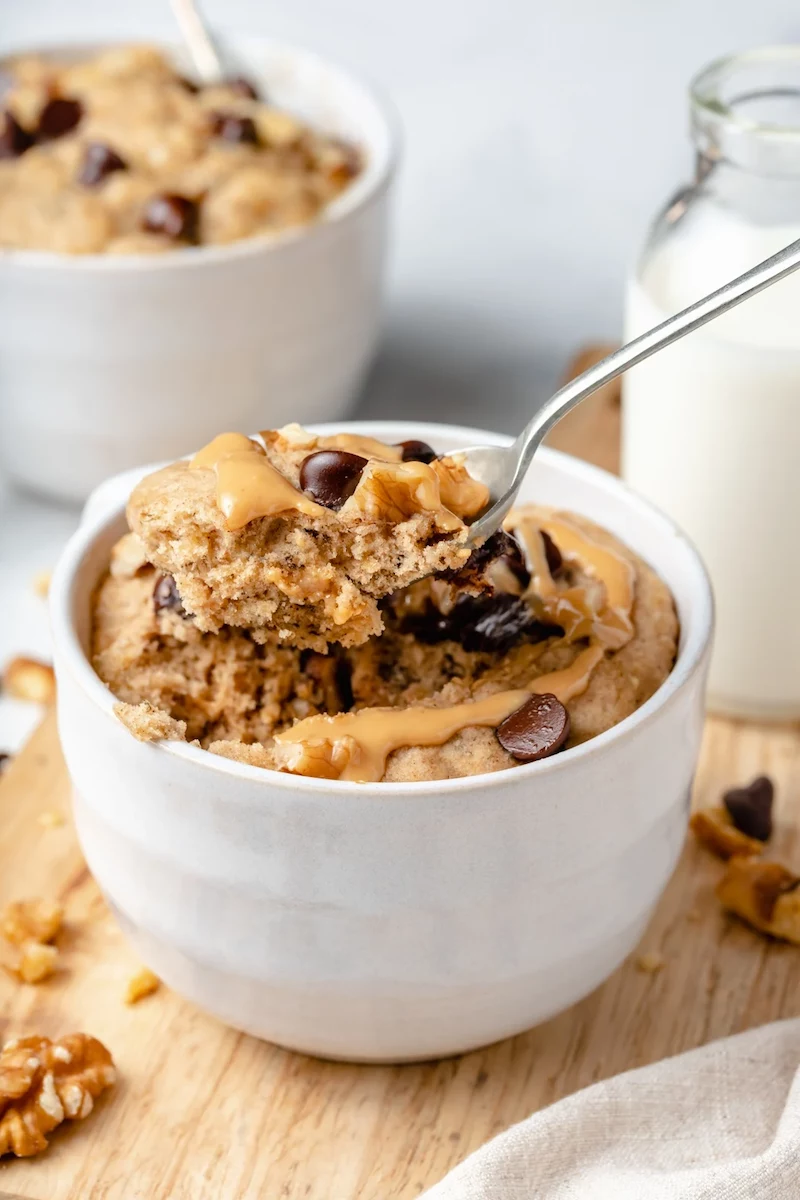
A sprinkle of powdered sugar or a few chocolate chips pressed into the top while it’s still hot.
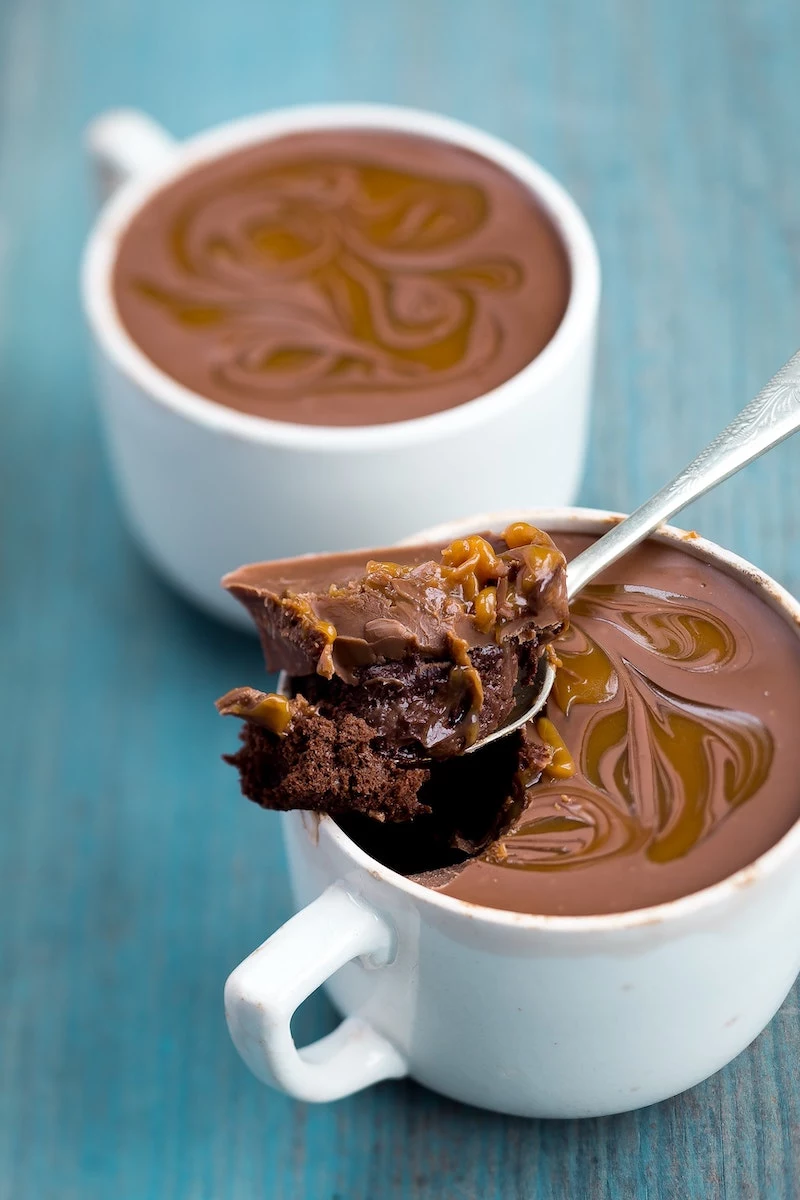
Quick Ganache: In a small bowl, microwave 2 tbsp of heavy cream for 20 seconds, then add 2 tbsp of chocolate chips. Let it sit for a minute, then stir until smooth and pour over your cake. Divine.
Troubleshooting The Most Common Fails
Problem: It’s tough and rubbery. Cause & Solution: You 100% overmixed it or overcooked it. Mix only until the flour is gone (lumpy is good!) and use the pulse cooking method. Stop when the top looks dry, not a second later.
Problem: It’s dry and crumbly. Cause & Solution: Your dry-to-wet ratio is off. This often happens from packing your flour into the measuring spoon. Always spoon flour into your measure, then level it off. If it’s still dry, add an extra teaspoon of milk next time.
Problem: It exploded everywhere! Cause & Solution: Your mug was too small or you used too much baking powder. Make sure the batter only fills the mug halfway and double-check you only used 1/4 teaspoon of baking powder—it’s powerful stuff!
Problem: The bottom is raw and gooey. Cause & Solution: Either you didn’t mix the dry ingredients enough (so the leavener is in clumps) or it’s just undercooked. Whisk those dry ingredients well! If it’s still raw, pop it back in the microwave for 10-second bursts.
A Final Word on Safety & Expectations
Please be careful. The mug gets incredibly hot, and the steam trapped inside is even hotter. Use an oven mitt to take it out of the microwave and let it rest for at least 2-3 minutes before you even think about digging in. This rest time also helps the cake’s structure set properly.
And finally, let’s be realistic. A mug cake is a unique, comforting, personal-sized dessert that’s ready in minutes. It’s a category of its own. It will never have the golden crust or airy crumb of a traditionally baked cake, and that’s okay! Appreciate it for the wonderful, speedy treat that it is.
The knowledge is now yours. Go experiment! You’re no longer just following a recipe; you’re in control. That’s the key to making a flawless mug cake every time.
Your turn! I’d love to see what you create. Try one of the base recipes, put your own spin on it, and share a photo online with a fun hashtag like
MyMugCakeMasterpiece. Happy baking!
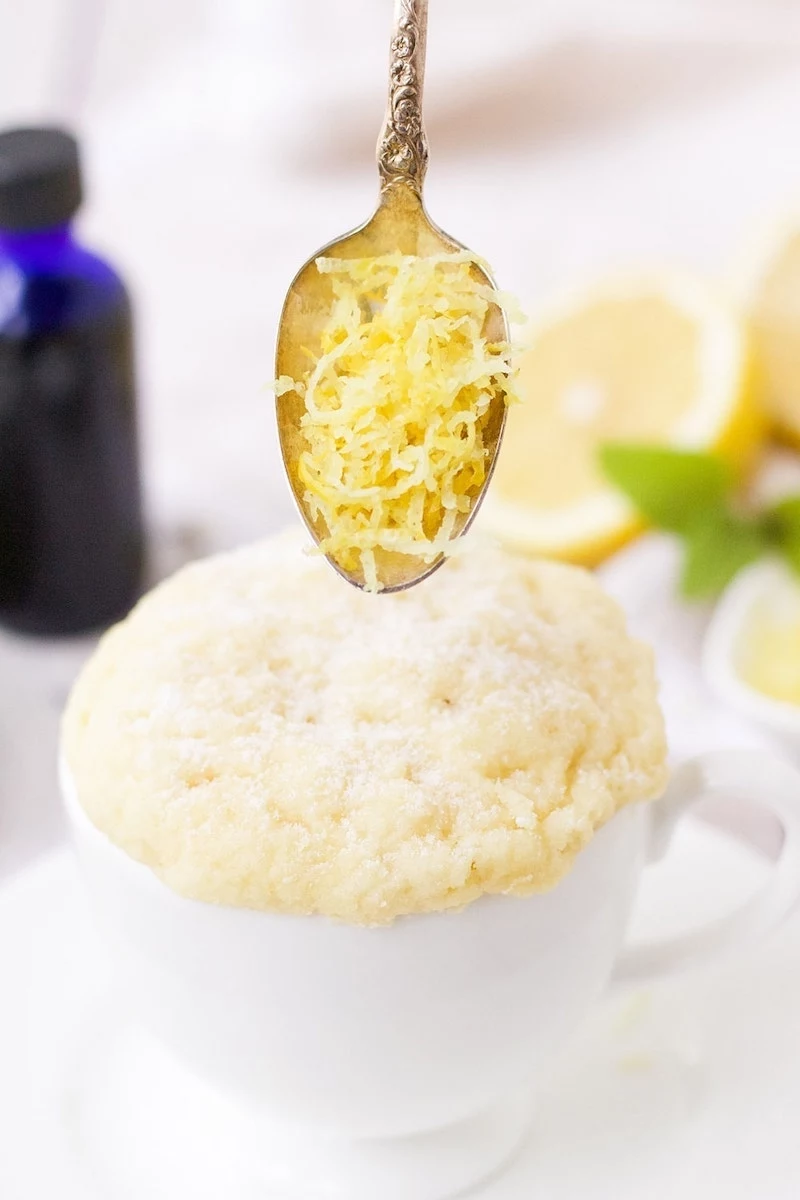
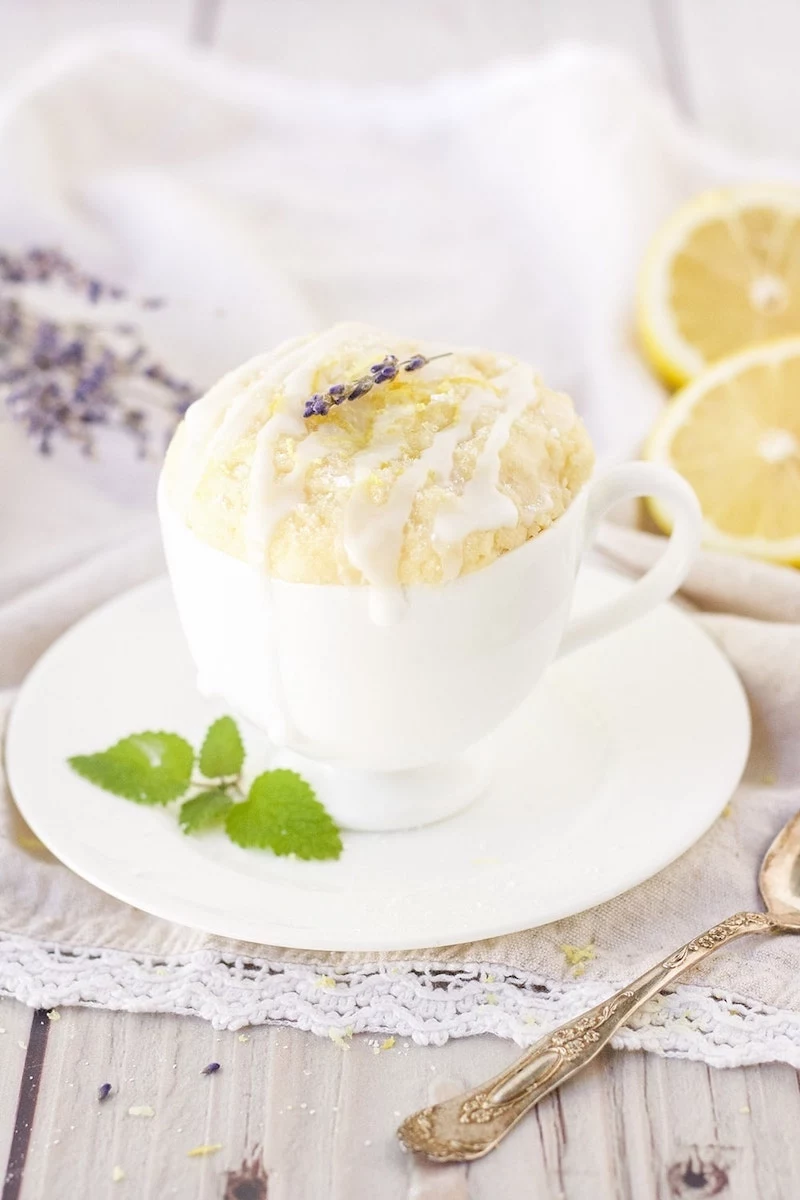
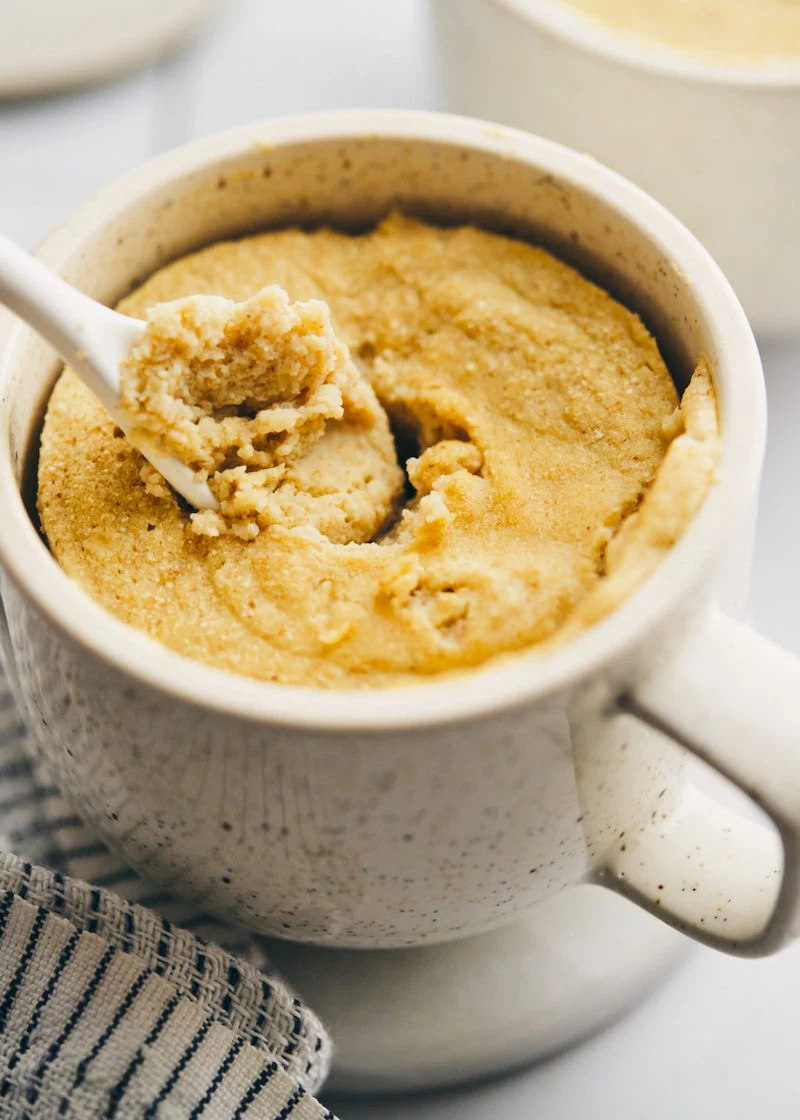
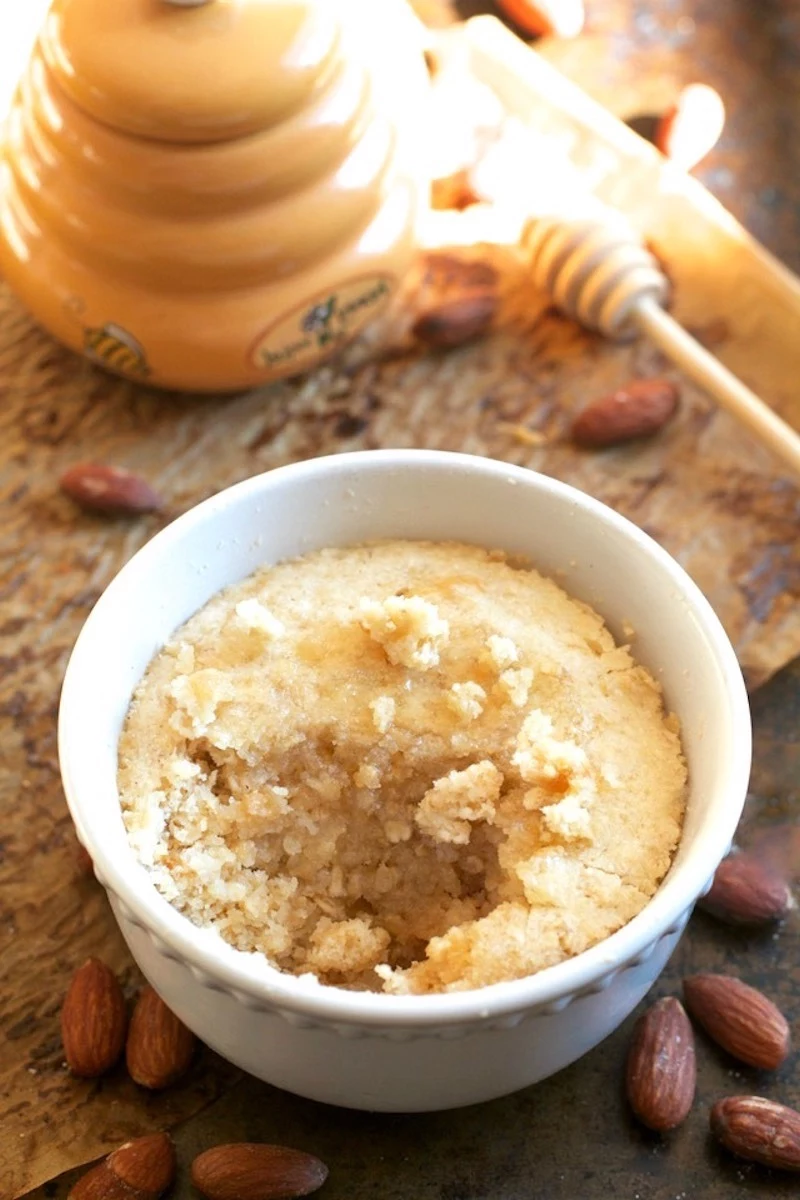
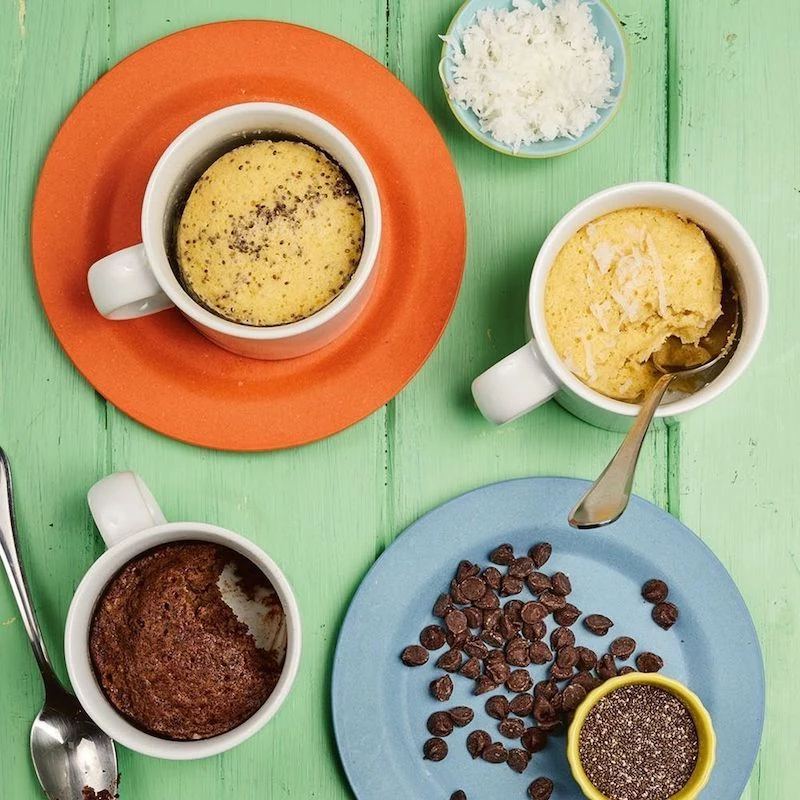
Inspirational Gallery
The crucial cooling-off period: Don’t dive in the second the microwave dings! Let your mug cake rest for a minute or two. This allows the steam to settle and the cake’s structure to firm up. Eating it too soon is a recipe for a molten, overly soft texture that hasn’t reached its full potential.
Prevents a tough, glutenous texture.
Ensures all ingredients are just combined.
Keeps the final cake light and airy.
The secret? Mix your wet and dry ingredients separately first, then gently fold them together until no dry streaks remain. Stop mixing immediately.
A standard 800-watt microwave can boil a cup of water in about 3 minutes. Your cake batter, full of water, is undergoing a similarly rapid heating process, which is why precision is key.
This intense speed means that your batter is being steamed, not baked. Understanding this helps explain the soft, crustless texture and why a mere 10-second difference in cooking time can drastically change the result.
Can I make my mug cake vegan?
Absolutely! Most recipes are easy to adapt. Use a plant-based milk like almond or oat milk. For the egg, which provides moisture and structure, a ‘flax egg’ works wonders. Just mix one tablespoon of ground flaxseed with three tablespoons of water and let it sit for 5 minutes to thicken. It’s a perfect 1-to-1 substitute.
For a richer flavor: Brown your butter. Before mixing it into the batter, melt your butter in a small, light-colored pan over medium heat. It will foam, then sizzle, and finally, small brown bits will appear at the bottom, releasing an incredible nutty aroma. Immediately pour it into your wet ingredients to stop the cooking. This simple step adds a deep, caramel-like complexity that transforms a basic vanilla or chocolate mug cake.
Don’t have self-rising flour? Make your own quick version for a single serving. For every 1/4 cup of all-purpose flour, simply whisk in 3/8 teaspoon of baking powder and a pinch of salt. You’ll get the perfect rise every time without needing a separate ingredient.
According to a 2021 Mintel report, over 40% of consumers are interested in portion-controlled desserts. Mug cakes perfectly cater to this trend of single-serving indulgence.
The choice of mug matters more than you think. For the most even cooking, avoid tall, narrow mugs or those with a tapered shape.
A wider, shorter mug allows the microwaves to penetrate the batter more evenly from all sides.
Straight sides help the cake rise uniformly.
Ensure it’s microwave-safe and holds at least 12-14 ounces to prevent messy overflows.
Oil: Creates a consistently moist and tender crumb because it remains liquid at room temperature. It’s a reliable and budget-friendly choice for a soft texture.
Melted Butter: Adds a rich, savory flavor that oil can’t match. However, it can result in a slightly denser cake once it cools and solidifies.
For pure texture, oil wins. For a flavor boost, especially in vanilla or cinnamon cakes, butter is king.
A touch of acid for a tender crumb: Adding a tiny splash of white vinegar or lemon juice (about 1/4 teaspoon) to your batter can make a world of difference. It reacts with the baking powder to create a faster, more vigorous lift, resulting in a fluffier and more tender cake. Don’t worry, you won’t taste it in the final product!
How do I know when it’s perfectly cooked?
The surface should look set and dry, but still be slightly damp to the touch. The cake will have pulled away from the sides of the mug. Unlike an oven-baked cake, a toothpick inserted into the center might still have a few moist crumbs attached, which is perfect. If it comes out completely clean, it’s likely already overcooked and on its way to becoming rubbery.
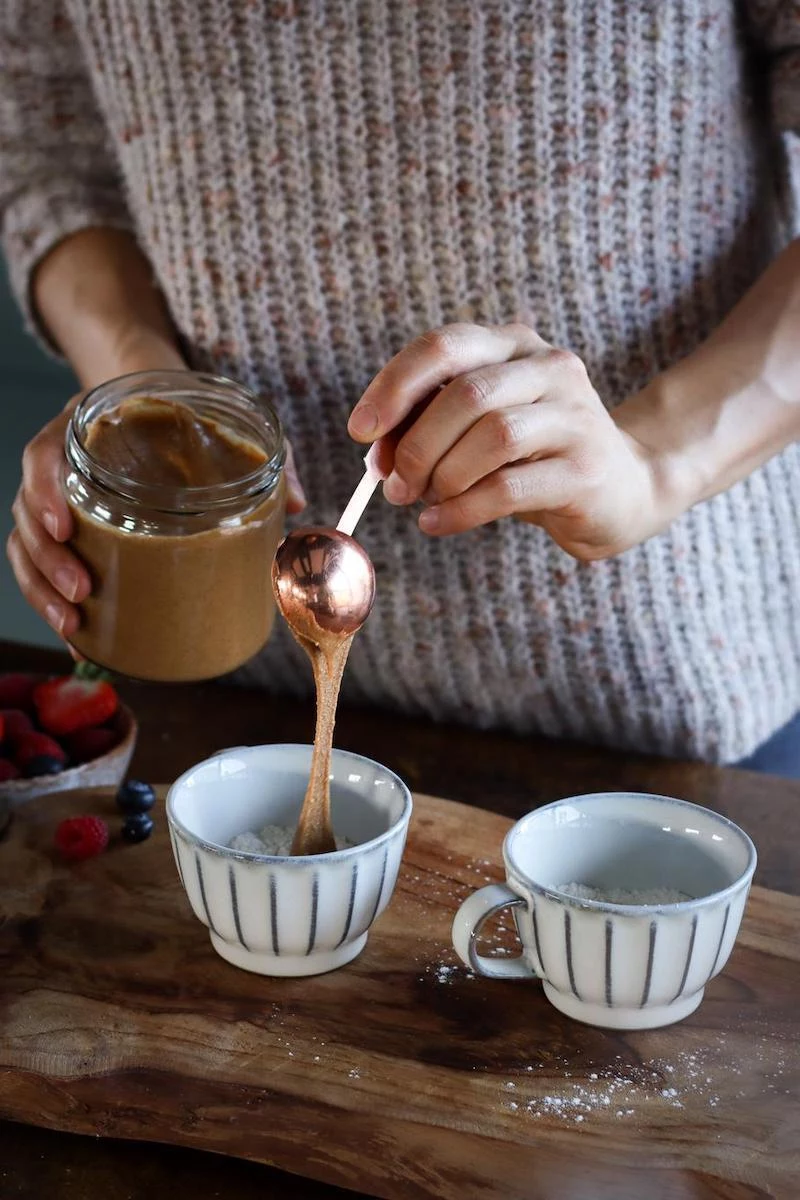
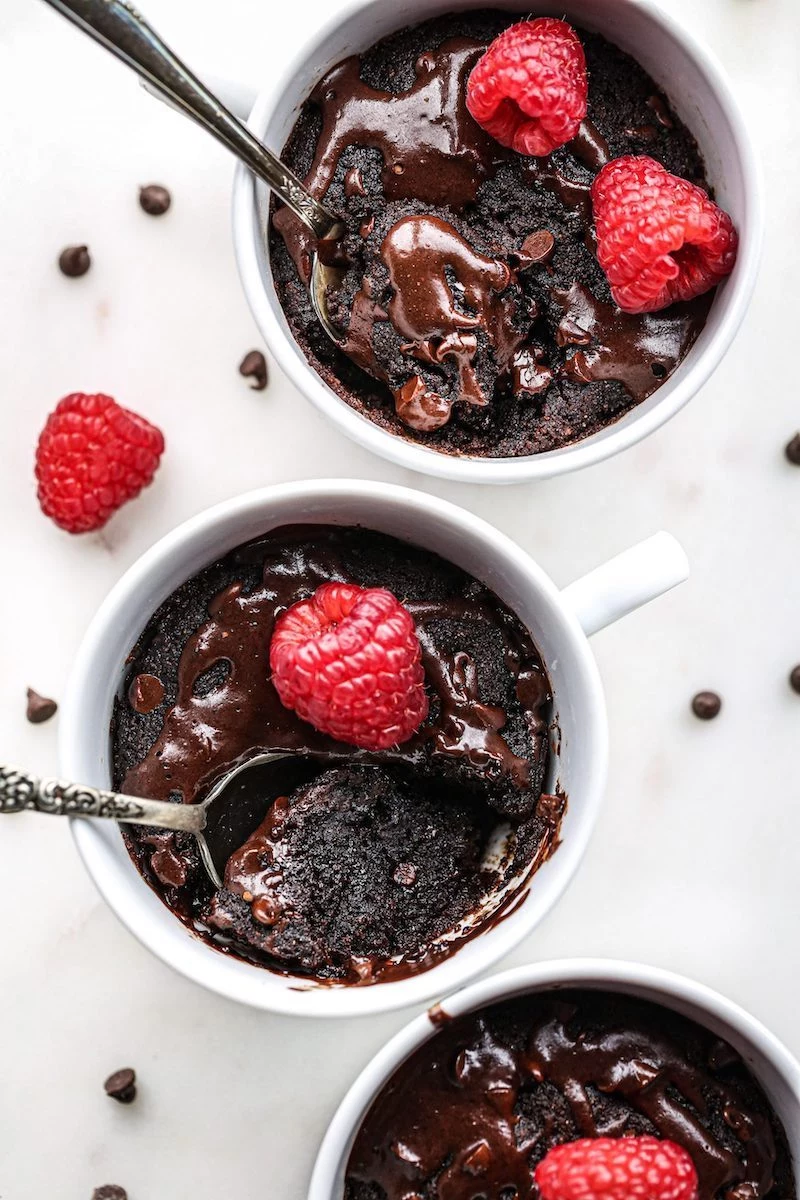
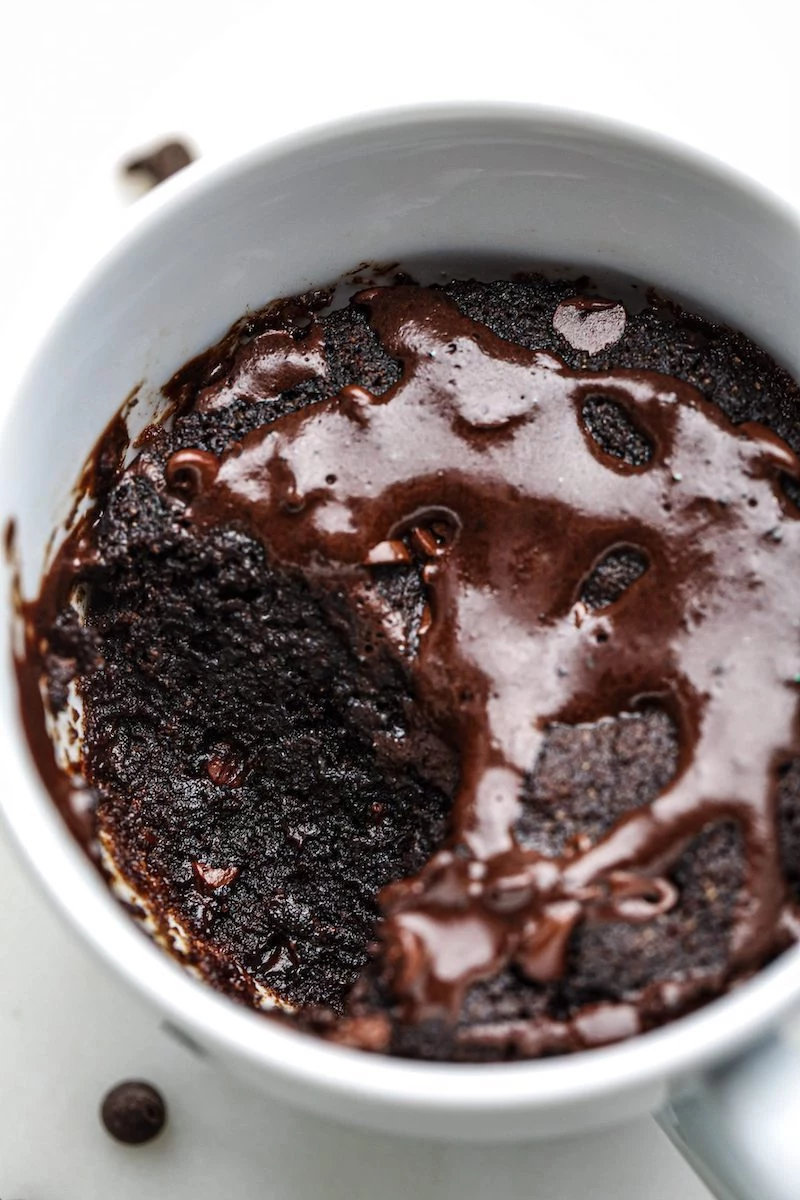
For an instant lava cake effect, drop a single square of high-quality dark chocolate (like Lindt 70% or Ghirardelli Intense Dark) or a frozen spoonful of Nutella into the center of the batter before microwaving. The cake will cook around it, leaving a molten, gooey core.
Boosts protein for post-workout satisfaction.
Often adds sweetness, reducing the need for extra sugar.
Works well with flavors like chocolate, peanut butter, and banana.
The secret? Replace a tablespoon or two of flour with your favorite protein powder (whey or plant-based). You may need to add an extra splash of milk, as protein powder is very absorbent.
For a true café-style treat, use a high-quality vanilla bean paste like Nielsen-Massey instead of extract. The tiny black specks add visual appeal and a more intense, authentic vanilla flavor.
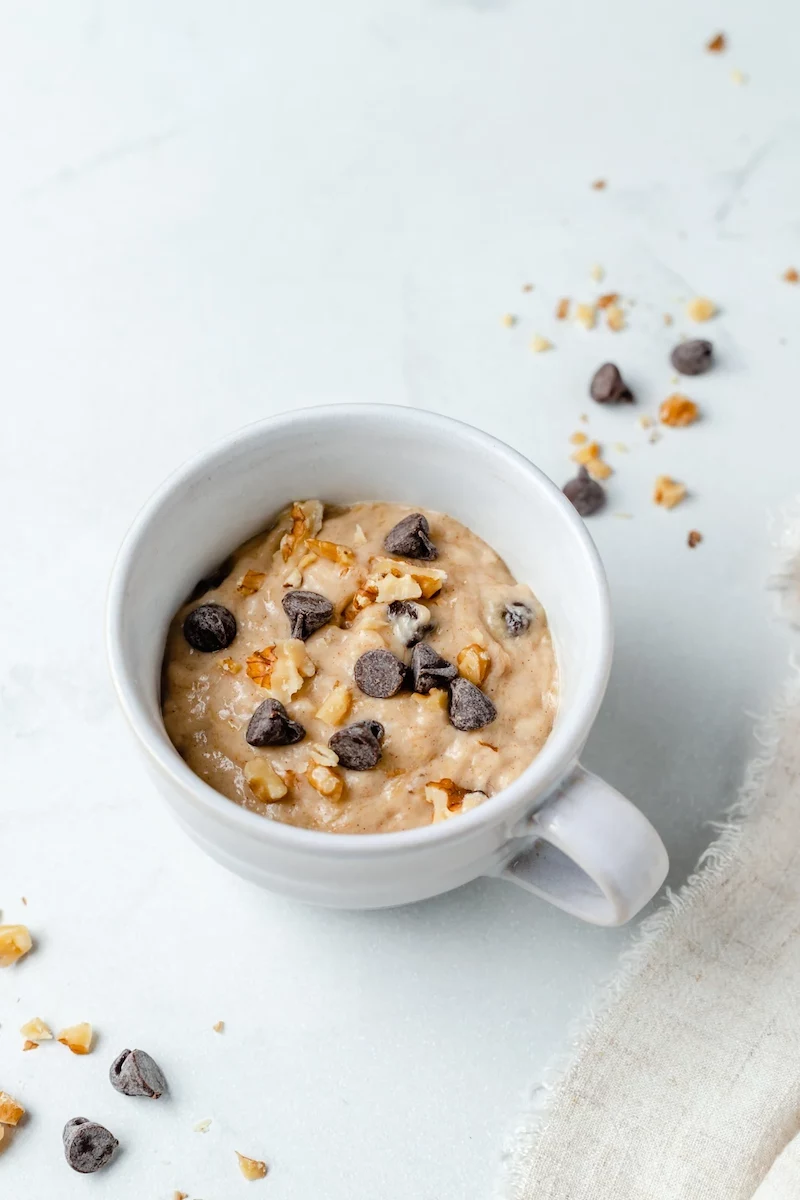
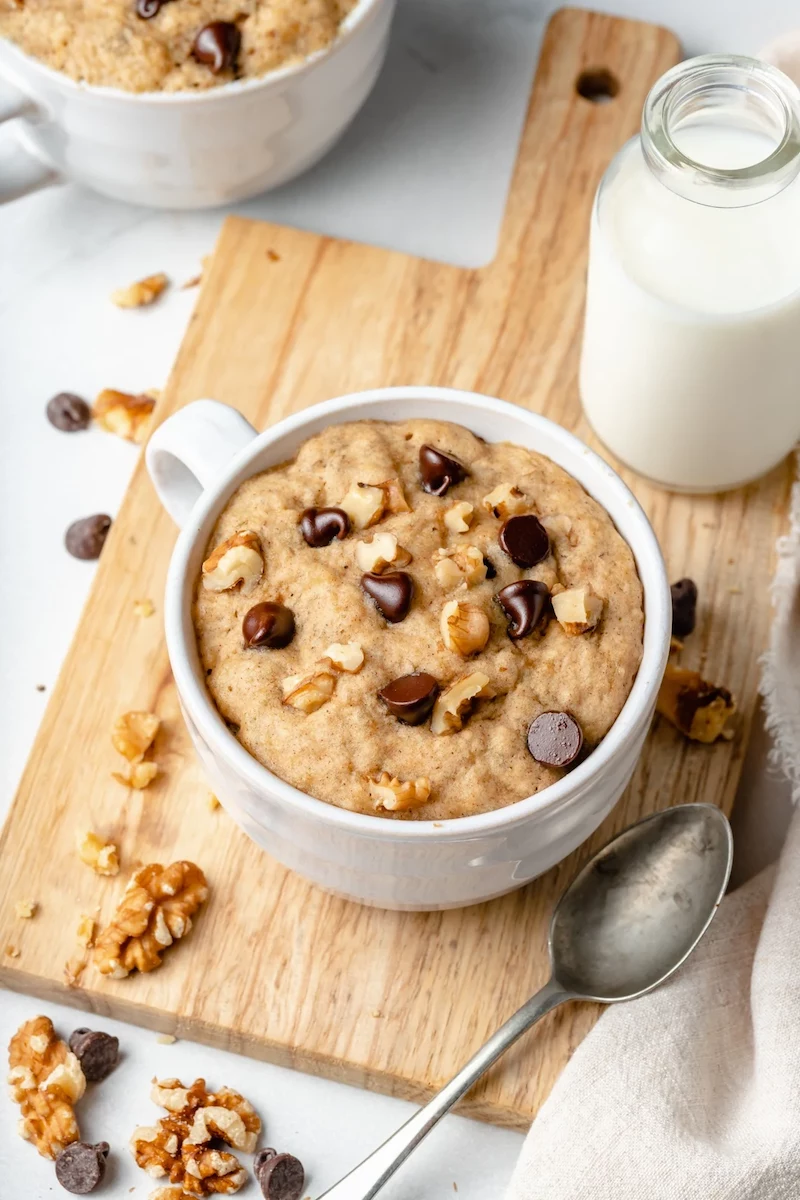
To prevent a tough, over-mixed cake, always add chocolate chips, nuts, or other chunky mix-ins last. Gently fold them in with a spatula in just two or three strokes right before microwaving. This minimizes gluten development and keeps the crumb delicate.
Dutch-Process vs. Natural Cocoa Powder: For that deep, dark, Oreo-like flavor, opt for a Dutch-processed cocoa powder like Droste or Ghirardelli. It’s less acidic and creates a fudgier result. Natural cocoa powder (like Hershey’s) is lighter and fruitier, giving a more classic ‘brownie’ taste. Since most mug cakes use baking powder, either will work, so choose based on your flavor preference.
Go beyond sweet! A savory mug cake makes a fantastic quick lunch or snack. Try a base with cheese and chives, or go for a ‘pizza’ version with a pinch of oregano, a swirl of tomato paste, and mini pepperonis. The principle is the same: mix wet and dry, and microwave for 60-90 seconds.
Coffee: A splash of brewed coffee or a 1/2 teaspoon of instant espresso powder will intensify chocolate flavors without making the cake taste like coffee.
Yogurt or Sour Cream: A tablespoon of full-fat plain yogurt adds moisture and a slight tang that balances the sweetness, leading to a much softer crumb.
Mayonnaise: It sounds strange, but a teaspoon of mayonnaise (like Hellmann’s) adds oil, egg, and acid all at once, guaranteeing a moist, rich result. It’s a classic chocolate cake secret for a reason!
A single egg is too much for a single-serving mug cake, leading to a spongy, eggy texture. Most recipes call for just 1-2 tablespoons of a beaten egg or, better yet, no egg at all.
Create a DIY ‘Mug Cake in a Jar’ for a thoughtful gift. In a small mason jar, layer the dry ingredients: flour, sugar, cocoa powder, baking powder, and a pinch of salt. Top with chocolate chips or sprinkles. Attach a tag with simple instructions:
My mug cake is bland. How do I boost the flavor?
First, don’t skip the salt! A tiny pinch is essential to enhance sweetness and complexity. Second, use high-quality flavorings. A premium vanilla extract makes a huge difference. Finally, add depth with spices. A dash of cinnamon in a vanilla cake, a pinch of cayenne in a chocolate one, or some cardamom in a coffee cake can elevate it from basic to brilliant.
For gluten-free versions, a 1:1 gluten-free baking blend (like Bob’s Red Mill Gluten Free 1-to-1 Baking Flour) is the easiest substitute. If using single flours, almond flour creates a moist, dense cake, while coconut flour is highly absorbent and requires more liquid. A combination of the two often yields the best texture.
A swirl of Biscoff cookie butter
A sprinkle of flaky sea salt (Maldon is perfect) on a chocolate cake
A dollop of lemon curd and a few fresh raspberries
A drizzle of warmed maple syrup and toasted pecans
The trick is to add toppings after the cake has rested for a minute, so they don’t sink or melt completely.
Think beyond chocolate and vanilla! Experiment with extracts and zests. A few drops of almond extract with some cherry jam, orange zest with poppy seeds, or peppermint extract with chocolate chips for a holiday treat. The mug cake is a perfect canvas for your flavor creativity.
The fatal flaw: Forgetting the leavening agent. Without baking powder (or baking soda, if the recipe has acid), your cake has no way to rise against the rapid steam. You’ll be left with a dense, sad puddle of cooked batter at the bottom of your mug. Always double-check that you’ve added it!
Emily Thompson is a Culinary Institute of America graduate who has worked in Michelin-starred restaurants before transitioning to food writing and education. Author of three cookbooks, she specializes in seasonal cooking and making gourmet techniques accessible to home cooks. Emily's recipes have been featured in Food & Wine and Bon Appétit.
To provide the best experiences, we use technologies like cookies to store and/or access device information. Consenting to these technologies will allow us to process data such as browsing behavior or unique IDs on this site. Not consenting or withdrawing consent, may adversely affect certain features and functions.
Functional
Always active
The technical storage or access is strictly necessary for the legitimate purpose of enabling the use of a specific service explicitly requested by the subscriber or user, or for the sole purpose of carrying out the transmission of a communication over an electronic communications network.
Preferences
The technical storage or access is necessary for the legitimate purpose of storing preferences that are not requested by the subscriber or user.
Statistics
The technical storage or access that is used exclusively for statistical purposes.The technical storage or access that is used exclusively for anonymous statistical purposes. Without a subpoena, voluntary compliance on the part of your Internet Service Provider, or additional records from a third party, information stored or retrieved for this purpose alone cannot usually be used to identify you.
Marketing
The technical storage or access is required to create user profiles to send advertising, or to track the user on a website or across several websites for similar marketing purposes.