The Honest Guide to Making Sea Moss Gel for Your Skin (The Right Way)
My first real encounter with sea moss wasn’t from a viral video; it was in my treatment room years ago. A client with incredibly sensitive, dry skin shared a traditional recipe her grandmother had passed down. Honestly, while my holistic esthetician training covered tons of botanicals, this humble algae was new territory for me professionally.
In this article
We made a batch right there. I still remember the clean, salty smell as the dried fronds soaked and softened. The gel we created was so simple, yet it worked wonders on her redness. That day really stuck with me. It proved that sometimes the most powerful solutions aren’t cooked up in a lab but are found in timeless, traditional wisdom.
Since then, I’ve spent countless hours working with sea moss—sourcing it from different places, teaching others how to prepare it, and whipping it into custom masks for all sorts of skin types. It’s become my go-to for deep hydration and calming down angry skin. This guide isn’t about miracle cures. It’s my practical, hands-on knowledge, shared with you. We’ll cover how to pick the good stuff, prepare it perfectly, and create safe, effective face masks right in your own kitchen.
So, What Exactly Is Sea Moss and How Does It Help Skin?
Before you slather anything on your face, it’s smart to know what you’re working with. Sea moss is a type of red algae that grows along the rocky shores of the North Atlantic. Think of it less like a plant and more like a sea vegetable that soaks up nutrients directly from the ocean.
When you soak and blend it, you get this amazing, thick gel. That texture comes from something called carrageenan, a natural polysaccharide. In the skincare world, carrageenan is a bit of a hero because it forms a super-thin, flexible film on your skin. This little shield dramatically slows down water evaporation from your skin’s surface (the pros call this transepidermal water loss, or TEWL). By locking in moisture, sea moss gel keeps your skin hydrated for so much longer.
Oh yeah, and it also contains a good bit of sulfur. Sulfur is an old-school dermatological favorite for tackling acne and inflammation. It has mild antibacterial properties and also helps gently break down the top layer of dead skin cells that can clog pores. It’s this one-two punch of deep hydration and gentle clarifying that makes sea moss so special for so many people.
A Quick Word on That ’92 Minerals’ Claim…
You’ve probably seen it everywhere: “Sea moss contains 92 of the 102 minerals your body needs!” And while it is a nutrient-dense organism, let’s put that claim into perspective. Yes, you can find trace amounts of many minerals in it. But the key word here is trace. Your skin isn’t going to absorb a full day’s worth of zinc from a single face mask.
In my professional opinion, the real topical magic comes from the incredible hydration and soothing benefits of its carrageenan and sulfur content, not from a massive mineral dump. Think of it as a superior hydrating and calming treatment, not a multi-mineral supplement for your face. Having realistic expectations is the first step to using it well.
Sourcing and Prepping Your Own Pro-Quality Sea Moss Gel
Heads up: the quality of your finished gel is 100% dependent on the quality of the raw sea moss you start with. I learned this the hard way when a cheap batch I ordered arrived smelling vaguely of chemicals. It was clearly pool-grown and bleached. The entire bag went straight into the trash.

What to Look for When You’re Buying Sea Moss
So, where do you even start? I’ve had good luck searching for “wildcrafted Irish moss” on Etsy from sellers with tons of positive reviews. There are also reputable online suppliers that specialize in it. Just make sure you check these boxes:
- The Source: Look for wildcrafted sea moss from the cold, clean waters of the North Atlantic (like Ireland or Maine) or the Caribbean. The seller should be transparent about where it comes from.
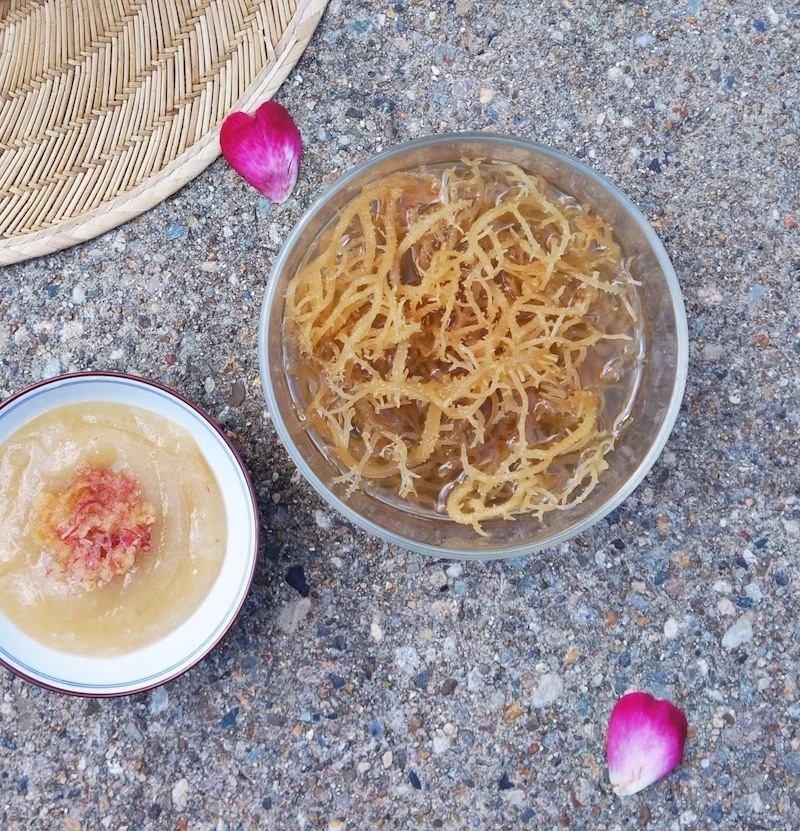
- The Look: Good, dried sea moss should look like a tangled nest of thin, wiry branches. The color can range from deep purple to tan or blond—variety is a good sign! Avoid anything that looks thick, feels overly salty and wet, or is perfectly uniform in color.
- The Smell: It should have a faint, clean ocean scent. A strong chemical or overly fishy smell is a major red flag.
- The Feel: It should be dry and brittle, with a light dusting of natural sea salt on the surface. It shouldn’t feel damp or rubbery.
Budget-wise, you should expect to pay around $15 to $25 for a 2oz bag. That might sound like a lot, but you’re about to see just how far that goes.
My Step-by-Step Method for Perfect Gel
This is the exact process I use. Starting with 1 ounce (about 28 grams) of dried moss will give you about 32 ounces of finished gel. It’s a fantastic value!
- Dry Inspection: First things first. Put your dried moss in a big bowl and run your fingers through it. You’re looking for tiny shells, sand, or other natural ocean debris. This step is non-negotiable for a clean gel.
- First Rinse: Pop the moss into a colander and rinse it really well under cool water for at least a minute. Rub the branches between your fingers to wash away all the surface salt and any loose bits.
- The Long Soak: Transfer the rinsed moss to a large glass or ceramic bowl (some say metal can react with it, so I just avoid it). Cover it completely with 4-5 cups of filtered or spring water. Let it soak on the counter for at least 12 hours, but up to 24 is fine. It will swell up to a few times its original size and become soft and translucent.
- Final Rinse: Pour the soaked, jiggly moss back into the colander for one last good rinse. By now, it should feel like a soft, slippery noodle and shouldn’t have a strong ocean smell anymore.
- Blending Time: Add the soaked moss to a blender with 2 cups of fresh, filtered water. Start on low and slowly work your way up to high. Blend for 1-3 minutes until it’s perfectly smooth, like applesauce. You shouldn’t see any little chunks.
- Troubleshooting Consistency: A high-speed blender like a Vitamix gives the smoothest result, but a regular blender works too! You just might need to blend for longer, maybe 4-5 minutes, and stop to scrape the sides down a few times. If your gel is too thick, add more water one tablespoon at a time. Too thin? You likely added too much water to start. It’s always easier to add more water, so start with less.
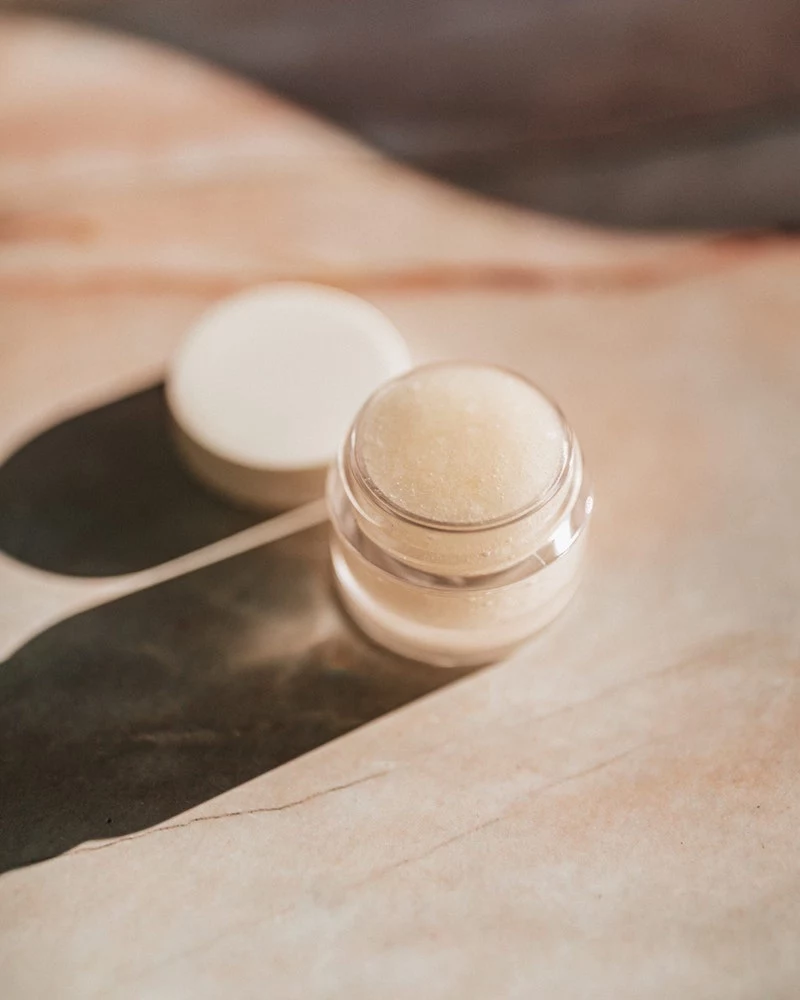
- Storage: Pour your beautiful gel into a clean, airtight glass jar and store it in the fridge. It should stay fresh for about 2 to 3 weeks.
And by the way, that one batch from your 1oz of moss? It will give you over 30 face masks. We’re talking less than a dollar per treatment. You can’t beat that.
How to Know When Your Gel Has Gone Bad
Since your gel has no preservatives, you have to be your own quality control. Trust your senses. If you notice a sour or extra-fishy smell, a weird change in color, or see any spots of mold (pink, green, or black), it’s time to toss it. No exceptions. Never, ever use spoiled gel on your skin.
Three Go-To Face Mask Recipes
Once you have your base gel, the fun begins. These are my three foundational recipes. To help you choose, here’s a quick rundown:
- For Dry or Irritated Skin? Go with the Ultimate Hydration and Soothing Mask.
- For Oily or Clogged Pores? The Clarifying Clay Mask is your best friend.
- For Dull or Uneven Skin? Try the Brightening and Reviving Mask.
Always mix up just enough for one use in a small, clean bowl right before you apply it. Don’t pre-mix these and store them!

1. The Ultimate Hydration and Soothing Mask
This is my go-to for calming down stressed, thirsty skin. It’s gentle enough for many people with sensitive skin, but always patch test first!
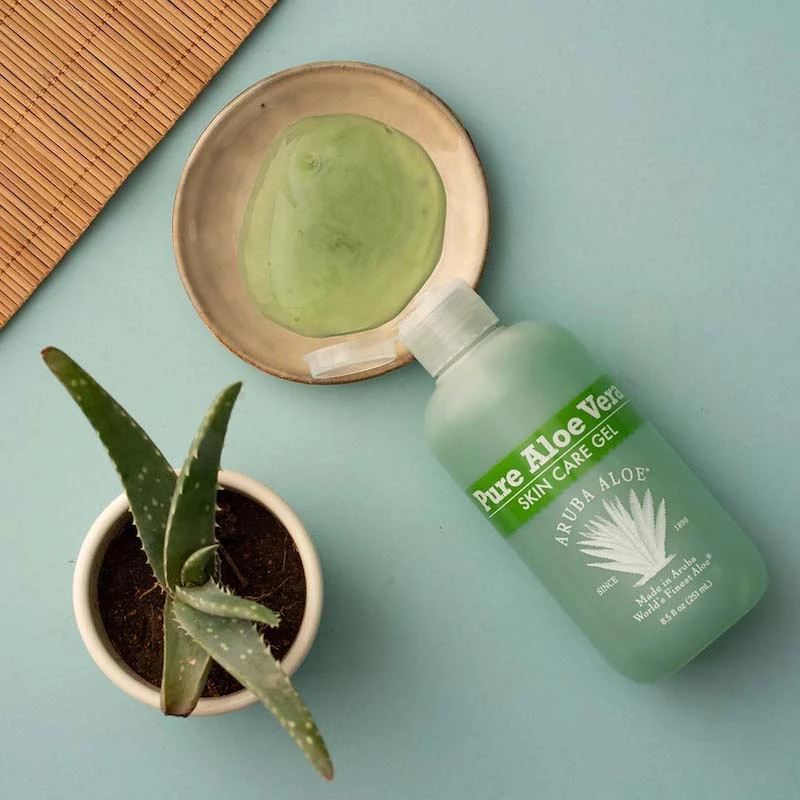
- The Mix: 2 tbsp Sea Moss Gel, 1 tbsp Pure Aloe Vera Gel (the clear kind, not the green stuff), and 1/2 tsp Vegetable Glycerin (optional, but a great hydration booster).
- Why It Works: This mask is a moisture magnet. The sea moss, aloe, and glycerin all pull hydration into the skin, while the aloe also brings powerful anti-inflammatory properties to the party to calm redness.
- Good to know: For aloe, find a product that is at least 99% pure without added alcohol or fragrance. You can use it 1-2 times per week.
2. The Clarifying Clay Mask for Congested Skin
This mask is a game-changer because it pulls out oil and gunk from your pores without leaving your skin feeling tight and stripped like many clay masks do. The sea moss acts as a hydrating buffer.
- The Mix: 2 tbsp Sea Moss Gel, 1 tbsp Kaolin Clay (gentler) or Bentonite Clay (stronger), and 2-3 tsp of water or witch hazel to get the right creamy texture.
- Why It Works: Clay acts like a magnet for impurities. But it can also pull out moisture. The sea moss gel cleverly counteracts this by feeding your skin hydration at the same time, so you’re left feeling clean and balanced, not dry.
- Heads up! Never use a metal bowl or spoon with bentonite clay, as it can deactivate its beneficial properties. Use glass, ceramic, or wood instead. You can use this mask 1-2 times a week.
3. The Brightening and Reviving Mask
I love this one for waking up dull, tired skin or helping to fade the appearance of those pesky marks left behind by old breakouts.
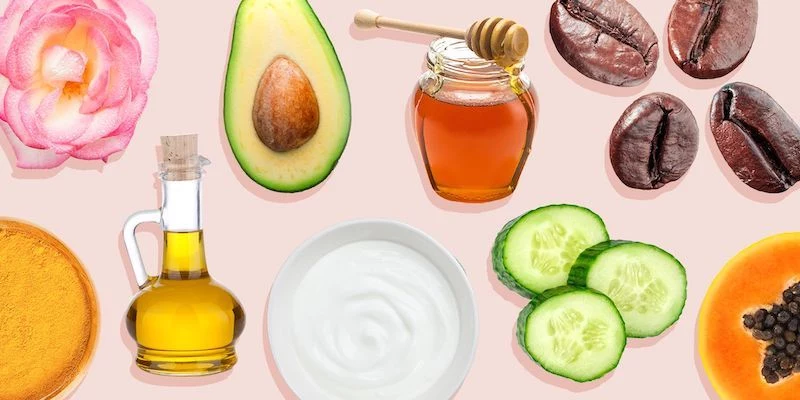
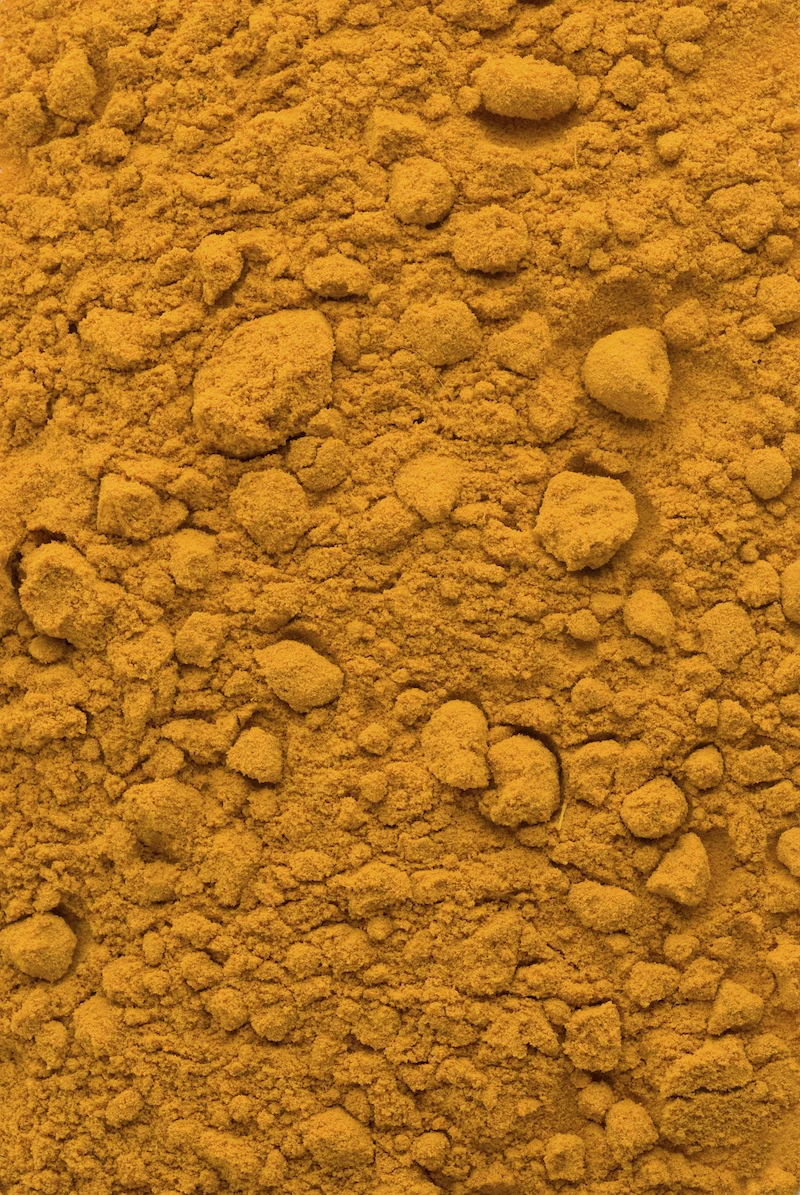
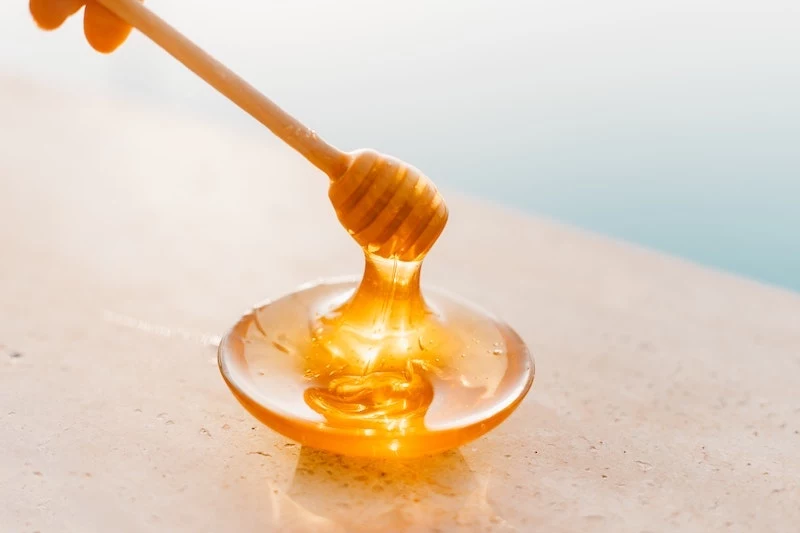
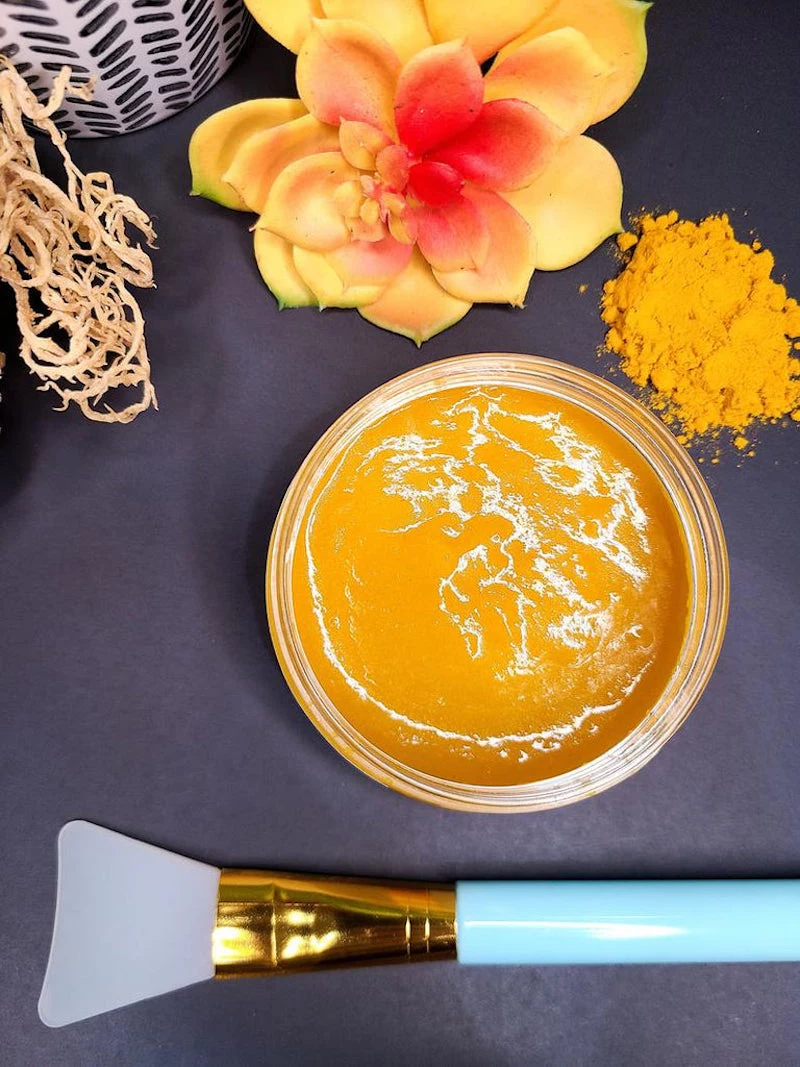
- The Mix: 2 tbsp Sea Moss Gel, 1 tsp Raw Honey (Manuka is amazing if you have it), and 1/4 tsp Turmeric Powder.
- Why It Works: Raw honey is a natural hydrator with gentle enzymes, while turmeric is a powerhouse anti-inflammatory that helps even out skin tone. The sea moss gel makes the perfect base and helps prevent the turmeric from being too intense.
- A story and a warning: Turmeric. Will. Stain. Everything. Your towels, your counter, and you if you use too much. A quarter teaspoon is plenty! I once left a client with a faint yellow glow right before a big event—we fixed it, but I learned my lesson. Use this mask 1-2 times a week.
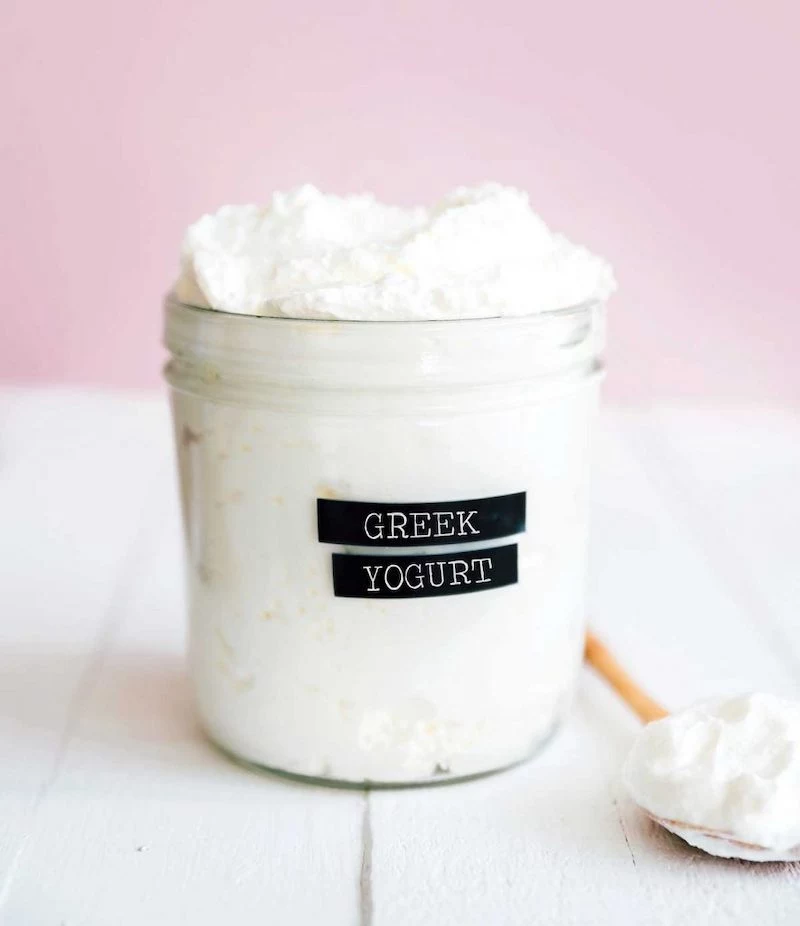
- P.S. If you do get a little yellow, don’t panic! A cotton pad soaked in milk or plain yogurt can help lift the stain from your skin.
Easy & Advanced Ways to Use Your Gel
Don’t have time for a full 20-minute mask? I get it. Here’s a little trick: just scoop out a small amount of the pure sea moss gel and apply it as a soothing, hydrating serum under your regular moisturizer. It’s incredible for calming morning puffiness!
And for those who are more experienced, you can start customizing. A half-teaspoon of matcha green tea powder adds a great antioxidant boost. For very dry or mature skin, add 3-4 drops of a nourishing oil like jojoba or rosehip seed oil to your single-use mask mixture right before applying.
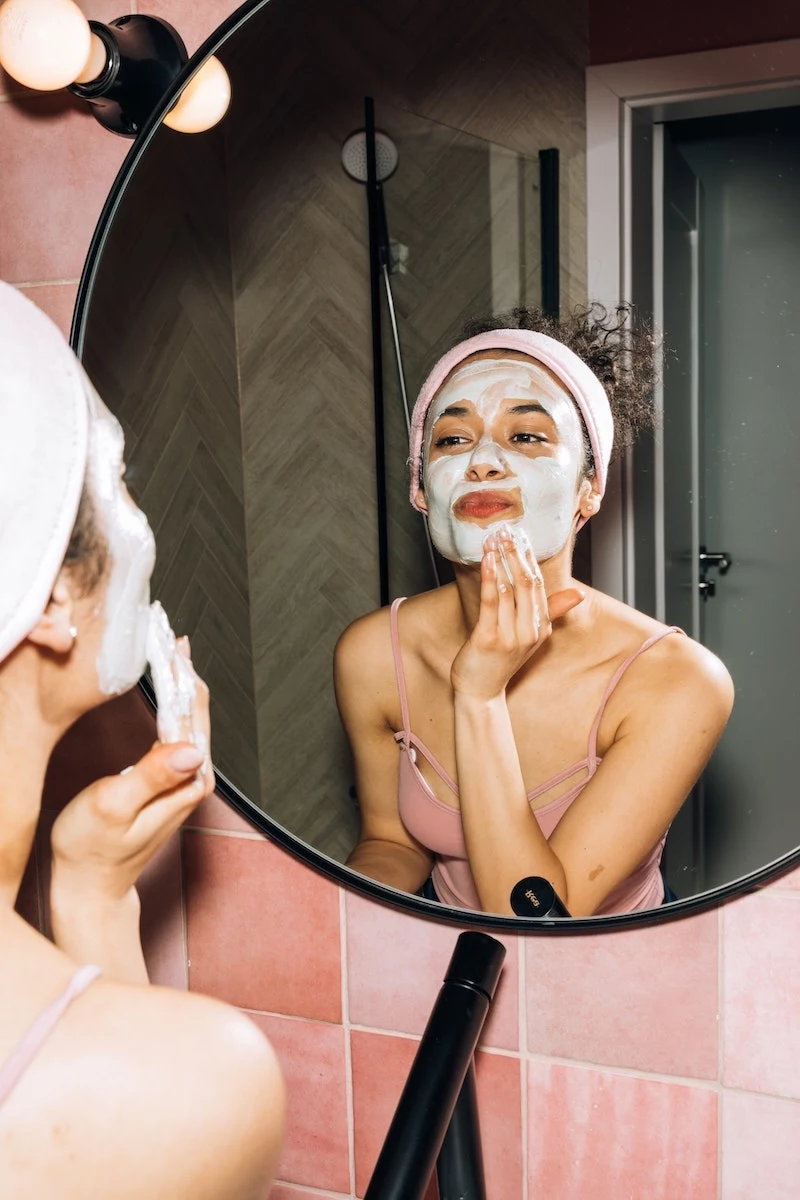
How to Apply a Face Mask Like a Pro
The technique matters just as much as the ingredients!
- Prep Your Canvas: Always start with a clean face. For an extra spa-like touch, press a warm, damp washcloth on your skin for a minute first.
- Apply Evenly: Use a brush or clean fingers to apply a thick, even layer. Don’t forget your neck, and avoid your lips and the delicate skin right around your eyes.
- Time It Right: Leave it on for 15-20 minutes. If you’re using a clay mask, don’t let it dry and crack completely—that means it’s starting to pull too much moisture from your skin. It should still be a bit tacky when you remove it.
- Remove Gently: Don’t just scrub it off! Soften the mask first by holding a warm, wet washcloth over your face for 30 seconds. Then, gently wipe it away.
- Lock It In: Immediately follow up with your favorite toner, serum, and moisturizer to seal in all that goodness.
A Final Word on Safety
My first priority is always the health of your skin, so please take these points seriously.
ALWAYS perform a patch test. I can’t say this enough. Before putting a new mixture all over your face, test it on a small spot behind your ear. Apply, wait 20 minutes, rinse, and then wait a full 24 hours. If you see any redness, itching, or irritation, that recipe is not for you.
Also, remember that sea moss is an ocean product and contains iodine. If you have a known iodine sensitivity or a thyroid condition, please check with your doctor before using it. When in doubt, always ask a medical professional.
Finally, respect the difference between fresh DIY and store-bought products. These recipes are for immediate use. They don’t have preservatives, which is what makes them so potent and fresh, but it also means bacteria can grow if they aren’t stored correctly or are kept too long. Think of your homemade mask like a fresh salad—it’s amazing today, but you wouldn’t eat it after a week in the fridge. Enjoy the process, but always create your masks fresh!

Inspirational Gallery

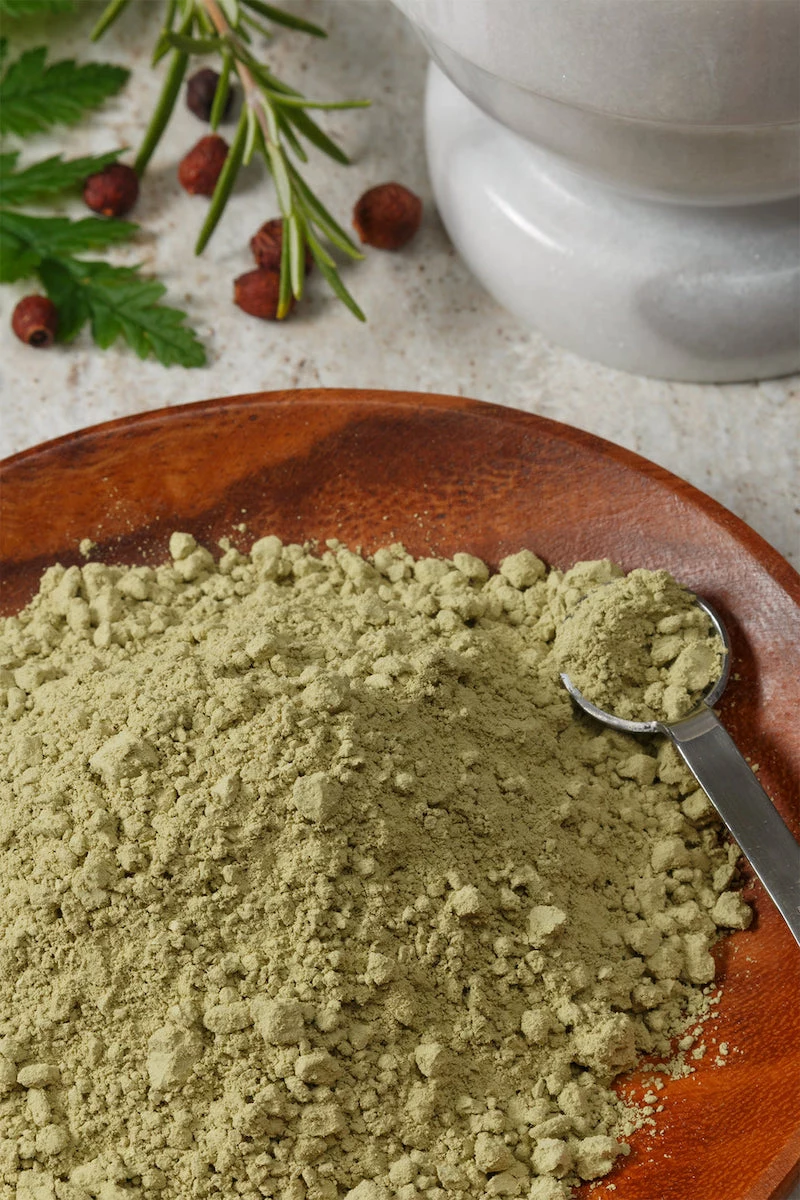
Gold vs. Purple Sea Moss: While gold sea moss is the most common, don’t overlook its purple counterpart. Purple sea moss, which gets its color from anthocyanin antioxidants, is thought to offer extra protection against cellular damage. Gold is fantastic for general hydration, while purple provides an added antioxidant boost. For your first batch, gold is perfect; later, you can experiment with purple for a more potent anti-aging mask.
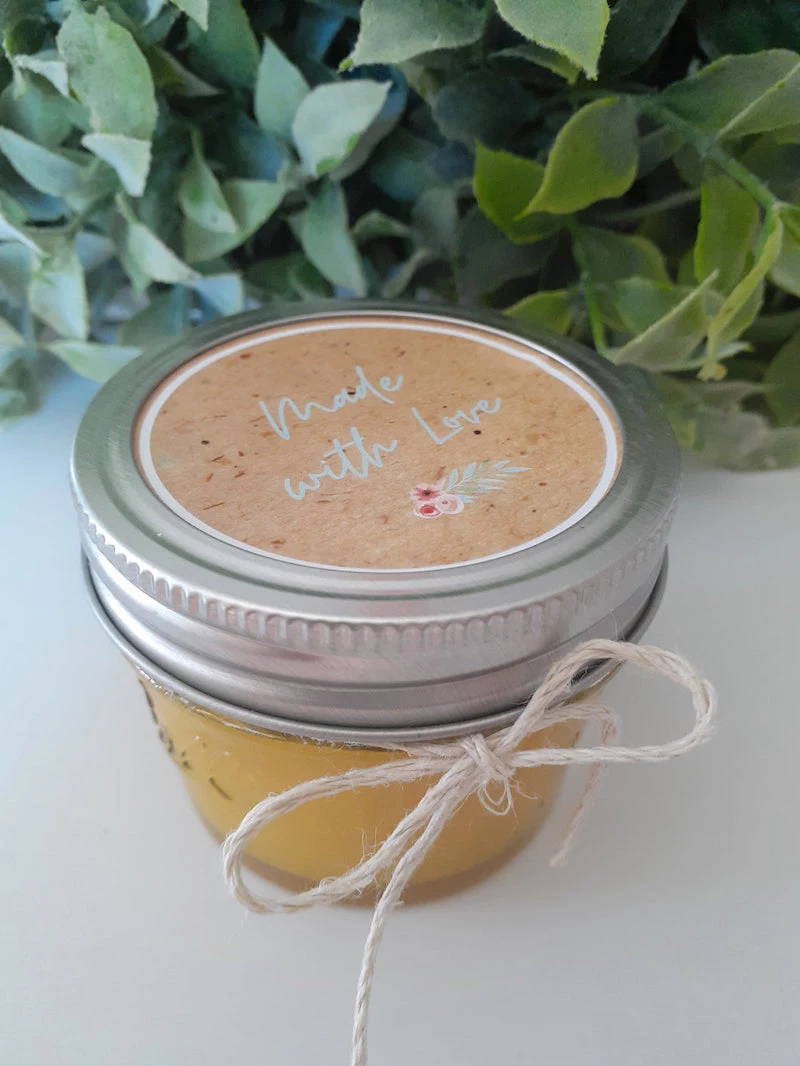
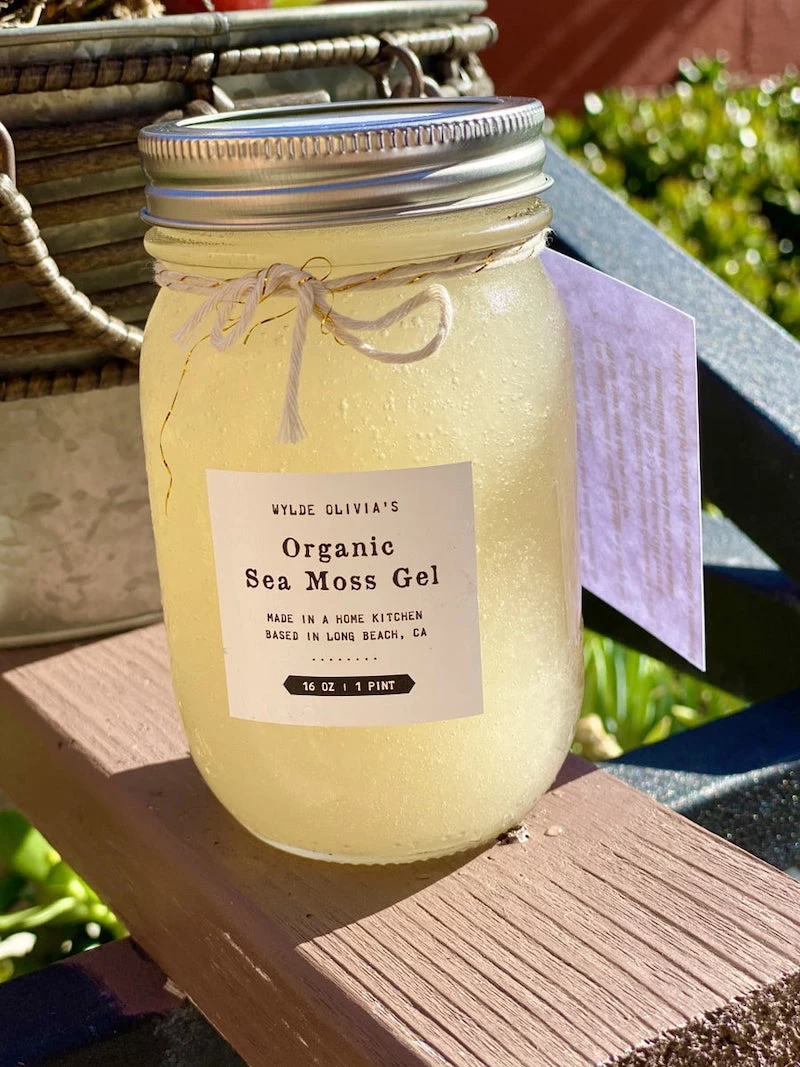
- Keep your fresh sea moss gel in an airtight glass jar in the refrigerator.
- It will stay fresh for up to 3 weeks.
- For longer storage, pour the gel into silicone ice cube trays. Once frozen, pop out the cubes and store them in a freezer bag. A single cube is the perfect amount for one face mask!

My sea moss gel is slimy and stringy, what did I do wrong?
This is a common issue! It usually means the moss wasn’t rinsed thoroughly enough before soaking. The key is to massage the raw moss under running water for a few minutes to remove all traces of salt, sand, and ocean debris. A good rinse ensures a smooth, clean-smelling gel with a perfect, custard-like consistency.
The ‘gel’ in sea moss comes from a polysaccharide called carrageenan. In skincare, it acts as a non-occlusive film-former, meaning it creates a breathable barrier on the skin that significantly reduces water loss without clogging pores.
Take your sea moss mask to the next level by tailoring it to your skin’s needs on any given day. It’s the perfect base for other powerful ingredients.
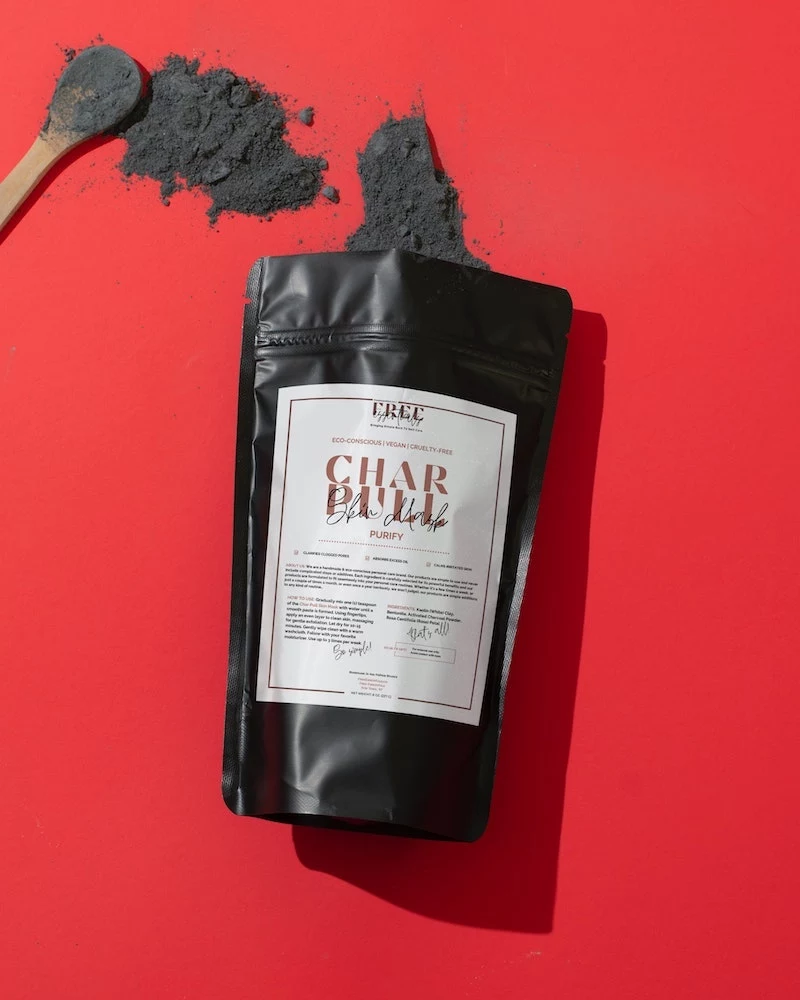
- For breakouts or oily skin: Mix in half a teaspoon of activated charcoal or French green clay to absorb excess sebum.
- For dullness or hyperpigmentation: Add a pinch of organic turmeric powder for its brightening and anti-inflammatory properties.
- For extreme dryness or mature skin: A teaspoon of raw Manuka honey (look for UMF 10+ for potency) will add antibacterial and humectant power.
The quality of your blender matters. While a standard blender will work, a high-speed model like a Vitamix or Blendtec will produce a superlatively smooth, creamy, and completely uniform gel. If you’re using a standard blender, you may need to blend for longer and scrape down the sides more often to avoid any lumpy bits.
A crucial point on sourcing: Not all sea moss is created equal. Strive for ‘wildcrafted’ sea moss, harvested sustainably from its natural ocean habitat in places like St. Lucia or Jamaica. Avoid ‘pool-grown’ varieties. While cheaper, they lack the rich spectrum of minerals absorbed from the dynamic ocean environment, which is the very source of its skin-loving benefits.
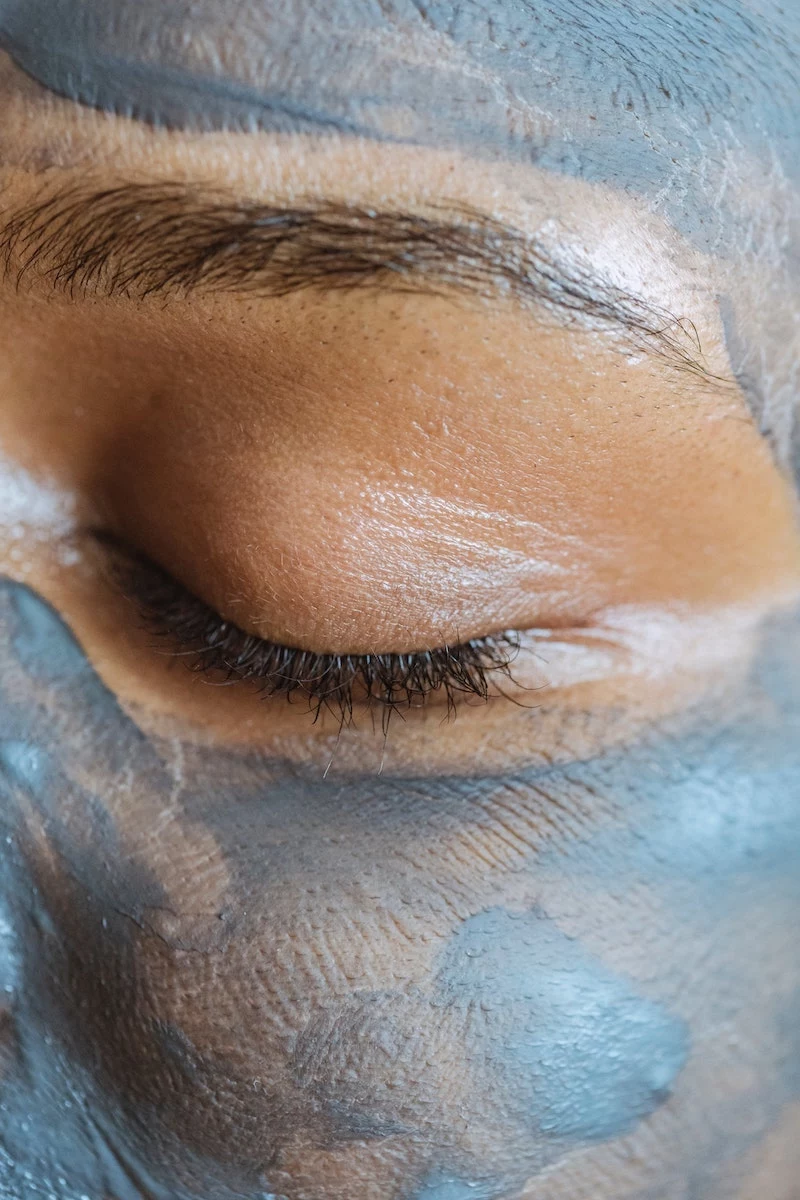
- Soothes redness after sun exposure.
- Calms irritation from harsh weather.
- Reduces the appearance of inflammation from breakouts.
The secret? The potent synergy of minerals like zinc and magnesium, naturally present in authentic sea moss, which helps regulate the skin’s inflammatory response.
A 2015 study published in the ‘Journal of Applied Phycology’ confirmed that certain compounds in red algae exhibit strong antioxidant and anti-melanogenic activities, suggesting a scientific basis for their use in addressing hyperpigmentation and photoaging.
In practice, this means regular use of a sea moss mask could help protect skin from environmental stressors and gently fade the appearance of dark spots over time, promoting a more even skin tone.

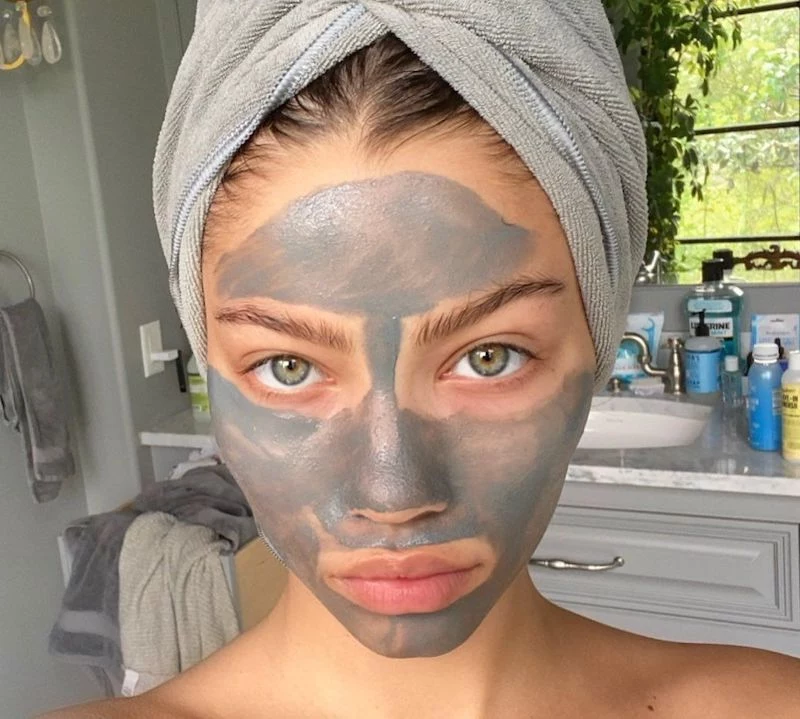
Create a true home-spa moment. Before applying your mask, dip a clean washcloth in hot water infused with a few drops of lavender essential oil. Wring it out and press it gently onto your face for 30 seconds. This opens up your pores and calms your mind, making the skin more receptive to the hydrating benefits of the sea moss gel.
Important: Over-soaking is a common mistake. Soaking your dried sea moss for more than 24 hours can cause it to start losing its gelling properties and begin to break down, resulting in a watery final product. A 12-hour soak in filtered water is the sweet spot for perfect texture.
Don’t just limit it to your face! Sea moss gel makes a fantastic, soothing scalp mask. Its mineral content can help nourish hair follicles, while its slippery texture provides amazing hydration for dry hair strands. Simply massage a generous amount into your scalp and through your hair, leave for 20 minutes, and then shampoo out.
Can I just use tap water to prepare my sea moss?
It’s highly recommended to use purified, spring, or distilled water for soaking and blending your sea moss. Tap water can contain chlorine, heavy metals, and other contaminants that you don’t want to transfer to your skin or your natural preservative-free gel. Using pure water ensures the final product is as clean and beneficial as possible.
The ‘skinimalism’ trend is all about using fewer, more effective products, and sea moss gel fits perfectly. It’s a moisturizer, a soothing agent, and a mask base all in one. It champions the idea that a single, powerful ingredient from nature can often outperform a cabinet full of complex formulas.

For application: Use a flat, silicone mask applicator brush instead of your fingers. It allows for a more even, mess-free layer and adds a professional, spa-like feel to your routine. Plus, it’s more hygienic and prevents wasting any of that precious gel.
Making your own sea moss gel is incredibly budget-friendly. A single 2-ounce bag of quality, wildcrafted dried sea moss, which typically costs between $15 and $25, can yield over 30 ounces of gel. Compare that to purchasing small 8-ounce jars of pre-made gel for $20 or more. The DIY approach offers exceptional value and guarantees freshness.

- A smoother, more refined skin texture.
- A brighter, less congested complexion.
The reason? Sea moss is a natural source of sulfur, which has mild keratolytic properties. This means it gently encourages the shedding of dead skin cells without the need for harsh physical scrubs, revealing the fresher skin underneath.
Once you’ve rinsed your sea moss, don’t throw away the leftover bits of moss from the bottom of your soaking bowl! Add them to the soil of your houseplants. They will appreciate the slow release of minerals and trace elements as the moss decomposes.


