Your Guide to Seriously Good Air Fryer Chicken (That’s Never Dry)
Honestly, when air fryers first became a thing, I was a total skeptic. After years spent in professional kitchens surrounded by high-powered convection ovens, this little countertop gadget just seemed… unnecessary. I figured it would end up collecting dust next to the novelty waffle maker. But after really putting one through its paces, I had to eat my words. It’s not a magic box, but when you get the hang of it, it can turn out some of the juiciest, crispiest chicken you’ve ever had.
In this article
The number one complaint I hear is about dry meat and soggy skin. That almost always happens when you’re just following a recipe without understanding why you’re doing what you’re doing. This isn’t just a list of instructions; it’s the playbook. We’re going to cover what’s actually happening inside that machine, how to prep the chicken like a pro, and how to fix the common problems that drive everyone crazy. Once you nail these basics, you’ll be making amazing chicken every single time.
So, How Does This Thing Actually Work?
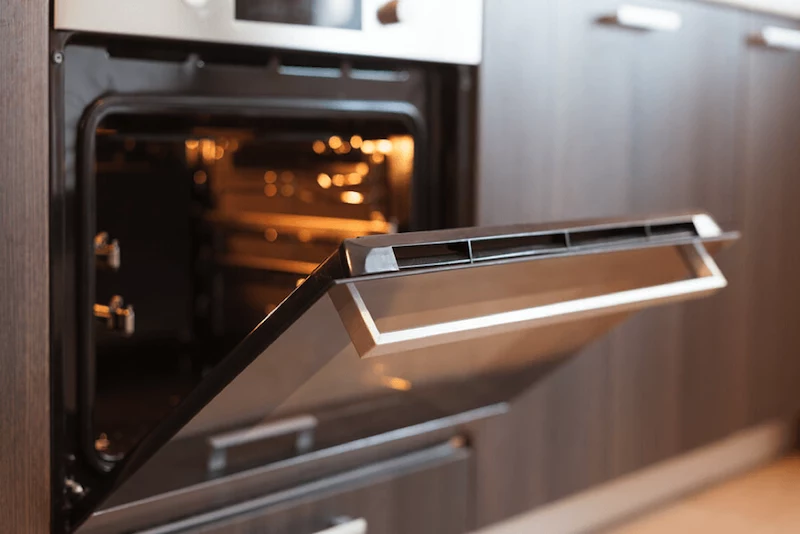
To get great chicken, you have to know what the air fryer is doing to it. It’s basically a small, super-charged convection oven. Its main mission is to kickstart something called the Maillard reaction—that’s the beautiful chemical process that gives seared steak, toasted bread, and crispy chicken skin that delicious, savory, browned flavor.
An air fryer does this by blasting the food with incredibly hot, dry, circulating air. The powerful fan whisks moisture away from the surface of the chicken. This super-dry surface allows the chicken to brown deeply and quickly. A regular oven, by comparison, has more humid, still air, which is why it takes longer and doesn’t get things quite as crispy. This dry environment is the air fryer’s superpower, but it’s also its biggest pitfall. If you don’t manage it right, that same dry air will pull all the moisture right out of the meat, leaving you with a sad, dry dinner.
For most chicken cuts, the sweet spot is somewhere between 380°F and 400°F (193-200°C). This is hot enough to get the skin crispy fast, but not so scorching that the outside burns before the inside is cooked through. Simple enough, right?
The Gear You Actually Need
Your results are only as good as your ingredients and your tools. Let’s talk about the essentials.
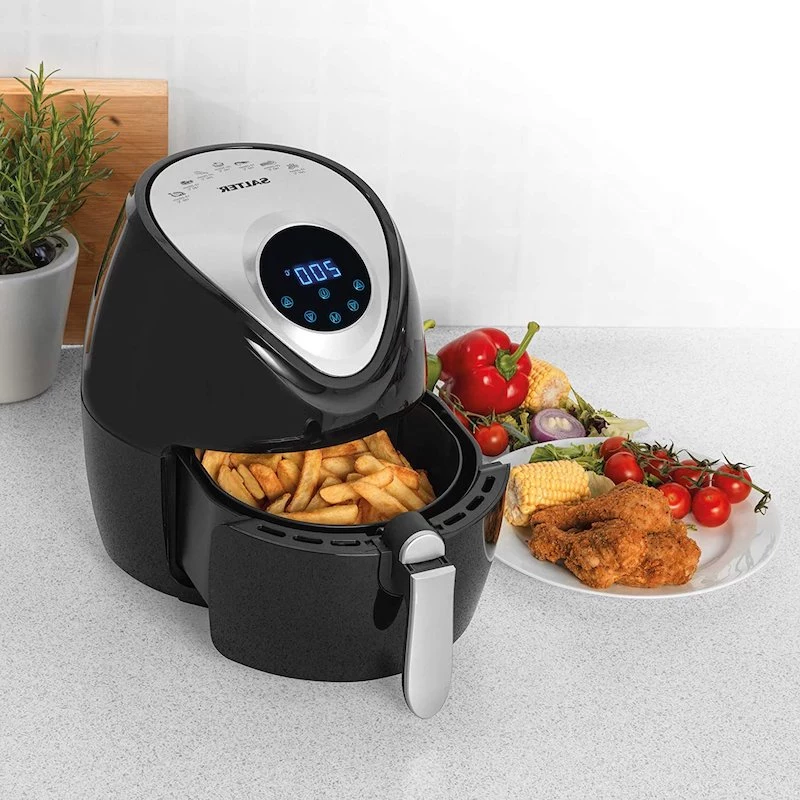
Basket vs. Oven-Style Air Fryers
There are two main types of air fryers, and the design makes a difference in how you cook:
- Basket-Style: These are the classic pull-out drawer models. Their shape creates an intense vortex of hot air, which is fantastic for things like chicken wings and tenders. You can easily shake the basket mid-cook to toss everything around for a perfectly even crisp. The only downside is their size—it’s really easy to overcrowd them.
- Oven-Style: These look more like a fancy toaster oven with racks. They give you more surface area, so you can lay out chicken breasts or thighs in a single, neat layer. The airflow can sometimes be a little less intense, so you might need to add a couple of minutes to your cook time. They’re more versatile for other things, but for pure wing-crisping power, the basket style has a slight edge.
The Single Most Important Tool You Can Own
If you take away only one thing from this entire guide, let it be this: buy and use an instant-read digital thermometer. Seriously. Guessing when chicken is done is how you end up with dry, overcooked meat or, even worse, a food safety issue. The color of the chicken is not a reliable guide. I’ve seen plenty of chicken that looked perfect on the outside but was still raw near the bone.
Good to know: You don’t have to break the bank. A perfectly reliable digital thermometer will run you about $15 to $25 at most kitchen stores or online. Sure, there are lightning-fast professional models that cost closer to $100, but a budget-friendly one is a million times better than guessing. The safe internal temperature for chicken is 165°F (74°C), and a thermometer is the only way to know for sure.
A Quick Word on Buying Chicken
Believe it or not, the type of chicken you buy can make a real difference. If you can find it and it fits your budget, look for air-chilled chicken. Most chicken you find at the supermarket is cooled in cold water, and it absorbs some of that water. Air-chilled chicken is cooled with, you guessed it, cold air. This means it has less water, a more concentrated chicken flavor, and the skin gets way, way crispier in the air fryer. You can often find it at specialty grocery stores or by asking your local butcher. It does cost a bit more, but for a special meal, it’s a worthwhile upgrade.
The Prep Work: Where the Magic Really Happens
Amazing air-fried chicken is made long before it goes into the machine. These are the steps that separate so-so chicken from truly great chicken.
Step 1: Get It BONE-DRY
This is the most important step, and it’s the one everyone skips. Take your chicken out of the package and pat it completely dry with paper towels. I mean, desert-dry. Remember, the air fryer needs to evaporate moisture to create a crust. If the chicken starts out wet, the machine wastes its first few minutes just steaming the skin. You simply will not get crispy skin if it starts out damp.

Step 2: The Brining Decision
Brining is your insurance policy against dry chicken. It seasons the meat from the inside out and helps it hold onto moisture. There are two ways to do it, and which one you choose really depends on your time and effort.
- The Dry Brine (My Favorite): This is basically just pre-salting. For every pound of chicken, mix about 1 tablespoon of kosher salt with a teaspoon of black pepper and other seasonings (garlic powder and paprika are great). Pat your chicken dry, rub this mix all over, and place it on a wire rack on a baking sheet in the fridge, uncovered, for at least 4 hours (or up to 24). It’s low-effort and also helps dry out the skin even more. Win-win.
- The Wet Brine (The Classic): This involves soaking the chicken in a saltwater solution (about 1/4 cup of kosher salt per 4 cups of water). It works a bit faster, usually 4-6 hours for cut pieces. The downside? It’s messier, and you absolutely must rinse the chicken and pat it completely dry afterward, or it will be salty and soggy.
Lesser-known trick: Don’t have 4 hours? No problem. Even just salting the chicken and letting it sit on a rack in the fridge for 30-60 minutes while you prep your side dishes will give you a major advantage in the crispy skin department.
Step 3: A Little Bit of Oil and Seasoning
A very light coat of oil helps the seasonings stick and promotes even browning. But don’t go crazy—too much oil will just drip off and cause your air fryer to smoke. About 1 tablespoon of a high-smoke-point oil (like avocado or grapeseed) per pound of chicken is plenty. Toss the chicken in the oil first, then add your seasonings for a perfect, even coat.
Cooking Techniques for Different Cuts
Okay, let’s get down to business. Here’s how to handle the most common cuts of chicken. Just remember, these times are estimates—your thermometer is the final word!
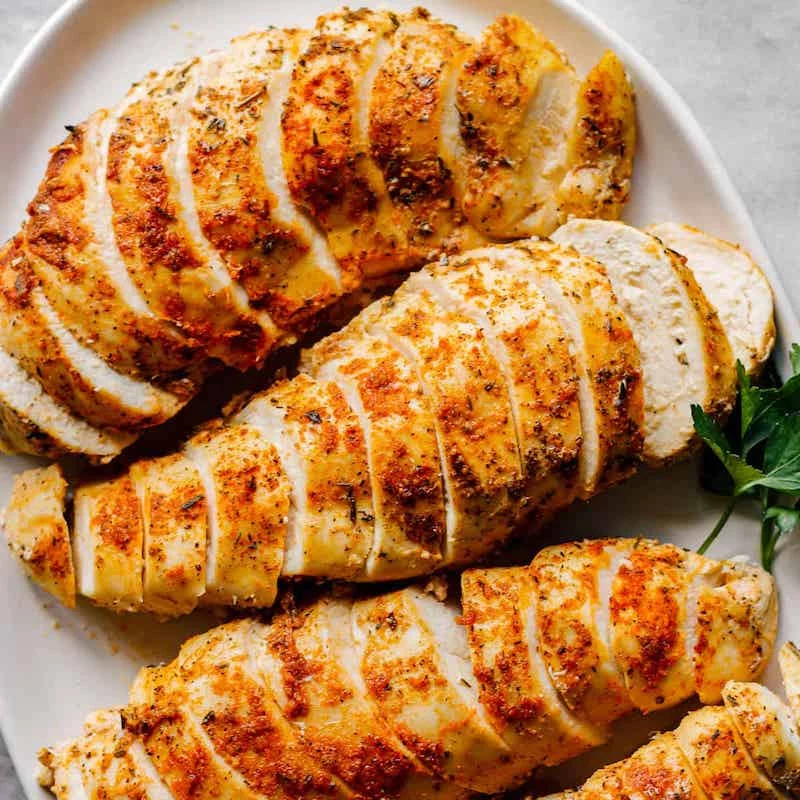
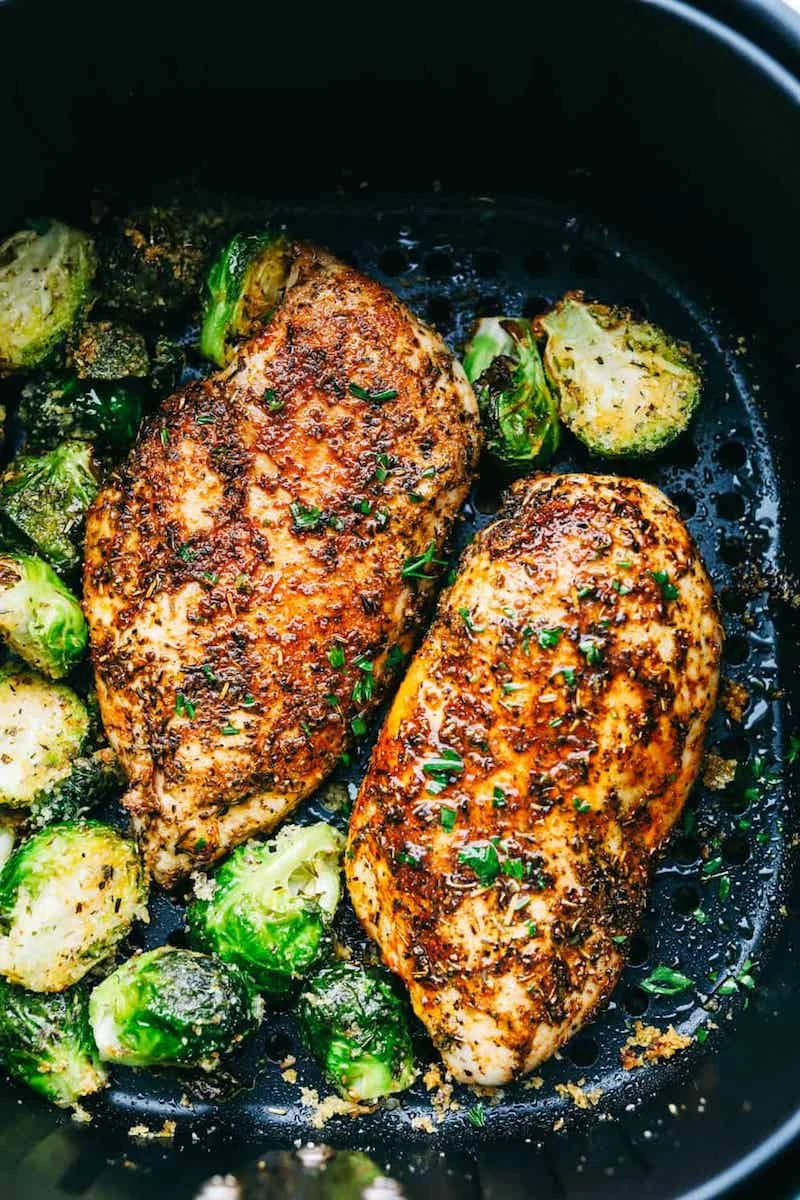
For Boneless, Skinless Chicken Breasts
The biggest challenge with breasts is keeping them juicy. The key is to make them an even thickness.
- Prep Time: 10 minutes (plus optional brining time)
- Technique: Pound the thick end of the breast down so the whole piece is an even 3/4-inch thick. This is the secret to avoiding a dry, stringy end and a perfectly cooked middle.
- Cook Time & Temp: Preheat to 380°F (193°C). Cook for 15-20 minutes, flipping halfway.
- The All-Important Rest: Pull the chicken when your thermometer reads 160-162°F (71-72°C). Let it rest on a cutting board for 5-10 minutes. Carry-over heat will bring it up to the safe 165°F, and the juices will redistribute through the meat instead of spilling all over your cutting board.
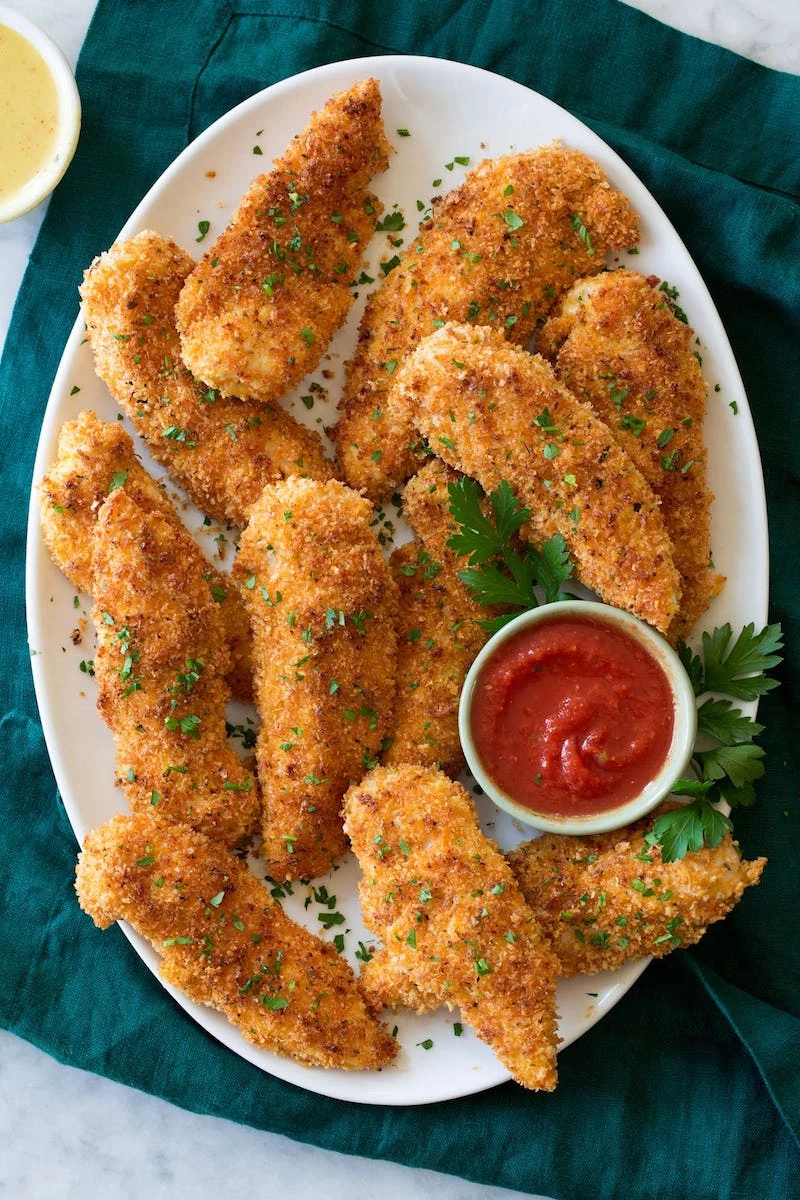
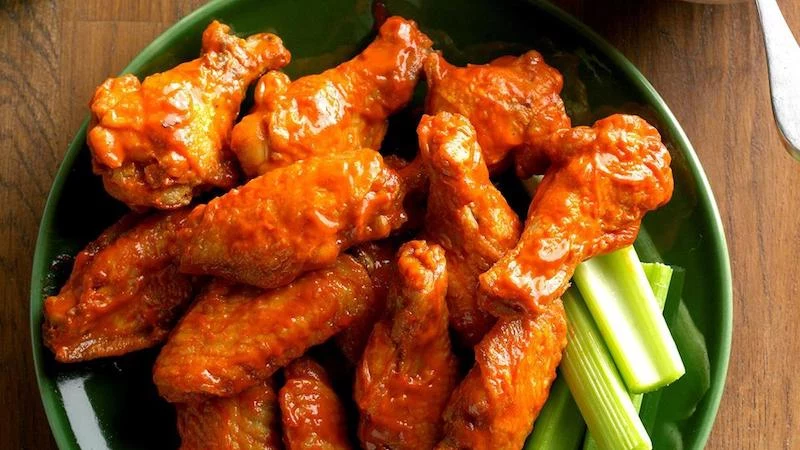
For The Crispiest Chicken Wings
Here, it’s all about that shatteringly crisp skin.
- Prep Time: 5 minutes
- Technique: After patting the wings extremely dry, toss them with your seasonings and add 1 teaspoon of baking powder (NOT baking soda!) per pound of wings. The baking powder helps break down the proteins in the skin, making it extra brown and crispy. Skip the oil; the fat in the wings will render out and do the job.
- Cook Time & Temp: Start at 360°F (180°C) for 15 minutes to gently render the fat. Then crank the heat to 400°F (200°C) for another 10-12 minutes, shaking the basket a few times, until deep golden brown.
- A Quick Note on Space: Wings are the one exception where they can be a bit crowded in the basket, since you’ll be shaking them often to expose new surfaces. For everything else, think social distancing for your food—leave space around each piece so the hot air can work its magic.
For Chicken Thighs & Drumsticks
Dark meat is more forgiving, but you still want that perfect skin and fully cooked meat.
- Prep Time: 5 minutes (plus optional brining time)
- Technique: A dry brine works wonders here. Pat the skin very dry, lightly oil, and season all over.
- Cook Time & Temp: Cook at 375°F (190°C) for 25-30 minutes, flipping halfway through.
- Temperature Check: For bone-in cuts, be sure to insert the thermometer into the thickest part of the meat without touching the bone.
What About Cooking Chicken from Frozen?
Ah, the question everyone asks! Yes, you can absolutely cook chicken from frozen in an air fryer, but you need to do it right. It’s perfect for those nights you forget to thaw something for dinner.
Here’s the game plan:
- Don’t Bother Thawing: Place the frozen chicken pieces directly into the air fryer basket. Don’t try to bread frozen chicken—the coating will never stick.
- Go Low, Then High: Start at a lower temperature, around 350°F (175°C), for the first 15-20 minutes. This helps thaw the chicken and cook the inside gently.
- Crank it Up: After the initial cook, increase the heat to 400°F (200°C) for another 10-15 minutes to crisp up the outside.
- Add Time: Expect the total cook time to be about 50% longer than it would be for fresh chicken.
- Trust Your Thermometer: This is non-negotiable. Because you’re starting from frozen, a thermometer is the only way to be sure you’ve reached that safe 165°F all the way to the center.
Troubleshooting the Annoying Stuff
- Problem: My kitchen is filling with white smoke!
Cause: This usually happens with fatty cuts, where grease is dripping down onto the hot base of the air fryer.
Solution: Pause cooking and carefully add a piece of bread or a couple of tablespoons of water to the bottom of the drawer (under the basket) to catch the drips. Heads up! Always unplug your air fryer and let it cool for a minute before wiping out hot grease. - Problem: The skin is soggy and sad.
Cause: The chicken was wet, you overcrowded the basket, or the temp was too low.
Solution: Pat your chicken dry next time! And make sure you’re cooking in a single layer (unless it’s wings) so the air can circulate. - Problem: It’s dry and chewy.
Cause: You overcooked it.
Solution: Use your thermometer and pull the chicken a few degrees early to let it rest up to temperature. For breasts, pounding them to an even thickness is a game-changer. And try a brine!
A Few Final Words of Advice
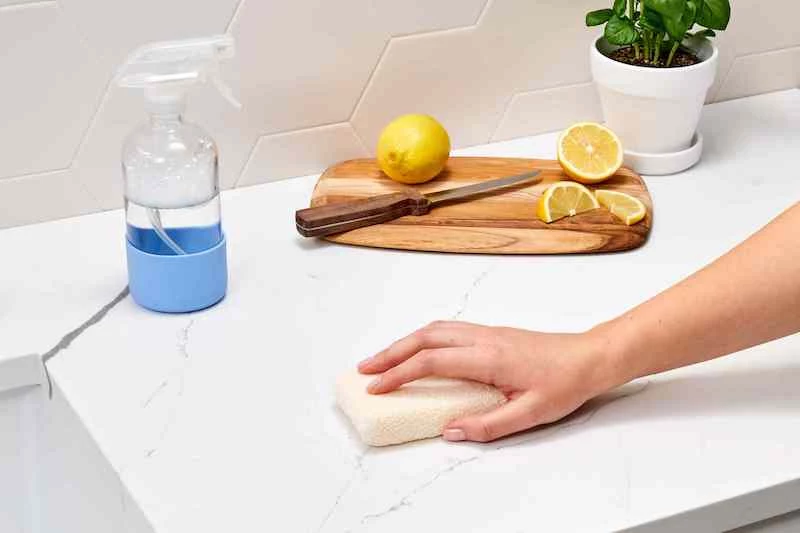
Always, always wash your hands, cutting boards, and knives with hot, soapy water after they’ve touched raw chicken to avoid cross-contamination. And clean your air fryer basket after every use—caked-on grease can smoke and make your food taste off.
And let’s be real, an air fryer isn’t a miracle worker. It’s not a true deep fryer, so you won’t get that exact same texture. And if you’re cooking for a crowd, a regular oven is still more practical. But for cooking for one to four people, it’s an incredible tool for getting that ‘fried’ texture without all the oil. Embrace it for what it is, and you’ll find it earns its spot on your countertop.
Inspirational Gallery
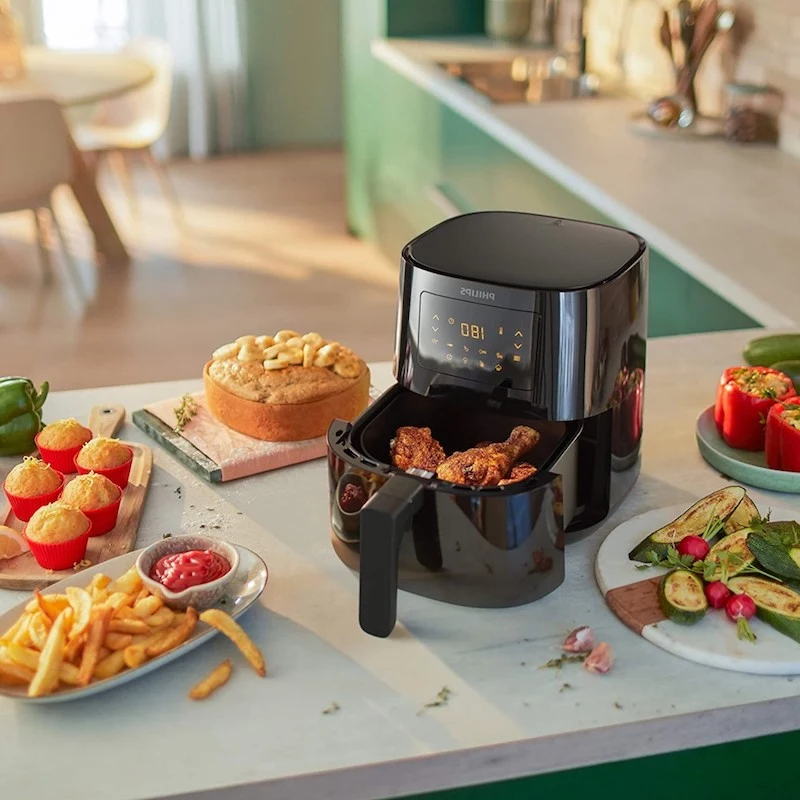
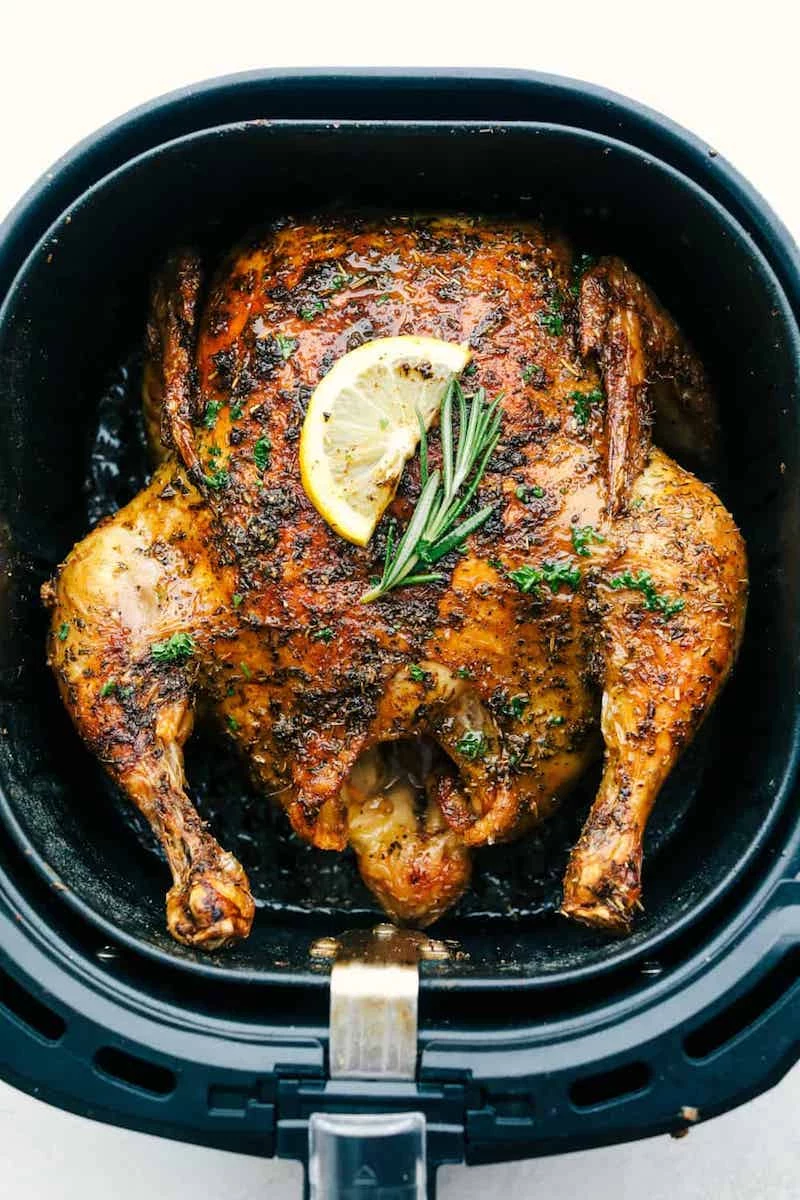
The single most important tool for perfect air fryer chicken isn’t the fryer itself—it’s an instant-read thermometer. For safety and juiciness, all chicken should reach an internal temperature of 165°F (74°C).
Don’t just trust the recipe’s timing. The size of your chicken pieces, the power of your specific model—whether a Ninja Foodi or a Philips Premium—and even the starting temperature of the meat can alter cooking time dramatically. Relying on a clock is how you get dry, overcooked chicken. Probing the thickest part of the meat (avoiding the bone) with a digital thermometer is the only surefire way to know the moment it’s perfectly cooked, safe, and still incredibly juicy. It completely removes the guesswork.

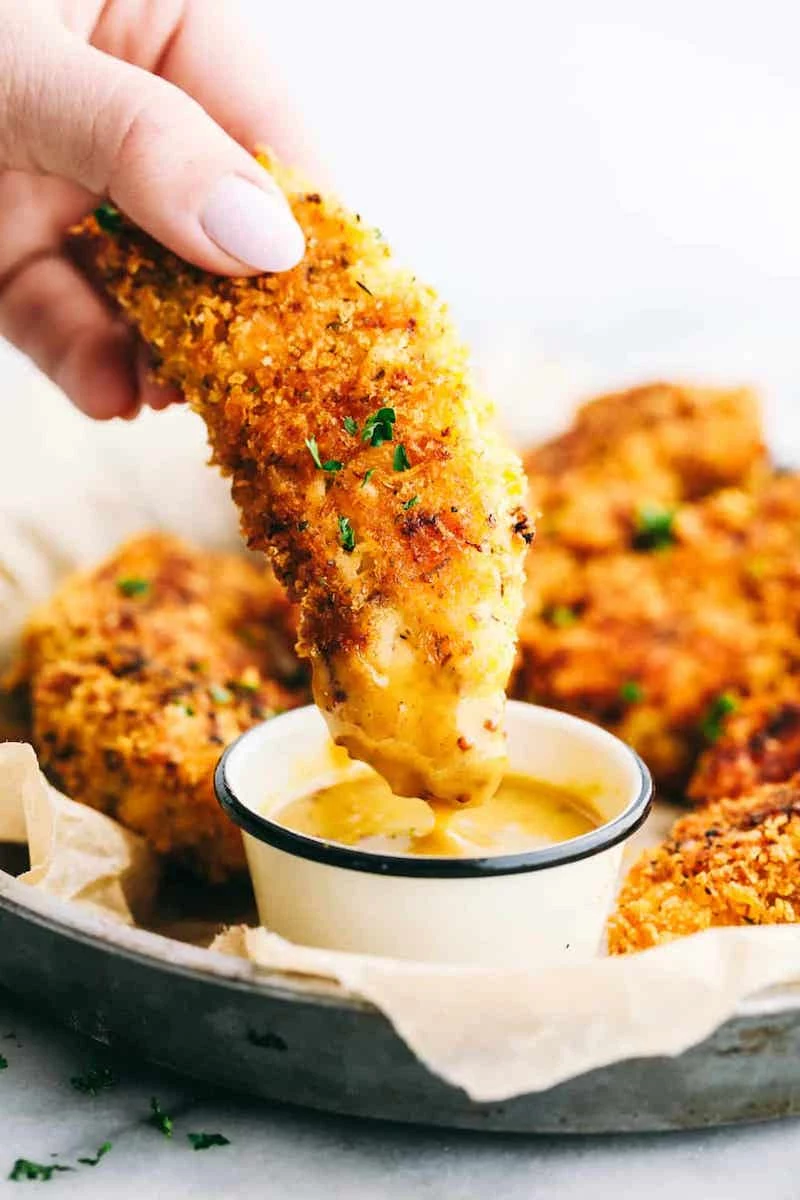
Aerosol Cooking Sprays: Convenient, but the propellants and anti-foaming agents in many popular brands can build up over time and damage your air fryer basket’s non-stick coating.
Refillable Oil Misters: A game-changer. Models like the Misto let you use your own high-smoke-point oil (like avocado or grapeseed oil) to create a fine, even mist. You get better browning with less oil and no harmful additives, preserving your equipment for the long haul.
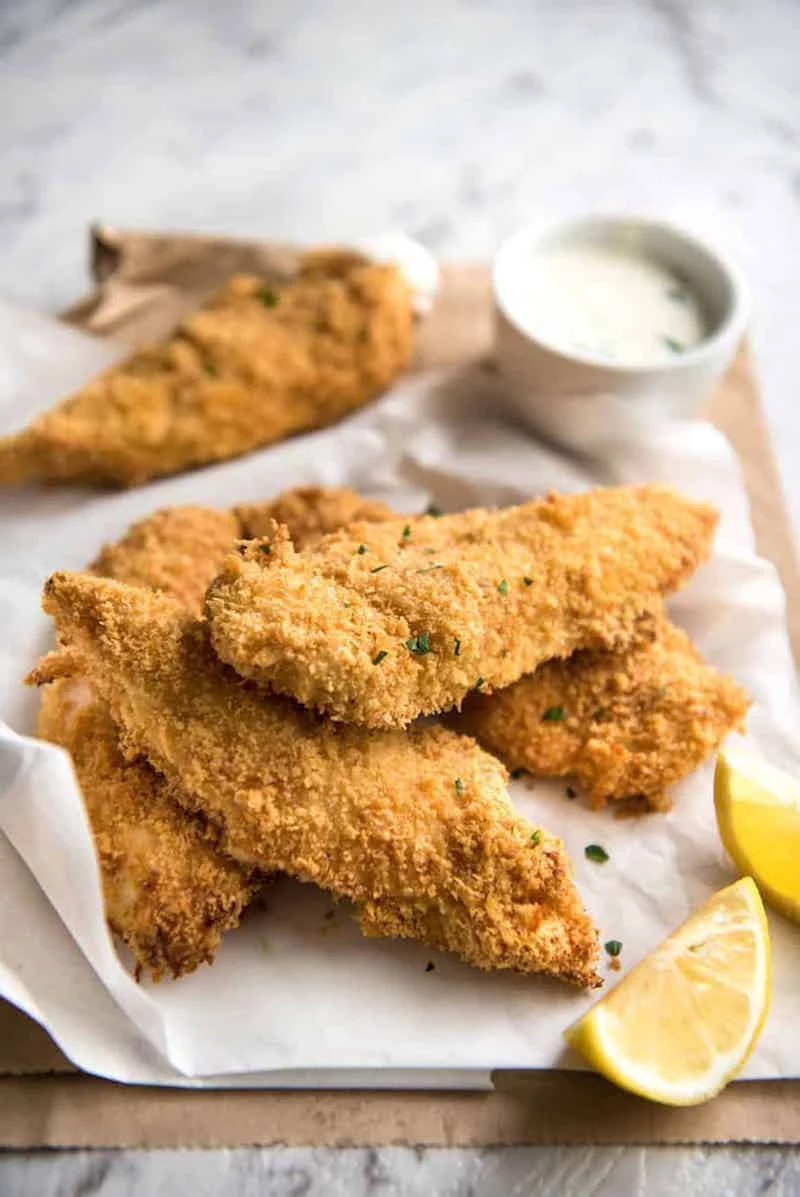
To line or not to line? The great parchment paper debate.
While solid parchment liners make cleanup a breeze, they are the number one enemy of crispy skin. They block the hot air from circulating underneath the chicken, effectively steaming the bottom instead of crisping it. If you must use a liner, opt for perforated parchment paper specifically designed for air fryers. These have holes that allow airflow, giving you a good compromise between a non-stick surface and a perfectly crisp result.
Ready to move beyond salt and pepper? The air fryer’s intense heat is brilliant at toasting spices directly onto the chicken. Try these simple homemade rubs:
- Smoky & Sweet: Mix smoked paprika, brown sugar, garlic powder, and a pinch of cayenne. Perfect for wings and thighs.
- Lemon Herb: Combine dried oregano, thyme, lemon zest, and onion powder for a fresh, Mediterranean flavor on chicken breasts.
- Spicy Cajun: A bold blend of paprika, chili powder, black pepper, and dried thyme brings a taste of Louisiana to drumsticks.


