Keto Chia Pudding That Doesn’t Suck: A No-Fail Guide
So, you’re doing the low-carb thing. Awesome. But let’s be real, finding a good breakfast or a satisfying dessert that doesn’t taste like cardboard can be a real struggle. Over the years, I’ve seen so many people get tripped up by this. The one thing I always recommend is chia seed pudding, but most online recipes are a total crapshoot. They leave you with a bowl of something clumpy, bland, or worse… watery gravel. It’s a tragedy.
In this article
This isn’t just another recipe list. My goal is to teach you the craft behind making genuinely great keto chia pudding. We’re going to dive into the why behind the what—the ratios, the techniques, and the little tricks I’ve picked up after making hundreds of batches. Once you get this down, you can whip up any flavor you want, and it will be perfect. Every. Single. Time.
First, What Are We Working With?
Before we start mixing, let’s talk about the star of the show: the chia seed. These little specks are powerhouses, and their magic lies in a simple physical reaction. The outer shell of a chia seed absolutely loves liquid. When it gets wet, it soaks up everything around it and creates this gelatinous coating. Think of it like a million tiny sponges swelling up. This is what turns a few simple ingredients into a thick, spoonable pudding—no cooking required.
Understanding this is everything. The final texture of your pudding depends entirely on how well each tiny seed gets to hydrate. If they’re all clumped together, the seeds in the middle of the clump stay hard and dry. That’s a one-way ticket to a disappointing breakfast. Our method is designed to stop that from ever happening.
Why Chia is a Keto Superstar
Chia seeds are practically designed for a keto or low-carb lifestyle. A standard two-tablespoon serving has about 12 grams of carbs, but wait—10 of those are fiber. Since we focus on net carbs (total carbs minus fiber), that leaves you with just 2 grams of net carbs. You can’t beat that.
But the numbers don’t tell the whole story. The fiber keeps you feeling full for hours, which is a massive help when you’re trying to manage hunger. They’re also loaded with plant-based omega-3s, which help fight inflammation, and important minerals like calcium and magnesium.
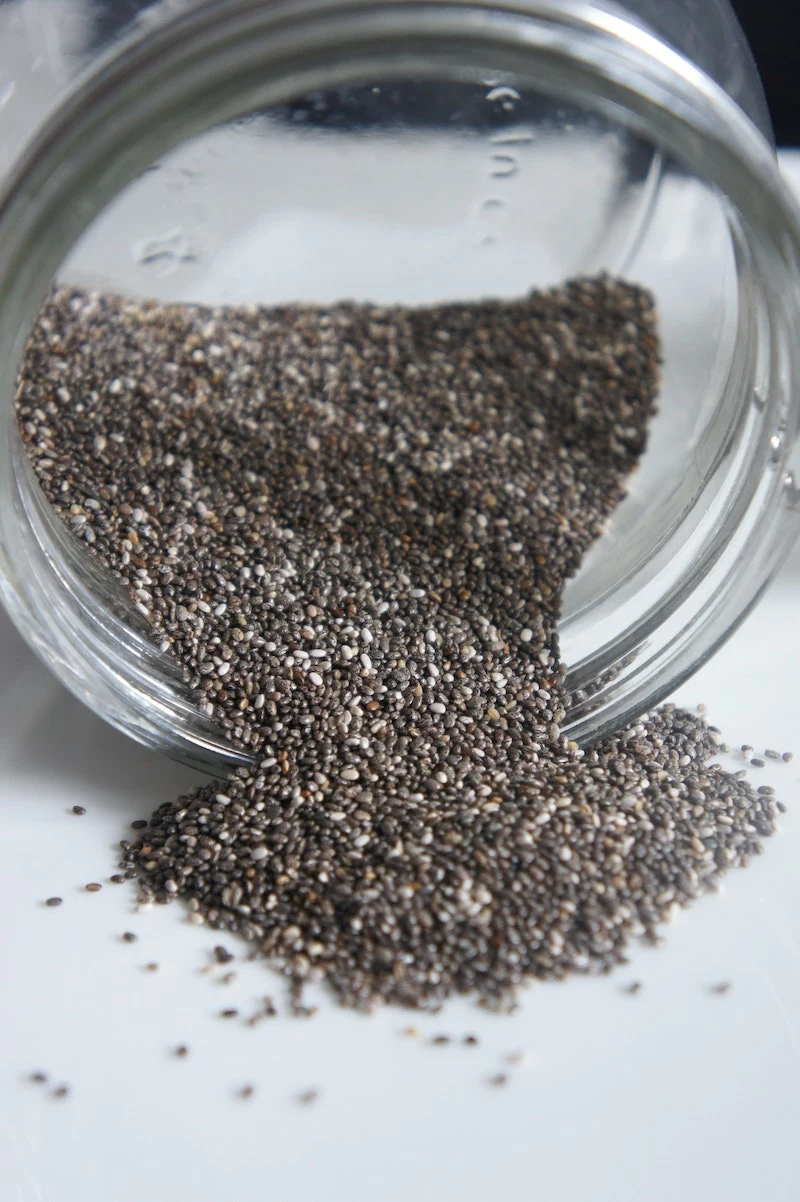
By the way, when you’re at the store, you’ll see black and white chia seeds. Functionally, they’re identical. The choice is purely about aesthetics. I usually grab the black ones because they’re easier to find and often a little cheaper. You can find a decent 12oz bag for about $5-$8 at places like Trader Joe’s, Target, or online.
Your Shopping List & The Real Cost
Let’s quickly talk budget, because starting a new way of eating can sometimes come with sticker shock. The good news is, chia pudding is pretty affordable.
- Chia Seeds (12oz bag): Around $5-$8. This bag will make you roughly 12 servings, so it lasts a while.
- Unsweetened Almond Milk (half-gallon): Usually $3-$4.
- Keto Sweetener (like a Monk Fruit/Erythritol blend): This is the priciest item, often $7-$10 for a bag, but it will last you for dozens and dozens of servings.
All in, you’re looking at around $1.25 per serving. Not bad at all for a filling, healthy meal.
The Master Technique for Perfect Pudding
Okay, let’s get down to business. The secret to amazing chia pudding is a solid foundation. Once you master this base, the sky’s the limit.
The Golden Ratio
After a ton of experimenting, I’ve landed on the most reliable ratio for a thick, spoonable pudding that isn’t concrete:
3 tablespoons of chia seeds per 1 cup of liquid.
Some recipes call for more, which I find gets way too dense. Others use less, and it’s often too runny. Start here. You can always tweak it later if you find you prefer it a little thicker or thinner.
Choosing Your Liquid (And What to Expect)
Your choice of liquid is the biggest factor for flavor and creaminess. Just make sure whatever you grab is unsweetened.
- Almond Milk: This is the reliable workhorse. It’s got a neutral flavor, it’s low-carb (1-2g per cup), and it gives you a classic, medium-bodied pudding. Perfect for everyday use.
- Coconut Milk (from a carton): This is very similar to almond milk in texture and great for a light base. It has a very subtle coconut flavor.
- Canned, Full-Fat Coconut Milk: Oh yeah. This is how you make a rich, high-fat, decadent dessert. The texture is incredibly creamy, almost like a mousse. A heads-up: I often use half canned coconut milk and half water or almond milk to get that amazing richness without it being overwhelmingly thick.
- Hemp or Macadamia Milk: These are also fantastic low-carb options. Hemp milk has a unique, slightly earthy taste, while macadamia milk is naturally creamy and a bit richer than almond milk. Great for when you want to mix it up.
Sweeteners That Actually Work
To keep things keto-friendly, we’re skipping the sugar. Here are the best subs:
- Monk Fruit & Erythritol Blends: This is my go-to. They measure like sugar and have the least funky aftertaste. I’ve had great results with brands like Lakanto or Whole Earth, which you can find at most grocery stores.
- Allulose: This one is amazing because it dissolves beautifully and has virtually no aftertaste. It’s an excellent, clean-tasting choice.
- Stevia: A little goes a very, very long way. Some people find it a bit bitter, so I usually recommend using it in combination with another sweetener instead of on its own.
Quick tip: Always use a powdered or liquid sweetener. The granular kind can struggle to dissolve in cold liquid, leaving you with a gritty texture. No thank you.
Want to Add a Protein Kick?
A lot of people (myself included) like to pack protein into their first meal. Good news—it’s easy to add to chia pudding. You can mix in a scoop of your favorite low-carb protein powder or a scoop of unflavored collagen peptides.
Here’s the trick to avoid clumps: Don’t just dump the powder in! In a small separate bowl, mix the protein or collagen with 2-3 tablespoons of your liquid (almond milk, water, etc.) and whisk it into a smooth, lump-free paste. Then, add that paste to the rest of your liquid before you add the chia seeds. This extra step ensures a perfectly smooth finish.
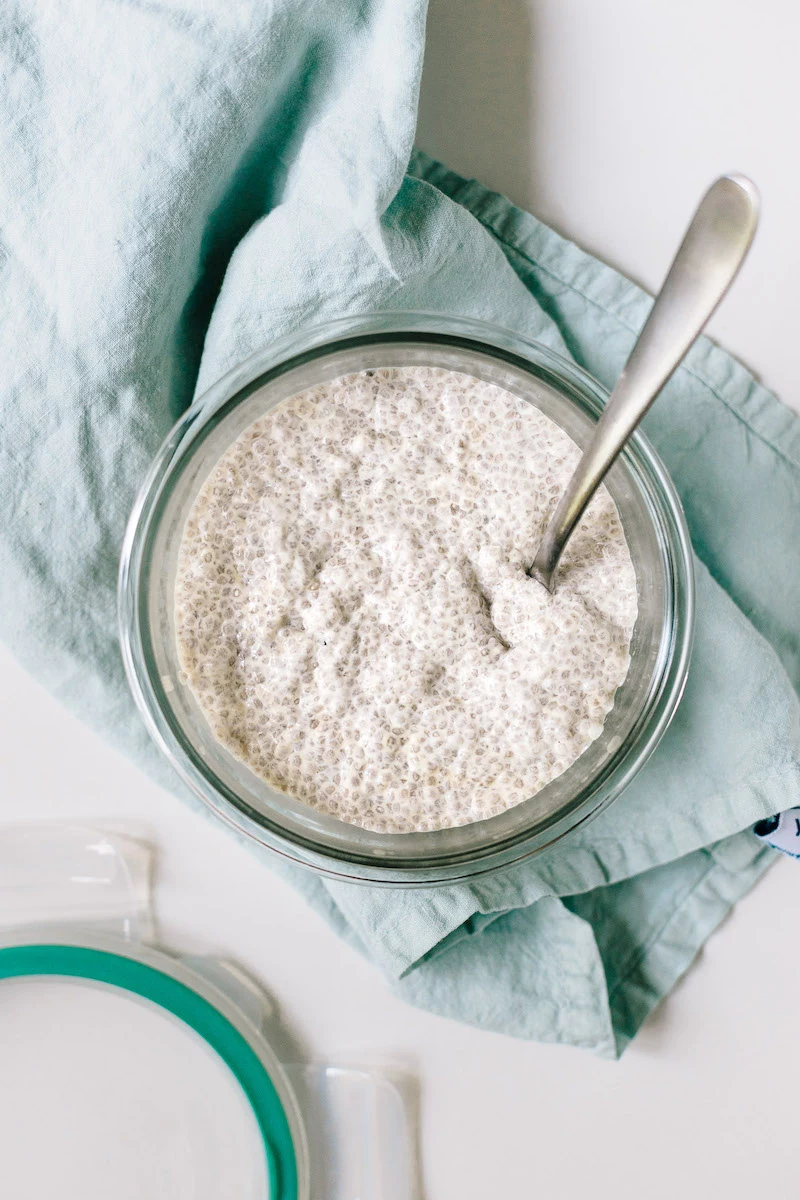
The Two-Whisk Method: My Most Important Tip
This is it. This is the one step that separates perfect pudding from a clumpy disaster. Most people whisk once, throw it in the fridge, and hope for the best. That’s a mistake.
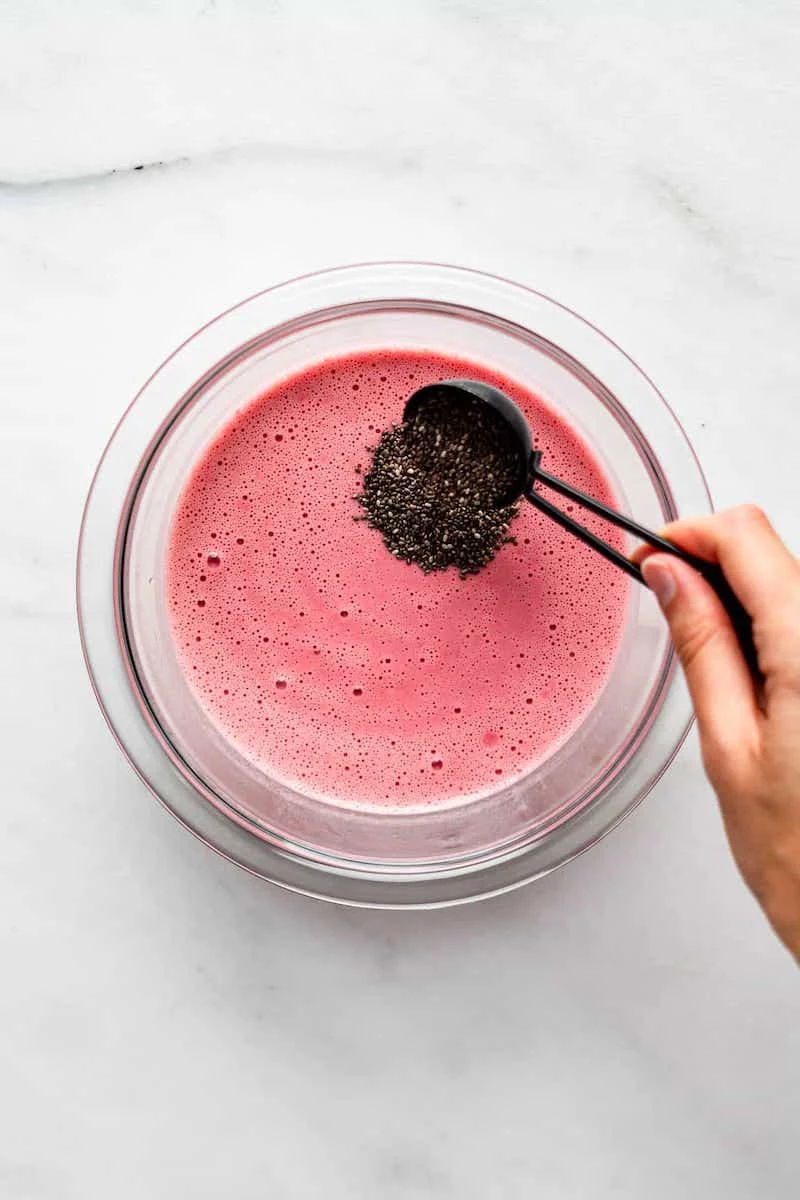
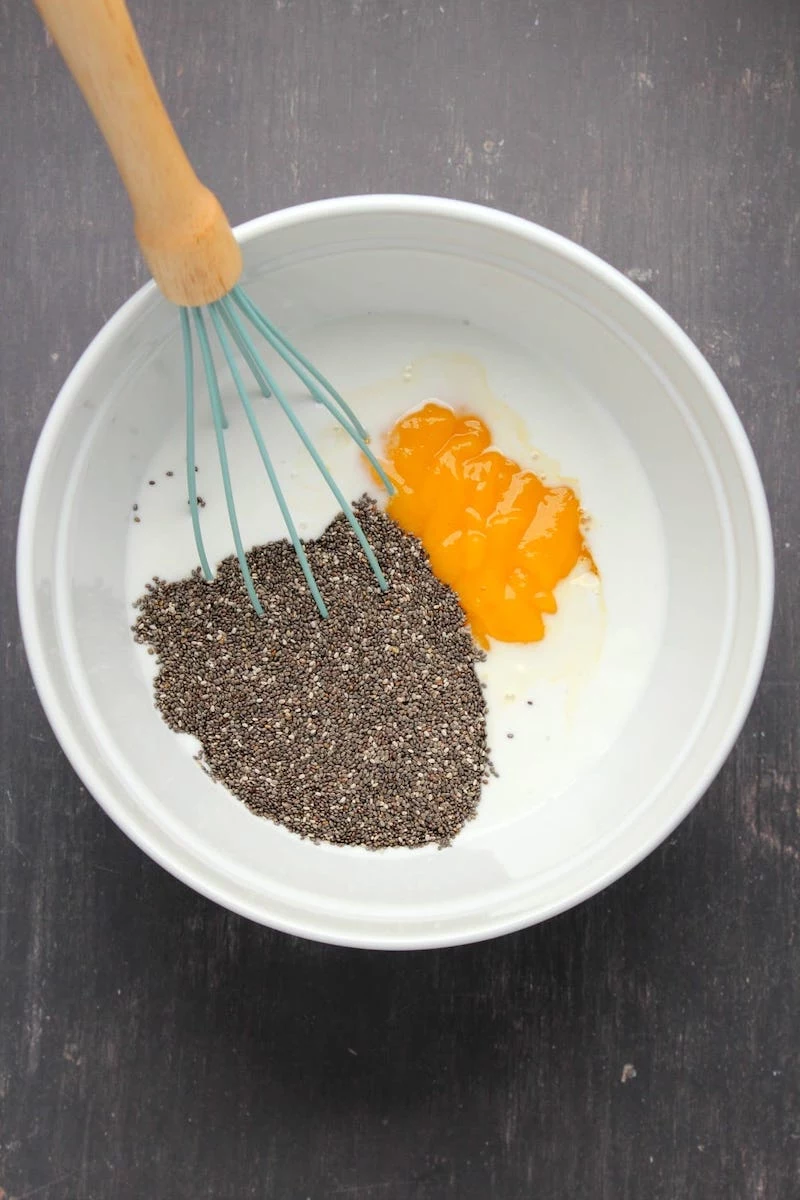
- Prep the Base: In a bowl or a large mason jar, combine 1 cup of your liquid, 1-2 tablespoons of your powdered sweetener, a pinch of salt (seriously, don’t skip this!), and 1 teaspoon of vanilla extract. Whisk these together first to dissolve the sweetener.
- The First Whisk: Add your 3 tablespoons of chia seeds. Whisk like you mean it for about 30 seconds, scraping the bottom and sides to get every single seed moving.
- The Crucial Rest: Now, walk away. Let the mixture sit on the counter for 5 to 10 minutes. This gives the seeds a head start on gelling up.
- The Second Whisk: Come back and whisk again for another 30 seconds. This second whisk is pure magic. It breaks up any clumps that started to form and makes sure every seed has room to hydrate fully.
- Chill Out: Cover it and pop it in the fridge. It needs at least 4 hours to set, but honestly, it’s best overnight. The texture becomes so much smoother and more uniform.
Troubleshooting 101
Even with a great technique, things can go wrong. Here’s how to fix it.
- It’s too thick, like cement! Easy fix. Just stir in more of your liquid, a tablespoon at a time, until it’s a consistency you love.
- It’s thin and watery. It just needs more seeds. Add another teaspoon of chia, whisk it in really well, and let it sit in the fridge for another hour or two.
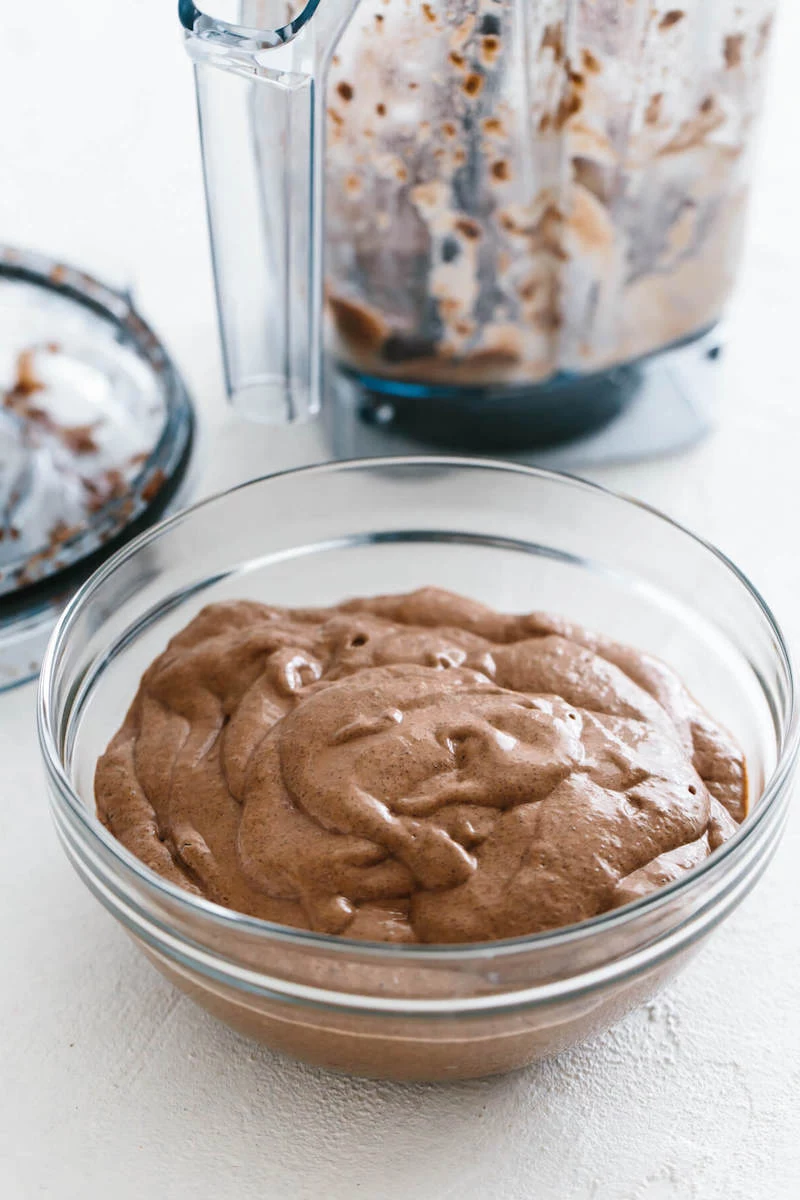
- It’s still lumpy! You probably skipped the second whisk. To save it, give it a few pulses with an immersion blender or in a regular blender. It’ll turn into a delicious, smooth, mousse-style pudding.
- It tastes… bland. You either forgot the salt and vanilla, or you were too shy with the sweetener! A pinch of salt makes sweet things taste sweeter, and vanilla adds warmth. You can stir these in even after it’s set.
Next-Level Textures
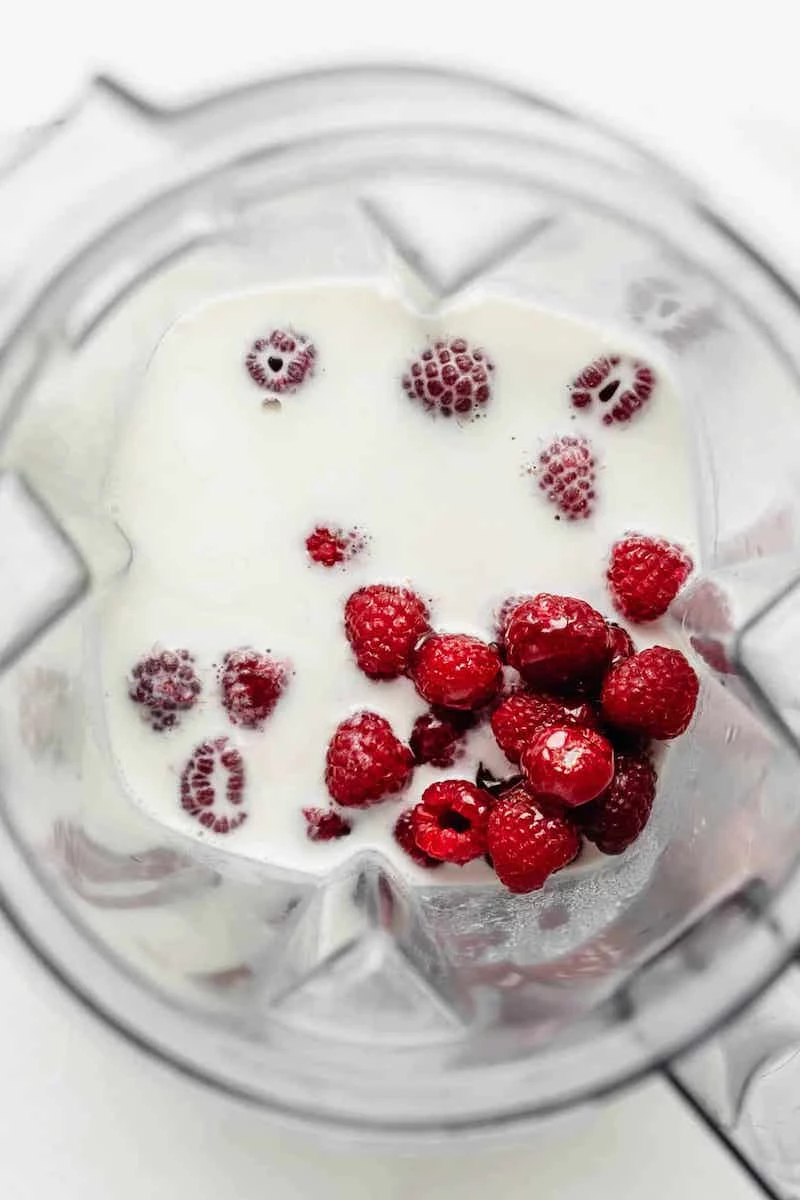
Smooth & Silky: The Blended Method
For some people, the little tapioca-like seeds are a dealbreaker. If you want a perfectly smooth, mousse-like pudding, the blender is your best friend. Just toss all your ingredients—liquid, seeds, sweetener, flavors—into a blender and blitz on high for 30-60 seconds until it’s totally smooth. Pour it into a jar and chill.
A little bonus: The blended version tends to feel ‘set’ a bit faster, sometimes in as little as 2 hours if you’re in a hurry!
The Middle Ground: Ground Chia
You can also use pre-ground chia seeds (sometimes sold as chia flour) or grind them yourself in a coffee grinder. Ground chia thickens up almost instantly, but the two-whisk method is still your friend to prevent clumps. The texture is smooth but often a bit denser than the blended version.
Let’s Talk Flavors: Keto-Friendly Ideas
Now the fun part. Using your master base (3 tbsp seeds, 1 cup liquid), you can create anything.
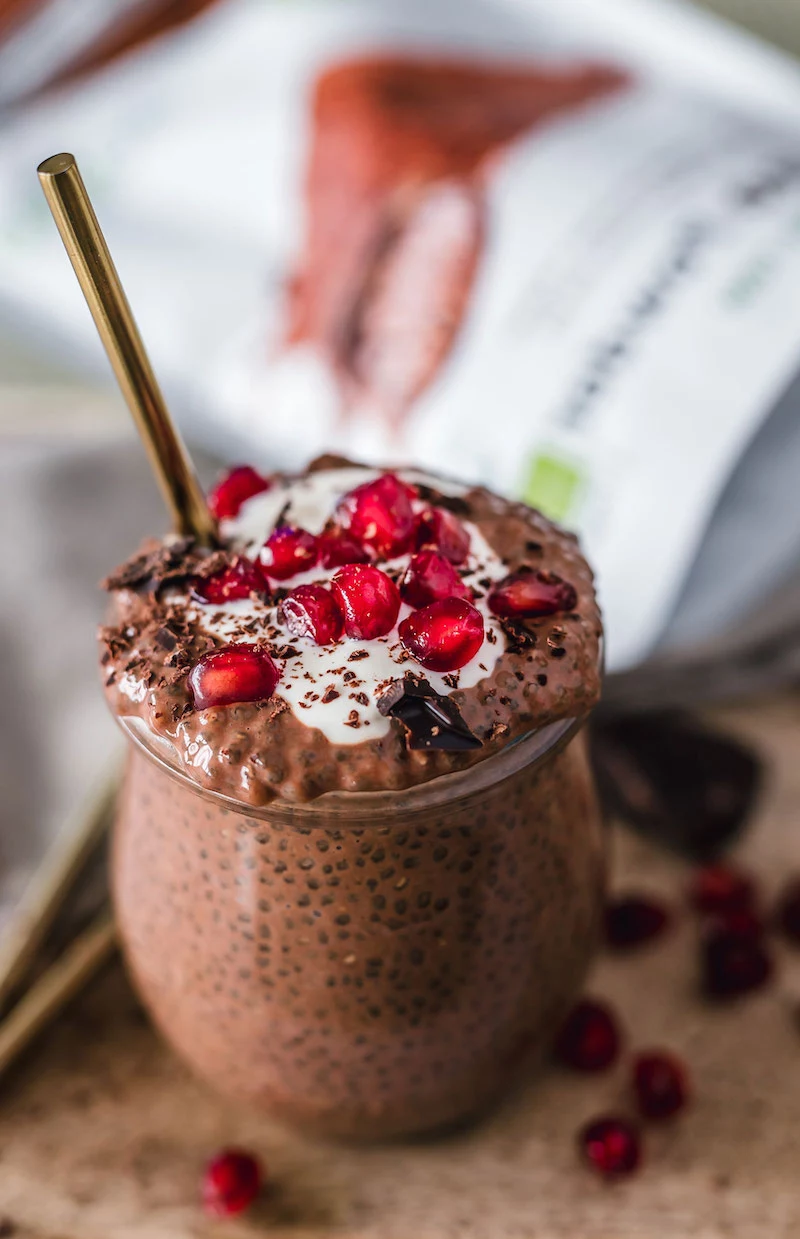
1. Rich Chocolate
- How to do it: Add 2 tablespoons of unsweetened cocoa powder to your bowl with the sweetener and salt. A pro tip is to sift the cocoa powder to avoid lumps. Then, whisk in your liquid and proceed with the two-whisk method.
- Lesser-known trick: Add a quarter teaspoon of instant espresso powder. You won’t taste coffee, I promise. It just makes the chocolate flavor deeper and richer.
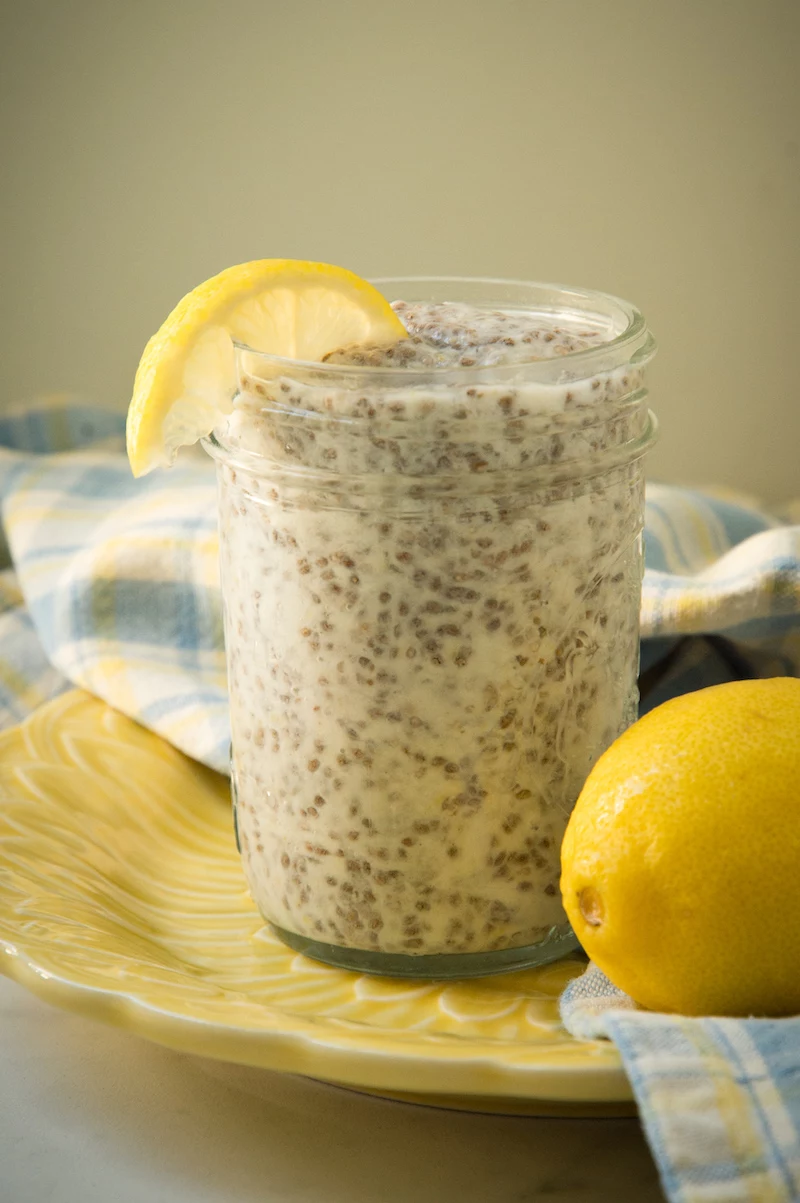
2. Zesty Lemon Cream
- How to do it: Make the base pudding, preferably with full-fat canned coconut milk for extra creaminess. Once it’s fully set, gently stir in the zest of one lemon and 2 tablespoons of fresh lemon juice.
- Heads up! There’s a reason I add the lemon at the end. Sometimes, high-acid ingredients can curdle non-dairy milks if added too early. Waiting until it’s set keeps the texture perfect.
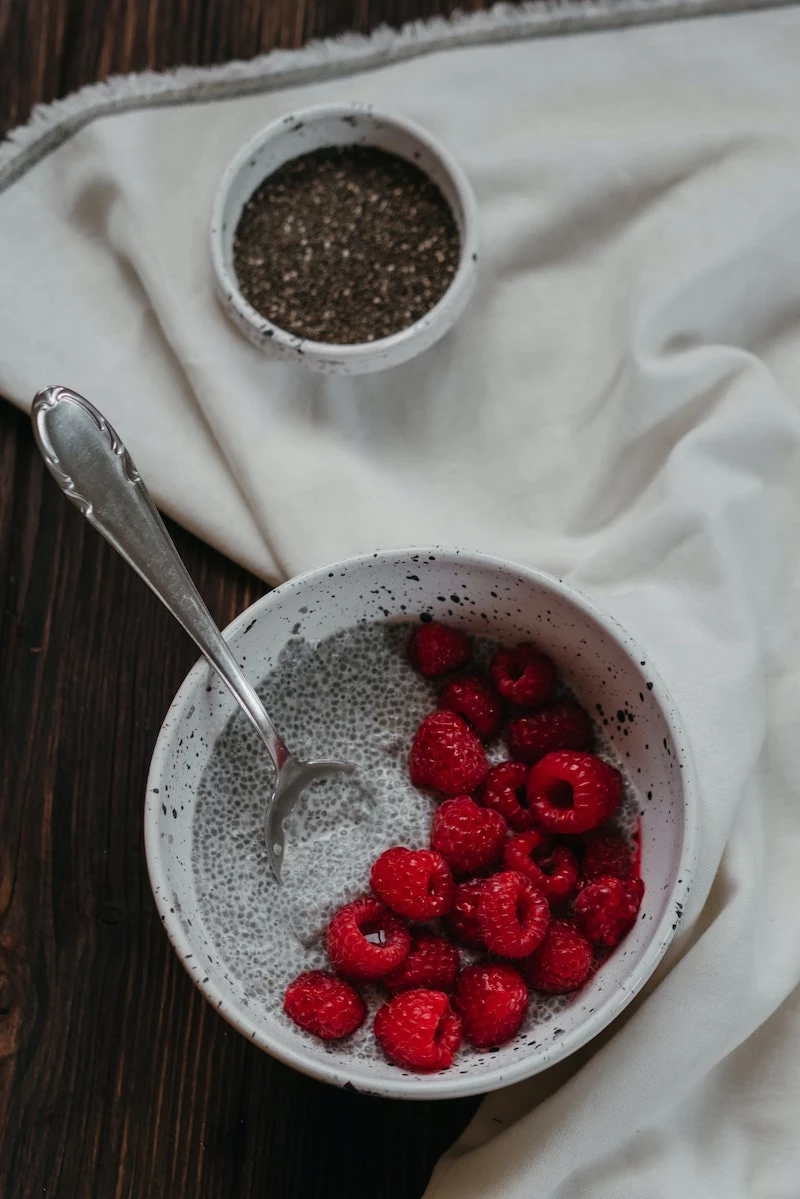
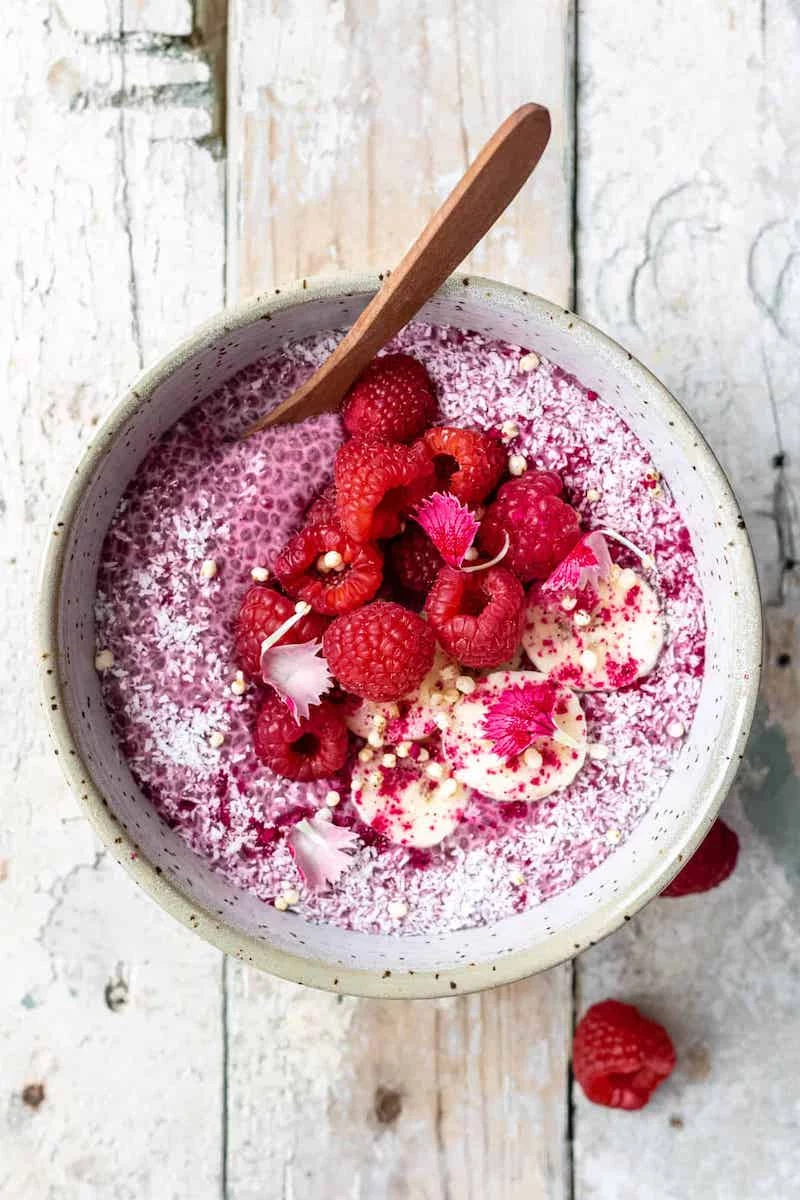
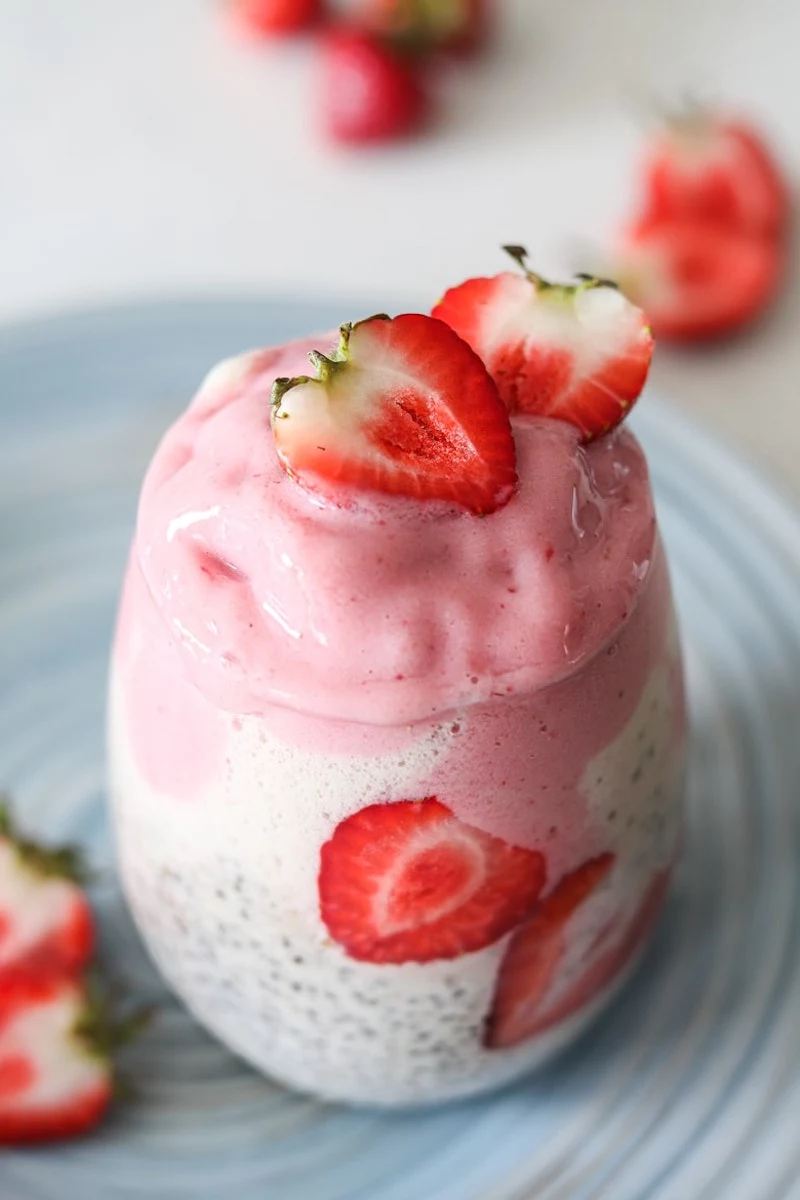
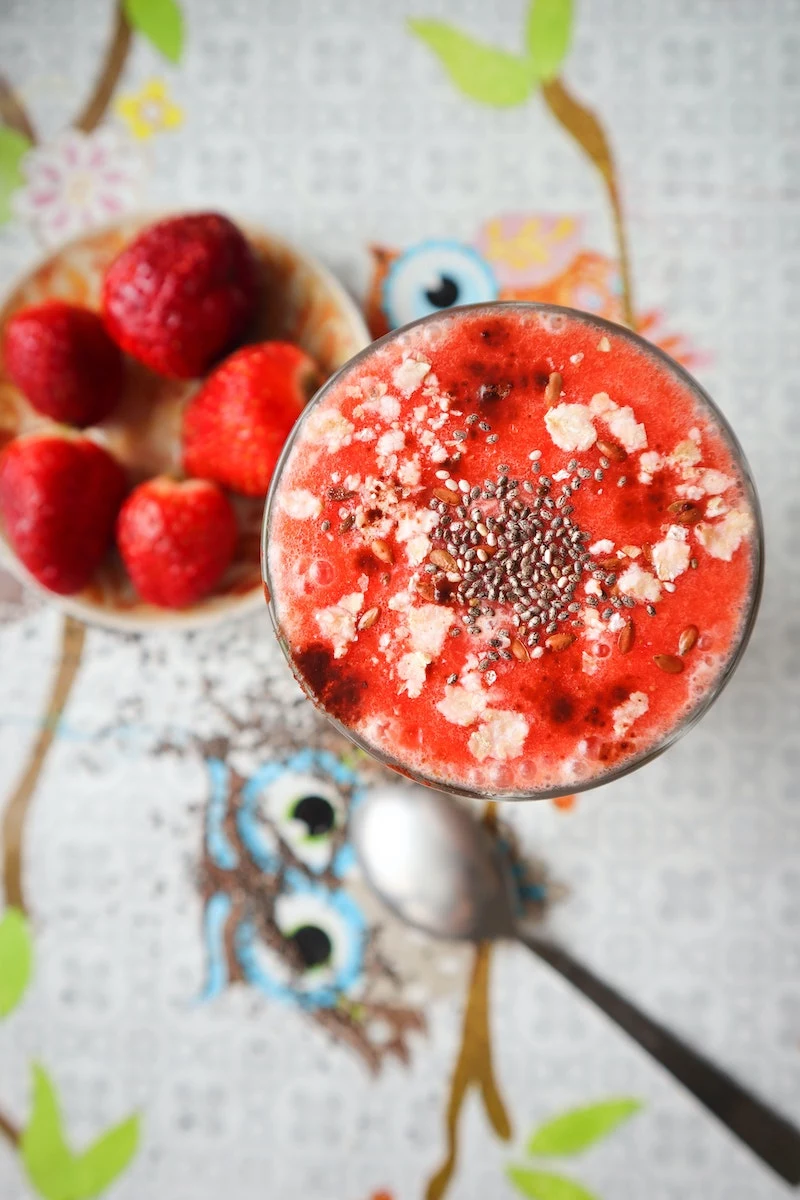
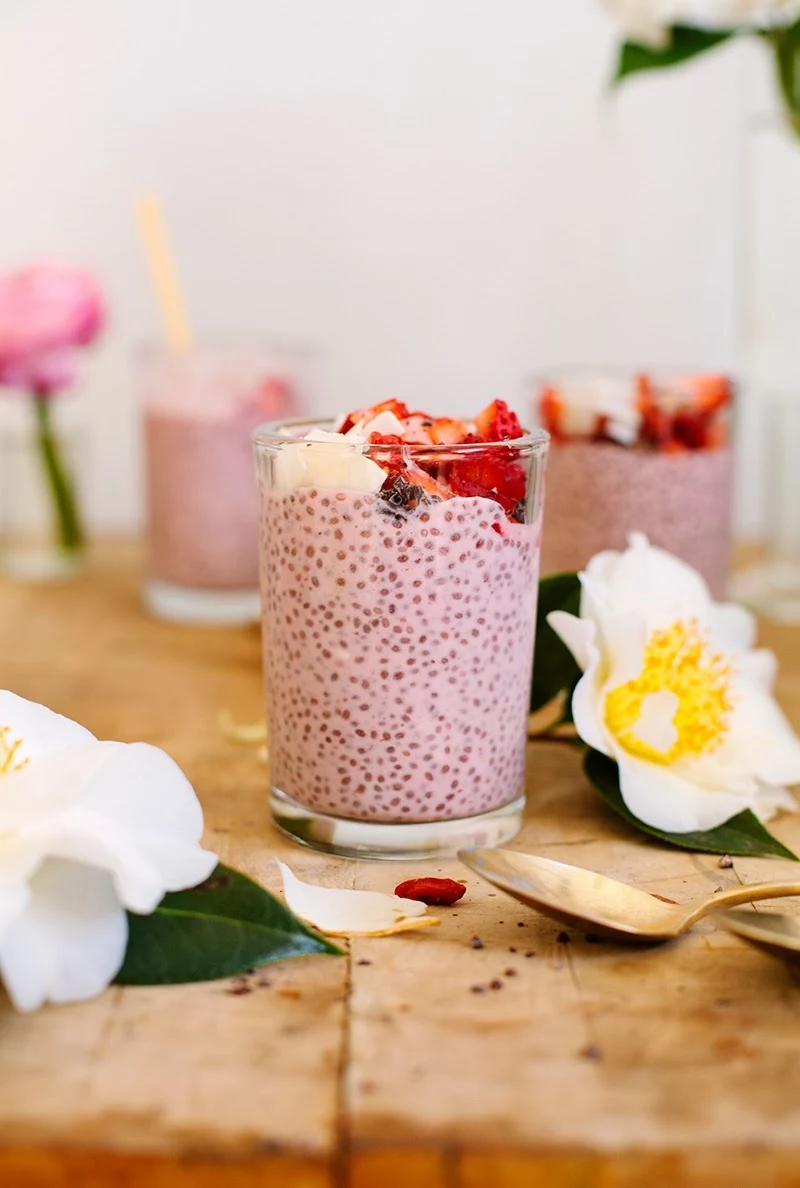
3. Raspberry Swirl
- How to do it: While your vanilla base pudding is chilling, heat a half-cup of fresh or frozen raspberries in a small pot with a splash of water and a bit of sweetener. Simmer for 5 minutes until it breaks down into a jammy sauce. Let it cool completely. Then, layer or swirl it into your finished pudding.
- To make the flavor pop: Add a tiny splash (like, 1/4 teaspoon) of balsamic vinegar or lemon juice to the raspberry sauce while it’s cooking. It sounds weird, but it really brightens up the berry flavor.
Meal Prep, Storage, and a Final Warning
One of the best things about chia pudding is that you can make a big batch on Sunday for easy grab-and-go breakfasts all week. It’ll last 5-7 days in an airtight container in the fridge. It might get a little thicker after a few days; if it does, just stir in a splash of milk before you eat it.
Now, for a quick but important safety note. Never, ever eat dry chia seeds by themselves and then drink water. They can expand in your throat and create a serious choking hazard. The seeds MUST be fully hydrated and gelled in liquid before you eat them, which is why making pudding is such a great and safe method.
Finally, if you’re not used to eating a lot of fiber, start small with a half-cup serving to see how your digestion handles it. This stuff is powerful!
And that’s it! Making great keto chia pudding is a skill, not a guessing game. It’s about respecting the ratio, using the two-whisk method, and learning how to balance flavors. Once you nail the foundation, you’ll be free to create your own delicious, healthy meals that actually fit your life. That’s a kitchen win.
Inspirational Gallery
Not all keto sweeteners are created equal for puddings. For a smooth, non-gritty texture with no weird aftertaste, a monk fruit-erythritol blend like Lakanto Classic is a top choice. Pure stevia can sometimes be bitter, so use it sparingly. For a subtle caramel note in chocolate or coffee puddings, try a brown sugar substitute like Swerve Brown.
- Boosts brain function with clean energy.
- Adds a rich, velvety mouthfeel.
- Keeps you fuller for even longer.
The secret? A tablespoon of MCT oil. Whisk it into your liquid base before adding the chia seeds. It emulsifies beautifully, making your pudding a true ketogenic powerhouse.
A 2016 study in the Journal of Food Science and Technology confirmed that chia seeds can absorb up to 12 times their weight in water.
This incredible absorbency is why the liquid-to-seed ratio is non-negotiable for a perfect texture. Too little liquid and the seeds can’t fully hydrate, resulting in a gritty consistency. This is pure kitchen science in a bowl!
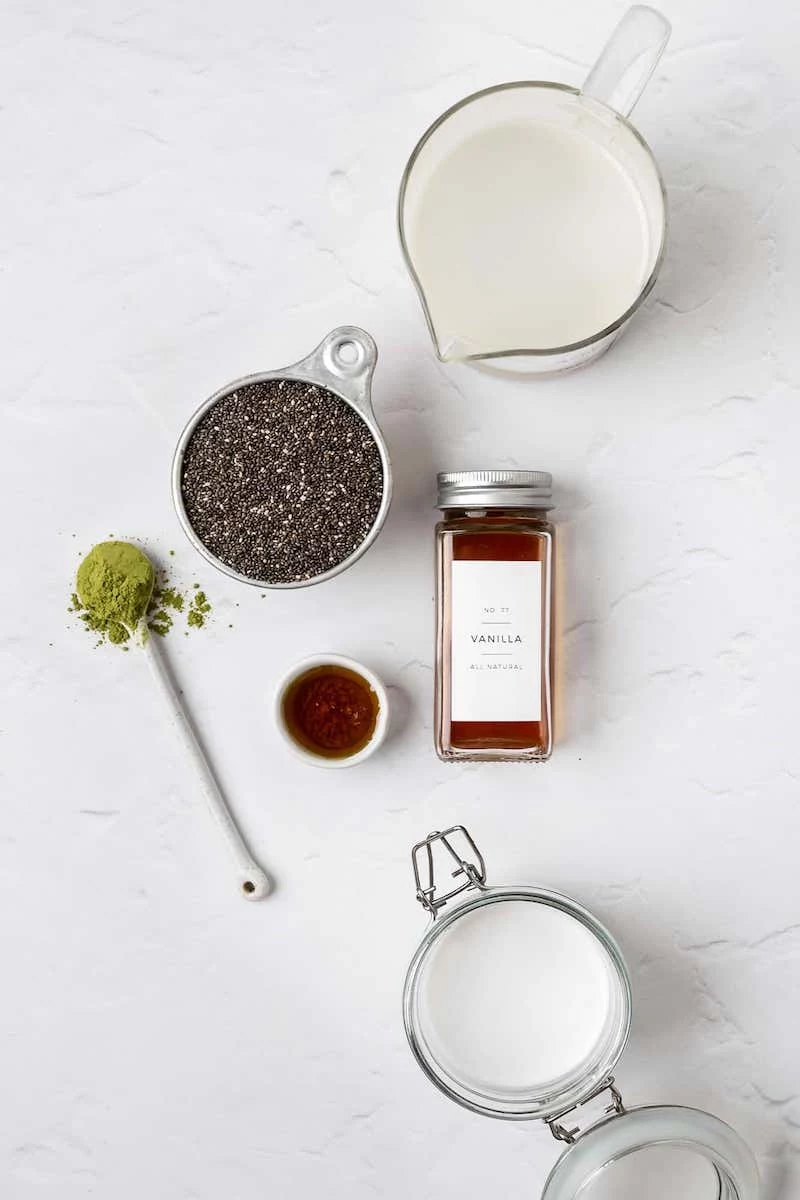
Tired of the same old vanilla?
Infuse your milk for a deeper flavor dimension. Before adding the chia seeds, gently warm your almond or coconut milk with a cinnamon stick, a few crushed cardamom pods, or the peel of a lemon. Let it steep for 15 minutes, then strain. This technique extracts the pure essence of the spice or fruit without adding carbs or altering the pudding’s texture.

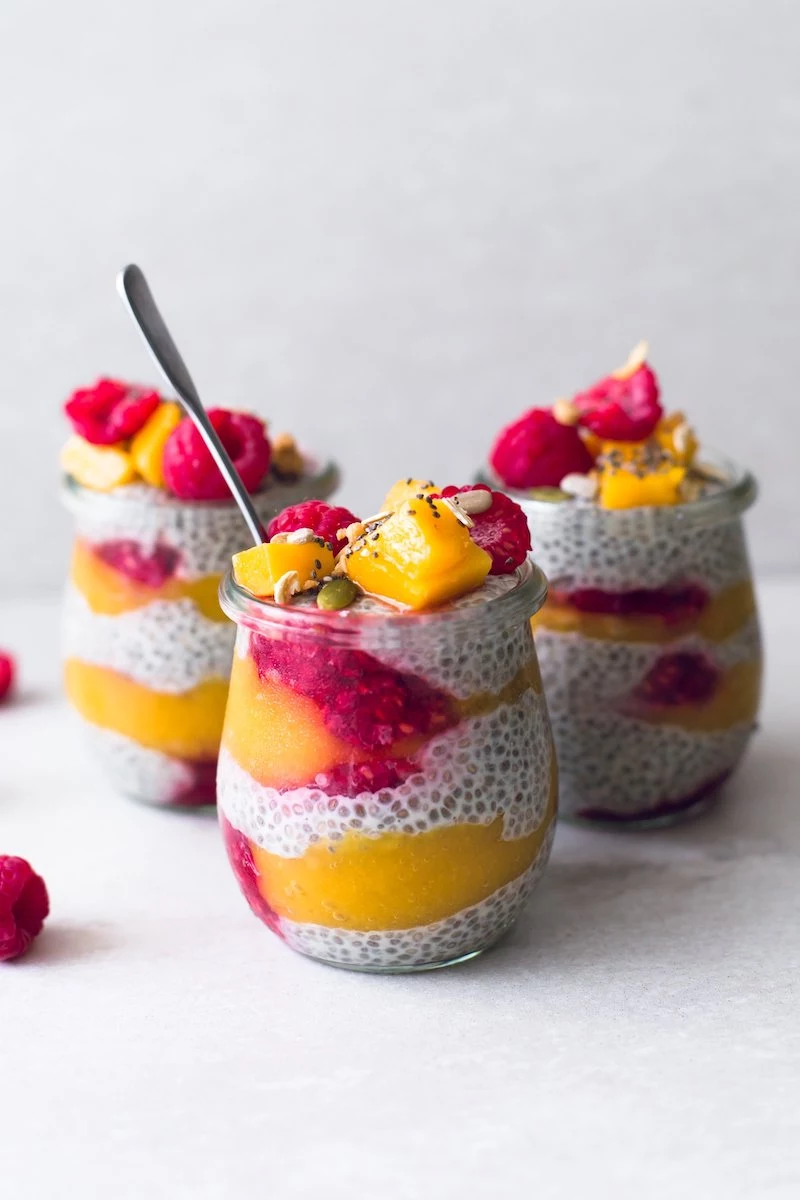
The Layering Game:
For the perfectionist: To get those razor-sharp, Instagram-worthy layers, chill each flavored pudding separately before carefully spooning them into a glass. Use the back of a spoon to level the surface of each layer before adding the next.
For the rustic look: Dollop two different flavors (like chocolate and raspberry) alternately into a jar, then use a skewer to gently swirl them together once for a beautiful marbled effect.
Think beyond breakfast. A rich, dark chocolate chia pudding can be an elegant dessert. Use high-quality unsweetened cocoa powder, a splash of vanilla extract, and a pinch of sea salt to elevate the flavor. Serve it in small ramekins topped with a few fresh raspberries and some shaved sugar-free dark chocolate for a truly decadent, guilt-free treat.
Take your pudding from simple snack to a nutritionally-dense meal with these keto-friendly mix-ins. Just stir them in with the chia seeds at the beginning.
- Collagen Peptides: A scoop of unflavored collagen powder, like that from Vital Proteins or Primal Kitchen, dissolves completely and adds a boost for hair, skin, and joint health.
- Hemp Hearts: Add a tablespoon for extra protein, healthy fats, and a slightly nutty flavor.
- Ground Flaxseed: Another fiber powerhouse that helps create an even thicker, more satisfying pudding.
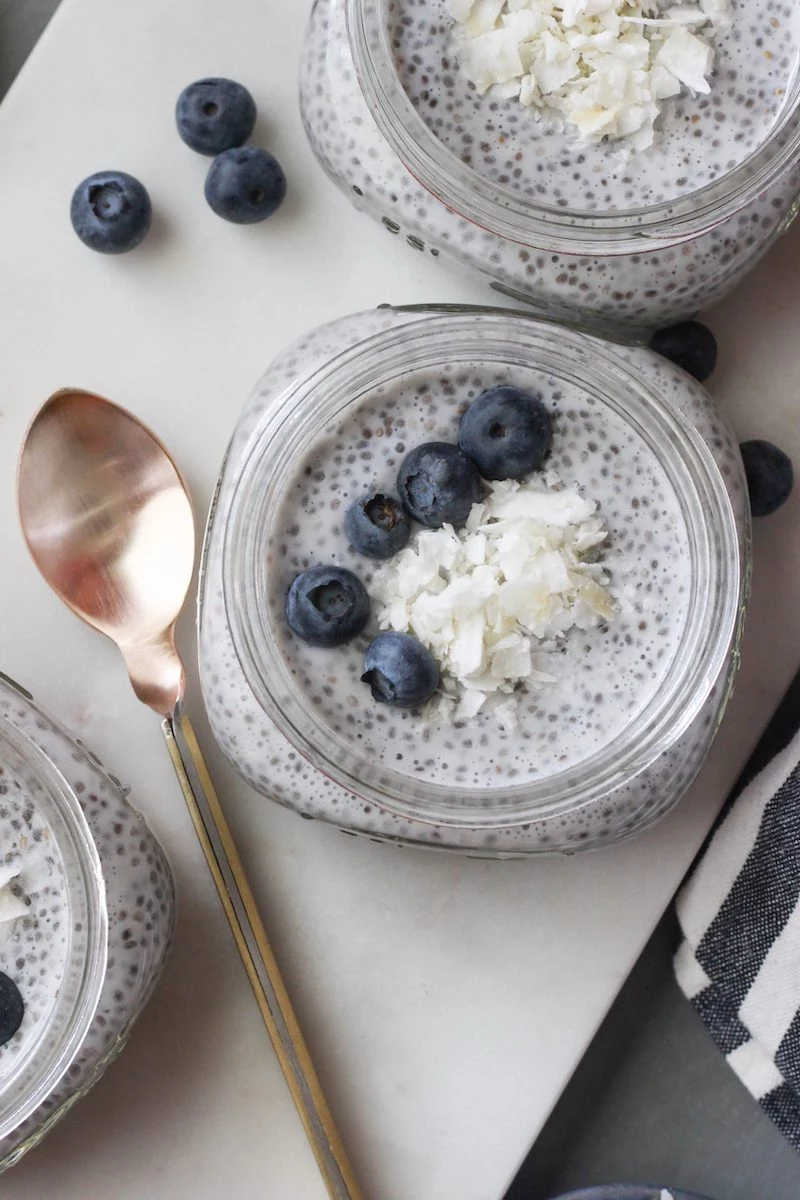
Meal-prep champion: Your chia pudding will stay perfectly fresh and delicious in an airtight container in the fridge for up to 5 days. Glass mason jars are ideal. Pro tip: prepare the base pudding and store it plain. Add your toppings—like berries, nuts, or coconut flakes—right before serving to keep them from getting soft.
Which non-dairy milk creates the creamiest pudding?
For ultimate creaminess, nothing beats full-fat canned coconut milk. Its high fat content creates a luxurious, dessert-like texture. Unsweetened almond milk is a great, lighter everyday option. For a nut-free choice, try macadamia milk (like the Milkadamia brand) which is naturally creamy and low in carbs.
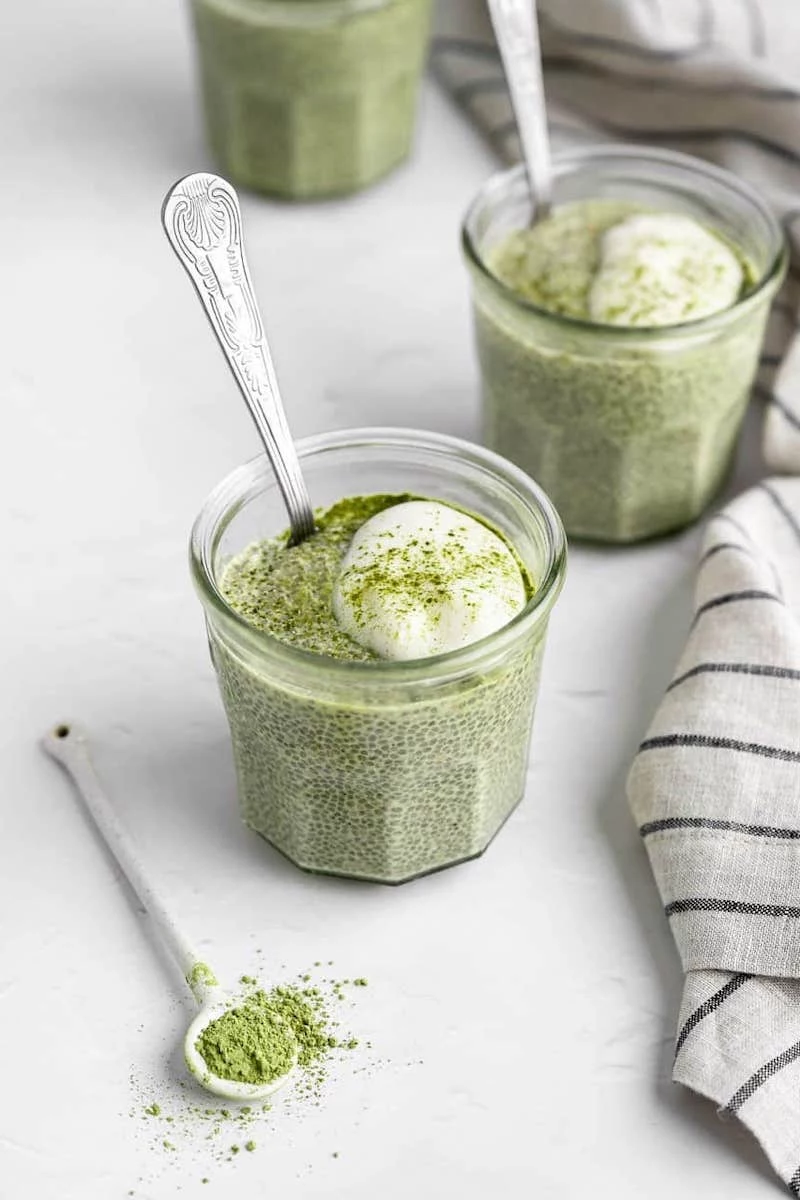
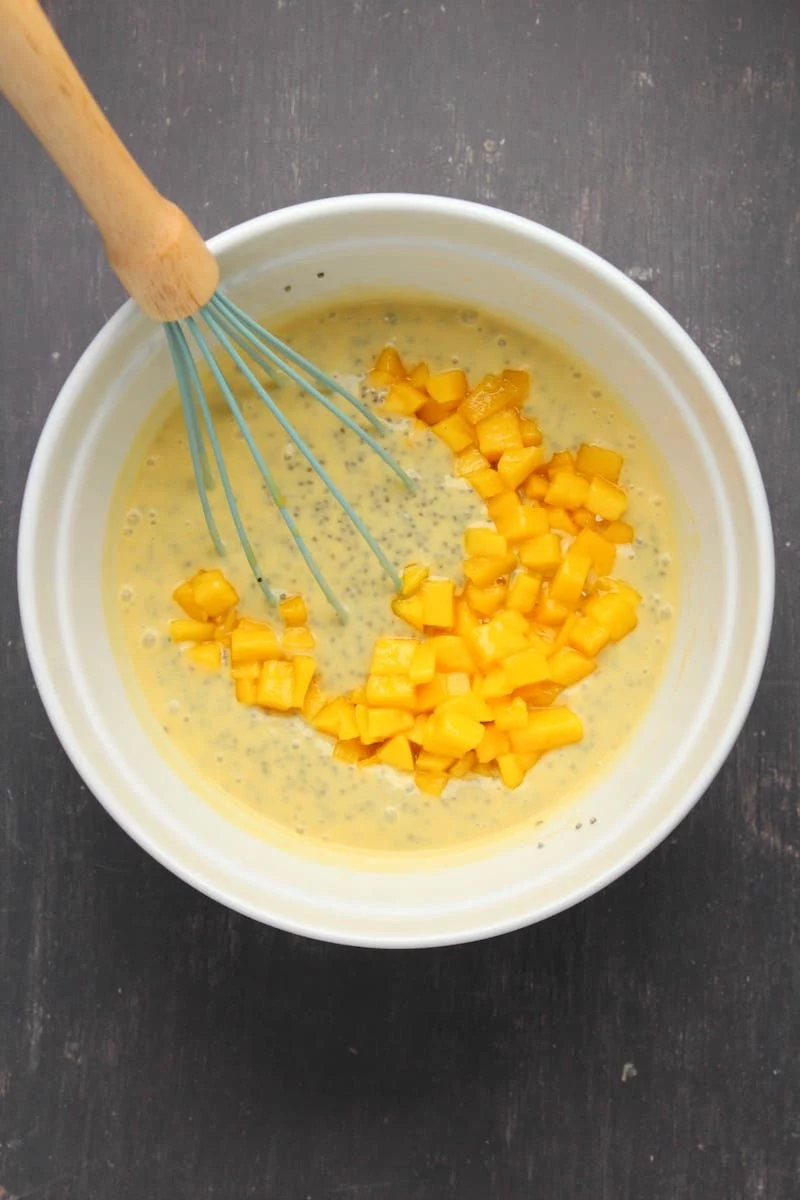
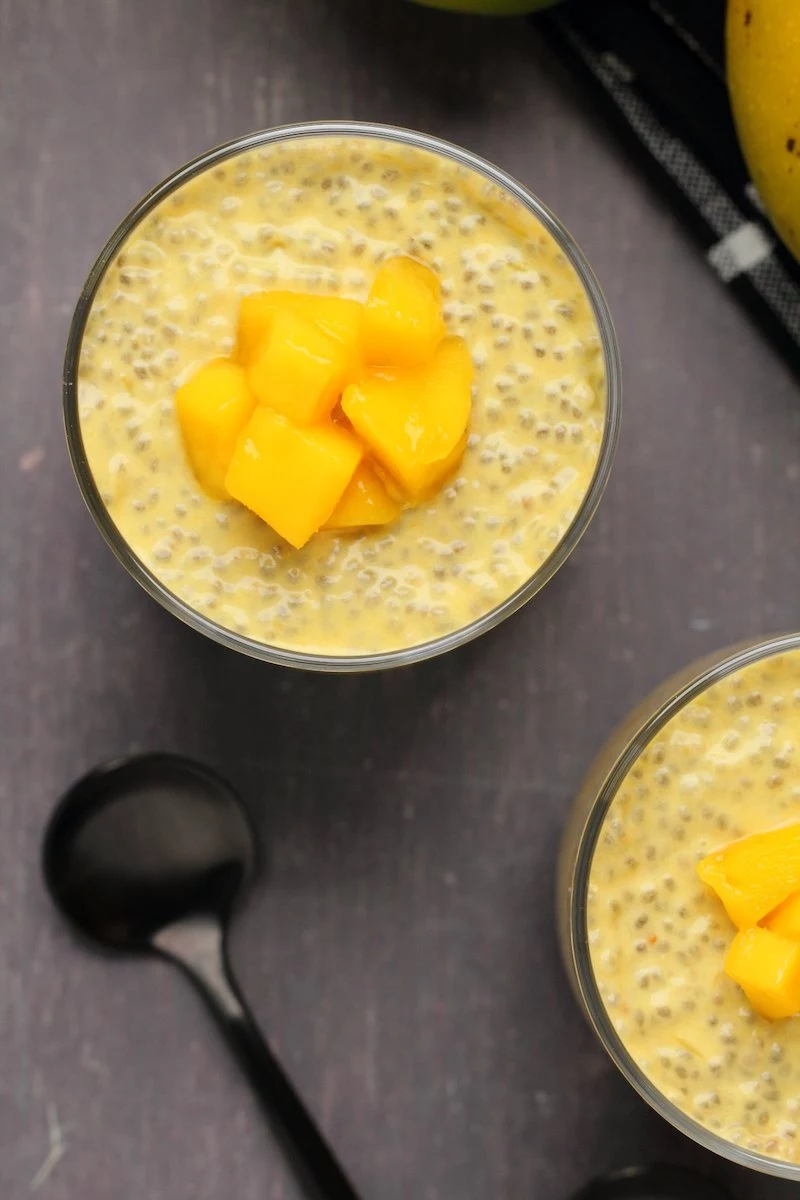
Don’t get stuck on just black chia seeds. White chia seeds are also available and are nutritionally identical. The only difference is aesthetic. Use white chia seeds when you want the color of your other ingredients, like matcha powder or golden mango, to really pop without the dark speckles.


