Your Retainer is Your Smile’s Bodyguard: How to Actually Take Care of It
So, you finally got your braces off. Congrats! It’s a huge moment, and your smile looks incredible. But let’s be real, the game isn’t over. The real success of all that time and money is measured years from now, and it all comes down to a small, easy-to-lose piece of plastic and wire: your retainer.
In this article
After years working behind the scenes in orthodontic labs, I’ve seen it all. I’ve made brand new retainers, repaired mangled ones, and cleaned some that looked like they were part of an archaeological dig. Trust me, that little device is a custom-made piece of equipment, engineered to keep your teeth from staging a rebellion and moving back to their old spots. This slow-motion shift is called orthodontic relapse, and it’s a real heartbreaker.
Caring for your retainer is just as crucial as the treatment itself. This guide isn’t just a boring list of instructions; it’s the inside scoop on how to make your retainer last and keep your smile looking perfect, based on seeing every mistake in the book.
First, Know Your Gear: What Kind of Retainer Are You Dealing With?
To keep your retainer in top shape, you have to know what it’s made of. Using the wrong cleaner can wreck it, sometimes instantly. There are three main types out there, and each has its own quirks.
The Classic: The Hawley Retainer
You’ve probably seen this one. It’s the traditional style with a plastic or acrylic plate that sits against the roof of your mouth (or behind your bottom teeth) and a metal wire that runs across the front. It’s a true workhorse.
The acrylic part is surprisingly a bit porous. What does that mean for you? It can absorb liquids, which leads to funky smells and stains if you don’t clean it right. The spots where the wire connects to the plastic are also a bit delicate, so you have to avoid harsh chemicals. The big win for this style is its durability and the fact that an orthodontist can make tiny adjustments to it. Plus, it lets your teeth settle into a natural bite since it doesn’t cover the chewing surfaces.
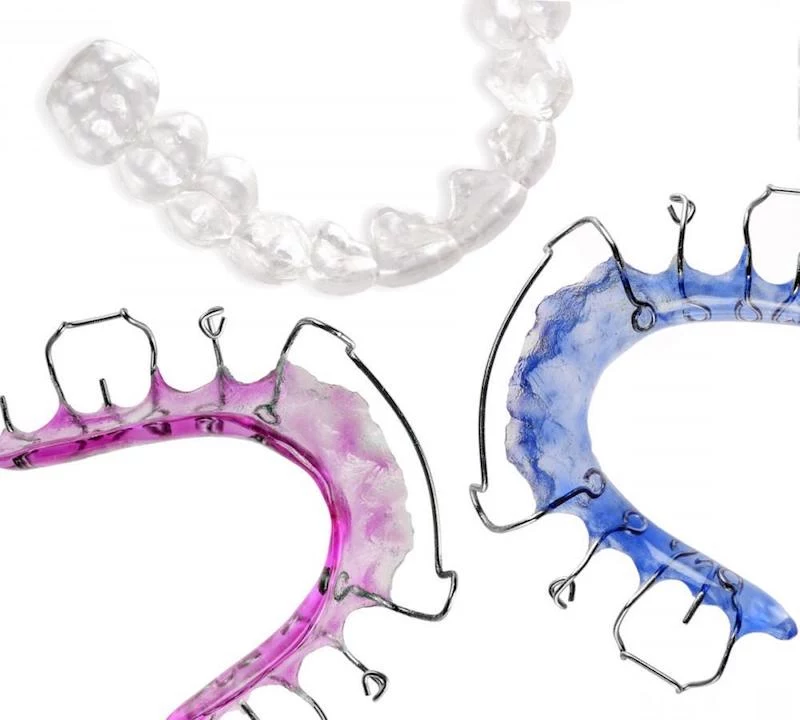
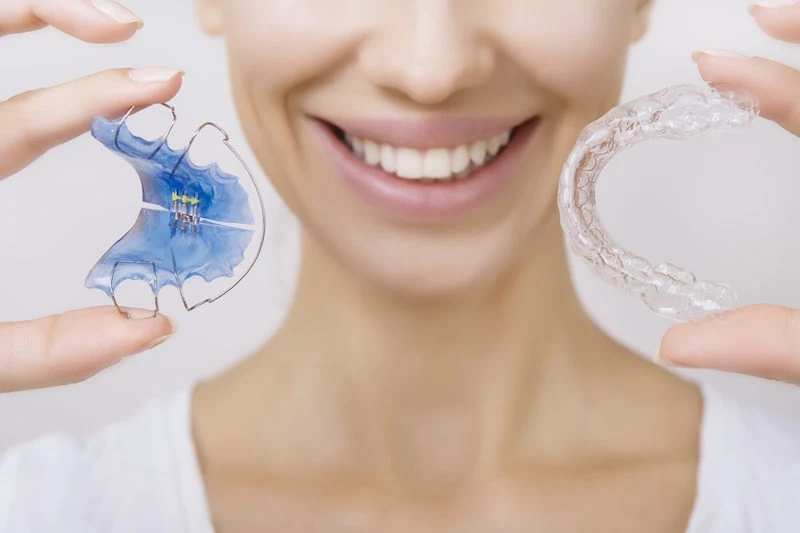
The Invisible One: The Clear (Essix) Retainer
These are super popular because, well, you can barely see them. They look like a clear, thin mouthguard that fits perfectly over your teeth. They’re made by heating a sheet of special plastic and vacuum-forming it over a model of your new smile.
Heads up! The number one enemy of this retainer is heat. I’m not kidding. I’ve seen these things destroyed because someone left them in a hot car, washed them in hot water, or set them near a stove. The plastic has a ‘memory’ of its shape, and heat just erases it. They also stain more easily, so be careful with coffee, tea, and red wine.
The Set-it-and-Forget-it… (Not Really): The Fixed Retainer
This is a thin wire that’s literally bonded to the back of your front teeth, usually the bottom ones. You can’t take it out, which is why it’s sometimes called a ‘permanent’ retainer.

The challenge here isn’t the wire itself, but cleaning around it. The wire and the bonding material create tiny ledges where plaque and tartar love to build up. To be frank, I’ve seen some nasty cases of gum inflammation and even cavities around poorly maintained fixed retainers. It needs even more attention than the rest of your teeth.
So, Which One Is ‘Best’?
People always ask this, and the honest answer is: it depends on you. There’s no single ‘best’ option, just the best one for your situation. Here’s a quick rundown to help you see the differences:
- For looks, the clear Essix retainer wins, hands down. It’s nearly invisible. The Hawley is more noticeable, and the fixed one is totally hidden behind your teeth.
- When it comes to durability, the Hawley is the champion. With good care, it can last for many years. A clear Essix retainer might only last 1-3 years, especially if you grind your teeth. A fixed retainer can last for a very long time, but the bonding material might need a touch-up now and then.
- For cleaning, the removable Hawley and Essix are easier to clean thoroughly since you can take them out. The fixed retainer is the most difficult, requiring special tools and extra diligence to floss underneath it.
- And the cost? If you lose or break a removable retainer, you’re on the hook for a new one. This can set you back anywhere from $200 to over $600, depending on your orthodontist’s fees. Suddenly, that $5 case seems like a brilliant investment, right?
Your Daily Cleaning Ritual: This is Non-Negotiable
Your mouth is a jungle of bacteria. When that bacteria builds up on your retainer, it forms a sticky film called biofilm (aka plaque). If you don’t clean it off, it hardens into rough, white calculus, makes your retainer smell, and can irritate your gums.
The golden rule is to clean your retainer once a day, preferably right after you take it out in the morning. At that point, all the gunk is still soft and easy to remove. Let it dry, and you’re basically cementing that stuff on.
For Removable Retainers (Hawley and Clear)
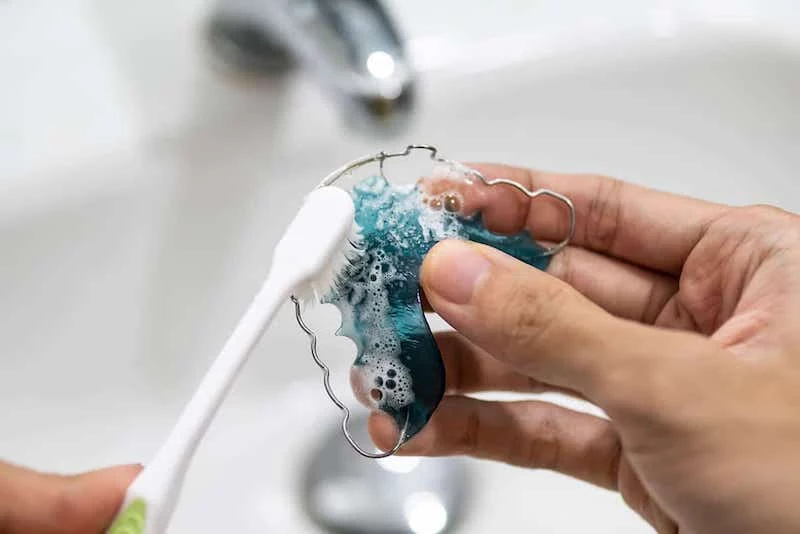
- Get Your Tools: You need a dedicated, soft-bristled toothbrush (don’t use your regular one!), and some mild, clear, unscented soap. Basic Castile soap or a simple dish soap works great.
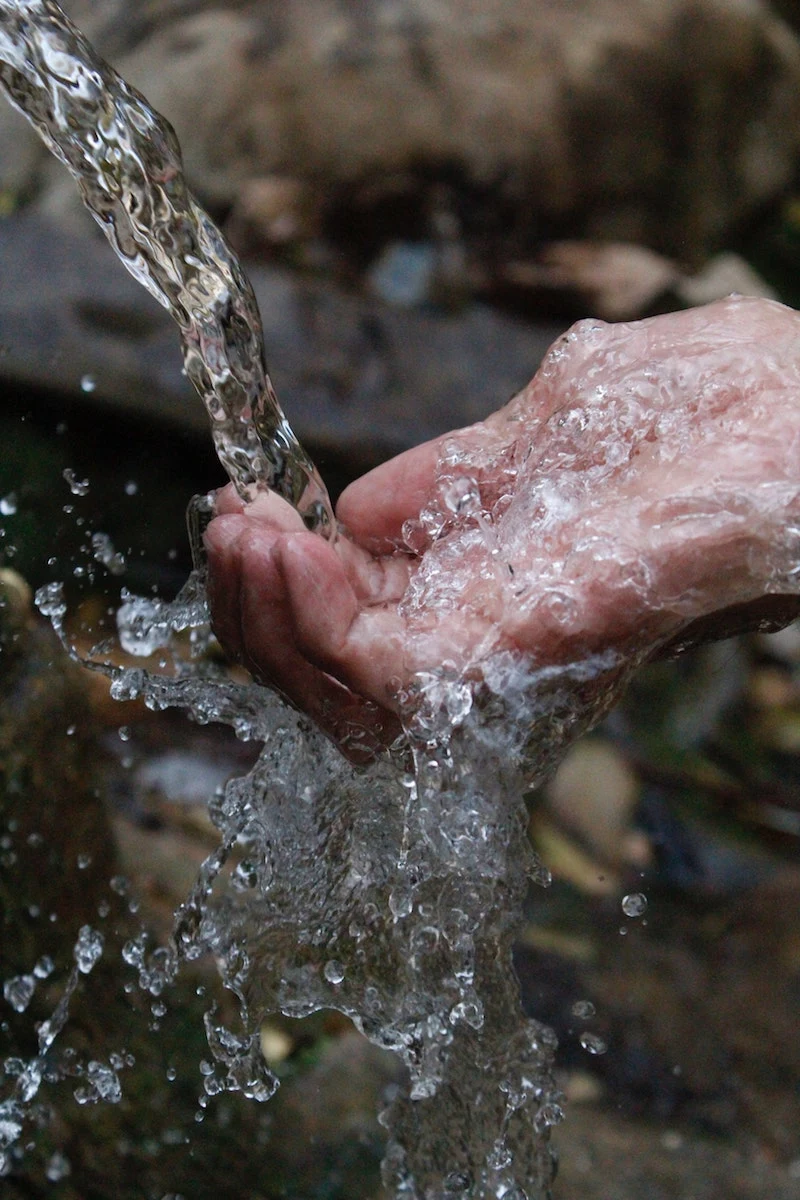
- Cool Water Only: I have to say this again: NEVER use hot water. It will warp a clear retainer and can damage a Hawley over time. Use cool or lukewarm water.
- Gentle Brushing: Put a drop of soap on the wet brush and gently scrub every surface of your retainer, inside and out. Pay extra attention to the nooks and crannies where the wire meets the plastic on a Hawley, or inside the tooth grooves of a clear one.
- Rinse Well: Rinse it under cool water until there’s no soap left. It shouldn’t taste like soap when you put it back in.
In a Pinch Hack: Look, we’ve all had those nights. If you’re traveling or just exhausted, at the absolute minimum, rinse the retainer thoroughly with cool water the second you take it out. Don’t let saliva dry on it. It’s not a replacement for a real cleaning, but it’s a million times better than doing nothing.
For Fixed Retainers
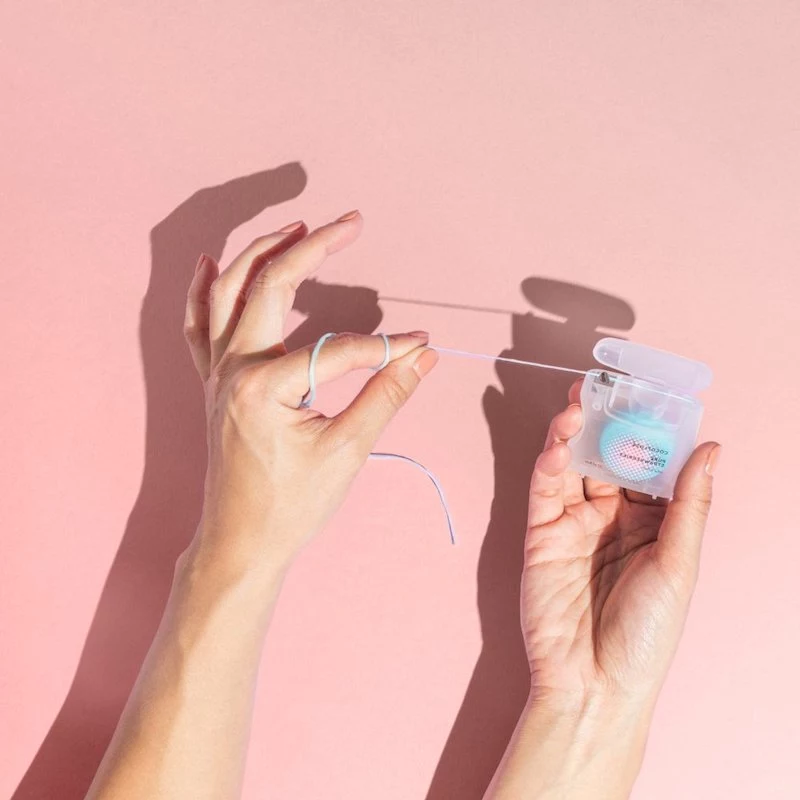
This takes a bit of practice, but you’ll get the hang of it. You’ll need a floss threader or specialized floss with a stiff end to get under the wire. A water flosser is a fantastic sidekick for blasting out debris, but it does NOT remove the sticky plaque. You still have to floss.
Quick tip: Run your tongue over your fixed retainer every day. Does it feel smooth and solid? Great. If you feel a section that seems loose, sharp, or makes a new ‘clicking’ sound when you floss, call your orthodontist right away.
Your Retainer Care Starter Kit
Feeling motivated? Awesome. Here’s a simple shopping list to get you started on the right foot. You can find most of this at any drugstore or online.
- A dedicated soft-bristled toothbrush: $2 – $5
- Mild, unscented liquid soap (like Dr. Bronner’s or clear dish soap): $5 – $10 for a bottle that will last forever.
- Professional retainer cleaning tablets (like Retainer Brite): $10 – $15 for a 3-month supply. A great option for weekly deep cleans.
- A sturdy retainer case: $5 – $10. If you lost the one they gave you, buy a new one immediately.
The Retainer Hall of Shame: What NOT To Do
Every item on this list comes from a real-life retainer tragedy I’ve witnessed. Don’t let this be you.
- NO Hot Water or Dishwashers. I’ll never forget the patient who brought in a perfectly shriveled Essix retainer. His mom, trying to be helpful, ran it through the dishwasher. It looked like a melted piece of cellophane. We all had a sad laugh, and then he had to pay for a new one.
- NO Toothpaste. Most toothpastes have abrasives that are fine for enamel but will create micro-scratches all over your retainer. Those scratches dull the finish and become a breeding ground for bacteria.
- NO Harsh Chemicals. Never, ever use bleach or rubbing alcohol. Bleach will eat away at the acrylic and corrode the metal, and alcohol can dry out the plastic, making it brittle.
- NO Colored Mouthwash. Soaking your retainer in that bright blue or green mouthwash is a bad idea. The alcohol can be damaging, and the dyes can permanently stain it.
Troubleshooting Common Retainer Disasters
Problem: “I lost my retainer!”
Solution: Don’t panic, but don’t wait. Call your orthodontist the SAME DAY. Your teeth can start shifting in just a few days, and a week without your retainer can genuinely undo months of progress. Get on their schedule ASAP.
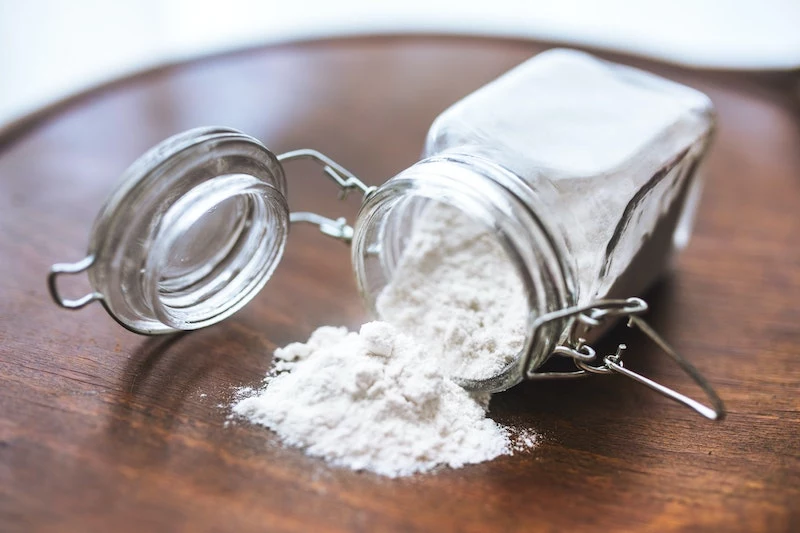
Problem: “There’s hard white gunk on it that won’t brush off.”
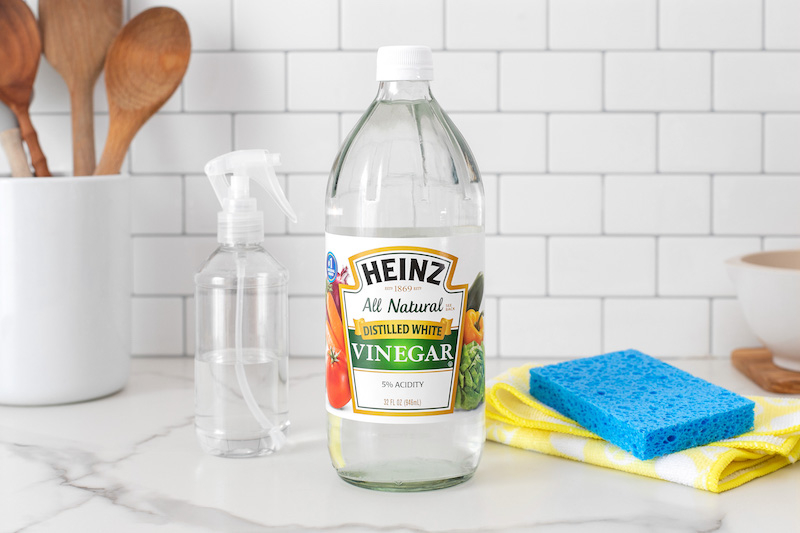
Solution: That’s hardened plaque, or calculus. You can try a 20-minute soak in a solution of half water, half white vinegar to soften it, but don’t overdo it, as the acid can be tough on metal parts. If it’s really caked on, do NOT try to scrape it off yourself—you’ll gouge the retainer. Take it to your orthodontist. They have tools to clean it safely.
Problem: “I dropped my Hawley and the wire is bent.”
Solution: Stop wearing it immediately and call your ortho. DO NOT try to bend it back yourself. You could easily turn it into a tooth-moving appliance instead of a tooth-holding one, causing a relapse.

The Bottom Line: Protect Your Investment
Your retainer is only effective when you’re wearing it and when it’s clean. And please, always keep it in its case when it’s not in your mouth. The number one cause of lost retainers is wrapping them in a napkin at lunchtime. You know what happens next. That napkin goes straight into the trash.
By making these simple steps a part of your daily routine, you’re not just cleaning a piece of plastic. You’re protecting your health, your confidence, and the beautiful smile you worked so hard for.
Inspirational Gallery
The Hot Water Trap: Never, ever use hot water to clean or soak your clear Essix retainer. It seems like a good way to disinfect, but the thermoplastic material is sensitive to heat. Hot water can warp and distort it in seconds, rendering it useless. Stick to cool or lukewarm water for all cleaning and rinsing to keep its custom fit perfect.

A study in the International Journal of Dentistry found that retainers can harbor significant amounts of bacteria, including Candida albicans (yeast) and Staphylococcus.
This isn’t to scare you, but to highlight why a quick rinse isn’t enough. These microbes create that funky smell and can contribute to plaque on your teeth and even oral infections. A daily, dedicated cleaning routine is your best defense against this invisible buildup.
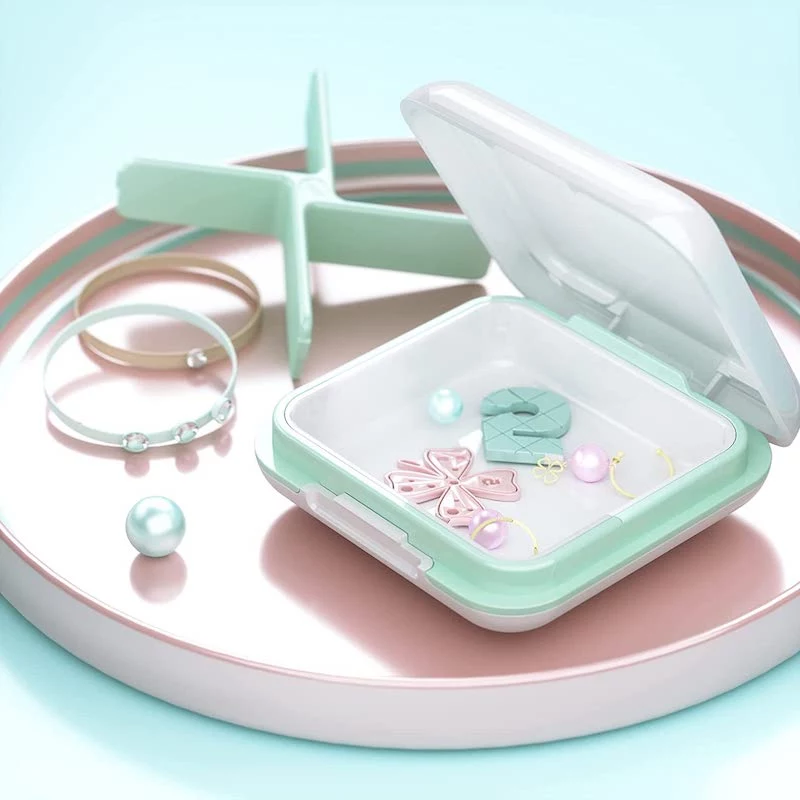
My retainer case is getting pretty gross. What’s the best way to clean it?
Think of your retainer case as a portable petri dish if you don’t clean it! At least once a week, empty it and wash it with warm, soapy water. Use a small brush (an old toothbrush works great) to scrub the hinges and corners where gunk builds up. For a deeper clean, you can run it through the top rack of your dishwasher. Always let it air dry completely before closing it to prevent moisture from breeding bacteria.
Cleaning Tablets: Specialized effervescent tablets like Retainer Brite or Fresh Guard are designed to kill odor-causing bacteria and dissolve buildup without damaging the acrylic or plastic. They’re incredibly convenient and effective.
White Vinegar Soak: A 50/50 mix of white vinegar and cool water makes a great DIY disinfectant. Soak your retainer for about 20-30 minutes, then rinse thoroughly. It’s a cost-effective way to tackle tartar, but avoid it if your retainer has solder joints, as the acid can be corrosive over time.

Your retainer case is your smile’s travel armor, but generic cases are easy to overlook or misplace. Make it uniquely yours! Use durable, waterproof vinyl stickers from brands like Redbubble to add personality. Or, for a sleeker look, search on Etsy for custom-engraved or 3D-printed cases in your favorite color. A case that stands out is a case you’re less likely to accidentally throw away in a napkin.

- Removes microscopic debris from every crevice.
- Kills bacteria without harsh chemicals.
- Leaves your retainer looking and feeling brand new in minutes.
The secret? An ultrasonic cleaner. These devices, like the popular iSonic F3900, use high-frequency sound waves to create tiny bubbles that gently blast away plaque and buildup. It’s a fantastic investment for anyone who wants a truly deep clean with minimal effort.

According to the American Association of Orthodontists, without regular retainer wear, teeth have a natural tendency to shift back towards their original positions. This process can begin just weeks after treatment ends.
Beyond cleaning, daily habits make a huge difference in your retainer’s lifespan and your own oral health. Here are the golden rules:
- Case is King: If it’s not in your mouth, it’s in its case. No exceptions. This prevents loss, damage, and exposure to germs.
- Rinse on Removal: Always give your retainer a quick rinse with water as soon as you take it out. This stops saliva from drying on it, which is the first step to plaque buildup.
- Brush Before You Wear: Never put your retainer in without brushing your teeth first. You’d just be trapping food particles and bacteria against your teeth for hours.


