I’ve been around plants for a long, long time, from running a little specialty shop to designing big green installations for businesses. And I can tell you, no other houseplant breaks hearts quite like the fern. People fall in love with those delicate, airy fronds at the store, only to watch them turn into a crispy, brown mess a few weeks later. The standard advice to “keep it moist and in indirect light” isn’t wrong, it’s just… incomplete. It’s like telling someone to “drive safely” without explaining what the pedals do.
A fern isn’t a laid-back pothos or a tough-as-nails snake plant. It’s basically a living fossil, designed for a very specific world. To keep one happy, you have to learn to think like a fern. I’ve made all the mistakes, believe me—from soggy, rotten roots to scorched leaves. Those hard-earned lessons are what I want to share with you. We’re going to get into the nitty-gritty details that make all the difference.
By the way, if you’re short on time and need a quick win, here it is: The
1 thing you can do for your fern right now is to move it into your bathroom. The steam from your showers creates a humid paradise that it will absolutely love.
Why Ferns Are So… Particular
Before you do anything else, you have to respect what a fern is. These plants are ancient. They were thriving in the damp, shaded floors of primeval forests long before flowers even existed. Their entire being is wired for that low-light, high-humidity environment. Once you get that, their care starts to make a lot more sense.
Let’s Talk About Light (The Right Way)
A fern’s fronds are its solar panels, but they’re incredibly delicate. They’re built to catch the soft, dappled light that filters through a thick canopy of trees. This is why “indirect light” is the golden rule. Direct sunlight is like a firehose of energy that literally scorches their sensitive tissues, leaving behind those ugly, permanent brown spots.
The pros measure light in something called foot-candles. A sunny windowsill can blast a plant with 5,000 foot-candles or more, but most ferns are happiest in a gentle 100-500 range. You don’t need a fancy meter for this—a free light meter app on your phone can give you a pretty good idea. Generally, this is the kind of light you’ll find a few feet away from a north or east-facing window. A south or west-facing window is usually way too intense unless you hang a sheer curtain to diffuse the light.
The Truth About Water and Humidity
Here’s the thing most people miss: for a fern, the moisture in the air is just as important as the water in the soil. Those thin fronds lose water to the air super fast through a process called transpiration. In their native jungle home, the air is thick with moisture, so they don’t dry out. But in our homes, with central heating and AC, the air is often desert-dry (think 20-30% humidity).
This dry air literally sucks the moisture right out of the leaves. So when you see those crispy brown edges, your first instinct is probably to water the soil more, right? But the real culprit is often the air. Misting helps for about five minutes before it evaporates. It’s a temporary fix, not a real solution. We need to create a consistently humid bubble around the plant, and we’ll get to exactly how to do that.
Choosing Your First Fern (Don’t Start with the Hardest One!)
Not all ferns are created equal. Some are surprisingly tough, while others will give up on you if you just look at them wrong. Honestly, starting with an easier variety can build your confidence. Here’s how I think about them.
Great Starter Ferns (Beginner-Friendly)
These are the ferns I always recommend for first-timers. They’re much more forgiving and can bounce back if you mess up a little. You can usually find these at big box stores like Lowe’s or Home Depot for about $15 to $30, depending on the size.
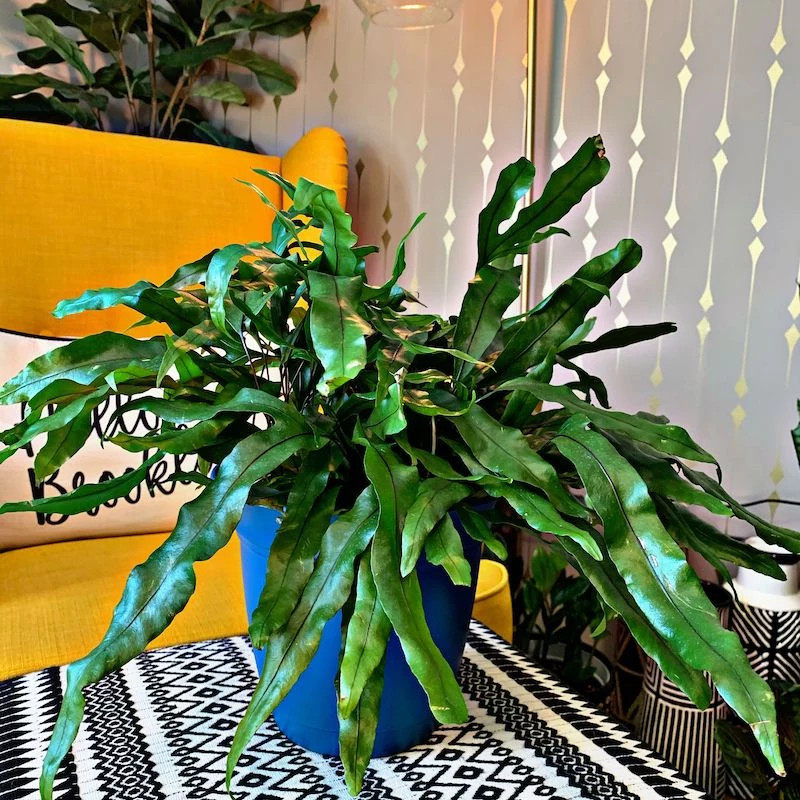
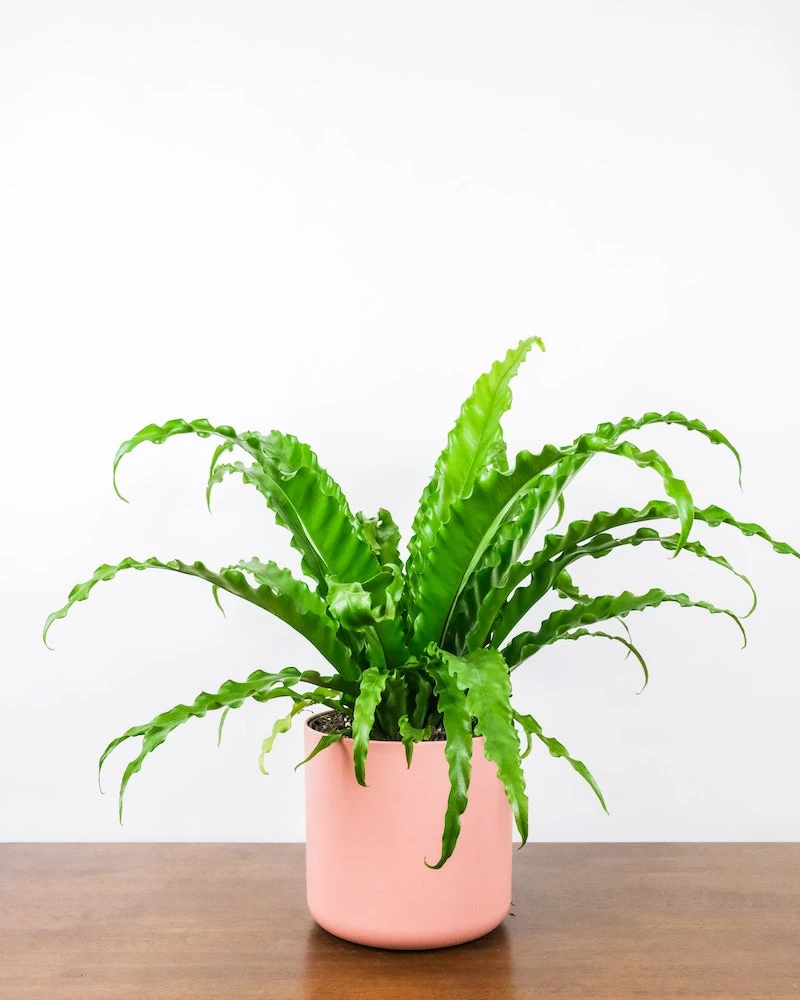
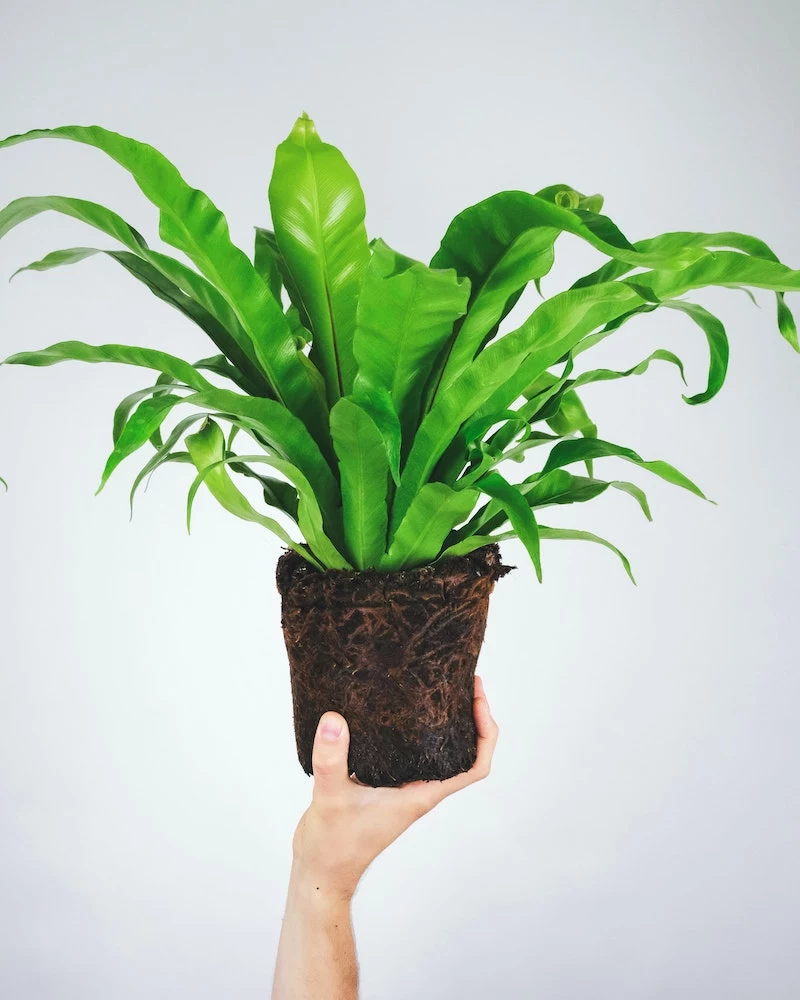
Bird’s Nest Fern: This is a fantastic choice. Its solid, waxy fronds are way better at holding onto moisture, so it can handle lower humidity than its lacy cousins. It has a cool, modern look and is pretty forgiving.
Rabbit’s Foot Fern: This one is just plain cool. It grows these fuzzy little stems (rhizomes) that crawl over the edge of the pot. Those rhizomes actually store water, making it more resilient if you forget to water it for a day. It’s a bit less needy about humidity than the classic Boston fern.
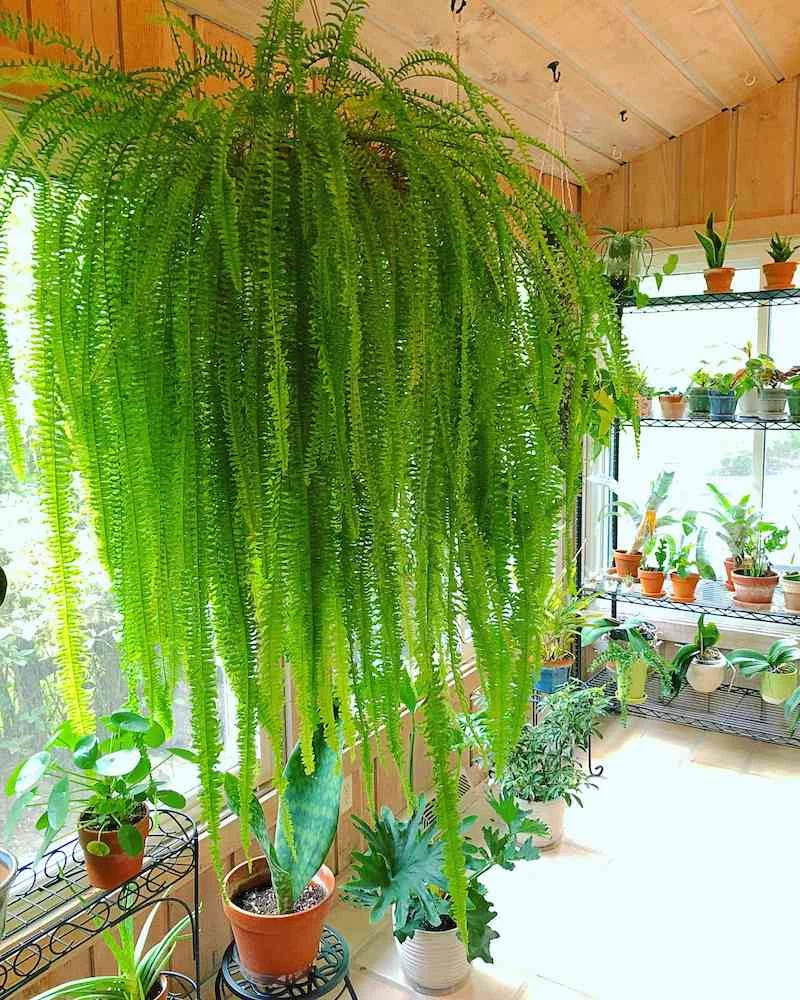
Boston Fern: The quintessential fern. While it definitely needs good humidity to look its best, it’s a fast grower and is great at telling you what it needs. If it looks a bit pale or droopy, it’s thirsty. It’s a great plant for learning the rhythm of fern care.
For the Advancing Plant Parent (Intermediate)
Once you’ve successfully kept a beginner fern happy for a year or so, you might be ready for one of these. They need a bit more attention but are so rewarding.
Staghorn Fern: This is an epiphyte, which means it naturally grows on trees, not in soil. You typically buy them mounted on a piece of wood with moss around the roots. Care is totally different—you water them by soaking the whole plaque in the sink. It’s all about mastering a new technique.
Holly Fern: With its tough, leathery, dark green fronds, this fern is more durable than it looks. It can handle slightly cooler temps and lower light, making it a good fit for those less-than-perfect spots in your home.
The Final Boss (For the Truly Dedicated)
Maidenhair Fern: Ah, the Maidenhair. This is the plant that humbles even experienced growers (myself included). Its leaves are paper-thin and will go crispy if the soil dries out or the humidity drops—not for a day, but even for an afternoon. It demands daily attention and a very consistent environment. Success with this one is a true badge of honor.
The Nitty-Gritty: My Go-To Care Techniques
Success with ferns really boils down to three things: the right soil, the right watering habits, and the right humidity. Let’s get practical.
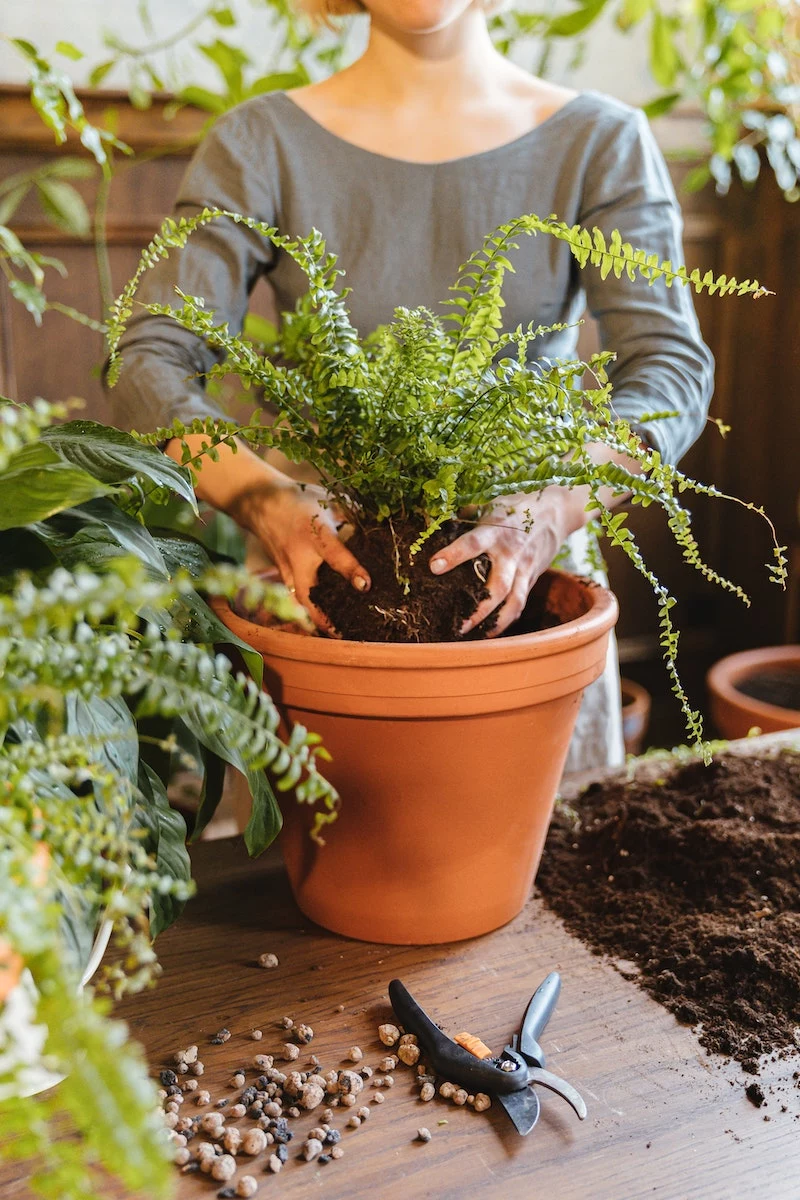
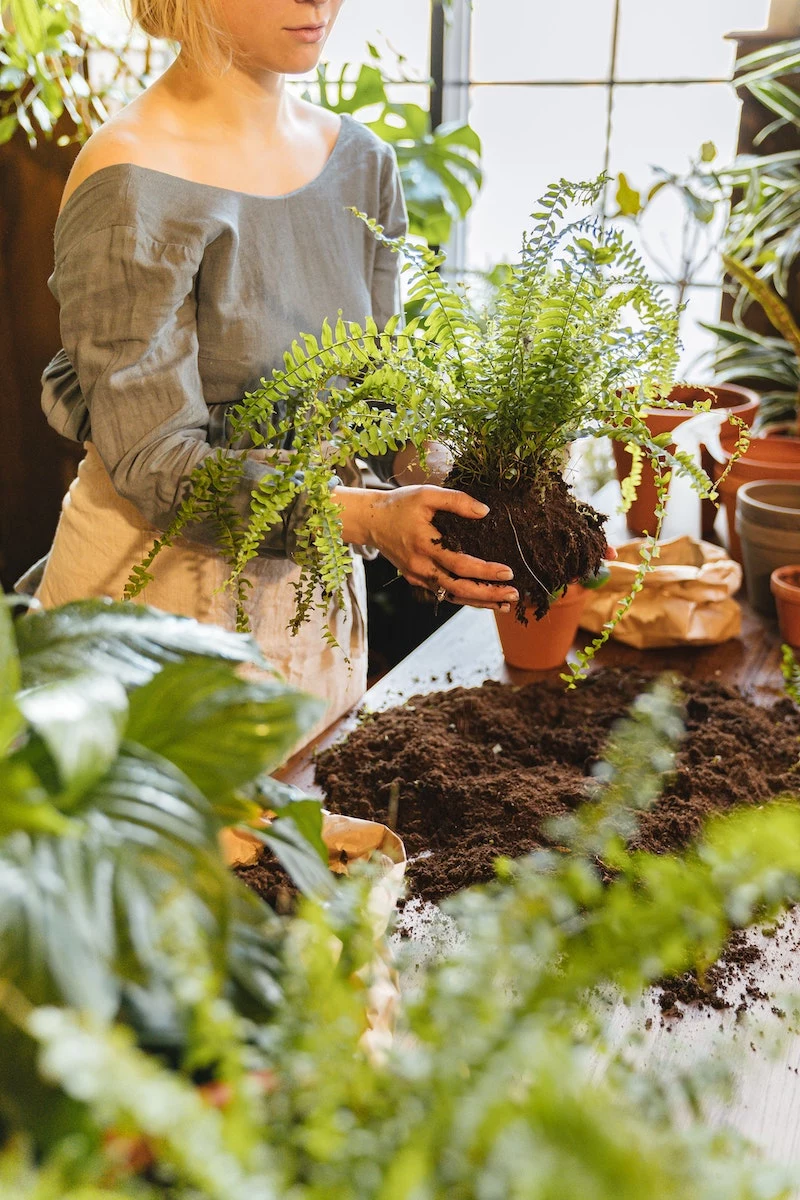
Building a Better Home: The Perfect Soil Mix
That standard potting mix you grab off the shelf is usually too heavy and dense for ferns. It compacts, holds way too much water, and can suffocate the fine roots, leading to root rot—the
1 killer of indoor ferns. Fern roots need oxygen just as much as they need water!
My go-to pro recipe is simple and effective. You can buy the components at any garden center or online. A bag of each will probably cost you around $30-$40 total, but it will last for dozens of plants.
2 parts peat moss or coco coir: This holds moisture and keeps the soil slightly acidic, which ferns love. Look for brands like Pro-Mix or Sunshine.
1 part perlite: This is crucial for aeration. It creates little air pockets so the roots can breathe.
1 part pine bark fines: This adds structure and improves drainage, just like the forest floor. Quick tip: If you can’t find pine bark fines in the garden section, check the reptile bedding aisle at a pet store!
Don’t want to play chemist? I get it. As a shortcut, a high-quality bagged mix for African Violets works surprisingly well in a pinch, as it’s also designed for aeration and moisture balance.
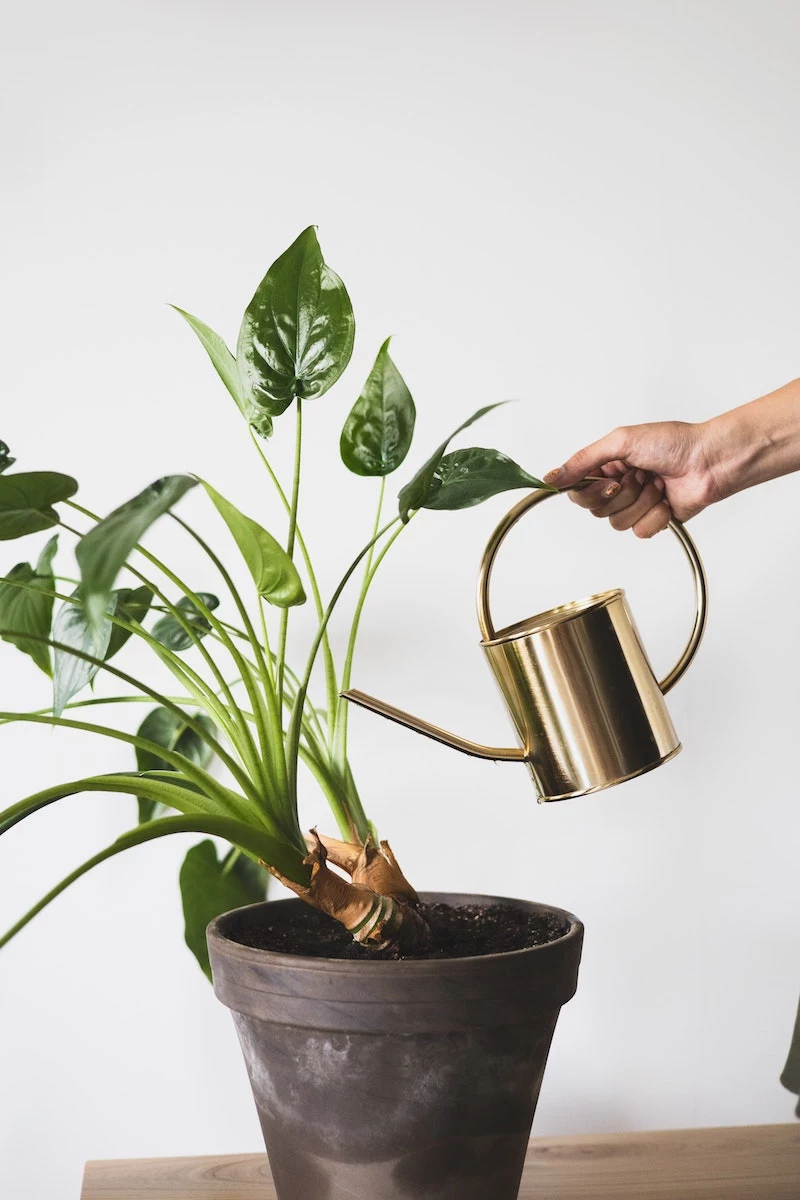
Watering: The Art of Being ‘Evenly Moist’
“Keep evenly moist” is the most frustrating advice ever. What does it mean? It means the soil should feel like a well-wrung-out sponge—not soggy, not bone dry. The best tool you have is your finger. Stick it an inch into the soil.
Is it dry? Time to water. Does it feel damp and cool? Check again in a day or two. For a typical 6-inch pot, this often works out to watering thoroughly about once every 5-7 days. Your total active time per week will likely be about 5 minutes of checking and maybe 15 minutes for watering day.
Water Thoroughly: When it’s time, take the plant to a sink and give it a good soak until water runs freely out the bottom. This ensures the entire root ball gets wet and flushes out any mineral buildup.
Let it Drain: This is critical. NEVER let a fern sit in a saucer of water. After watering, let it drain in the sink for 15-20 minutes before putting it back. Soggy feet are a death sentence.
Water Quality Check: Ferns can be sensitive to hard tap water. If you see a white crust on the soil or pot, that’s a mineral buildup. An easy fix is to let your watering can sit out overnight to allow some chlorine to evaporate. If your water is very hard, using filtered or collected rainwater can be a game-changer, especially for divas like the Maidenhair.
Humidity Hacks That Actually Work
As we covered, misting is a nice thought, but it’s not a real strategy. Here’s what the pros do:
The Pebble Tray: Simple and effective. Get a shallow tray wider than your pot, fill it with pebbles, and add water until it’s just below the top of the rocks. Place your plant on top. The pot stays dry, but the evaporating water creates a lovely humid microclimate right where it’s needed.
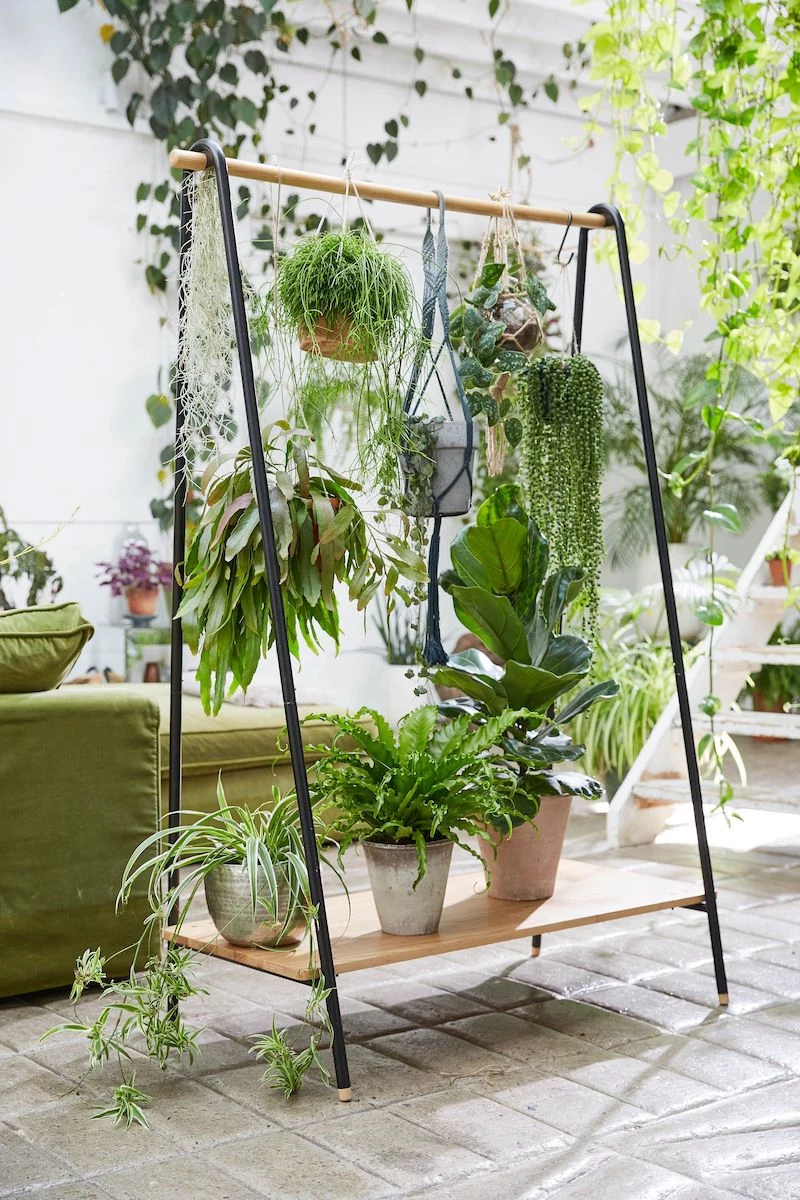
Group Your Plants: Plants naturally release moisture. By clustering them together, you create a small, humid jungle biome.
Get a Humidifier: Honestly, this is the best solution, especially in winter. A small, quiet humidifier can make all the difference. You can find a good one for $30-$50 online, and it’s an investment that pays off for all your tropical plants.
Smart Placement: Put your ferns in naturally humid spots like a bathroom (with a window!) or near the kitchen sink.
Long-Term Love: Feeding, Pruning, and Repotting
Once you’ve got the basics down, keeping your fern happy is just a simple routine.
Fertilizing: Less is Always More
Ferns are not heavy eaters. Pushing them with strong fertilizer will just burn their sensitive roots. My rule is simple: fertilize weakly. Use a balanced liquid fertilizer (like a 10-10-10) diluted to quarter-strength. So if the bottle says to use one capful per gallon, you only use a quarter of a capful. Feed only during the growing season (spring and summer), maybe once a month.
Heads up! Never, ever fertilize a dry plant. Water it thoroughly first, then give it the diluted fertilizer solution. Fertilizing dry soil is a recipe for disaster.
Pruning for Health and Beauty
This is the easy part. Just use a clean pair of scissors to snip off any yellow, brown, or dead fronds. Cut them right at the base, near the soil. This keeps the plant looking tidy and channels its energy into growing new, healthy leaves.
Repotting: When and How
Ferns actually like being a little snug in their pots. I only repot them every two years or so, or when I see clear signs they need it—like roots coming out the bottom or the plant literally pushing itself up out of the pot.
Important tip: When you first bring a fern home from the nursery, don’t repot it right away! It’s already stressed from the move. Let it acclimate to your home’s light and humidity for at least a few weeks before you think about changing its pot.
When it is time, choose a new pot that’s only 1-2 inches wider than the old one. Going too big leaves too much soggy soil around the roots, inviting rot.
Troubleshooting Common Fern Dramas
Even with great care, things happen. Here’s a quick guide to what’s going on and how to fix it.
The Problem: Crispy, brown tips on the leaves. The Cause: Almost always low humidity. The air is dry and sucking moisture out of the fronds. The Fix: Use a pebble tray, group your plants, or get a humidifier. This is a humidity issue, not necessarily a watering one.
The Problem: Yellowing fronds (especially older ones near the base) and soil that smells funky. The Cause: Overwatering. You’ve got root rot. The Fix: Act fast. Gently take the plant out of its pot. Healthy roots are firm and whitish; rotted roots are black and mushy. Trim off all the mushy stuff with sterile scissors and repot in fresh, airy soil. Water very carefully until you see new growth.
The Problem: The whole plant looks pale and washed out. The Cause: Either too much direct light or it’s starving. The Fix: First, check the light. Is it getting hit with direct sunbeams? Move it. If the light is good, it might be hungry. Give it a meal of that quarter-strength fertilizer.
The Problem: Tiny webs, sticky spots, or weird little bumps on the fronds. The Cause: Pests like spider mites, scale, or mealybugs. The Fix: Isolate the plant immediately! For a small issue, wipe them off with a cotton swab dipped in rubbing alcohol. For bigger infestations, use an insecticidal soap spray (always test it on one leaf first to make sure it won’t damage the plant).
P.S. One last thing! If you see neat rows of brown dots on the underside of the fronds, don’t panic! Those aren’t bugs. Those are spores. It’s how ferns reproduce. It’s a sign that your fern is mature and happy, so give yourself a pat on the back.
Inspirational Gallery
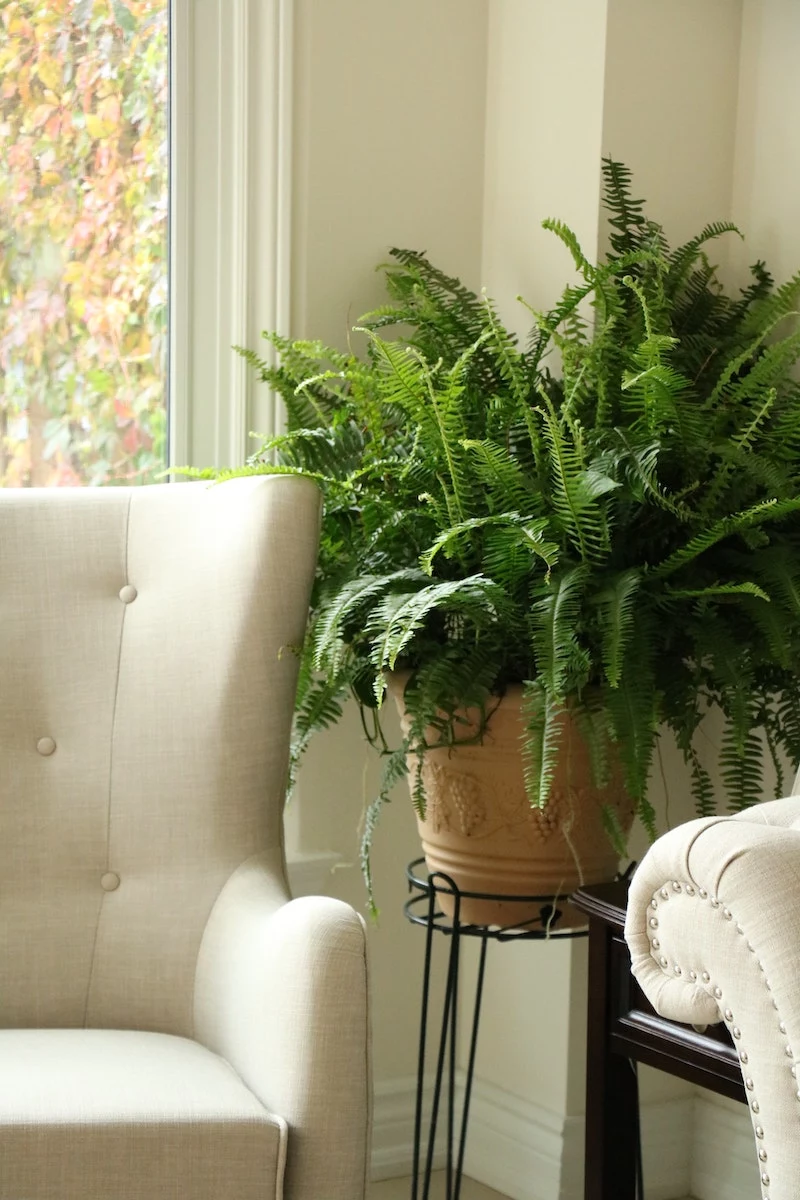
Terracotta Pots: Their porous clay wicks moisture away from the soil, which is great for succulents but can be a death sentence for thirsty ferns. You’ll have to water far more frequently.
Glazed Ceramic or Plastic Pots: These non-porous materials hold moisture in, creating the consistently damp environment ferns crave. This makes them a much more forgiving choice for these particular plants.
For ferns, a plastic or glazed pot is almost always the safer bet to prevent premature crisping.
Create your own humidity-boosting pebble tray in three simple steps:
Find a shallow tray or saucer that’s wider than your fern’s pot.
Fill it with a single layer of small pebbles, decorative stones, or LECA.
Add water until it reaches just below the top of the pebbles. Place your fern pot on top, ensuring the pot itself isn’t sitting in the water. As the water evaporates, it will envelop the fronds in a gentle cloud of moisture.
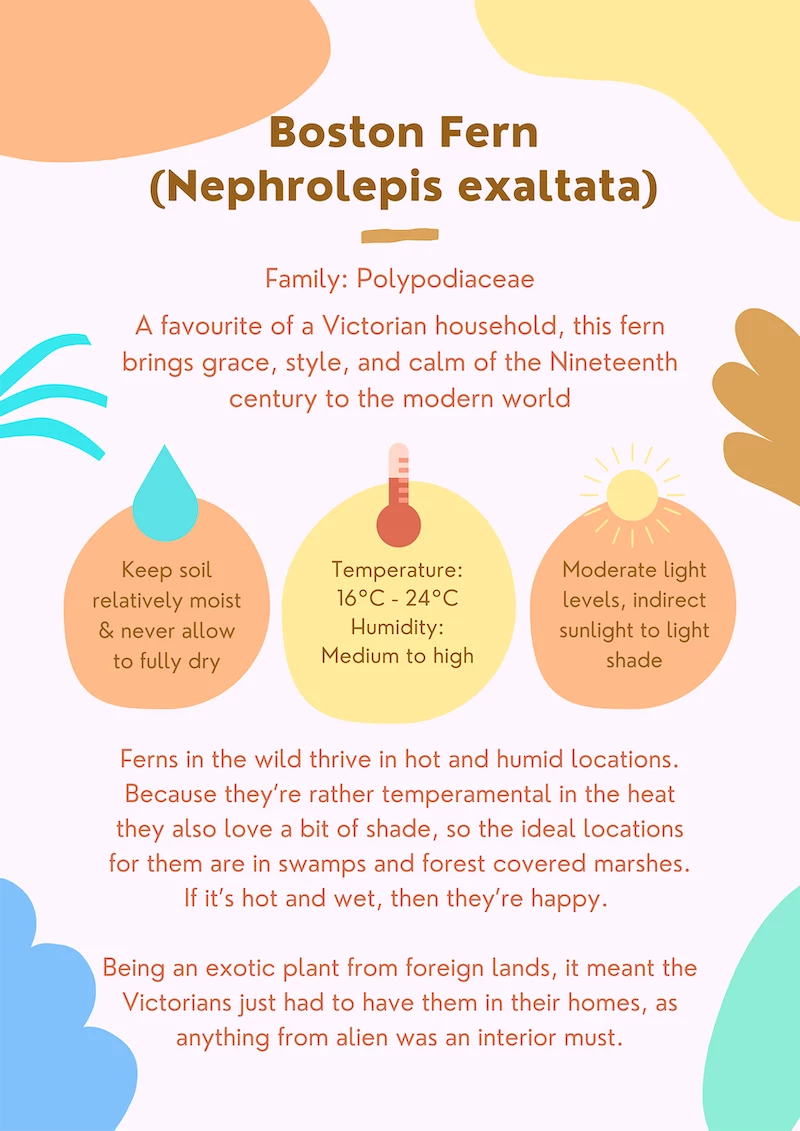
According to a famous 1989 NASA Clean Air Study, the Boston Fern (Nephrolepis exaltata) is one of the most effective houseplants for removing airborne pollutants like formaldehyde and xylene from indoor air.
Notice uniform, brown dots on the undersides of the fronds?
Don’t panic! Before you reach for the pest spray, look closer. If the dots are arranged in neat, geometric patterns, you’re likely seeing spores. These are the fern’s way of reproducing, not a sign of infestation. Pests like scale or aphids will appear more randomly scattered and may be accompanied by sticky residue.
A living piece of wall art.
A stunning, sculptural silhouette.
No pot taking up valuable shelf space.
The secret? A mounted Staghorn Fern. This epiphytic wonder (Platycerium bifurcatum) is designed to grow on other trees, making it perfect for mounting on a rustic wood plaque. It’s a true statement piece that embodies the wild, ancient spirit of ferns.
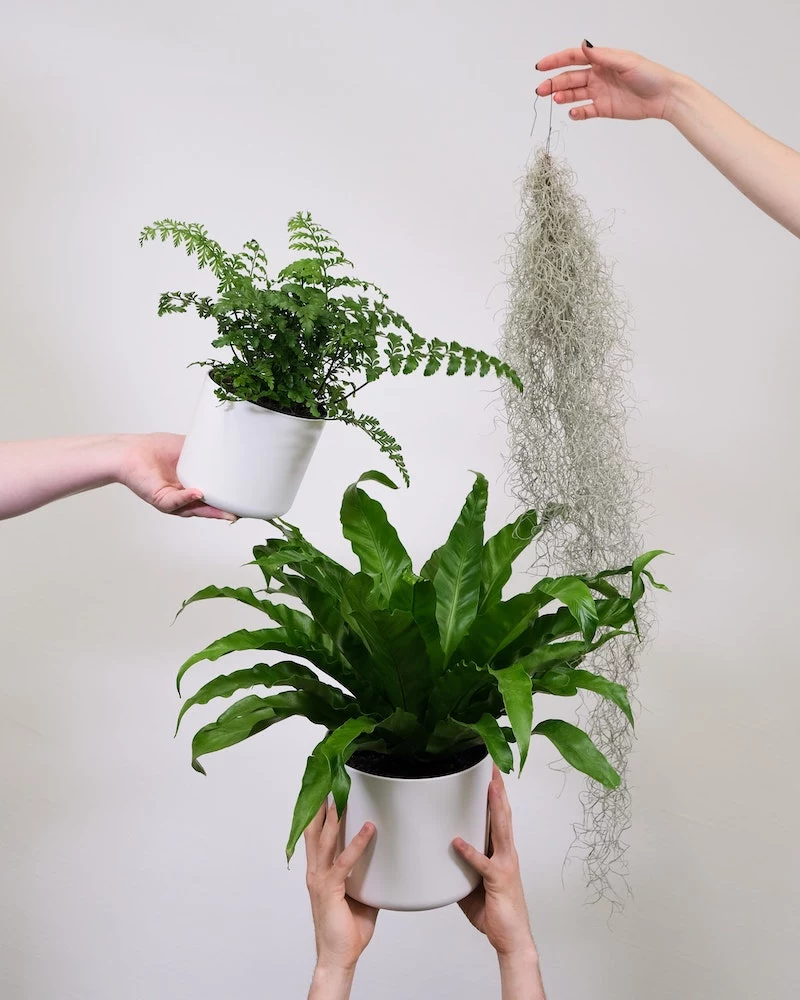
The Power of Grouping: Don’t just own one fern—create a family. Clustering several ferns together, or placing them near other tropical plants, raises the ambient humidity in their immediate vicinity. This creates a self-sustaining microclimate where they can all thrive together, reducing water loss from their delicate foliage.
Most ferns absorb a significant amount of their nutrients through their fronds, not just their roots.
This is why a light, airy soil mix is crucial. Heavy, standard potting soil can compact and suffocate their delicate, fibrous roots. For happy ferns, look for a mix rich in peat moss or coco coir, with plenty of perlite for aeration. A quality African Violet mix, like the one from Espoma, often works beautifully as a base.
When it comes to feeding, less is more for ferns. Their delicate root systems are easily burned by strong fertilizers. During the growing season (spring and summer), feed them just once a month with a balanced liquid houseplant fertilizer, like Schultz 10-15-10, diluted to half-strength. In fall and winter, skip the fertilizer entirely to let them rest.
Maria Konou combines her fine arts degree from Parsons School of Design with 15 years of hands-on crafting experience. She has taught workshops across the country and authored two bestselling DIY books. Maria believes in the transformative power of creating with your own hands and loves helping others discover their creative potential.
To provide the best experiences, we use technologies like cookies to store and/or access device information. Consenting to these technologies will allow us to process data such as browsing behavior or unique IDs on this site. Not consenting or withdrawing consent, may adversely affect certain features and functions.
Functional
Always active
The technical storage or access is strictly necessary for the legitimate purpose of enabling the use of a specific service explicitly requested by the subscriber or user, or for the sole purpose of carrying out the transmission of a communication over an electronic communications network.
Preferences
The technical storage or access is necessary for the legitimate purpose of storing preferences that are not requested by the subscriber or user.
Statistics
The technical storage or access that is used exclusively for statistical purposes.The technical storage or access that is used exclusively for anonymous statistical purposes. Without a subpoena, voluntary compliance on the part of your Internet Service Provider, or additional records from a third party, information stored or retrieved for this purpose alone cannot usually be used to identify you.
Marketing
The technical storage or access is required to create user profiles to send advertising, or to track the user on a website or across several websites for similar marketing purposes.