Your Birkenstocks Can Look (and Smell) Amazing Again. Here’s How.
Over the years, I’ve seen thousands of pairs of shoes, but the ones that really tell a story are well-worn Birkenstocks. A new pair feels a bit stiff and generic, right? But after a few months, they mold into a perfect map of your feet. That custom comfort is exactly why we love them—and, let’s be honest, it’s also why we’re terrified to clean them.
In this article
We worry we’ll wash away that perfect fit we worked so hard to achieve. But I’ve seen the dark side of that hesitation: footbeds turned black with grime, cork sides crumbling like stale cake, and uppers that are stiff and sad. Proper cleaning isn’t about making them look factory-fresh. It’s about preservation.
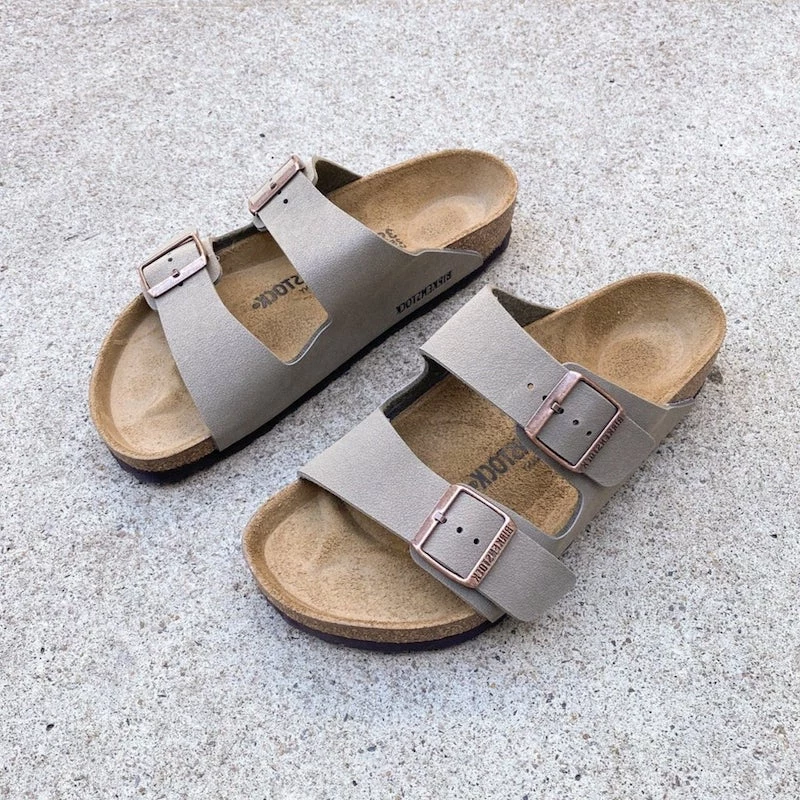
Think of it as a spa day for your favorite sandals. It’s a ritual you should probably do a couple of times a year, and it can easily double or even triple their lifespan. I’ve helped people keep the same pair of Arizonas going for over a decade with these exact methods.
First, Let’s Peek Under the Hood
Before you start scrubbing, it helps to know what you’re actually working with. These aren’t just simple sandals; they’re a layered system, and each part needs a different kind of love.
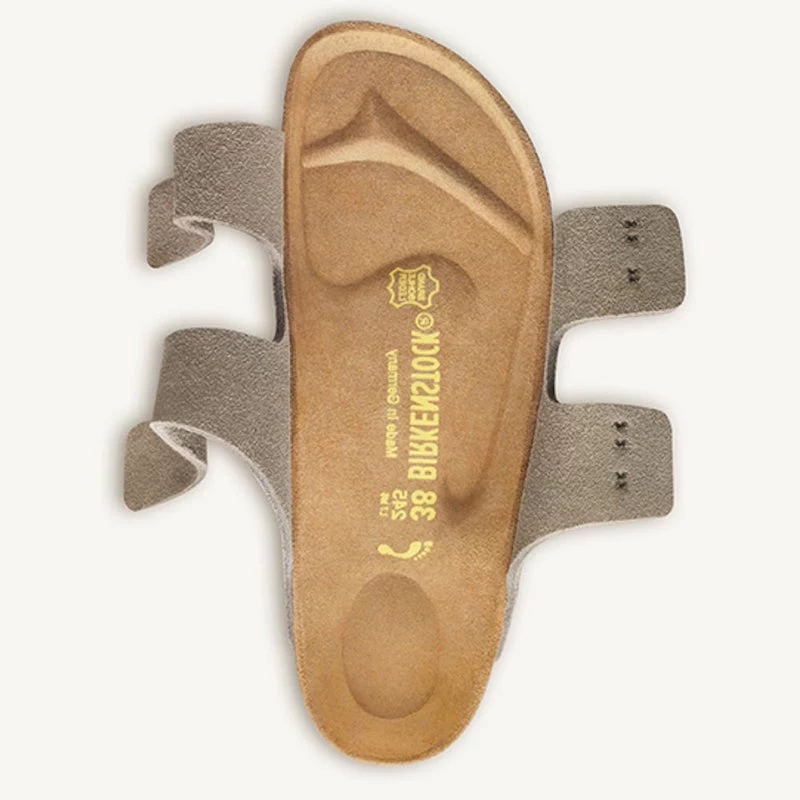
The real magic is in that famous footbed. It’s a sandwich of materials designed for support:
- The Suede Liner: This is the soft top layer your foot touches. Its job is to absorb moisture, which is why it’s the first thing to show dirt.
- Jute Layers: There are two of them! One is right under the suede to pull moisture away and provide stability, and another is near the bottom for strength and flexibility.
- The Cork-Latex Core: This is the heart of the shoe. It’s a mix of cork and latex that, with your body heat and pressure, slowly molds to your feet. It’s naturally shock-absorbent and lightweight.
- The EVA Sole: This is the bottom tread that hits the pavement. It’s durable, light, and—most importantly—replaceable.
Don’t Forget the Edges and Straps!
The visible cork on the sides is sealed at the factory to keep it from drying out. When that shiny seal wears off, the cork gets thirsty, brittle, and starts to crack. This is probably the #1 reason I see Birks fail prematurely.
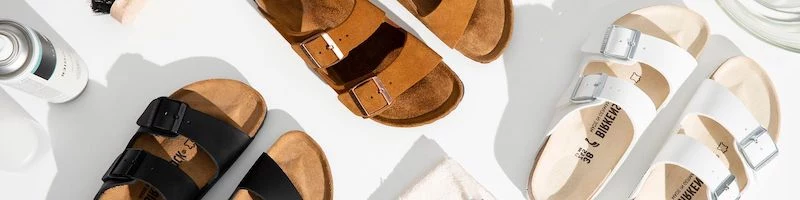
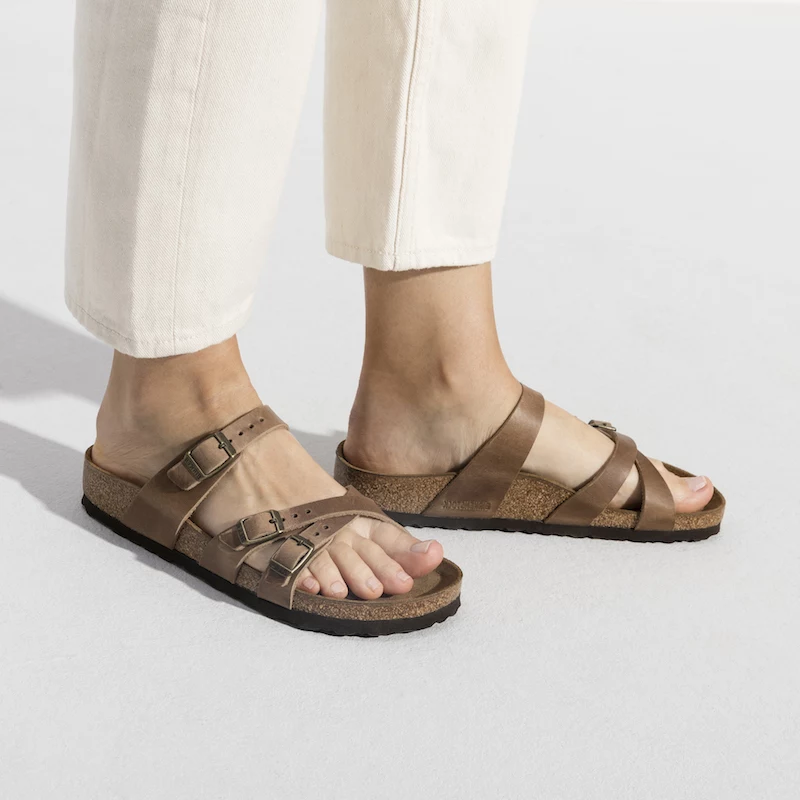
And then you have the uppers—the straps. Knowing what you’ve got is half the battle.
Quick tip: Not sure what material your straps are? Check the underside. Real leather will look and feel like skin on both sides. Synthetics like Birko-Flor often have a soft, felt-like lining bonded to the inside. It’s a dead giveaway.
Your Shopping List & Toolkit
You don’t need a professional workshop, but using the right stuff makes all the difference. Grabbing a stiff dish brush from the kitchen can seriously damage the suede. Here’s what you should actually have on hand.
- Suede Brush: This is non-negotiable. A good one has two sides: firm bristles for cleaning and a soft crepe rubber side for fluffing the suede back up. You can find one for about $7-$12 at a shoe store or online.
- Soft Cloths: A couple of old, clean cotton t-shirts or microfiber towels are perfect.
- An Old Toothbrush: The best tool for gently scrubbing the footbed.
- Baking Soda & Water: Your footbed’s best friend. Cheap and incredibly effective.
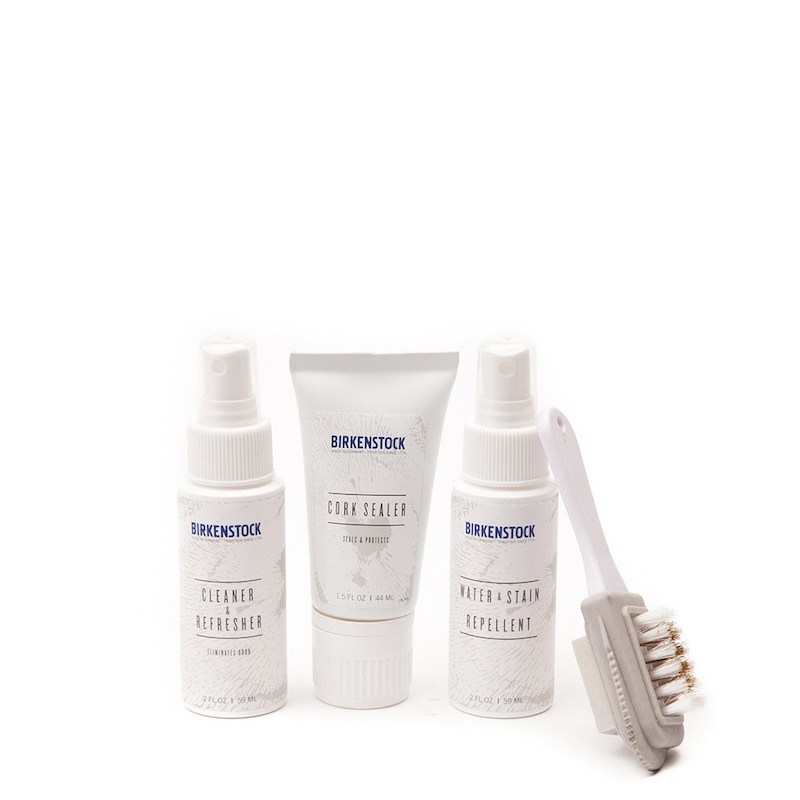
- Cork Sealer: The secret weapon! A bottle of specialty cork sealant costs around $8-$10 online or at repair shops, and it will last you for years. It’s basically a flexible glue that keeps the cork healthy. Do not substitute this with something like wood glue!
- Material-Specific Cleaners: For the straps, grab a dedicated Suede & Nubuck cleaner or a quality Leather Cleaner & Conditioner. A good conditioner might run you $10-$15 but will work on shoes, bags, and more.
The Main Event: Reviving That Grimy Footbed
Okay, let’s tackle those dark, oily footprints. This process is straightforward, but patience is key.
Step 1: The Dry Brush. Before you add any moisture, unbuckle the straps and give the entire footbed a good, firm brushing with your suede brush. This gets rid of all the loose dust and crud.
Step 2: Mix Your Magic Paste. In a small bowl, mix baking soda and water to create a thick paste—think toothpaste consistency. A good starting point for one pair is about 4 tablespoons of baking soda and 2 tablespoons of water. You don’t want it to be runny, as too much water can damage the cork underneath.
Step 3: Gentle Scrub. Dip your old toothbrush in the paste and apply it to the footbed in small sections. Use gentle, circular motions. You’re not trying to sand the shoe, just letting the paste lift the grime. You’ll see it turn brown as it pulls up the oils. Gross, but satisfying.
Step 4: Let It Sit. Seriously, walk away. Once the footbed is covered in a thin layer of paste, let it sit overnight, or for at least 8 hours. This is when the baking soda does its work, drawing out oils and neutralizing odors. Don’t rush this part!
Step 5: Wipe Clean. The next day, the paste will be dry and crusty. Take a clean cloth, dampen it with cool water, and wring it out completely. You want it damp, not wet. Carefully wipe away all the dried paste.
Step 6: The Drying Game (This is CRITICAL). Never, ever, ever put your Birkenstocks in direct sun, near a heater, or use a hairdryer. Direct heat will crack the cork and can warp the whole shoe. The only safe way is to let them air dry at room temperature, away from the sun. This takes at least 24 hours. They must be 100% dry before you wear them.
Step 7: Fluff It Up. Once they’re totally dry, take your suede brush again and gently brush the footbed to restore that soft, velvety texture.
Troubleshooting: What If It’s Still Stained?
So you did all that and there are still some stubborn dark spots? Don’t panic. For really set-in stains, you might just need a second, more targeted application. Mix up a tiny bit more paste, apply it only to the dark spots, let it sit for a few hours, and wipe it away again. It often does the trick.
Caring for the Uppers: A Quick Guide
While the footbed is drying, you can work on the straps. The approach depends entirely on the material.
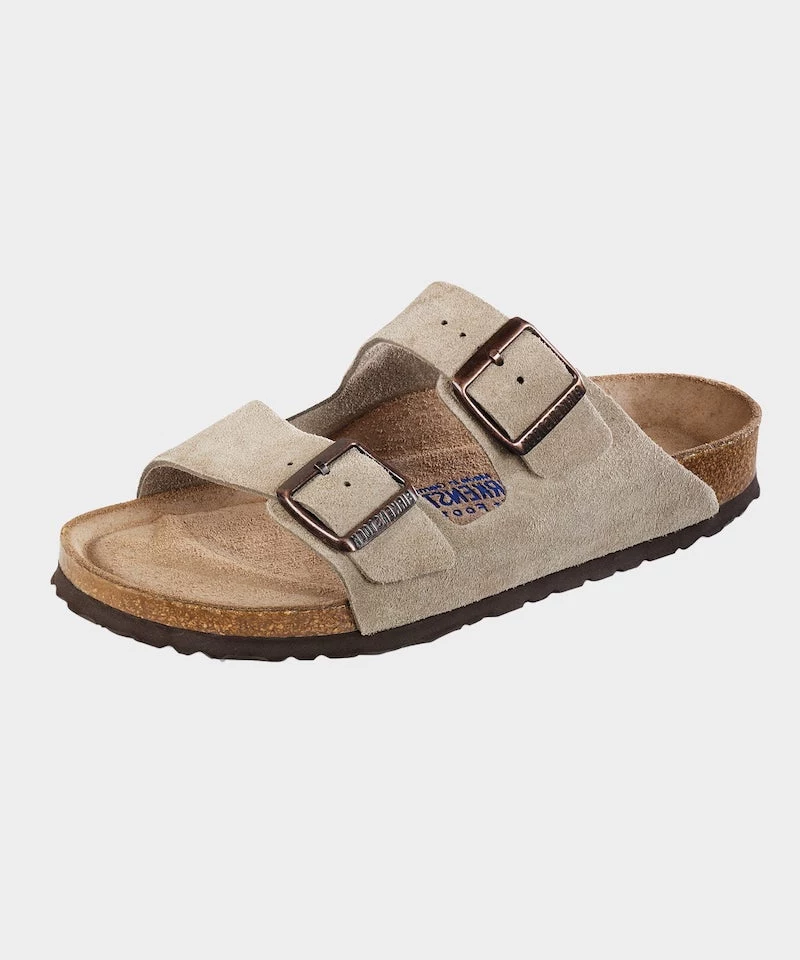
- For Suede & Nubuck (The Delicate Ones): These are beautiful but a bit needy. Maintenance level is high. Always start with a dry suede brush. For tough stains, a dedicated suede eraser (often on the other end of the brush) works wonders. If you get a water spot, it sounds weird, but you need to dampen the entire strap evenly with a damp cloth and let it dry naturally. This prevents a ring from forming.
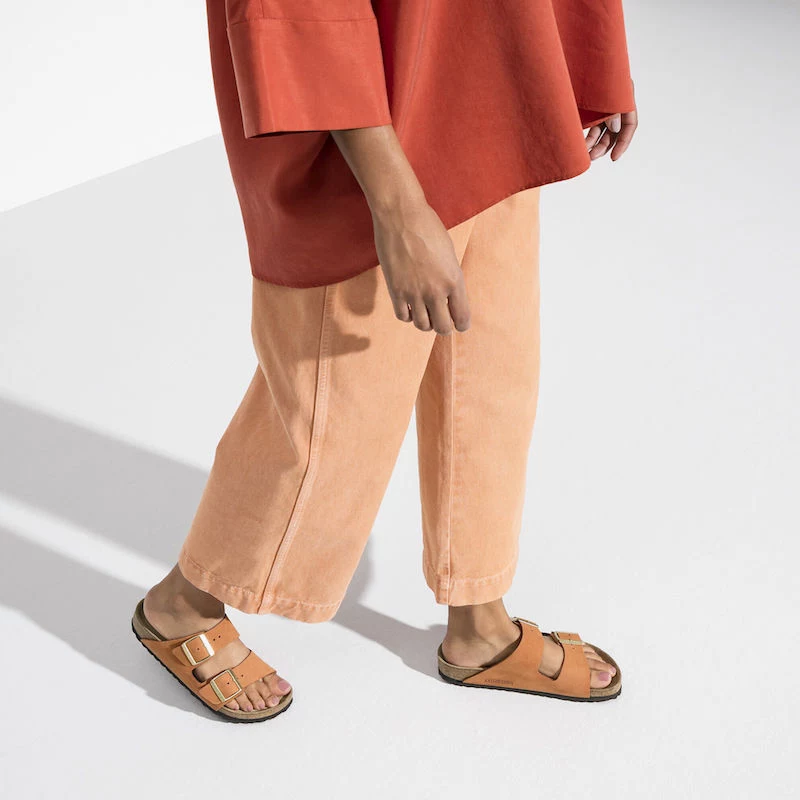
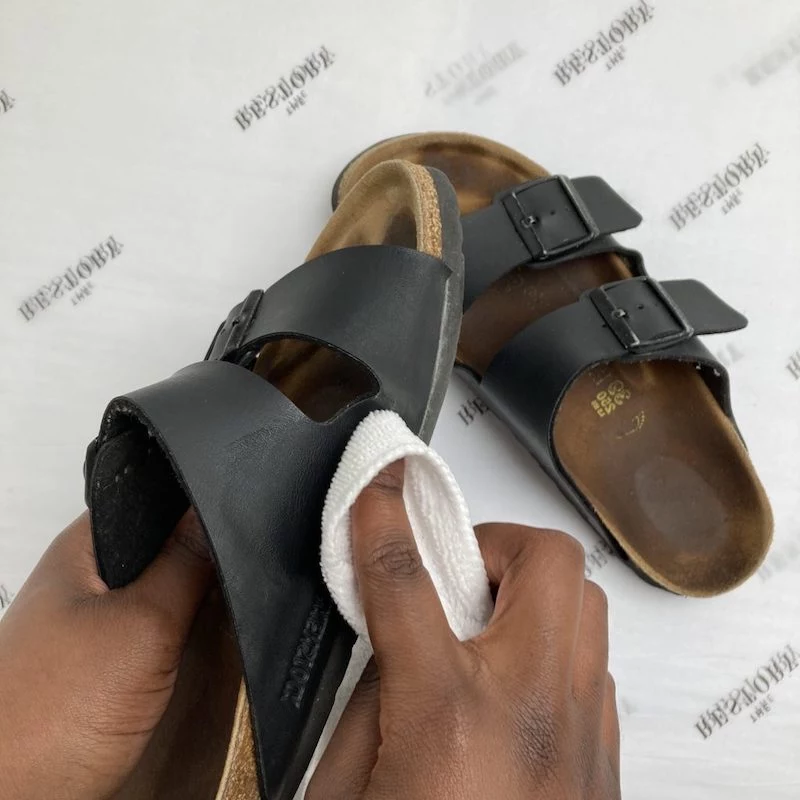
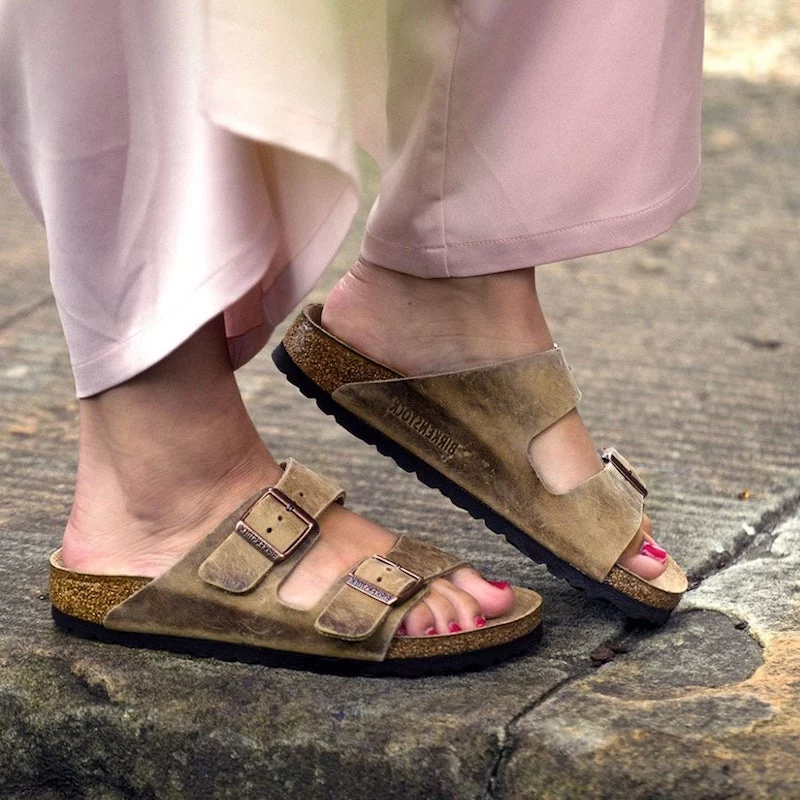
- For Oiled & Natural Leather (The Classics): These are much tougher and just get better with age. Maintenance is medium. Wipe them down with a damp cloth, then apply a pea-sized amount of leather conditioner and buff it in. This keeps the leather from drying out. Oiled leather is meant to show scuffs—conditioning will blend them into the leather’s rugged character.
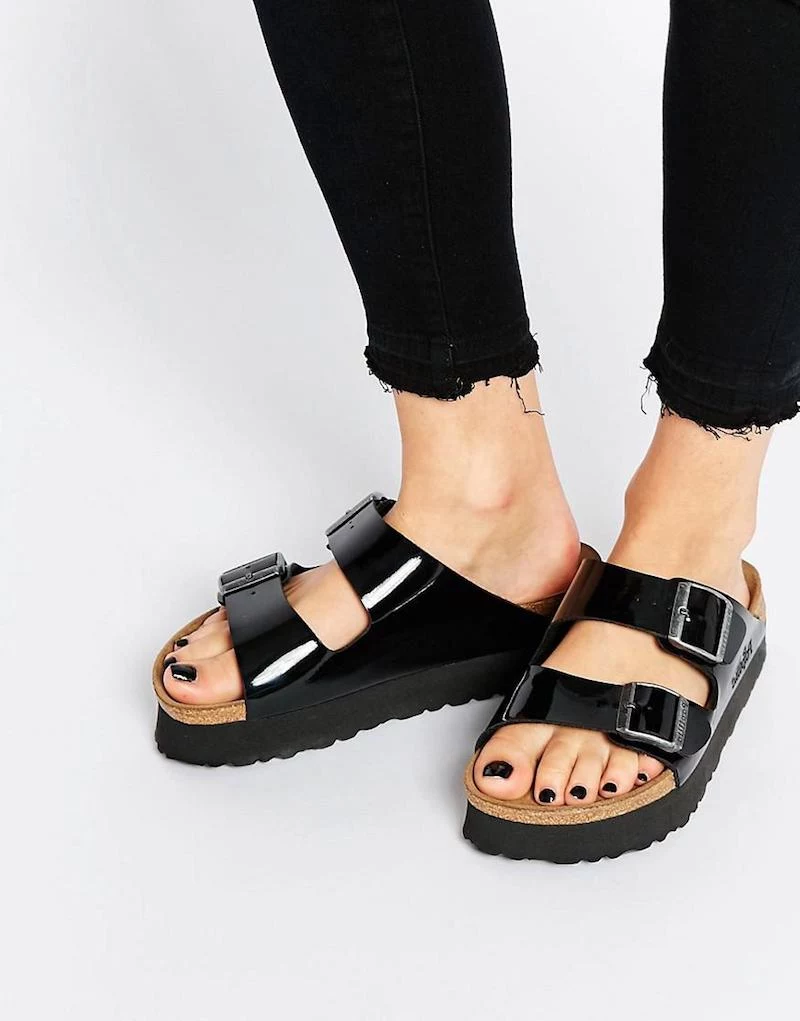
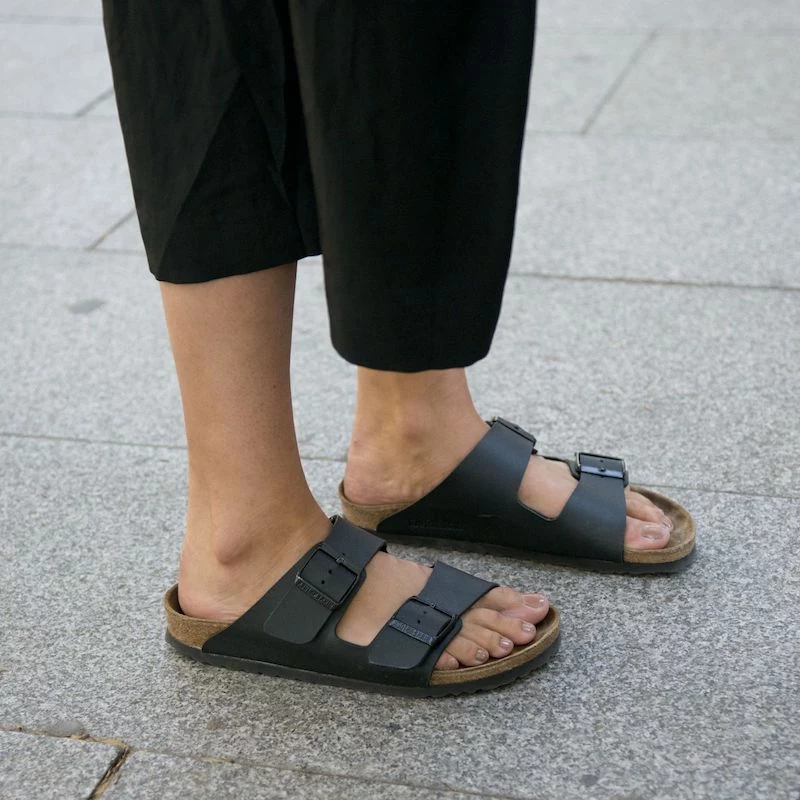
- For Birko-Flor & Synthetics (The Low-Maintenance Champs): Easiest of all! Maintenance is low. Just wipe them clean with a damp cloth. Oh, and if you accidentally get some cork sealer on any of your uppers, wipe it off immediately with that damp cloth before it has a chance to dry.
The 60-Second Trick That Saves Your Cork
This is the most important preventative step you can take. Every few months, look at the exposed cork on the sides. Does it still look a little shiny? If it looks dull and dry, it’s time to reseal.
Just take your cork sealer and use the brush applicator to paint a thin, even layer on all the exposed cork. It goes on white and dries clear. Let it dry for 30 minutes, then add a second coat. That’s it. Doing this twice a year will prevent the cork from crumbling. I once saw a pair someone tried to “fix” with wood glue. Total disaster. The rigid glue cracked on the first step and took a chunk of cork with it. Use the right stuff!
Heads Up! What NEVER to Do
I can’t stress this enough. To avoid a complete catastrophe, please…
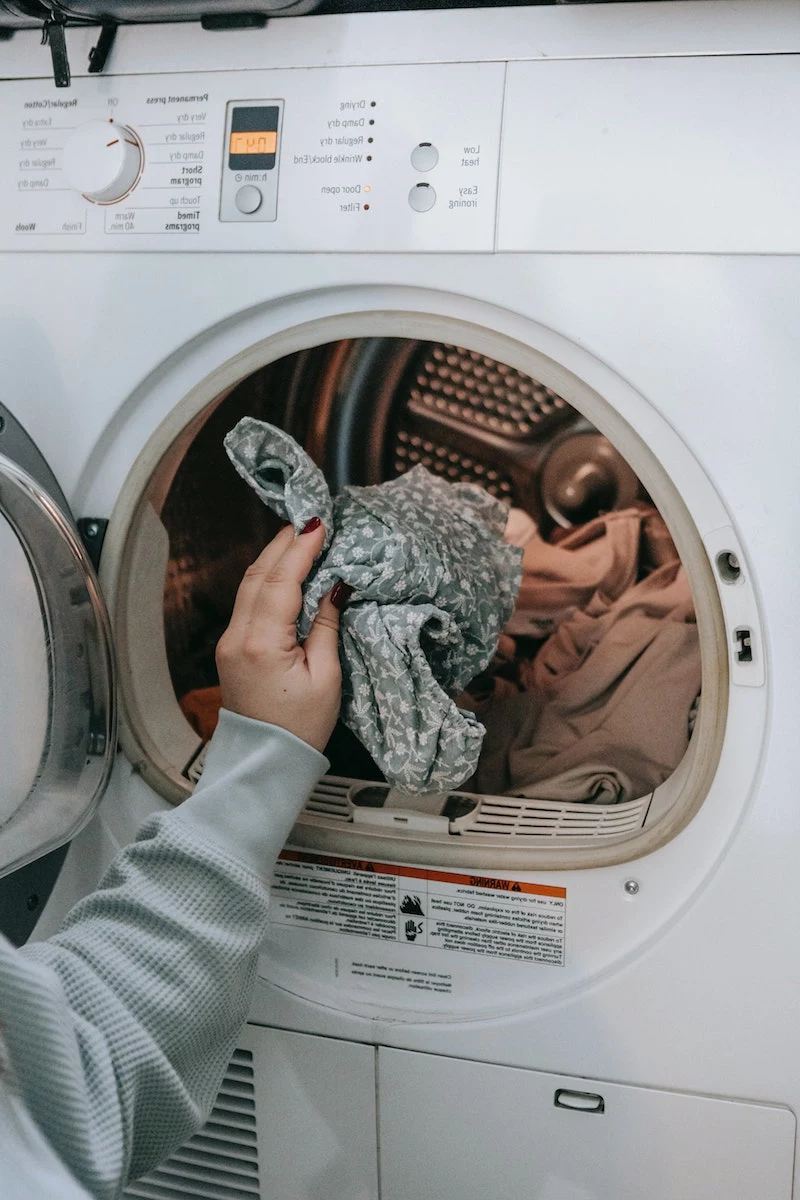
- Never put them in the washing machine. It will destroy the glues and the cork.
- Never put them in the dishwasher. An even faster way to ruin them.
- Never fully submerge leather or suede pairs in water. It’s a one-way ticket to a sad, ruined footbed.
Know When to Call a Pro
Sometimes, you need to bring in a professional. Birkenstocks were designed to be repaired, not tossed out.
A good cobbler is your best friend. You should take your shoes in for:
- A Resole: When the tread is worn smooth, it’s time for new soles. A professional resole might cost you anywhere from $40 to $75. When you compare that to buying a new $150 pair of sandals, it’s a total no-brainer.
- Major Cork Damage: If you have deep cracks or chunks of cork missing, a cobbler can rebuild the area before sealing it.
- Strap or Buckle Repair: These can almost always be fixed or replaced.
To find someone good, just search online for “Birkenstock authorized repair” or “shoe repair near me.” A little bit of care goes a long, long way. Treat them well, and your Birks will be a comfortable old friend for years to come.
Inspirational Gallery
A Word of Warning: Never leave your Birkenstocks in a hot car or in direct, intense sunlight. The extreme heat can cause the EVA sole to shrink and warp, and it can permanently damage the cork footbed by drying it out too quickly. A cool, shady spot is always best for drying.
Did you know? Cork is harvested from the bark of the cork oak tree without ever cutting the tree down. The bark regenerates every nine years, making it a uniquely renewable and sustainable resource at the heart of your sandals.
Oiled Leather: Features a visible grain and a rich patina that develops over time. It’s durable but requires occasional conditioning to prevent cracking and can show scratches, which many feel adds to its character.
Birko-Flor®: This is Birkenstock’s proprietary synthetic material. It’s skin-friendly, tear-resistant, and incredibly easy to clean—just wipe it with a damp cloth. It offers a consistent look from day one.
Choose leather for a classic, evolving look and Birko-Flor for low-maintenance durability and vegan-friendly options.
For a quick deodorizing fix between deep cleans, try this simple DIY spray:
- Mix 1/2 cup of witch hazel with 1/2 cup of water in a small spray bottle.
- Add 5-10 drops of tea tree or lavender essential oil for their antibacterial properties.
- Lightly mist the footbeds after wearing and allow them to air dry completely.
My suede footbeds feel hard and crusty after cleaning. What happened?
This is a common issue! It usually means you used a bit too much water and, crucially, forgot to brush the suede nap afterward. Once the footbed is completely dry, use a dedicated suede brush (like the one in the official Birkenstock Care Kit) to gently buff the surface. This simple action lifts the matted fibers and restores that signature velvety softness.
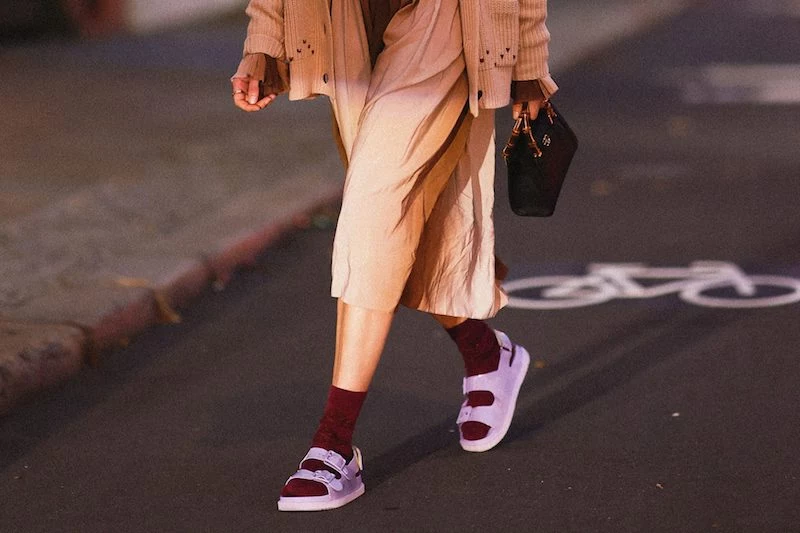
From the crunchy trails of the ’70s to the high-fashion runways of today, the Birkenstock has proven its timeless appeal. Exclusive collaborations with designers like Manolo Blahnik and Rick Owens have reimagined the iconic Arizona and Boston silhouettes with luxurious materials and avant-garde details, cementing their status as a versatile fashion staple, not just a comfort shoe.
Globally, over 20 billion pairs of shoes are produced annually, with a vast majority ending up in landfills.
Choosing to repair and resole your Birkenstocks is a powerful act of sustainable consumption. A skilled cobbler can replace the entire EVA sole and even patch up the cork, effectively giving your beloved sandals a second life and keeping them out of the waste stream for years to come.
- Your leather straps feel supple and soft, not dry and stiff.
- The dreaded squeak as you walk has vanished.
- The color of your oiled leather Arizonas looks richer and deeper.
The secret? After cleaning the uppers, apply a light touch of a quality leather conditioner, like Otter Wax Leather Salve, with a soft cloth. Let it absorb for a few hours before wearing.
Sometimes, a deep clean isn’t enough. When the damage is more significant, it’s time to call in a professional. Many certified cobblers, and even Birkenstock’s own official repair service, can work wonders. They can tackle:
- Complete EVA sole and heel replacement.
- Replacing or rebuilding cracked or crumbling cork with a new sealant.
- Repairing broken straps or replacing buckles.
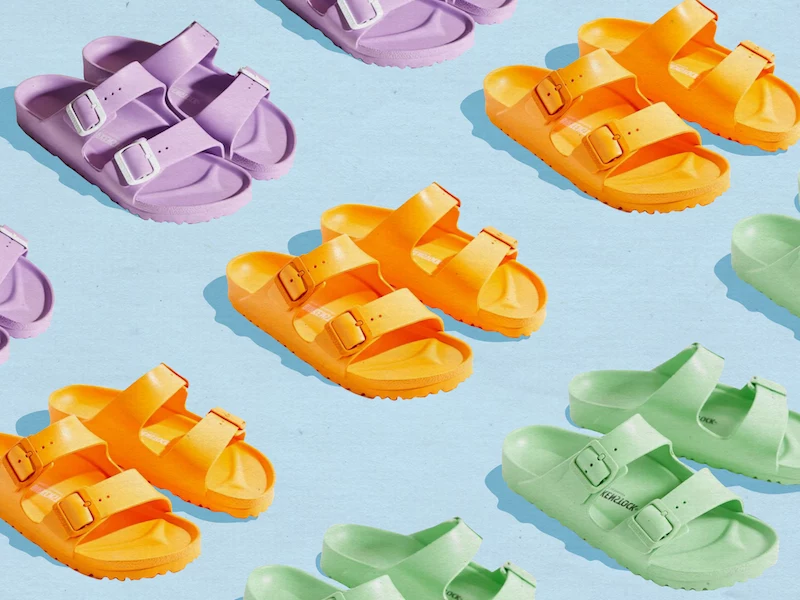
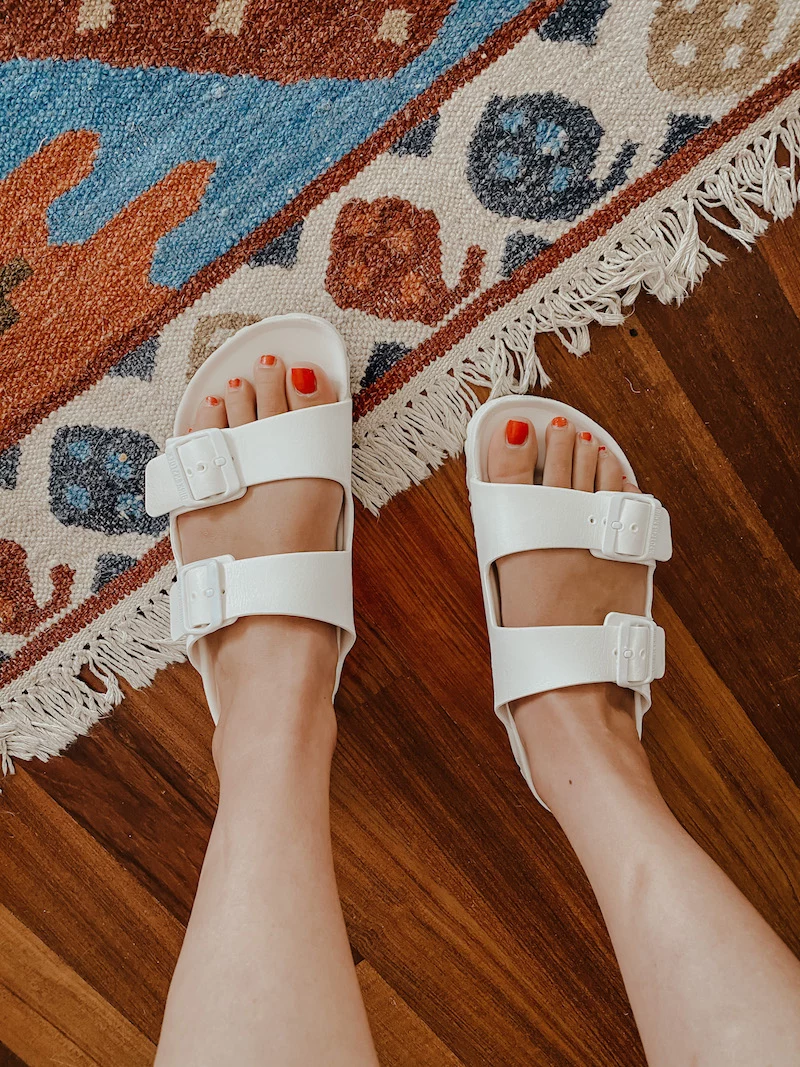
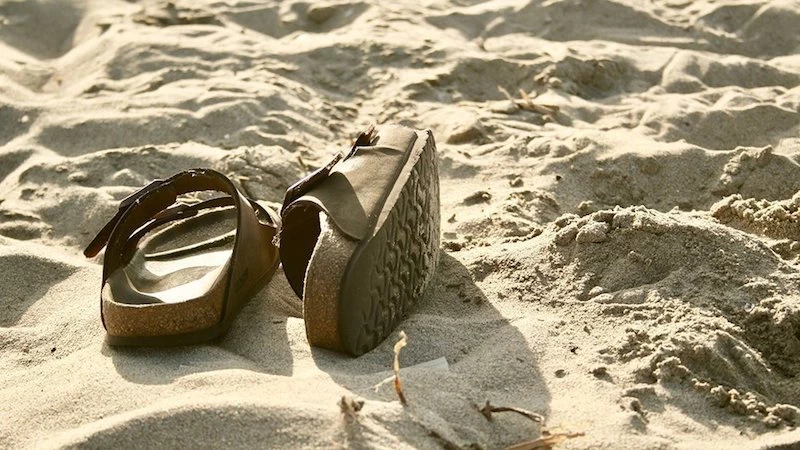
Those colorful Birkenstock Essentials—the ones made entirely of EVA—are your perfect beach and poolside companions. They’re waterproof, ultra-lightweight, and you can simply rinse them off. Just remember the golden rule: don’t leave them to bake in the sun, as they can warp!
Under no circumstances should your classic cork-footbed Birkenstocks go into the washing machine. It is a guaranteed death sentence for the natural cork and jute core.
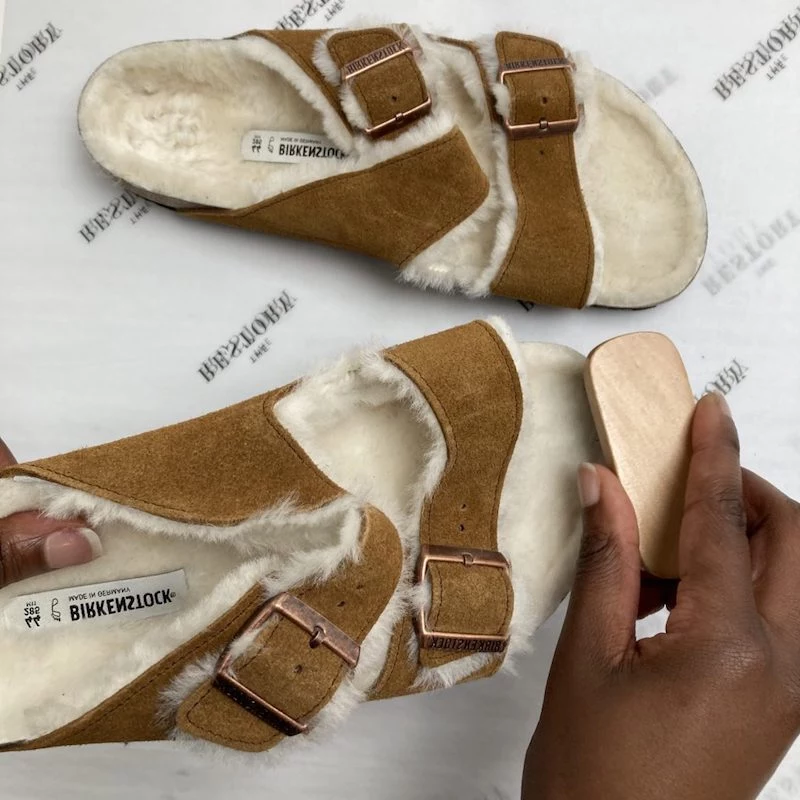
What about the fluffy shearling-lined models like the Arizona Shearling?
Handle the shearling lining with care and avoid getting it overly wet. For a refresh, use a specialized wool and shearling shampoo, applying only the foam with a cloth. Gently blot, then let it air dry completely away from direct heat. Once dry, you can use a clean, soft pet brush to fluff the fibers back up.
The Savvy Owner’s Secret: The most budget-friendly move isn’t a cheap cleaning hack; it’s consistency. Applying a thin layer of Cork Sealer, like Birkenstock’s own formula, every few months keeps the exposed cork from drying out. This single, inexpensive step can prevent costly crumbling and dramatically extend the life of your investment.


