Tired of Messy Gift Wrap? Here’s How to Make Your Presents Look Amazing
I’ve wrapped thousands of gifts. Seriously. I spent years working at a high-end shop where the wrapping was almost as important as what was inside. I’ve wrapped everything from a tiny ring box to a whole bicycle, and every single one taught me something.
In this article
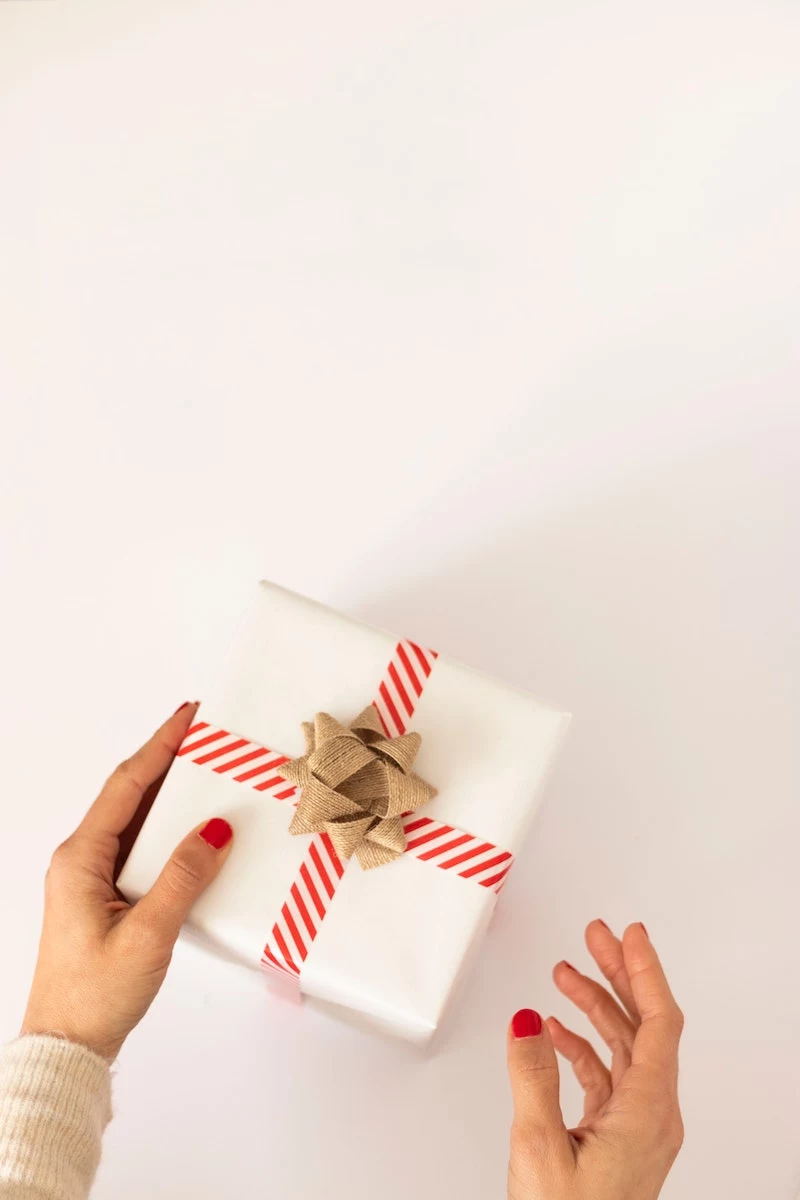
The biggest lesson? How you wrap a gift is the first part of the gift. It’s a physical way of saying, “I took a little extra time just for you.”
But let’s be real, for most people, gift wrapping is a total headache. You end up with torn corners, tangled ribbon, and a roll of wasted paper. It doesn’t have to be that way! With the right stuff and a few key moves, anyone can wrap a gift that looks incredible. This isn’t about perfection; it’s about being thoughtful.
So, I’m going to walk you through it all, from my workbench to yours. We’ll cover the materials that make a real difference (including budget-friendly options), the techniques for getting those super-sharp corners, and how to tackle those awkward, non-boxy shapes.
First Things First: Your Materials and Tools
A beautiful wrap job starts with good materials. You can have all the skill in the world, but if your paper is flimsy and your tape is garbage, you’re just setting yourself up for frustration. Honestly, choosing your supplies is half the battle.
The Most Important Part: Your Wrapping Paper
The paper is your canvas, and its quality changes everything. The key thing to look for is weight, or thickness.
- The cheap stuff (the kind you find in discount multi-packs): I know it’s tempting, but this paper is super thin. It tears if you just look at it wrong, especially at the corners. I generally steer clear of it if I can help it.
- The sweet spot (professional-grade): This paper is sturdy enough to handle being folded and pulled, but flexible enough for crisp creases. It just feels… substantial. This is the good stuff, and you can often find it at craft stores like Michaels or specialty shops like Paper Source.
- Heavy-duty or luxury paper (with foil, glitter, etc.): While it looks amazing, this paper can be tough to work with. It sometimes cracks at the folds and needs a really strong tape to hold. It’s best for small, simple boxes.
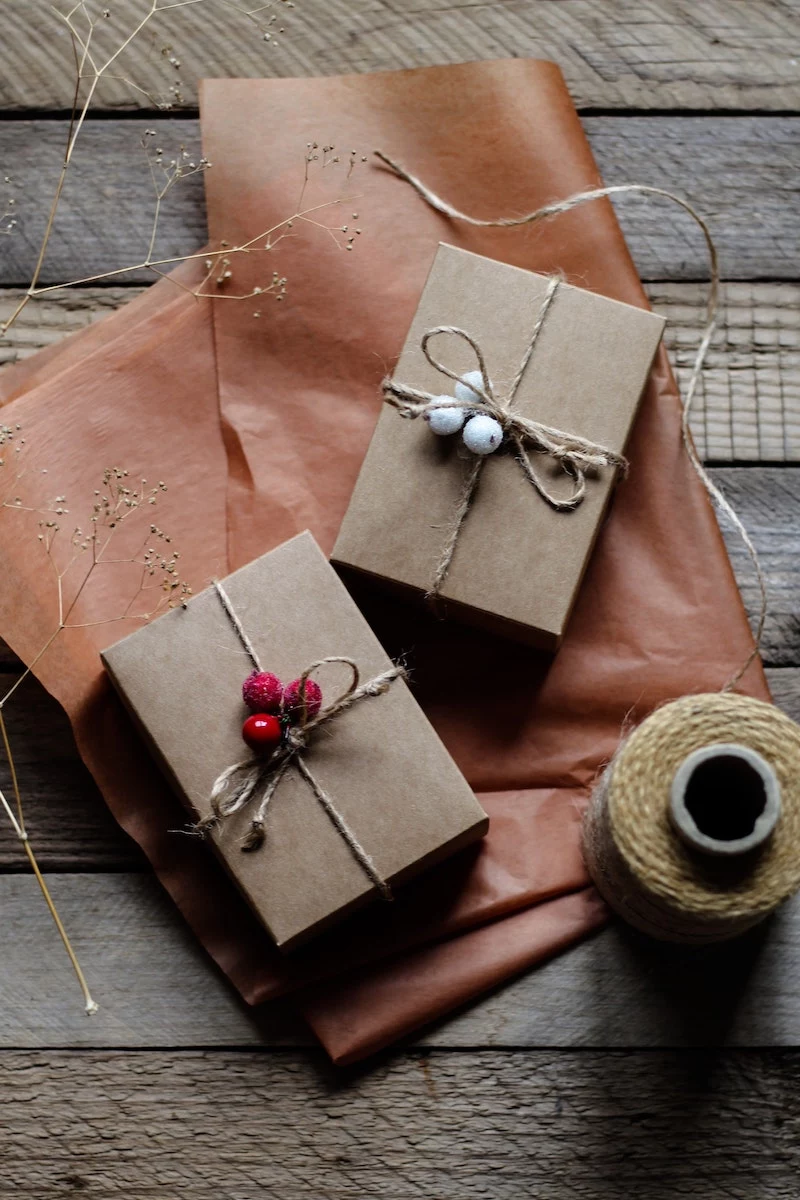
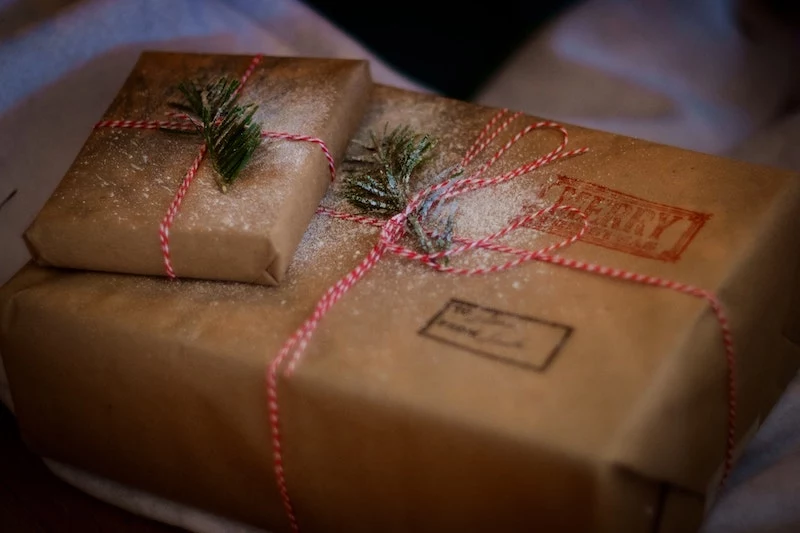
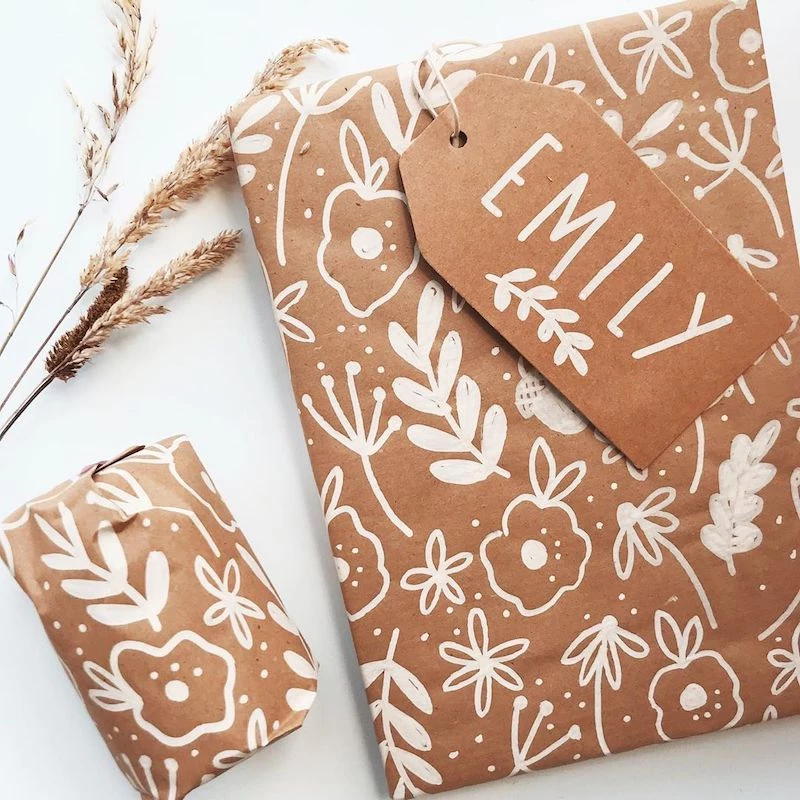
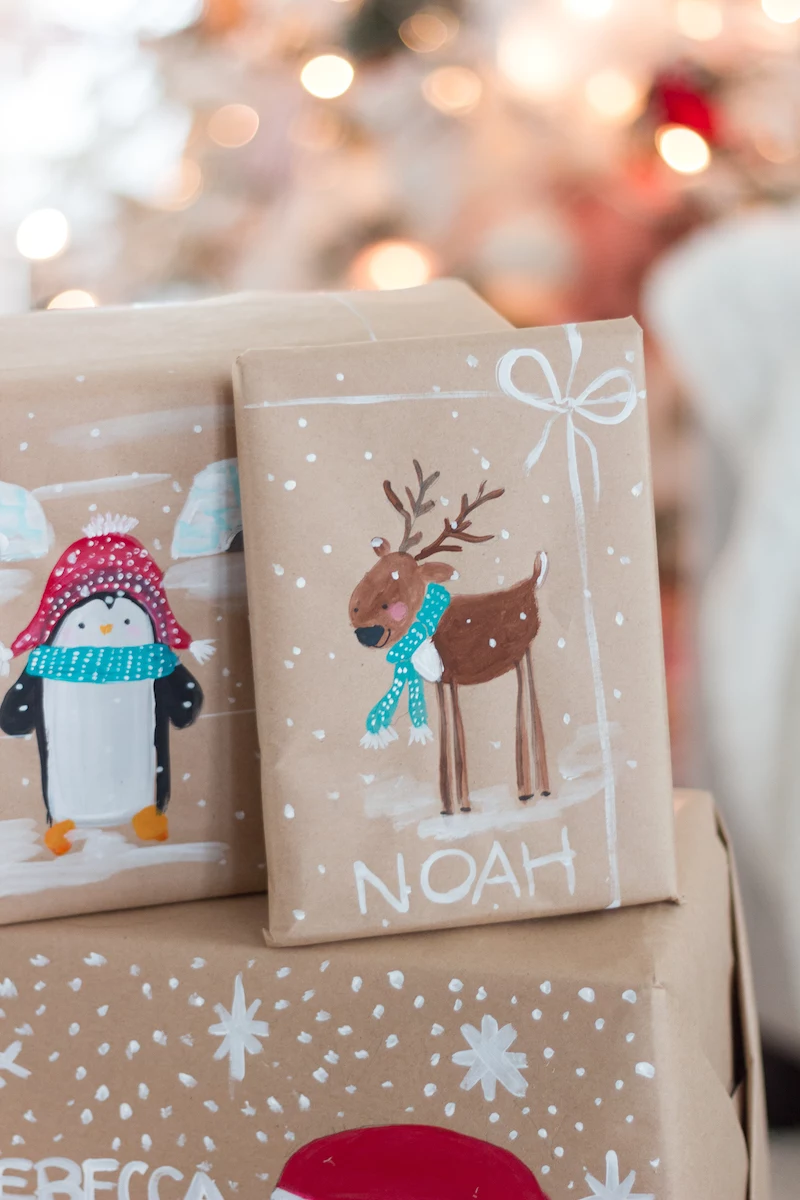
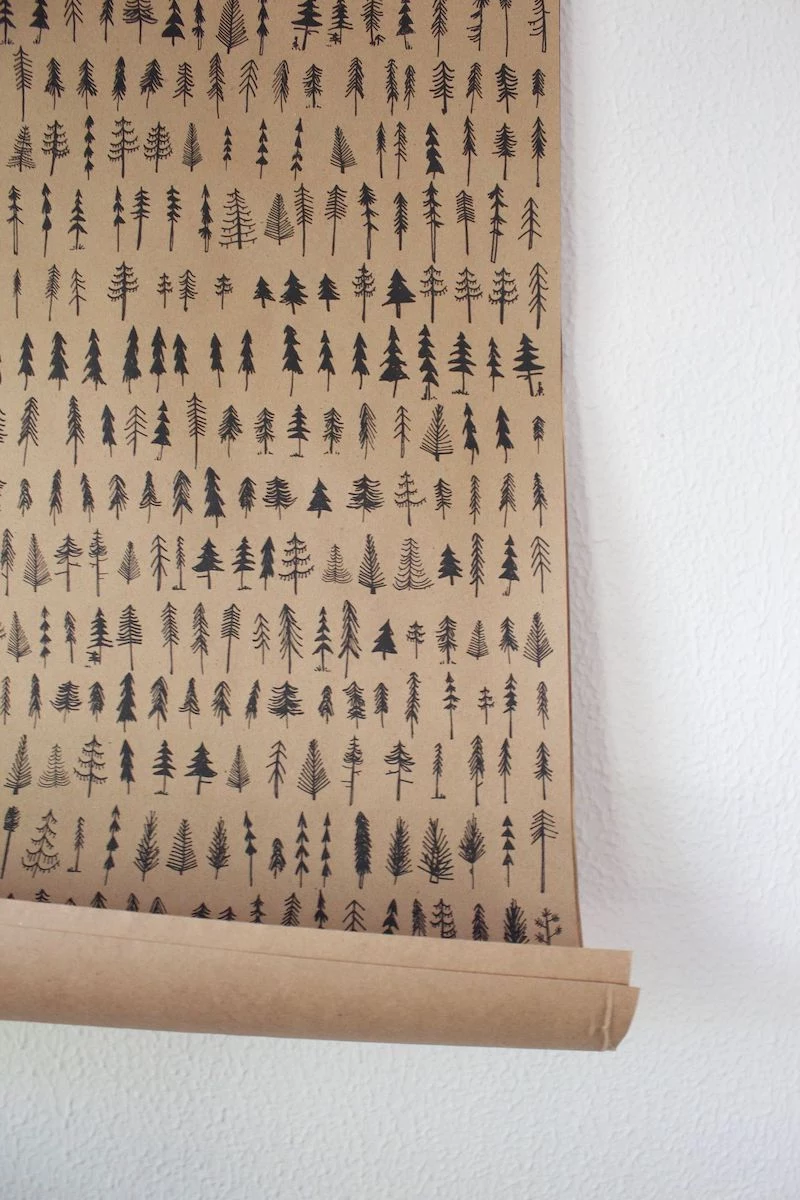
Quick tip for saving money: You don’t always have to buy expensive rolls. Simple brown or white kraft paper, which you can get in huge rolls for about $15-$20 at a hardware store or online, is incredibly versatile. It’s sturdy and serves as a perfect base for creative ribbons and embellishments.
The Unsung Hero: Your Adhesive
The right tape is a total game-changer. If you only make one upgrade to your wrapping game, let it be this.
My number one secret weapon is double-sided tape. It holds the paper from the inside, so your seams are totally invisible. It creates that flawless, professional finish you see in stores. A big roll from Amazon will last you a long time and is worth every penny.
If you have to use regular tape, at least grab the matte ‘invisible’ kind. It disappears on most non-glossy papers and looks a hundred times better than the super-shiny stuff.
Ribbons, Twine, and Finishing Touches
The ribbon is the jewelry for your gift. Different materials create different looks:
- Satin: This is your classic, silky ribbon with a beautiful sheen. It’s perfect for tying traditional, elegant bows.
- Grosgrain: This is the ribbed ribbon that has more structure. It’s awesome for creating flatter, more modern-looking bows.
- Wired Ribbon: This is a beginner’s best friend. The thin wire along the edges helps the ribbon hold its shape, so you can make big, impressive, sculptural bows that don’t flop over.
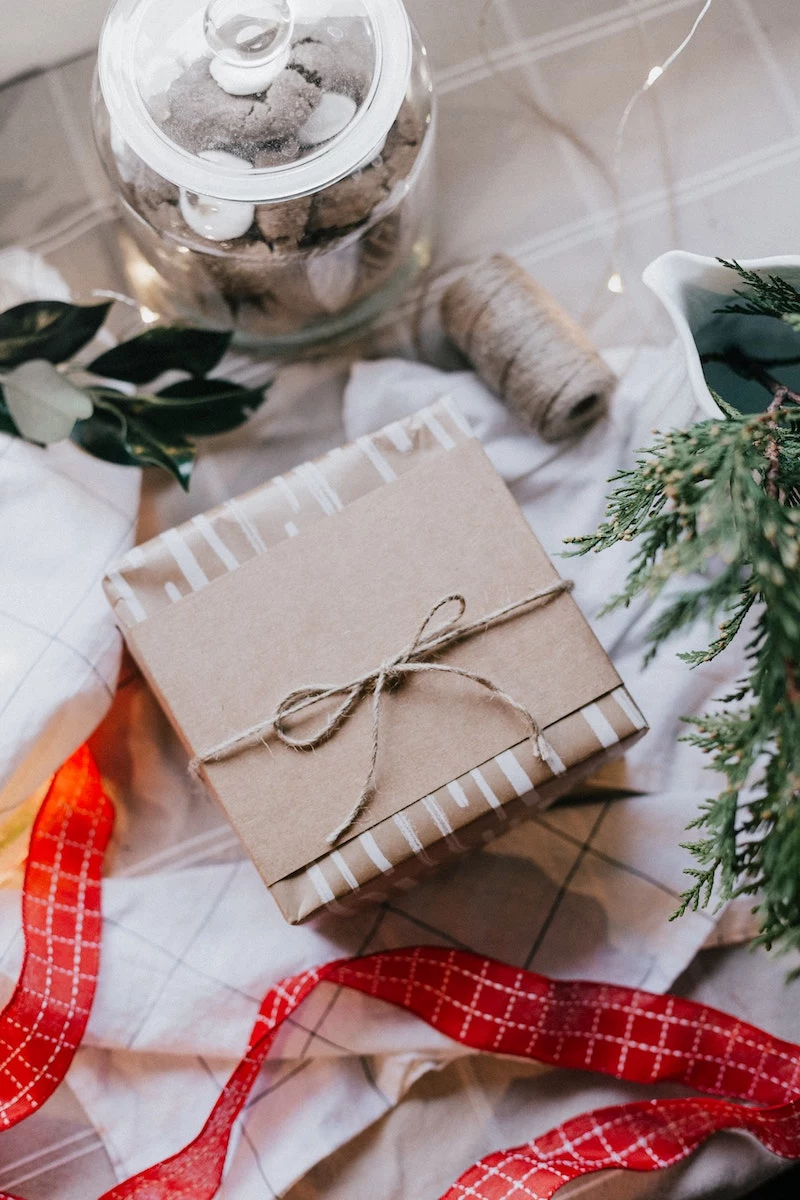
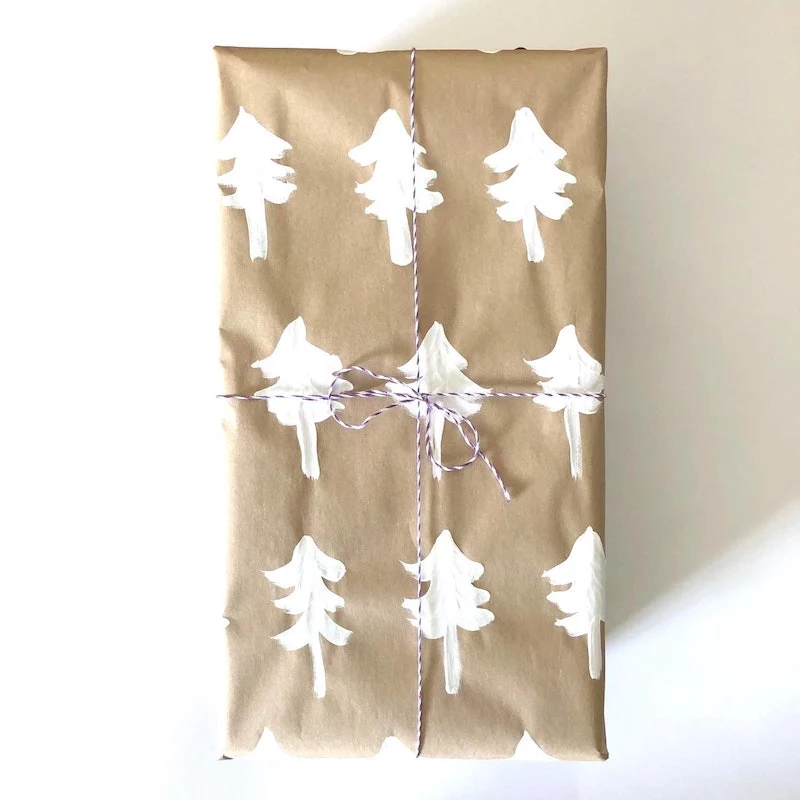
- Baker’s Twine: For a more rustic or minimalist vibe, you can’t beat simple twine. It’s cheap, strong, and looks fantastic paired with that brown kraft paper I mentioned.
A Few Essential Tools
You don’t need a lot, but these few things make a huge difference.
First, a sharp blade. Ditch the dull scissors that just chew up the paper. A good, long-bladed pair of shears or a rotary cutter on a self-healing mat will give you a clean, straight edge every time. Heads up: A sharp blade is a safe blade because you don’t have to use as much force, which means less slipping.
And now for my favorite pro secret: the bone folder. It’s a simple, flat tool used to make incredibly sharp creases. It’s what gives your folds that flawless, crisp look. A real one will only set you back about $7 at a craft store or online, but in a pinch? The back of a spoon or a credit card works pretty well, too!
The Main Event: Wrapping a Basic Box Perfectly
Once you get this down, you can wrap almost anything. This is your foundation. Your first attempt might feel a little clumsy and take 5-10 minutes, but I promise, with a little practice, it’ll become 30-second muscle memory.
Step 1: Measure and Cut (Don’t Skip This!)
The biggest mistake people make is using way too much paper. It creates all this extra bulk that’s impossible to fold neatly.
Here’s the simple formula: To figure out the width, roll the box over its four sides and add about an inch for overlap. For the length, the paper should come up a little more than halfway up the height of the box on each end. If it comes all the way up, you’ve got too much.
Step 2: The Invisible Seam
Place your box upside down on the paper. Pull one side of the paper over the box, just past the middle. Now, before you bring the other side over, create a finished edge by folding the last half-inch of the paper under on itself. Run your bone folder (or the back of that spoon!) along the fold to make it sharp.
Bring that clean edge over to slightly overlap the other piece and secure it with a strip of double-sided tape hidden underneath. Bam. No tape visible.
Step 3: Those Professional Corners
This is what separates the amateurs from the pros. Take a breath and work on a flat surface.
- On one end, push the sides of the paper inward against the box. This creates two triangular flaps, top and bottom.
- Really define those triangles by running your thumbnail or bone folder along the diagonal creases you just made.
- Fold the top flap down. It should be a perfect triangle against the box.
- Now, before you fold the bottom flap up, give it a finished edge by folding its tip under by about half an inch.
- Fold this finished bottom flap up to cover the top one. It should line up perfectly with the top edge of the box. Secure it with one small piece of double-sided tape.
Repeat on the other side. The result is sharp, geometric, and looks so incredibly tidy.

Let’s Talk Bows
A sad, floppy bow can ruin a perfect wrap job. The key is using the right technique (it’s different than tying your shoes!) and enough ribbon.
A good rule of thumb for length: For a standard shirt box, I use a ribbon that’s about five times the length of the longest side of the box. It’s always better to trim a little excess than to come up short!
The easiest impressive bow is the multi-loop pom-pom, which is especially great with wired ribbon. You basically make a small loop for the center, then keep making bigger loops on either side, twisting in the middle each time to keep the pretty side of the ribbon facing out. After you have 4-5 loops on each side, you cinch the center tightly with a piece of floral wire or thin twine, then fluff it all out. It looks like it took ages, but it’s surprisingly quick.
What About Awkward Shapes?
Okay, not everything is a perfect box. For those tricky items, you have to think differently.
Wrapping a Cylinder (Like a Bottle of Wine)
For something like a bottle, you’ll want to roll it in paper, leaving a few inches of extra paper at the top and bottom. Stand it up, and then at the top, just start making small, neat pleats, folding the paper down toward the center. Work your way all around the circle, pressing each fold down firmly. Secure the middle with a sticker or a dot of hot glue, then repeat on the bottom. A ribbon tied around the neck is the perfect finishing touch.
For Soft or HUGE Items (Like a Sweater or a Bike)
For soft things like a sweater or a stuffed animal, I often use a beautiful fabric wrapping technique. You just lay a square scarf or piece of fabric in a diamond shape, place the gift in the middle, and tie the opposite corners together over the top. It’s elegant, reusable, and surprisingly easy.
And what about that bicycle I mentioned wrapping? Let’s be brutally honest: you are not going to wrap a bike with perfect corners. For giant, impossible items, the pro move is to obscure, not wrap. The goal is the big reveal. Cover the item with a festive tablecloth or a fun sheet, and then go all-out on ONE gigantic, impressive bow right on top. It’s all about the drama of the presentation!
Common Problems and Quick Fixes
Even after all these years, things still go wrong. Here are a couple of common frustrations and how to handle them.
- Problem: My corners always rip! This is almost always one of two things: your paper is too thin (that cheap stuff strikes again!), or you’re pulling way too tight. Try a heavier paper and focus on making crisp folds instead of yanking the paper taut.
- Problem: The gift slides around inside the paper. Annoying, right? Use a tiny piece of regular tape to secure the gift to the paper on the bottom before you start folding. Nobody will ever see it.
Final Thoughts: It’s the Intention That Counts
Your first professional corner might not be flawless. Your first bow might look a bit lopsided. That is completely okay. I still have to re-tie a bow now and then!
By the way, if you’re facing a mountain of gifts and feeling overwhelmed, there is absolutely no shame in using a high-quality gift bag. The trick is to make it look deliberate. Use plenty of nice tissue paper, fluffing each sheet to create a full cloud that hides the gift inside.
At the end of the day, the goal isn’t machine-like perfection. It’s to show you cared. Taking a quiet moment to wrap a gift is a way to focus on that one person and the joy you hope to bring them. And that, truly, is the most beautiful wrapping of all.
Inspirational Gallery
Don’t underestimate your tape. For a truly professional finish, the standard glossy office tape just won’t do—it’s too visible. Switch to a dedicated gift wrap tape with a matte, satin finish, like Scotch GiftWrap Tape. It disappears on most wrapping papers, making your seams look flawless.
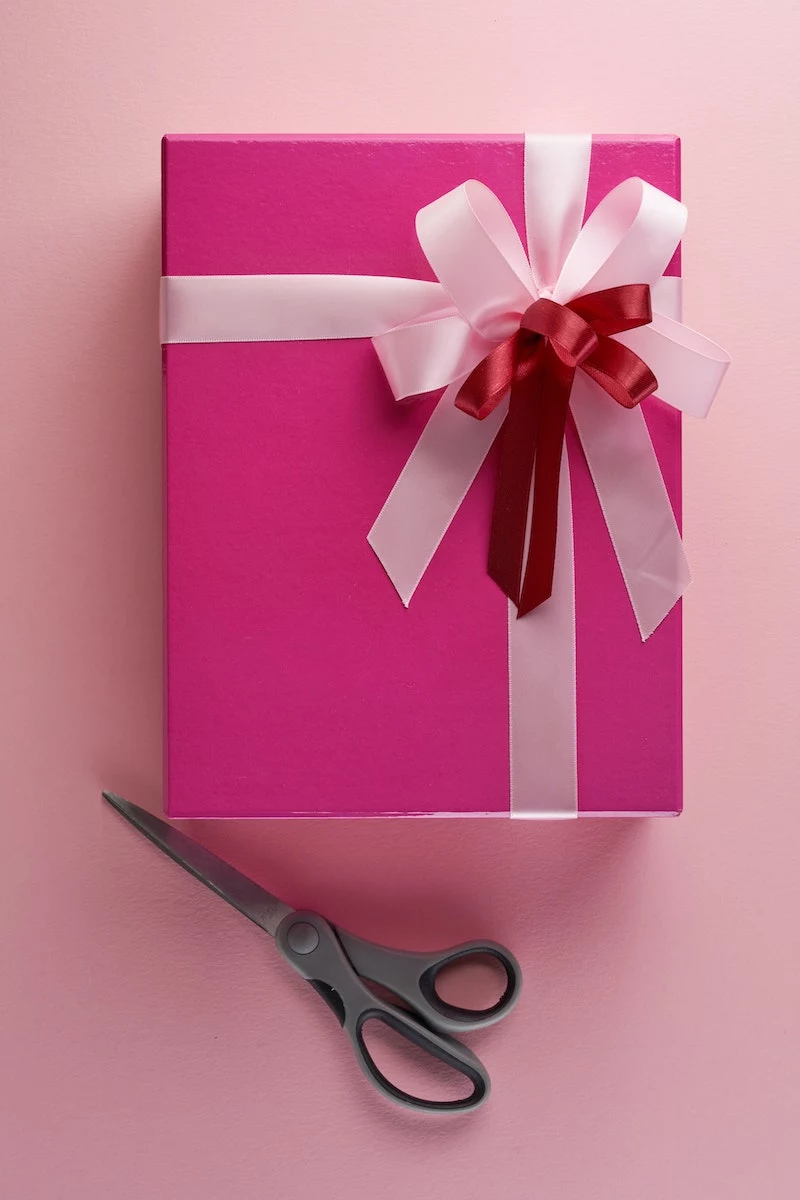
- A perfectly crisp fold makes all the difference.
- A clean, sharp ribbon cut elevates the entire look.
The secret? Precision. Use a bone folder or the edge of a credit card to press down every fold before you tape it. For ribbons, always use sharp fabric scissors and cut the ends at a sharp 45-degree angle to prevent fraying.
The average American household increases its waste by 25% between Thanksgiving and New Year’s Day, with much of that being gift wrap and shopping bags.
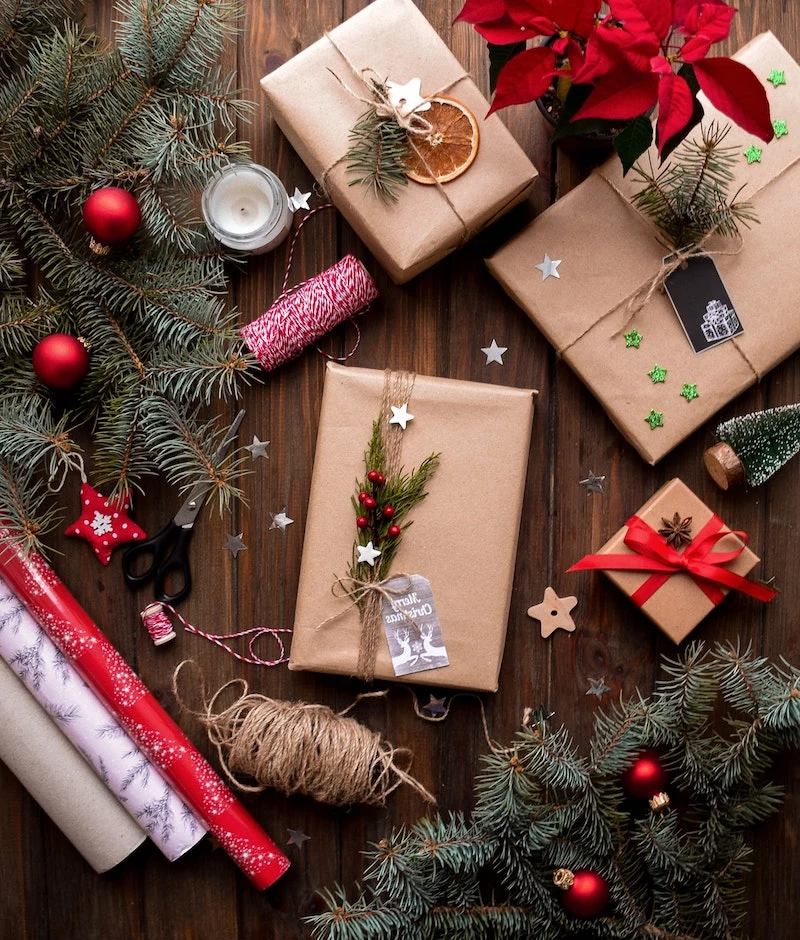
Choosing recyclable paper, like simple kraft or non-foil papers, makes a huge difference. Even better, teach friends and family how to unwrap gifts carefully so the beautiful paper can be saved and reused for smaller presents next year.
Struggling with a soft or oddly shaped gift, like a sweater or a stuffed animal? Don’t try to wrap it directly. The key is to create structure first. Place the item in a simple gift box, or for a softer form, wrap it tightly in a layer or two of tissue paper first, creating a more defined ‘bundle’ to work with.
The secret to an ‘invisible’ seal: Double-sided tape is your best friend. Instead of taping on the outside of the paper, apply small pieces of double-sided tape to the *underside* of the final flap before pressing it down. The result is a seamless, store-worthy finish with no tape in sight.
How do I create a cohesive, ‘curated’ look for all my gifts under the tree?
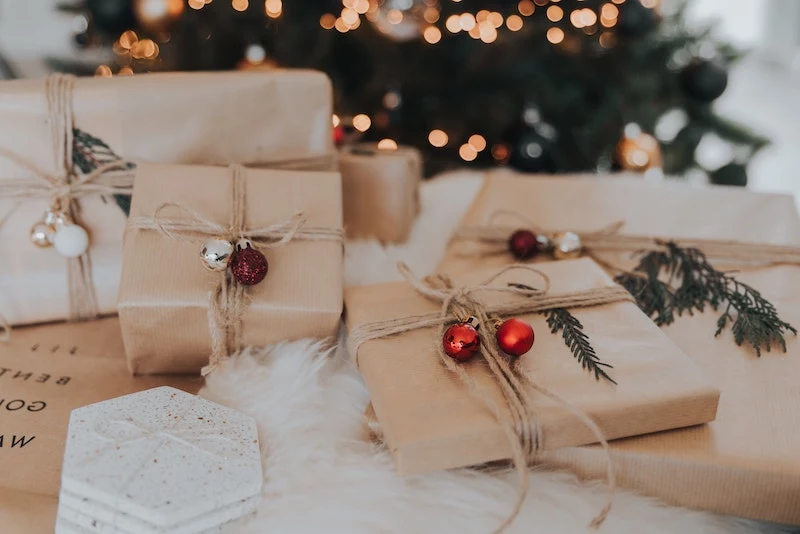
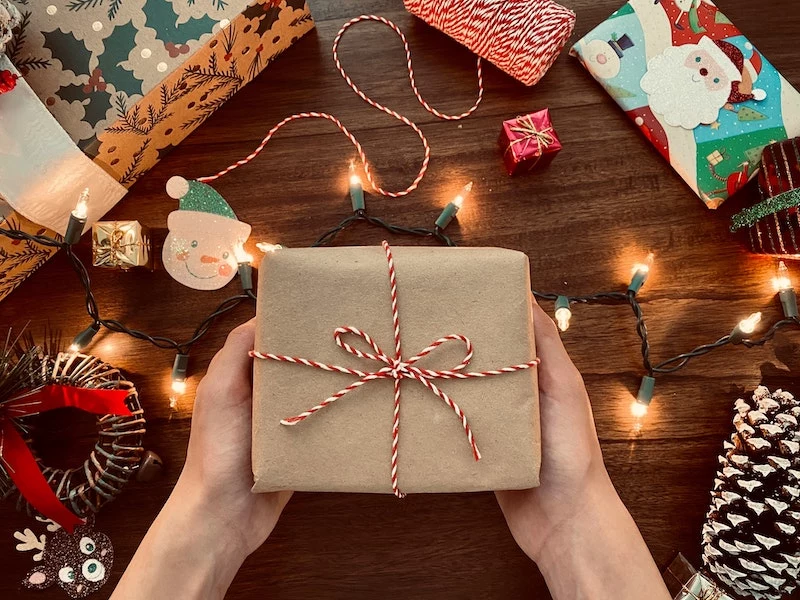
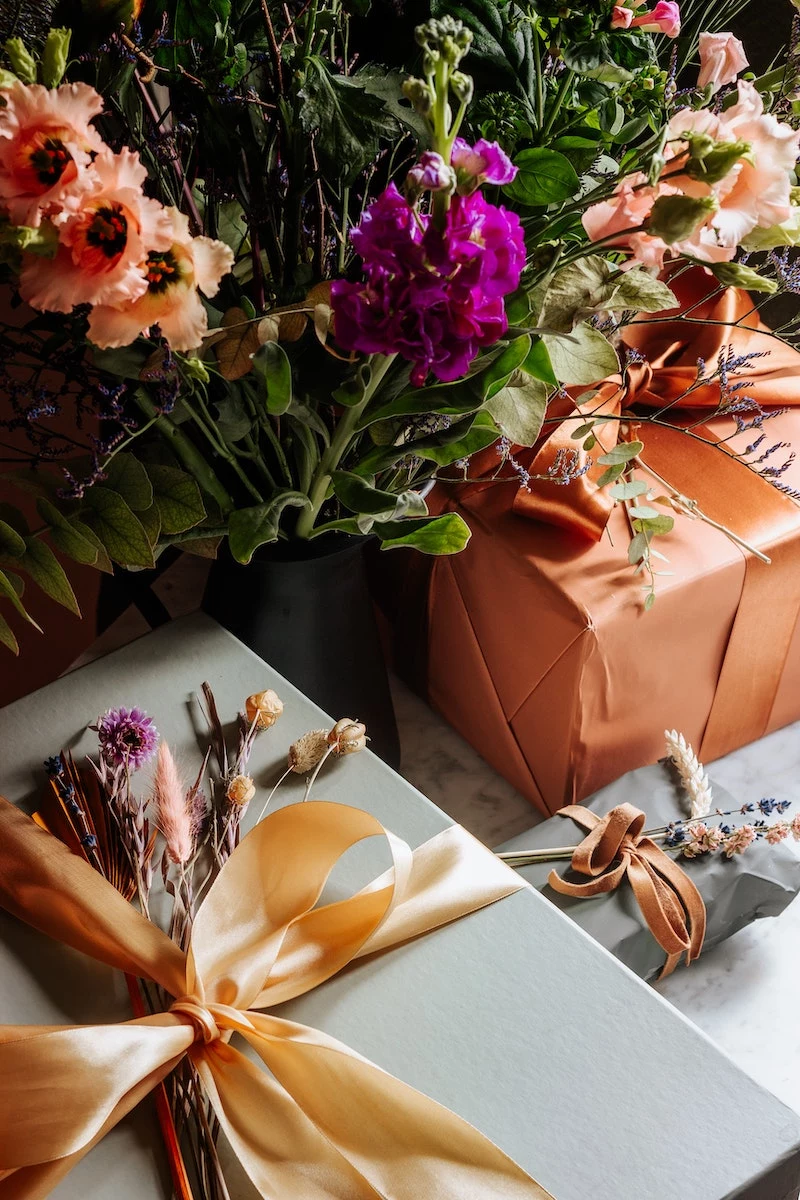
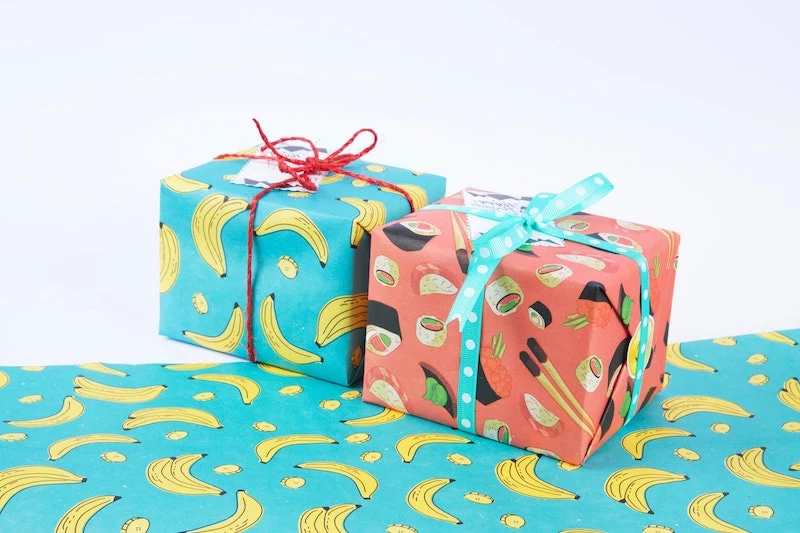
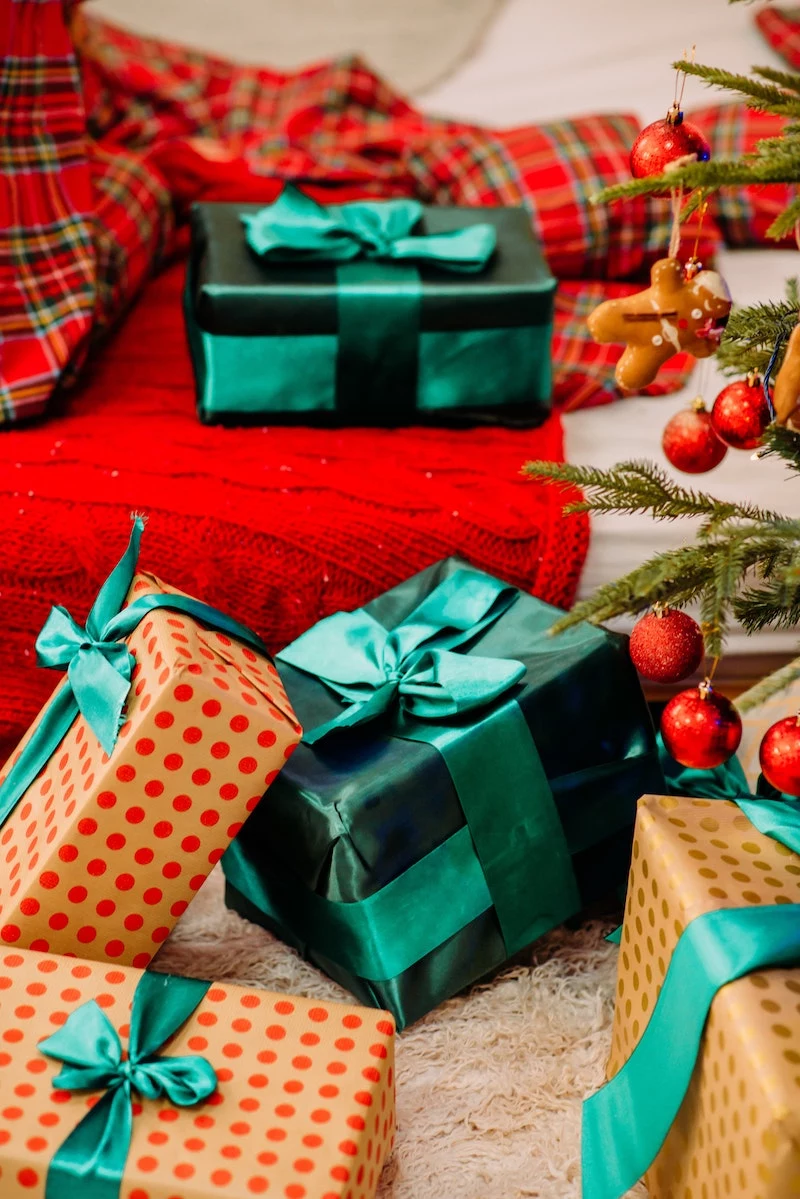
Think like a designer and choose a limited color palette. Pick two or three complementary wrapping papers—for instance, one with a bold pattern, one with a micro-pattern, and one solid color. Then, use one or two consistent ribbon colors across all the gifts. This strategy makes the entire collection feel intentional and incredibly chic.
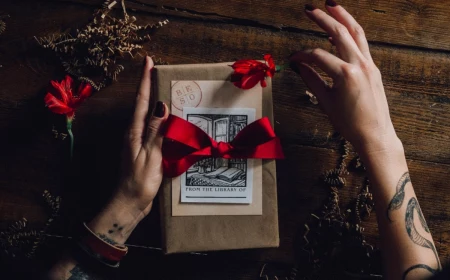
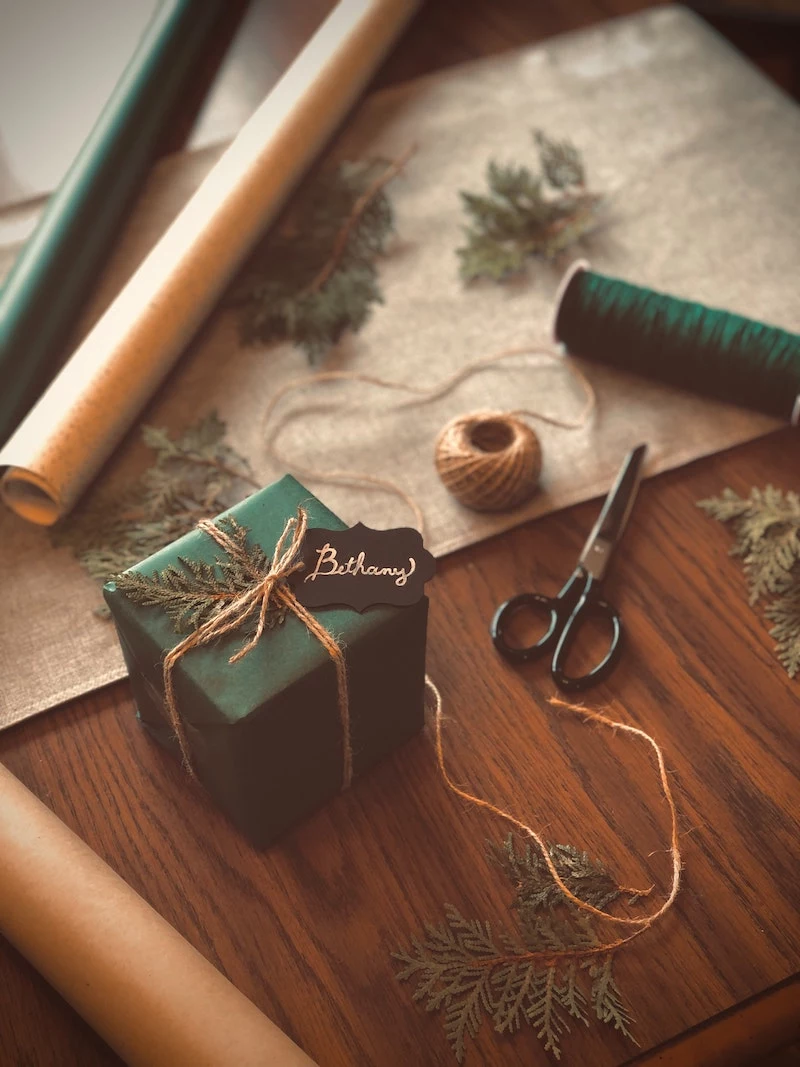
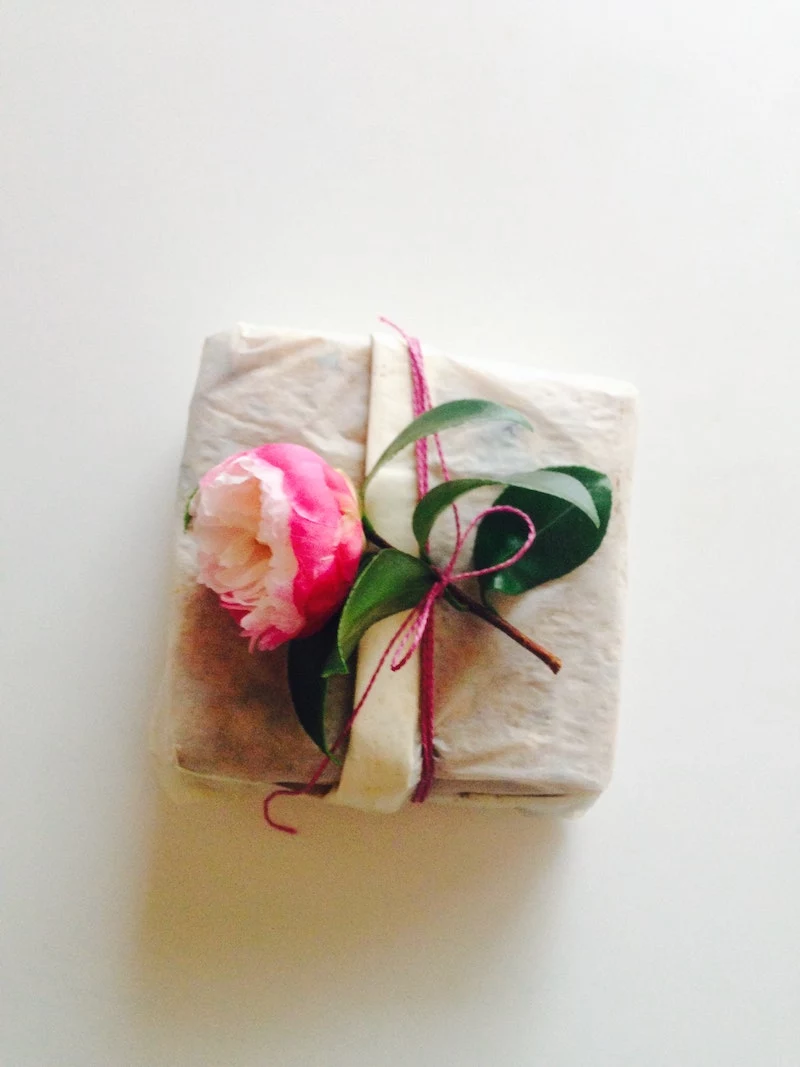
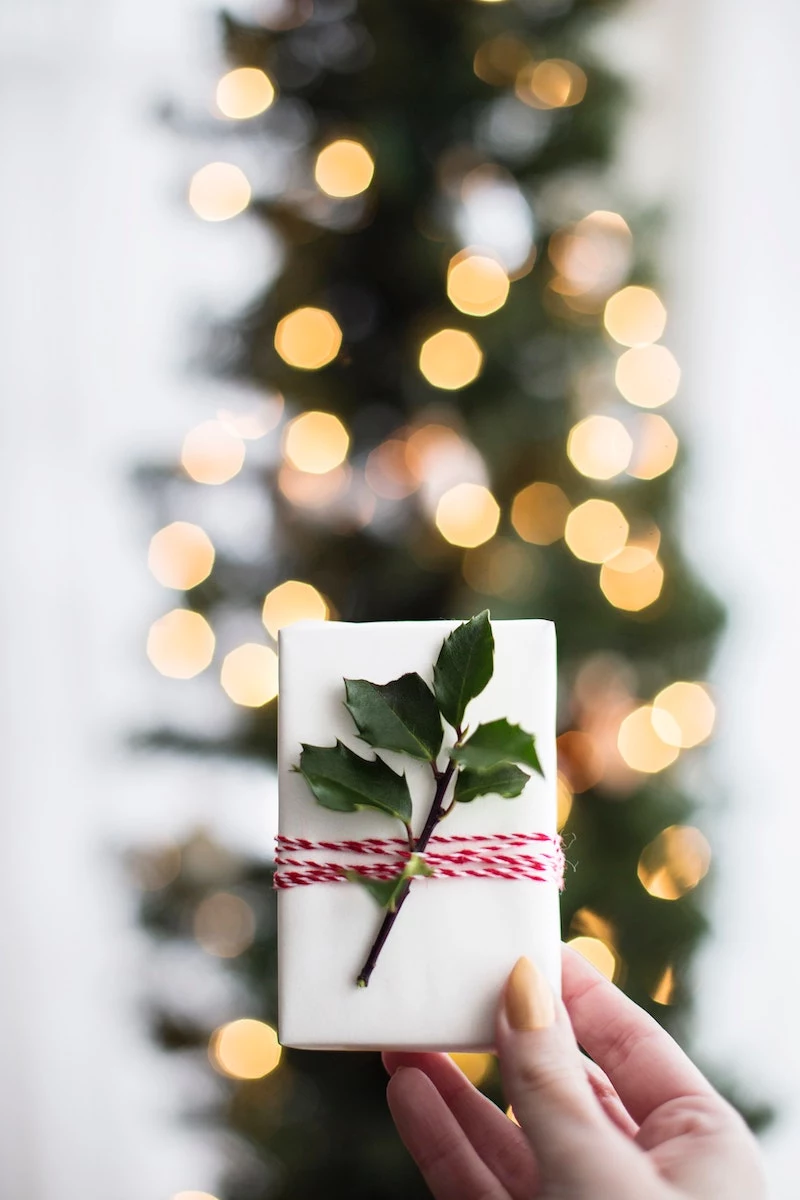
Go beyond the basic bow and tap into nature. A simple sprig of rosemary or pine not only looks stunning against plain kraft paper but also adds a wonderful festive scent. Other ideas include a single dried orange slice, a cinnamon stick, or a small pinecone, all easily attached with a dab of hot glue or natural jute twine.

- For bottles of wine or olive oil, create a cylinder by rolling the gift in paper, then twist the top and tie with ribbon.
- For plush toys, use the ‘candy wrap’ method: roll the gift in paper that’s much wider than the item, then twist both ends and tie them off like a sweet wrapper.
- For very small items, place them in a small velvet pouch or a decorated muslin bag instead of struggling with tiny paper folds.
Classic Satin Ribbon: Smooth, glossy, and timeless. It’s the go-to for a traditional, elegant look and ties beautiful, structured bows.
Luxe Velvet Ribbon: Offers rich texture and a deep, matte color. It adds a touch of vintage opulence and pairs beautifully with simple or metallic papers.
For a modern rustic vibe, consider natural jute twine or a simple cotton twill ribbon instead.
Furoshiki is the Japanese art of wrapping gifts and other items in cloth. A single square of fabric can be folded and tied in dozens of ways to beautifully conceal any object, regardless of its shape.
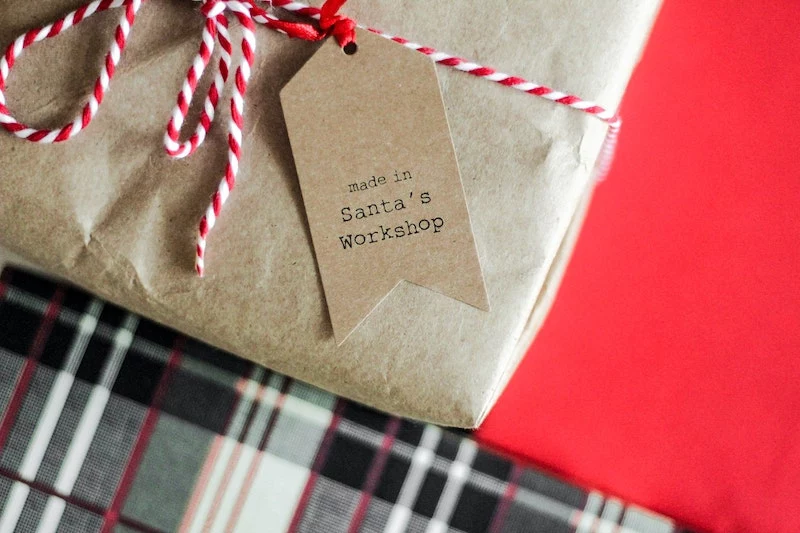
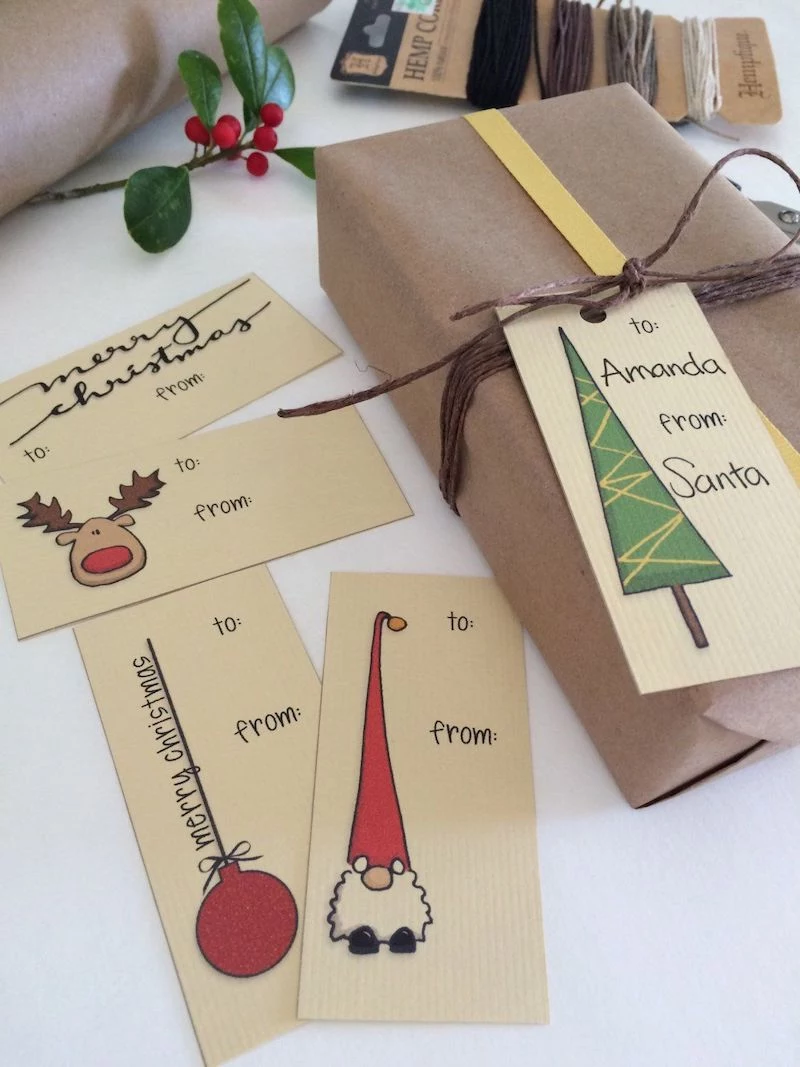
Tired of store-bought tags? Make your own in minutes.
- Use a craft punch to cut shapes from leftover wrapping paper and glue them onto a cardstock base.
- For a rustic look, use a slice of wood (found at craft stores like Hobby Lobby) and write the name with a permanent marker.
- A simple luggage tag made of kraft cardstock, stamped with a festive design, always looks charming.

The right ribbon can transform a simple wrap into a statement piece. Consider these options:
- Grosgrain: Its ribbed texture provides a lovely contrast and holds its shape well, making it great for flatter, more modern bows.
- Chiffon or Silk: Light, airy, and romantic. Let the long tails drape for a soft, ethereal effect, perfect for wedding or anniversary gifts.
- Wire-edged: The secret to those big, voluminous bows you see in department stores. The wire allows you to shape and fluff the loops perfectly.
Can I mix and match wrapping paper patterns without it looking messy?
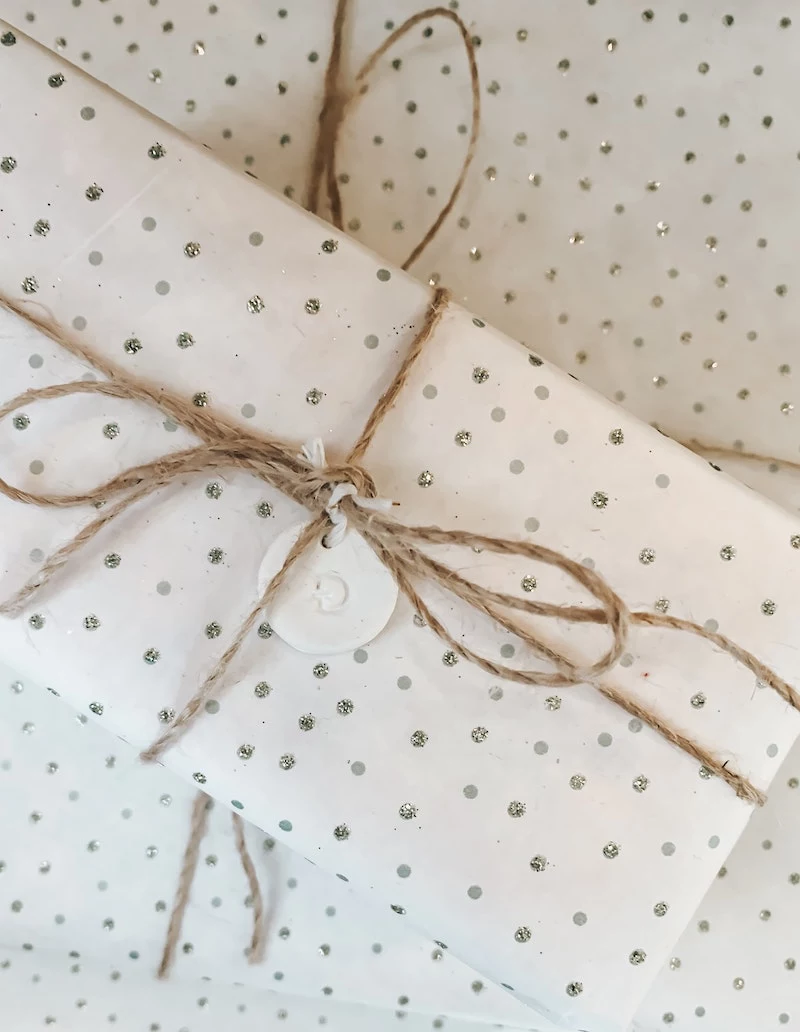
Absolutely! The key is to follow a simple rule: vary the scale. Pair a large, bold pattern (like wide stripes or big florals) with a small, delicate one (like tiny polka dots or a subtle geometric). Using papers from the same color family will ensure the final look is eclectic yet harmonious.
Paper Choice: When wrapping heavy or large boxes, avoid thin, cheap paper. Opt for a high-quality, heavier-weight paper from a brand like The Container Store or Paper Source. It will resist tearing at the corners as you pull it taut, which is the most common point of failure.
- A gift that feels more thoughtful and special.
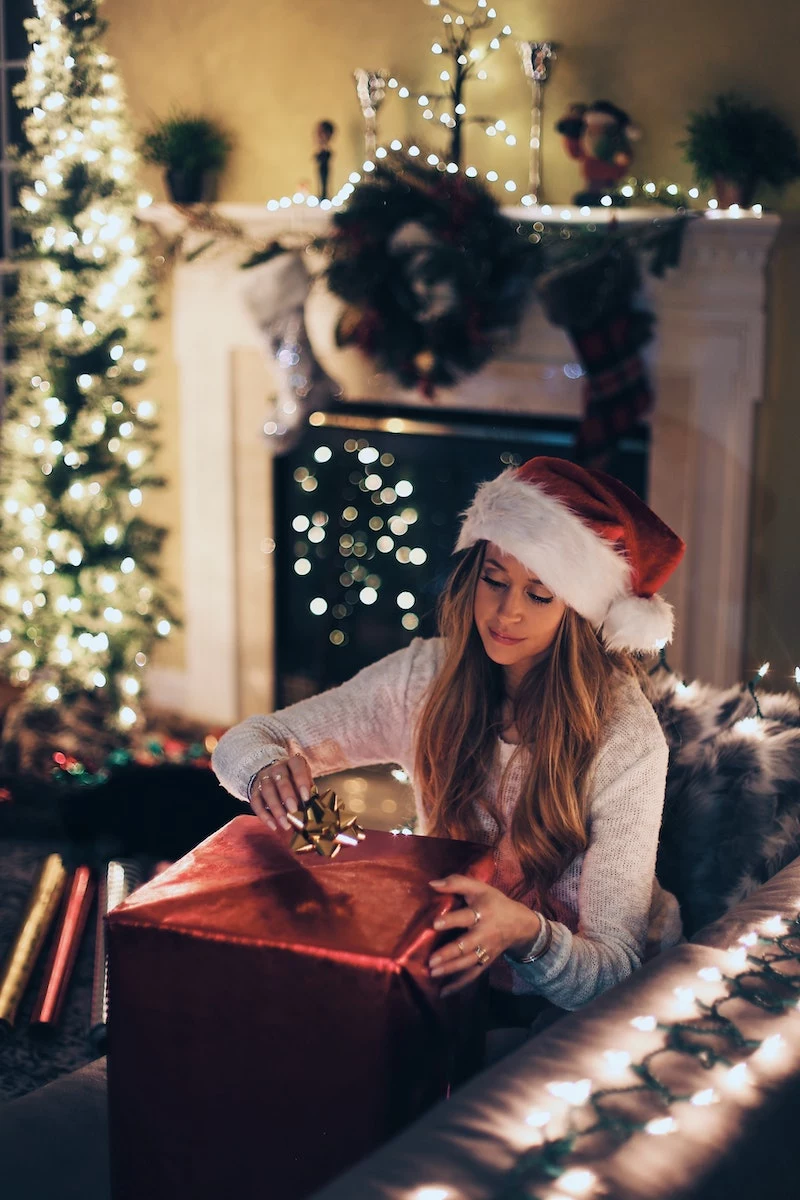
- An elevated sense of anticipation for the recipient.
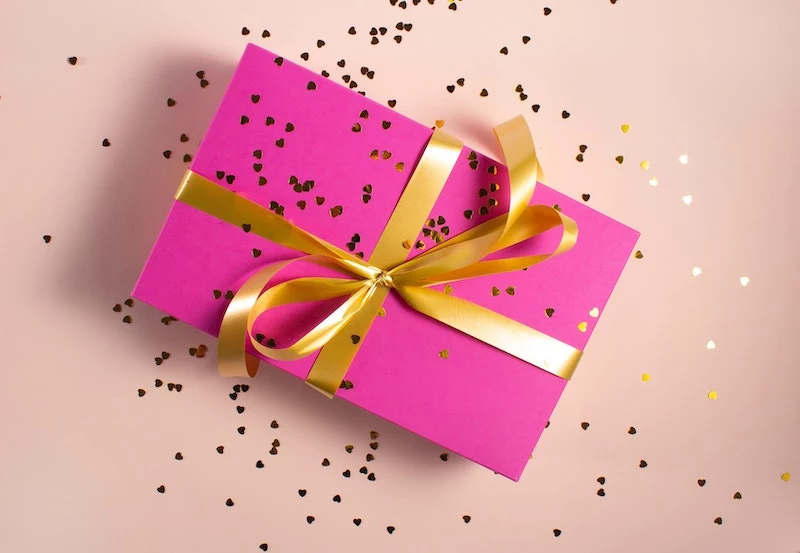
The secret? Personalization. Services like Zazzle or Minted allow you to create your own wrapping paper using family photos, a child’s drawing, or a custom monogram. It’s an unforgettable touch for a truly significant gift.
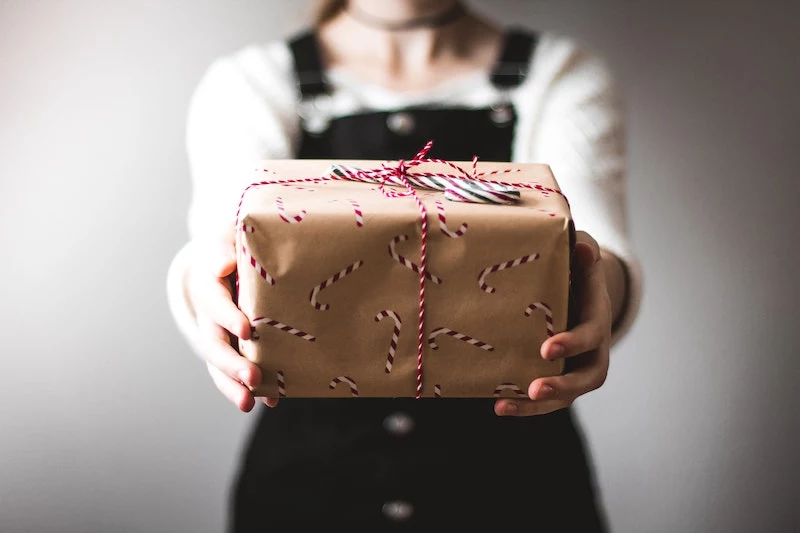
A 1992 study published in the Journal of Consumer Psychology found that gifts that were nicely wrapped were perceived more favorably by recipients than those that were unwrapped or poorly wrapped. The wrapping sets positive expectations!
This confirms what gift-givers have long suspected: the effort you put into the presentation directly impacts how the gift inside is received. It’s the first signal of how much you care.
Fabric Wrap (Furoshiki): Infinitely reusable, eco-friendly, and perfect for awkward shapes. It offers a soft, unique look but doesn’t provide the crisp edges of paper.
High-Quality Paper: Creates sharp, clean lines and a classic, satisfying ‘rip’ when opened. Less versatile for odd shapes but delivers a traditional, polished aesthetic.
Fabric is a great sustainable choice, while paper is ideal for the perfectionist who loves sharp corners.
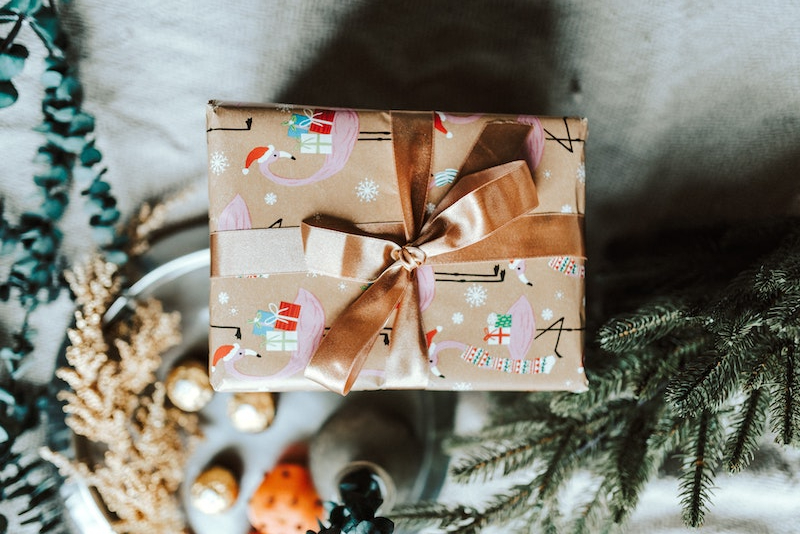
Don’t be afraid of ‘negative space.’ A beautifully wrapped gift doesn’t always need a giant bow. Sometimes, less is more. On a particularly stunning patterned paper, try forgoing the ribbon altogether. Instead, focus on perfect corners and add a single, elegant gift tag. Let the paper be the star of the show.
Mistake to avoid: Using too much paper. It creates bulky, messy folds, especially at the ends. Before you cut, roll the paper around your box. It should overlap by just an inch or two. For the sides, the paper should only come up about halfway. This gives you just enough to create a neat, triangular fold without excess bulk.